The modified model car thread - pics
Discussion


M3John said:
Thats awesome !
I have bought all the bits to turn a regular two door into an RS2000 and in the colour scheme EXACTLY like this !
Question though for you, how did you bond the nose cone onto the front of the original one and did you use regular filler to smooth it all out?
I just stuck the nose cone on with normal superglue (I use Loctite Super Control Gel) & then used Milliput to blend it into the arches. I have bought all the bits to turn a regular two door into an RS2000 and in the colour scheme EXACTLY like this !
Question though for you, how did you bond the nose cone onto the front of the original one and did you use regular filler to smooth it all out?


thebigmacmoomin said:
M3John said:
Thats awesome !
I have bought all the bits to turn a regular two door into an RS2000 and in the colour scheme EXACTLY like this !
Question though for you, how did you bond the nose cone onto the front of the original one and did you use regular filler to smooth it all out?
I just stuck the nose cone on with normal superglue (I use Loctite Super Control Gel) & then used Milliput to blend it into the arches. I have bought all the bits to turn a regular two door into an RS2000 and in the colour scheme EXACTLY like this !
Question though for you, how did you bond the nose cone onto the front of the original one and did you use regular filler to smooth it all out?
Will have to get around to doing this at some point.
Dragon Racing 88 in Dubai race a couple of Ferraris. Three of them are the F458 Italia. So, lets make those in scale 1:18.
Mattel made a perfect base model to start from. First the old livery needs to go. Nail polish remover does the trick on the metal bits.
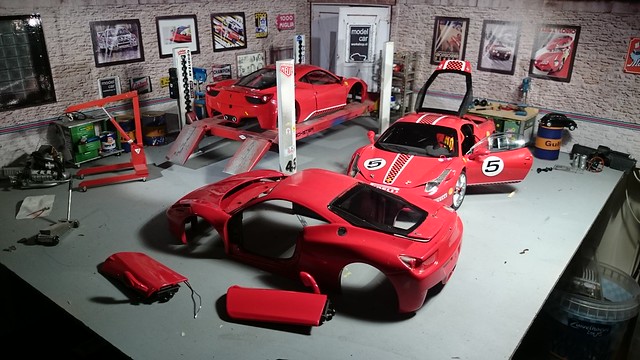
Painting was fairly easy. Designing the livery and getting is to the right size is a diffent story.
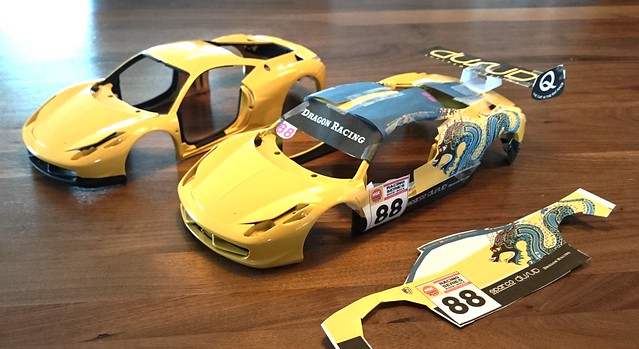
The contrasting colours are sprayed with a rattle can.
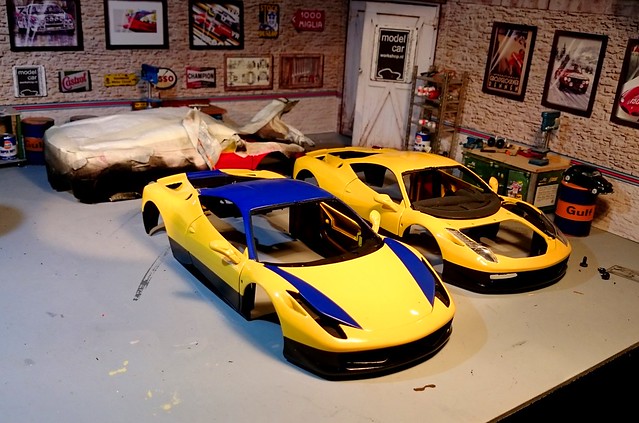
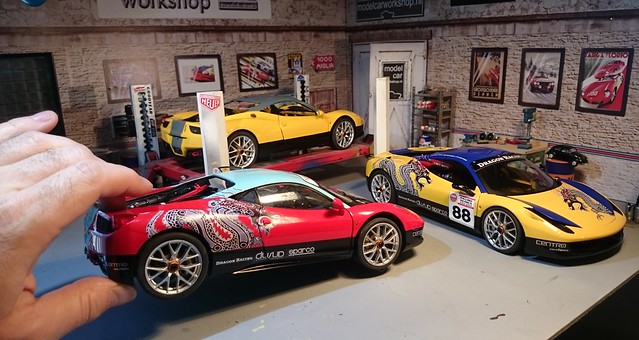
First decals are on. I let these dry and set for a couple of days before I put the rest on.
Mattel made a perfect base model to start from. First the old livery needs to go. Nail polish remover does the trick on the metal bits.
Painting was fairly easy. Designing the livery and getting is to the right size is a diffent story.
The contrasting colours are sprayed with a rattle can.
First decals are on. I let these dry and set for a couple of days before I put the rest on.
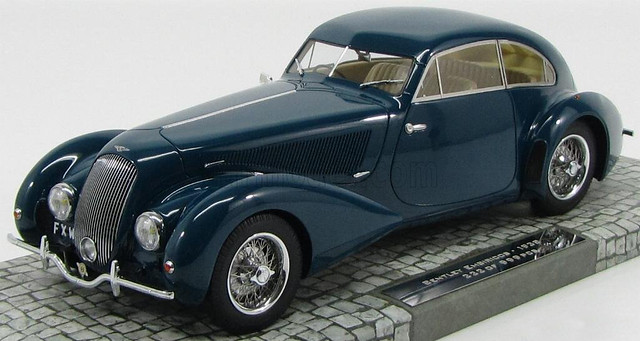
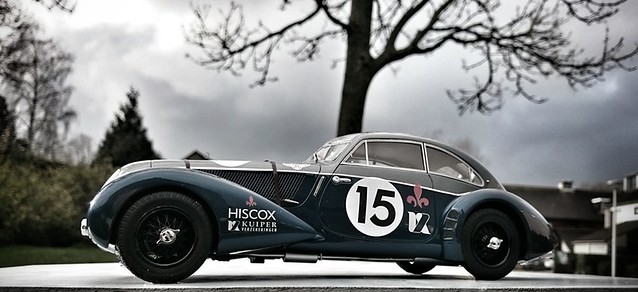
This customized Bentley 4.25 litre Embiricos is especially made for Kuiper Verzekeringen (insurance agent) and ordered by Hiscox (insurance company) to celebrate their cooperation.
The idea is to start off with an exclusive car and give it a racy / rally livery, using the company names.
Minichamps released a perfect base model, The Bentley Embiricos in scale 1:18.
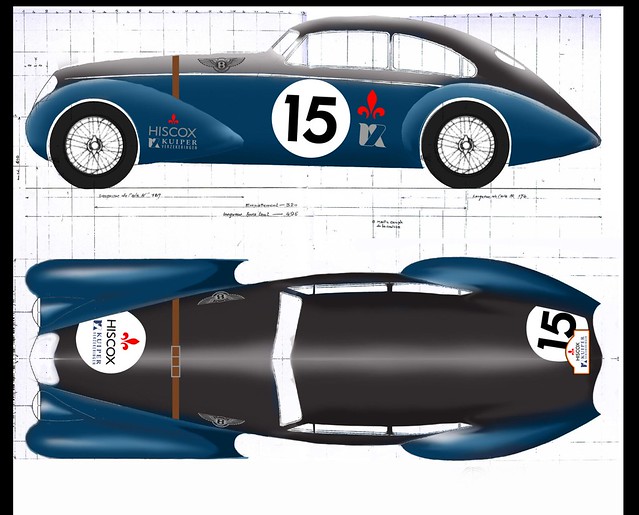
First I made some drawings and choice fell on this design.
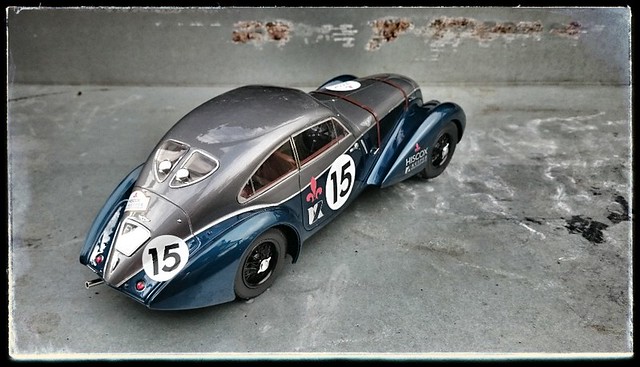
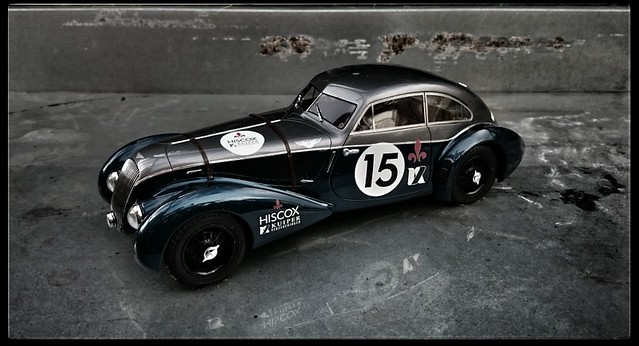
The body is sprayed in two tone. After all the trim, lights and windows are put back, a chrome strip accentuates the two tone body.
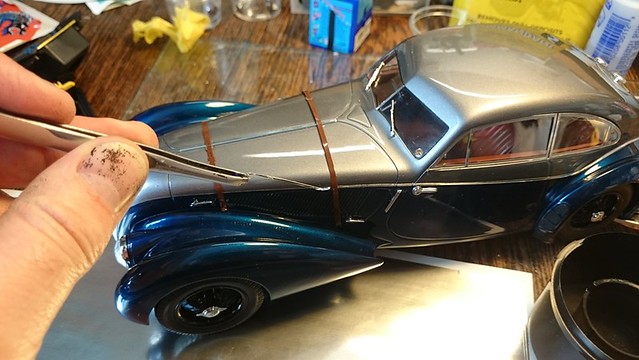
The custom made decals are being put on (some chrome bits are still on the work bench).
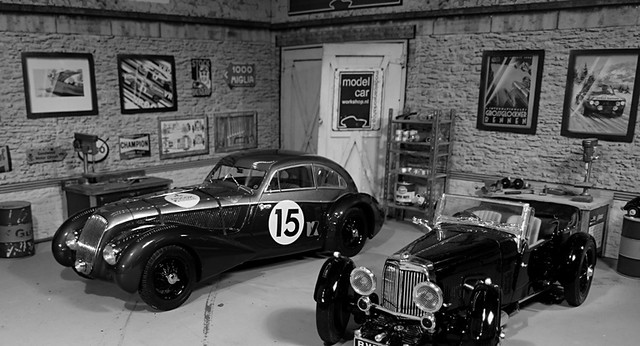

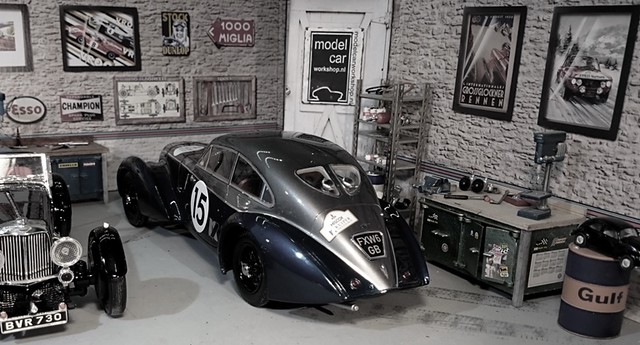
Livery and all small bits on the rights places. Ready to leave the workshop.
The idea is to start off with an exclusive car and give it a racy / rally livery, using the company names.
Minichamps released a perfect base model, The Bentley Embiricos in scale 1:18.
First I made some drawings and choice fell on this design.
The body is sprayed in two tone. After all the trim, lights and windows are put back, a chrome strip accentuates the two tone body.
The custom made decals are being put on (some chrome bits are still on the work bench).
Livery and all small bits on the rights places. Ready to leave the workshop.
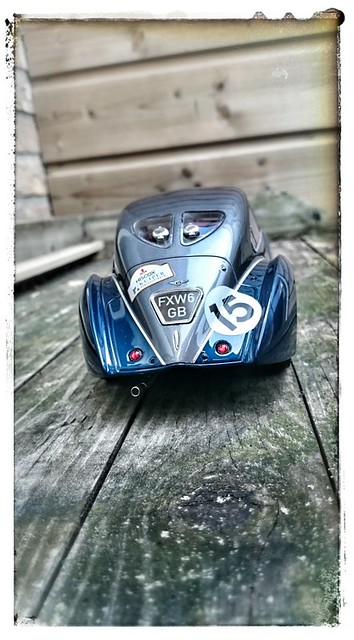
Honestly? I had about 3 weeks between first request and shipping out. In that time I had to find a suitable model, order it, make a design, draw the decals, have the decals made, dismantle the model, prepare the body, have it sprayed in one colour, mark out the lines for the second colour, reassamble the model and ship it out.
When I made the design I had no idea yet what the lines of the model would be like. Yet I had to proceed and make the decals on beforehand. Actually, the decals are still the same size. They are located slightly higher and the split between the two colours is a bit lower.
Then again, this suites the rally look very well. So yes, it was all as intended.
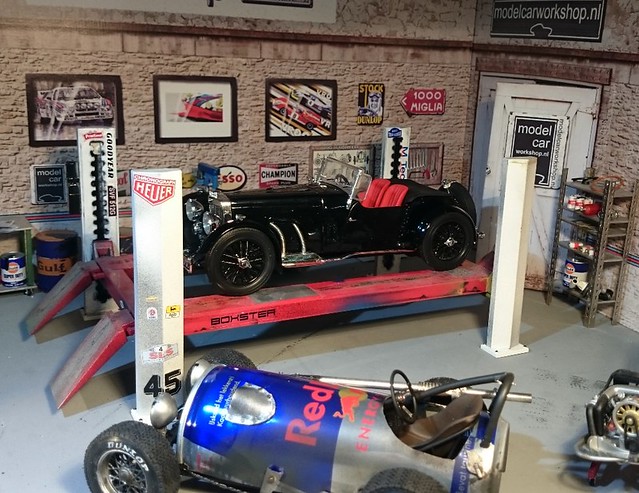
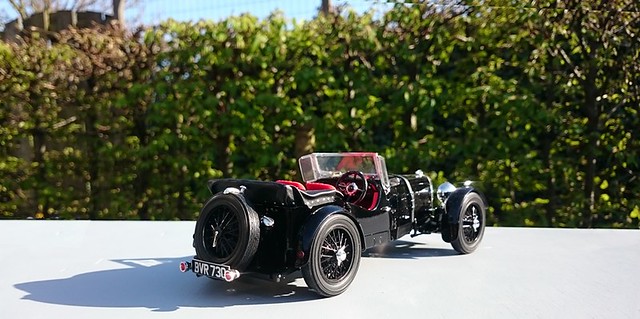
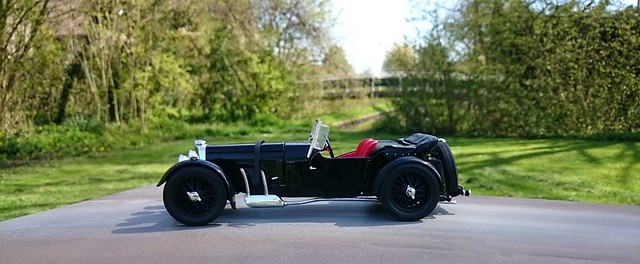
Years ago Signature models made a scale model of an Aston Martin Mark II (1934) in scale 1:18.
They took the measurements of this black Mark II.
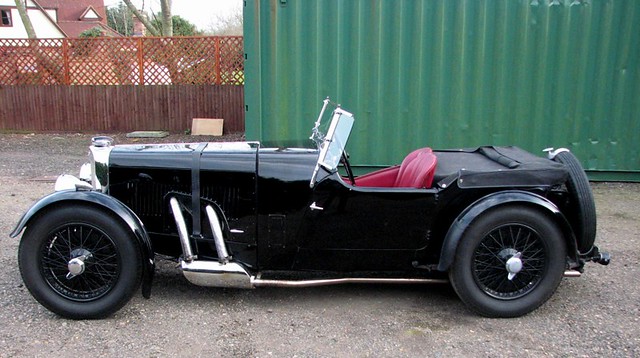
The miniature was sold in black, green and red. With a detachable soft top.
Now the present owner of the real car wanted the black model from Signature Models but could only find the red one. So he asked me (via Grand Prix Models) to change the red model.
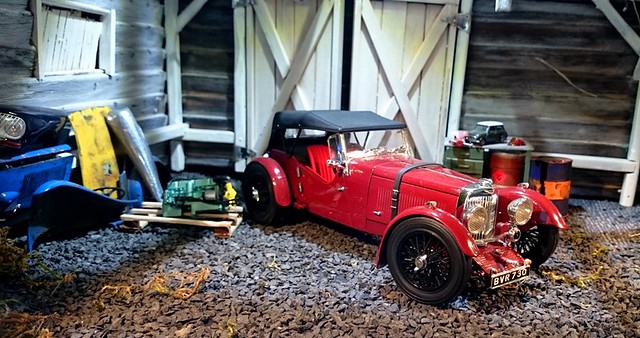
I offered to add a few details so the model resembles the present status of the real car.
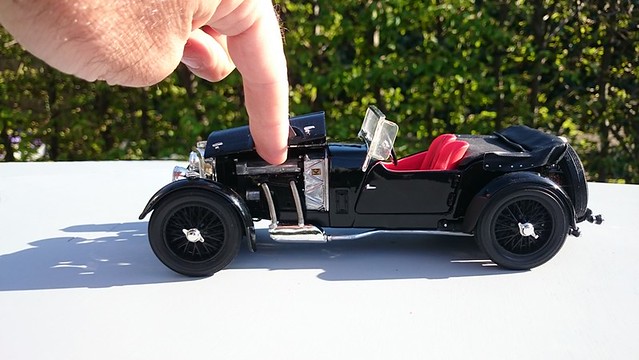
After the body is painted I made a cover for the folding roof. By adding some material it gets a bit more "body".
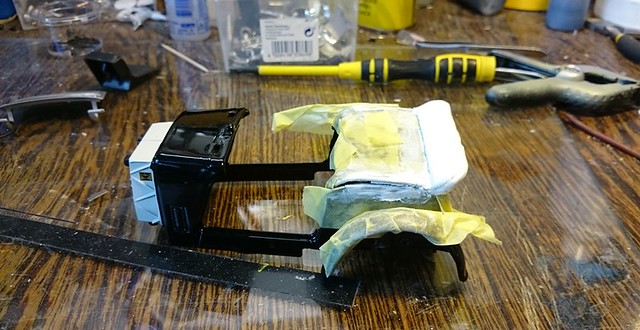
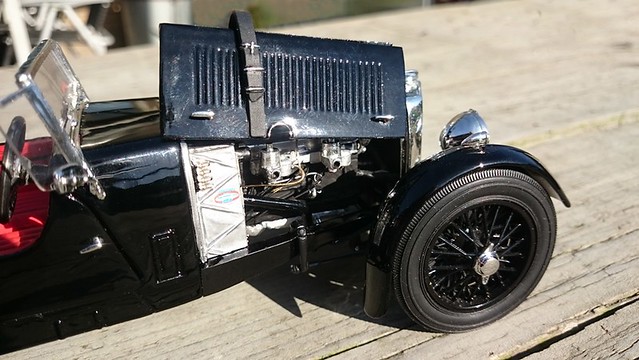
The engine needs to get different colours and the interior is a bit too red. New carpets already in.
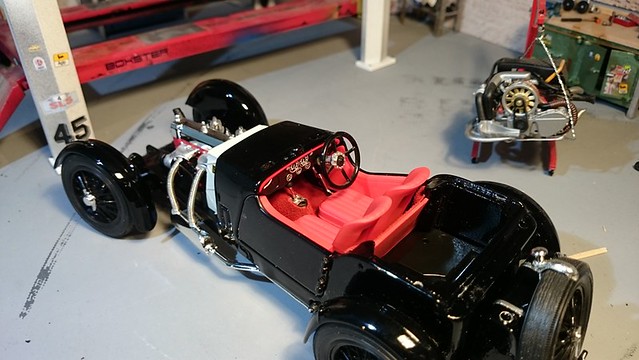
The exhaust is a bit too shine so that will be toned down.
Glove compartment is opened up. Addition black carpets added.

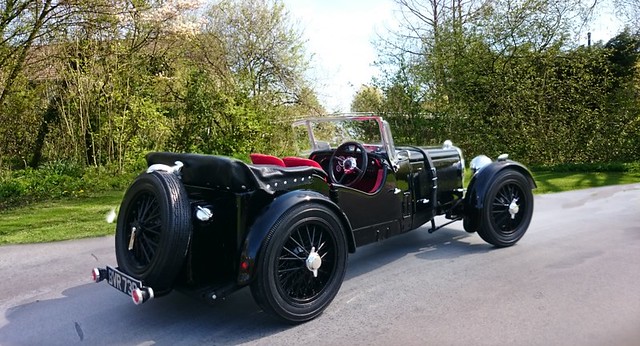
New plate and lower indicators removed. Drum brakes added.
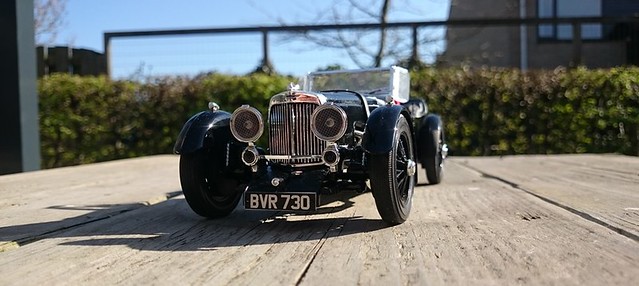
Indicators @ the rear also removed and new plate fitted. Also small refectors added on the rear wings.
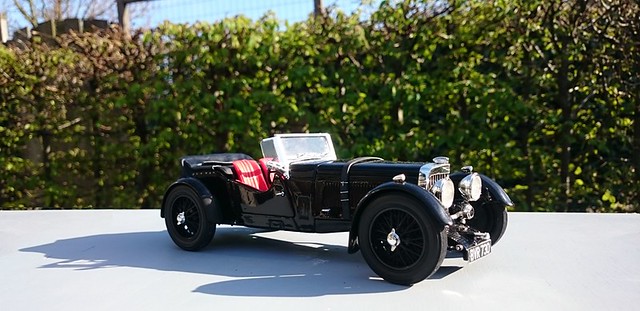
The side windows are fitted at an angle (used to be flush to the front windscreen). The engine is painted black and the rocker cover and bulkhead in alu / matt silver.
Ready to take her out on a sunny day (like yesterday)
They took the measurements of this black Mark II.
The miniature was sold in black, green and red. With a detachable soft top.
Now the present owner of the real car wanted the black model from Signature Models but could only find the red one. So he asked me (via Grand Prix Models) to change the red model.
I offered to add a few details so the model resembles the present status of the real car.
After the body is painted I made a cover for the folding roof. By adding some material it gets a bit more "body".
The engine needs to get different colours and the interior is a bit too red. New carpets already in.
The exhaust is a bit too shine so that will be toned down.
Glove compartment is opened up. Addition black carpets added.
New plate and lower indicators removed. Drum brakes added.
Indicators @ the rear also removed and new plate fitted. Also small refectors added on the rear wings.
The side windows are fitted at an angle (used to be flush to the front windscreen). The engine is painted black and the rocker cover and bulkhead in alu / matt silver.
Ready to take her out on a sunny day (like yesterday)
Years ago Signature models made a scale model of an Aston Martin Mark II (1934) in scale 1:18.
They took the measurements of this black Mark II.
The miniature was sold in black, green and red. With a detachable soft top.
Now the present owner of the real car wanted the black model from Signature Models but could only find the red one. So he asked me (via Grand Prix Models) to change the red model.
I offered to add a few details so the model resembles the present status of the real car.
After the body is painted I made a cover for the folding roof. By adding some material it gets a bit more "body".
The engine needs to get different colours and the interior is a bit too red. New carpets already in.
The exhaust is a bit too shine so that will be toned down.
Glove compartment is opened up. Addition black carpets added.
New plate and lower indicators removed. Drum brakes added.
Indicators @ the rear also removed and new plate fitted. Also small refectors added on the rear wings.
The side windows are fitted at an angle (used to be flush to the front windscreen). The engine is painted black and the rocker cover and bulkhead in alu / matt silver.
Ready to take her out on a sunny day (like yesterday)


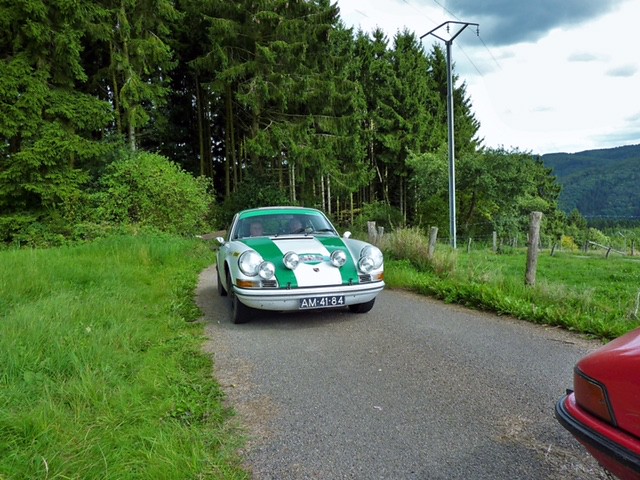
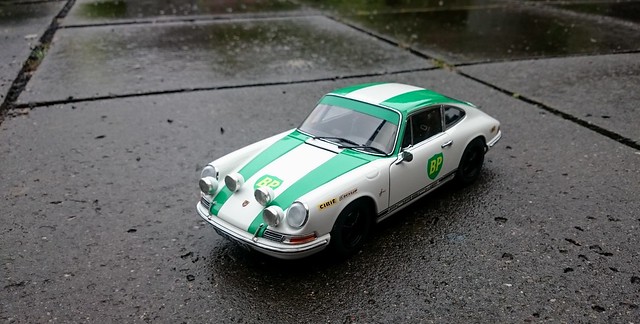
Only a few years ago, the owner of this car Porsche 911 followed a navigation course I gave (and still do). He and his navigator are doing really well and are now competing for top 10 positions in the sporting class.
Earlier this year he asked me to make a miniature of his Porsche. This is the car "in action"
AutoArt supplied the base model. First it is painted in Candy White and now I'm masking the model for the BP green areas.

Designed the decals and had them printed on transparent decal paper.
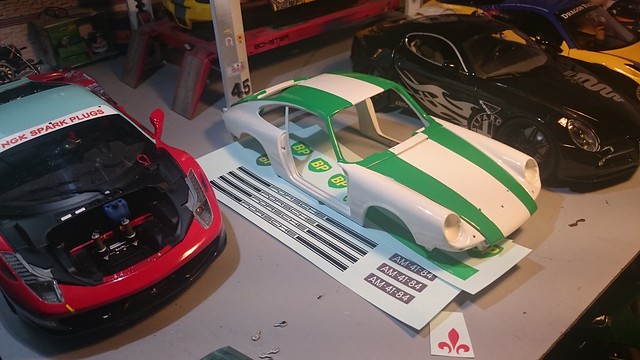
Painted the door seals, interior, wheel arches and A pillars black.
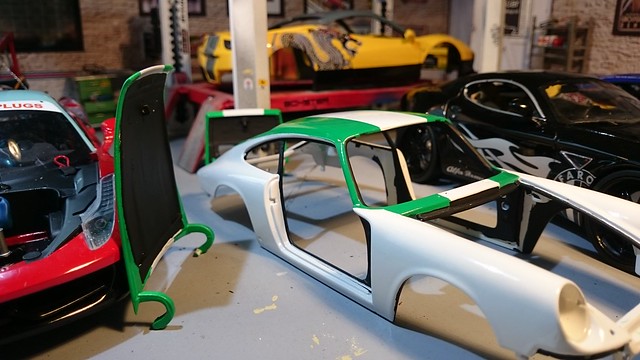
Also added bucket seats, a roll cage, safety belts, fire extinguisher, alloy foot rest and lowered the suspension.
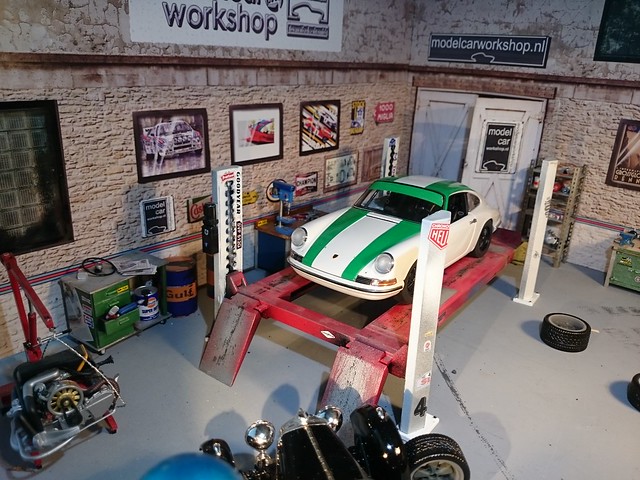
Extra spot lights
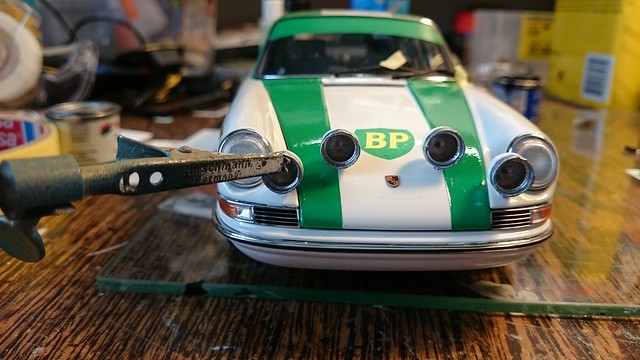
On display during the scruteneering of the Tulip Rallye

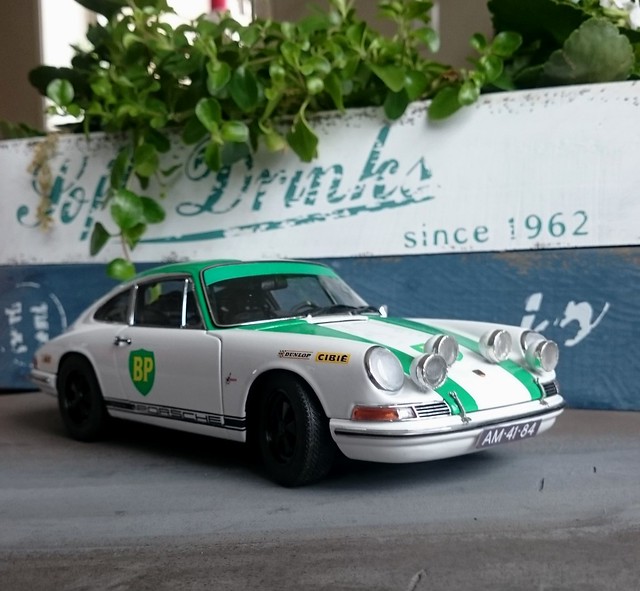
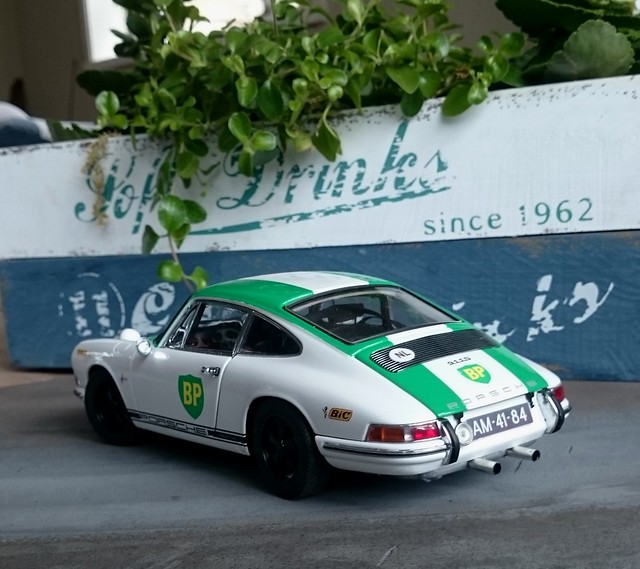
Ready 2 b handed over:

Earlier this year he asked me to make a miniature of his Porsche. This is the car "in action"
AutoArt supplied the base model. First it is painted in Candy White and now I'm masking the model for the BP green areas.
Designed the decals and had them printed on transparent decal paper.
Painted the door seals, interior, wheel arches and A pillars black.
Also added bucket seats, a roll cage, safety belts, fire extinguisher, alloy foot rest and lowered the suspension.
Extra spot lights
On display during the scruteneering of the Tulip Rallye
Ready 2 b handed over:
Gassing Station | Scale Models | Top of Page | What's New | My Stuff