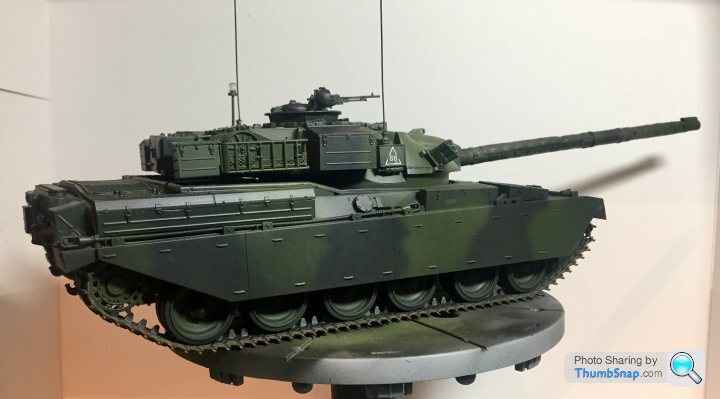
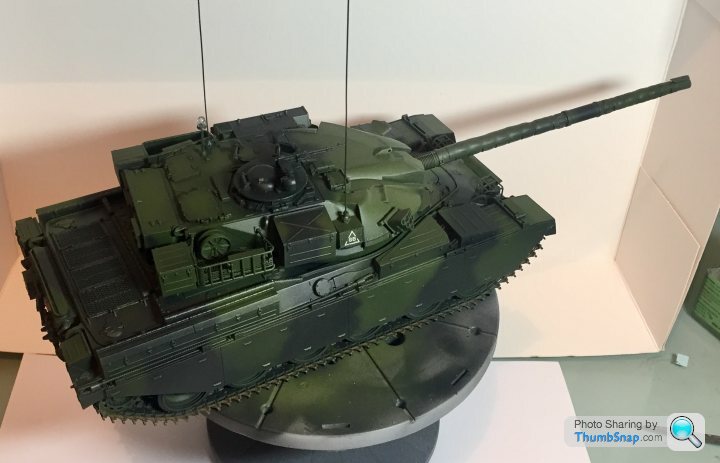
1/35 WW2 Armour
Discussion


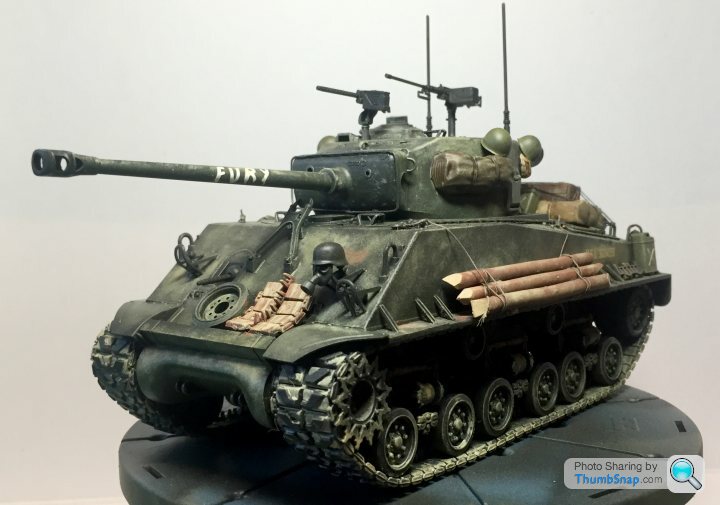
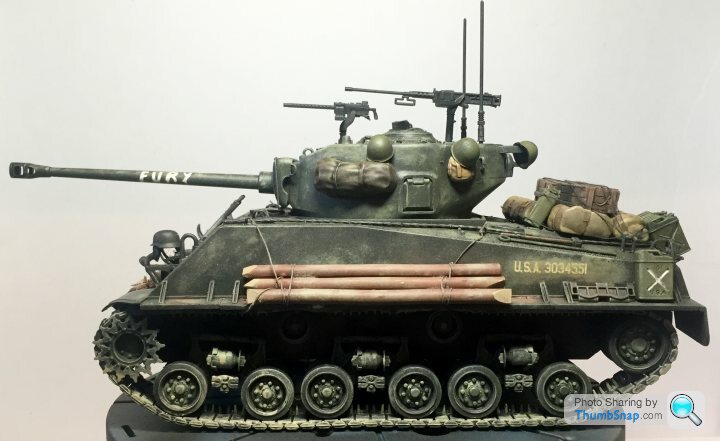
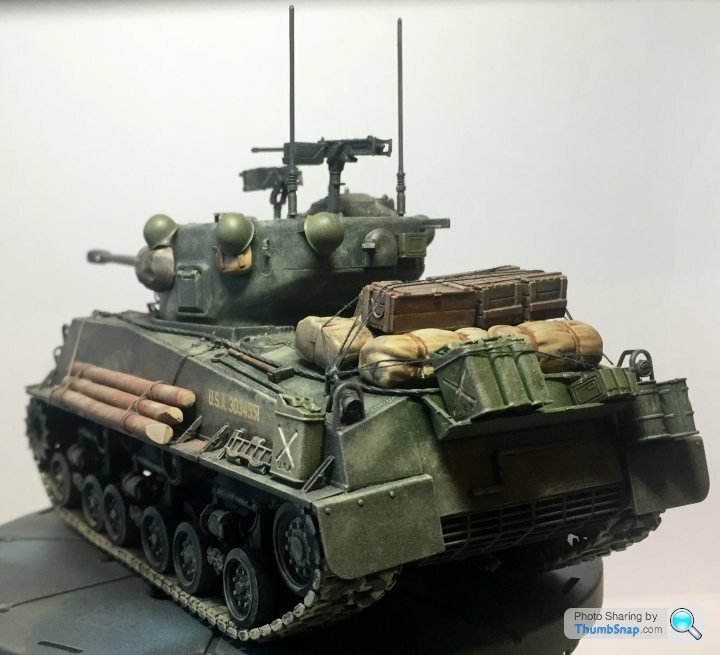
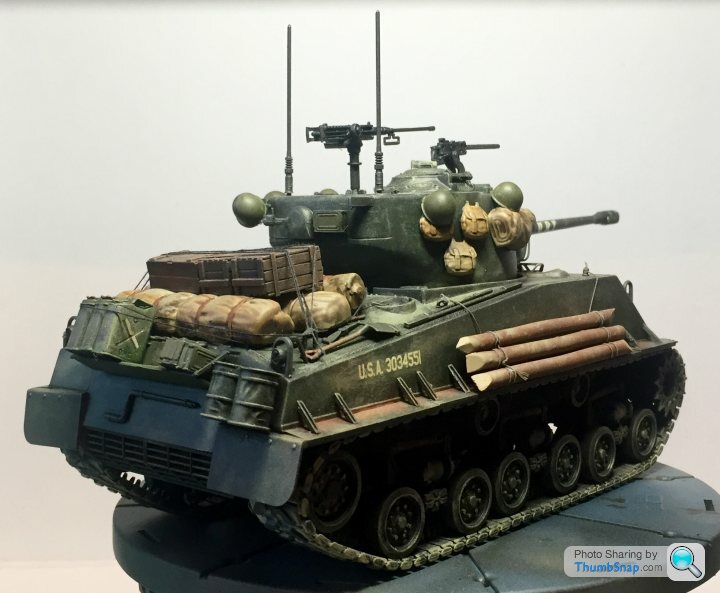
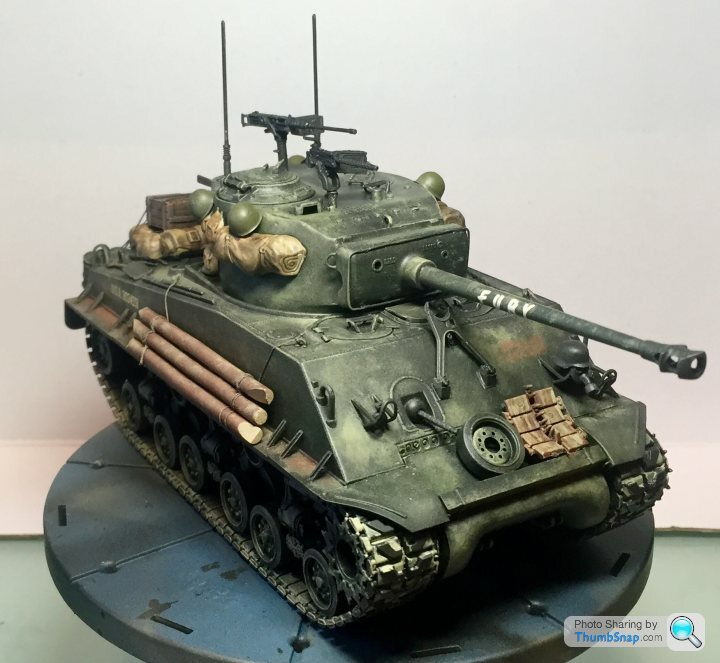
Just put the finishing touches on my Italeri Sherman "easy eight" fury.
I started out really liking the kit. Nice crisp moulding, no flash. What's not to like?
Well it's just poorly engineered really. No real connection points for any of the surface details made it a real pain.
I have to say though I am impressed with the results.
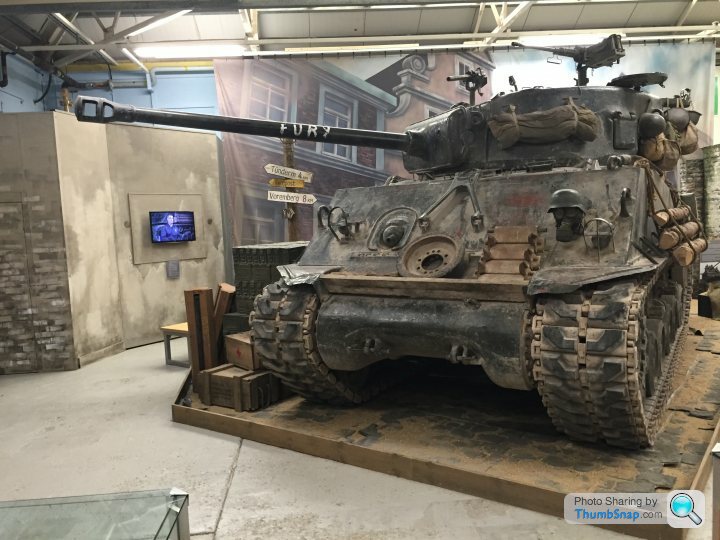
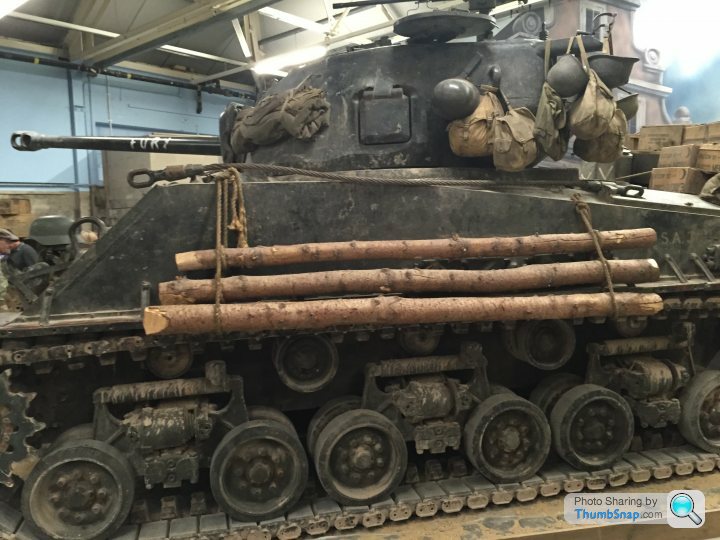
I saw the original tank from the movie at bovingdon last year and took a lot of reference photos just in case.
To start the real tank...
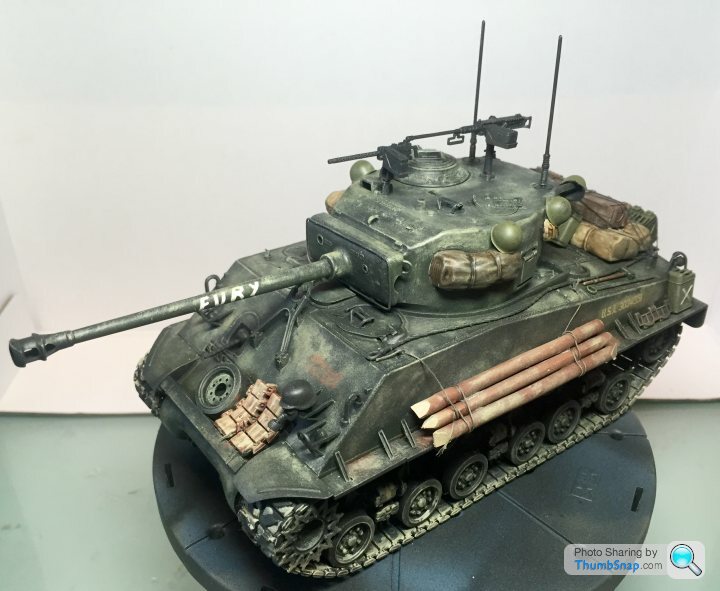
Now my version.
I started out really liking the kit. Nice crisp moulding, no flash. What's not to like?
Well it's just poorly engineered really. No real connection points for any of the surface details made it a real pain.
I have to say though I am impressed with the results.
I saw the original tank from the movie at bovingdon last year and took a lot of reference photos just in case.
To start the real tank...
Now my version.
The_Jackal said:
Some nice tanks on here. I do like how you can build them easily then have more fun painting and weathering them than planes.
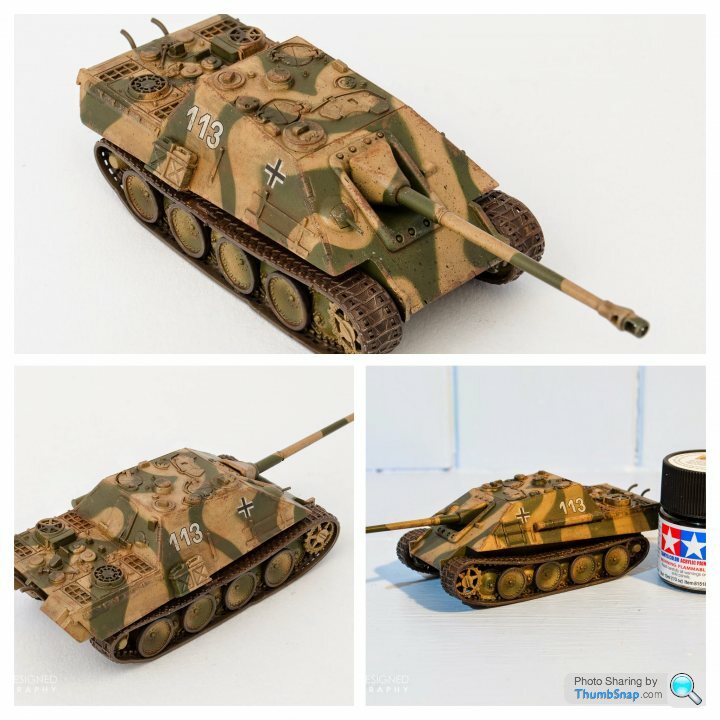
Here are my two. Need to get some inspiration to build my others.
1/76 Revell Jagdpanther
1/48 Tamiya Cromwell Tank
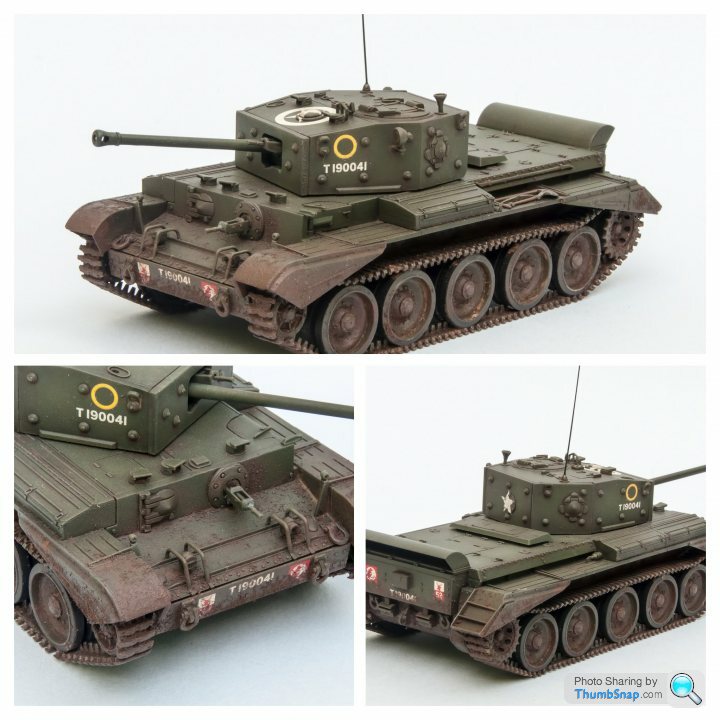
Nice work. I really like the Cromwell. Here are my two. Need to get some inspiration to build my others.
1/76 Revell Jagdpanther
1/48 Tamiya Cromwell Tank
I had thought about going for a smaller scale, but there doesn't seem to be so much choice as 1:35.......
Also 1:35 is nice and easy for my basic skill set.
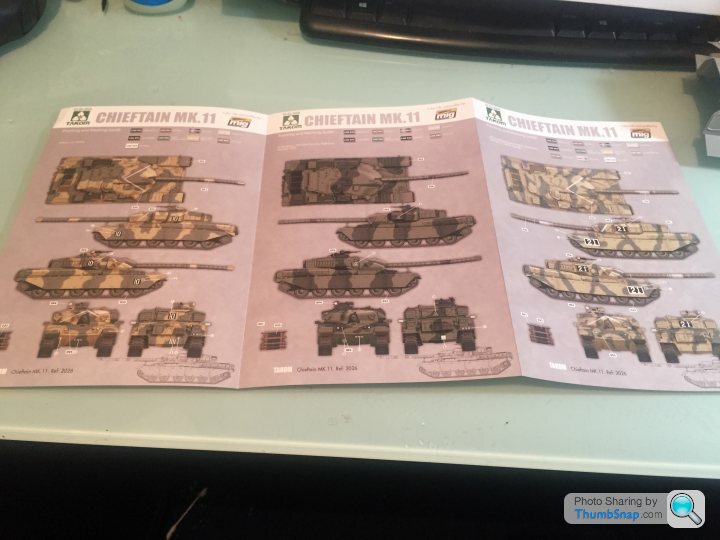
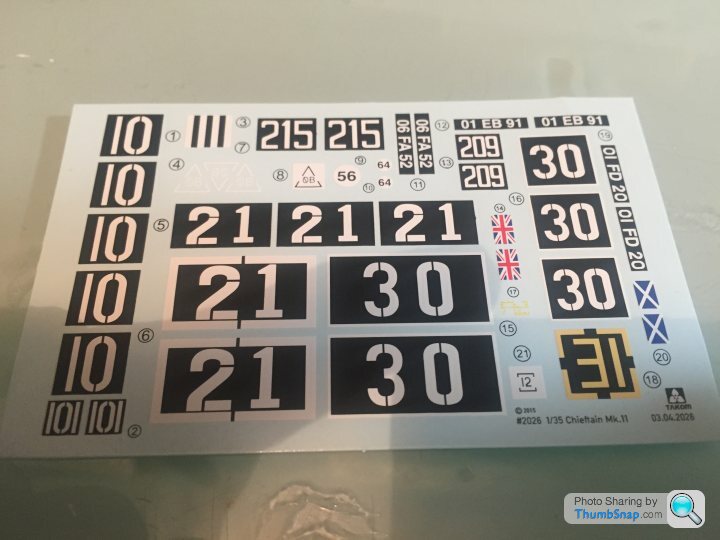
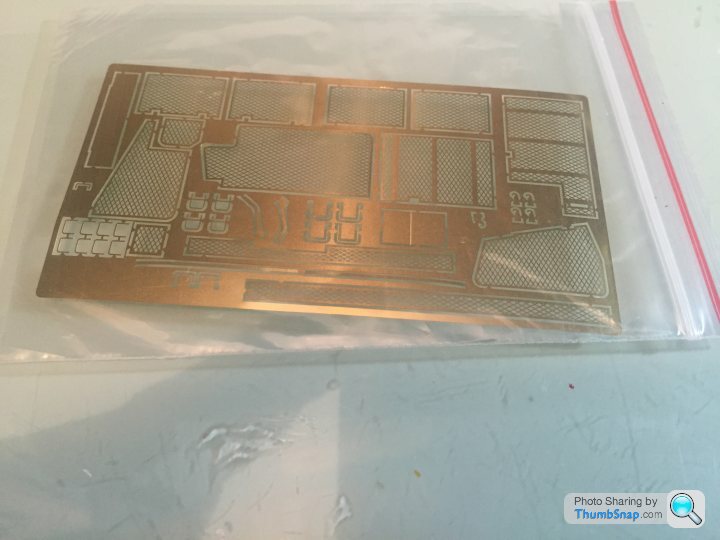
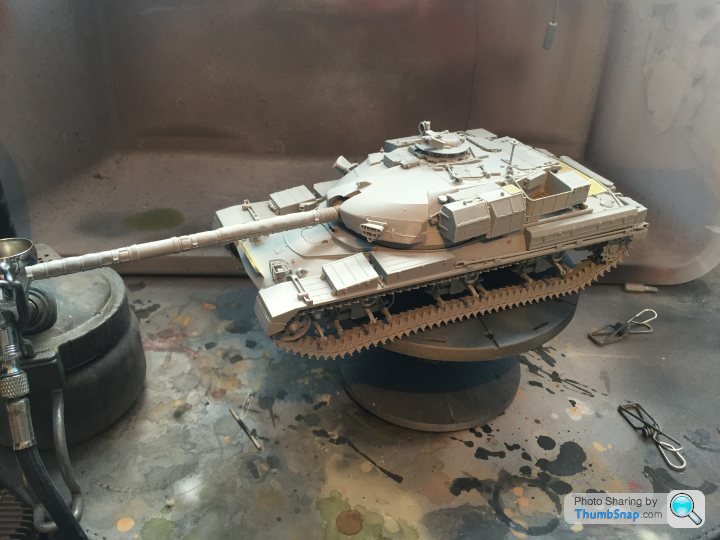
So after a holiday I did build the Takom Chieftain.
Initial impressions of the kit were awesome. There was something about the square sprues and 3D cad instructions that appeals to my inner engineer.
You also get wonderful full colour painting guides for all the different schemes, really nice decals and probably the nicest PE (super thin) I have used to date.
The problems came when I was removing some of the small parts from those massive sprues. Access was limited so I ended up having to cut sections of sprue away to get to the parts. Not a massive problem, but a bit thoughtless. The fit of the parts also wasn't great with no specific locations marked for major items like storage bins. This meant eyeballing their locations (which quite frankly is a bit s t)
t)
The individual link tracks, each with its own pad were very time consuming, but preferable to rubber band type.
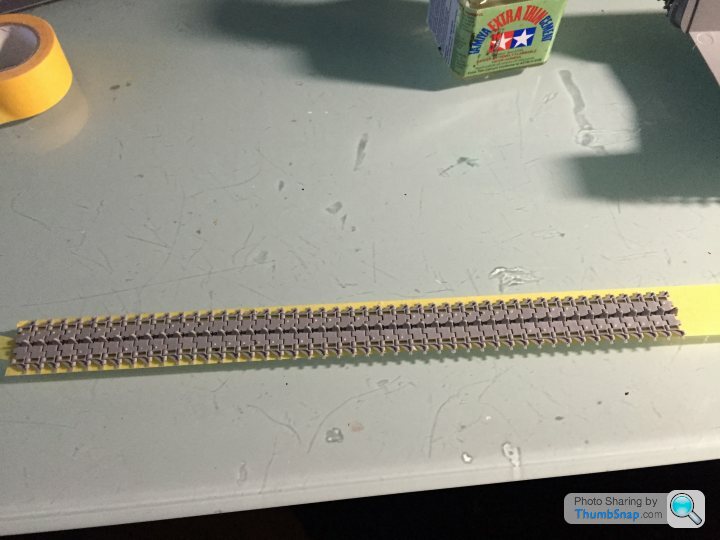
I used a piece of masking tape to assemble sections, then cemented the parts together, waited 30 minutes for the glue to go off a bit. This gave me semi workable tracks.
Anyway heres the finished model prior to paint...
And now the completed model.
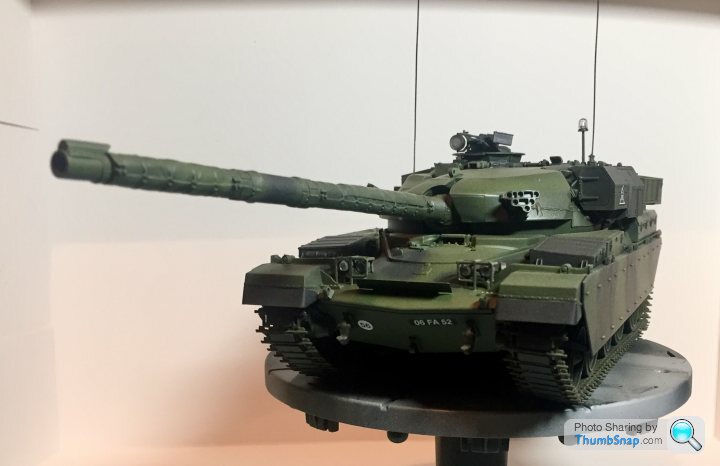
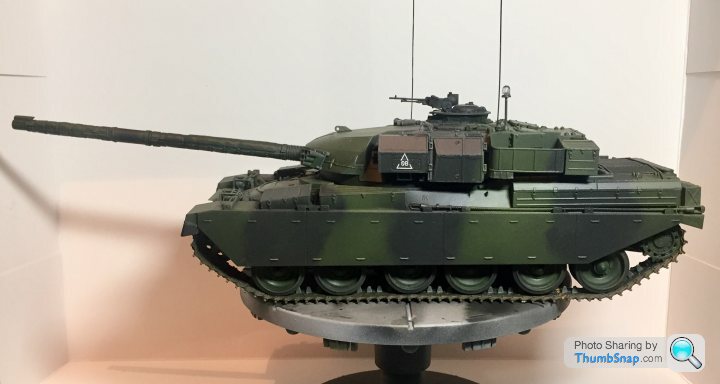
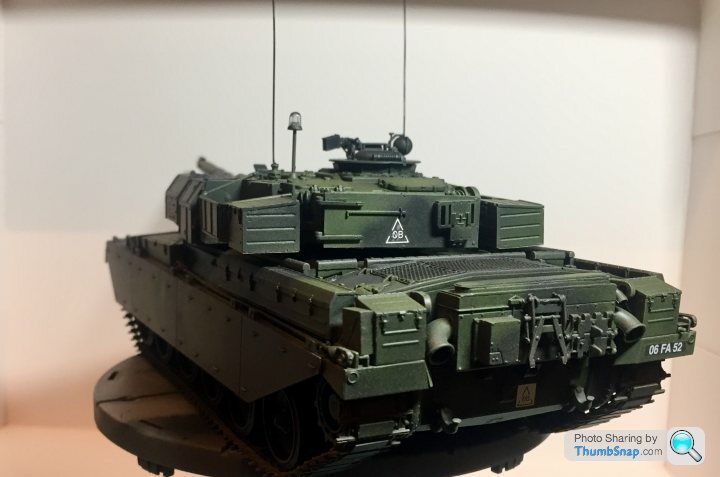
Overall it's a nice model, but hard work. 6/10
Initial impressions of the kit were awesome. There was something about the square sprues and 3D cad instructions that appeals to my inner engineer.
You also get wonderful full colour painting guides for all the different schemes, really nice decals and probably the nicest PE (super thin) I have used to date.
The problems came when I was removing some of the small parts from those massive sprues. Access was limited so I ended up having to cut sections of sprue away to get to the parts. Not a massive problem, but a bit thoughtless. The fit of the parts also wasn't great with no specific locations marked for major items like storage bins. This meant eyeballing their locations (which quite frankly is a bit s
t)The individual link tracks, each with its own pad were very time consuming, but preferable to rubber band type.
I used a piece of masking tape to assemble sections, then cemented the parts together, waited 30 minutes for the glue to go off a bit. This gave me semi workable tracks.
Anyway heres the finished model prior to paint...
And now the completed model.
Overall it's a nice model, but hard work. 6/10

How about some WW1 armour
 Tamiya Mk.IV Male_01 (2) by MBBlat, on Flickr
Tamiya Mk.IV Male, with metal gun barrels and a few bits of photoetch. Its been used for a bit of a weathering learning experience, which went wrong in a few places so not 100% happy.
 Tamiya Mk.IV Male_04 by MBBlat, on Flickr
Broke the Stbd MG mount trying to get the metal barrel to fit, that's why its missing
 Tamiya Mk.IV Male_06 by MBBlat, on Flickr
And I left the motorisation in, so it moves.
Tamiya Mk.IV Male_01 (2) by MBBlat, on FlickrTamiya Mk.IV Male, with metal gun barrels and a few bits of photoetch. Its been used for a bit of a weathering learning experience, which went wrong in a few places so not 100% happy.
Tamiya Mk.IV Male_04 by MBBlat, on FlickrBroke the Stbd MG mount trying to get the metal barrel to fit, that's why its missing
Tamiya Mk.IV Male_06 by MBBlat, on FlickrAnd I left the motorisation in, so it moves.
Excellent work!
Some tanks had rubber wheels because they could be driven (for transport purposes) without tracks fitted.
dr_gn said:
Look good to me. Should the small wheels have thin black tyres or not?
Depends on the tank. Some of them have solid rubber tyres to reduce track noise whilst driving others don't, the later war armour tended not to have (I asusme due to shortening of rubber supplies and a demand to increase the speed of production. The Panther, Tiger, Tiger II and derivatives based on those chassis did not have rubber tyres on their wheels.Some tanks had rubber wheels because they could be driven (for transport purposes) without tracks fitted.
Yertis said:
SpamCan said:
Some tanks had rubber wheels because they could be driven (for transport purposes) without tracks fitted.
That's interesting. How did they get the power to the road wheels?SpamCan said:
Yertis said:
SpamCan said:
Some tanks had rubber wheels because they could be driven (for transport purposes) without tracks fitted.
That's interesting. How did they get the power to the road wheels?
Gassing Station | Scale Models | Top of Page | What's New | My Stuff