Christmas Group Build?
Discussion


Few more details completed:
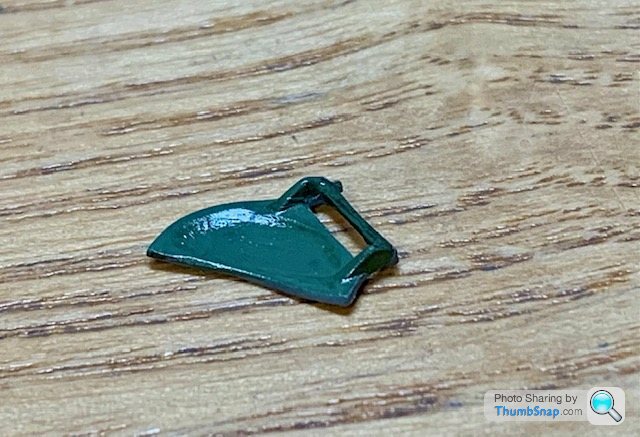
I noticed that the rudder light fairing wasn't moulded, so punched out a small disc of plasicard, stuck it to the rear edge of the rudder, then built-up a fairing using diluted PVA. Might not be 100% corect, but at least it's there now:
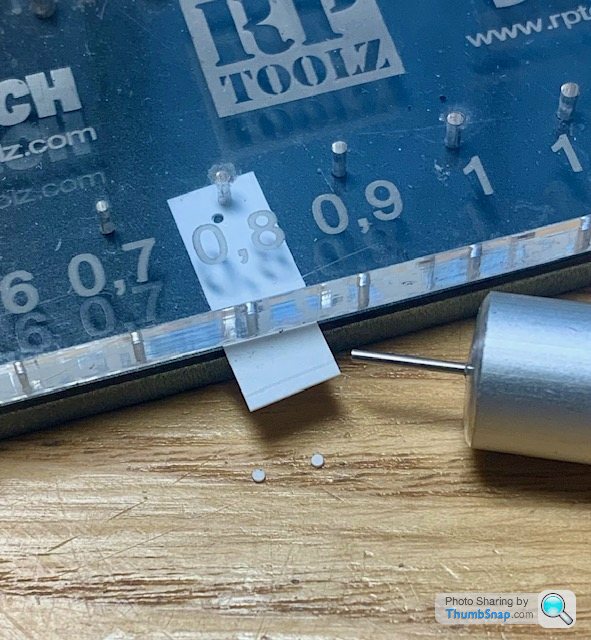
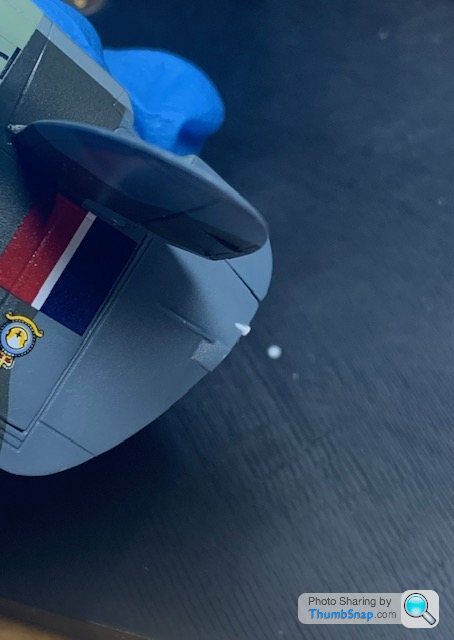
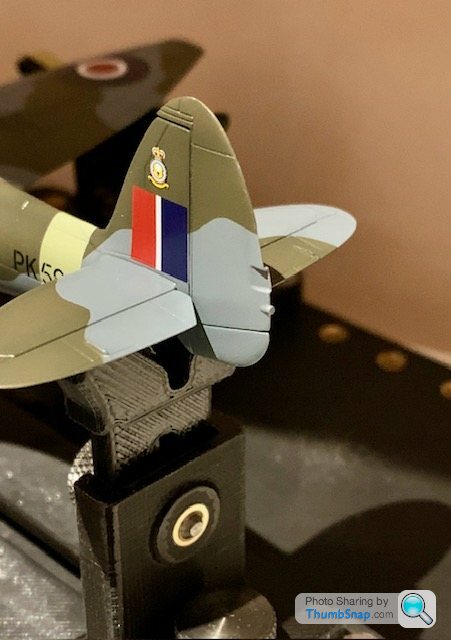
After paint:
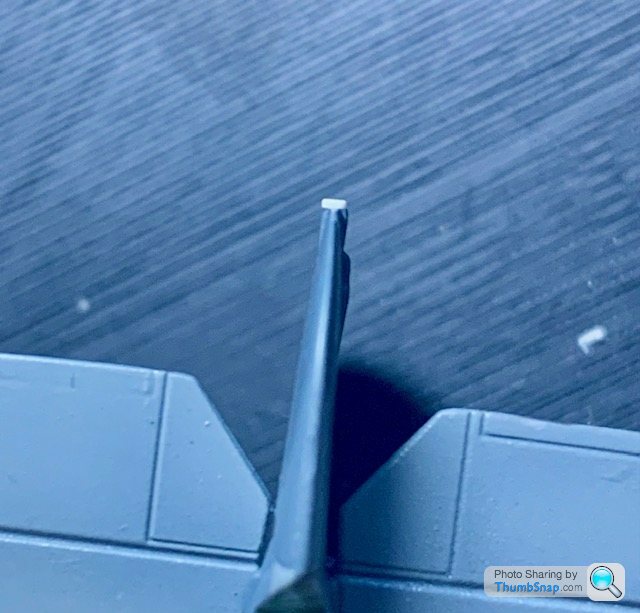
Also made a less clunky IFF rod antenna out or brass tube:
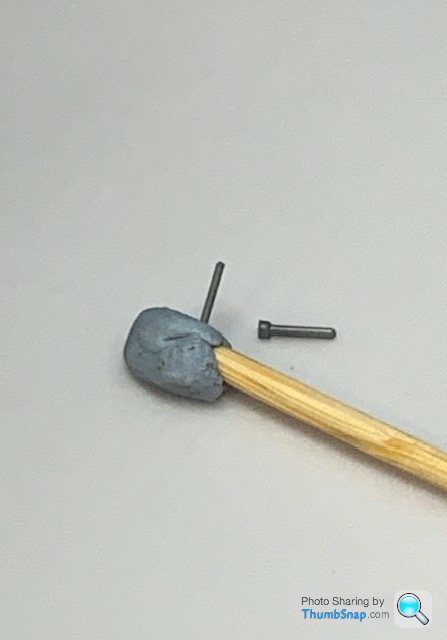
While looking at a refenrence book, I noticed that the outer u/c doors had actuating rods, so I removed the original lumps and used some scrap p/e and stretched sprue to make more realistic ones:

Added some brake pipes to the u/c legs:
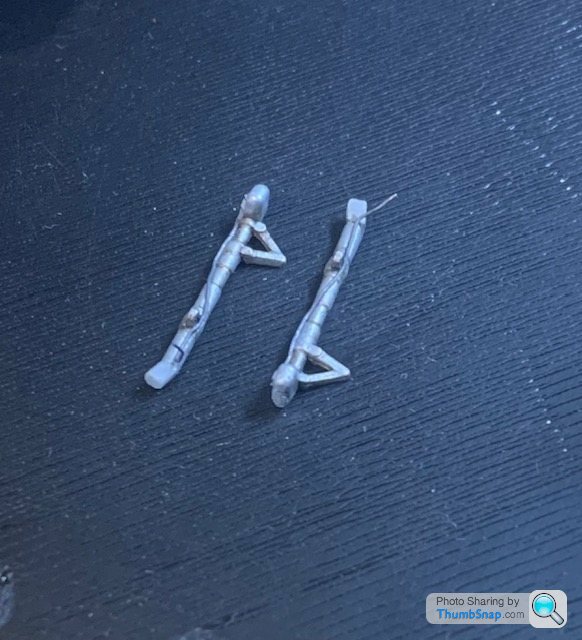
Apart from some wheel well pipework and the whip aerial, I think that completes the smaller details, ready for fitting after decals are complete:
I noticed that the rudder light fairing wasn't moulded, so punched out a small disc of plasicard, stuck it to the rear edge of the rudder, then built-up a fairing using diluted PVA. Might not be 100% corect, but at least it's there now:
After paint:
Also made a less clunky IFF rod antenna out or brass tube:
While looking at a refenrence book, I noticed that the outer u/c doors had actuating rods, so I removed the original lumps and used some scrap p/e and stretched sprue to make more realistic ones:
Added some brake pipes to the u/c legs:
Apart from some wheel well pipework and the whip aerial, I think that completes the smaller details, ready for fitting after decals are complete:


I really enjoyed doing the 7 when I was 14-15. Hand-painted the bodywork with green Hunbrol enamel, it came out OK and sits in a box awaiting light restoration and reassembly someday. Got another one a while back so I can build a second version with a few mod's.
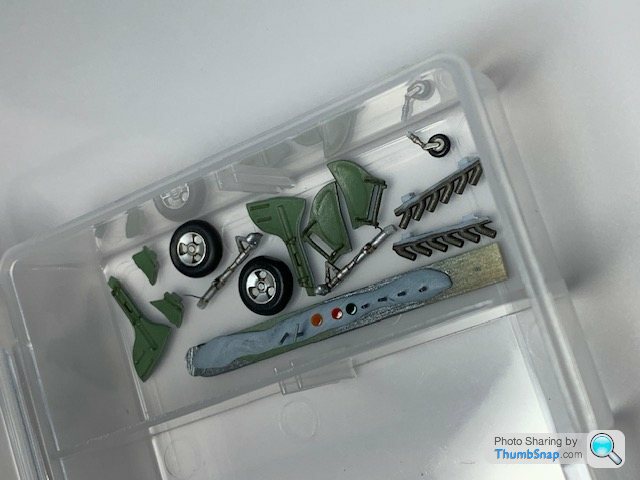
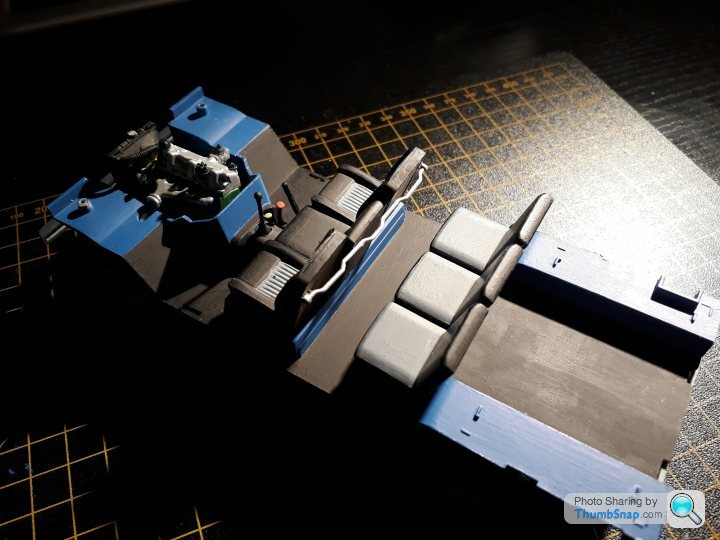
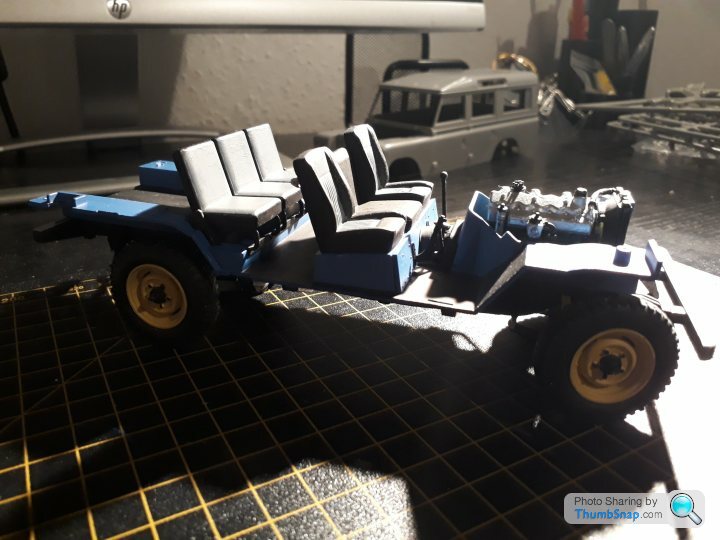
Hiace progress:

Aoshima accessory wheel set, detailing in progress.

Most parts are off the sprues and painted or at least in progress.


Certainly looks like a Hiace.
Hiace progress:
Aoshima accessory wheel set, detailing in progress.
Most parts are off the sprues and painted or at least in progress.
Certainly looks like a Hiace.
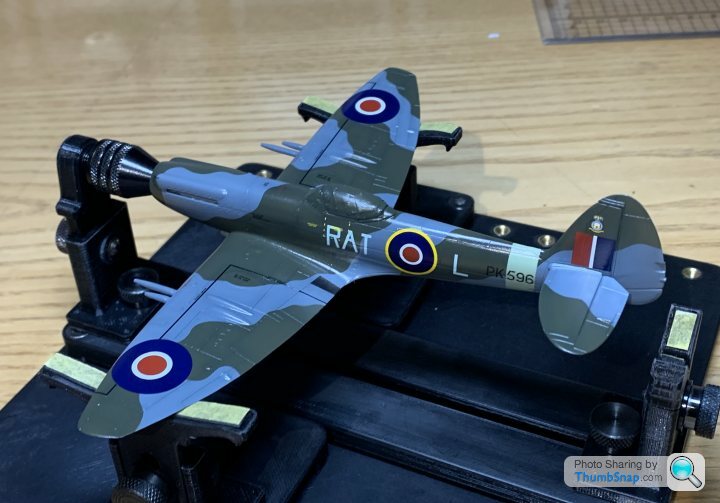
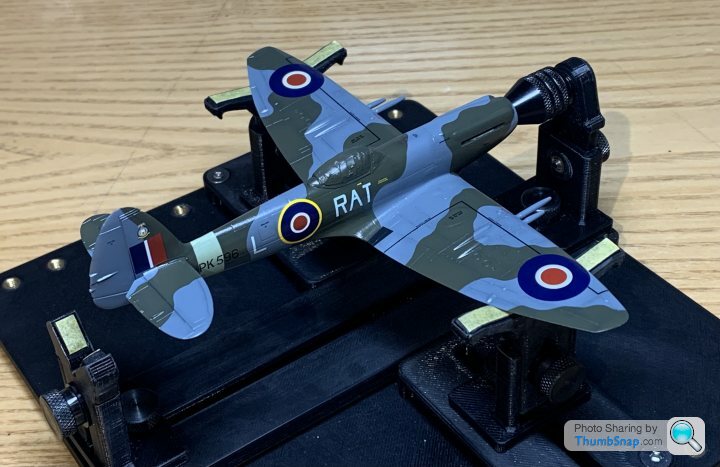
A kindly forum member sent me some spare code decals (from Canada). Still nothing from Airfix (in Kent). So made some progress. The stbd. RAT lettering is now better aligned with the port side. Always a tricky job for me, but there’s nothing too badly off side-to-side:
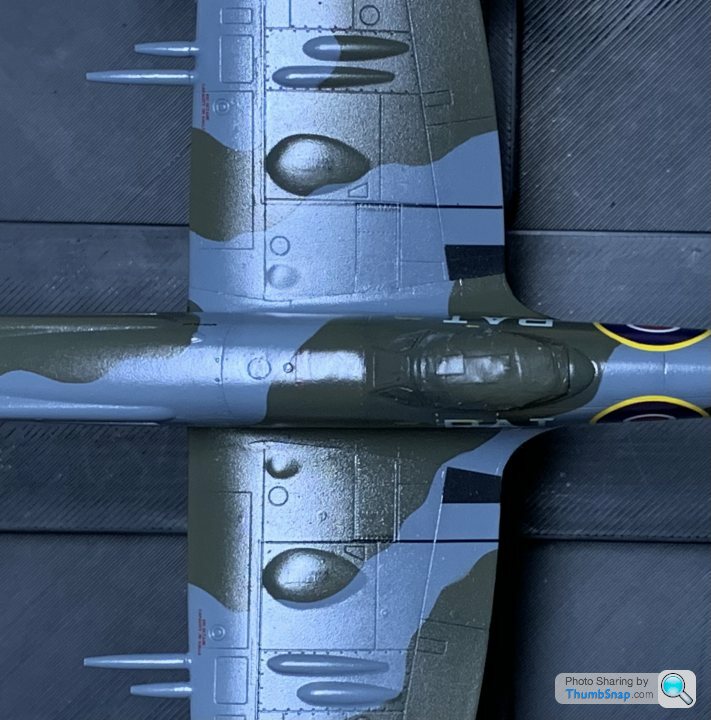
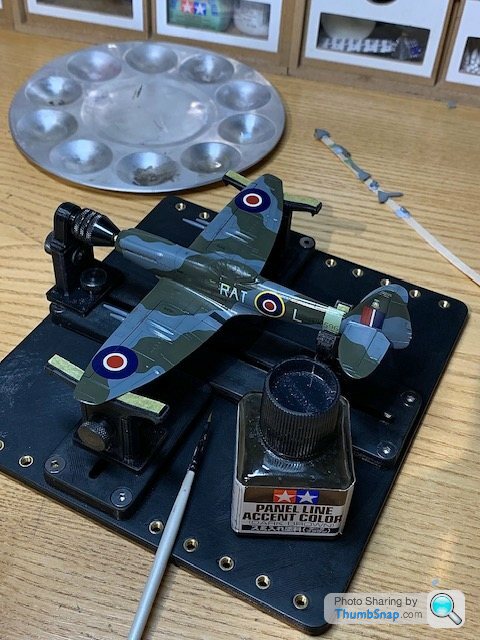
So with the rest of the stencils on, and another coat of Klear, it’ll be ready for its panel line wash once it’s hardened overnight;
So with the rest of the stencils on, and another coat of Klear, it’ll be ready for its panel line wash once it’s hardened overnight;


jeremyc said:
Prolex-UK said:
Get those plug leads on....
Bonus points if in the right firing order
Bonus points if in the right firing order
 Thankfully there aren't any in the box.
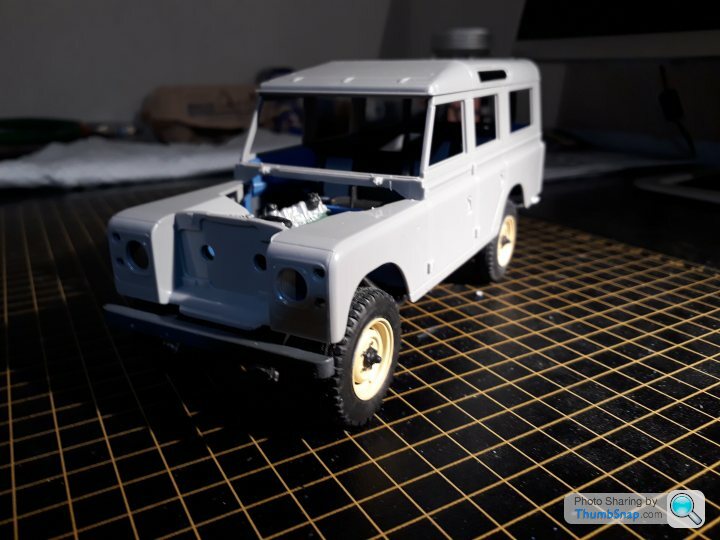
I have realised that all of the engine detail will likely be hidden all the time; I should have planned ahead and built it with the bonnet closed.

Sad git that I am
Gassing Station | Scale Models | Top of Page | What's New | My Stuff