1961 FERRARI 156 SHARKNOSE 1/43
Discussion


gruffgriff said:
"Tarnish Guard" in a rusty tin made me smile...I suspect we've all got similarly patinated tins of Silvo and Brasso on the shelf though! Next to the 2-in-1....
 Its been there a while.Made me think about all the stuff lying around in the garage. All the car polishes, cleaners ive tried over the years and now cant remember which one was the best.


Great to see some colour going on this kit as most of the chassis, engine and gearbox is silver/aluminium.
Found that the PE fuel tank straps wouldnt take to the tank very well and risking making a mess of it, so have made up a decal built up with base coat, top coat, colour matched and laqured ready for cutting into strips.Cleaned up all parts ready for priming and painting. Woops dropped one fuel tank and had to do it all over again.Some holes in the air intake grills had filled up with paint,just needs poking out with a pin.
PICS.
 .
.
 .
.
 .
.
 .
.
 .
.
 .
.
 .
.
 .
.
 .
.
So onto finish levels 25-32
Found that the PE fuel tank straps wouldnt take to the tank very well and risking making a mess of it, so have made up a decal built up with base coat, top coat, colour matched and laqured ready for cutting into strips.Cleaned up all parts ready for priming and painting. Woops dropped one fuel tank and had to do it all over again.Some holes in the air intake grills had filled up with paint,just needs poking out with a pin.
PICS.
.........So onto finish levels 25-32
dr_gn said:
Looks a good finish, shame about the mesh. Are you airbrushing the paint? I’d be surprised if airbrushed paint filled the mesh, although I guess it’s tiny.
The Tiny mesh will clean up ok with a pin. I’ve painted the panels with a spare Tamiya aerosol warmed up in a mug of hot water for 2 mins, gives a nice even flow and finish. Then the same with lacquer.The blocked rear meshes cleaned up nicley with a 0.3mm drill.
 .
.
Then the air stacks.
 .
.
Fitted the fuel tanks,spouts and PE caps and added my home made extra thick decal tank straps with the help of Micro Sol to form them around the chassis.
 .
.
 .
.
 .
.
 .
.
 .
.
Onto 30 to finish off the coolant pipe, befor fitting the side ducts
.Then the air stacks.
.Fitted the fuel tanks,spouts and PE caps and added my home made extra thick decal tank straps with the help of Micro Sol to form them around the chassis.
.....Onto 30 to finish off the coolant pipe, befor fitting the side ducts

Finished off the pipe on level 30 and fitted the side duct panels onto the chassis.
 .
.
33 to 36 completed, a fair bit of filing to get the bulkheads to fit properly.
Painted the fire extinguisher red instead, linked out the two battery terminals and added a earth strap, finally matt coated the seat.
 .
.
 .
.
 .
.
 .
.
 .
.
Foot peddles next
.33 to 36 completed, a fair bit of filing to get the bulkheads to fit properly.
Painted the fire extinguisher red instead, linked out the two battery terminals and added a earth strap, finally matt coated the seat.
.....Foot peddles next


Level 39-40 Finished.
Not in the instructions didnt use the tank centre strap. Made my own pseudo rubber effect strap and metal strap to go over it. Fitted the brass PE rivit lines around the tank ends filler and cap.Now all the details for the peddles arnt visable any more.
 .
.
 .
.
 .
.
 .
.
Onto the dashboard.41-42.
Not in the instructions didnt use the tank centre strap. Made my own pseudo rubber effect strap and metal strap to go over it. Fitted the brass PE rivit lines around the tank ends filler and cap.Now all the details for the peddles arnt visable any more.
....Onto the dashboard.41-42.

 Oh Maybey.
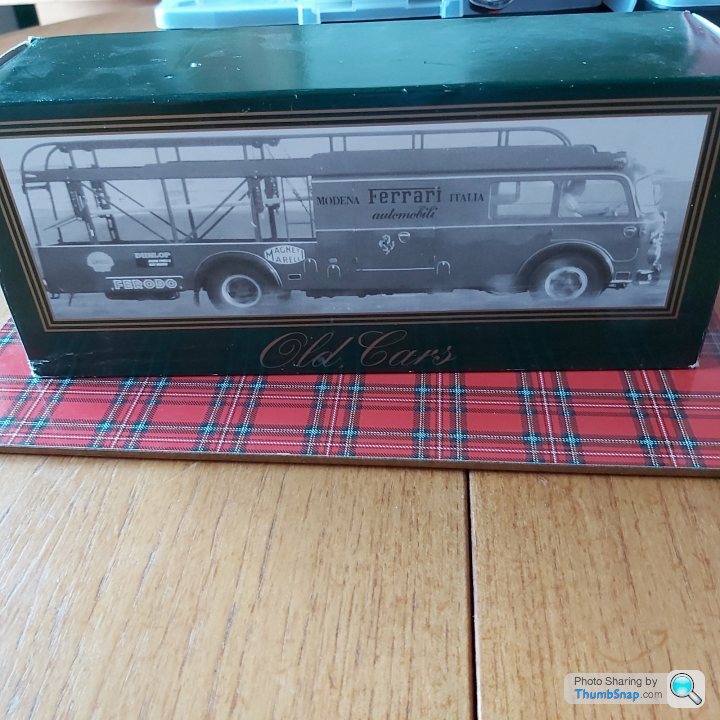
New arrival or should i say old arrival. Purchased this (OLD CARS ITALY MODEL) on a website, toprail damaged and mirror missing,otherwise mint and in its origonal box, so a project on its own.
Concidering im going to hopefully end up with two period cars, possibly 3. Might show them off quite nicely.
 .
.
Concidering im going to hopefully end up with two period cars, possibly 3. Might show them off quite nicely.
.dr_gn said:
Very nice. Was it a kit someone else built, or is it a diecast model?
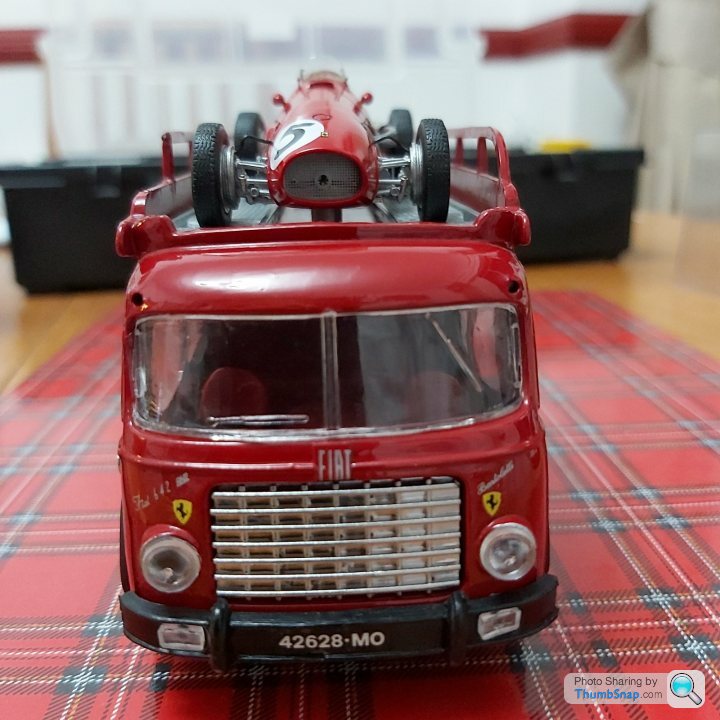
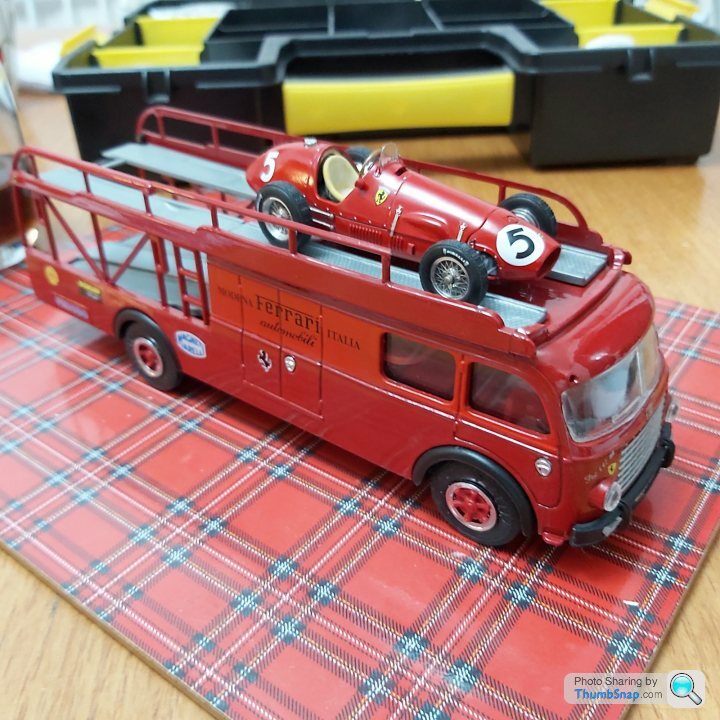
Its a diecast,ive never heard of before. I have no idea how old this is,other than the damage i have to fix.The paintwork and the rest is as new (as was advertised).Only had to use the anti static brush to get a few dust particles off.Interested if anyone knows of these models.
Ive put my Ferrari 500 on that i built a while back looks ok to me. Need to get on and finish the sharknose then perhaps think about what the 3rd car could be to go on the transporter.
 .
. .
. .
.Evangelion said:
I believe Old Cars was the same company as Idea 3, and they made several racing transporters back in the 80s.
I have the Conrad Mercedes high speed transporter from about the same period. Goes nicely with the 196 streamliner.
I found this on the web for anyone who may be interested in transporters.I have the Conrad Mercedes high speed transporter from about the same period. Goes nicely with the 196 streamliner.
http://www.graham-ruckert.com.au/Imports%20Pages/O...
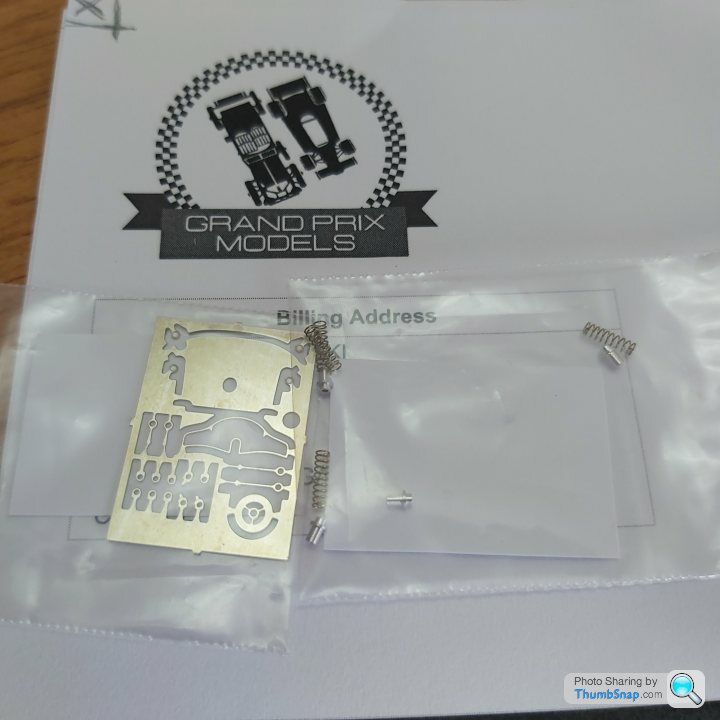
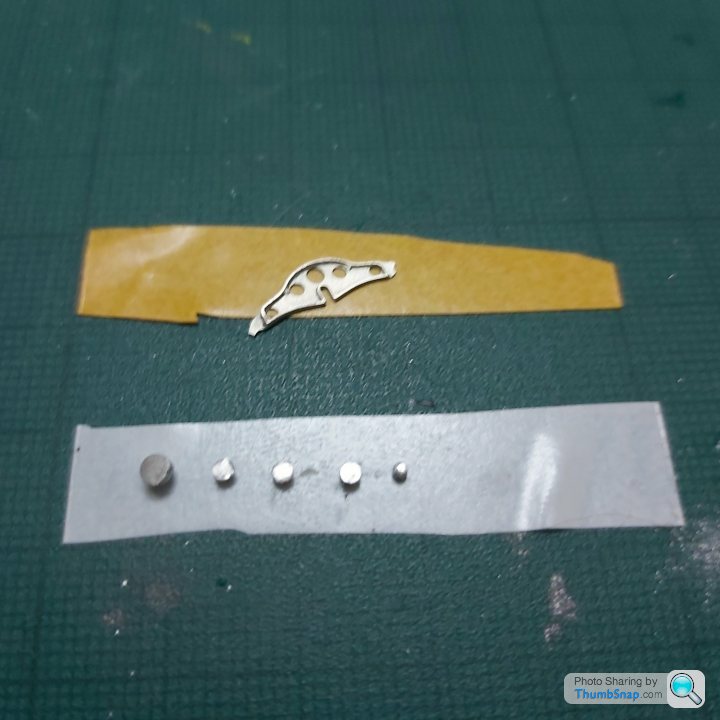
Going back a bit i lost the shock assembly, pinged off into the house somewhere forever lost. Contacted Grand Prix Models beginning of July who sold me the tameo kit asking for help.This company is superb at dealing with its customers.Other companies ive dealt with in the past should take a leaf out of their book.Should be the definition of great customer service. Many thanks to Mark and Tameo for looking after its customers. My go-to company from now on.Came in the post today with more than i needed so i now have 5 chances to build 2 more shocks. Thankyou, thankyou
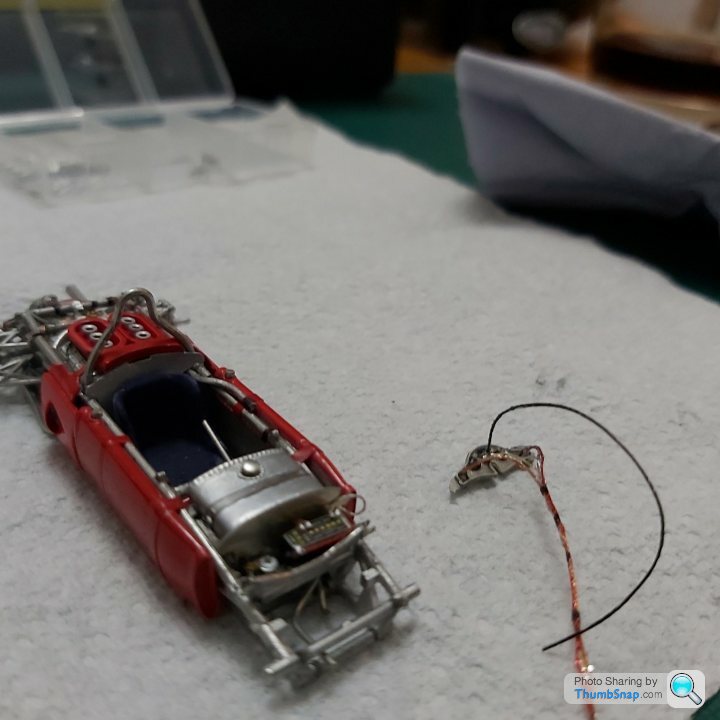
Level 41 dashboard has a lot of parts for such a small kit, even to the point of adding binnacle clamps.After a bit of web searching found that the wiring was mostly braided. A copper wire for temp and a black wire for rev counter. Decided to depict some wiring using 0.25 metallic thread.May not be accurate but at least its something to show when the cover is removed "Thankyou to my wifes stash of embroidery equipment".Clear coated the threads to stop them from fraying. The decals were nice including the left ignition button.
 .
.
 .
.
 .
.
 .
.
 .
.
Wiring added and black decal tape i made to keep the loom together.
 .
.
 .
.
 .
.
 .
.
 .
.
 .
.
Onto 42.Just need to add the two support wires & fit it now
.....Wiring added and black decal tape i made to keep the loom together.
......Onto 42.Just need to add the two support wires & fit it now
Edited by henryk001 on Sunday 9th August 21:51
Gassing Station | Scale Models | Top of Page | What's New | My Stuff