Pocher Lamborghini Aventador Roaster - 1/8 scale model kit
Discussion


Trigbert said:
Noticed quite a few comments on forums about swapping some of the Philips head screws for hex head on visible areas, makes sense to me but is this worth doing? Been spending some time searching but struggling to find best place to source these things. Any suggestions where to get them?
I would be interested in this too...tho slippery slope away from out of the box......clockworks said:
I built a Pocher F40 when they first came out. A few years later, I decided that I'd have a go at building another, but with an Autograph transkit. By then, both had been discontinued, but I managed to find them on eBay at a little less than the original retail price. OZ limited edition transkit, and a sealed F40.
I never got around to building it, they have sat in their boxes for quite a few years.
Seeing this thread, I had a look to see how much they are selling for now. I was pleasantly surprised...
I bet you were!!!I never got around to building it, they have sat in their boxes for quite a few years.
Seeing this thread, I had a look to see how much they are selling for now. I was pleasantly surprised...
Hi Guys, as I'm getting to the end of my build I thought I'd share a few images and ideas I has when building mine.
In deciding the spec I chose options as per the real car as I've seen some awful pictures of how some people have painted the trim inside theirs!
Almost everything has been sprayed, either using Halfords cans or Alclad metal paints through a cheap airbrush/compressor set up.
The beast of an engine...Alclad polished aluminium.

The exhaust system was sprayed using various Alclad paints. Steel, burnt exhaust, copper and pale gold...

The shocks aren't metal but have been painted with Alclad chrome and then aluminium foil wrapped around the straight part. They look like spun aluminium now!I also added yellow rubber bump stops.

The parts used to create crackle finish of the intake manifold...

Then metal decals sourced of ebay replaced the lettering I sanded off...

Now it's all starting to come together

Extra wiring and details were added. This sort of thing sucks up the time!


Before it was all added in place. Hodel Factory Hiro heatsheild sticker was placed on the bulkhead.

In deciding the spec I chose options as per the real car as I've seen some awful pictures of how some people have painted the trim inside theirs!
Almost everything has been sprayed, either using Halfords cans or Alclad metal paints through a cheap airbrush/compressor set up.
The beast of an engine...Alclad polished aluminium.
The exhaust system was sprayed using various Alclad paints. Steel, burnt exhaust, copper and pale gold...
The shocks aren't metal but have been painted with Alclad chrome and then aluminium foil wrapped around the straight part. They look like spun aluminium now!I also added yellow rubber bump stops.
The parts used to create crackle finish of the intake manifold...
Then metal decals sourced of ebay replaced the lettering I sanded off...
Now it's all starting to come together
Extra wiring and details were added. This sort of thing sucks up the time!
Before it was all added in place. Hodel Factory Hiro heatsheild sticker was placed on the bulkhead.
Edited by Guiddy on Wednesday 7th December 17:11
The interior was done as per a spec option, yellow stiched interior.
This was done by flooding the dips in the seat with Tamiya flat yellow, then carefully wiping away the excess with thinners on a cloth.


To do this on the dash two thin strips of Tamiya masking tape where lined up and the paint added in intervals. Once this had dried and the tape peeled off it look like this...


All the parts were then added, including carpet material...


This was done by flooding the dips in the seat with Tamiya flat yellow, then carefully wiping away the excess with thinners on a cloth.
To do this on the dash two thin strips of Tamiya masking tape where lined up and the paint added in intervals. Once this had dried and the tape peeled off it look like this...
All the parts were then added, including carpet material...
The front suspension had a similar attention to detail. The front luggage compartment slides in and out so the detail is still accessable afterwards...

As you can see the white of the paint when you look through the vents, both the front and rear body sections where painted matt black inside...

To be different I also decided to spray the wheels silver as the Aventador can come without optional black wheels...

I'll be working on the yellow calipers and painting the discs tonight. Updates very soon!
As you can see the white of the paint when you look through the vents, both the front and rear body sections where painted matt black inside...
To be different I also decided to spray the wheels silver as the Aventador can come without optional black wheels...
I'll be working on the yellow calipers and painting the discs tonight. Updates very soon!

 .
.
Had a frustrating night building he lights last night!
As I had sprayed the light shells gloss black they little led parts wouldn't fit in the holes!
So I had to drill the holes bigger which meant I had lost the angle they should go in!
So in case you have the same issue, the ribs should be in a down direction but only when the lights are in place, so test fit them often! They should look like this...
I still have my old Pocher by Rivarossi F40 in rosso taking pride of place next to the bedroom TV. Also have the Testarossa in rosso which I bought some twenty+ years ago. These kits were built like Italian cars of their time (poor quality but with bags of charm). Not sure how the new Hornby versions are like in comparison but I'm sure they'll be of better quality and less character (much like the cars of today).
Not a fan of the Aventador. Hope they do another Ferrari or maybe a classic Alfa Romeo.
Not a fan of the Aventador. Hope they do another Ferrari or maybe a classic Alfa Romeo.
Edited by Trophy-GTA on Friday 9th December 12:21
Edited by Trophy-GTA on Friday 9th December 19:55

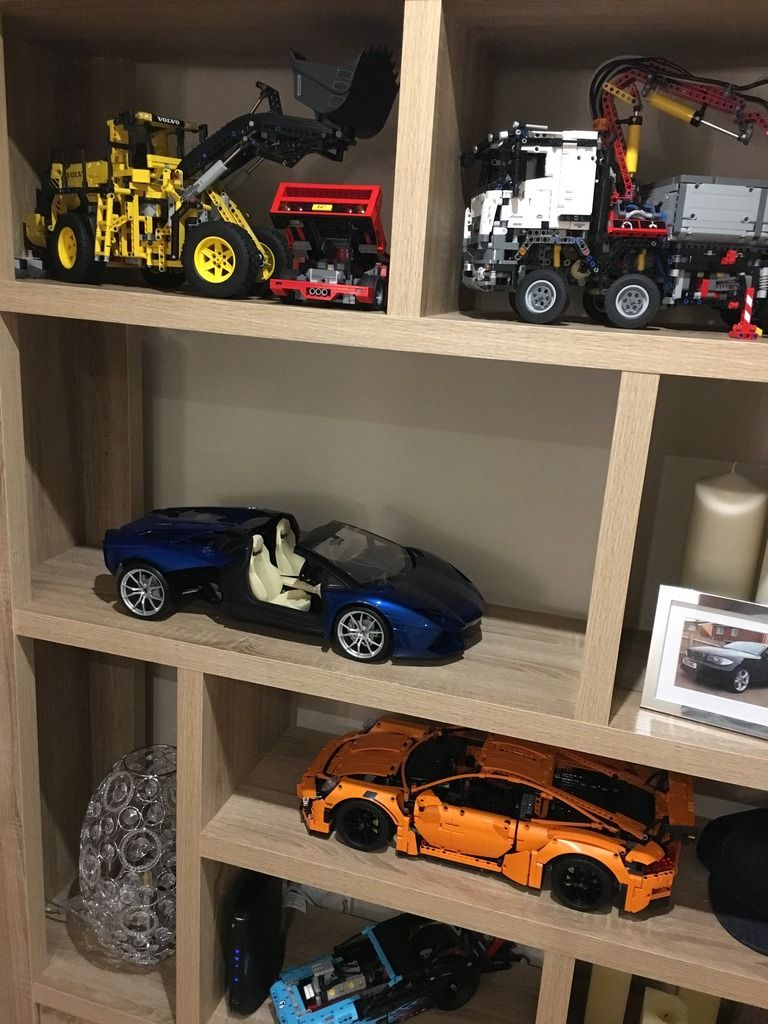
 At the framed photo of the 1 series.

Gassing Station | Scale Models | Top of Page | What's New | My Stuff