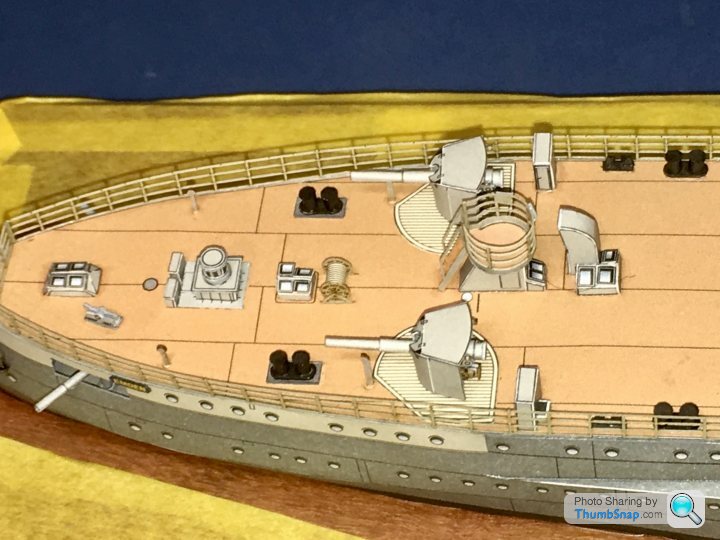
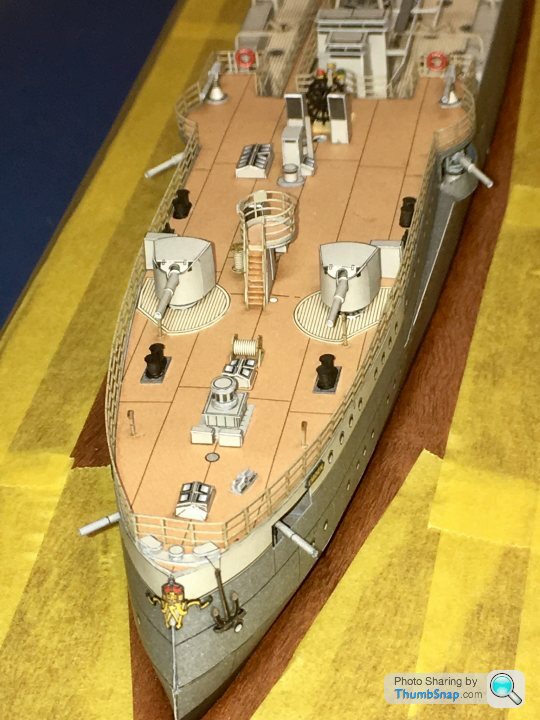
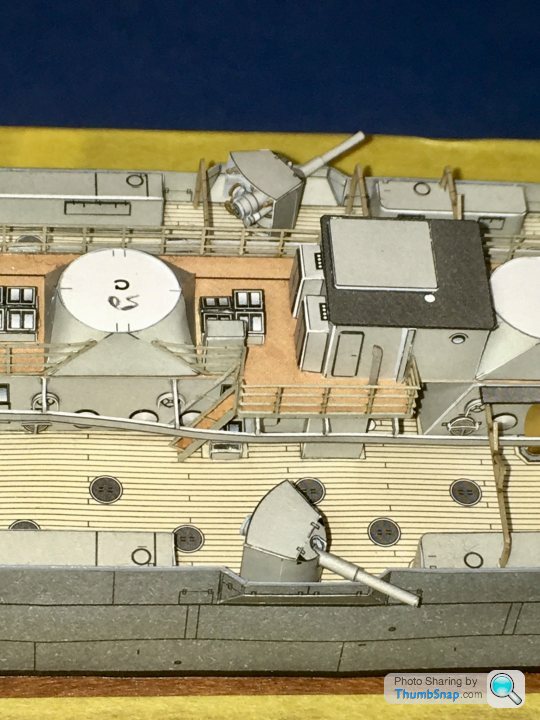
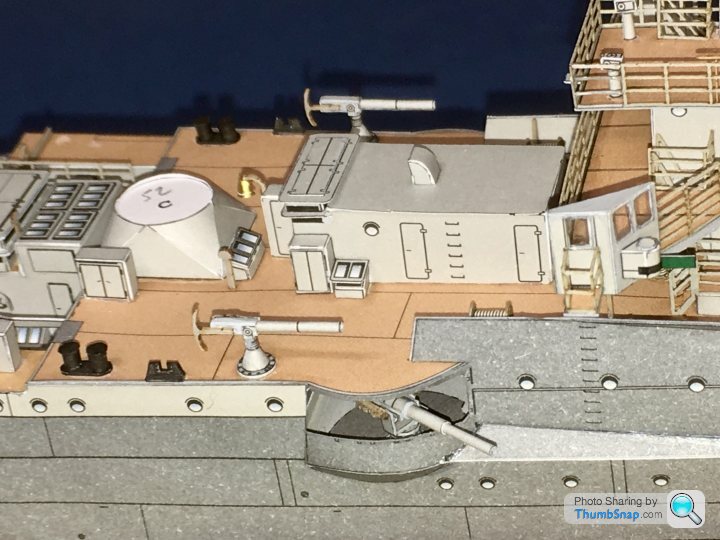
Paper Ship: SMS Emden (1910), 1:250
Discussion
caterhamnut said:
As I reset my Pistonheads password and start model making again, I naturally turn to your most recent threads Dr, and this is why - amazing!
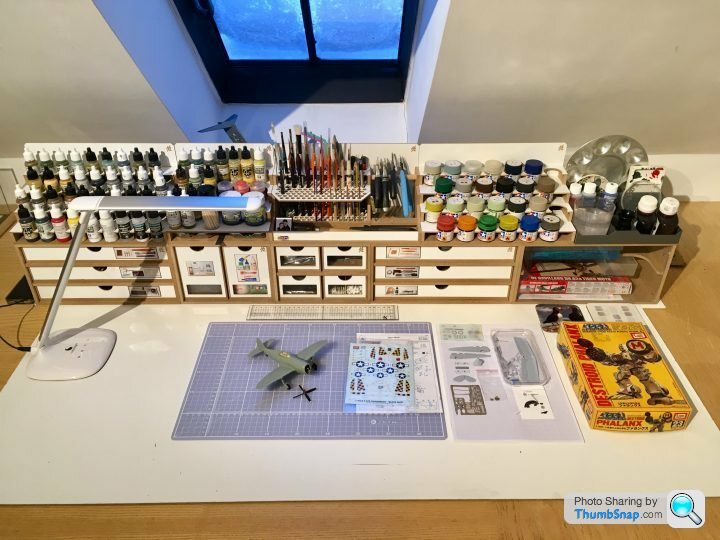
By the way - you may have done so before, but love the drawers set up you have on your workbench - can you share a picture/source! cheers
Ha ha thanks - it’s been a while I guess. A few models have passed over the bench! By the way - you may have done so before, but love the drawers set up you have on your workbench - can you share a picture/source! cheers
Here is the bench. I got fed up with packing everything up after a modelling session. The units are from Hobbyzone:
http://www.hobbyzone.pl/
Although I did print a few extras to my own design...
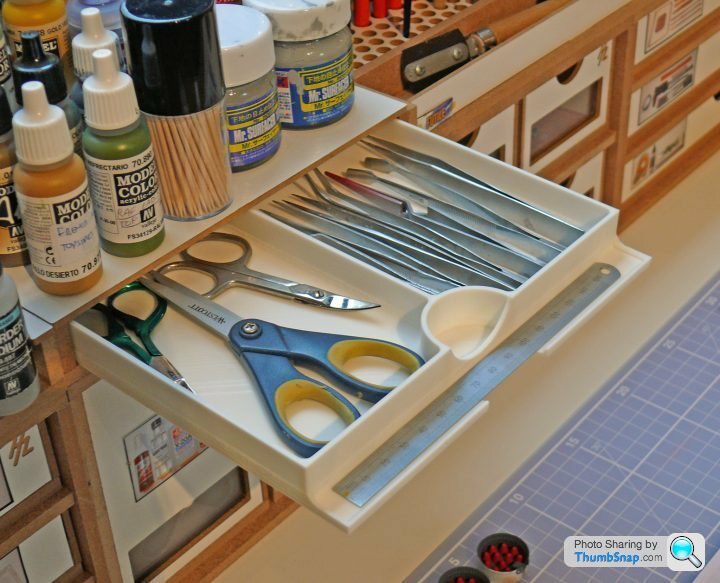
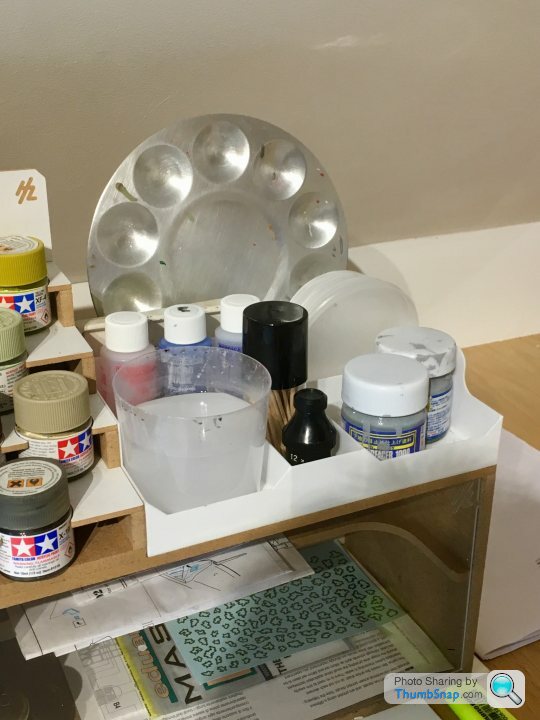
4321go said:
Why does that snap make me think of the Young Ones scene with Robbie Coltrane? The one where the chocolate eclair falls onto the Petri dish and wipes out an entire civilisation........
I think it was a microscope slide rather than a Petri dish...Mine’s a Pringles lid - also very good as palettes for paint and glue: not much sticks to them.
shortar53 said:
LarJammer said:
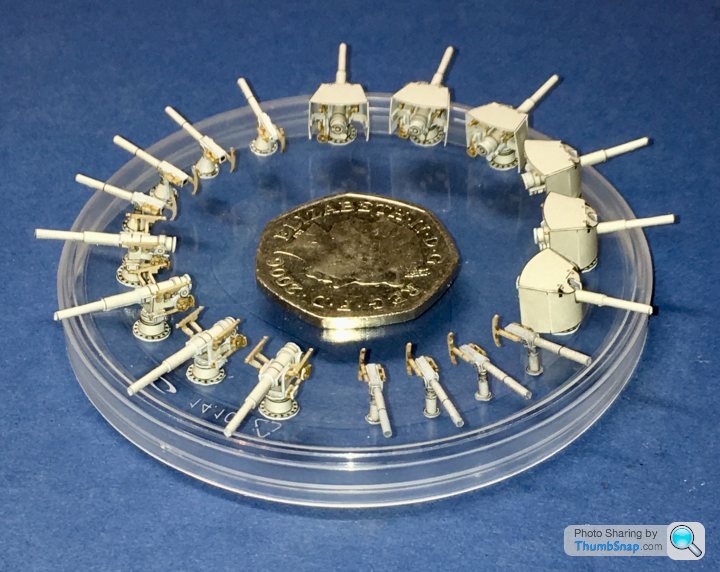
Having attempted a couple of these kits myself with a much lower degree of finesse, I can testify that a) its a real 50p and
b) Doc is making this look way easier than it actually is.
Made a start on the eight lifeboats and launches. They’re turning out to be a bit of a nightmare. I opted to cut the hulls into two halves, and attach to the decks bit-by-bit. I couldn’t get the instruction version to work ie fold and glue the hull, then add the deck. The decks are also single thickness, which, once you’ve cut the lower deck portions out are obviously very weak and won’t take any load; I doubled them up.
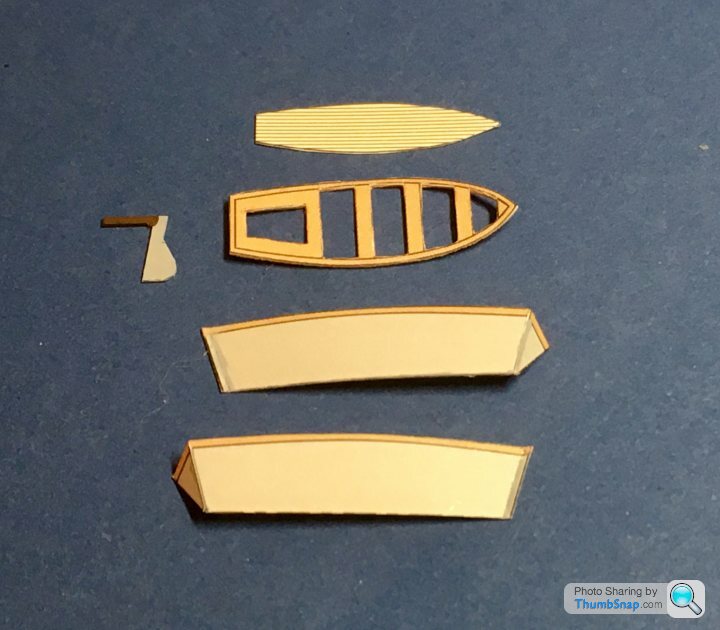
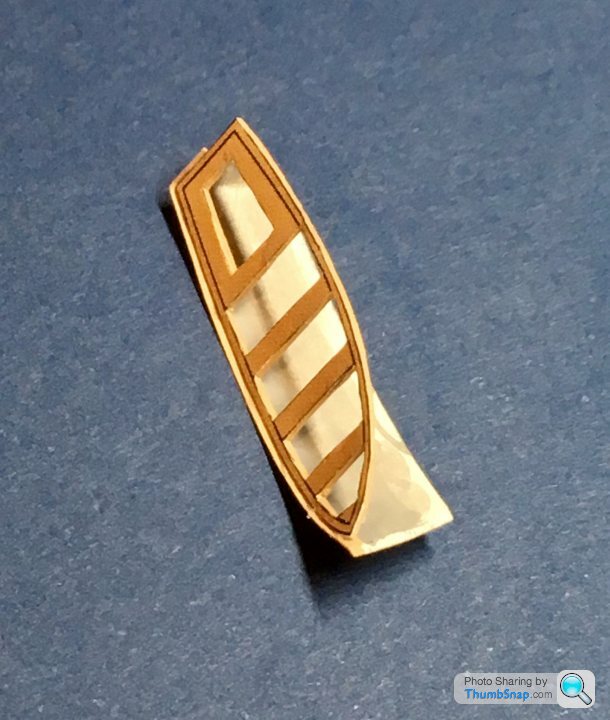
First step - add the first side to the deck:
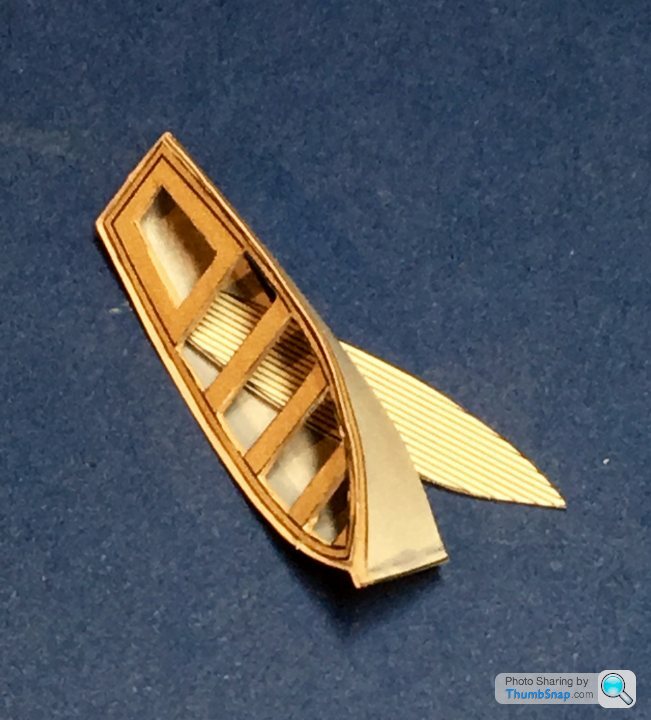
Next add the other side and slide the lower deck piece inside:
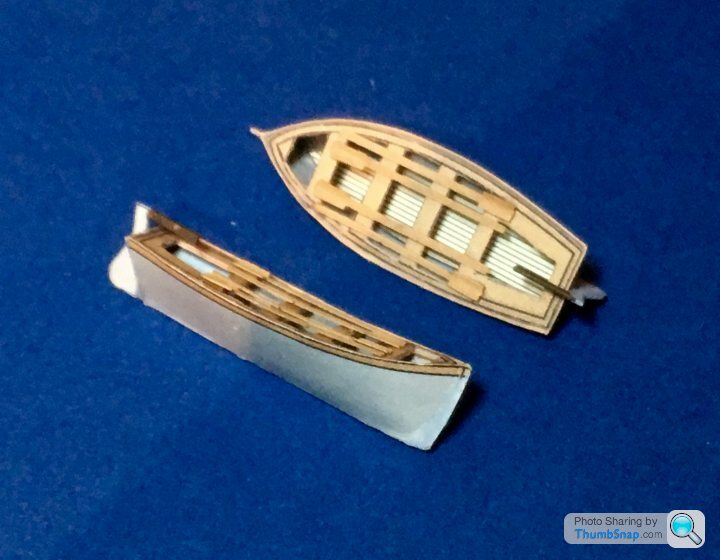
Finally glue the keel, lower deck and rudder, and add oars:
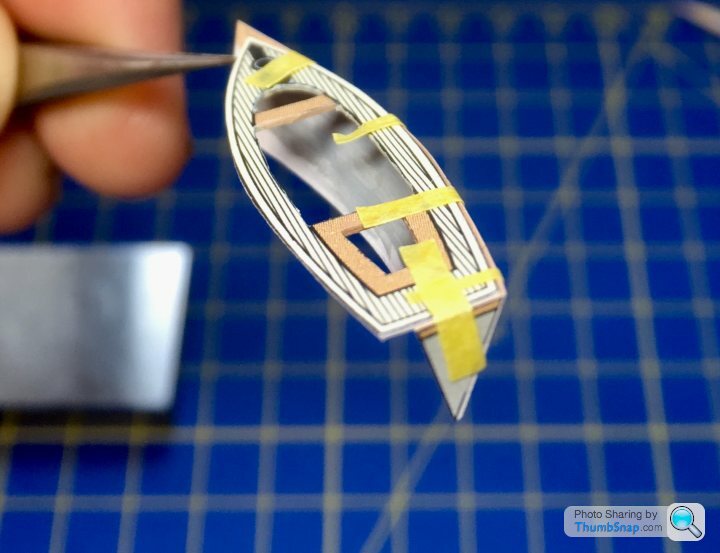
The real problem is that some sides don’t fit their decks at all. The steam launch is massively out:
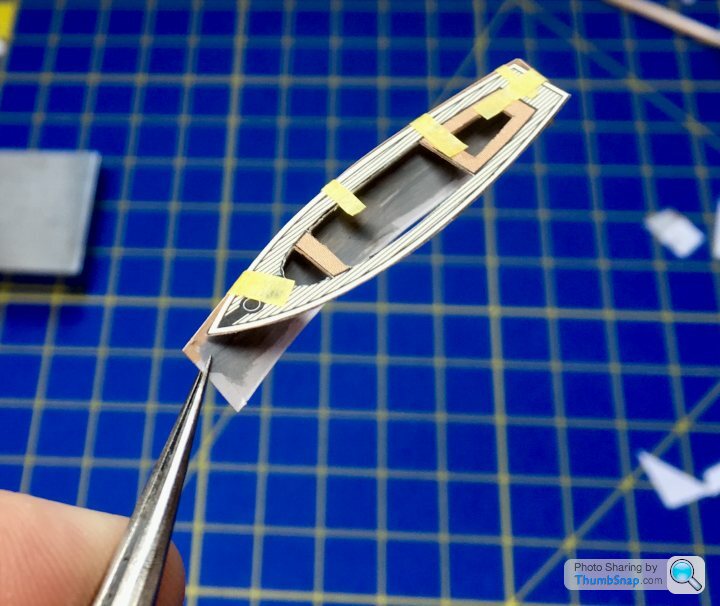
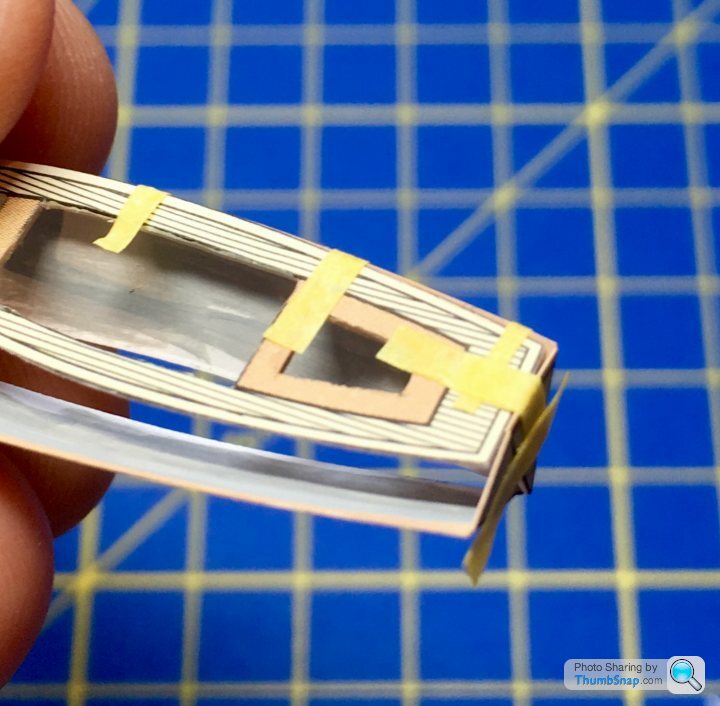
I’ve tried to modify one, but messed it up, so I guess I’ll have to try and source another kit and try again. Which is annoying. I always seem to end up buying two kits these days!

First step - add the first side to the deck:

Next add the other side and slide the lower deck piece inside:

Finally glue the keel, lower deck and rudder, and add oars:

The real problem is that some sides don’t fit their decks at all. The steam launch is massively out:


I’ve tried to modify one, but messed it up, so I guess I’ll have to try and source another kit and try again. Which is annoying. I always seem to end up buying two kits these days!
Thanks guys! I did try scanning the parts, but getting a colour match for re-printing proved impossible. Plus you need the right paper thickness, which Ive run out of!
In the end, I chopped off the excess transom pieces and bows and bodged it together. The ones I messed up previously are lost causes though. I contacted HMV and they are sending me some replacements, which hopefully I can modify before screwing up again!
In the end, I chopped off the excess transom pieces and bows and bodged it together. The ones I messed up previously are lost causes though. I contacted HMV and they are sending me some replacements, which hopefully I can modify before screwing up again!
So I built the remaining #127 boat using a different method, and it’s still way off:
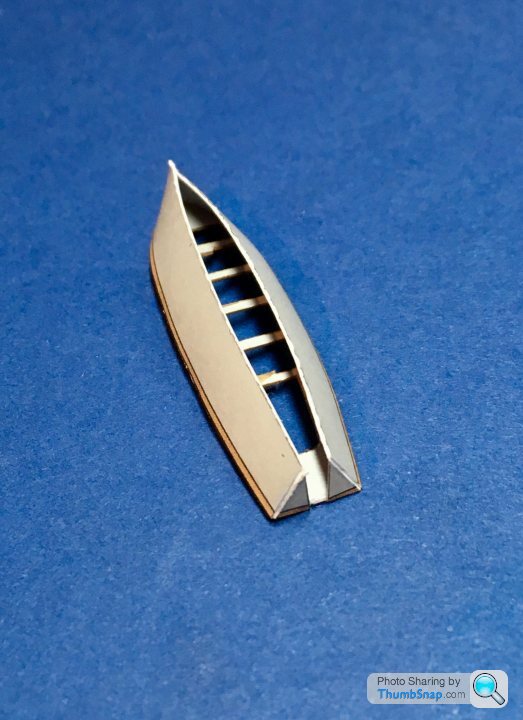
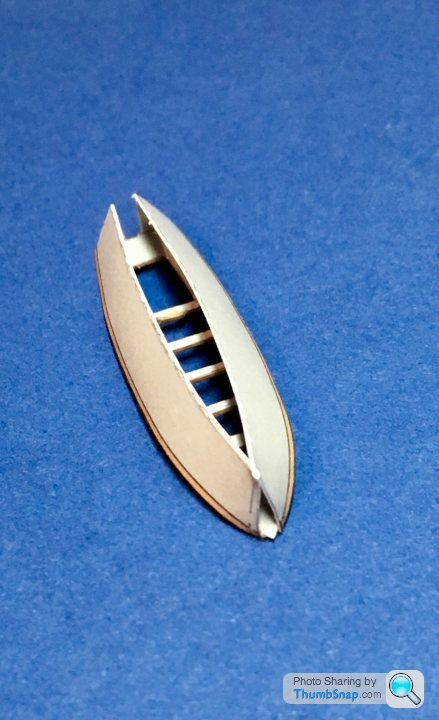
And this is what happens if the stern is shortened to suit the sides:
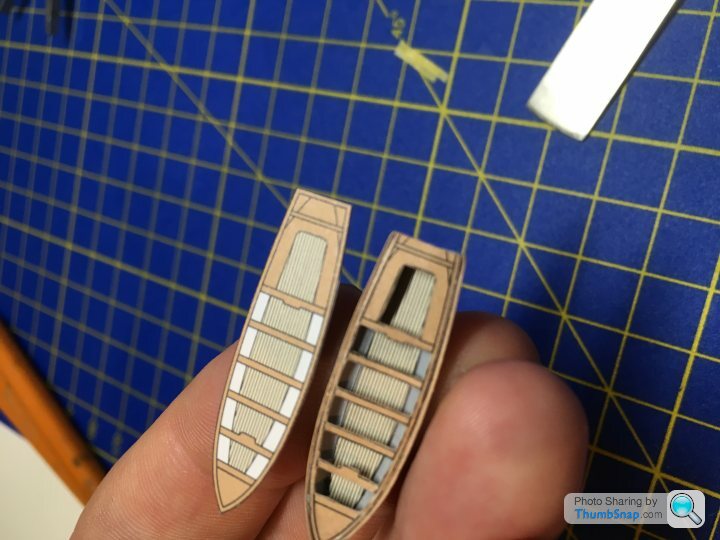
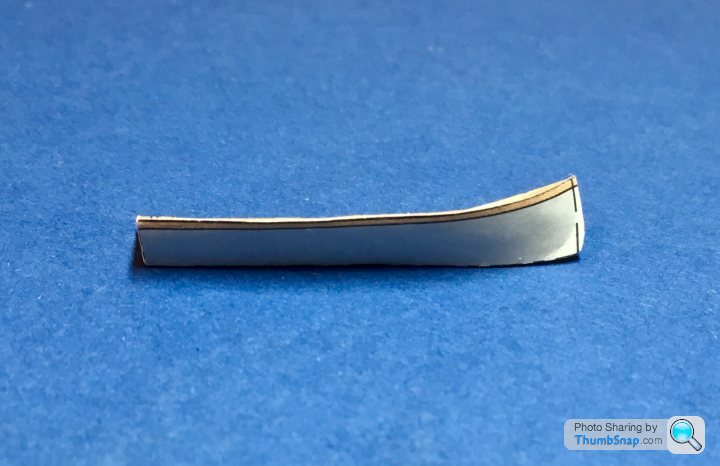
...looks like it’s horribly warped.
Comparison of both methods:
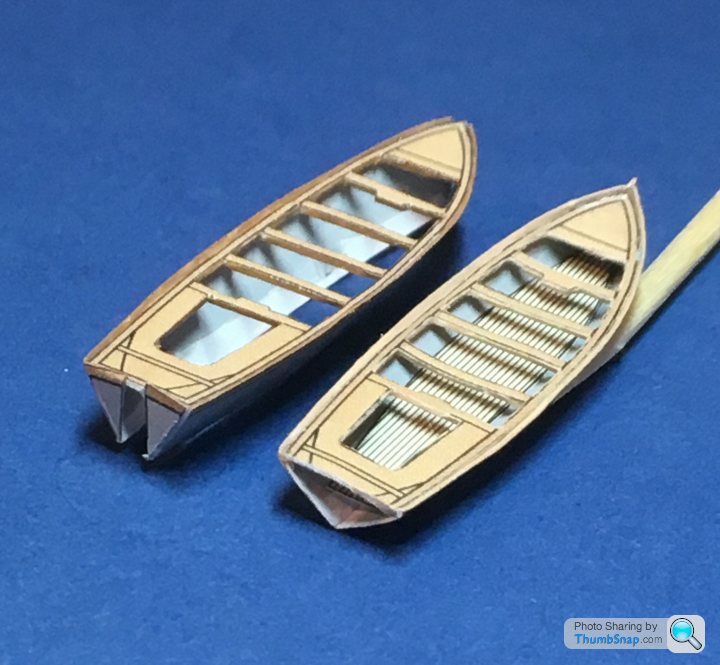
It must be an error in the print. I’d estimate the hull sides need scaling by 1.1x lengthways to suit the deck piece. I’d then glue in a separate transom.
It’s been suggested that the deck pieces are intended to sit on top of the hulls, but to me that looks wrong: the benches and decks should sit within the hull. This can’t be correct for the steam launch, since the deck is way smaller than the aperture.


And this is what happens if the stern is shortened to suit the sides:


...looks like it’s horribly warped.
Comparison of both methods:

It must be an error in the print. I’d estimate the hull sides need scaling by 1.1x lengthways to suit the deck piece. I’d then glue in a separate transom.
It’s been suggested that the deck pieces are intended to sit on top of the hulls, but to me that looks wrong: the benches and decks should sit within the hull. This can’t be correct for the steam launch, since the deck is way smaller than the aperture.
shortar53 said:
Ugh.
I had a similar issue with the lifeboats on the von der tann. Having ummed and ah'd, I ended up leaving the tops solid to hide some sins..
Fortunately, my only judge is 5, so he doesn't mind the life boats have flat tops
They look a lot better than mine do at the moment!I had a similar issue with the lifeboats on the von der tann. Having ummed and ah'd, I ended up leaving the tops solid to hide some sins..

Fortunately, my only judge is 5, so he doesn't mind the life boats have flat tops
It's an error on the kit drawings apparently. They're sending me a spare sheet so I can try to re-jig the profiles before cutting them out.
saaby93 said:
dr_gn said:
Thanks guys! I did try scanning the parts, but getting a colour match for re-printing proved impossible. Plus you need the right paper thickness, which Ive run out of!
In the end, I chopped off the excess transom pieces and bows and bodged it together. The ones I messed up previously are lost causes though. I contacted HMV and they are sending me some replacements, which hopefully I can modify before screwing up again!
I cant think why you think its you thats messed upIn the end, I chopped off the excess transom pieces and bows and bodged it together. The ones I messed up previously are lost causes though. I contacted HMV and they are sending me some replacements, which hopefully I can modify before screwing up again!
How can they ship a kit that they havent checked?

With these paper kits there’s often a bit of interpretation and modification required. The SMS Emdens I’ve seen built online looked fine, which is why initially I thought I’d mixed something up. However, it appears on closer inspection that those online were assembled incorrectly, with their decks stuck on top of the hulls, but at least they have finished boats! I wanted all the decks on all boats inset slightly into the hulls, which was impossible on the two I messed up. It’s just one of those things.
I’ve got a good rapport with the manufacturer - they’ve used two of my models on their website (Mellum & Agazzis/Battleford). They confirmed it appeared to be a print error, and will I guess correct it on the next issue (the Emden is on its second issue currently). They’re sending me a replacement sheet and I’ll modify the profiles myself after drawing correct versions (that’s the plan). I’ll put the mods online in case anyone else needs them.
These models are pretty niche, and the Emden is an old design. I assume only a tiny percentage of those sold ever get built, so customer feedback seems welcome.
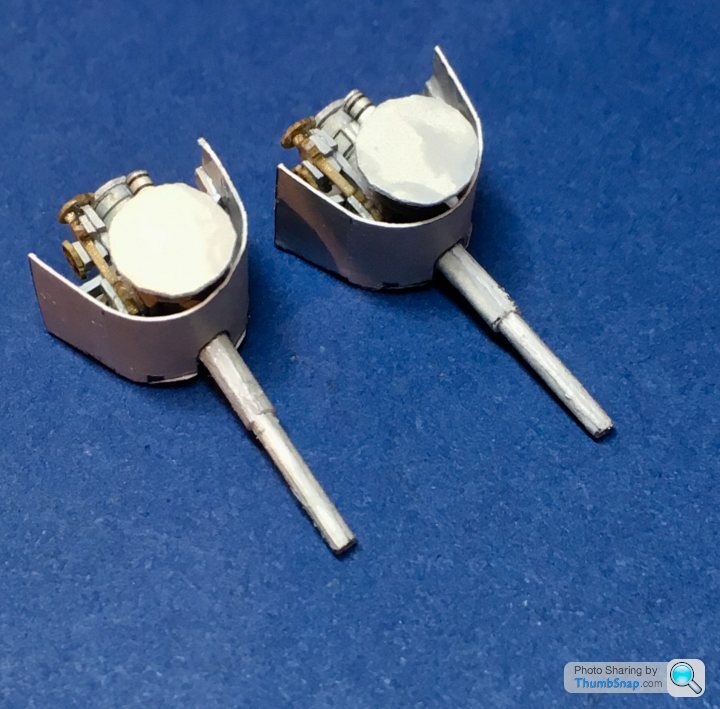
So while waiting for the the new boat parts, I made a start on adding detail to the funnels. I’ve been putting this off for months because it looked a real pain.
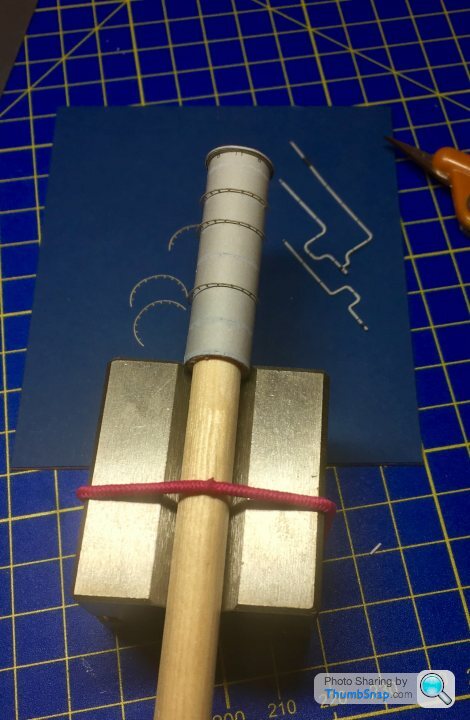
Because they are festooned with steam pipes, horns, and fragile laser-cut rings and rungs, handling them during assembly was going to be impossible. I opted to construct a makeshift fixture out of a v-block (for stability), a piece of dowel, and a hair band (not mine). First off, trim and fit the 14 halves of the circumferential rings:
Then add the 19 individual steps:
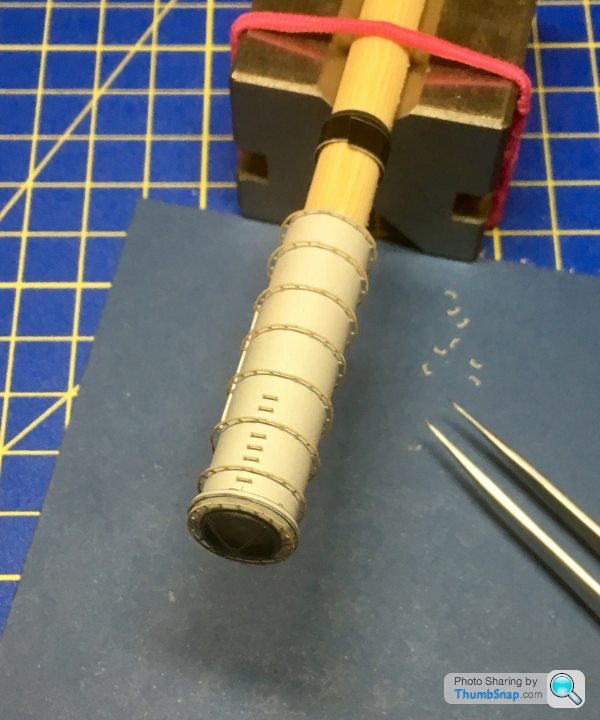
You might notice I’ve now added a ring of black dymo tape. This is to stop the dowel being accidentally pulled towards the v-block during turning, thus destroying the carefully placed lower rings, and causing a lot of foul laungage (again).
Then, after a sip or two of dry ginger ale, and more Revells, prod, poke and cajole everything into some kind of alignment:
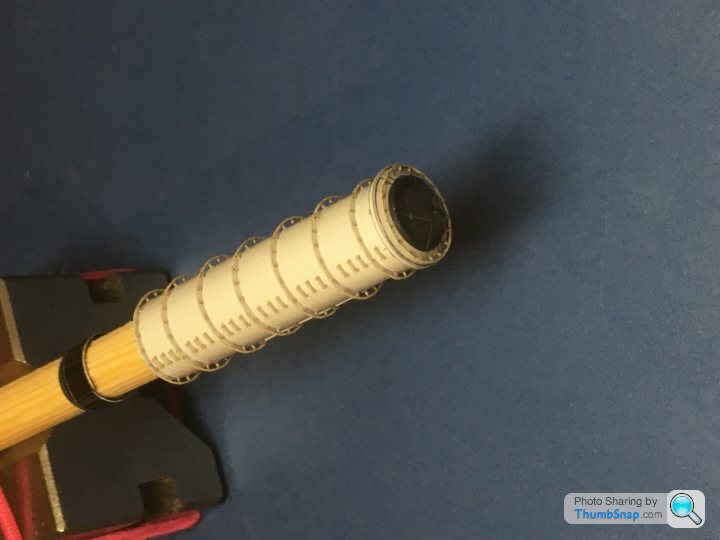
The rotational alignment of the rings is a bit off, mainly because they don’t fit the funnel precisely. Still, they are all pretty well aligned longitudinally, so it’s not too noticeable.
I suppose I should have thought how to remove the finished thing from the dowel...
Because they are festooned with steam pipes, horns, and fragile laser-cut rings and rungs, handling them during assembly was going to be impossible. I opted to construct a makeshift fixture out of a v-block (for stability), a piece of dowel, and a hair band (not mine). First off, trim and fit the 14 halves of the circumferential rings:

Then add the 19 individual steps:

You might notice I’ve now added a ring of black dymo tape. This is to stop the dowel being accidentally pulled towards the v-block during turning, thus destroying the carefully placed lower rings, and causing a lot of foul laungage (again).
Then, after a sip or two of dry ginger ale, and more Revells, prod, poke and cajole everything into some kind of alignment:

The rotational alignment of the rings is a bit off, mainly because they don’t fit the funnel precisely. Still, they are all pretty well aligned longitudinally, so it’s not too noticeable.
I suppose I should have thought how to remove the finished thing from the dowel...
AshVX220 said:
I hope you find all this therapeutic Doc, you must have some patience, I think I'd have torched the whole thing by now, but then I'm not good with stuff like this anyway!
When it's going well it's therapeutic - 9:30, kids in bed, missus watching telly, it's the only time I get to myself. So I put the radio on, get a cup of tea and make a start. Within minutes I'm totally focussed, and nothing else is on my mind for a couple of hours. So on to the next funnel - the front one, which is a bit smaller in section, and circular rather than oval. It also has a much more complicated steam pipe structure, which needs careful alignment:
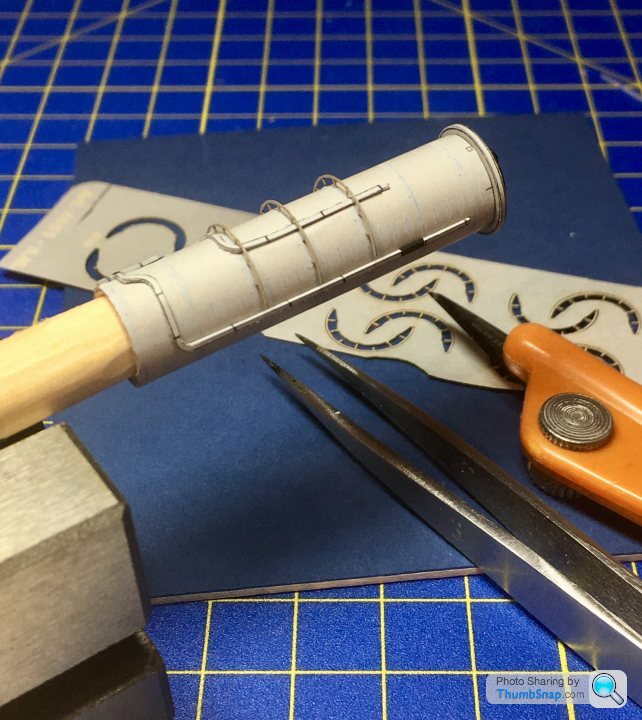
I put some painted strips down the joint lines to neaten them up a bit. I used standard printer paper because it’s thinner than the kit paper:
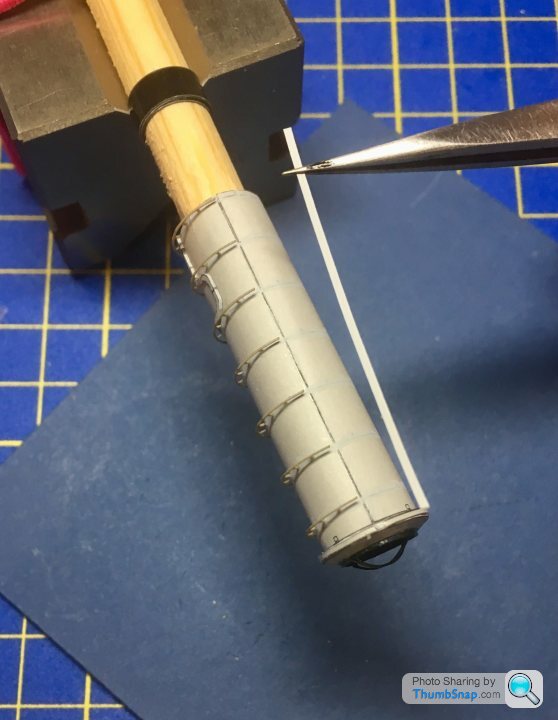
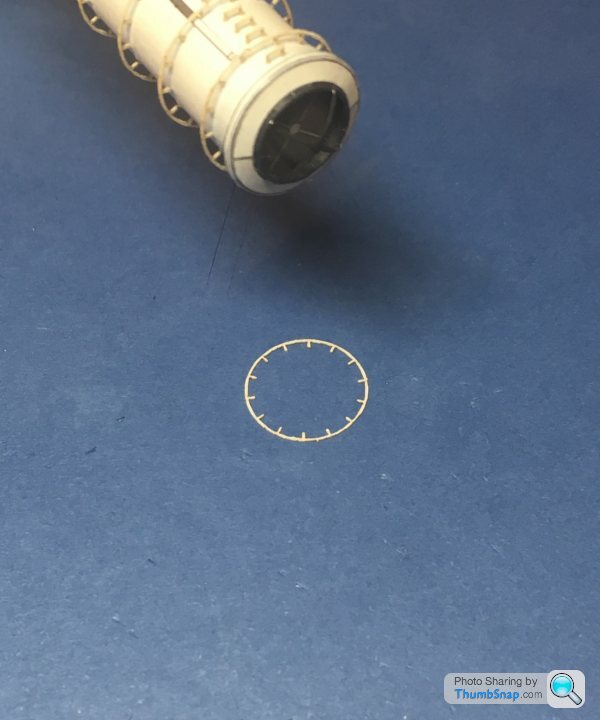
Then, after fitting the 19 individual rings (quite easy really) on to the circular rail that fits around the top of the funnel:
I opted to bend the stubs downwards a bit with tweezers:
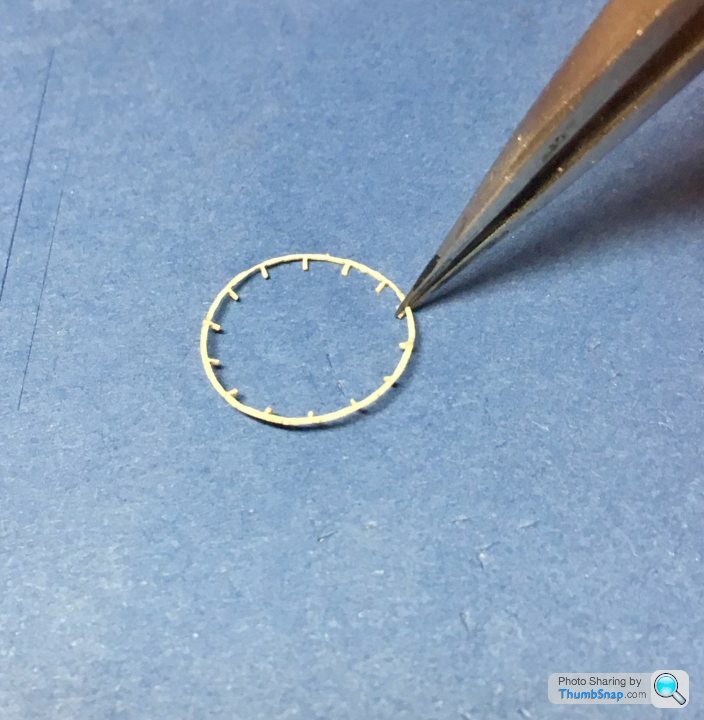
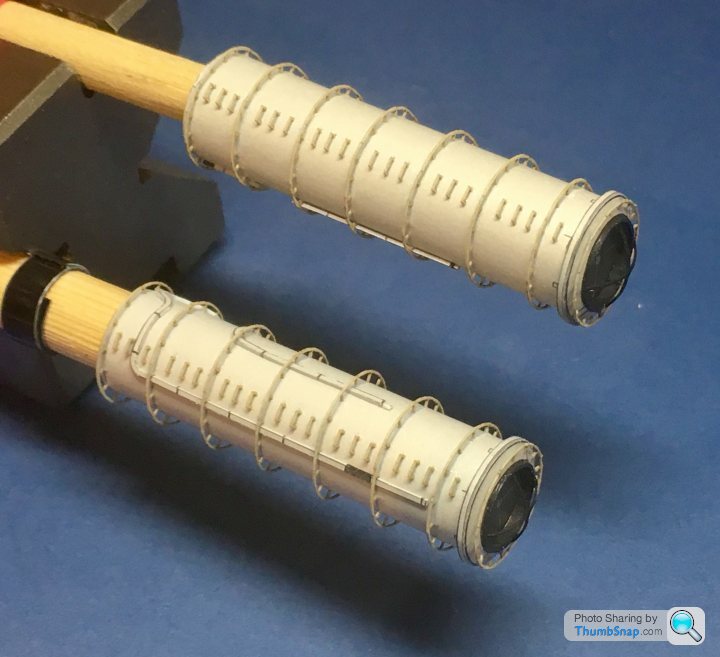
I think it looks better like that when fitted. So two funnels down, one to go:

I put some painted strips down the joint lines to neaten them up a bit. I used standard printer paper because it’s thinner than the kit paper:

Then, after fitting the 19 individual rings (quite easy really) on to the circular rail that fits around the top of the funnel:

I opted to bend the stubs downwards a bit with tweezers:

I think it looks better like that when fitted. So two funnels down, one to go:

robemcdonald said:
Unbelievable work.
I struggle with a bit of photoetch......
How many of these kits do they sell? How many actually get built? Properly?
Not sure, Shortar53 on here builds (and finishes!) them too, and there are a few dedicated paper model forums out there which are well supported. Overall though I reckon the proportion sold to finished (or started) is tiny; even smaller than for plastic kits.I struggle with a bit of photoetch......
How many of these kits do they sell? How many actually get built? Properly?
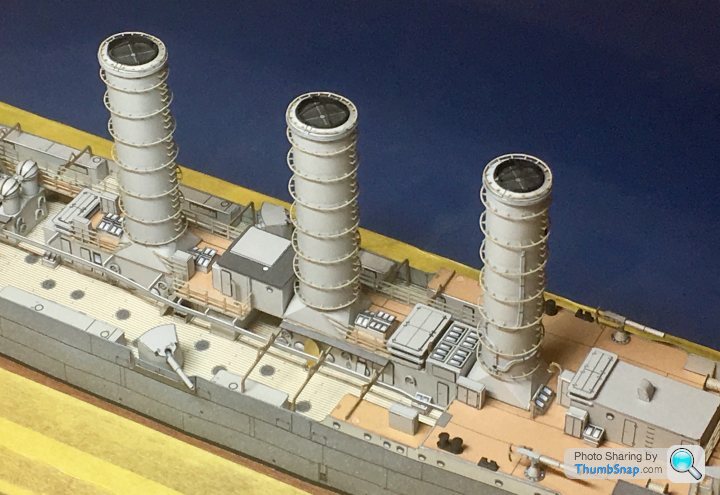
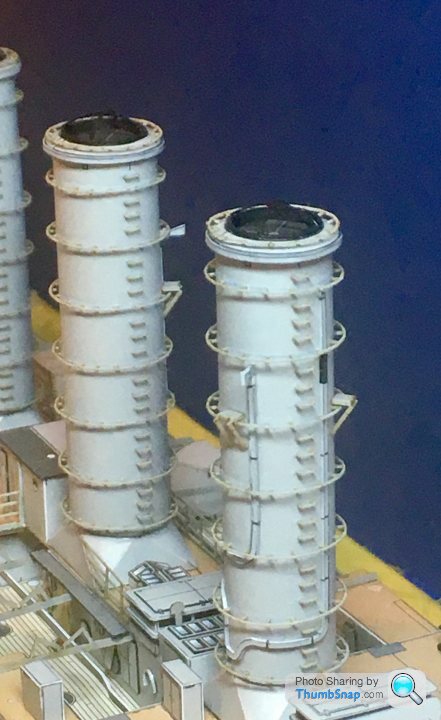
So that’s all three funnels ready for fitting:
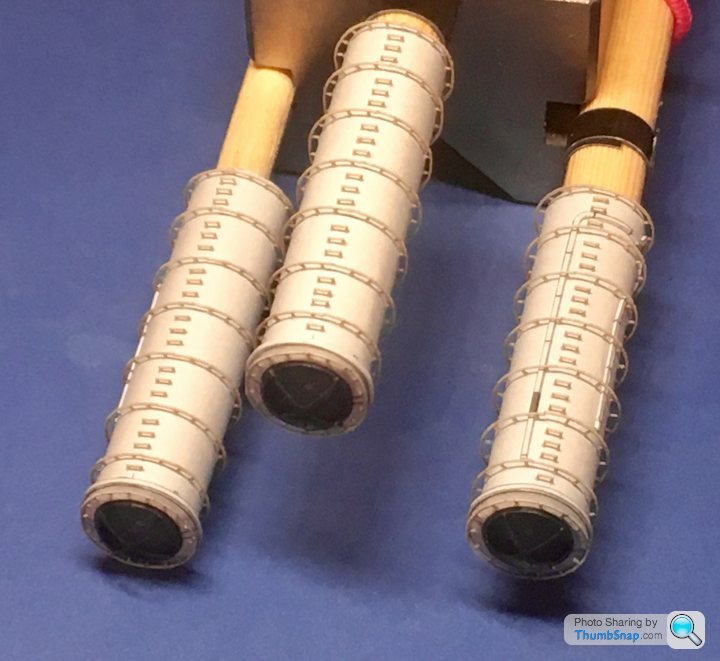
There are a few platforms and spars still to be added, but I’ll do that once in place so that I get get overall alignment correct.
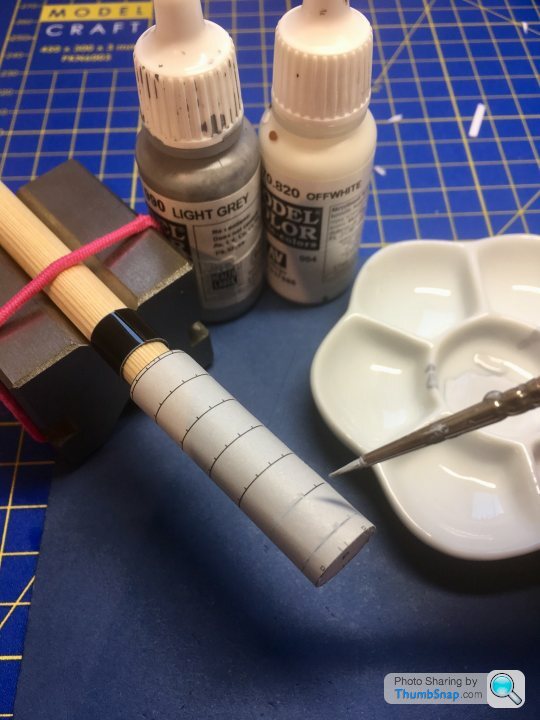
BTW for painting out the printed-on rungs and rings, I used Vallejo Model Colour, approx. 30% Light Grey : 70% Off White; 2 coats was enough to be able to still just about see them as a placement guide:

Gassing Station | Scale Models | Top of Page | What's New | My Stuff


