Paper Ship: SMS Emden (1910), 1:250
Discussion


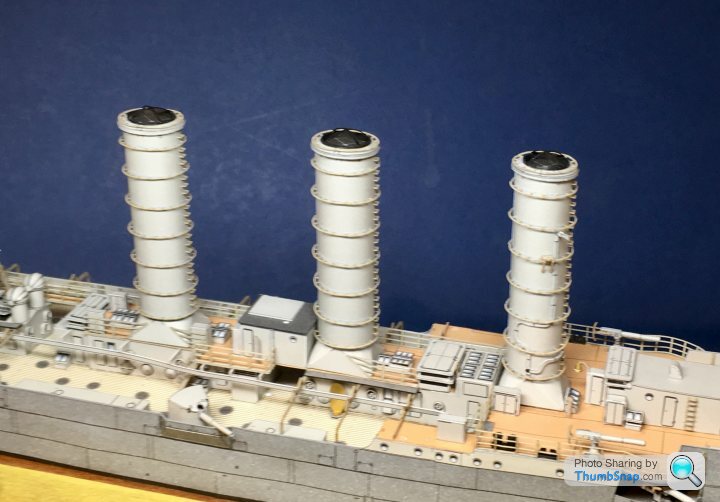
The top of the front funnel was a bit off - at least I thought it was. So I made a fixture to hold the funnel while slicing the top off with a scalpel:
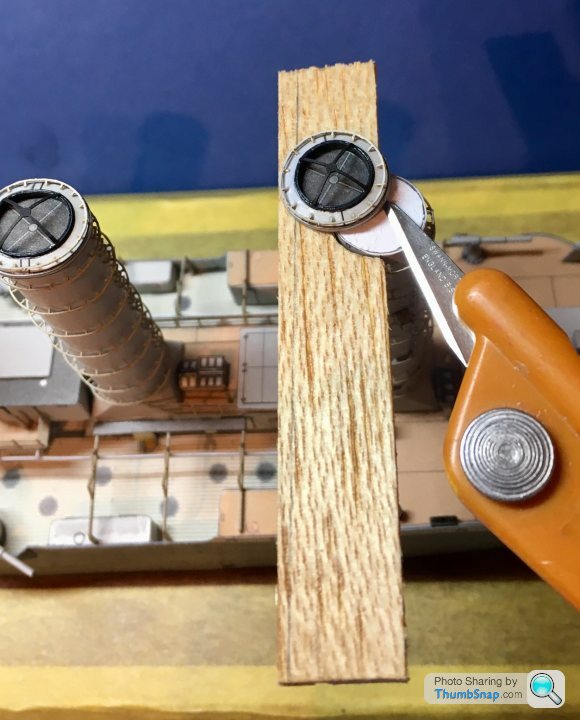
Then repositioned it with the top raised slightly on a blob of PVA. I then wicked PVA mixed with grey paint around the remaining tapered gap:
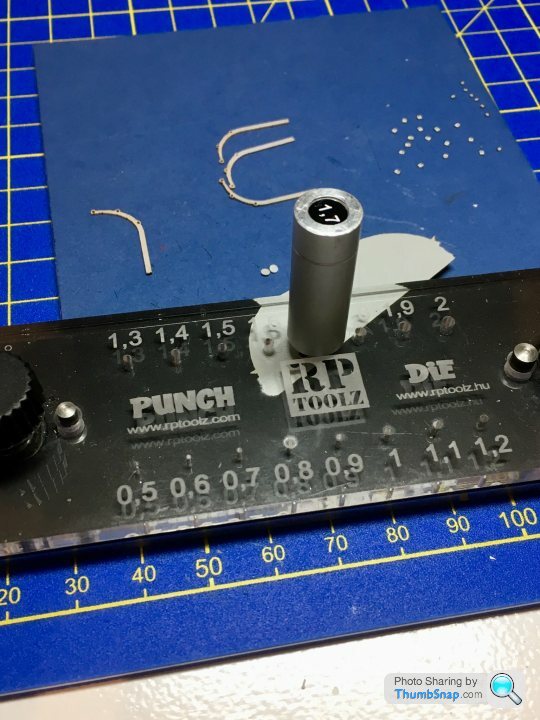
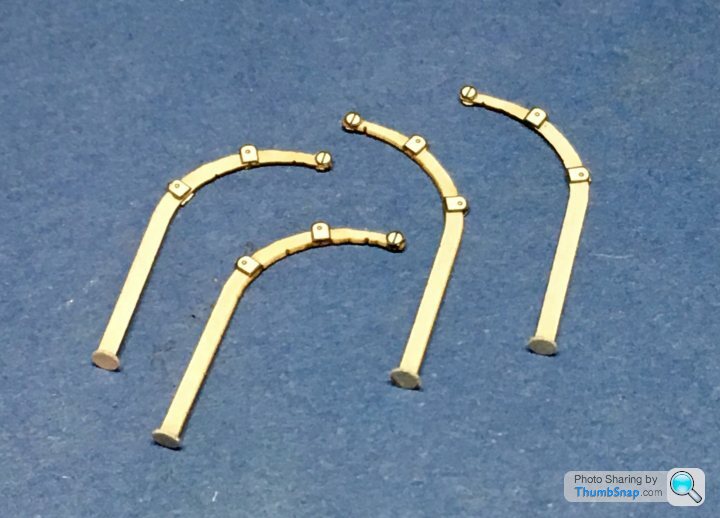
Then on to the remaining railings. I’d been putting these off because they didn’t fit properly. I ended up cutting the ends off:
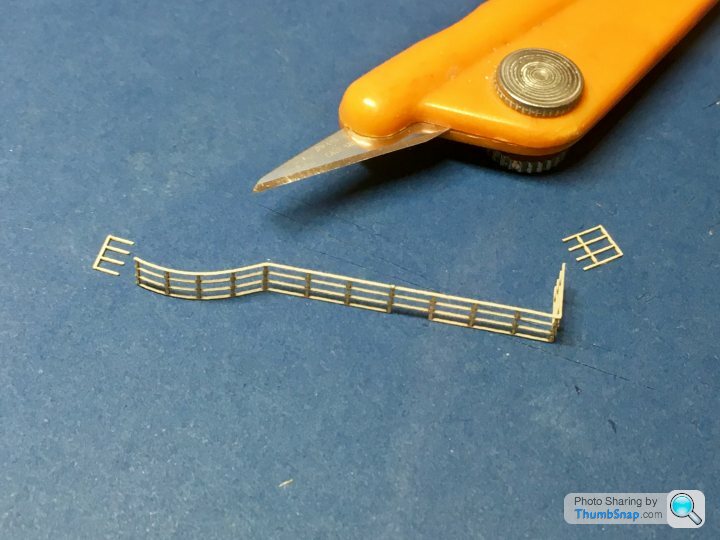
Then trimming the long bits to fit the short ends:
...and cutting the ends of the spare to form new stanchions for the shortened ends. All secured with diluted PVA:
Then repositioned it with the top raised slightly on a blob of PVA. I then wicked PVA mixed with grey paint around the remaining tapered gap:
Then on to the remaining railings. I’d been putting these off because they didn’t fit properly. I ended up cutting the ends off:
Then trimming the long bits to fit the short ends:
...and cutting the ends of the spare to form new stanchions for the shortened ends. All secured with diluted PVA:


Thanks guys - it’s not that small, and I don’t use a magnifier. I’ve tried a few but I find them more trouble than they’re worth. They only focus within a very narrow depth of field (which is often too close for comfort) and so if for example you’re doing fine work on a bit of a model, and your paint pallet or glue is off to one side, it’ll be completely out of focus. I was going to try some of the lens on a stick type, where you can glance to the side or underneath them to pick things up, but I can’t be bothered to find a decent set for a low enough price to potentially never use.
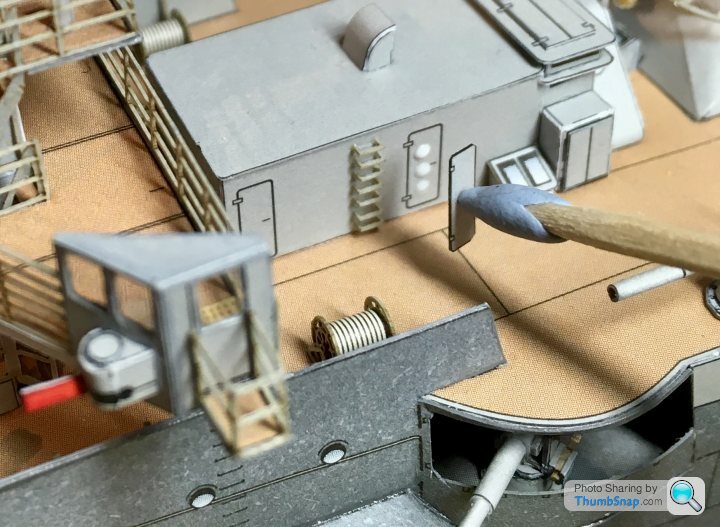
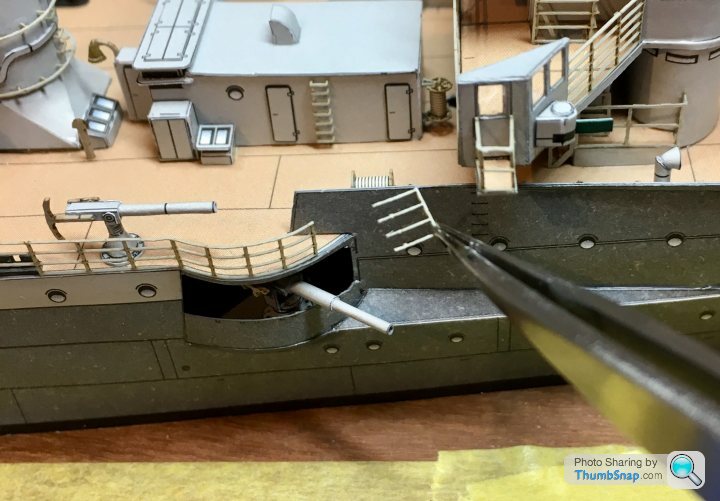
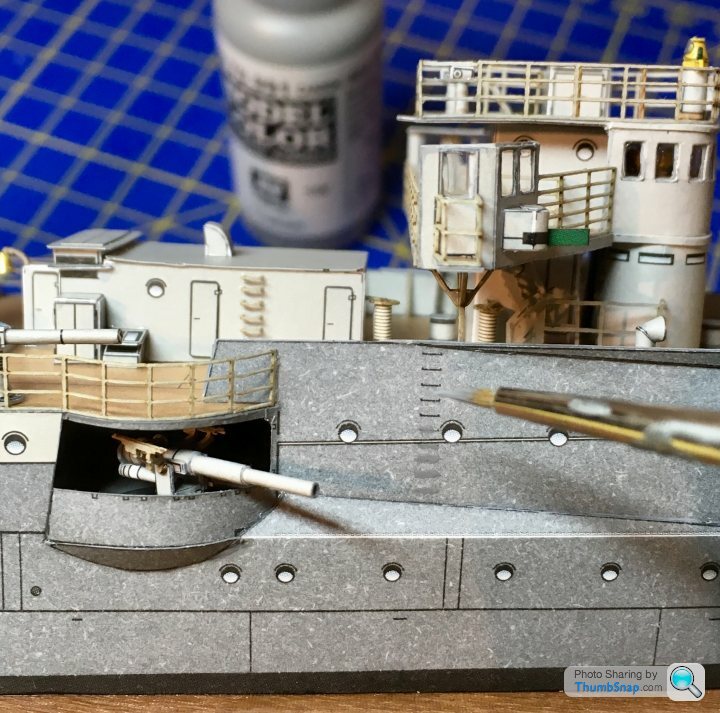
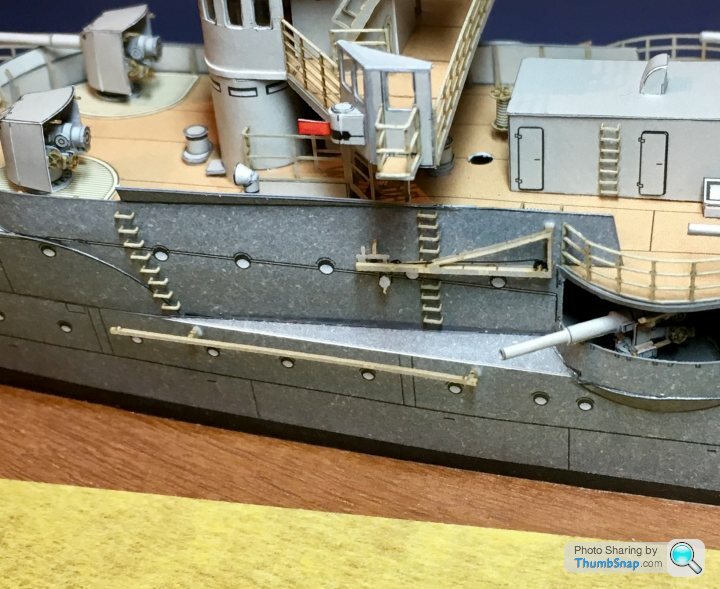
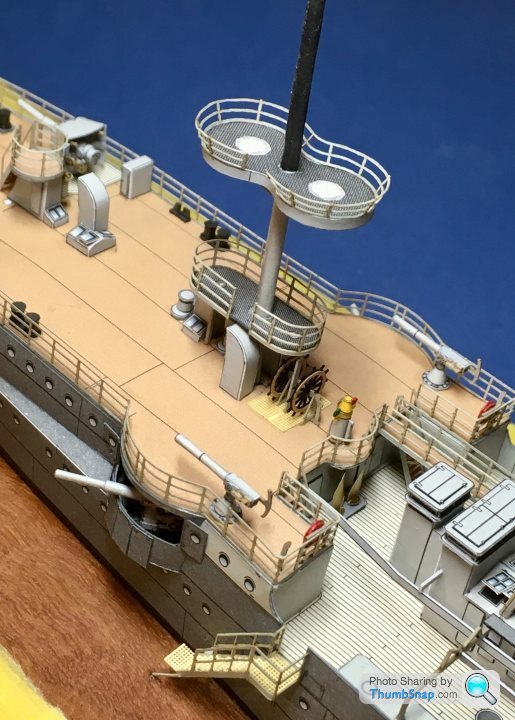
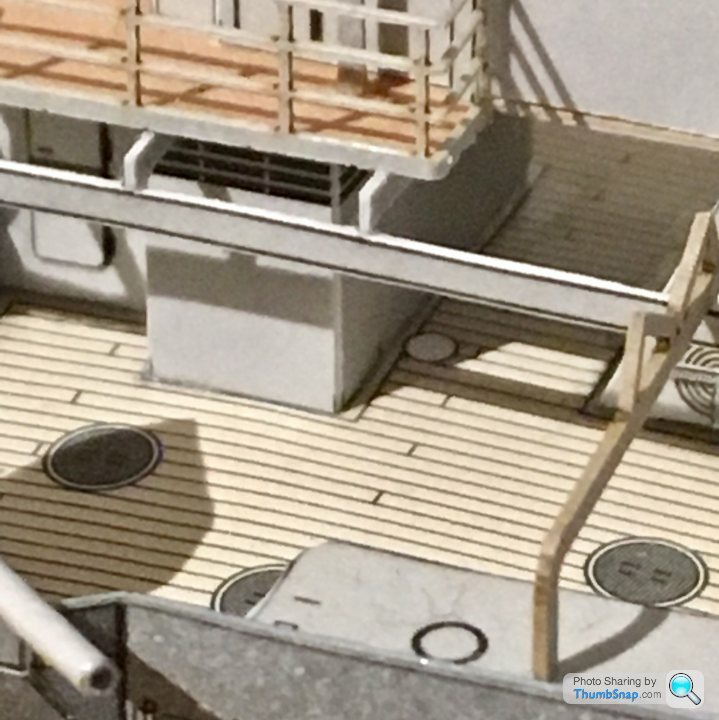
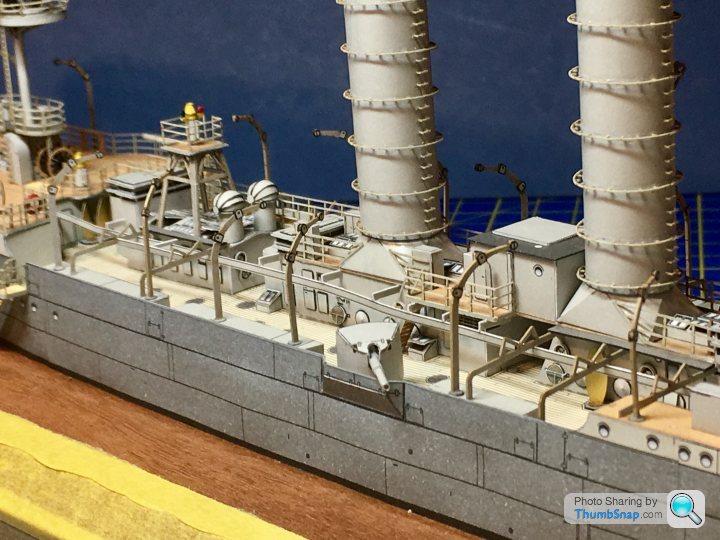
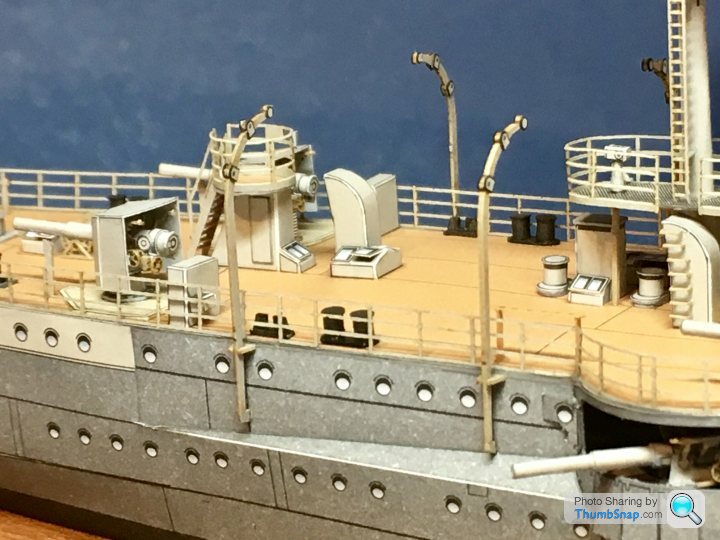
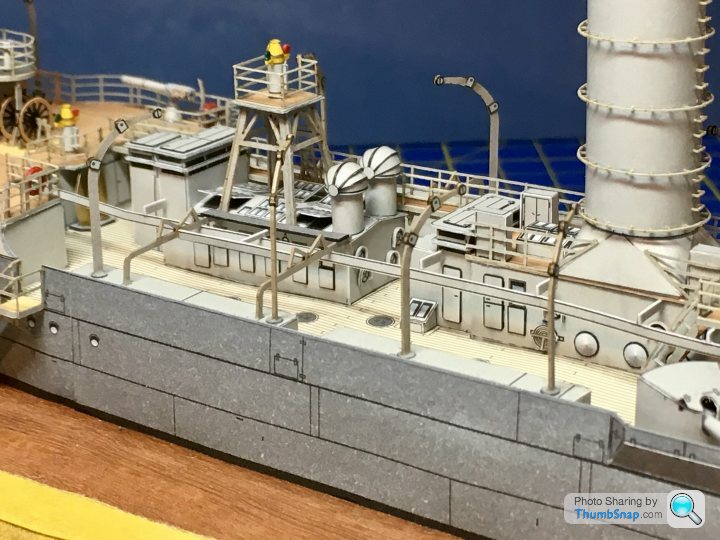
So the hull is nearing completion. I added the steps to the stbd. side:
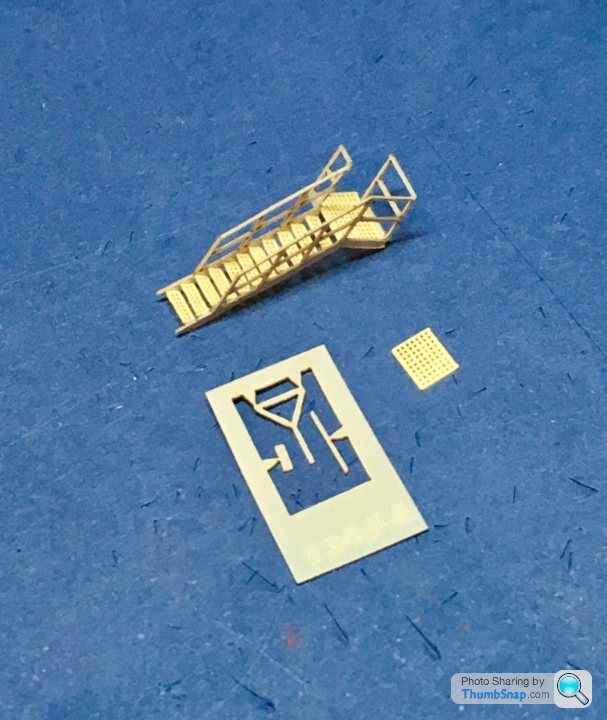
And cut up the casemate gun port cover panels:
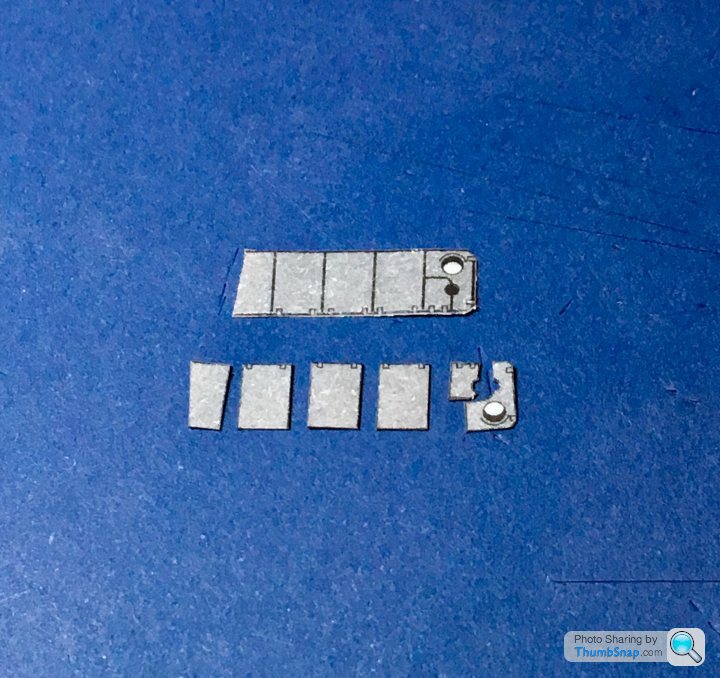
I opted to fix them port on stbd. and vice-versa, in order to retain the porthole and hinge detail that would be missing if the correct sides were used. I understand that they probably should be white on their inner surfaces, but I think on balance, the complete lack of printed detail would look worse than any potential technical inaccuracy.
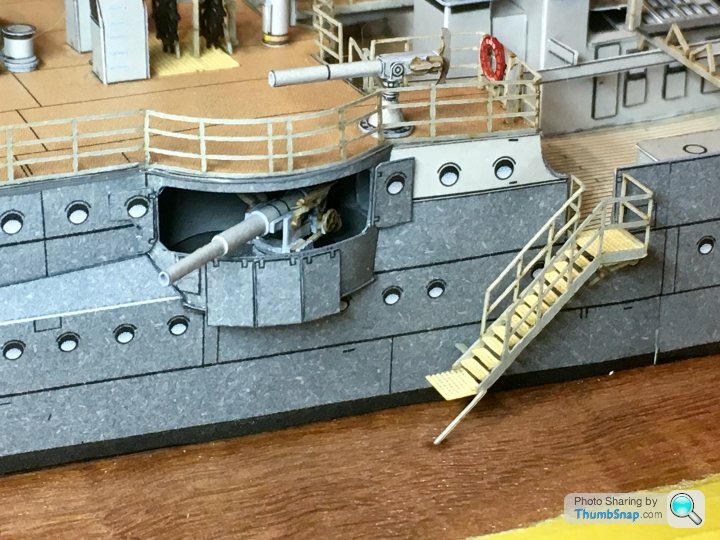
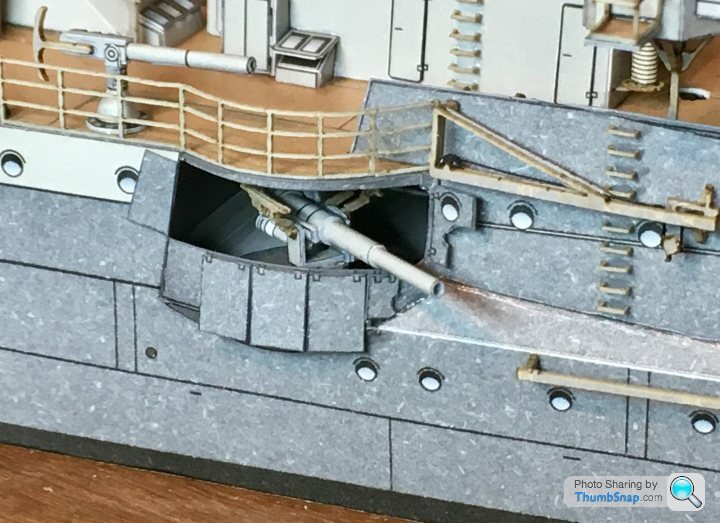
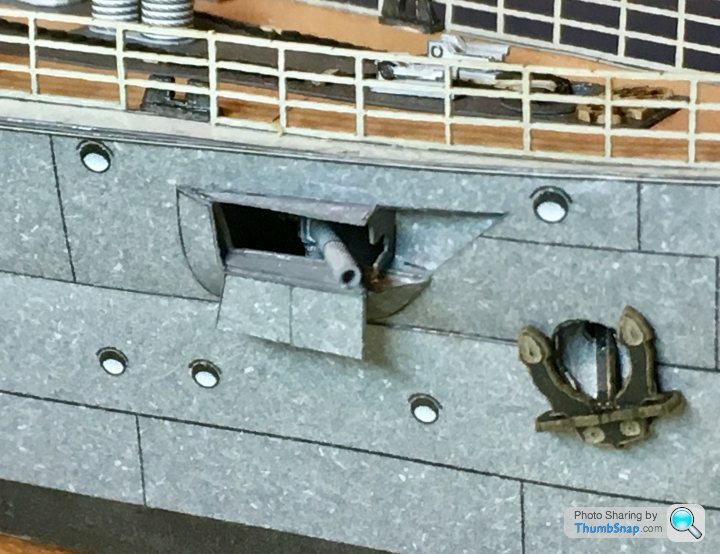
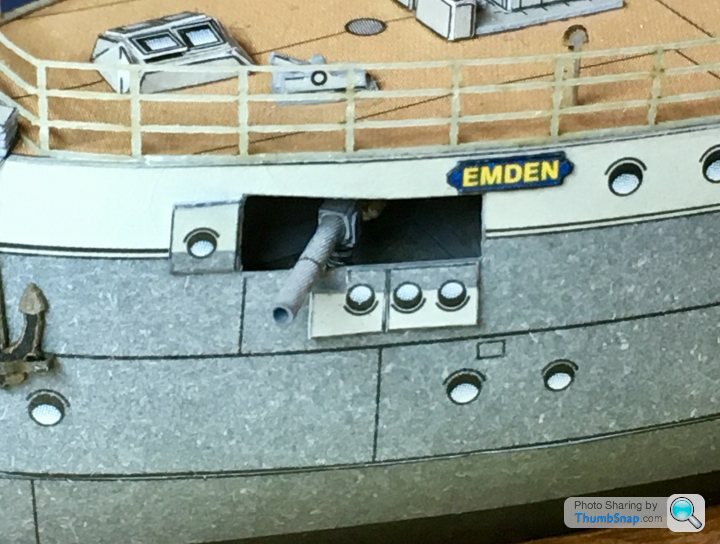
Now I’ve got to do the port side.
And cut up the casemate gun port cover panels:
I opted to fix them port on stbd. and vice-versa, in order to retain the porthole and hinge detail that would be missing if the correct sides were used. I understand that they probably should be white on their inner surfaces, but I think on balance, the complete lack of printed detail would look worse than any potential technical inaccuracy.
Now I’ve got to do the port side.
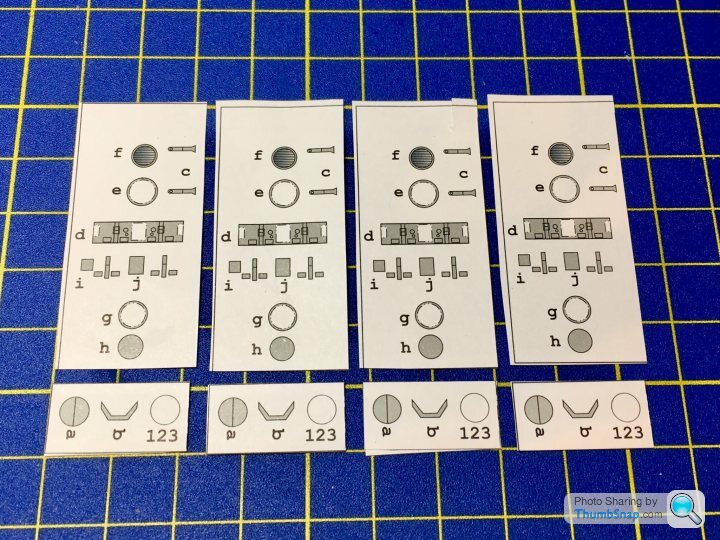
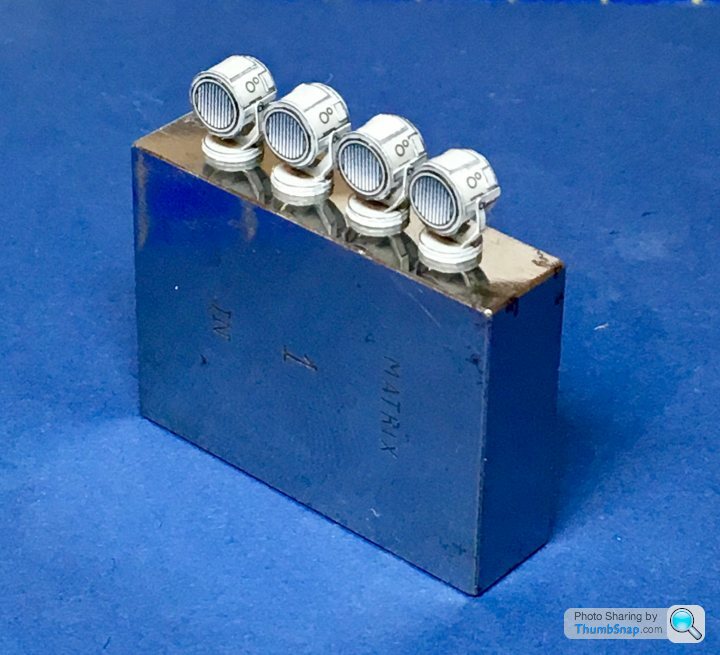
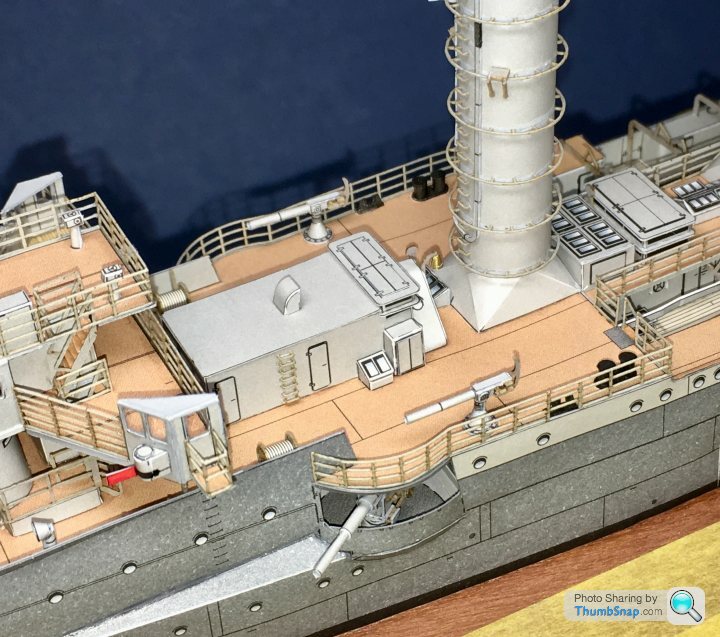
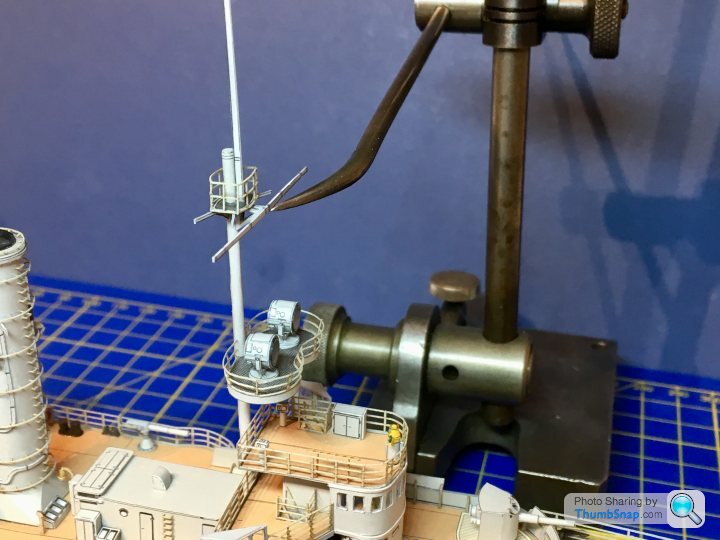
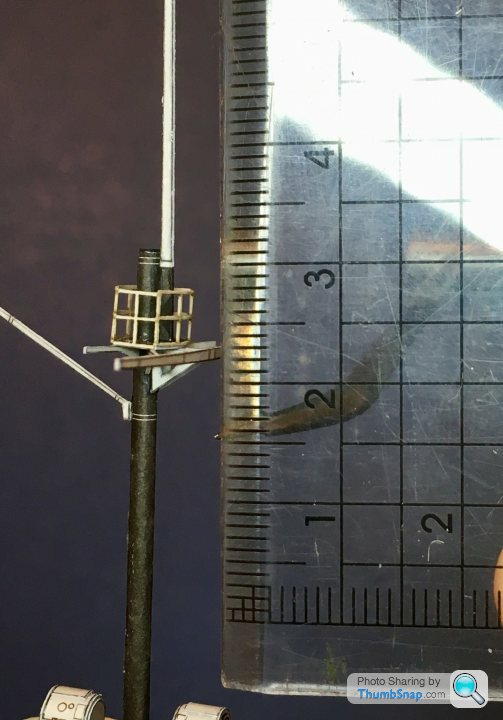
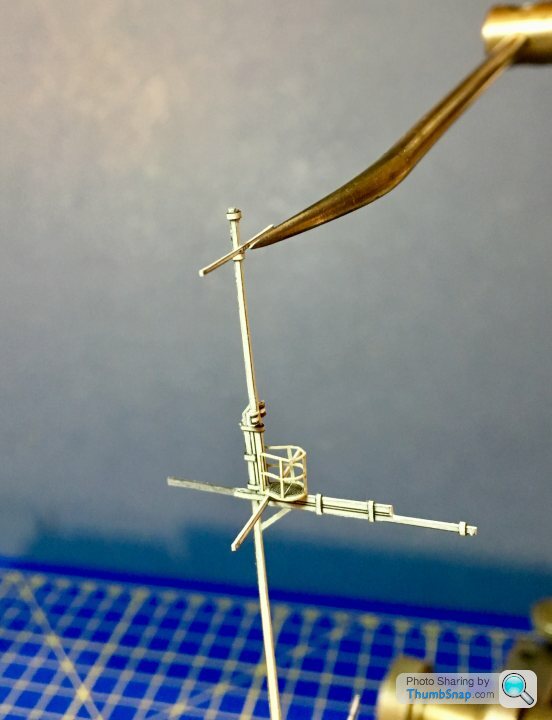
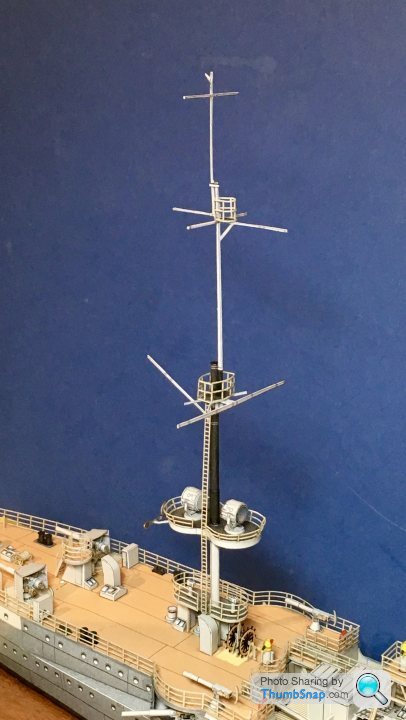
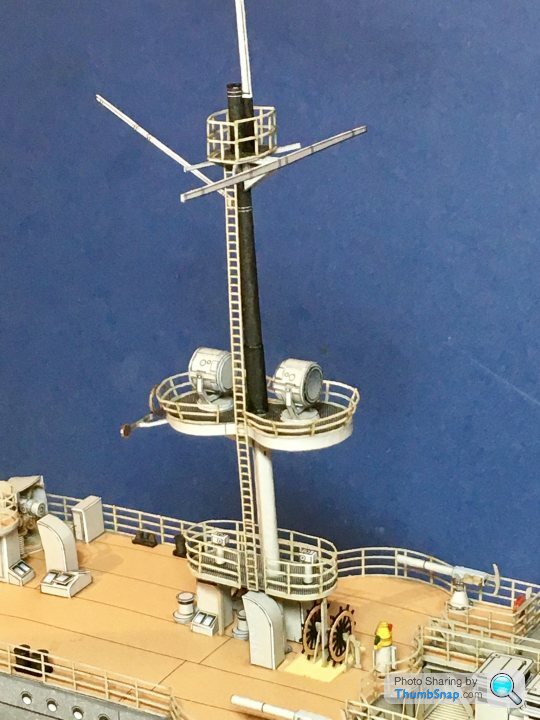
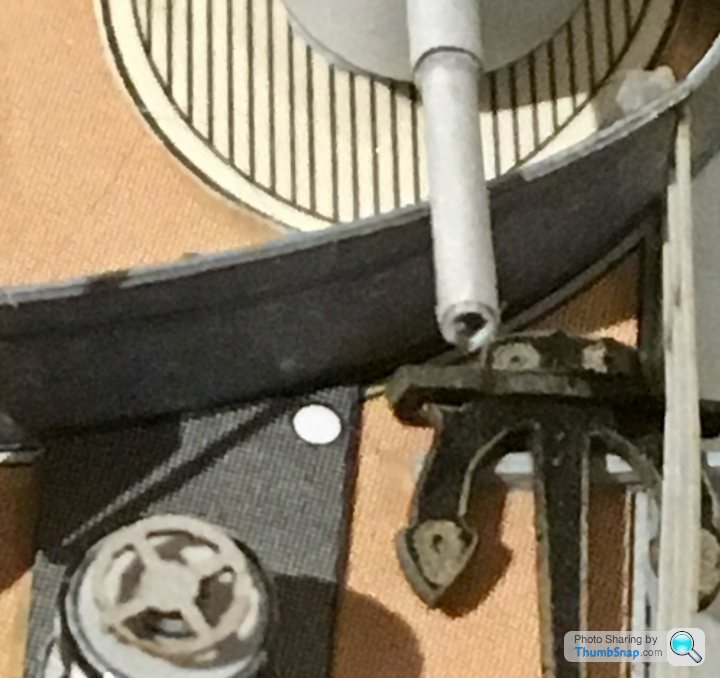
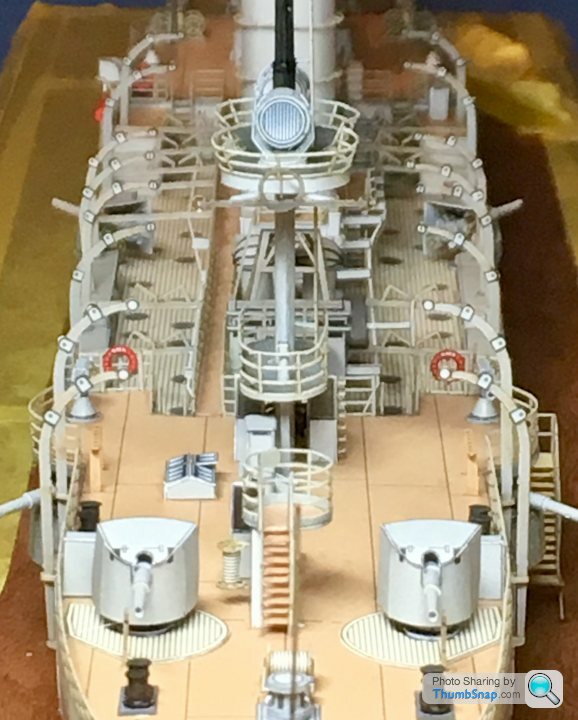
Fixed the two lower masts in place - PVA’d aluminium and brass tube up the middle to stiffen them, and bonded the protruding stubs into the tubes I put in place almost on day 1. Then assembled and fitted the searchlight and sighting (I thing that’s what it is) platform:

Still to fit the front searchlight platform.
Still to fit the front searchlight platform.
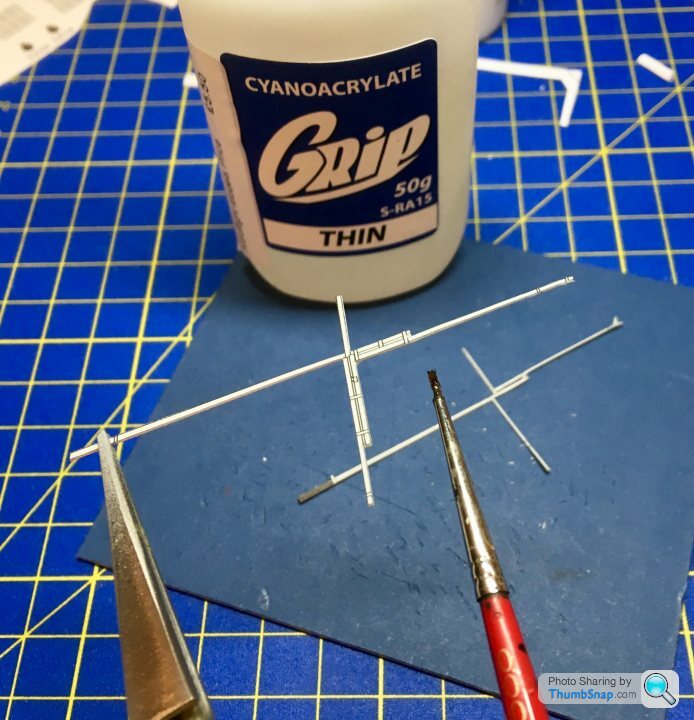
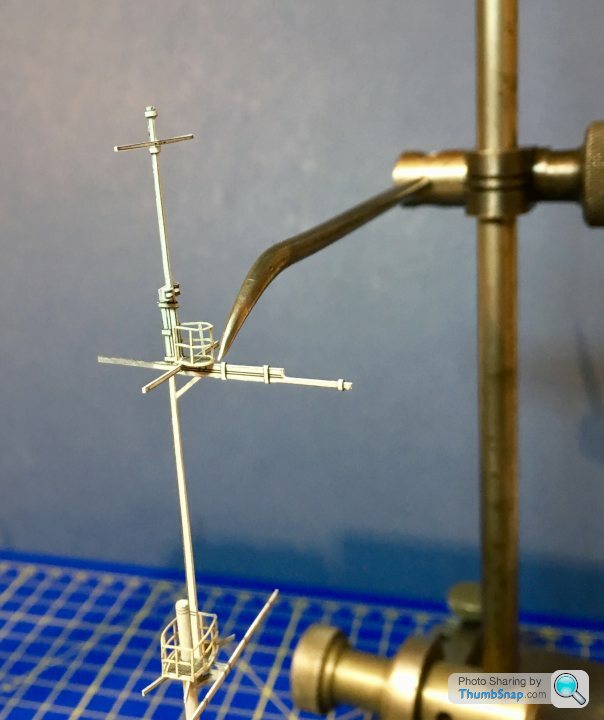
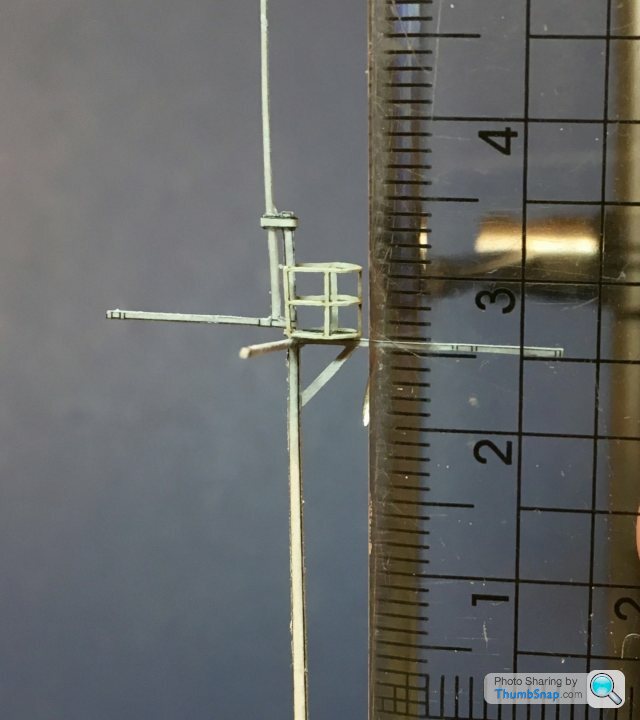
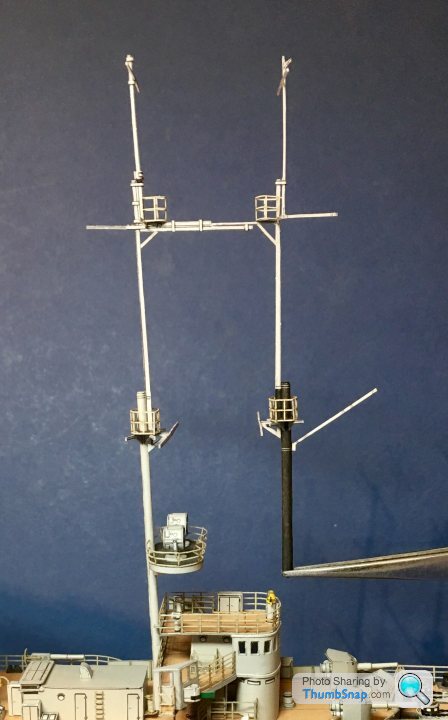
Made some progress on the masts:
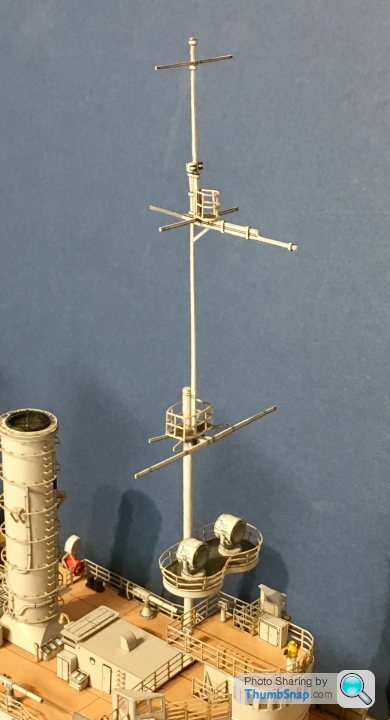
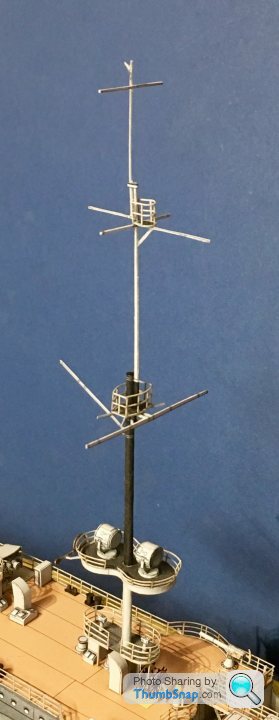
The top pieces are very flexible despite being soaked in cyano. I think the rigging up there will have to be stretched sprue in order to give some extra rigidity. It’ll still be marginal with the amount of rigging that goes between them. Anyway, just need the ladders fitting now.
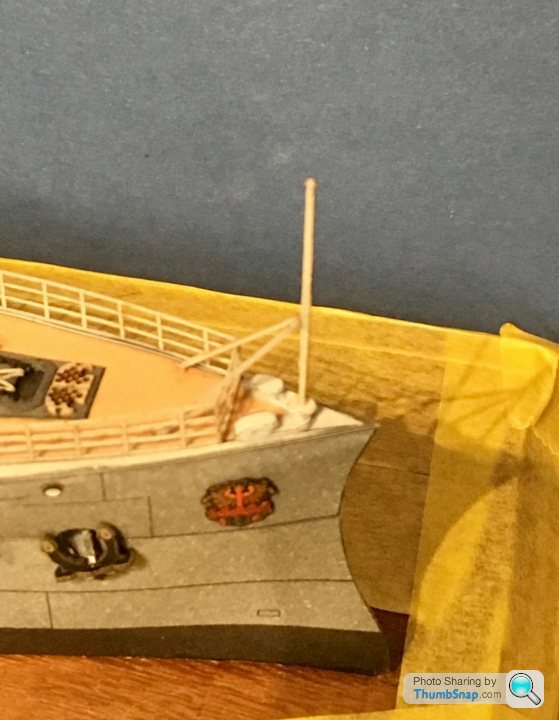
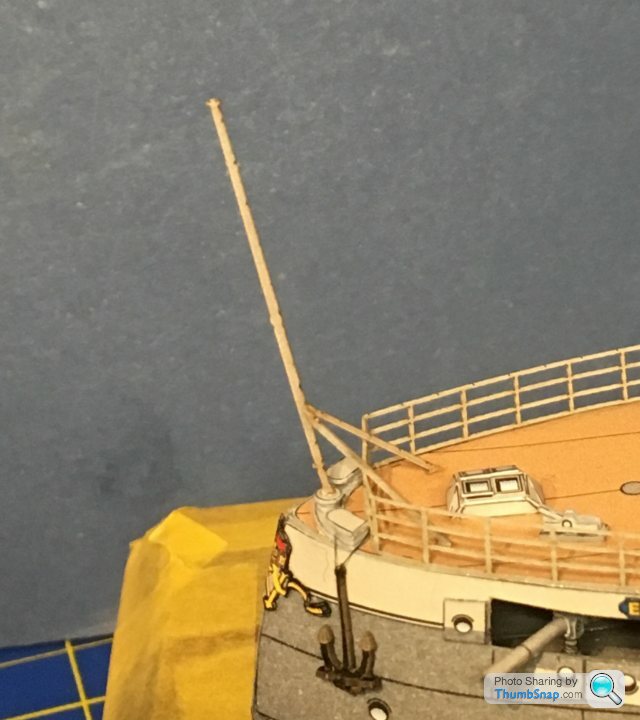
Also fitted the bow and stern flagstaffs:
The top pieces are very flexible despite being soaked in cyano. I think the rigging up there will have to be stretched sprue in order to give some extra rigidity. It’ll still be marginal with the amount of rigging that goes between them. Anyway, just need the ladders fitting now.
Also fitted the bow and stern flagstaffs:
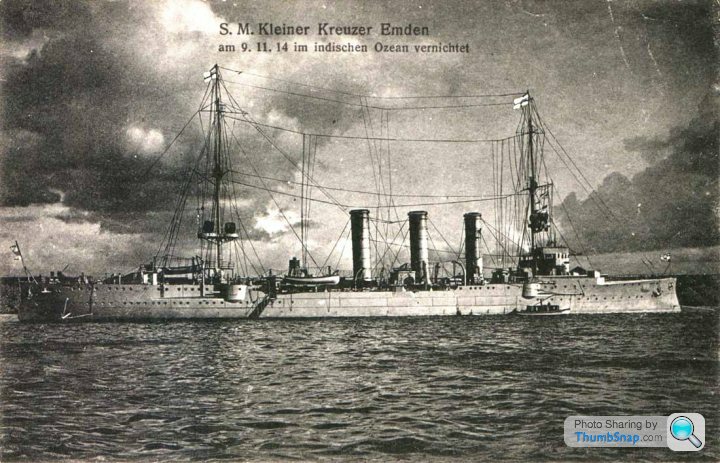
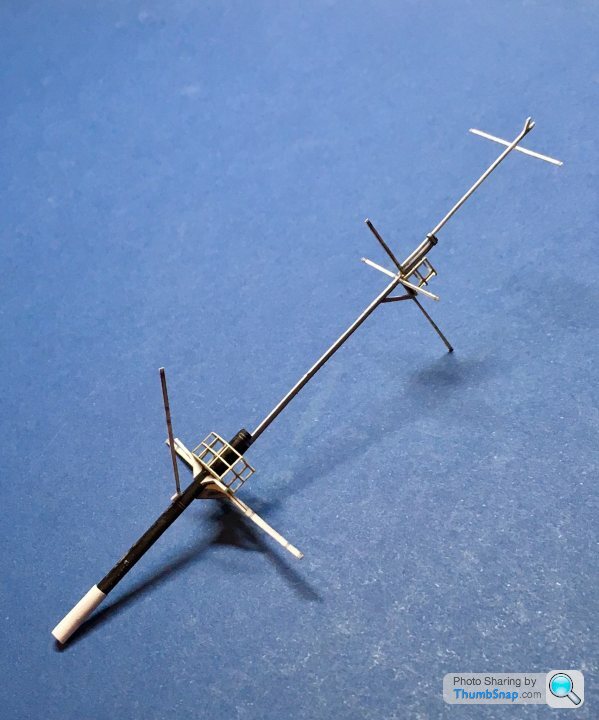
I think the masts might have been telescopic, to give clearance under bridges. Anyway, since pretty much all drawings and photographs I can find show the masts to be equal heights, I opted to change mine. Started by measuring the relative heights of three key points on the masts - the centres of the spars where the horizontal rigging fits:
Front location A:
Rear; difference 7mm high:
Front location B:
Rear; difference 6mm high:
Front position C:
Rear: difference 6mm high.
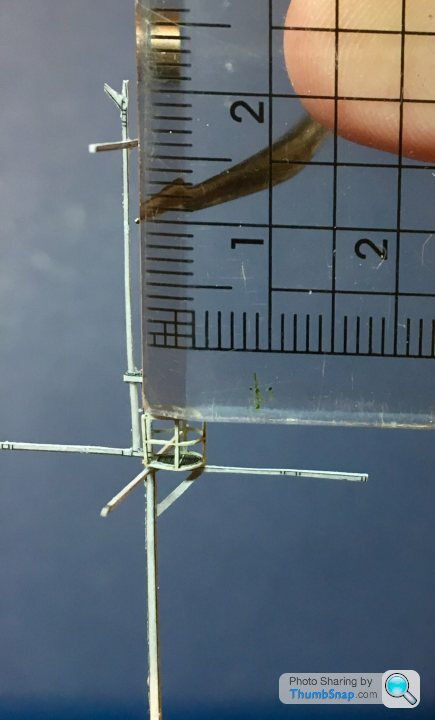
Average to remove from rear mast = 6.3mm. Snip:
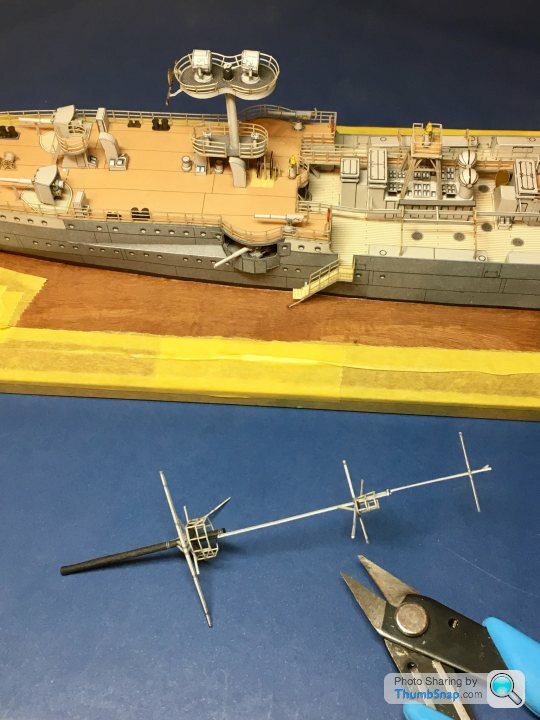
Snip:
Confirmation the features line up:
Then wrap some paper around the joint, paint and fix:
Not too bad, especially when the ladder is fitted, and at least the rigging will be parallel now:
Front location A:
Rear; difference 7mm high:
Front location B:
Rear; difference 6mm high:
Front position C:
Rear: difference 6mm high.
Average to remove from rear mast = 6.3mm. Snip:
Snip:
Confirmation the features line up:
Then wrap some paper around the joint, paint and fix:
Not too bad, especially when the ladder is fitted, and at least the rigging will be parallel now:

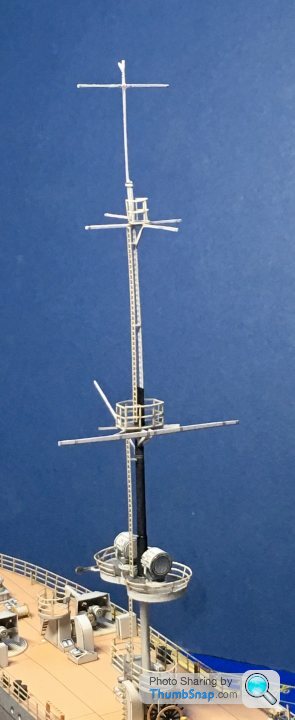
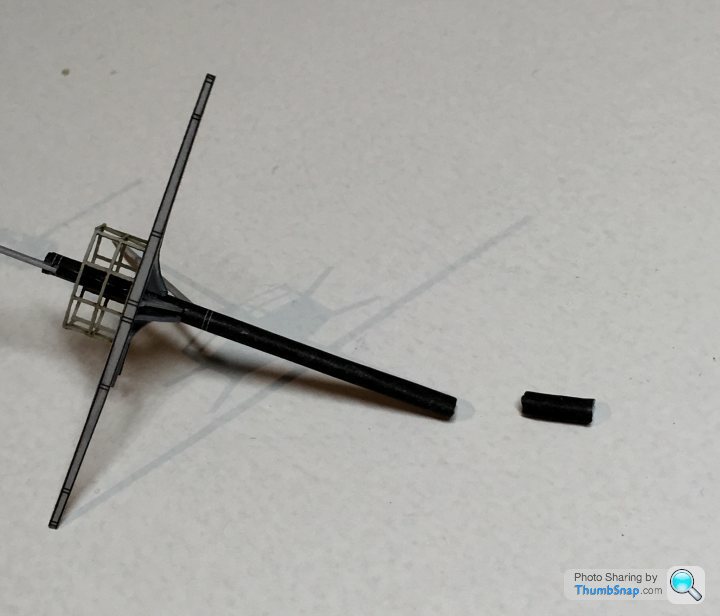
Ha ha - ‘fraid this one has tested me to the limit, I can’t deal with details any smaller than the smallest laser-cut bits in here. And even then there are more than a few compromises in it. I’ve no idea if the mast ladders are right, Im just happy they look like they vaguely could be at this stage!
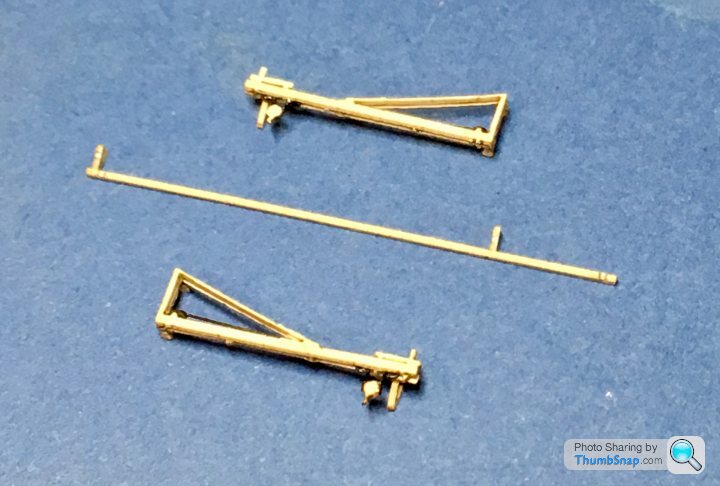
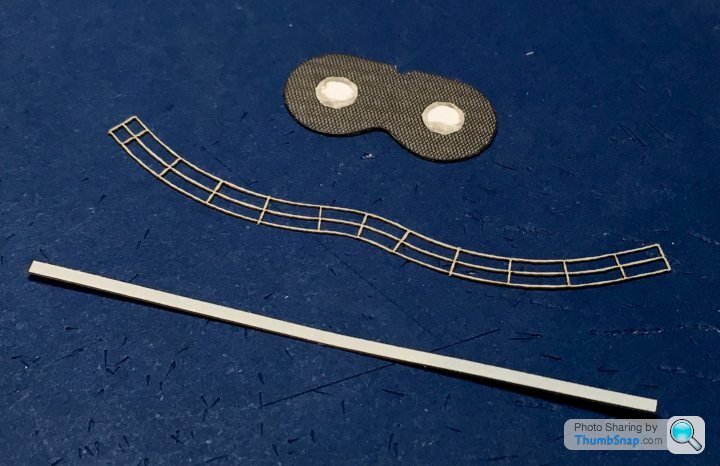
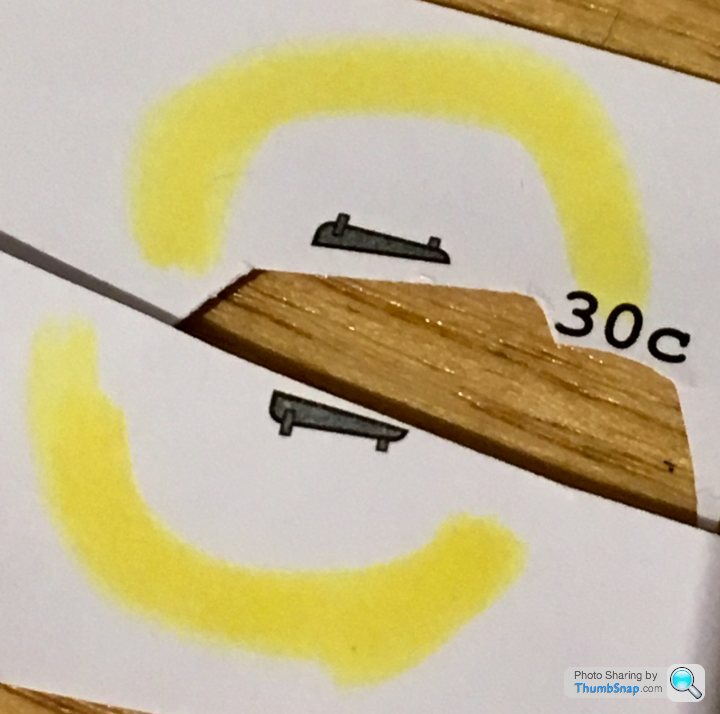
On to the davits. They are included in the laser-cut set, with some detail bits to stick on:
The add-ons looked a bit crude to my eyes, and they only attach to one side of each arm. I decided to cut out the much thinner paper versions of the eye doublers and end pulleys, paint the edges black and stick them on to both sides of each arm:
The now surplus eyelet doublers will make great padeyes for where my elastic rigging meets the deck.
Also punched some thin card feet for the davits which will hopefully make them easier to place:
Finished:
Only another 12 to go...
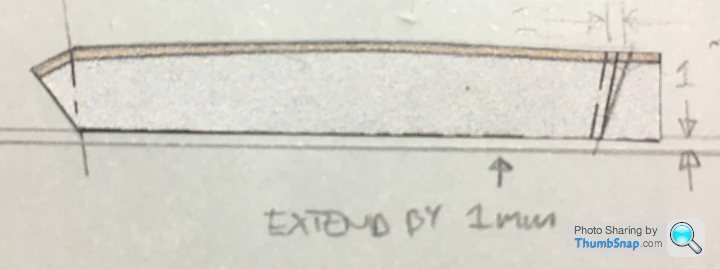
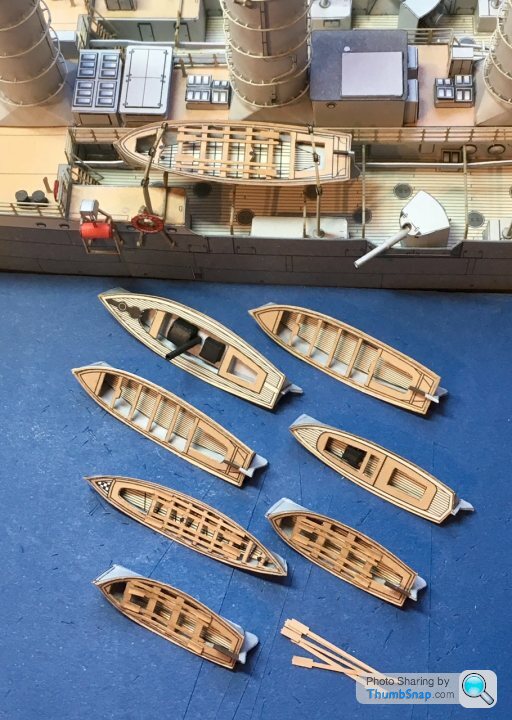
I ended up making the troublesome boat hulls from scratch. By trial and error, I added 1mm to the bottom of the hull sides, amended the length and angle of the bows and removed the stern triangles (to be fitted seperately):
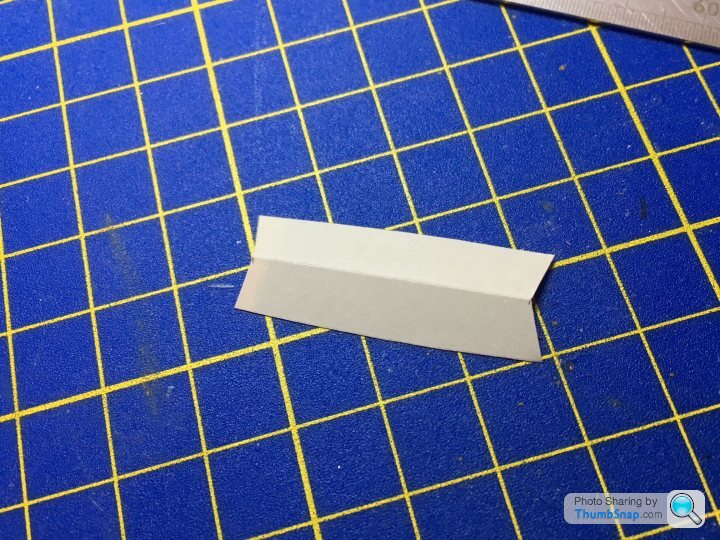
Then drew around the remaining upper profile, folded along the keel and cut out from some spare grey card in the kit:
I then cut the individual sides out and assembled to the deck plates. I added the brown hull top edging from painted paper, and also made keel and bow finishers from painted paper, scored to form a "v" shape. They all look acceptable now, although there remain some annoying details such as no propellers on the motor launches:
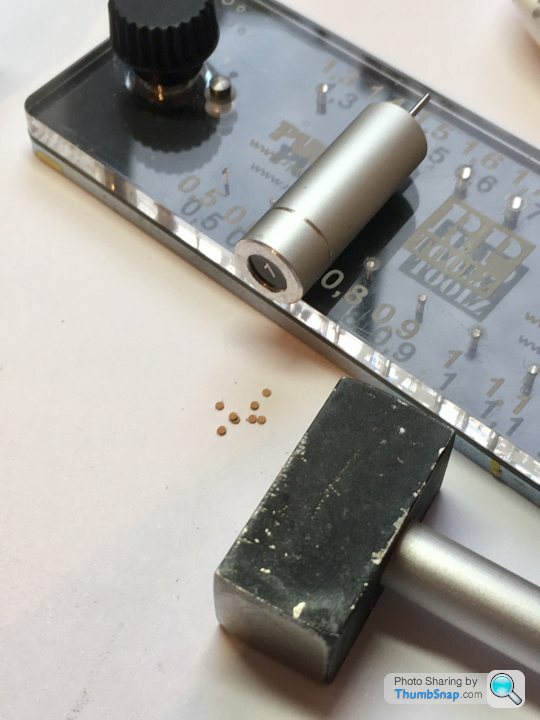
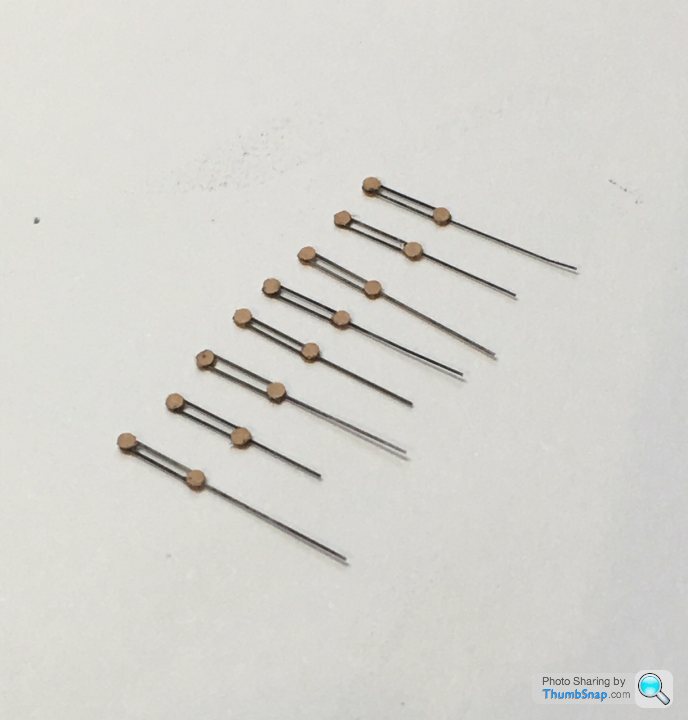
Made some davit pulleys from 1mm circles punched from scrap laser-cut card:
and added stretched sprue for the lines:
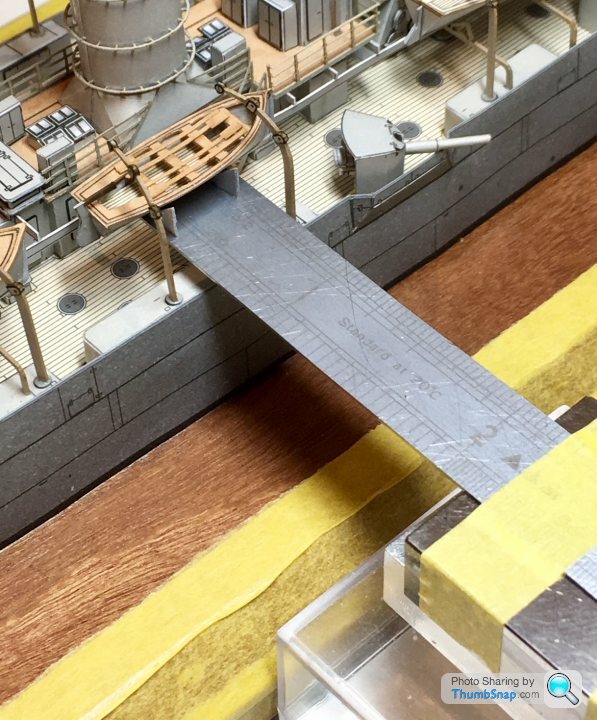
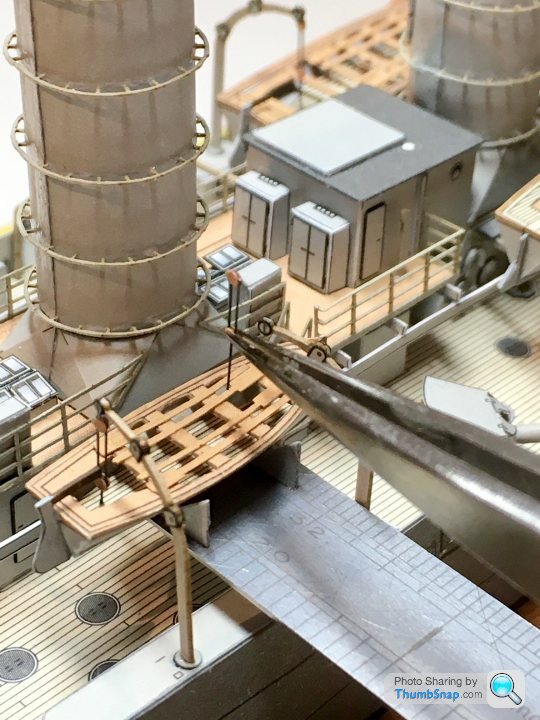
I opted to fit all the boats stowed, and since there are no supports for this option, I ended up making a makeshift height fixture out of a steel rule and some triangles of card:
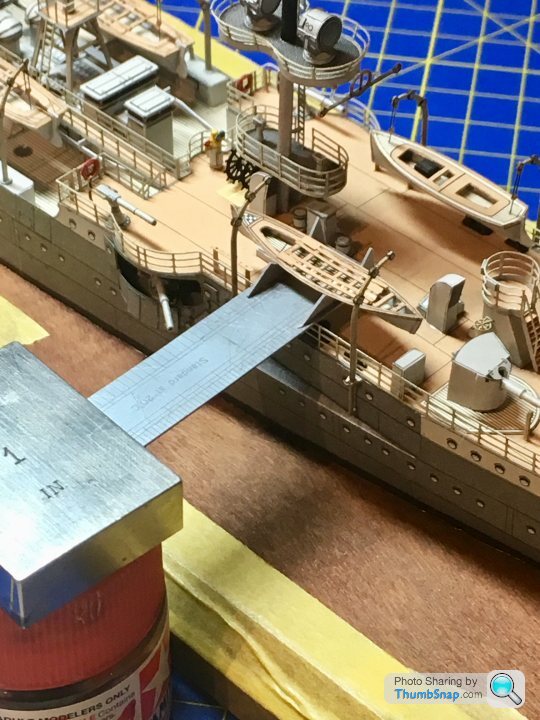
(that one's shown back to front by mistake)
the davit pulley lines were then trimmed to suit and PVA'd in place:
Then drew around the remaining upper profile, folded along the keel and cut out from some spare grey card in the kit:
I then cut the individual sides out and assembled to the deck plates. I added the brown hull top edging from painted paper, and also made keel and bow finishers from painted paper, scored to form a "v" shape. They all look acceptable now, although there remain some annoying details such as no propellers on the motor launches:
Made some davit pulleys from 1mm circles punched from scrap laser-cut card:
and added stretched sprue for the lines:
I opted to fit all the boats stowed, and since there are no supports for this option, I ended up making a makeshift height fixture out of a steel rule and some triangles of card:
(that one's shown back to front by mistake)
the davit pulley lines were then trimmed to suit and PVA'd in place:
Gassing Station | Scale Models | Top of Page | What's New | My Stuff