Christmas Group Build?
Discussion


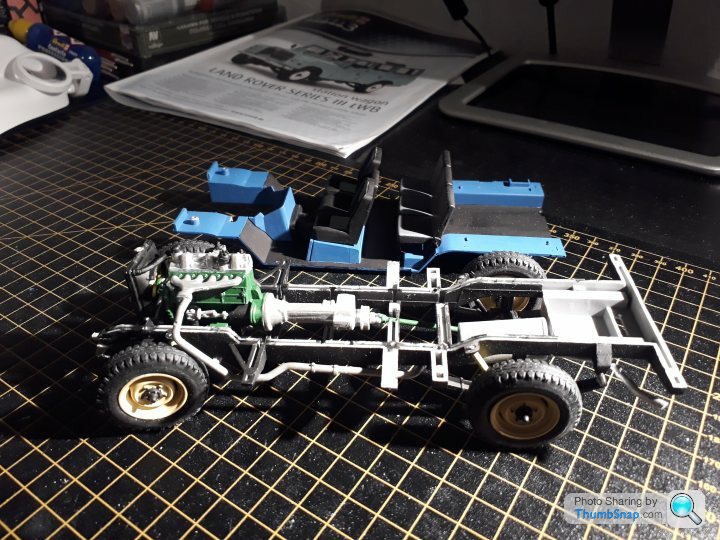
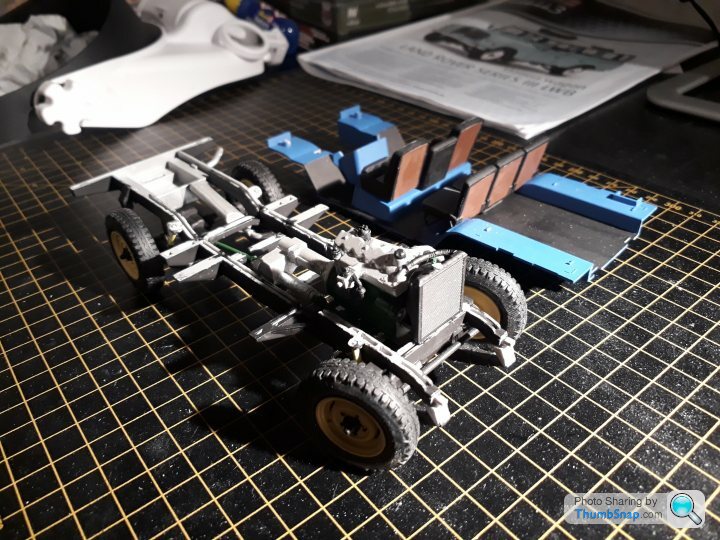
Looks great! I think the spare wheel
kit I mentioned is just a standard front wheel screwed to the cruciform bracing behind the driver.
Re decals - when I rebuilt my Frog, I couldn’t get the stickers to conform to the shell…until I used a hairdryer, then there was no issue.
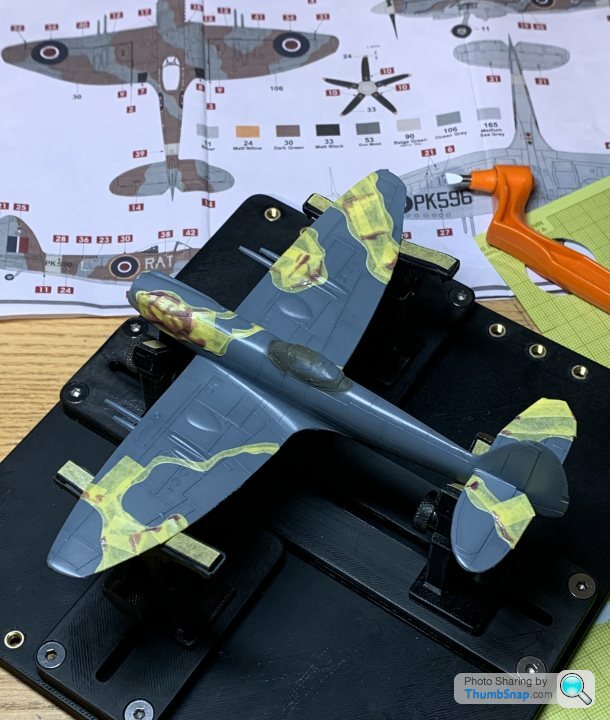
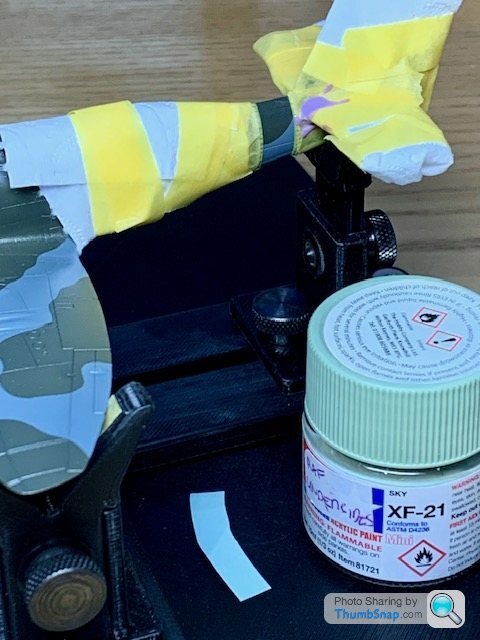
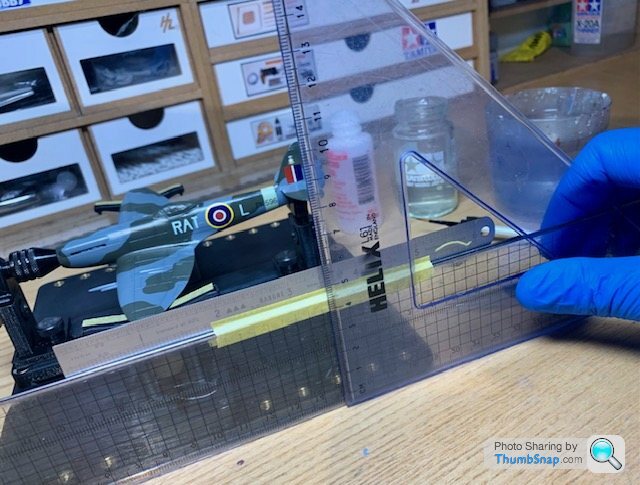
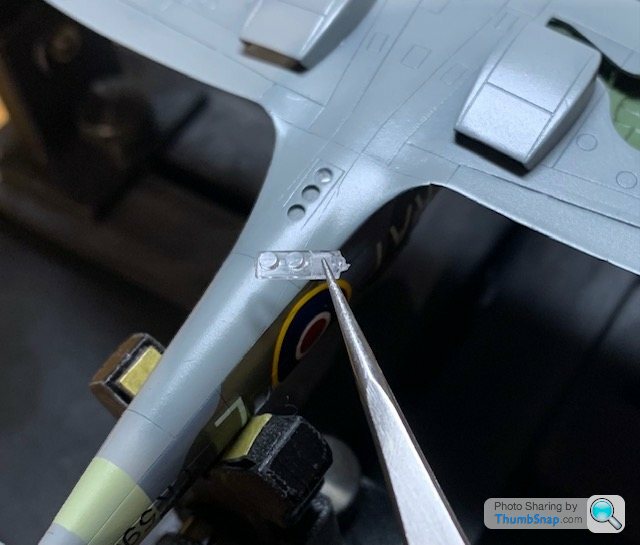
Still masking the Spitfire. The wavy cutter is still good, but getting the shapes right is tricky on the transitions:
kit I mentioned is just a standard front wheel screwed to the cruciform bracing behind the driver.
Re decals - when I rebuilt my Frog, I couldn’t get the stickers to conform to the shell…until I used a hairdryer, then there was no issue.
Still masking the Spitfire. The wavy cutter is still good, but getting the shapes right is tricky on the transitions:
robemcdonald said:
dr_gn said:
Looks great! I think the spare wheel
kit I mentioned is just a standard front wheel screwed to the cruciform bracing behind the driver.
Re decals - when I rebuilt my Frog, I couldn’t get the stickers to conform to the shell…until I used a hairdryer, then there was no issue.
Still masking the Spitfire. The wavy cutter is still good, but getting the shapes right is tricky on the transitions:
Looking great. Where can I get one of those wavy cutters from?kit I mentioned is just a standard front wheel screwed to the cruciform bracing behind the driver.
Re decals - when I rebuilt my Frog, I couldn’t get the stickers to conform to the shell…until I used a hairdryer, then there was no issue.
Still masking the Spitfire. The wavy cutter is still good, but getting the shapes right is tricky on the transitions:
Just do a search for Gyro Cut. They’re on Amazon.


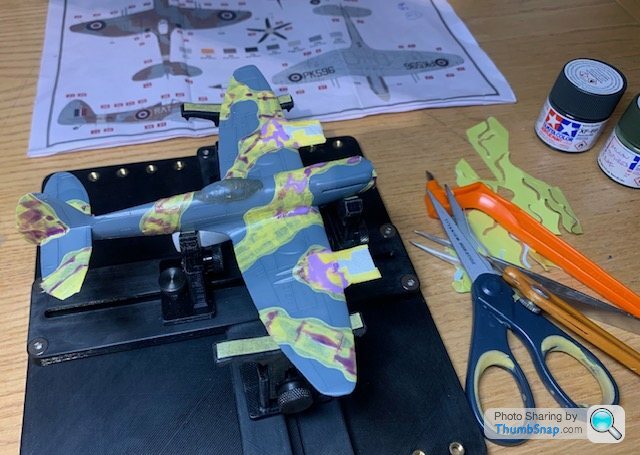
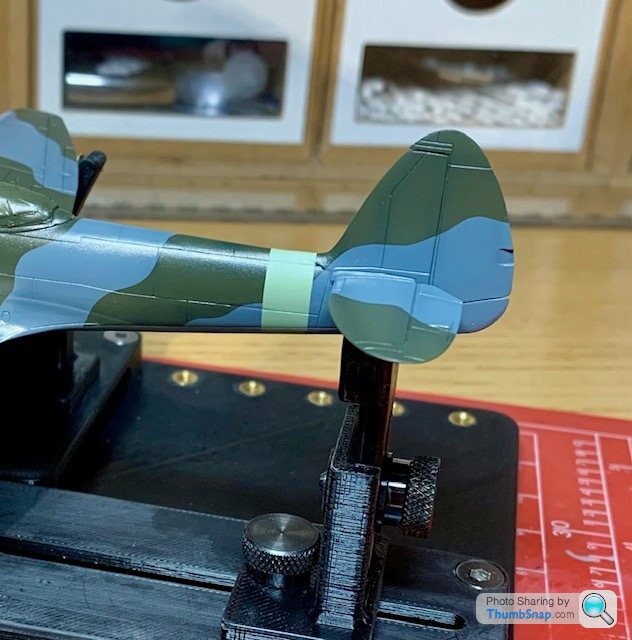
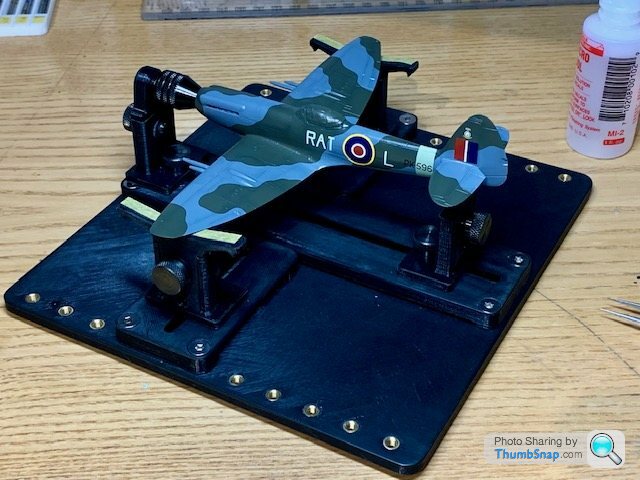
Got the masking finished this evening:
Base coat of Dark Green on:
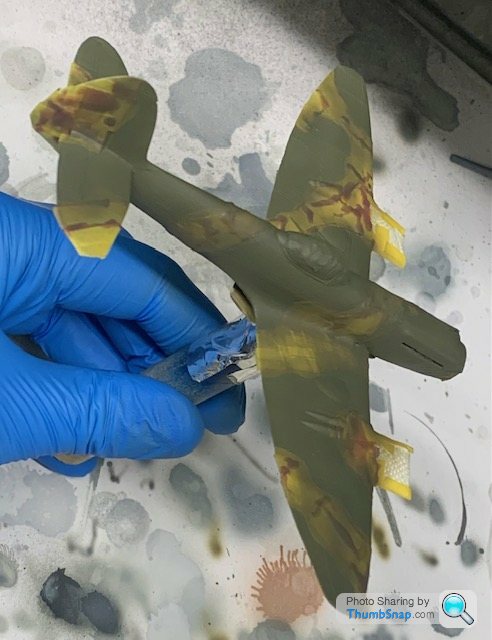
Rough pre-shade of NATO bBack:
Then mist coats of Dark Green again:
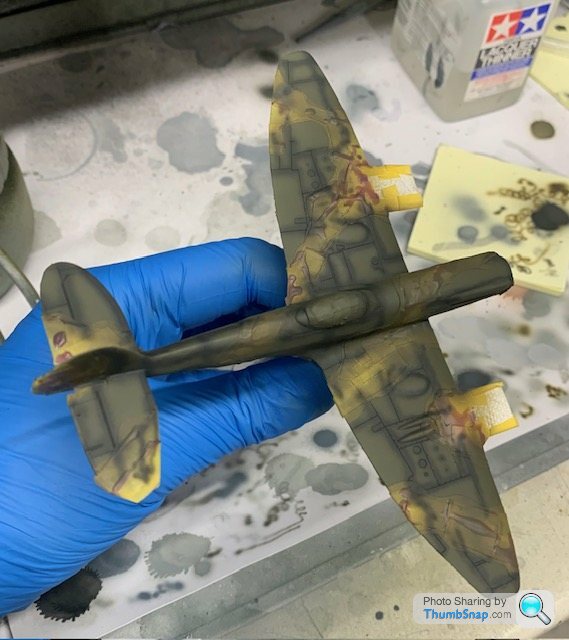
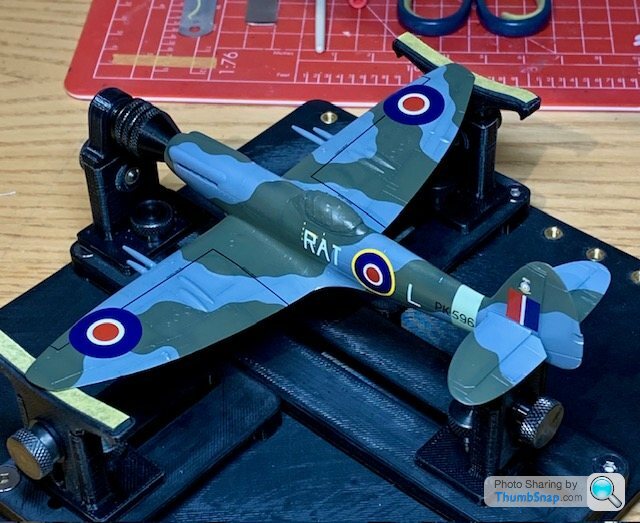
Removing masking took a couple of minutes:
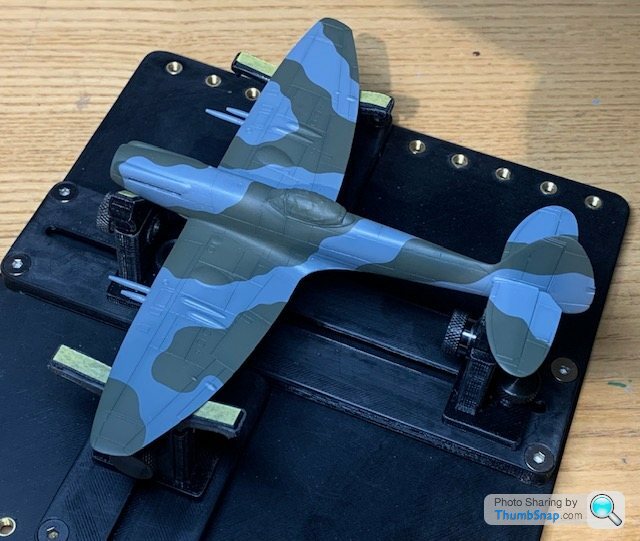
Upper/lower demarcations are OK, but I want to re-profile some of the green bits in front of the windscreen - for me it always seems difficult to get the pattern right first time:
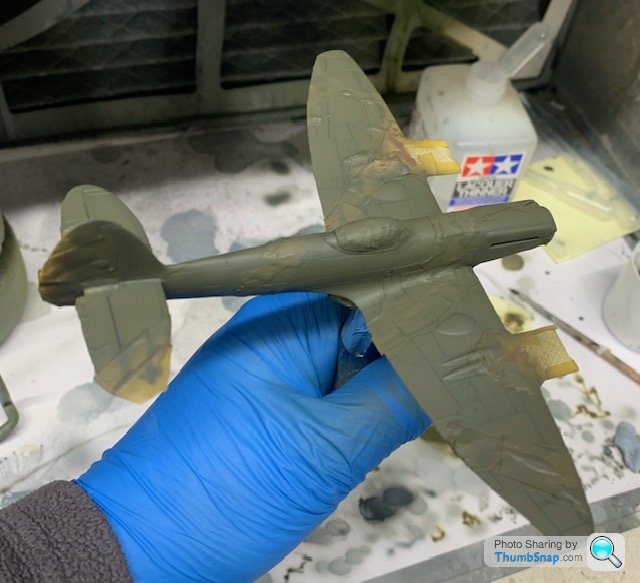
As with the previous Mk.1 Spitifire, there was some peeling of the paint, but not too much this time.
Next job after the corrections will be the Sky fuselage band.
Base coat of Dark Green on:
Rough pre-shade of NATO bBack:
Then mist coats of Dark Green again:
Removing masking took a couple of minutes:
Upper/lower demarcations are OK, but I want to re-profile some of the green bits in front of the windscreen - for me it always seems difficult to get the pattern right first time:
As with the previous Mk.1 Spitifire, there was some peeling of the paint, but not too much this time.
Next job after the corrections will be the Sky fuselage band.
Edited by dr_gn on Thursday 4th January 21:21
alleggeria said:
That all looks very tidy. Did you design the jig yourself?
Yes, it's a bit of a work in progess. Still to add a few features.Nice to see things progressing across the board...
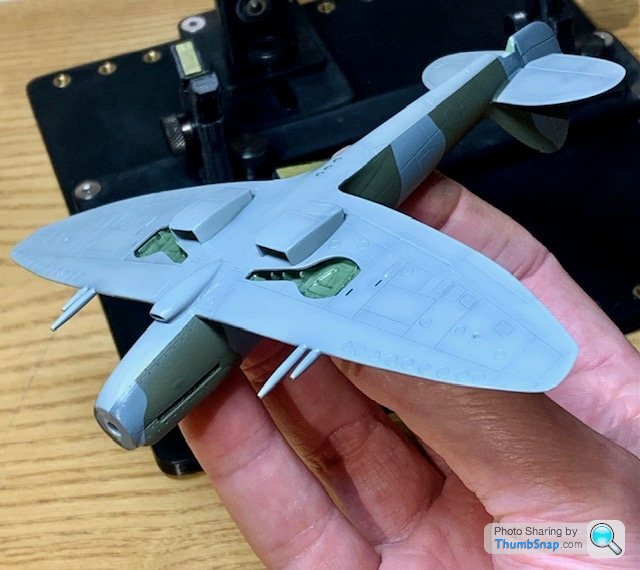
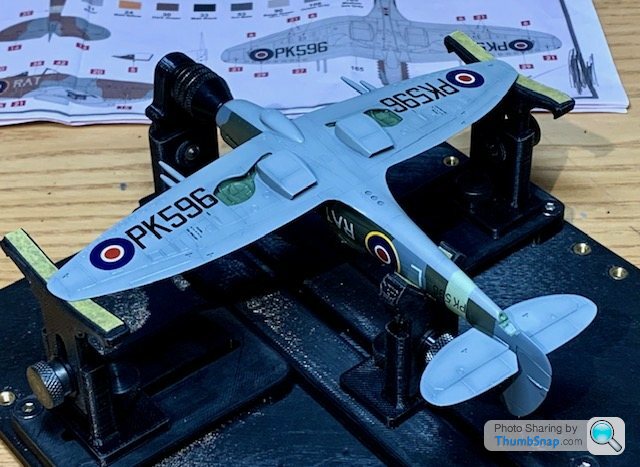
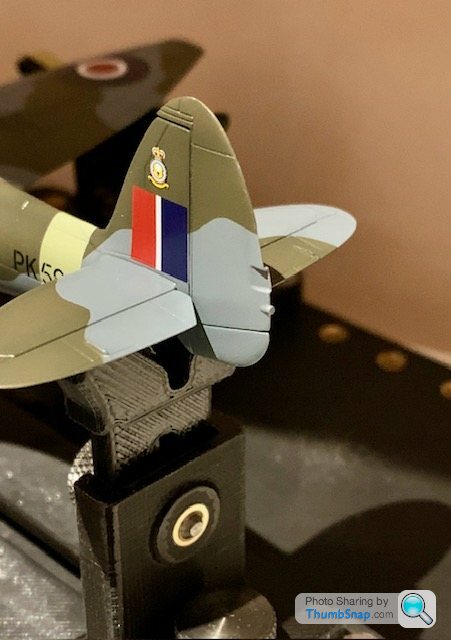
Masked up for the sky fuselage band (there is a decal, but I wanted it to match the painted spinner):
The isntructions show two slightly different alignments side-to-side. I assume this is a mistake, and went with it being perpendicular to the fuselage panel lines as per the instructions on the sbd. side:
Also tacked the various annoying localised camo corrections:
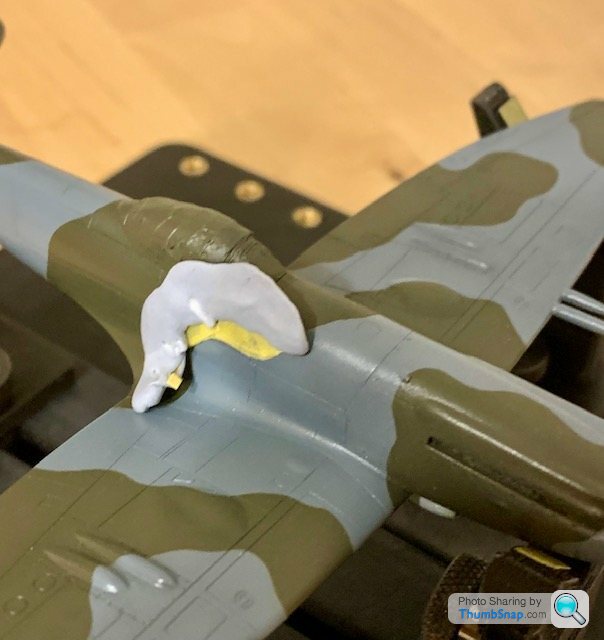
So now at last it'll be ready for decals when the various bits of Klear have fully dried:
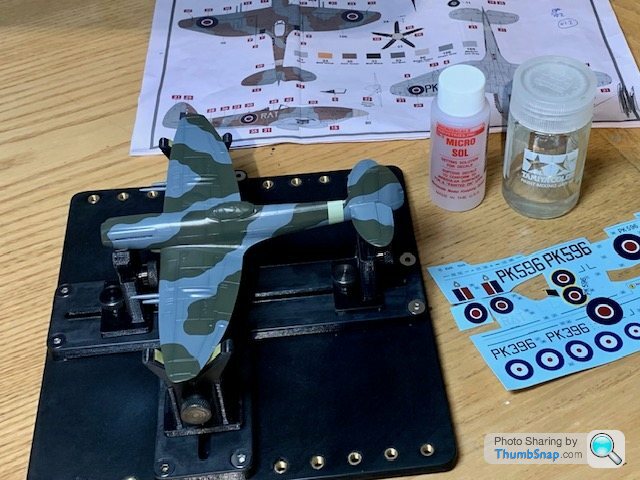
Started on the decals - I'll leave these to set before risking damaging them with the wing walkway lines and roundels. There are also some cut lines that need to be fitted over the port side codes:
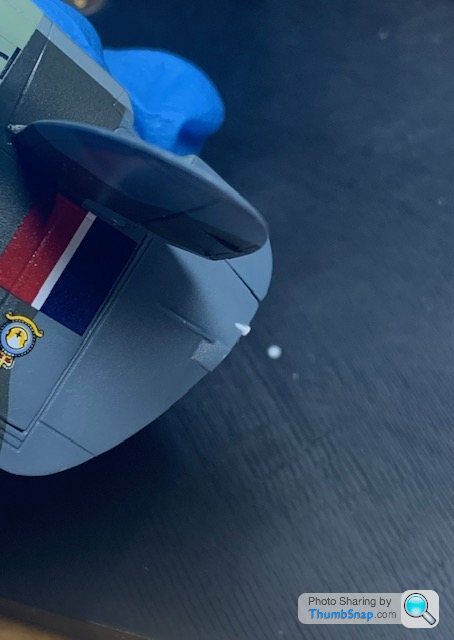
Never thought to check the fin flashes are handed - luckily they're the right way round.
Never thought to check the fin flashes are handed - luckily they're the right way round.

Went mad and mixed things up by cutting the signal lamps from their locating plate. I did this so I could fit them after final matt coating in order to reduce masking:
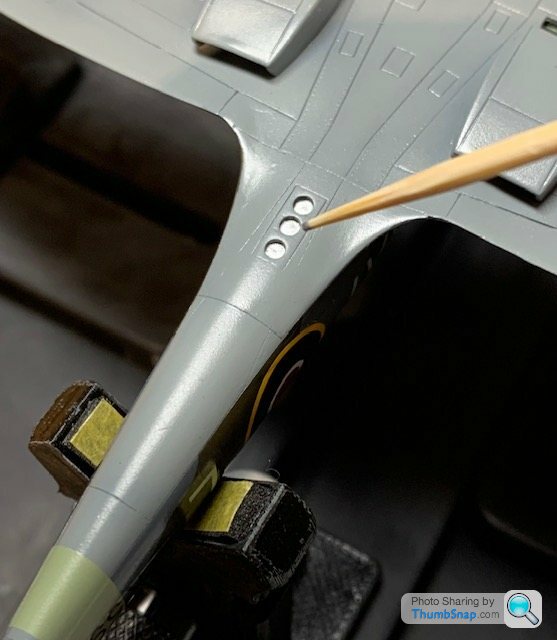
Then dotted Vallejo Chrome into the recesses with a cocktail stick:
The wing root anti-slip panel decals didn't fit too well - possibly due to the amount of filling and re-work needed there during construction. Easy job to mask and paint with Tamiya Rubber Black:
Also continued with stencil decals, which always seem to go wrong at some point. Despite being very careful to get them positioned right, one or two always seem to move a fraction as they set in place. Not sure if this is due to me setting them on Klear and using Microsol, or I've become too fussy:
At this stage, models look pretty ropey - too glossy, too toy-like with no weathering, no glazing visible, and the smaller details not yet fitted. They always seem to improve a lot in the end. With this one though, with it's dodgy vacform canopy, I'm not sure it'll reflect the amount of time put into it. We will see.
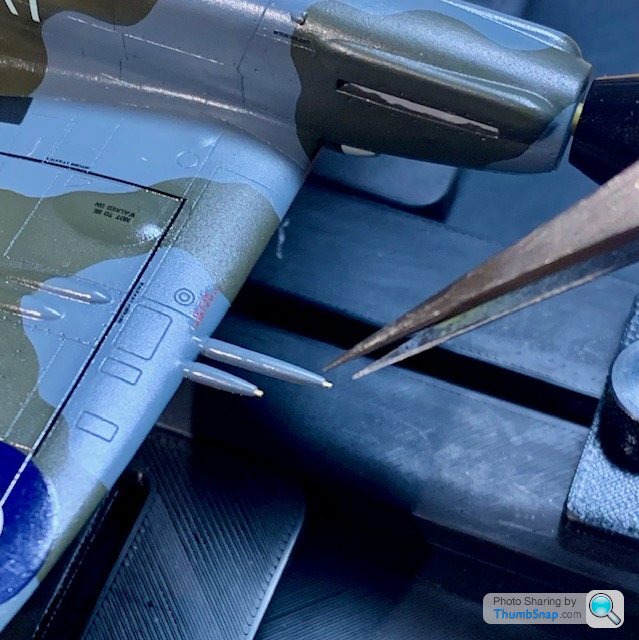
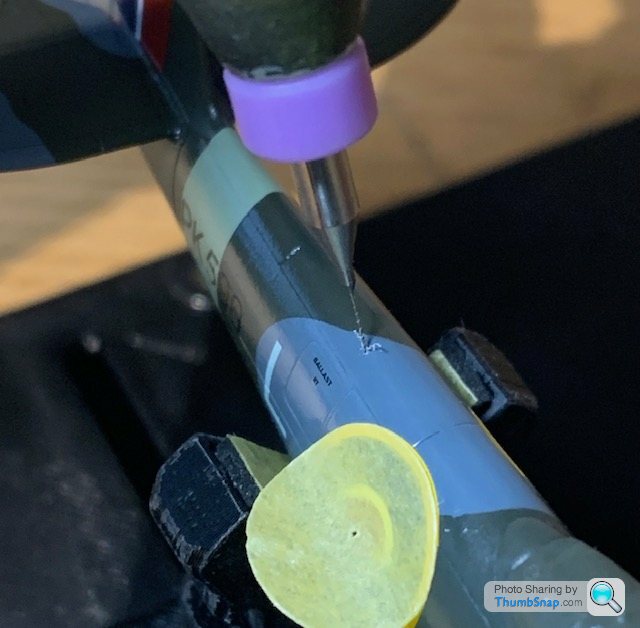
Had to drill out the cannon barrels a bit more to fit some 0.5mm brass tube:
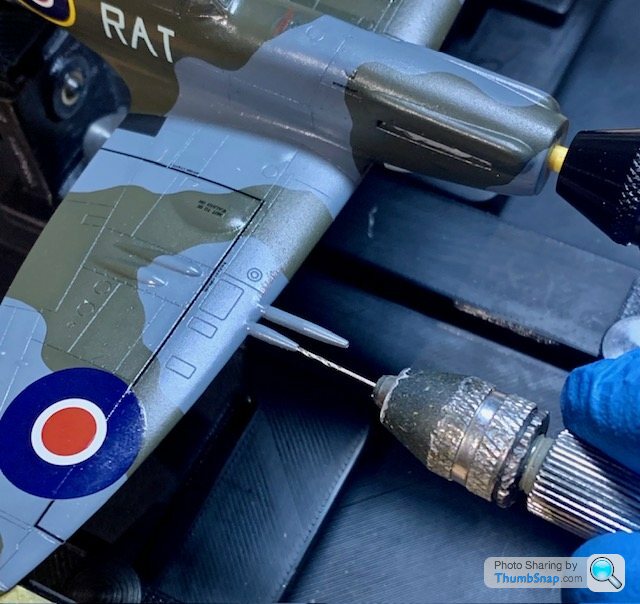
And drilled out a hole for the whip aerial. Of course the drill snapped, permanently blocking the hole. I never learn that tiny, cheap PCB drills are useless.
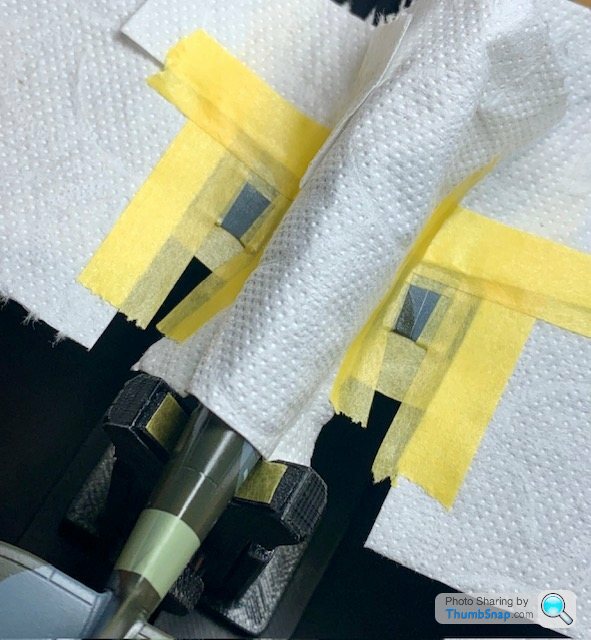
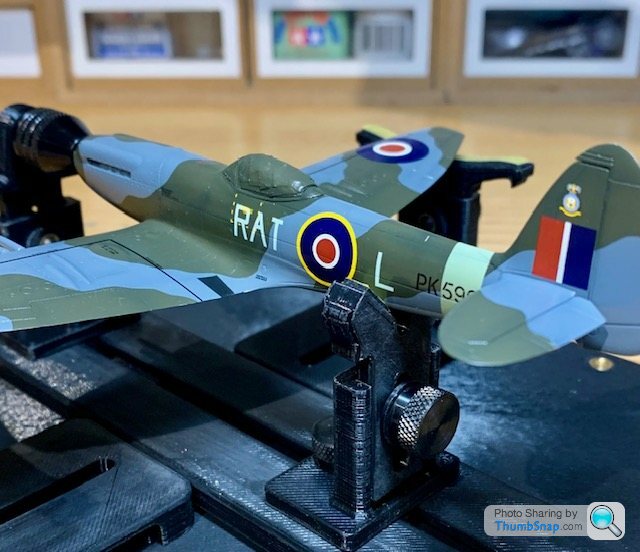
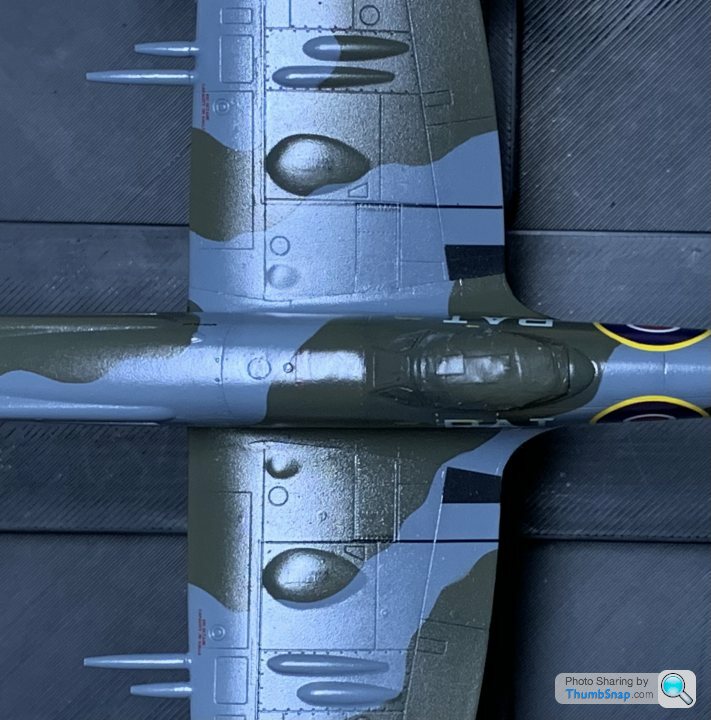
You can see that I'm in the process of masking up the stuff adjacent to the RAT code on the sbd. side becasue I need to overspray it and put it's replacement about 1mm further back.
And drilled out a hole for the whip aerial. Of course the drill snapped, permanently blocking the hole. I never learn that tiny, cheap PCB drills are useless.
You can see that I'm in the process of masking up the stuff adjacent to the RAT code on the sbd. side becasue I need to overspray it and put it's replacement about 1mm further back.


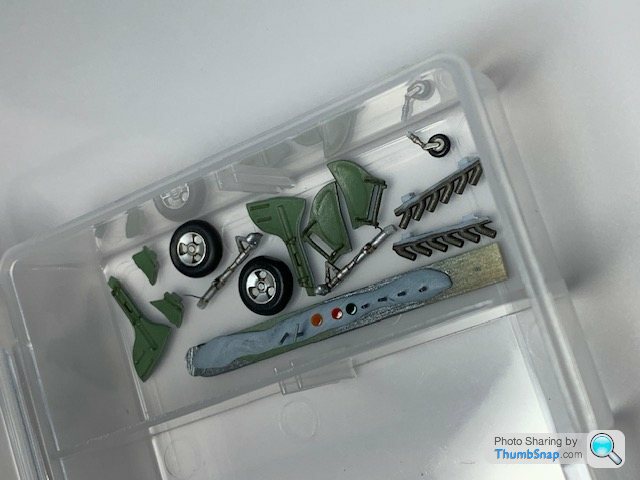
Few more details completed:
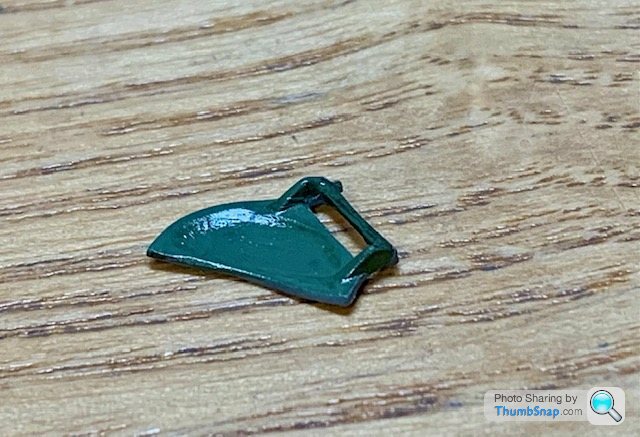
I noticed that the rudder light fairing wasn't moulded, so punched out a small disc of plasicard, stuck it to the rear edge of the rudder, then built-up a fairing using diluted PVA. Might not be 100% corect, but at least it's there now:
After paint:
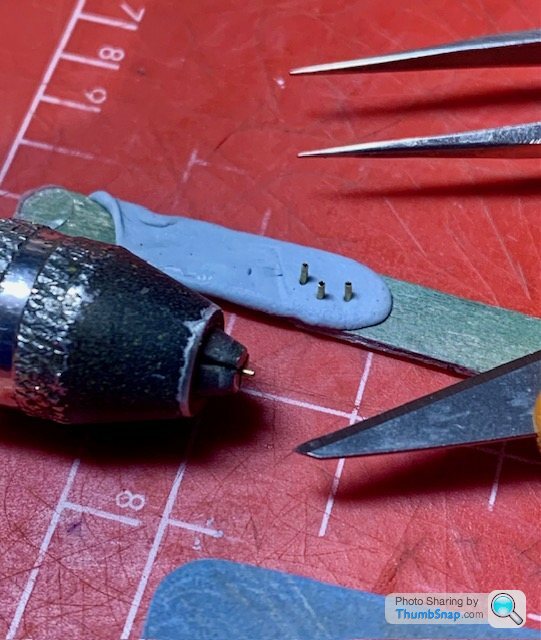
Also made a less clunky IFF rod antenna out or brass tube:
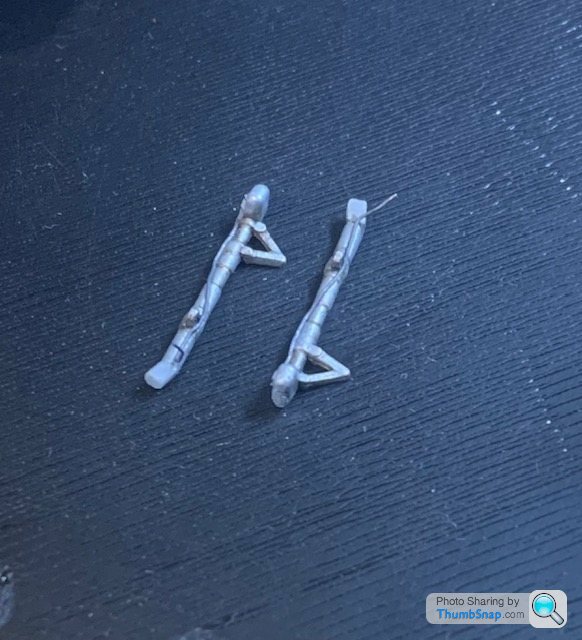
While looking at a refenrence book, I noticed that the outer u/c doors had actuating rods, so I removed the original lumps and used some scrap p/e and stretched sprue to make more realistic ones:

Added some brake pipes to the u/c legs:
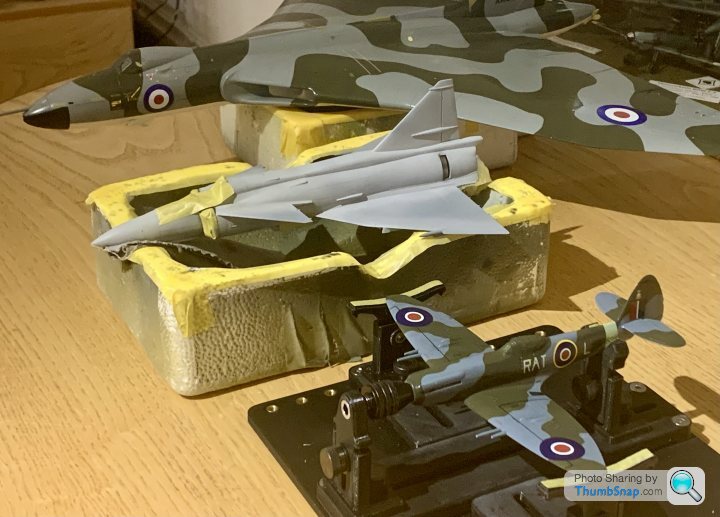
Apart from some wheel well pipework and the whip aerial, I think that completes the smaller details, ready for fitting after decals are complete:
I noticed that the rudder light fairing wasn't moulded, so punched out a small disc of plasicard, stuck it to the rear edge of the rudder, then built-up a fairing using diluted PVA. Might not be 100% corect, but at least it's there now:
After paint:
Also made a less clunky IFF rod antenna out or brass tube:
While looking at a refenrence book, I noticed that the outer u/c doors had actuating rods, so I removed the original lumps and used some scrap p/e and stretched sprue to make more realistic ones:
Added some brake pipes to the u/c legs:
Apart from some wheel well pipework and the whip aerial, I think that completes the smaller details, ready for fitting after decals are complete:
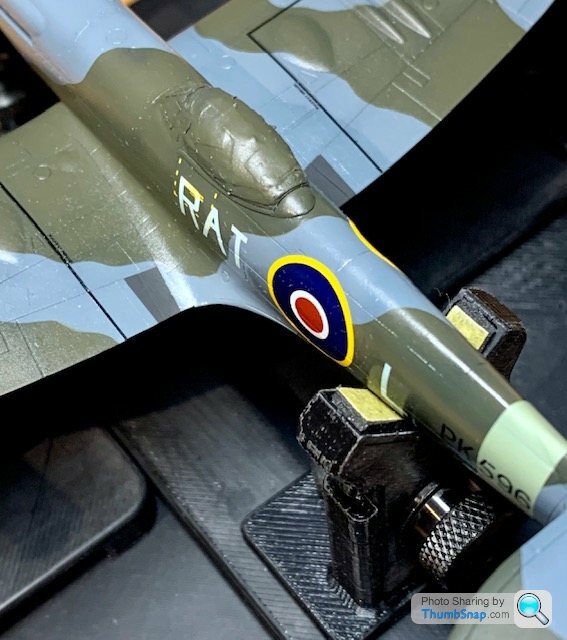
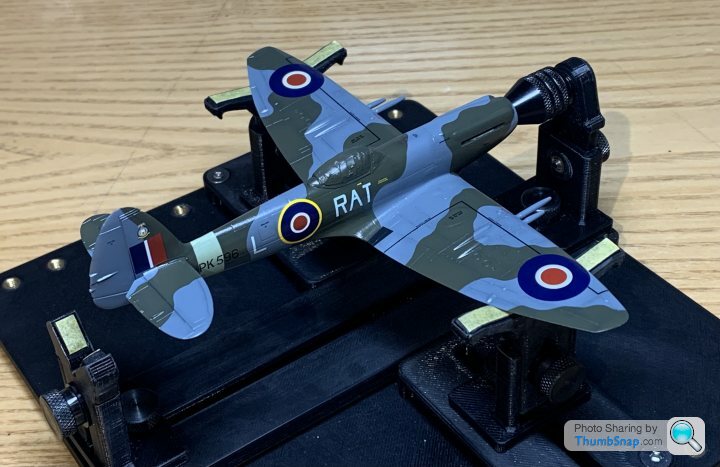
A kindly forum member sent me some spare code decals (from Canada). Still nothing from Airfix (in Kent). So made some progress. The stbd. RAT lettering is now better aligned with the port side. Always a tricky job for me, but there’s nothing too badly off side-to-side:
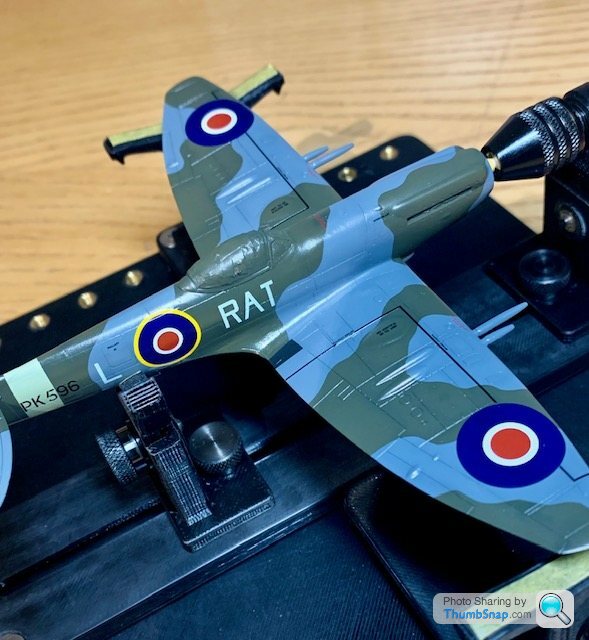
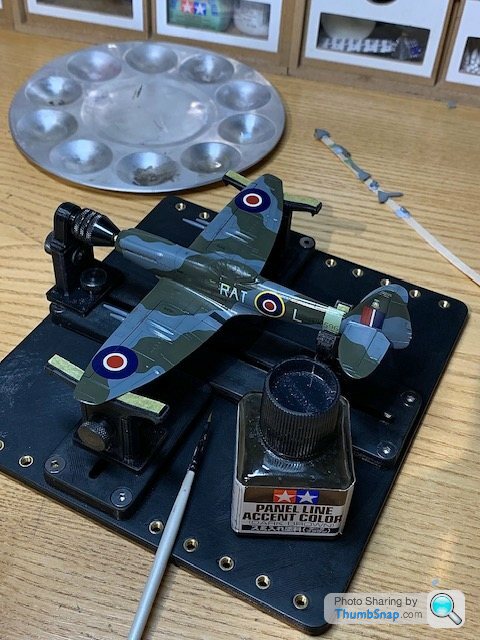
So with the rest of the stencils on, and another coat of Klear, it’ll be ready for its panel line wash once it’s hardened overnight;
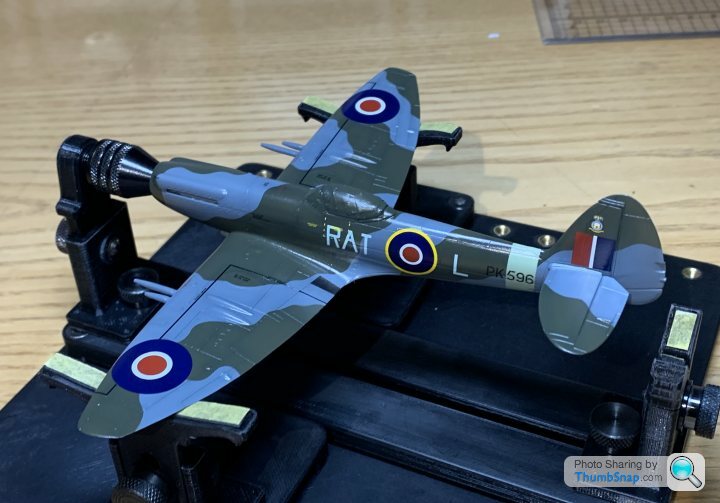
So with the rest of the stencils on, and another coat of Klear, it’ll be ready for its panel line wash once it’s hardened overnight;
gruffgriff said:
Every cold snap I tell myself to knock up a winter bench in the warm house to keep model momentum up...haven't though and am both joyed and jealous of all your progresseseseses! Loving the updates!
I'll have one soon, promise. May your paint flow and masking not lift
I keep thinking I ought to bring my airbrushing stuff from the garage into the office. I need to be building my stash on an industrial scale if I’m to finish them all before I peg out. What stops me is the incredible mess I end up making during even the smallest airbrushing session.I'll have one soon, promise. May your paint flow and masking not lift

Gassing Station | Scale Models | Top of Page | What's New | My Stuff