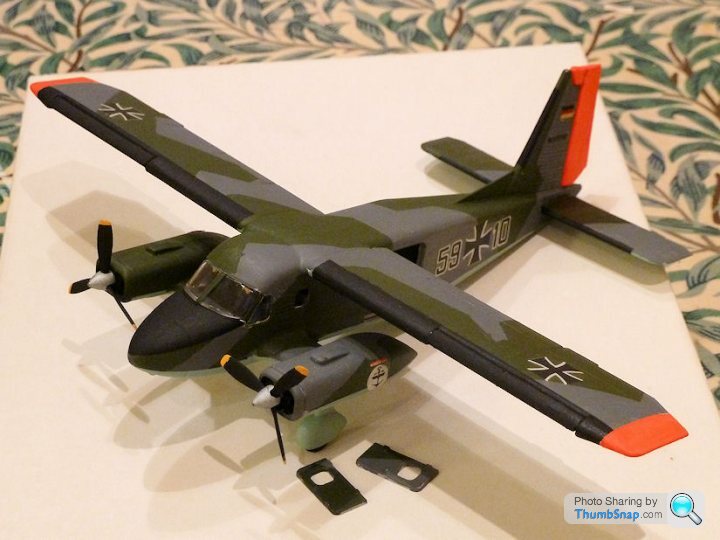
Matchbox 1:72 Dornier Skyservant
Discussion


telecat said:
Certainly doing a better job than I used to do. Always enjoyed making them but rarely painted them up and certainly never filled and sanded. On reason I liked the Matchbox kits was the Colour on the kit.
Back in the day, Matchbox kits got a lot of criticism for the multi-coloured plastic. No idea why - kids who just wanted to put a kit together without paint (maybe like you) got a less boring result, and the more serious modellers would paint them anyway. I don't see any downsides TBH.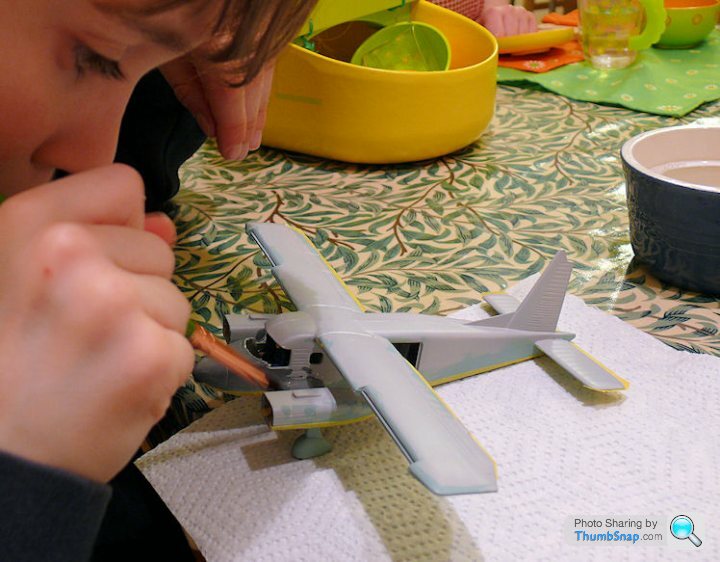
Dr Jekyll said:
dr_gn said:
Back in the day, Matchbox kits got a lot of criticism for the multi-coloured plastic. No idea why - kids who just wanted to put a kit together without paint (maybe like you) got a less boring result, and the more serious modellers would paint them anyway. I don't see any downsides TBH.
I remember trying to paint the green plastic of a Mig21 silver. Silver is always tricky to brush, but the green seemed almost impossible to cover. I gave up after about coat 7.Mind you an Airfix F14 needed a lot of white paint, but was white plastic. It didn't occur to me to give it a grey undercoat so I ended up putting more white paint on bits that were already drying and turning it into a total mess.
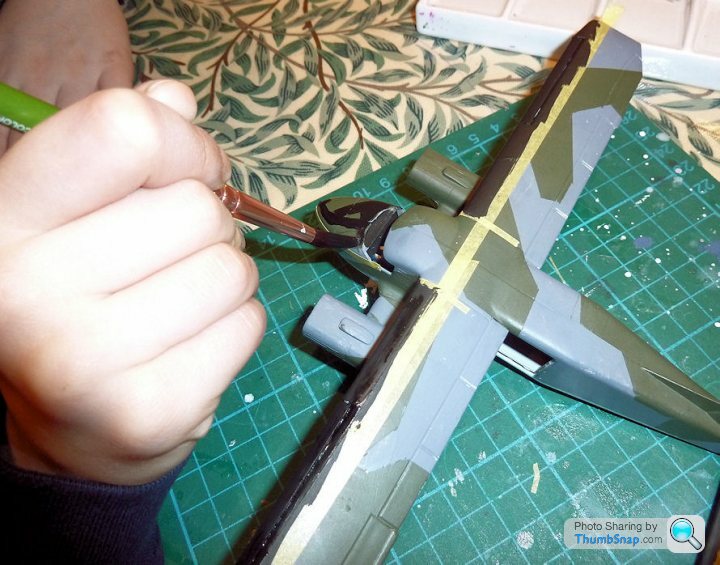
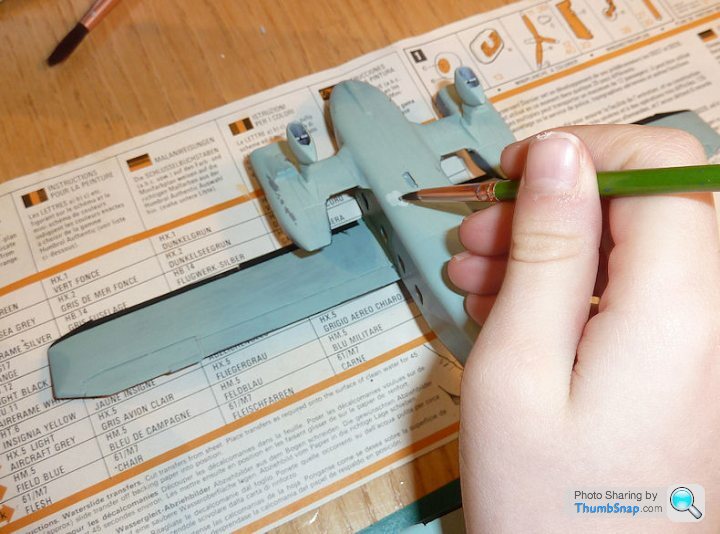
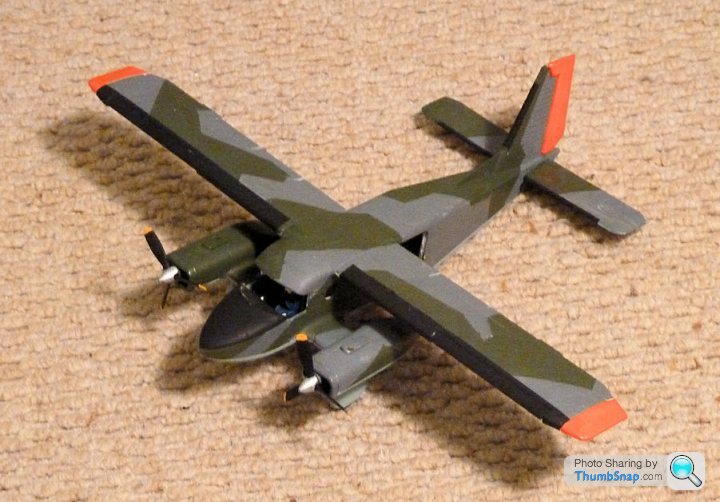
Green on. Of course I got the colours the wrong way around for him, but it's not the first time and won't be the last:
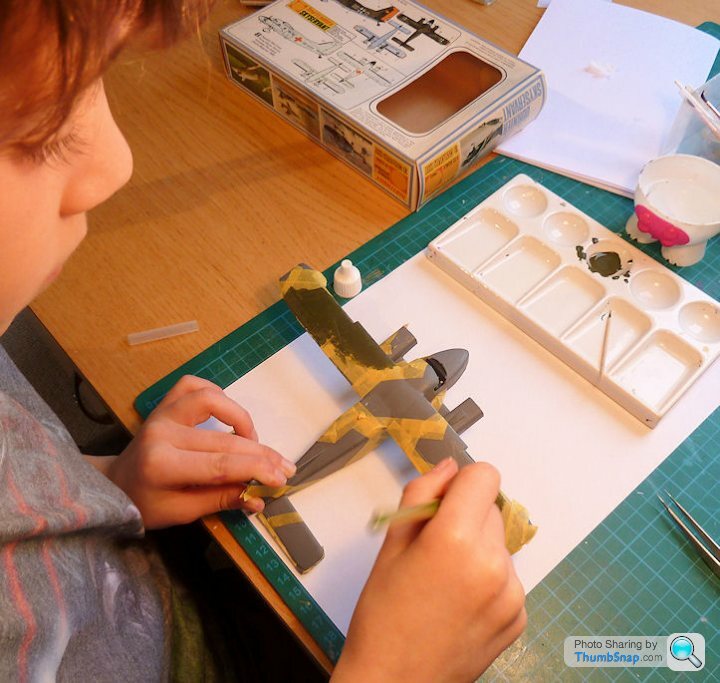
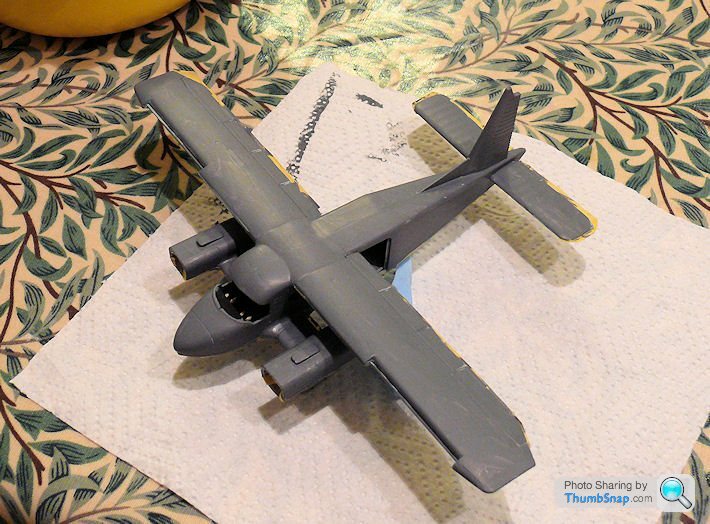
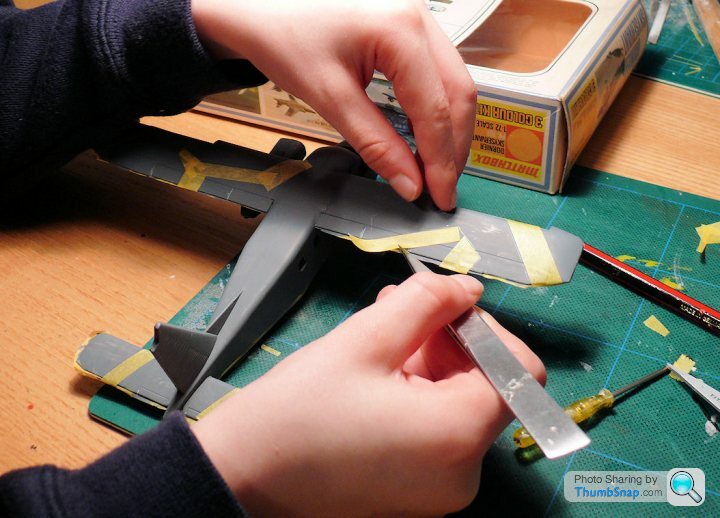
Not bad at all, a few bits of smudges beyond the masking, and some scratches with the tweezers when removing the tape, but hey, it's a first attempt:
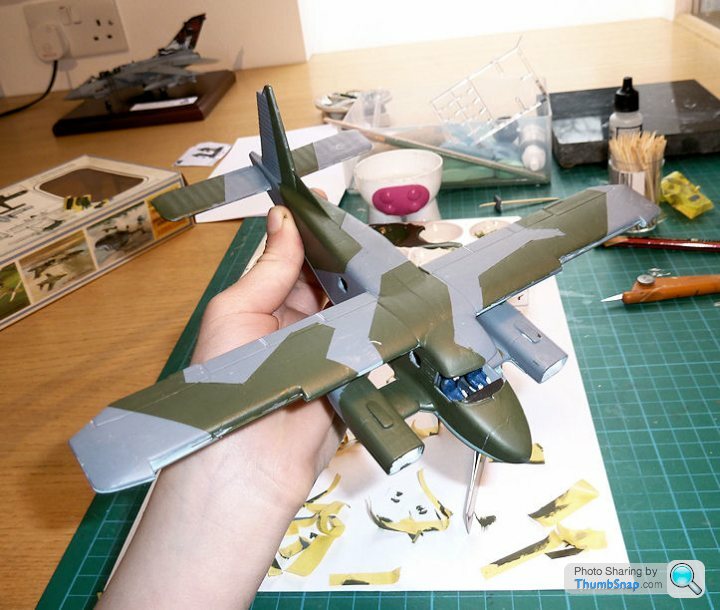
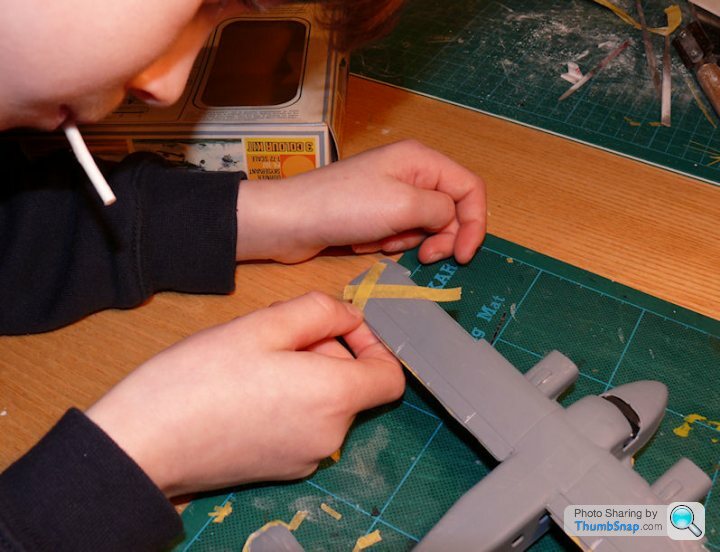
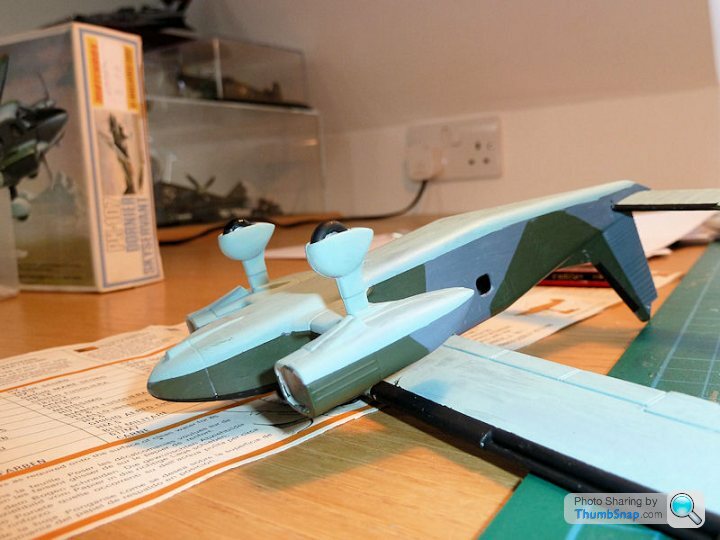
Next steps are masking the black leading edge strips. Piece of cake after the camo.
Not bad at all, a few bits of smudges beyond the masking, and some scratches with the tweezers when removing the tape, but hey, it's a first attempt:
Next steps are masking the black leading edge strips. Piece of cake after the camo.
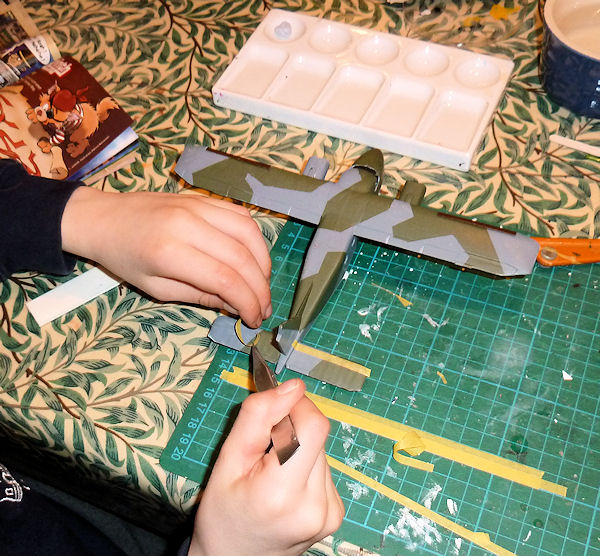
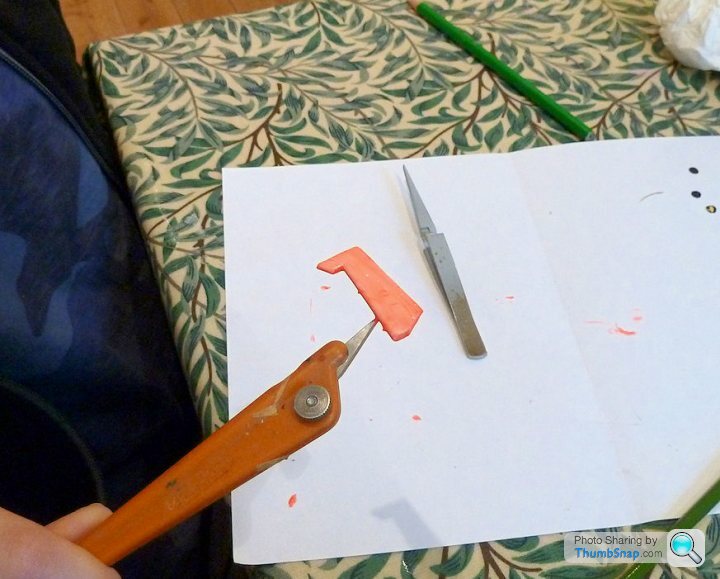
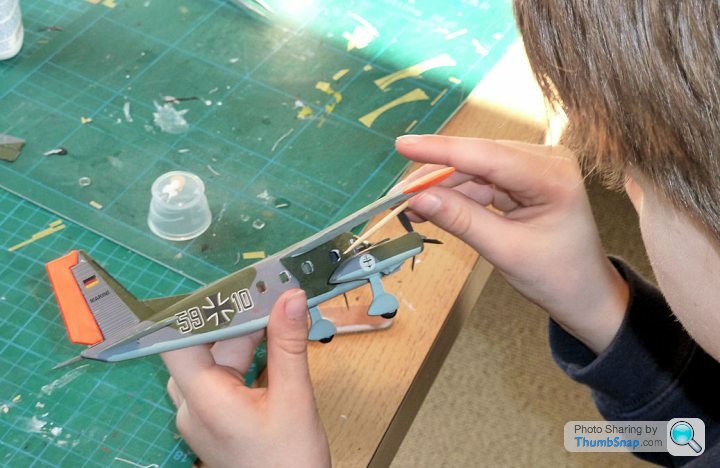
Few more new things tried today:
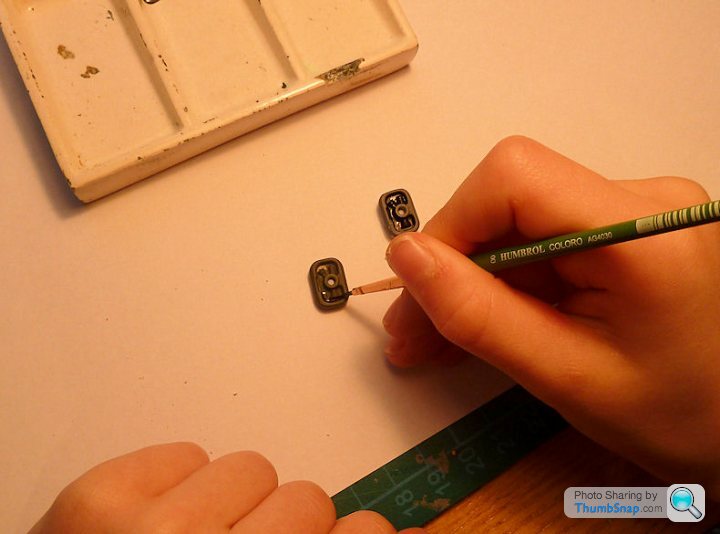
Drilling (for tailwheel)

Sawing (slots in the wheels)

Punching (masking tape for wheel centres)
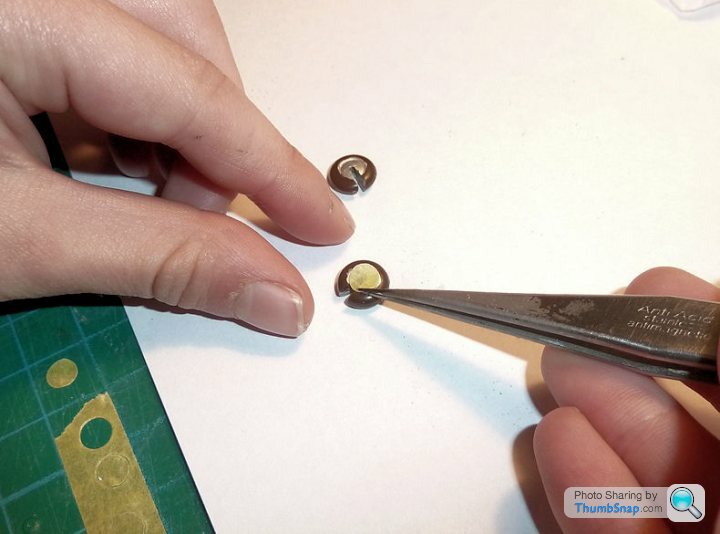
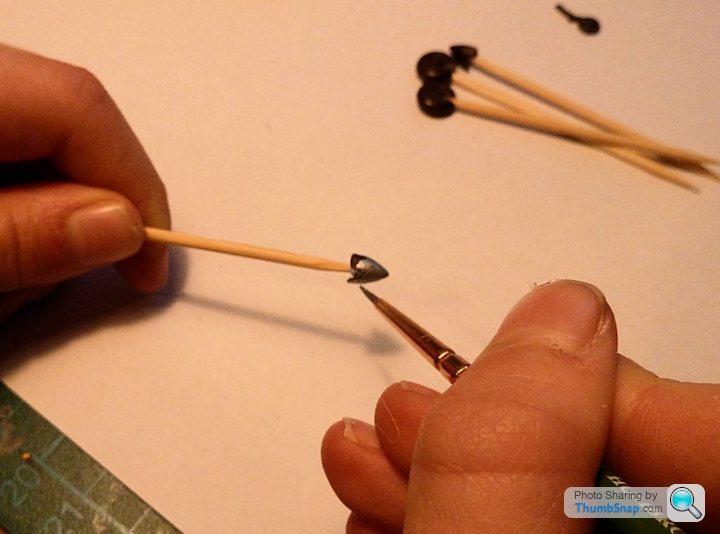
Also detail painted the engines (which turned out very well considering it would have been easy to smudge the surrounds) and the spinners and tailwheel. I stuck the smaller bits to cocktail sticks for him, and blu-tacked the engine covers to the bench to stop them movnig around.
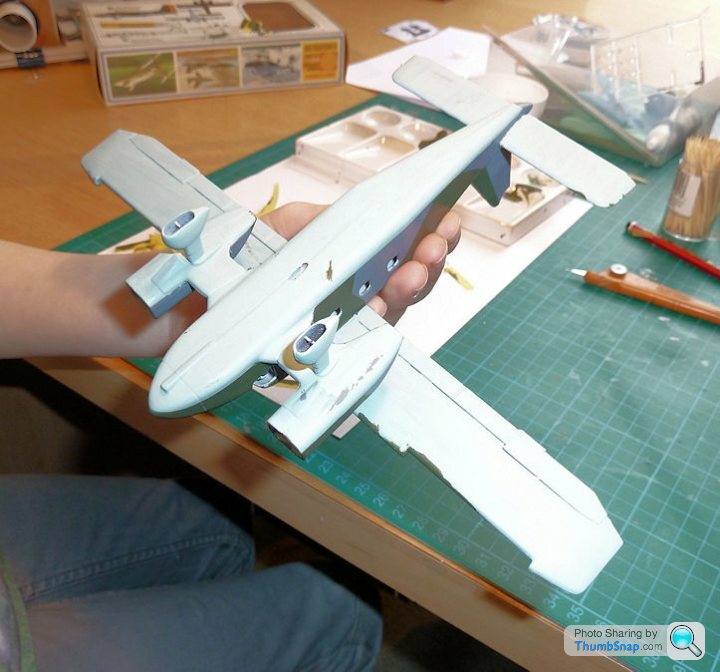
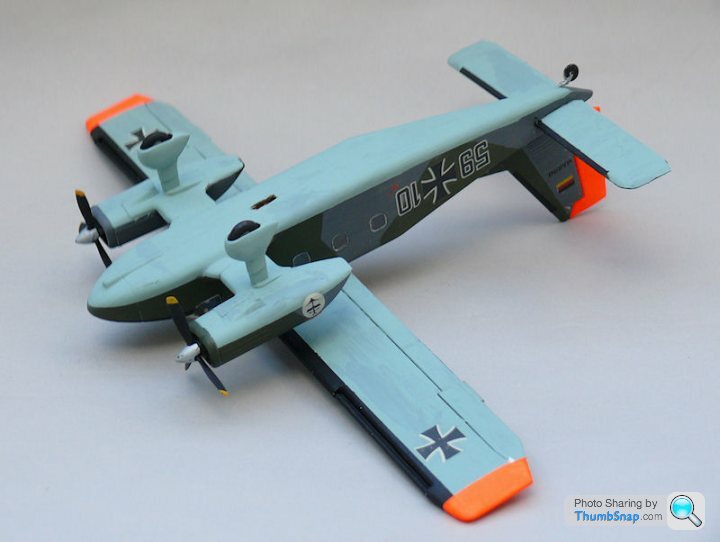
He also touched in some of the paint on the undersides
The wheels look great now fitted with PVA
Home straight now.
Drilling (for tailwheel)
Sawing (slots in the wheels)
Punching (masking tape for wheel centres)
Also detail painted the engines (which turned out very well considering it would have been easy to smudge the surrounds) and the spinners and tailwheel. I stuck the smaller bits to cocktail sticks for him, and blu-tacked the engine covers to the bench to stop them movnig around.
He also touched in some of the paint on the undersides
The wheels look great now fitted with PVA
Home straight now.
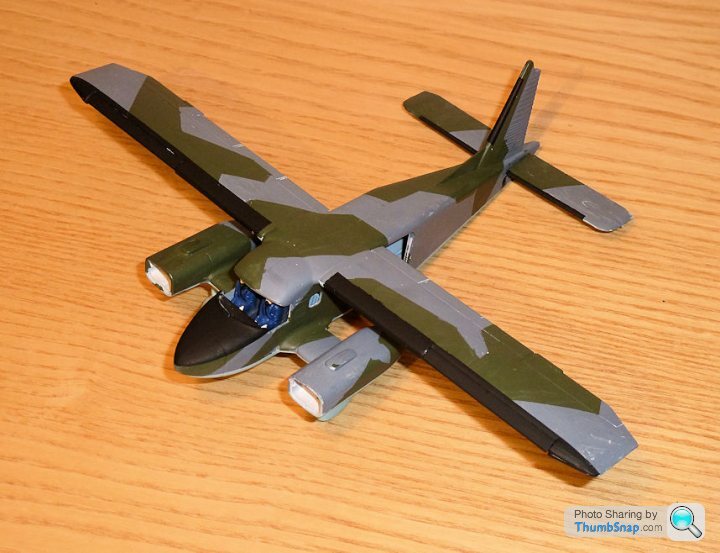
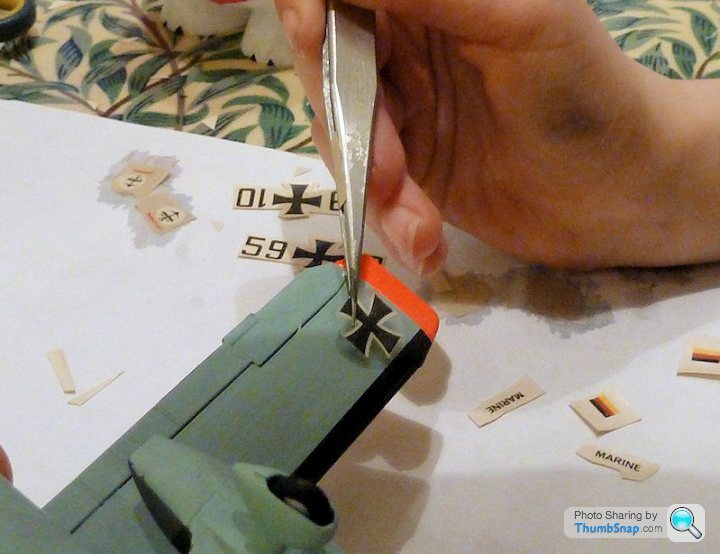
Applied the 1974 vintage decals, which were OK after a percautionary coat of Klear. I painted more Klear onto the surface of the model just before he placed the decal. This bit was a team effort. I did assure him that with newer decals it would be easier:
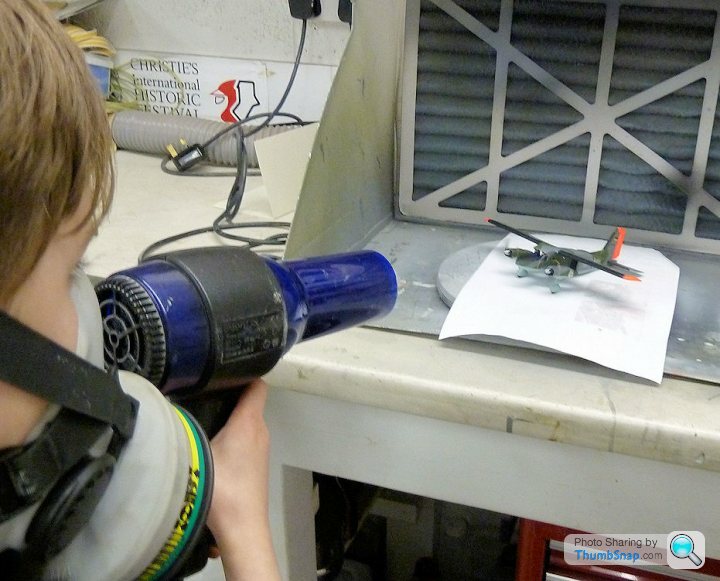
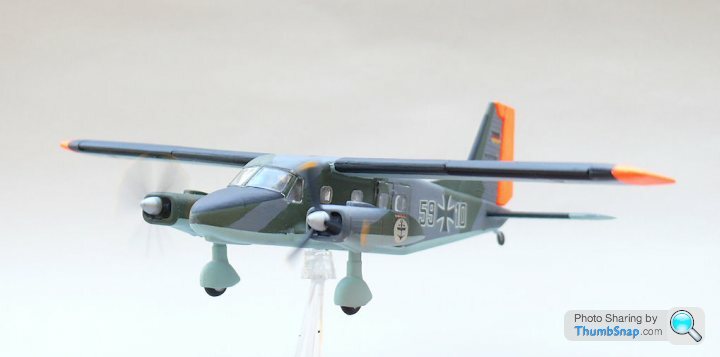
Then, into the garage to spray it with matt varnish. He could operate the Humbrol nozzle OK; I helped him with the "wafting". There appeared to be something compulsive about spinning the props up with a hairdryer. I will have to remember that trick when it comes to taking some final photos:
I had my doubts about the fit of the windscreen, but it popped into place with no need for glue. Impressive fit:
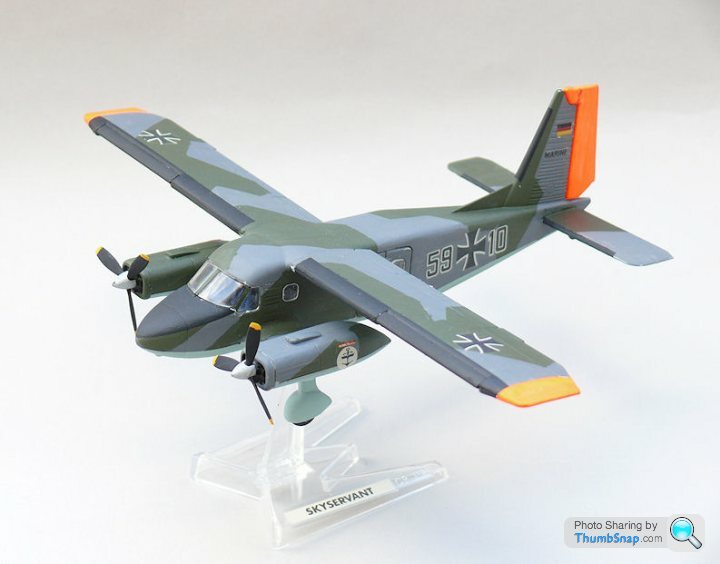
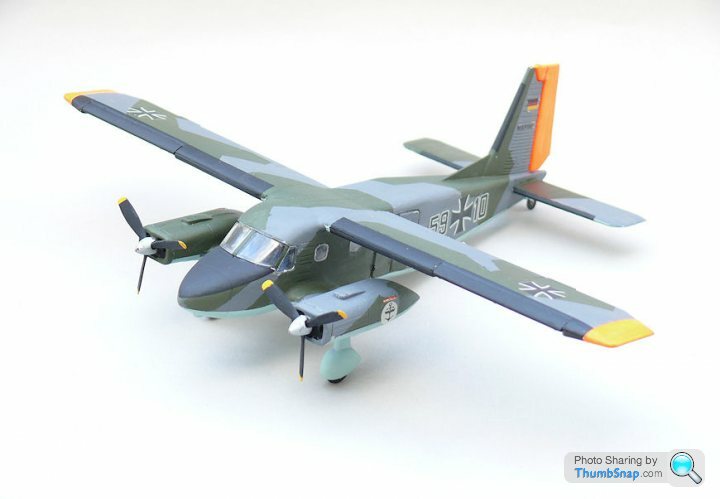
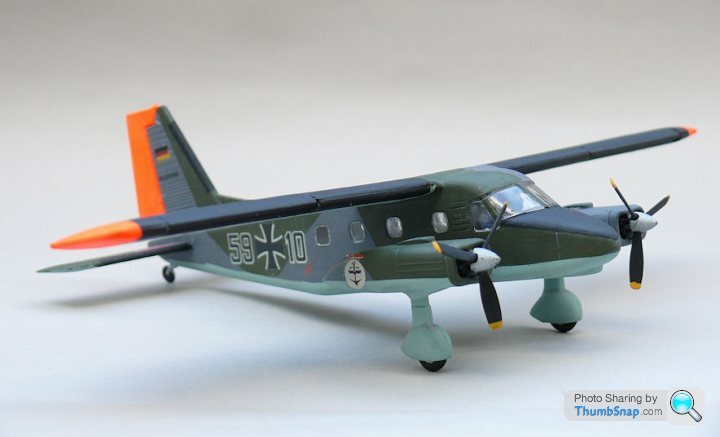
Just the cabin windows and tailwheel and it's done. I may be biased, but I think it looks magnificent all things considered.
Then, into the garage to spray it with matt varnish. He could operate the Humbrol nozzle OK; I helped him with the "wafting". There appeared to be something compulsive about spinning the props up with a hairdryer. I will have to remember that trick when it comes to taking some final photos:
I had my doubts about the fit of the windscreen, but it popped into place with no need for glue. Impressive fit:
Just the cabin windows and tailwheel and it's done. I may be biased, but I think it looks magnificent all things considered.
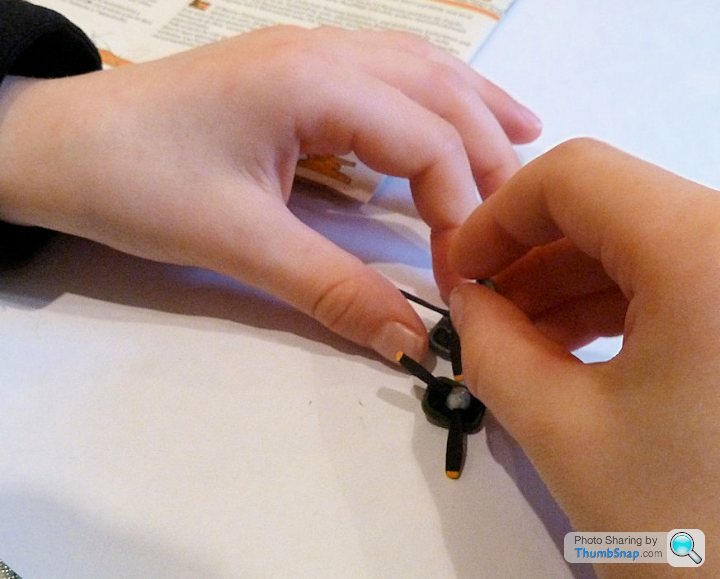
So the windows, tailwheel and doors are in place - I thought it would be a real struggle to place the windows - I couldn't do it without tweezers, but the boy with better suited finger size made it look easy:
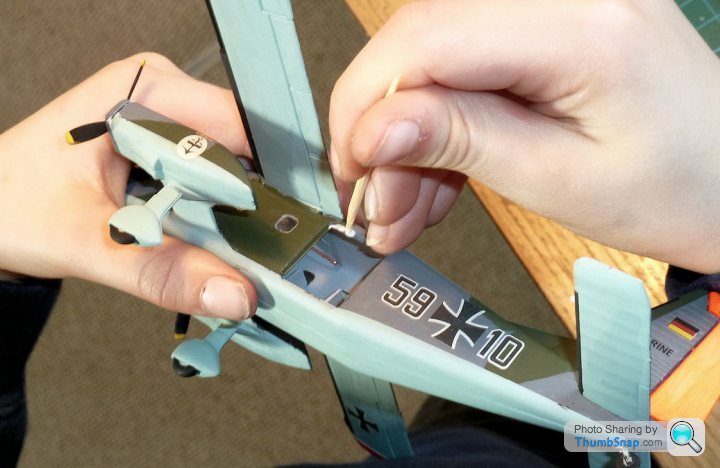
And that completes it:

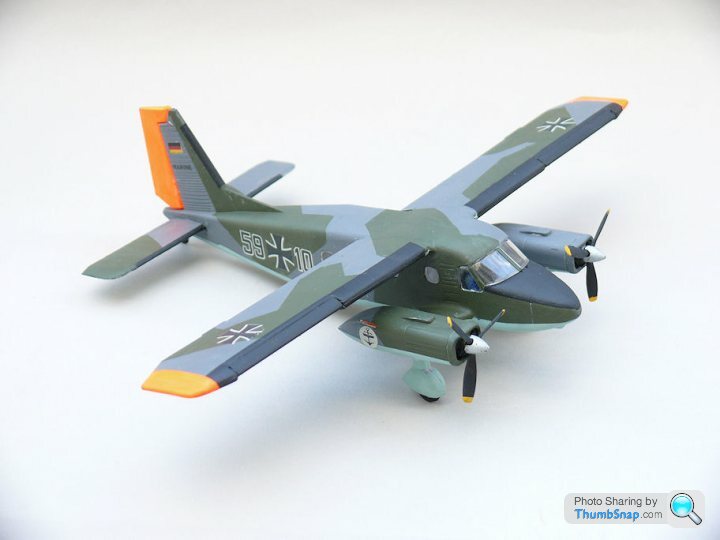
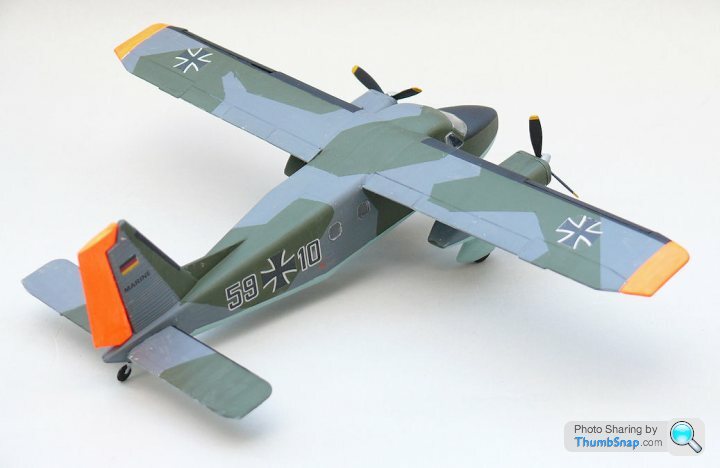
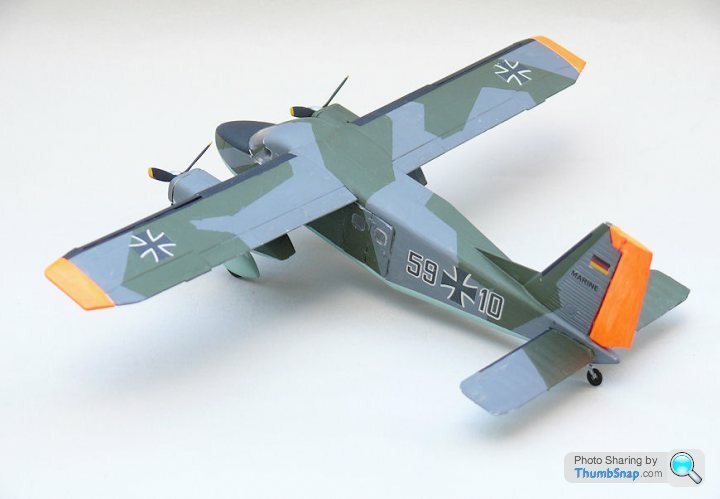
That's it folks - Thanks for watching!
Final word should go to the man himself:
I put loads of effort in the Skyservant. Finally I completed the Skyservant. It looks really good it looks super. The last thing I did were the very, very small windows- I also did the doors which were a bit bigger.
And that completes it:
That's it folks - Thanks for watching!
Final word should go to the man himself:
I put loads of effort in the Skyservant. Finally I completed the Skyservant. It looks really good it looks super. The last thing I did were the very, very small windows- I also did the doors which were a bit bigger.
HoHoHo said:
11/10 without a doubt and you should both be very proud 
My 5 year old has an interest and I hope he's as enthuesiastic and talented as your ickle lad
Look forward to the next model build
Thanks very much! We had a blast building this. I'd recommend one of these old Matchbox kits for a beginner any day - very simple construction, no superflous detail. This one cost just £3.My 5 year old has an interest and I hope he's as enthuesiastic and talented as your ickle lad
Look forward to the next model build
Frankly I'm amazed at how good it looks, despite having virtually no surface detail and some pretty crude bits and pieces. Obviously the painting is nowhere near airbrush standard, with streaks and brushmarks all over it, but a coat of Humbrol #49 matt made an unbelievable difference. It worked particularly well on the flourescent orange bits. Filling any gaps with water soluble Milliput was both fun for the boy, and very effective at refining the joins.
If your 5 y/o likes building - go for it, and just let him paint it and build it how he wants. That's what I did on his first couple of models, then he started asking about camoflauge and how masking tape worked...
HoHoHo said:
dr_gn said:
HoHoHo said:
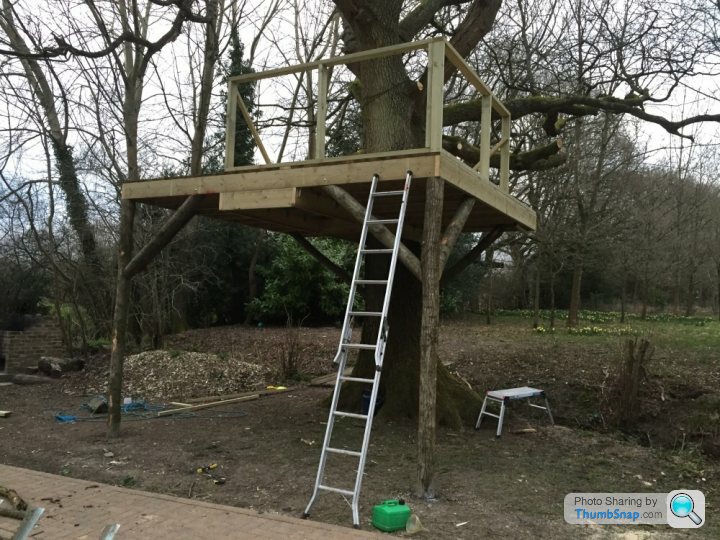
That sounds like a plan - albeit I'll have to finish the tree house first.......
That's this weekend so maybe over Easter
Nice - That's exactly what my son wants - must be a small boy thing. That's this weekend so maybe over Easter
Wait until tomorrow when he sees that...that'll be my summer gone.
Mine have been pestering me for ages and I started it last week. Sun deck and a room with normal stairs, re-claimed feather edge on all sides and various look out holes of varying shapes and sizes.
Should have the upper deck finished tomorrow and then onto feather edge etc.
HoHoHo said:
dr_gn said:
HoHoHo said:
dr_gn said:
HoHoHo said:
That sounds like a plan - albeit I'll have to finish the tree house first.......
That's this weekend so maybe over Easter
Nice - That's exactly what my son wants - must be a small boy thing. That's this weekend so maybe over Easter
Wait until tomorrow when he sees that...that'll be my summer gone.
Mine have been pestering me for ages and I started it last week. Sun deck and a room with normal stairs, re-claimed feather edge on all sides and various look out holes of varying shapes and sizes.
Should have the upper deck finished tomorrow and then onto feather edge etc.
It will be as safe as I can make it
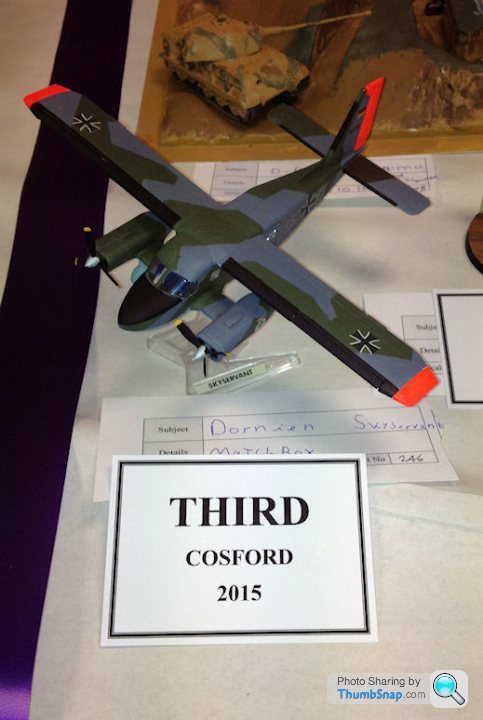
The boy got third prize at Cosford today - he's over the moon. Got a trophy, certificate and I believe Airfix donated three prizes for the under 16 y/o class. He got the 1:72 Fouga Magister, which looks great for a future build. Also got a Matchbox Zero (only £4) for his next attempt:
He loved the show, althouch I am a bit concerned about his apparent fascination with AFV's. Anyway, we had a great day (plus we got to meet Perdu!).
He loved the show, althouch I am a bit concerned about his apparent fascination with AFV's. Anyway, we had a great day (plus we got to meet Perdu!).

Gassing Station | Scale Models | Top of Page | What's New | My Stuff