Macross Destroid Phalanx (1:00)
Discussion


I’ve found it’s pot luck whether you can cleanly remove Tamiya spray paint - particularly their primers. I think some are lacquers rather than acrylics.
Can’t you overspray the marking with base colour? If that doesn’t work you’ve got about three options: soak in brake fluid, Modelstrip paste or Mr.Muscle aerosol oven cleaner. Put the coated parts in a sealed plastic bag in a warm place and hope for the best. Clean it off with a toothbrush, hot water and detergent. And wear gloves and eye protection - it’s not worth your eyesight.
Using either one or all of the above methods, I’ve had parts back to bare plastic in a couple of hours, or parts which have patches (or indeed entire primer coats) that simply won’t strip.
Good luck!
dr_gn said:
I’ve found it’s pot luck whether you can cleanly remove Tamiya spray paint - particularly their primers. I think some are lacquers rather than acrylics.
Can’t you overspray the marking with base colour? If that doesn’t work you’ve got about three options: soak in brake fluid, Modelstrip paste or Mr.Muscle aerosol oven cleaner. Put the coated parts in a sealed plastic bag in a warm place and hope for the best. Clean it off with a toothbrush, hot water and detergent. And wear gloves and eye protection - it’s not worth your eyesight.
Using either one or all of the above methods, I’ve had parts back to bare plastic in a couple of hours, or parts which have patches (or indeed entire primer coats) that simply won’t strip.
Good luck!
Thanks. I’ll give one of those a try. Just getting the poorly done acrylic marking off would be enough.Can’t you overspray the marking with base colour? If that doesn’t work you’ve got about three options: soak in brake fluid, Modelstrip paste or Mr.Muscle aerosol oven cleaner. Put the coated parts in a sealed plastic bag in a warm place and hope for the best. Clean it off with a toothbrush, hot water and detergent. And wear gloves and eye protection - it’s not worth your eyesight.
Using either one or all of the above methods, I’ve had parts back to bare plastic in a couple of hours, or parts which have patches (or indeed entire primer coats) that simply won’t strip.
Good luck!
Jader1973 said:
dr_gn said:
I’ve found it’s pot luck whether you can cleanly remove Tamiya spray paint - particularly their primers. I think some are lacquers rather than acrylics.
Can’t you overspray the marking with base colour? If that doesn’t work you’ve got about three options: soak in brake fluid, Modelstrip paste or Mr.Muscle aerosol oven cleaner. Put the coated parts in a sealed plastic bag in a warm place and hope for the best. Clean it off with a toothbrush, hot water and detergent. And wear gloves and eye protection - it’s not worth your eyesight.
Using either one or all of the above methods, I’ve had parts back to bare plastic in a couple of hours, or parts which have patches (or indeed entire primer coats) that simply won’t strip.
Good luck!
Thanks. I’ll give one of those a try. Just getting the poorly done acrylic marking off would be enough.Can’t you overspray the marking with base colour? If that doesn’t work you’ve got about three options: soak in brake fluid, Modelstrip paste or Mr.Muscle aerosol oven cleaner. Put the coated parts in a sealed plastic bag in a warm place and hope for the best. Clean it off with a toothbrush, hot water and detergent. And wear gloves and eye protection - it’s not worth your eyesight.
Using either one or all of the above methods, I’ve had parts back to bare plastic in a couple of hours, or parts which have patches (or indeed entire primer coats) that simply won’t strip.
Good luck!
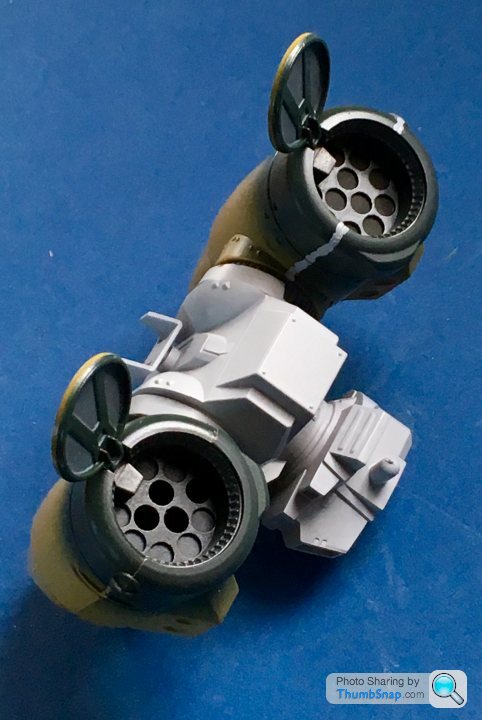
I’ve weathered the missiles, painted the doors and glued them into one half of each pod. Fit is crap - the inserts had to be packed with paper shims before flooding around with pva. I’ve test -assembled it (takes about 30 seconds):


Next job is to permanently close the pod halves, flat the joins and mask ready for painting.
Next job is to permanently close the pod halves, flat the joins and mask ready for painting.
dr_gn said:
kenny.R400 said:
Weathering at its finest!
I may yet chicken out of paint chipping and stick to my boring old tried and tested methods.
AshVX220 said:
dr_gn said:
kenny.R400 said:
Weathering at its finest!
I may yet chicken out of paint chipping and stick to my boring old tried and tested methods.
dr_gn said:
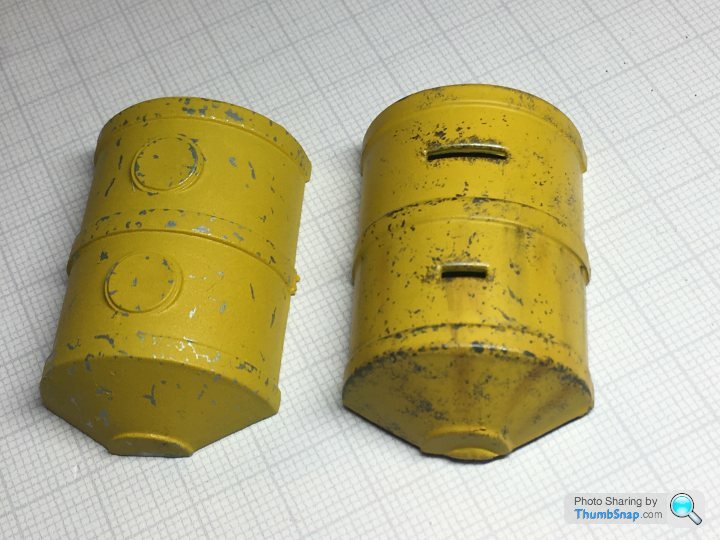
The left was using chipping fluid, the right was applied with a sponge, and some weathering powders for rust streaking.
They look brilliant, especially the one on the right, for me I wouldn't think they look like a knackered Dinky Toy, but then I'm just going off a photo and don't have the keen modelers eye that you have.The moulded-in missile heads bothered me. It was impossible to paint them properly, while still weathering the back plates.
So Ive decided to take a resin cast of the whole thing, and separate the heads, then I’ll 3D print a recessed backplate and fit the assembly to the original surrounds. At least that’s the plan!
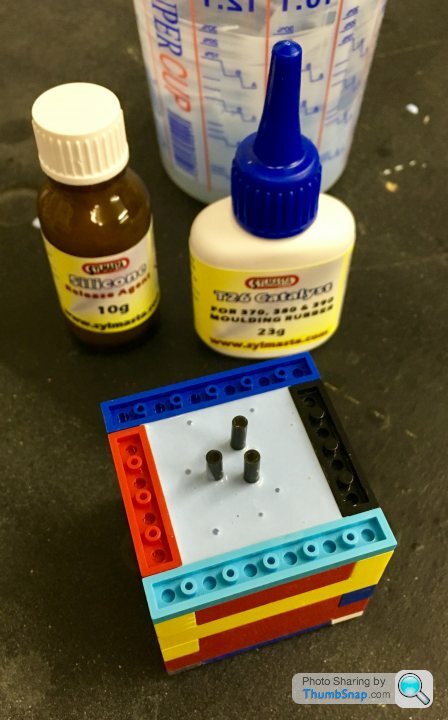
Here is an original part, Blu-Tacked into its moulding box:

So Ive decided to take a resin cast of the whole thing, and separate the heads, then I’ll 3D print a recessed backplate and fit the assembly to the original surrounds. At least that’s the plan!
Here is an original part, Blu-Tacked into its moulding box:
The mould set OK, so I removed the base plate to reveal the original part embedded in the rubber:
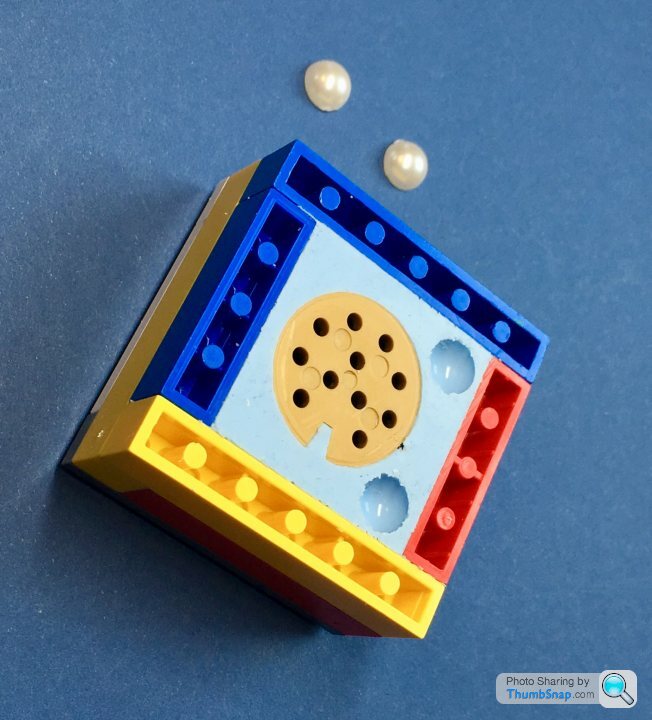
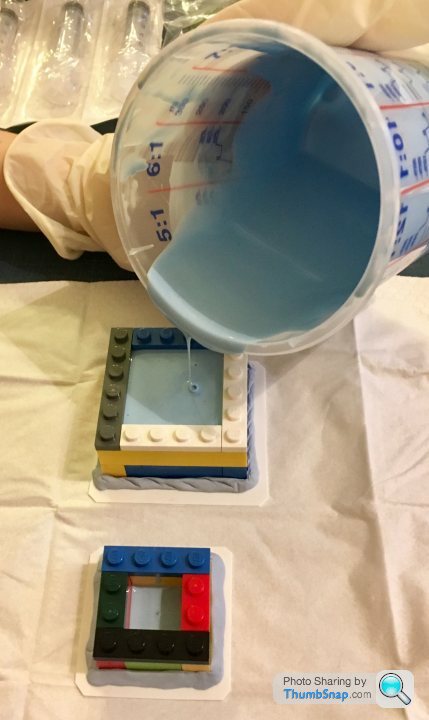
I added a couple of self-adhesive half beads from Hobbycraft to the plate before pouring, to give locations for the pattern halves once complete. It’s probably not really necessary in this case because it’s a flat feature on the split line, but whatever.
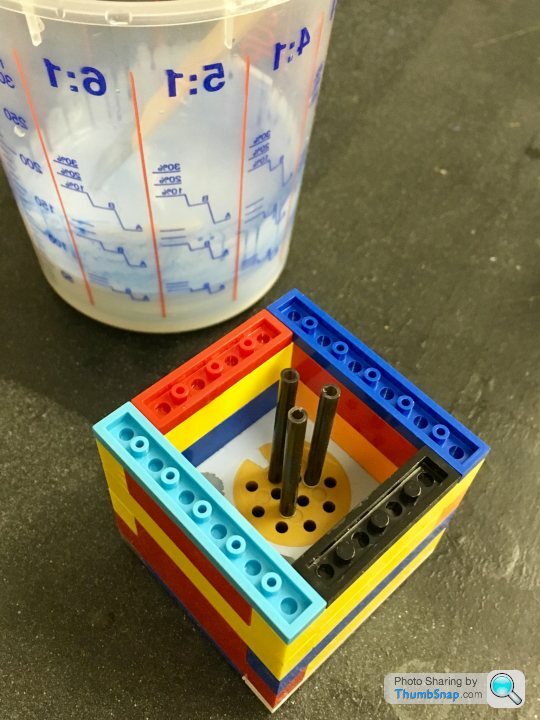
Next, built up the second half of the mould box, and added some feed tubes through which I’ll inject the resin. Finally, brushed some silicone release agent on the mould face:

Mixed and poured the rubber, and currently waiting for it to set - probably over night:
I added a couple of self-adhesive half beads from Hobbycraft to the plate before pouring, to give locations for the pattern halves once complete. It’s probably not really necessary in this case because it’s a flat feature on the split line, but whatever.
Next, built up the second half of the mould box, and added some feed tubes through which I’ll inject the resin. Finally, brushed some silicone release agent on the mould face:
Mixed and poured the rubber, and currently waiting for it to set - probably over night:
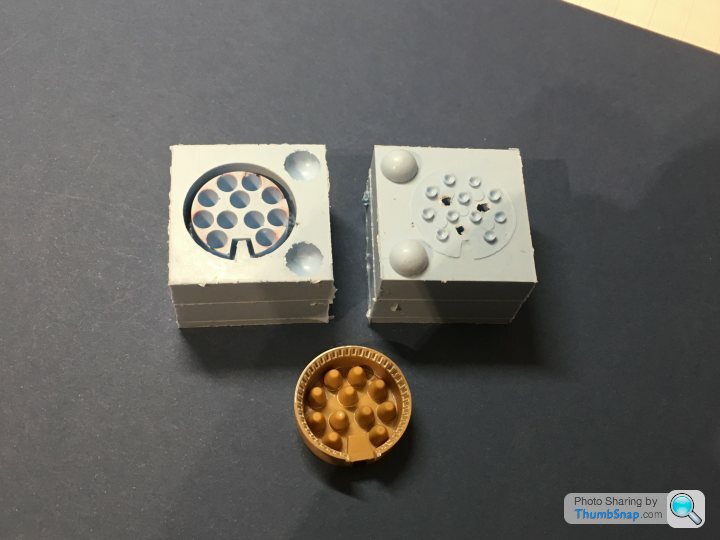
I’ve now removed the back from one of the resin copies, plus the missile tips. I’ve also 3D printed a new back plate with correctly spaced holes:

So now I can paint and weather the surround and back plate, and have pristine missile tips. All without masking. Just need to fill the 3D prints with filler primer and get them smooth.
So now I can paint and weather the surround and back plate, and have pristine missile tips. All without masking. Just need to fill the 3D prints with filler primer and get them smooth.
AshVX220 said:
Please tell me you haven't given up on this one dr_gn? I was really looking forward to seeing what you do with it.
No not at all, just got a bit sidetracked with other stuff like the Tiger Moth and the SMS Emden I just started. I’ll get back onto it once the Moth is done, hopefully this weekend.dr_gn said:
AshVX220 said:
Please tell me you haven't given up on this one dr_gn? I was really looking forward to seeing what you do with it.
No not at all, just got a bit sidetracked with other stuff like the Tiger Moth and the SMS Emden I just started. I’ll get back onto it once the Moth is done, hopefully this weekend. Excellent, you certainly keep a lot of stuff on the go (Tigermoth is amazing!)
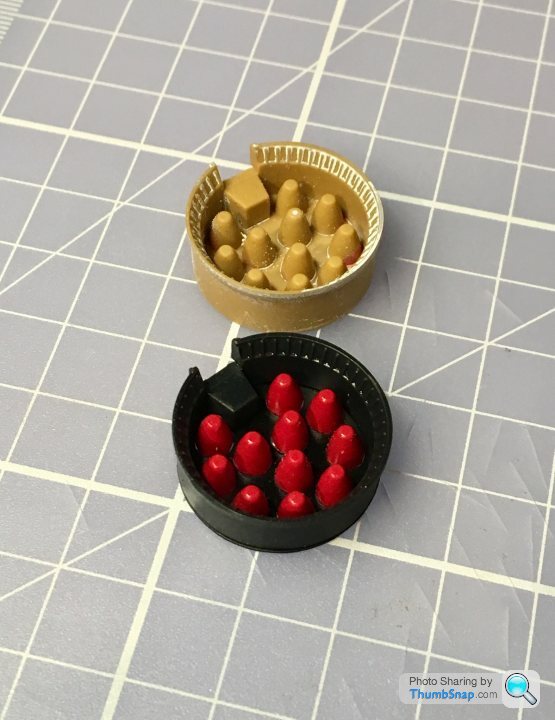
So it’s over a year since the last update. How is that possible? Anyway, I’m fed up with the sight of the box on my bench, so I want to get it finished. I cast the other insert, and assembled one pod. With other I though I’d depict it as having fired a few missiles, so I clued some random tubes behind the face plate:

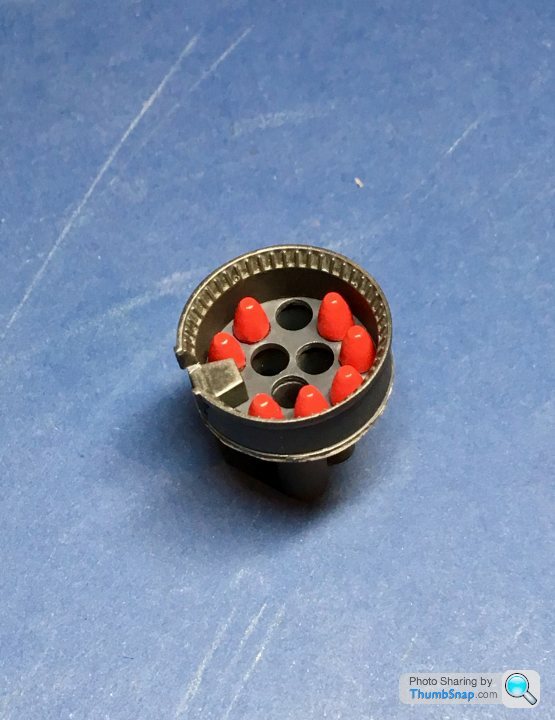
Hopefully the other pod will be assembled tomorrow.
Hopefully the other pod will be assembled tomorrow.
Gassing Station | Scale Models | Top of Page | What's New | My Stuff