Vex's Late 70's Semi - Extension and Remodel thread
Discussion


Thanks Phil.
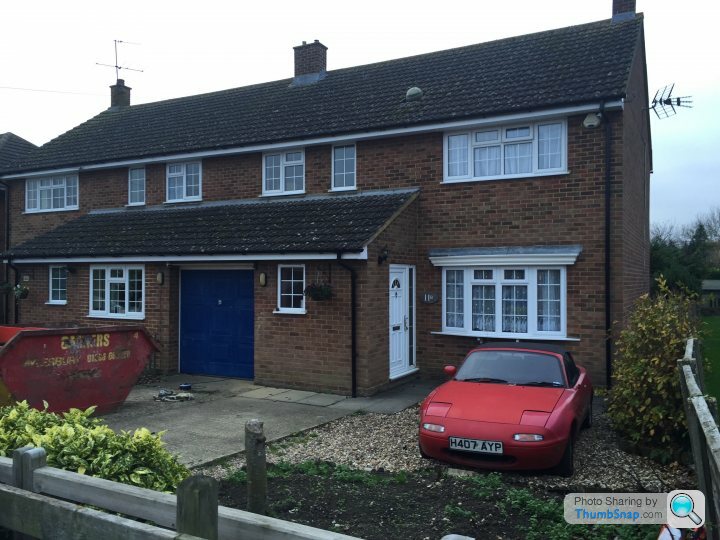
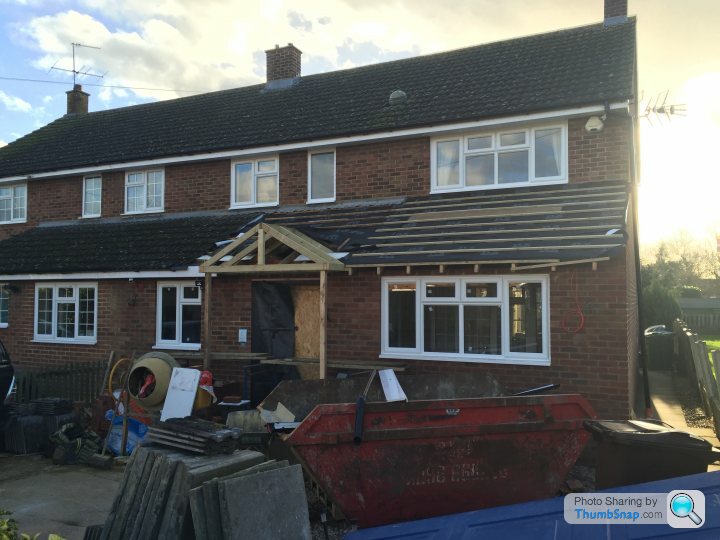
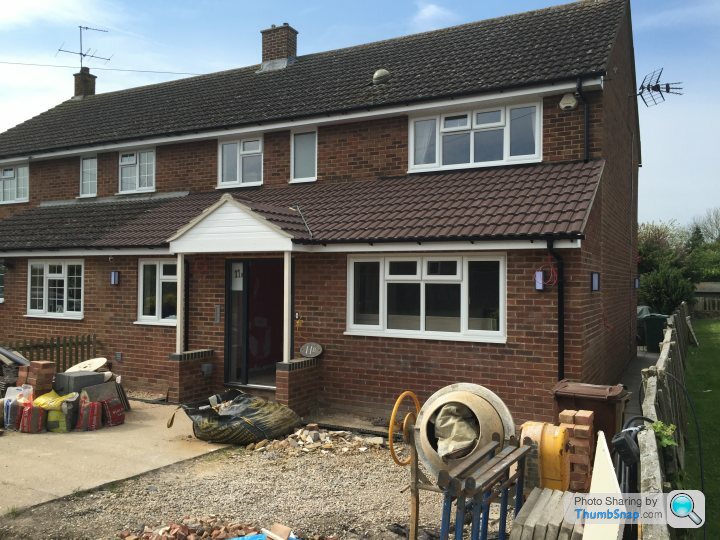
Yes big changes, doesn't the old shape look so dated compared to the new one. Can't wait for the roof to go on and hopefully the front door to open up this week. That will be amazing.
Just depends on the order the builder wants to do things, we are leaving it all up to him. So far our only hinderance has been having to use the back door and slightly tight on car parking!
V.

Time for another update!
Last update, we were up to roof and felt and battened.
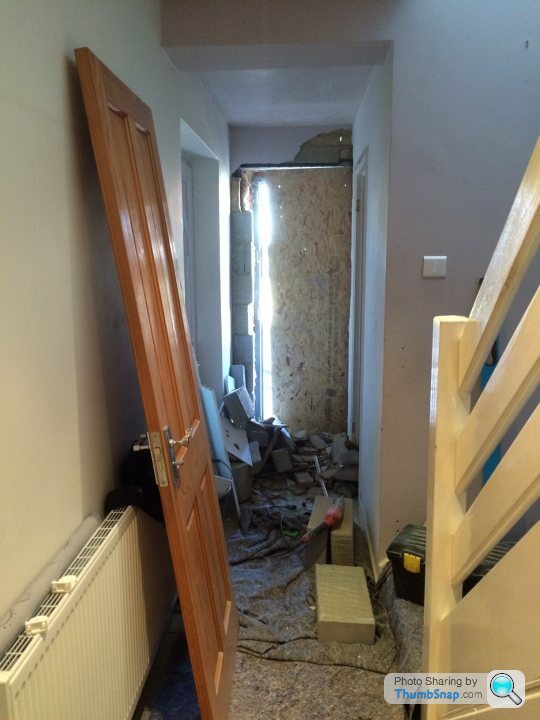
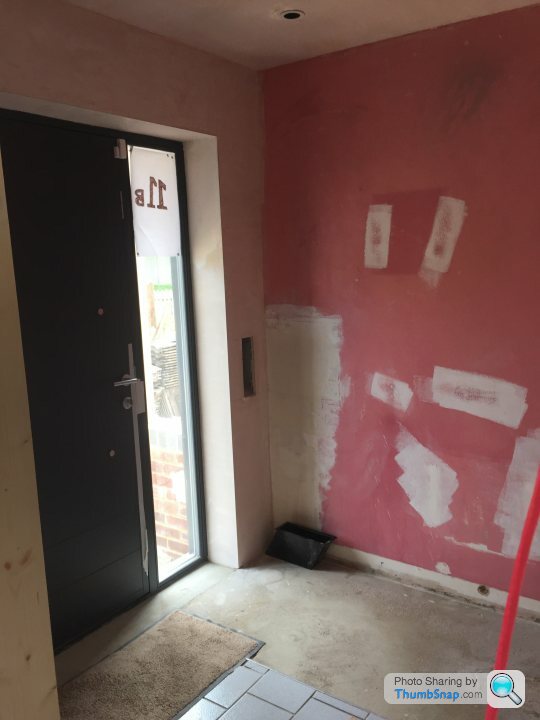
As of the end of last week we have a tiled roof and our front door is in and operational. So it has meant we have lost our cloak room, but it has given us a great idea of the entrance hall / greeting place space.
So, time for pic's.
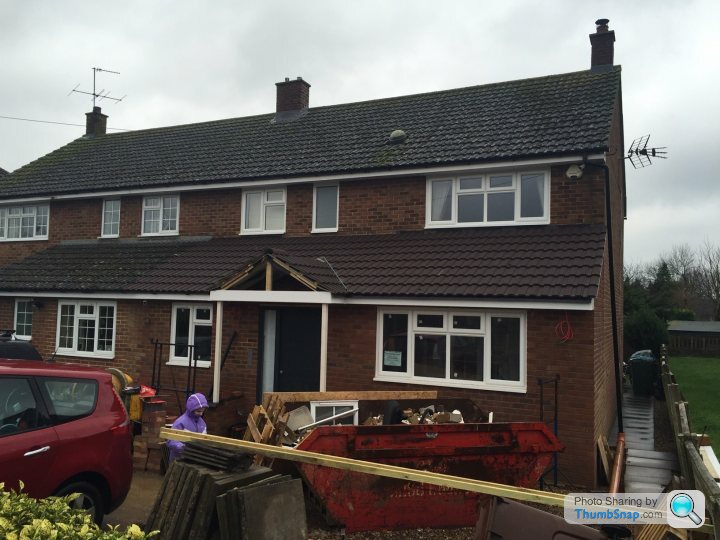
Finished Tiled Roof with Soffit & Fascia
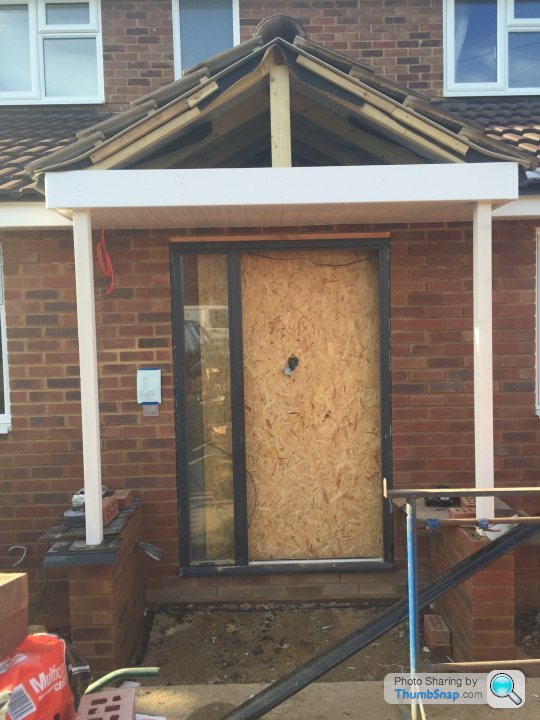
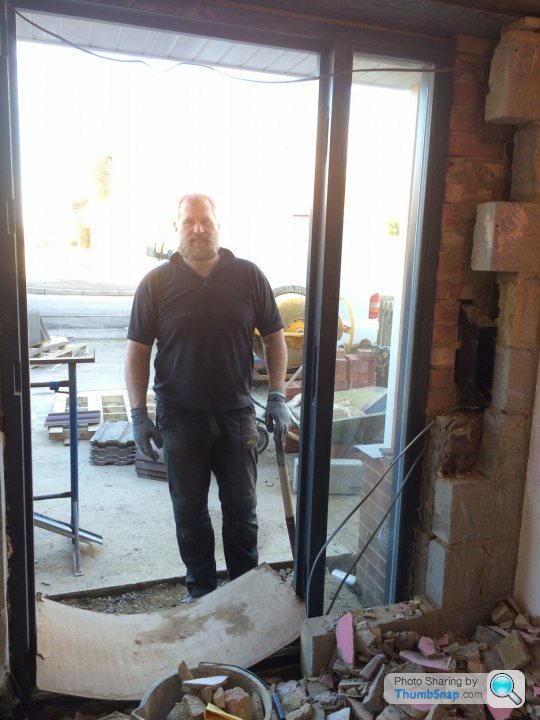
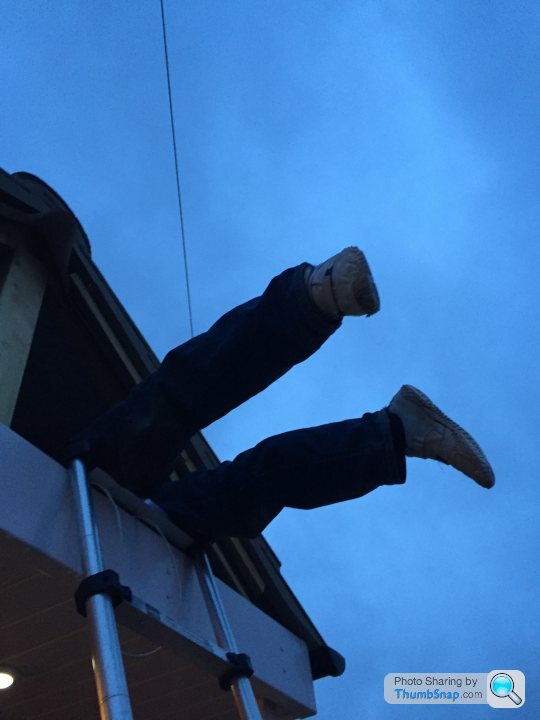
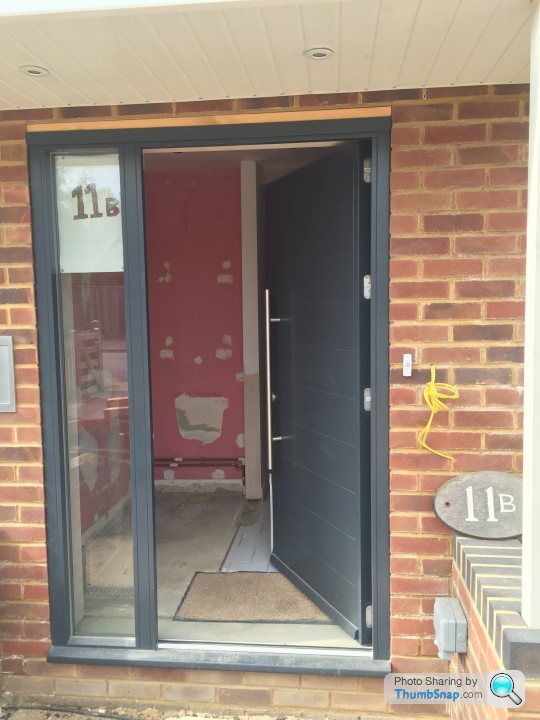
Front Door starting to open up
Front Door coming through from the inside, you can see that the door is straddling the cloakroom wall.........
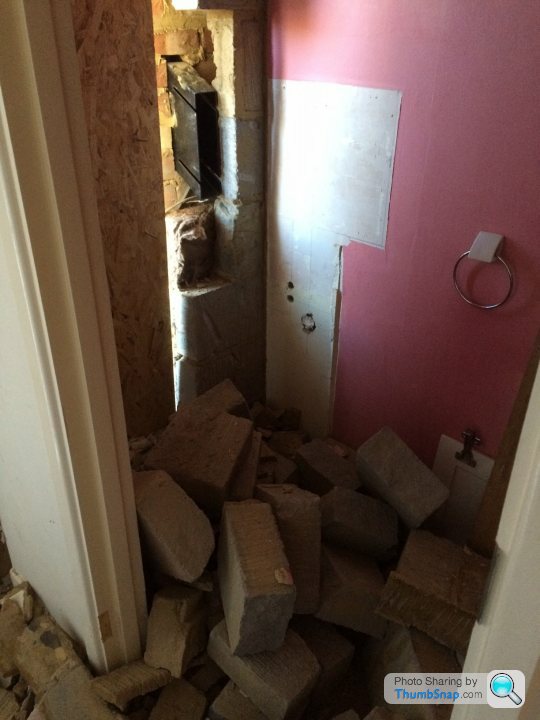
Which has now been removed in this one (+builder Chris)
and this one
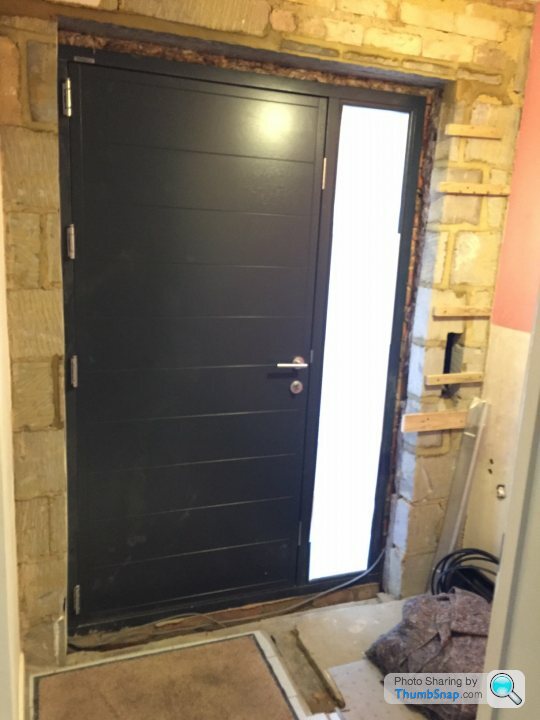
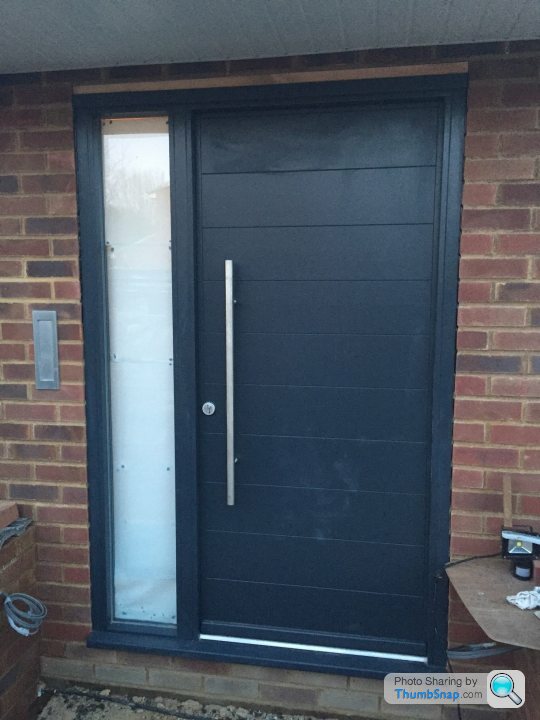
And then almost finished before the weekend.

And handle on and sealed today.
So now we are on the inside works, first fix on Wednesday, then insulation and ceiling up, stud work to divide up the lounge and then he can knock through. So could have the start of two rooms in by the end of the week.
v.
Last update, we were up to roof and felt and battened.
As of the end of last week we have a tiled roof and our front door is in and operational. So it has meant we have lost our cloak room, but it has given us a great idea of the entrance hall / greeting place space.
So, time for pic's.
Finished Tiled Roof with Soffit & Fascia
Front Door starting to open up
Front Door coming through from the inside, you can see that the door is straddling the cloakroom wall.........
Which has now been removed in this one (+builder Chris)
and this one
And then almost finished before the weekend.
And handle on and sealed today.
So now we are on the inside works, first fix on Wednesday, then insulation and ceiling up, stud work to divide up the lounge and then he can knock through. So could have the start of two rooms in by the end of the week.
v.
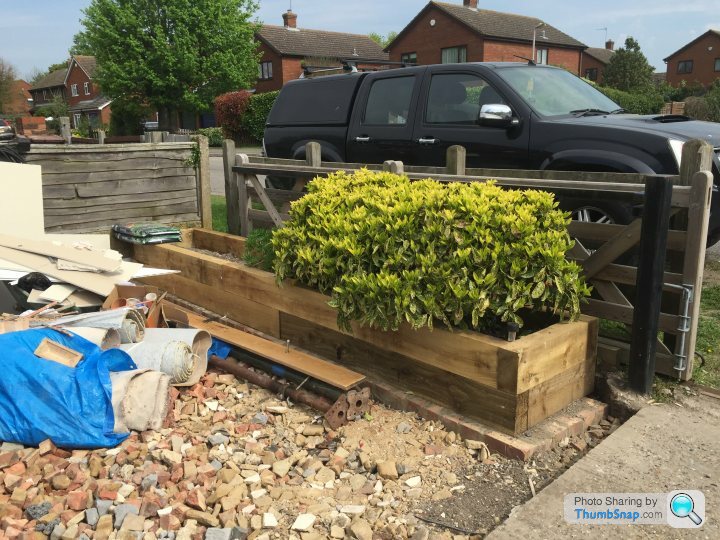
Thinking of this as a number plaque for the front of the house, buried in the raised planter by our front gate.
Made in some sort of treated mild steel look, so it has an industrial partially rusted look, but without degrading any further. Then numbers and letters are actually cut out and just left open.
Will post as a new thread as well, to catch as many as possible.
Can anyone make this from me?
V.
Made in some sort of treated mild steel look, so it has an industrial partially rusted look, but without degrading any further. Then numbers and letters are actually cut out and just left open.
Will post as a new thread as well, to catch as many as possible.
Can anyone make this from me?
V.
Edited by VEX on Monday 15th February 19:39
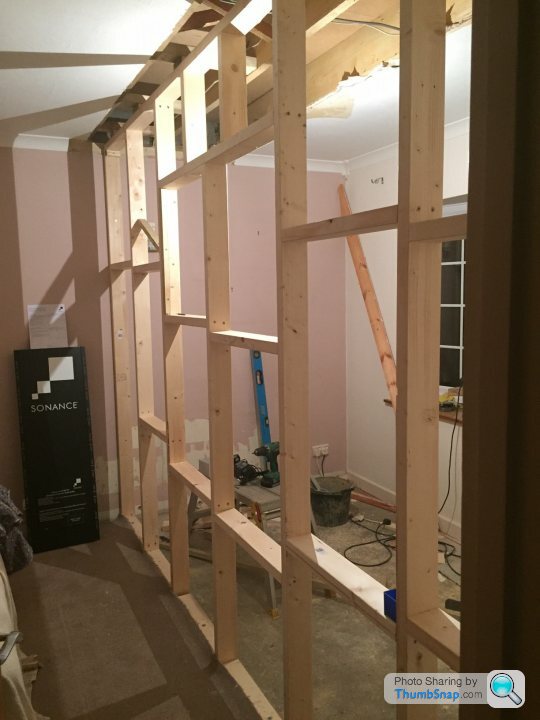
Studwork up to divide the living room, the odd spacing in the middle is a bit of lateral thinking, it is a double door set, so if we ever want to open up between the two rooms we can. Stud has been installed so that we just need to expose the right sized bit and the internal bracing will come out and a door set can go straight in.
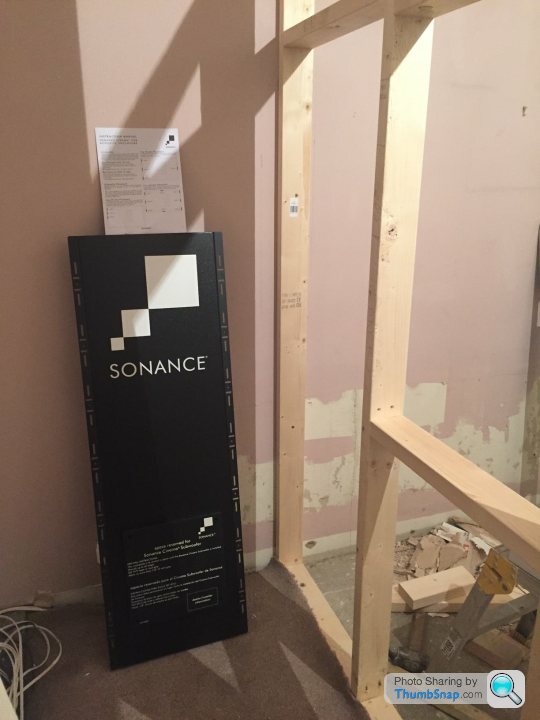
This is the first of the toys are ready to go in!
Anyone guess what this is? (No Googling!)
This is the first of the toys are ready to go in!
Anyone guess what this is? (No Googling!)
sleepezy said:
That's too easy given your occupation and the first part of its name
Is that a Kloeber front door? (in RAL 7016...)
Not that easy, it isn't even a speaker! (Yet)Is that a Kloeber front door? (in RAL 7016...)
Yes, it is one of Kloeber's FunkyFront Euro Doors, really pleased with its look and feel, incredibly secure as well.
V.
Can't belive it was the end of March when I last updated, makes you realise how much has actually happened in that time.
Going to do this by room rather than in chronological orders.
Girls Playroom / Den / Study Area.
Mid March, First Fix

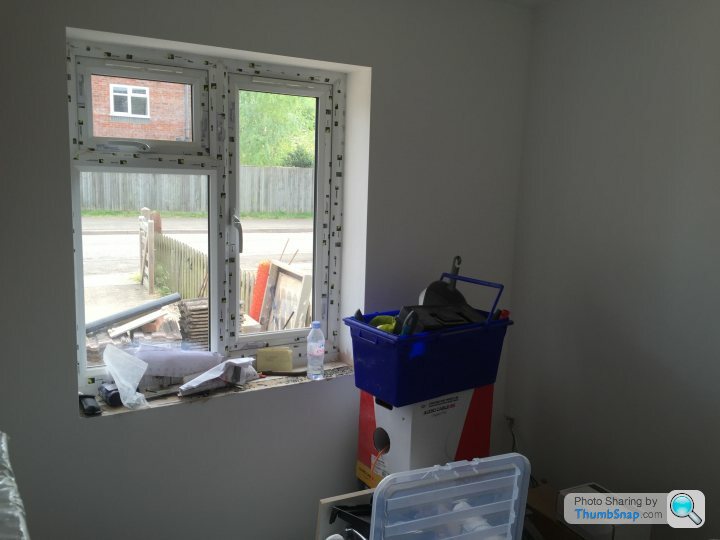
Finshed, Plastered, just waiting for paint (us) and Rad to be plumped in.
Going to do this by room rather than in chronological orders.
Girls Playroom / Den / Study Area.
Mid March, First Fix
Finshed, Plastered, just waiting for paint (us) and Rad to be plumped in.
Edited by VEX on Monday 9th May 12:13
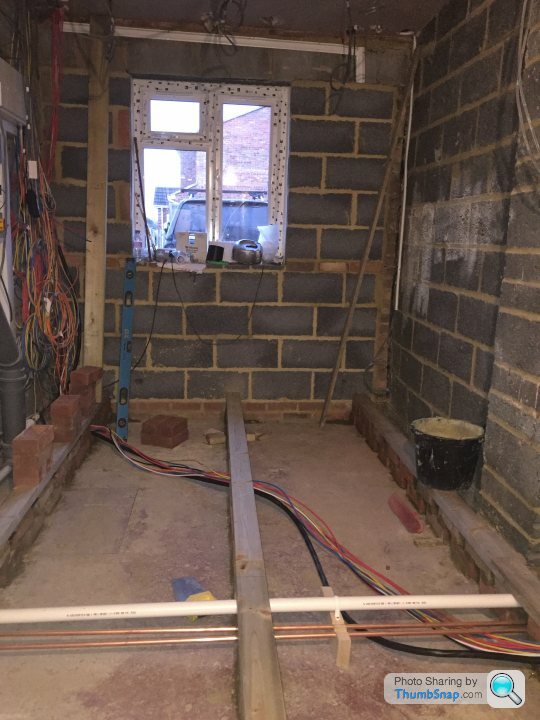
Then we have my office and the utility room
Opening into old garage and under new floor plumbing
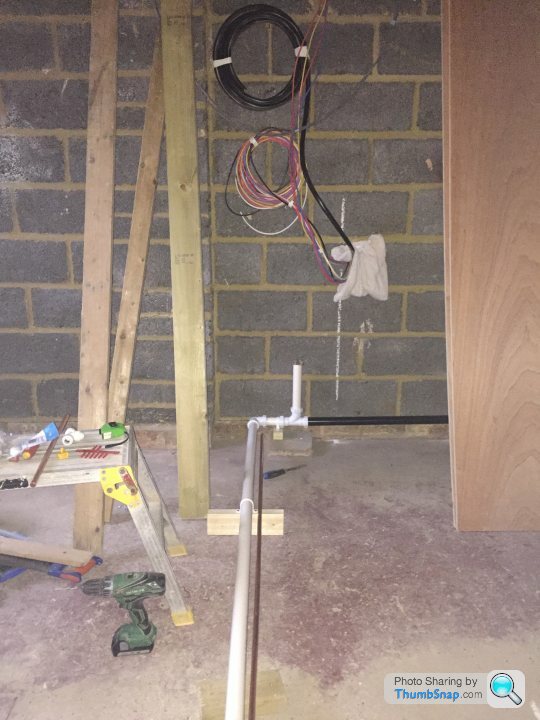
Floor joist runs in, we did it this way to give more support to the washing machine, if we have put it on hangers it would have bounced about to much.
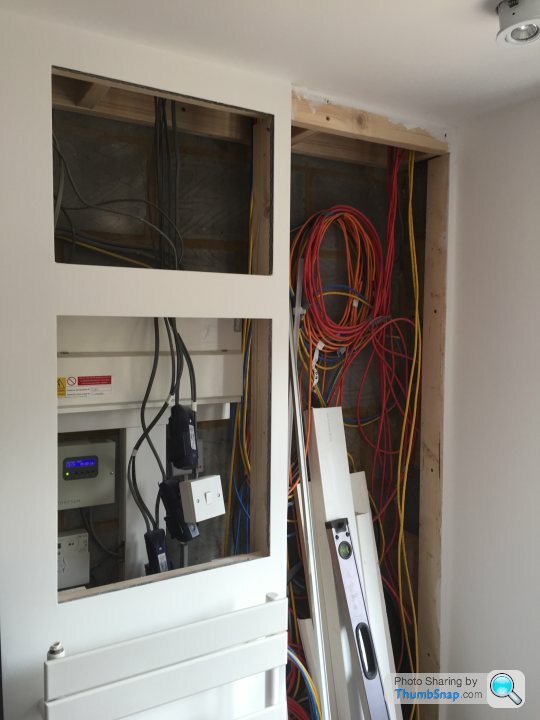
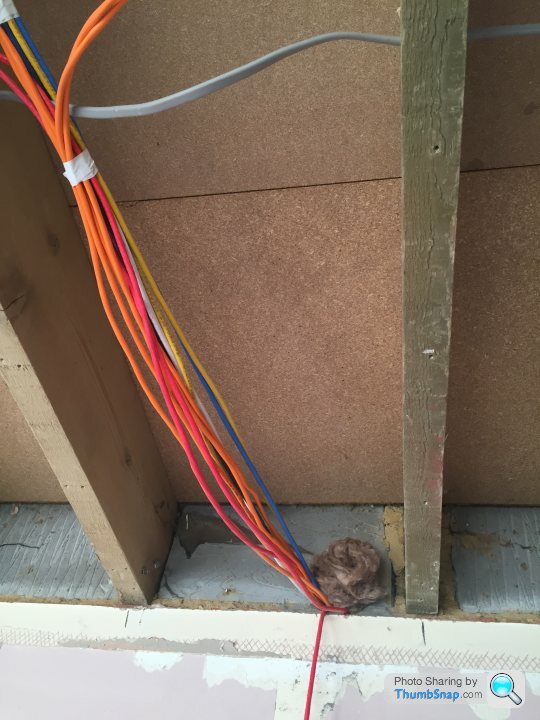
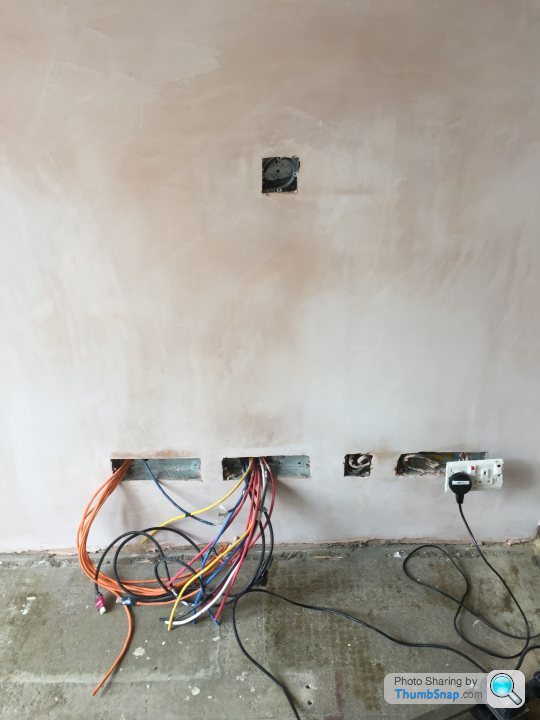
Fuse Board, Mains Head moved and some of 'my cables' to play with.
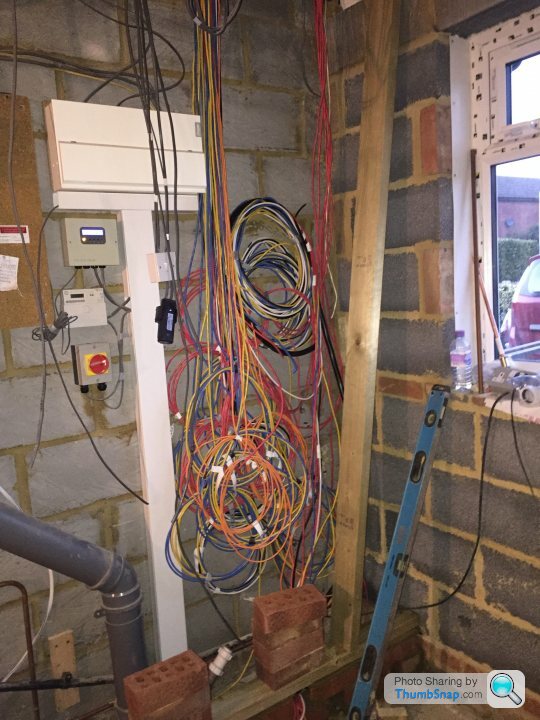
Last minute wiring before we went on holiday - this is for an internet door bell / intercom I am looking to start offering.
Bit of a jump, but finished rooms, Painted, just waiting for desk (kitchen) units to be fitted and flooring.
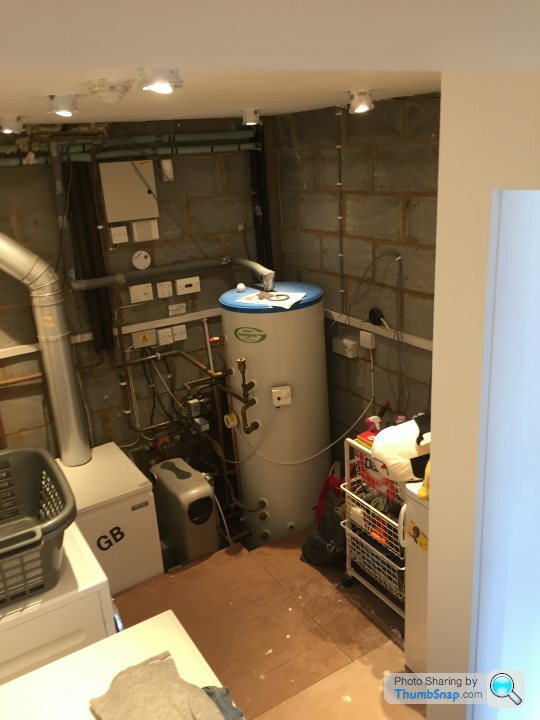
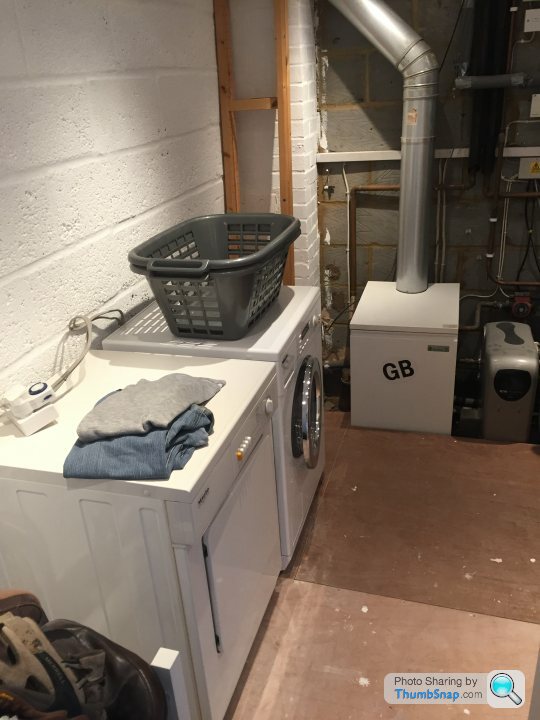
Opening into old garage and under new floor plumbing
Floor joist runs in, we did it this way to give more support to the washing machine, if we have put it on hangers it would have bounced about to much.
Fuse Board, Mains Head moved and some of 'my cables' to play with.
Last minute wiring before we went on holiday - this is for an internet door bell / intercom I am looking to start offering.
Bit of a jump, but finished rooms, Painted, just waiting for desk (kitchen) units to be fitted and flooring.
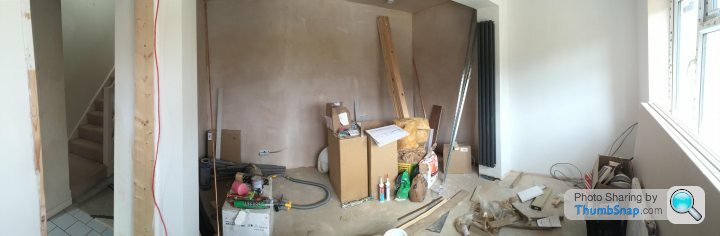
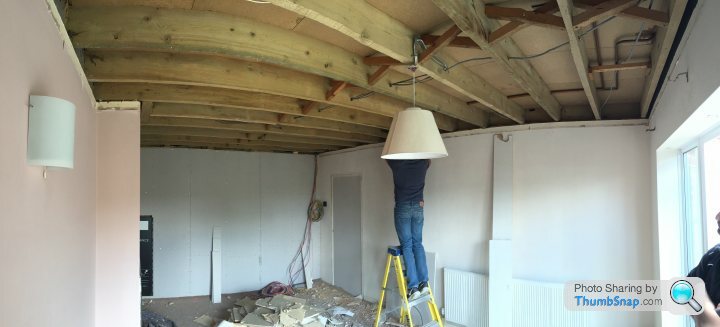
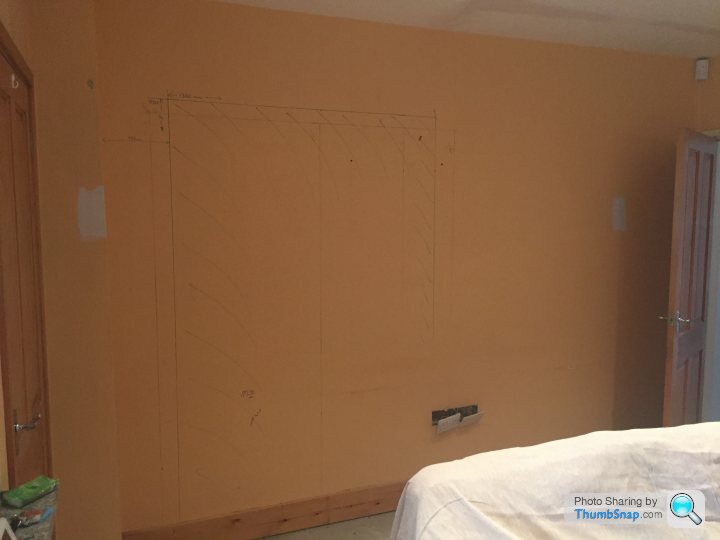
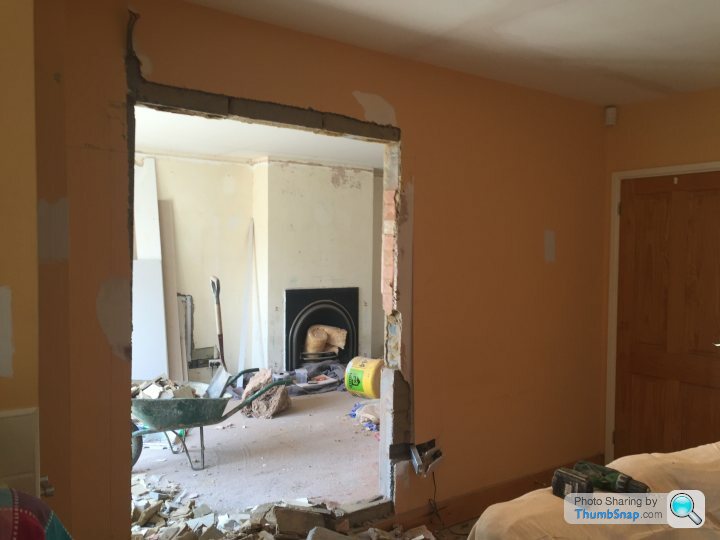
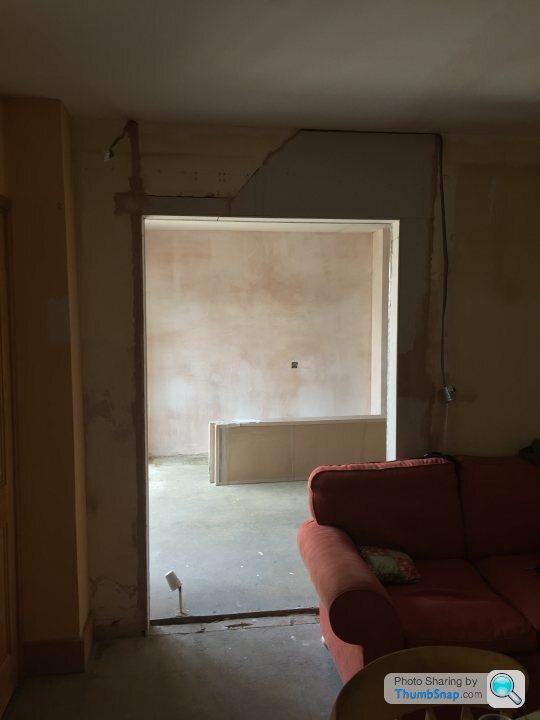
Then in the last two weeks we have gutted the living room and re-instated it with new access through from the Kitchen Dinner.
Day One: Room emptied into storage
Day Two: Ceiling down, 1st Fix Electrical in.
Day Three: First Fix finished - Wired for Dolby Atmos Cinema, Screen Fitted and Insulated and First Plasterboard Skin up.


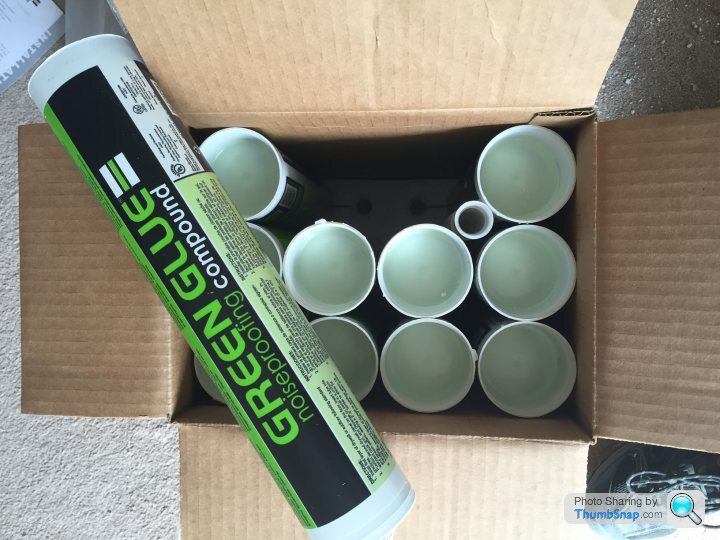
Day Four: First Plasterboard skin finished and Second Skin up with GreenGlue Sound insulation inbetween.
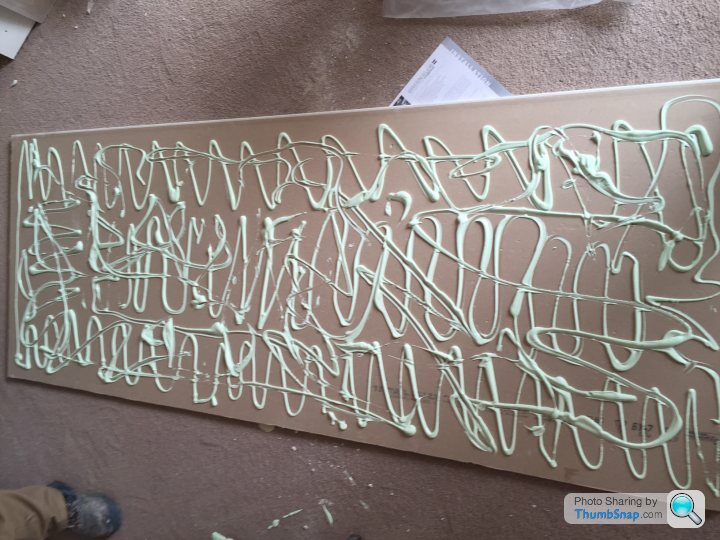
Day Five: Second Skin Finished
Day Six & Seven: (A weekend of stripping the lining papaer off and basic prep for skimming everywhere)
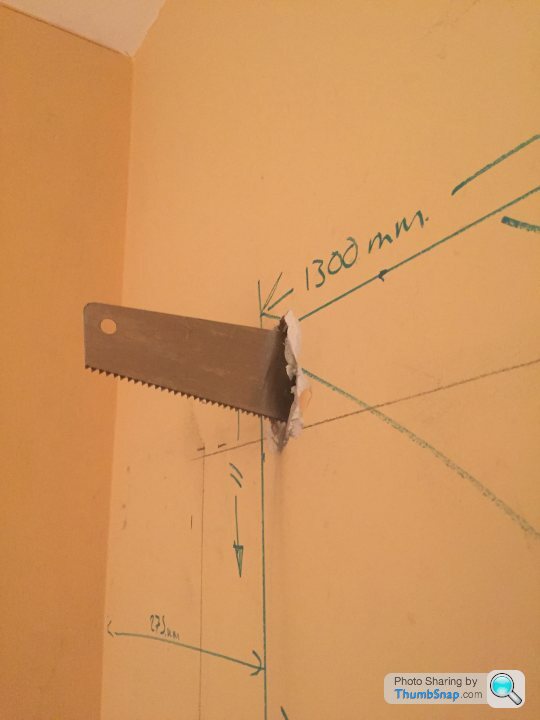
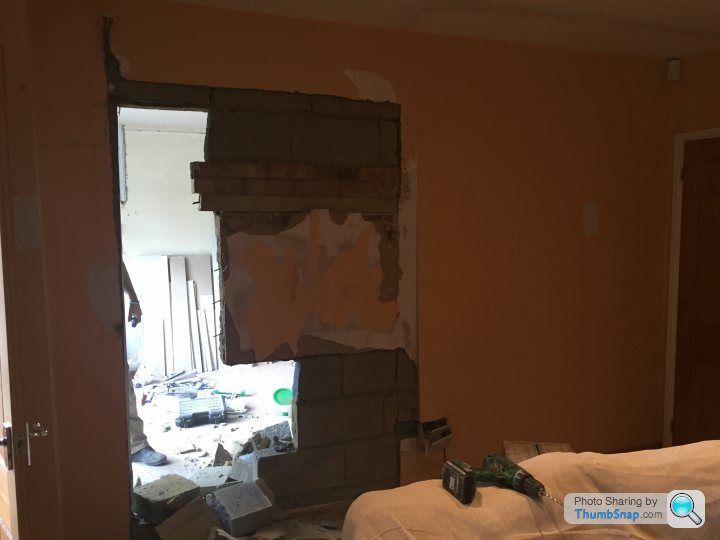
Day Eight & Nine: Knocked through to Kitchen / Dinner
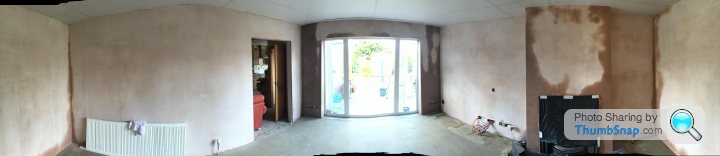
Day Ten & Eleven: Walls preped and skimmed.
Day One: Room emptied into storage
Day Two: Ceiling down, 1st Fix Electrical in.
Day Three: First Fix finished - Wired for Dolby Atmos Cinema, Screen Fitted and Insulated and First Plasterboard Skin up.
Day Four: First Plasterboard skin finished and Second Skin up with GreenGlue Sound insulation inbetween.
Day Five: Second Skin Finished
Day Six & Seven: (A weekend of stripping the lining papaer off and basic prep for skimming everywhere)
Day Eight & Nine: Knocked through to Kitchen / Dinner
Day Ten & Eleven: Walls preped and skimmed.
Edited by VEX on Monday 9th May 12:19
Then on Saturday evening, DIY-Kitchens delivered the units I am using for desks in the Playroom, my office and utility room!
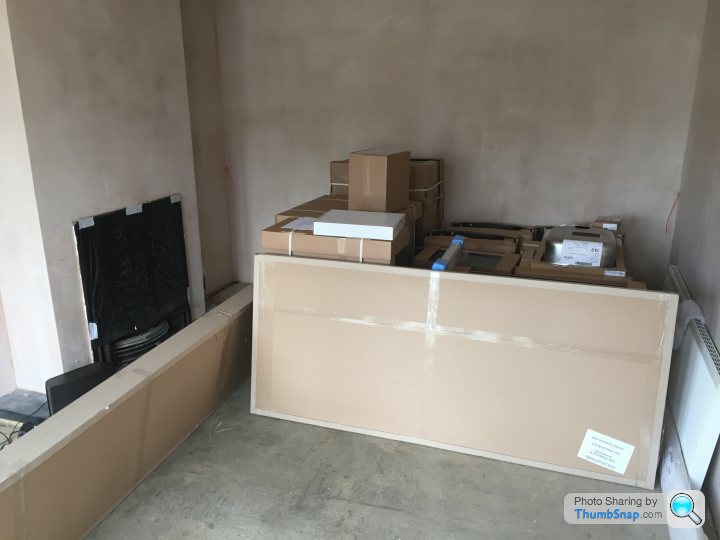
DIY-Kitchen communications have been excellent, I got messages from then two days before saying two items have failed QC, a door and some draw fronts and then the driver called before they set off to ensure we were ready for them.
So just need to finish paining the Play Room and they can all be fitted.
We love the new opening and space already, with the weather this weekend we are already finding it great to float between the kitchen / dining / lounge / garden.
Edited by VEX on Monday 9th May 12:21
Oh,
Forgot the outside shots
Front Planter, under here is part of the new soakaway from the roof, I managed to get the Truck on here at the weekend so plenty of space for 4 cars when we have finished
And how open the new front door area looks with the toilet and old cloaks completely removed.
Forgot the outside shots
Front Planter, under here is part of the new soakaway from the roof, I managed to get the Truck on here at the weekend so plenty of space for 4 cars when we have finished
And how open the new front door area looks with the toilet and old cloaks completely removed.
Edited by VEX on Monday 9th May 12:23
Great thread, keep the updates coming.
Question about this:
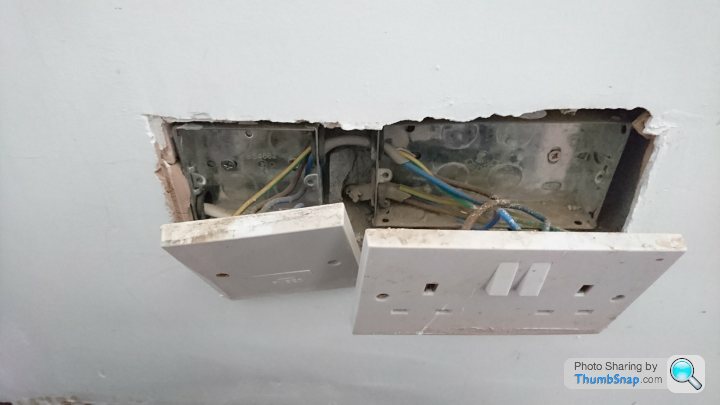
Those backboxes look wider than a standard double - what faceplates are going on to them?
Our sparks and the alarm installer have conspired to chase out some sockets where we have a double and a single too close together and the "wall" has disintegrated between the two back boxes leaving nothing between the two so I'm looking for a solution.
Question about this:
VEX said:
Our sparks and the alarm installer have conspired to chase out some sockets where we have a double and a single too close together and the "wall" has disintegrated between the two back boxes leaving nothing between the two so I'm looking for a solution.
They are somewhere between triple and quadruple back box width.
So it will allow us to get 4 unswitched mains sockets in one single plate, then the single back box next to it will be the switched fuse spur for the tv on the wall.
The back boxes and faceplates are from the Click range by Scolmore
Here is a link to the New Media Brochure.
http://www.scolmore.com/_pdfs/new_media.pdf
Gassing Station | Homes, Gardens and DIY | Top of Page | What's New | My Stuff