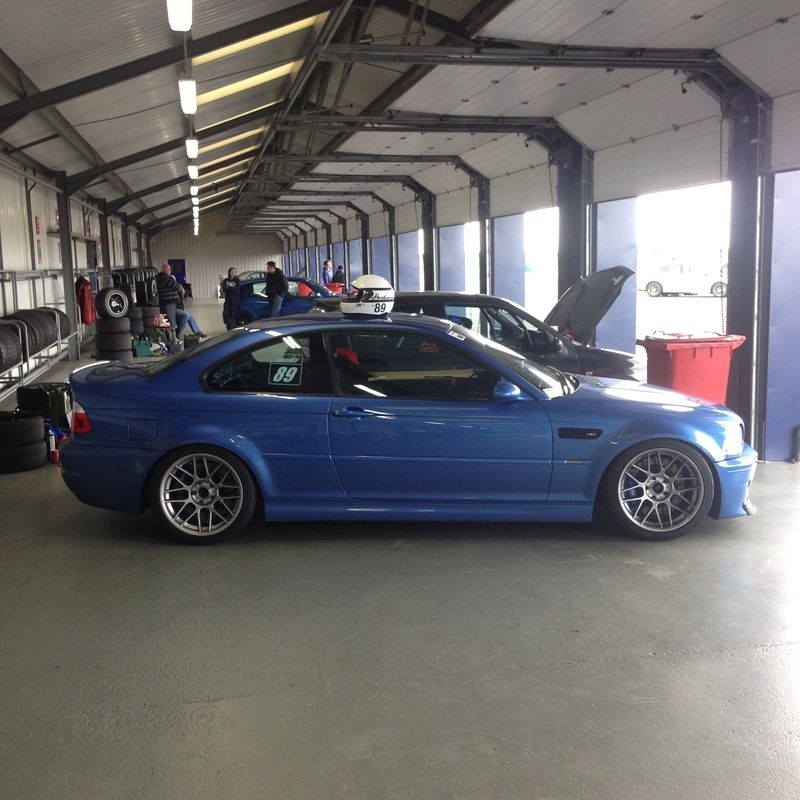
E46 M3 fast road - track car
Discussion


Few from sliverstone
Asbo Grant drifting on the in lap
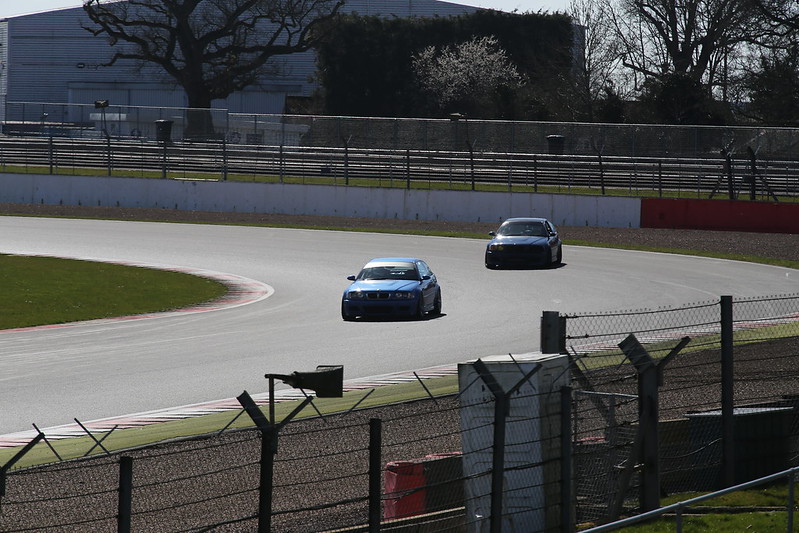
IMG_3035 by samratcliffe19, on Flickr
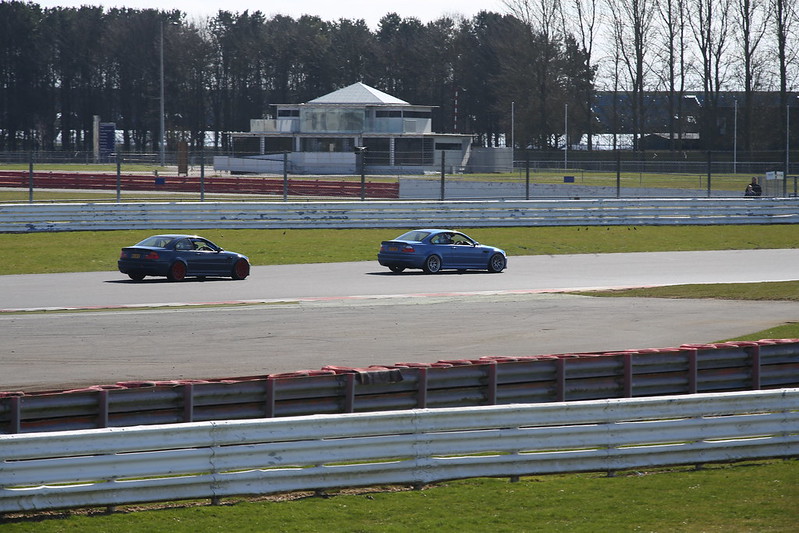
IMG_3028 by samratcliffe19, on Flickr
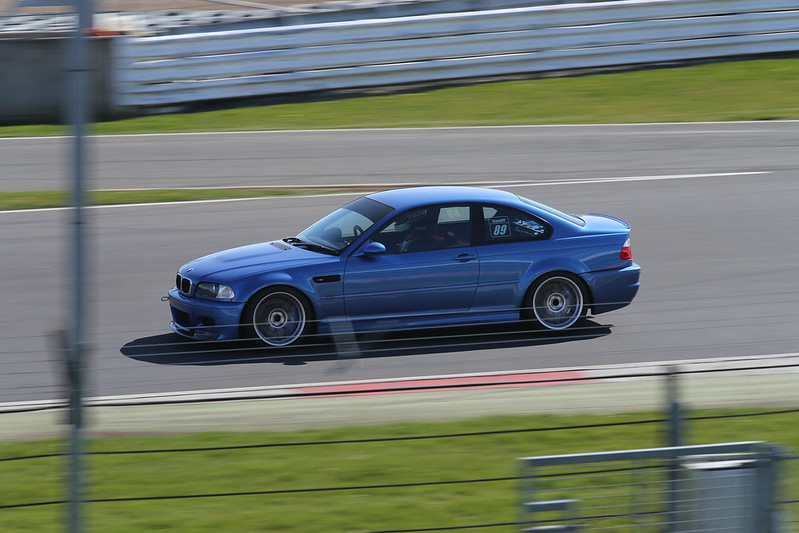
IMG_3012 by samratcliffe19, on Flickr
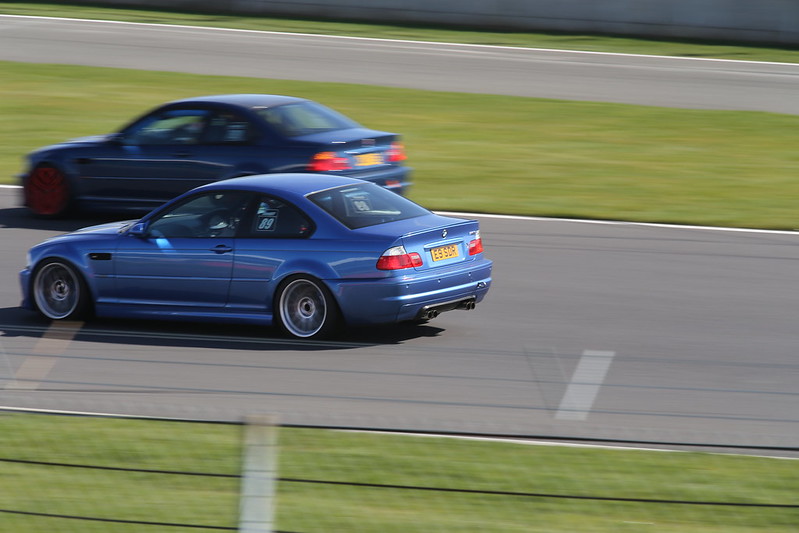
IMG_3001 by samratcliffe19, on Flickr
Lastly a video, cannot even hear mine as masked by the hole in Grant's exhaust
https://www.flickr.com/photos/samratcliffe19/16871...
Bring on Bedford GT 5th May
Also have 2 items in paint, one is a common M3 mod, the other is very rare in the UK.
Asbo Grant drifting on the in lap
IMG_3035 by samratcliffe19, on Flickr
IMG_3028 by samratcliffe19, on Flickr
IMG_3012 by samratcliffe19, on Flickr
IMG_3001 by samratcliffe19, on Flickr
Lastly a video, cannot even hear mine as masked by the hole in Grant's exhaust
https://www.flickr.com/photos/samratcliffe19/16871...
Bring on Bedford GT 5th May
Also have 2 items in paint, one is a common M3 mod, the other is very rare in the UK.


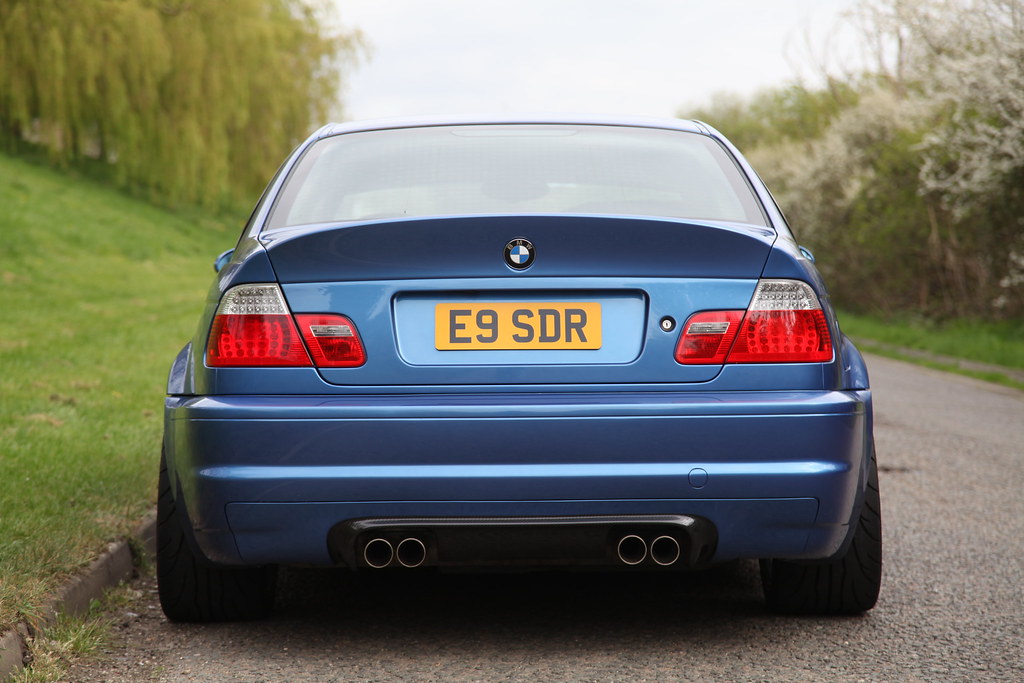
Had my brother take a few pictures yeterday
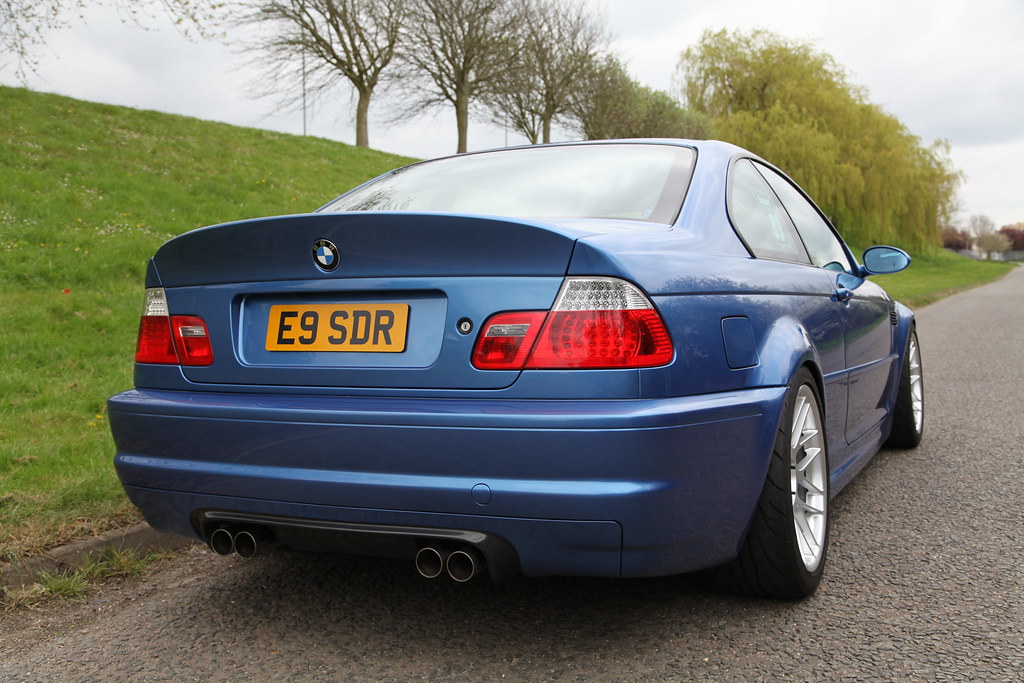
IMG_0163 by samratcliffe19, on Flickr

IMG_0011 by samratcliffe19, on Flickr

IMG_0029 by samratcliffe19, on Flickr
IMG_0097 by samratcliffe19, on Flickr

IMG_0105 by samratcliffe19, on Flickr

IMG_0162 by samratcliffe19, on Flickr
IMG_0163 by samratcliffe19, on Flickr
IMG_0011 by samratcliffe19, on Flickr
IMG_0029 by samratcliffe19, on Flickr
IMG_0097 by samratcliffe19, on Flickr
IMG_0105 by samratcliffe19, on Flickr
IMG_0162 by samratcliffe19, on Flickr

lukefreeman said:
Only thing that ruins it is the lack of rear doorcards!
Will be painting the rear then half cage so should look the part then. Just no need for rear cardsSome more of the pictures that my brother done
 IMG_0136 by samratcliffe19, on Flickr
 IMG_0134 by samratcliffe19, on Flickr
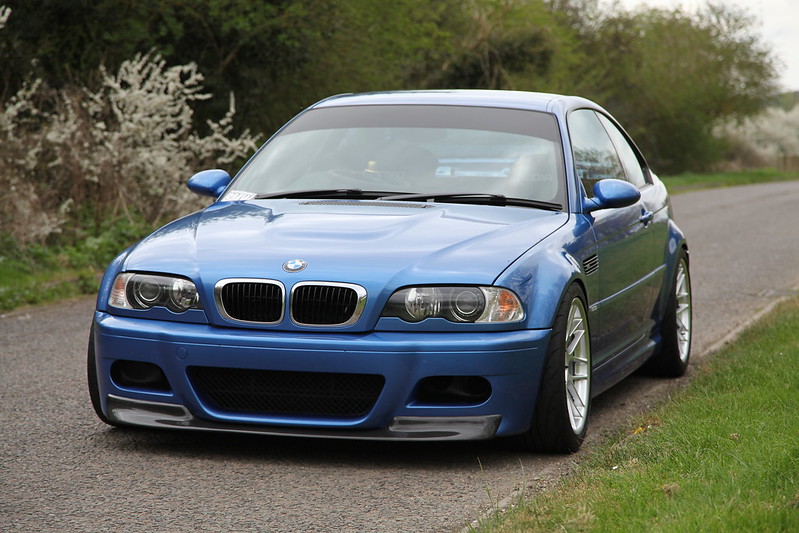 IMG_0132 by samratcliffe19, on Flickr
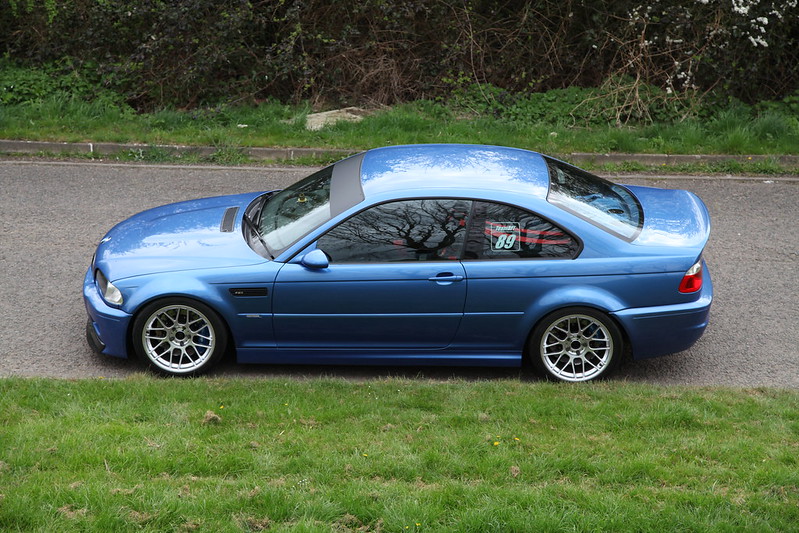 IMG_0116 by samratcliffe19, on Flickr
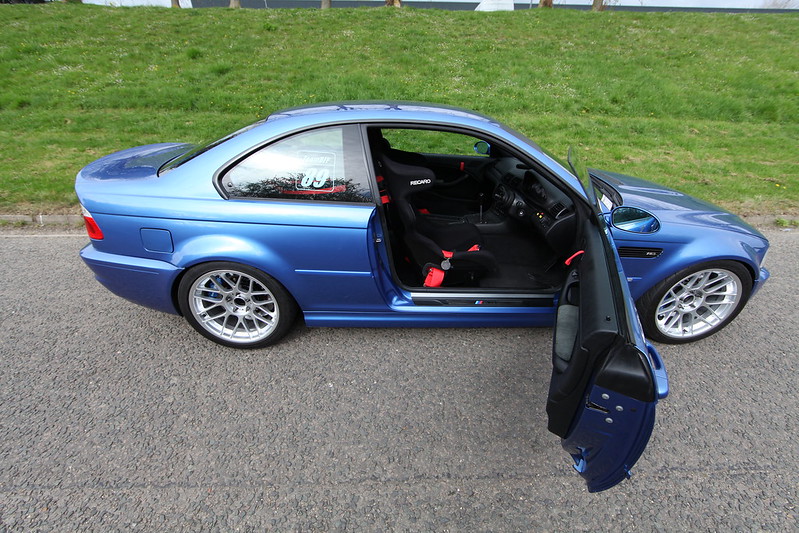 IMG_0094 by samratcliffe19, on Flickr
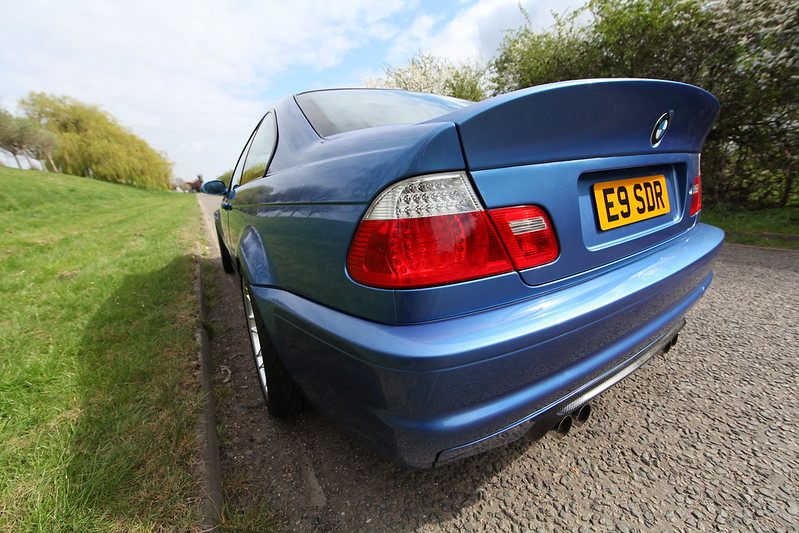 IMG_0085 by samratcliffe19, on Flickr
 IMG_0044 by samratcliffe19, on Flickr
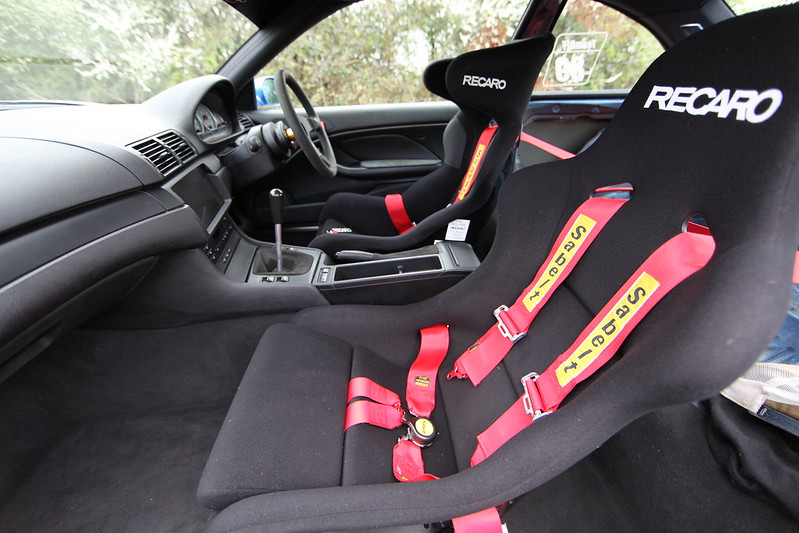 IMG_0036 by samratcliffe19, on Flickr
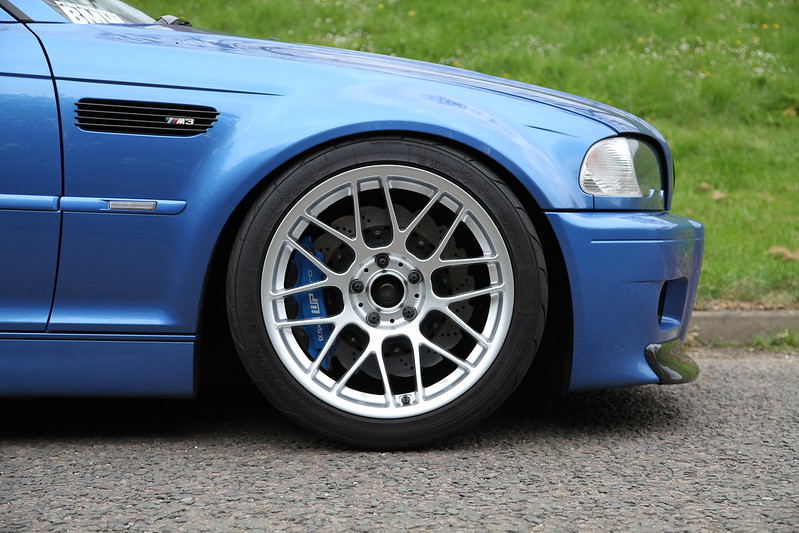 IMG_0151 by samratcliffe19, on Flickr
Have also since fitted a 16" electric puller fan and removed the viscous fan, should hopefully keep temps down on track. Next is to tackle the raising oil temps.
Car preformed well at Bedford GT last week. The HSD coilovers are being bit of a let down though leading to a few wild moments. They were the very first thing I done to the car so there not really up for the abuse now.
After fitting a electric puller fan and binnging the viscous fan the collant temp never went above half and dropped fairly quick on an in lap so the electric fan is working very well. A better oil cooler is needed next.
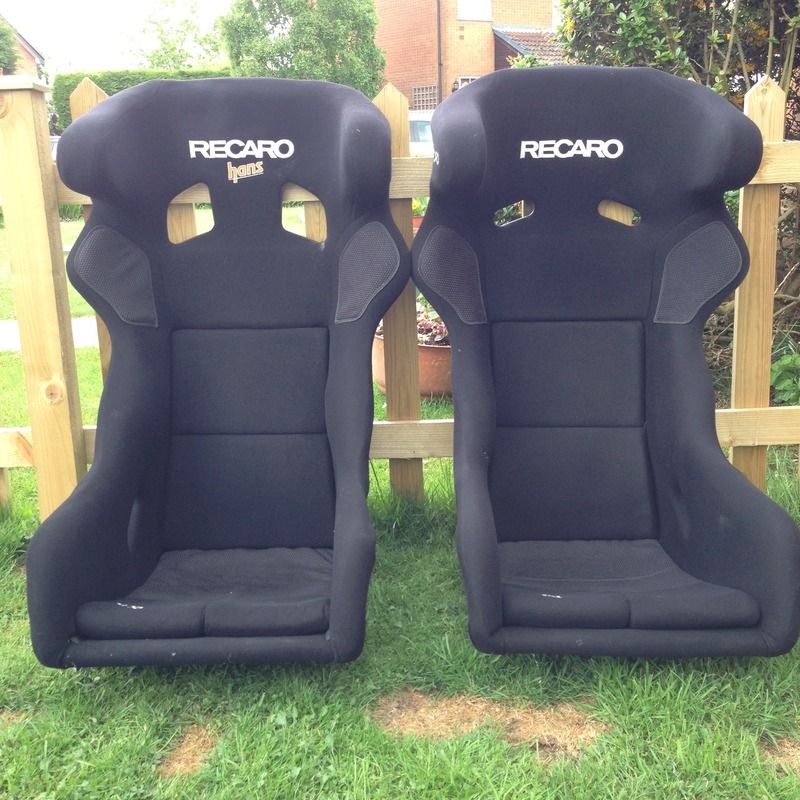
After Grant lent me his Pro racer I just had to get my own. Managed to grab a week out of date seat for a good price.


pantera chris said:
Really great build. What rear brace is that? Im using the rear seat fixings at the moment which is not at all ideal!
Also do you get any problems with fuel starvation at all? Mine suffers at Snetterton under half a tank.
Cheers
Rear brace is made by ultra racing then I powdercoated it black. Also do you get any problems with fuel starvation at all? Mine suffers at Snetterton under half a tank.
Cheers
Edited by pantera chris on Tuesday 12th May 14:12
No fuel surge for me, even went down to the red light later in the afternoon.
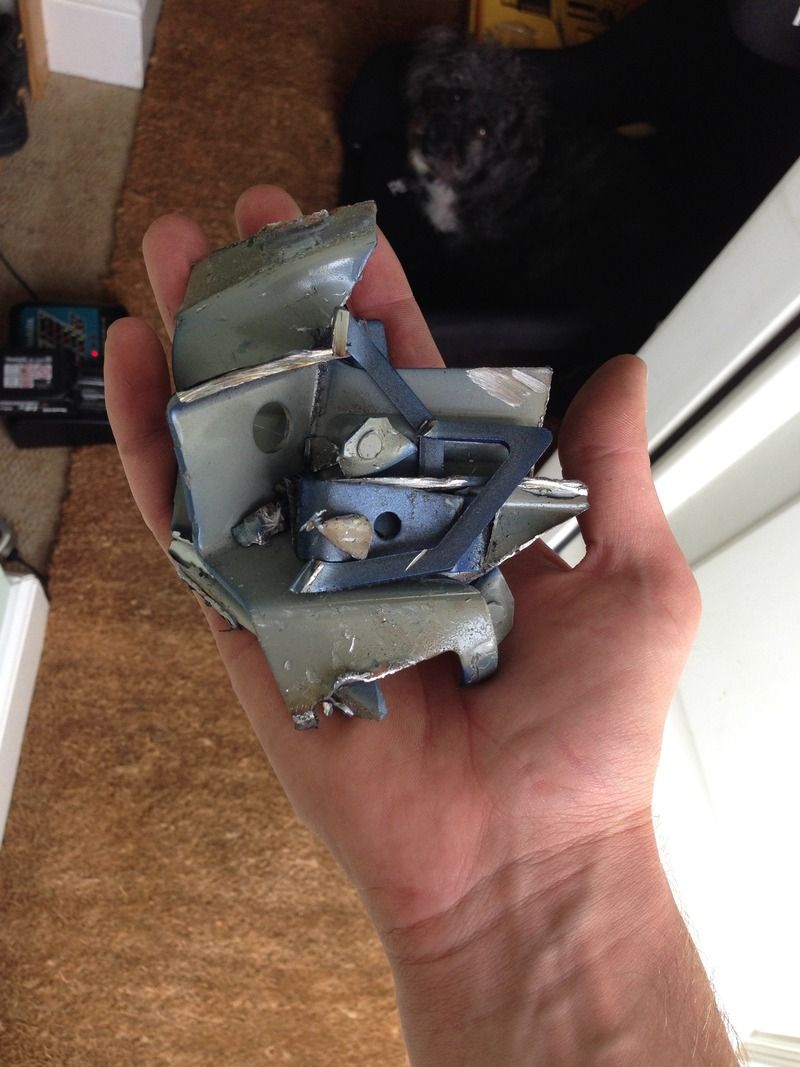
Having a stripped interior is always a little eye sore, so in my fee time I've been trying to tidy it up.
Stage 1: Angle grinder
Cut off all the un-need brackets (ended up being more than this handful)
Stage 2: Remove all sound deadening, tidy up the seam sealer and remove all the resin glue
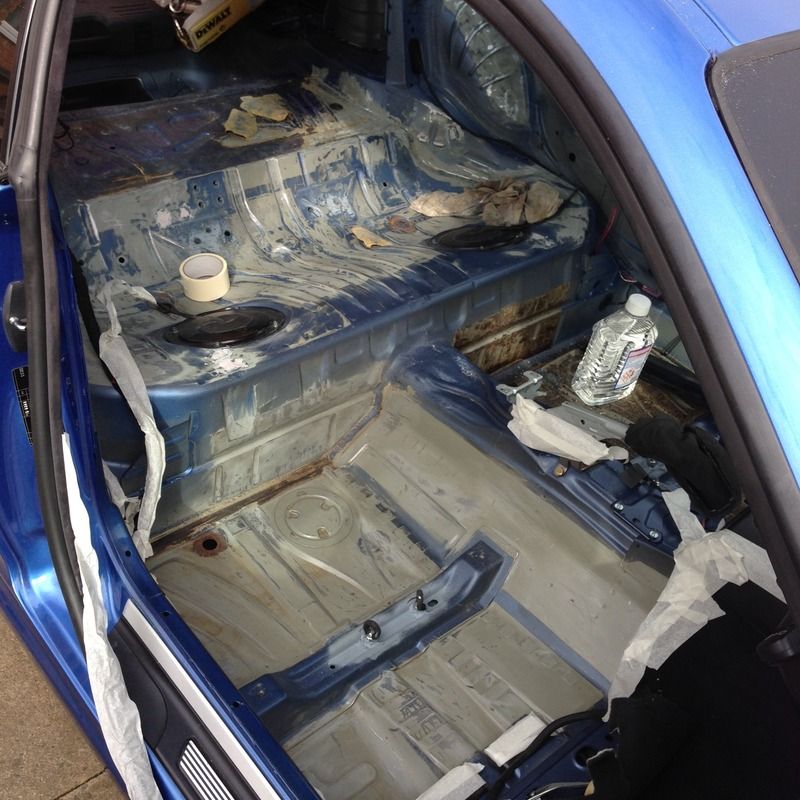
I also thinned out any un-needed items from the wiring loom then re-taped it back up with factory fabric tape.
Stage 3: Paint
From factory not everything on the interior is painted, behind the rear door cards of example is just in primer or just a extremely light dusting of colour, so I wanted to blue the lot.
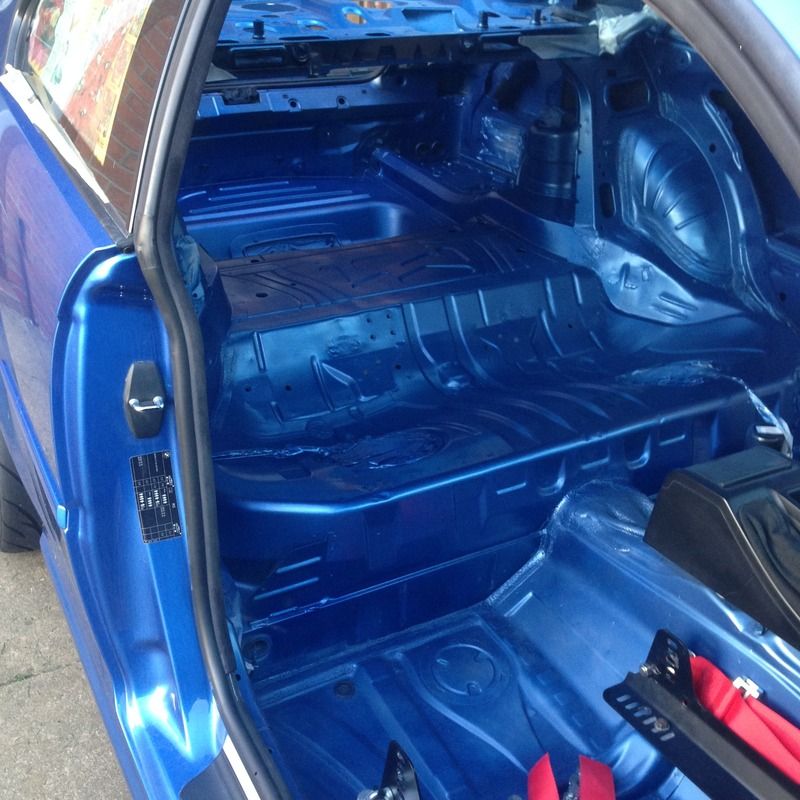
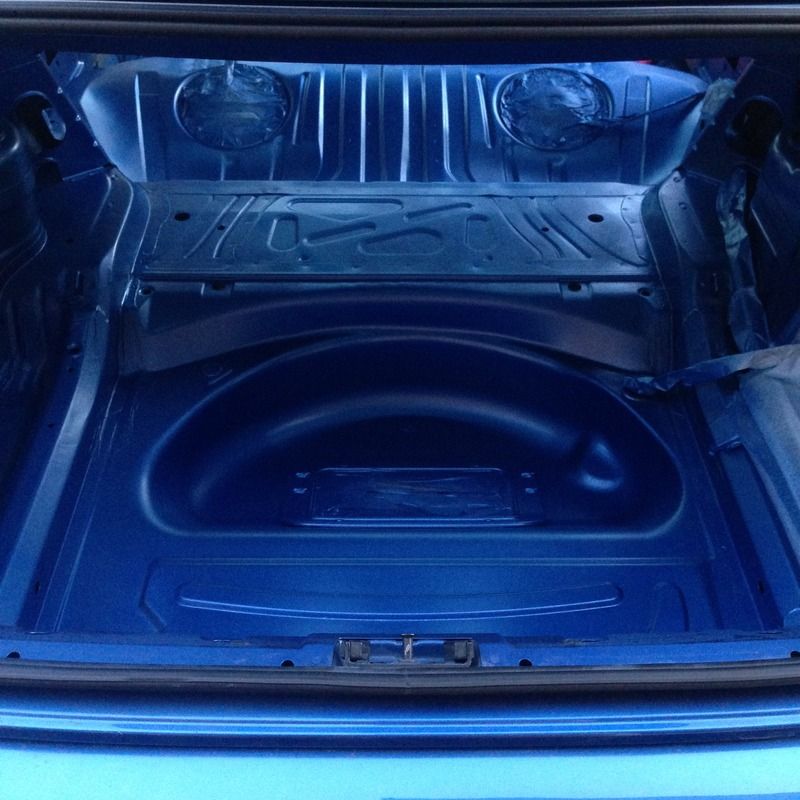
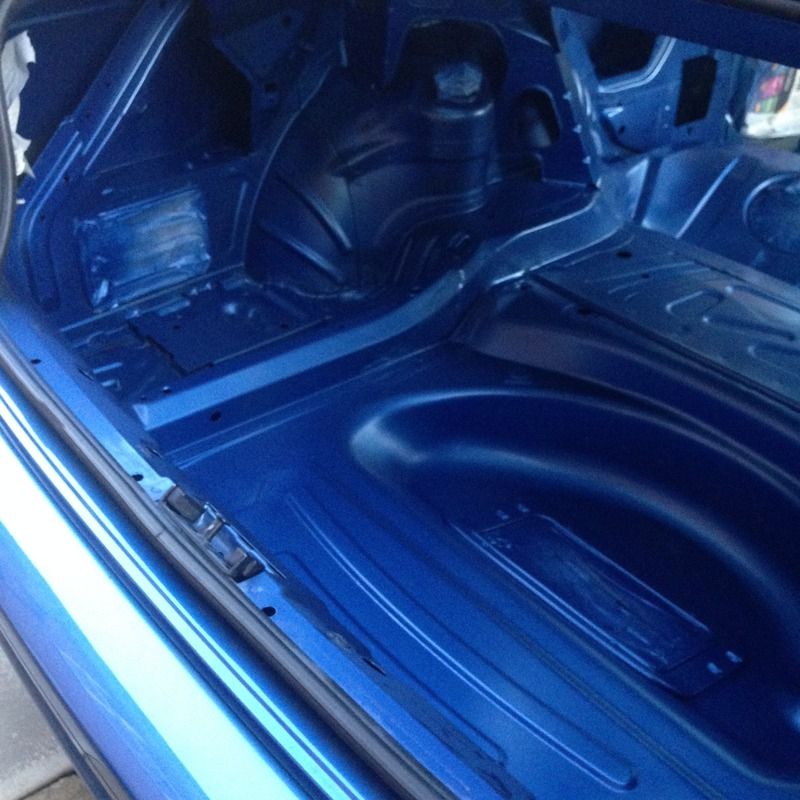
Stage 4: Clean up and refit
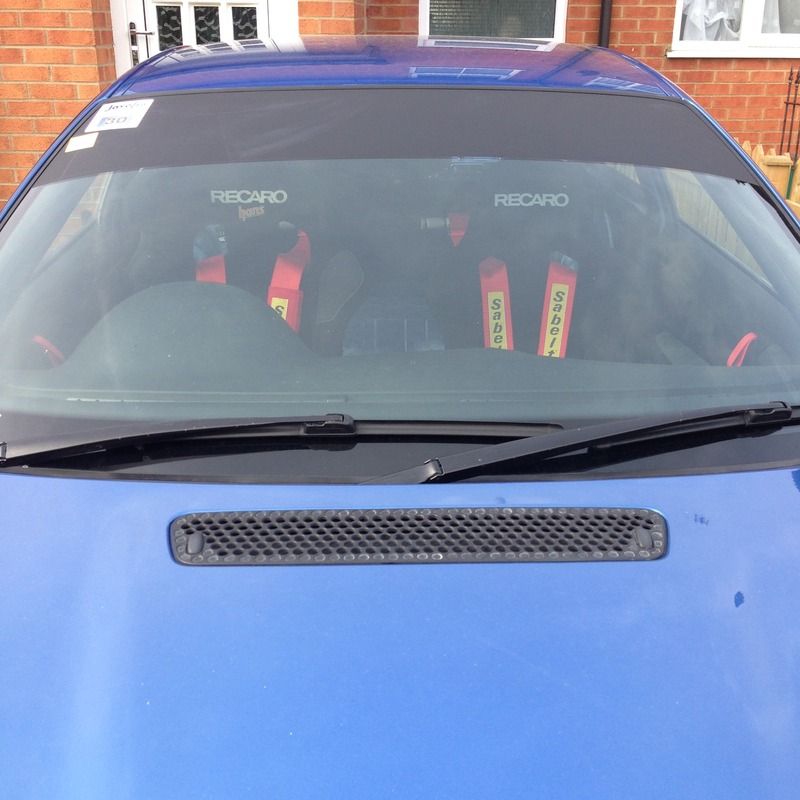
Going to Bromley Padgent this weekend and not taking a passenger (only the dog) so only going to run a drivers seat.
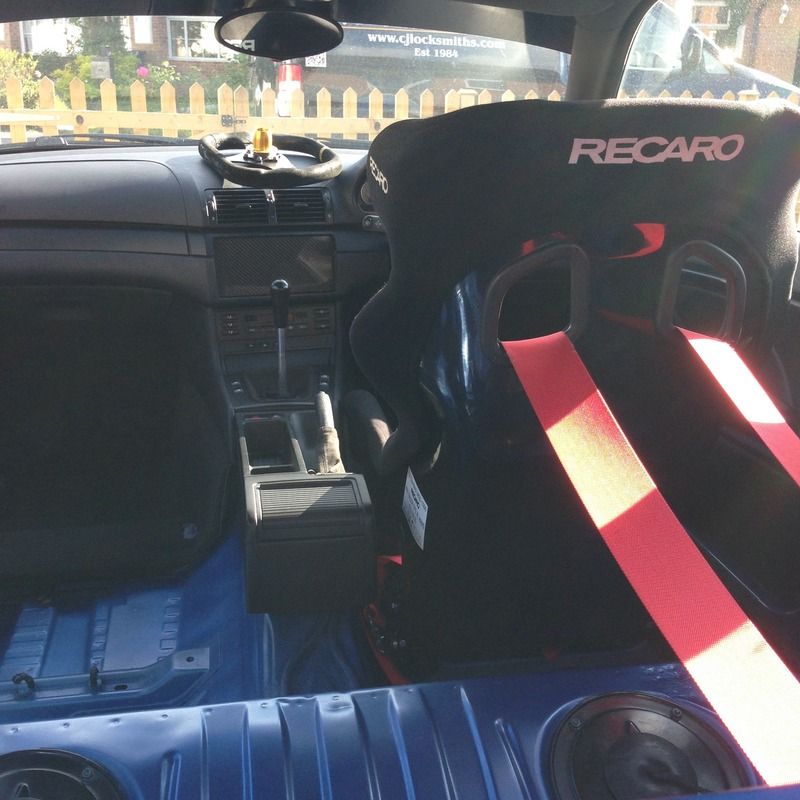
I have also dropped my Sparco 330mm steering wheel off with Jack at Royal steering wheels for him to work his magic and retrim it, really looking forward to getting that back but for the time being I have a loaner wheel which is a little odd, i'll leave it at that.
Stage 1: Angle grinder
Cut off all the un-need brackets (ended up being more than this handful)

Stage 2: Remove all sound deadening, tidy up the seam sealer and remove all the resin glue

I also thinned out any un-needed items from the wiring loom then re-taped it back up with factory fabric tape.
Stage 3: Paint
From factory not everything on the interior is painted, behind the rear door cards of example is just in primer or just a extremely light dusting of colour, so I wanted to blue the lot.


Stage 4: Clean up and refit
Going to Bromley Padgent this weekend and not taking a passenger (only the dog) so only going to run a drivers seat.

I have also dropped my Sparco 330mm steering wheel off with Jack at Royal steering wheels for him to work his magic and retrim it, really looking forward to getting that back but for the time being I have a loaner wheel which is a little odd, i'll leave it at that.
Gassing Station | Readers' Cars | Top of Page | What's New | My Stuff