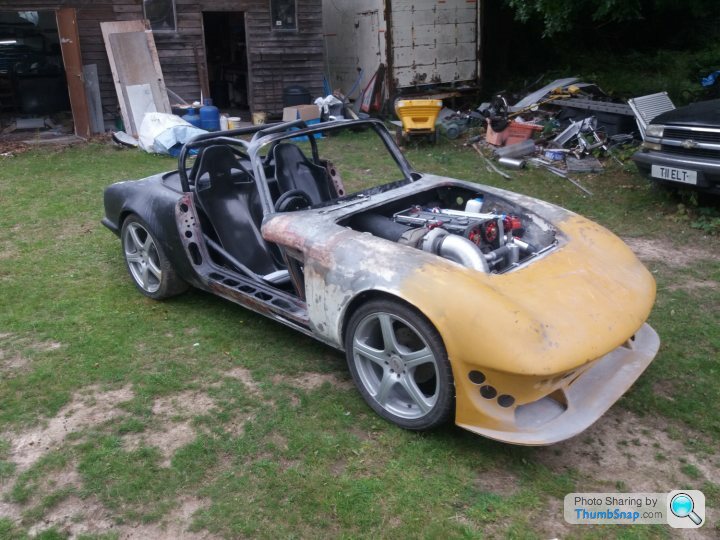
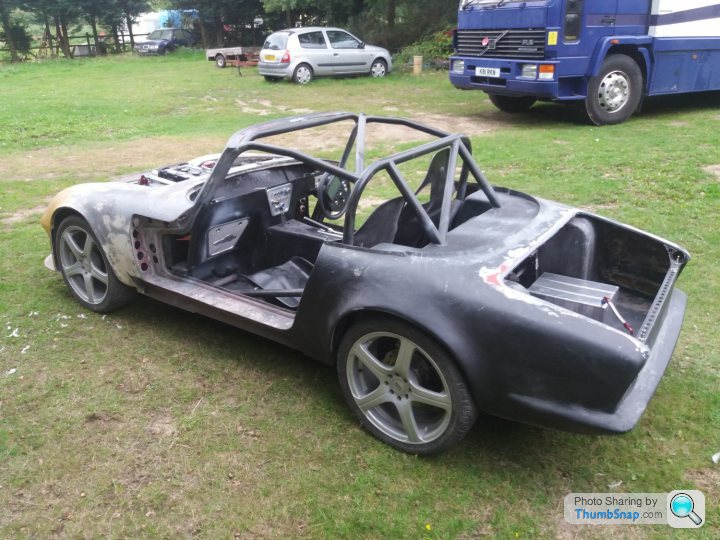
Attempting to build the fastest road legal Elan in the world
Discussion


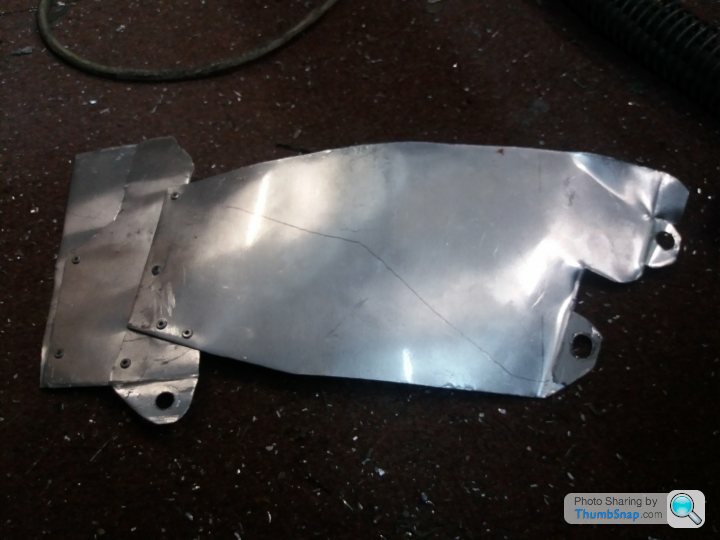
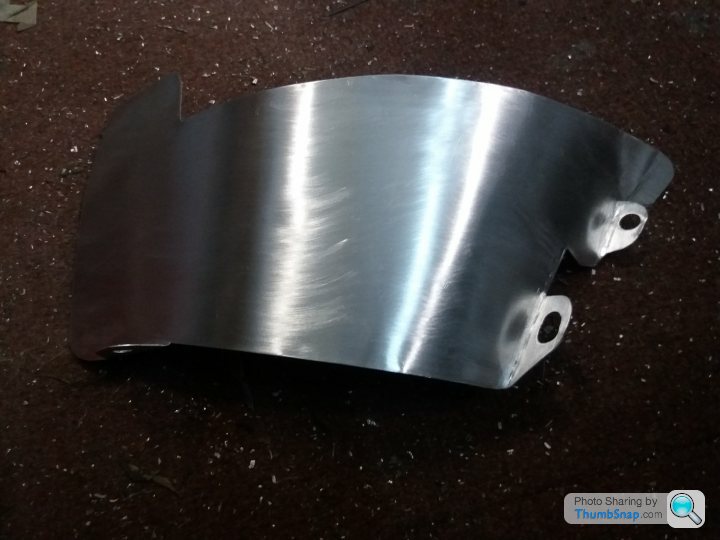
Making heat shields to fit into spaces that aren't really there is a PITA. Had to make a mock up first then make the real one. This one shields the alternator and wastegate actuator from exhaust and turbo heat. The hot side will be covered, as all shields will be, with ZircoFlex III.
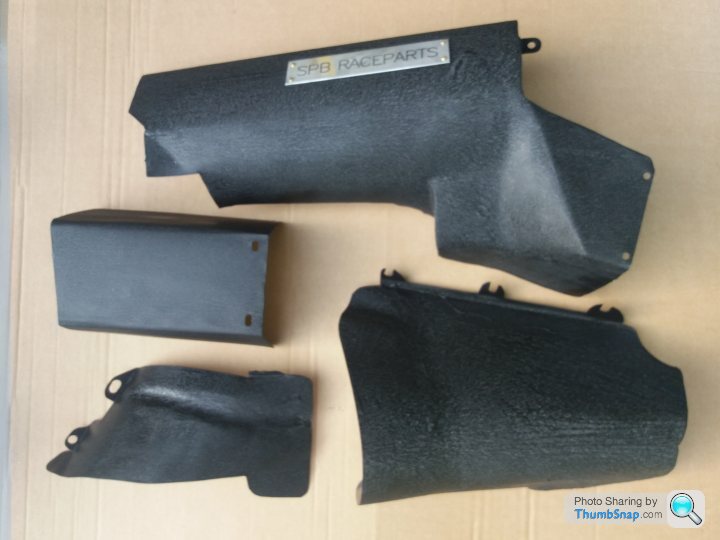
As race fire suits are heavy, uncomfortable and expensive, I decided to make my own out of aluminium and ZircoFlex. To that end I have started on the leg sections. Based on medieval armour, it will be light and articulated, allowing enough movement to be able to get in and out of car with very little help.
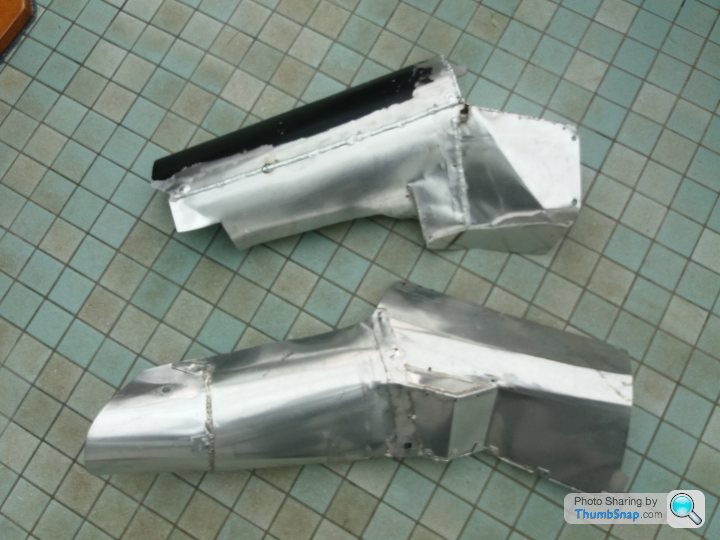
After a trial fitting I have decided that making my own firesuit isn't going to work. However, in order not to waste the parts already made I have repurposed them into exhaust shields. A little bit of VHT wrinkle paint and you wouldn't know their original purpose. Not the best wrinkling in the world but it has tidied them up a tad. I haven't wrinkled the shield sections that are under the exhaust.
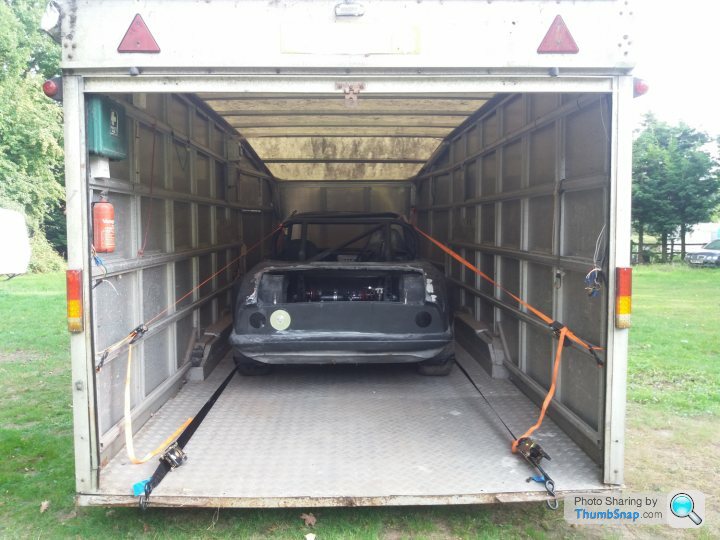
All wrapped up and ready for the trip to DC Electronics tomorrow. These wheels are temporary and just there to hold the corners up. I have yet to finalise widths and style, but probably period correct slot mags.
Edited by stevebroad on Thursday 7th September 23:31
Edited by stevebroad on Thursday 7th September 23:35
OK, back from DC Electronics by 9.30. After a discussion with David and Geoff a slight change of plan. For the relatively minimal extra cost, DCe are going to wire the whole car, lighting and my steering wheel folly included. Makes weight, time and reliability sense.
David is off to the States for three weeks so it goes in early October (date to be confirmed) and it will be there for around 3 weeks, but I have visiting rights.
Geoff has a base map that will get the car started so we are still on course to firing up this year
As an aside for those familiar with my concerns about our underpowered motorhome being able to cope, the fuel mod that Alex did made towing easy (ish). For those who know the Maldon Bypass hill, from a standing start I got up to 55mph!
Polynesian said:
Brilliant work, always good to see updates on this. And what luck that your dimensions for your race fire suit were spot on for the heat shield needs of the car. Shame you couldn't use the full suit, but you've repurposed all of that hard work well ;-)
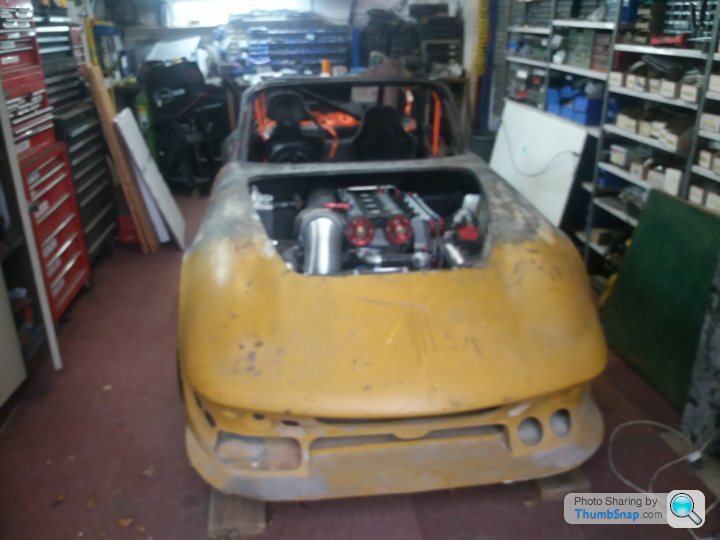
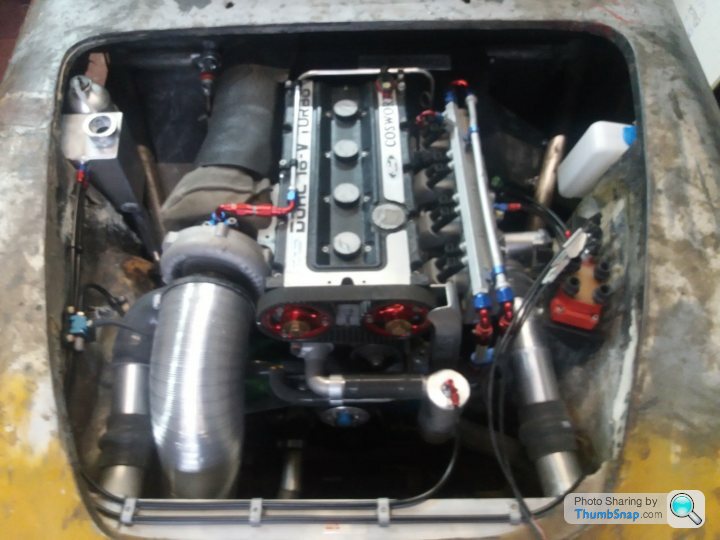
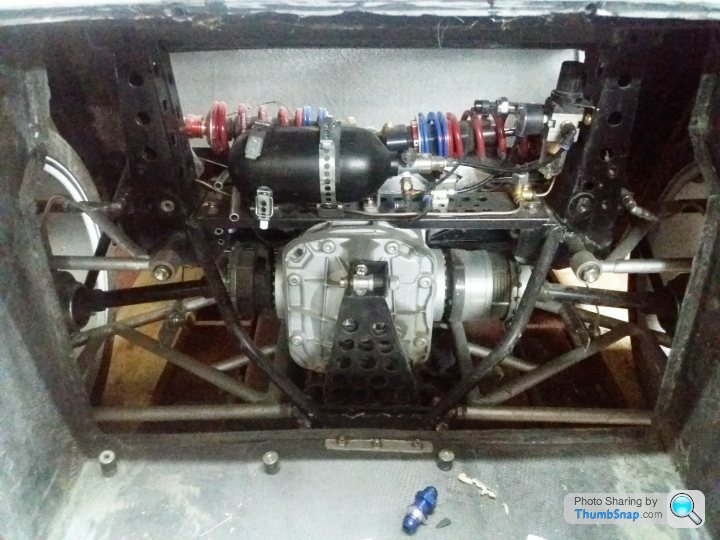
Yeah, lucky that :-)Workshop tidied (it was a mess) and my baby back in its home until we are off in early October for the installation of the nervous system. Everything is now installed in the engine bay so this is how it will look (apart from a refresh and inner wing work). Apologies for the rather out of focus photos, I thought smartphones were idiotproof, obviously not :-)
Markbarry1977 said:
Friend of mine owns a company called RSV graphics. I know he has wrapped motorhomes and buses before. Maybe he could help.
Ask to speak to Matty the owner.
I know they custom print everything in house
http://www.rsvgraphics.com
Thanks Mark, I will make contact and see what they can offer.Ask to speak to Matty the owner.
I know they custom print everything in house
http://www.rsvgraphics.com
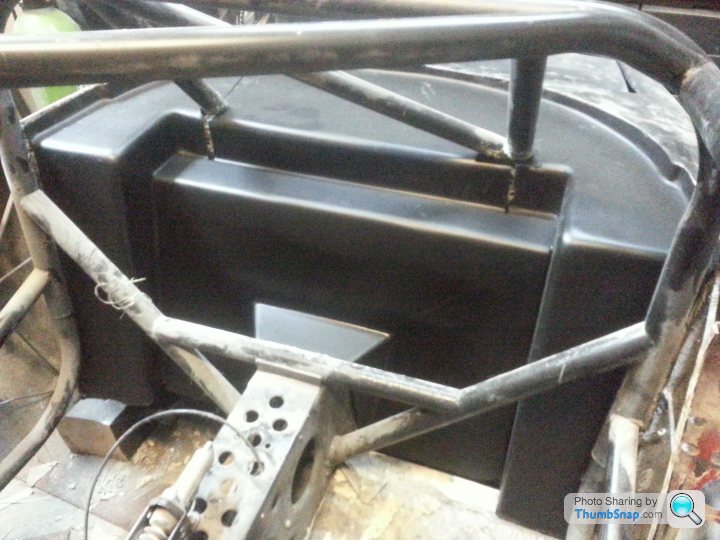
Started on a few jobs that should make the wiring easier to install. The rear interior panel (behind the seats and straddling the central chassis spine) was made in one piece.
However, once the seats were installed it became apparent that it was not possible to remove it without taking a seat out. Therefore I have cut it into two and will fix the lower section in permanently. Decided to use more Neodymium magnets to secure the removable section (I will probably add a couple more along the top). I will also use them to hold the rear bulkhead in place.
https://www.youtube.com/watch?v=4vRskX49td4
I have previously used magnets to secure the "glove box" door.
https://www.youtube.com/watch?v=PAsZHr3rdCo
Edited by stevebroad on Sunday 17th September 10:42
On sorting out final layout of fuel pipes through the bulkhead, I decided to remake the bottom panel. This was going to be removable but, as the fuel pipes will be passing though it, it is now going to be glued in.
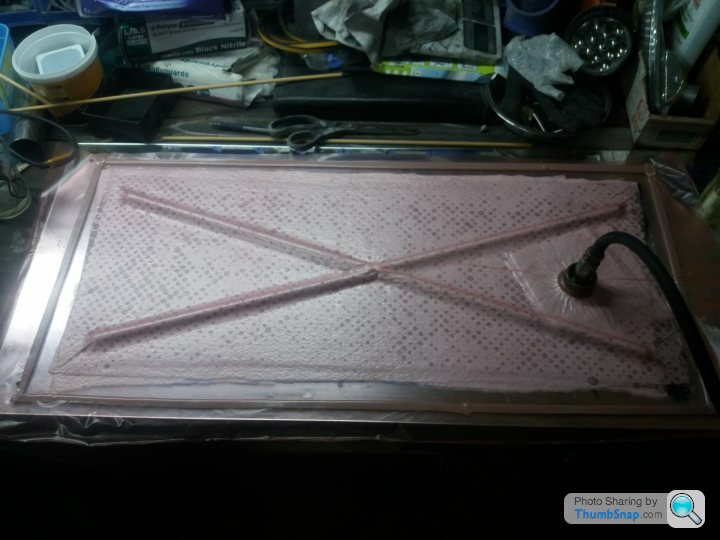
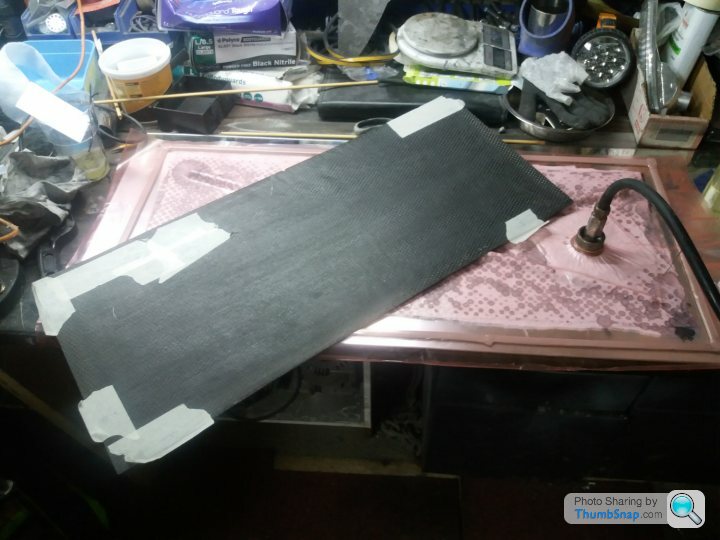
It wasn't the best fit (a little too short in the width department, so I decided to make a new one. As it is only two layers I have added some strengthening ribs that should also eliminate/reduce any vibration/booming. It turned out OK and, as it is only 2 layers rather than the original's 3, it is 120gms lighter and a lot stiffer.

It wasn't the best fit (a little too short in the width department, so I decided to make a new one. As it is only two layers I have added some strengthening ribs that should also eliminate/reduce any vibration/booming. It turned out OK and, as it is only 2 layers rather than the original's 3, it is 120gms lighter and a lot stiffer.
OliilO said:
What lay up have you used for that panel? 400gsm matting?
And what have you used for the stiffening ribs?
Hi. The carbon is, I think, 200gsm. Panel weighs just over 220gms which is about right for this weight of cloth. The stiffening ribs are just formed in the carbon by placing some timber strips under the carbon and pulling them out afterwards. And what have you used for the stiffening ribs?
Eddieslofart said:
Yes, not far from me, good effort 
Can't wait to see this flying through Danbury.
Considering I was pulling the box trailer and Elan I was quite pleased, should be able to cope with the hills on the way to the Pod.Can't wait to see this flying through Danbury.
There won't be a lot of flying through Danbury, or anywhere else for that matter, as there won't be anything to prove and not much around that is fast enough to make it worth my while :-)
Edited by stevebroad on Sunday 17th September 23:07
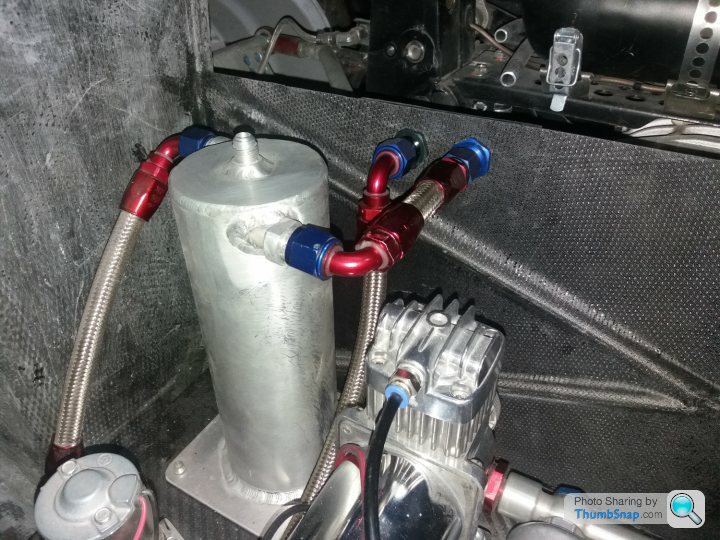
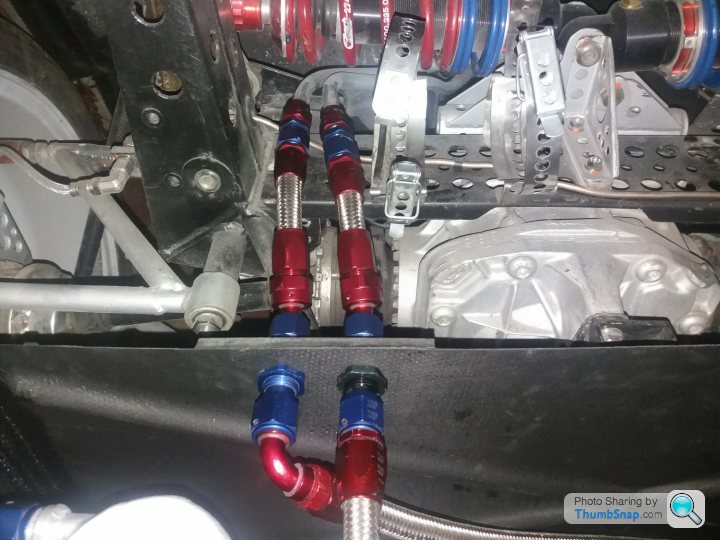
Getting on with fuel lines. Got them through new bulkhead but need a couple of 30 deg fittings so that the aluminium fuel lines are lifted slightly so they clear the air reservoir and brake pipe. They should arrive on Tuesday.
Took a few grams out of the inline fuel filter and air compressor support posts. I am guessing that the fuel enters the filter and the rubber seal end?
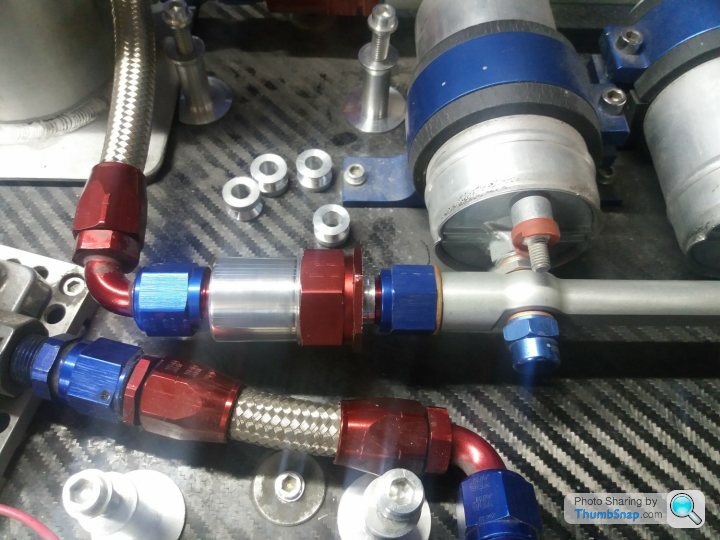
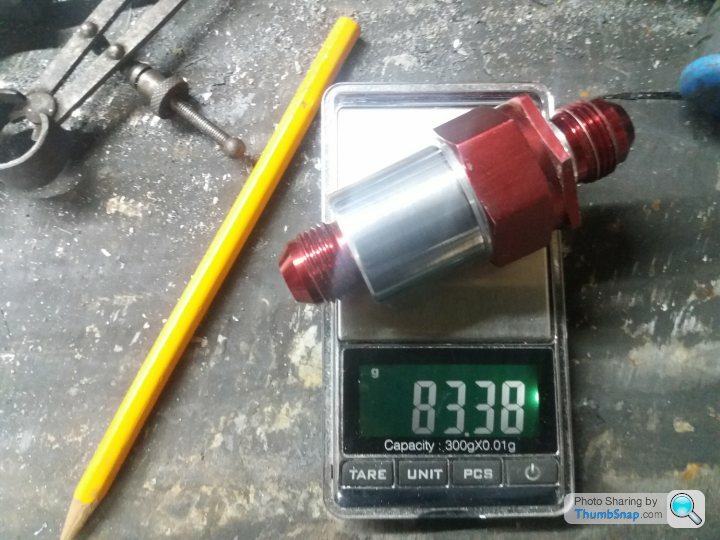
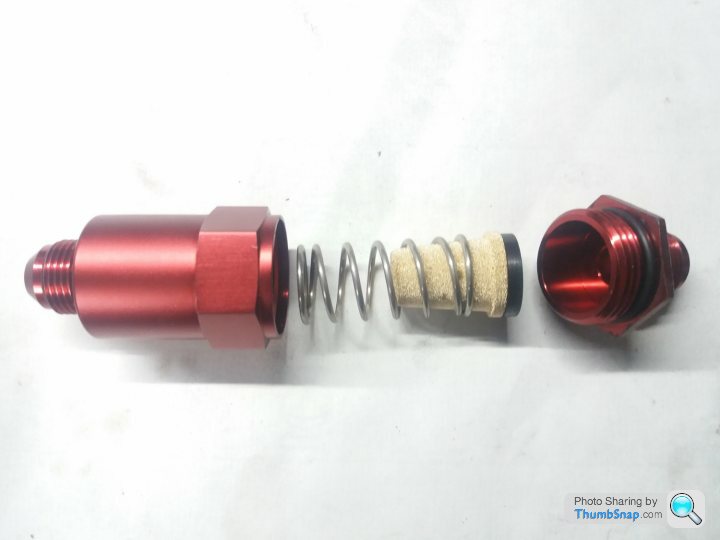
Took a few grams out of the inline fuel filter and air compressor support posts. I am guessing that the fuel enters the filter and the rubber seal end?
Edited by stevebroad on Sunday 17th September 23:05
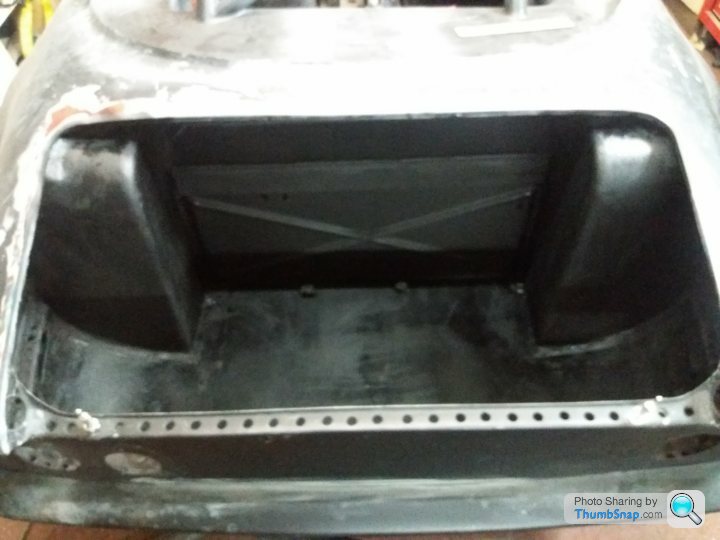
Finished removable part of rear bulkhead. Gave the boot a quick coat of 20 foot black matt.
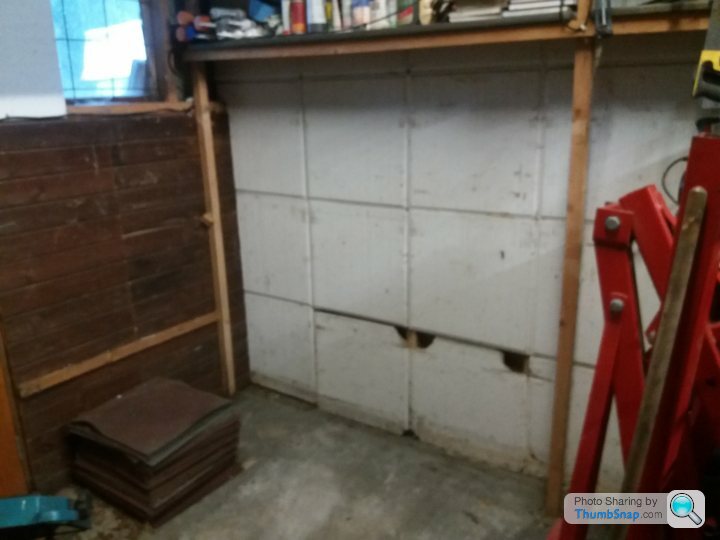
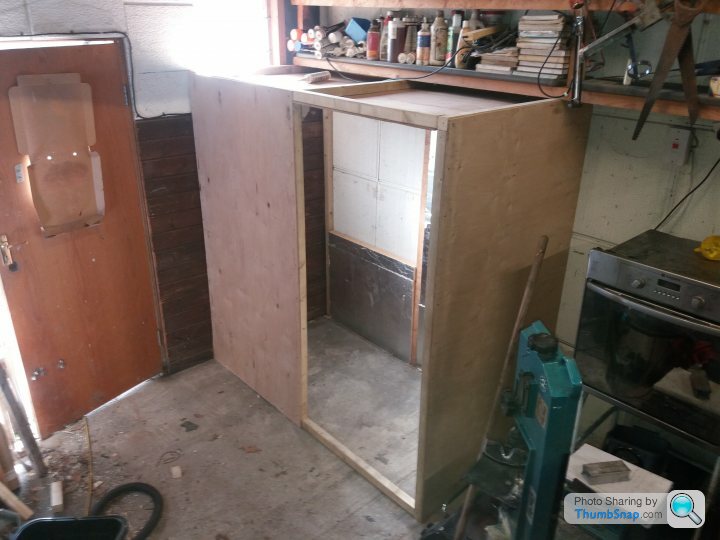
Cleared the area in the workshop where I plan to build my new, improved and much larger prepreg carbon/aramid curing oven. I have the heaters and controls, just need a few sheets of insulation board and I am good to go.
Whilst clearing the area I collected my G-clamps together, 57 of them! No, your eyes aren't going funny, photos are out of focus, again.
andygtt said:
looking good 
Cheers. What I didn't follow up on when I was over were the details on how you heat and control your oven. The heaters and controls I have aren't man enough for the size of my new and improved version :-)Edited by stevebroad on Wednesday 20th September 10:33
Fuel pipes finally finished, apart from tidying up the odd damaged union and the colour clash of the bulkhead fittings :-)
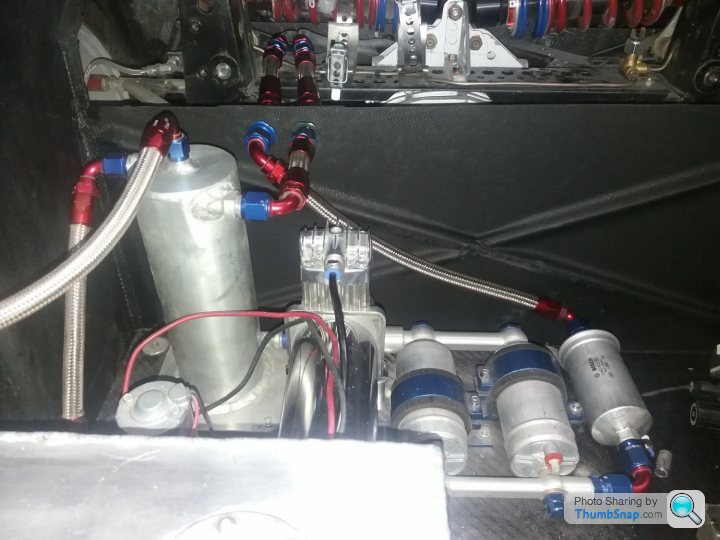
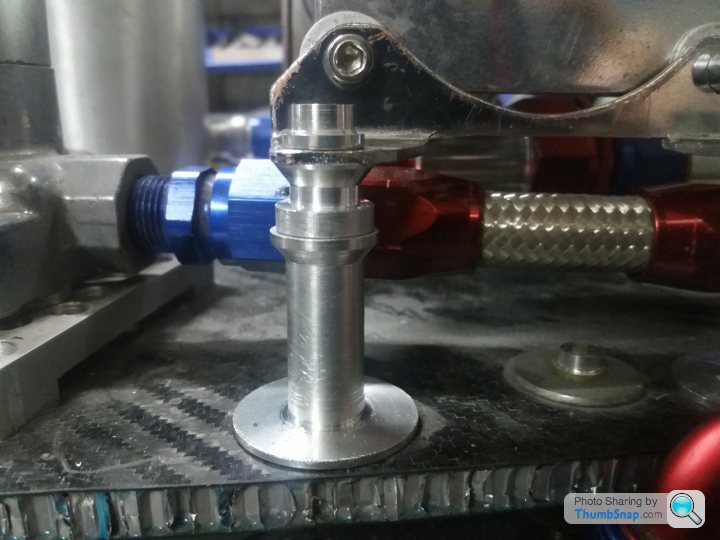
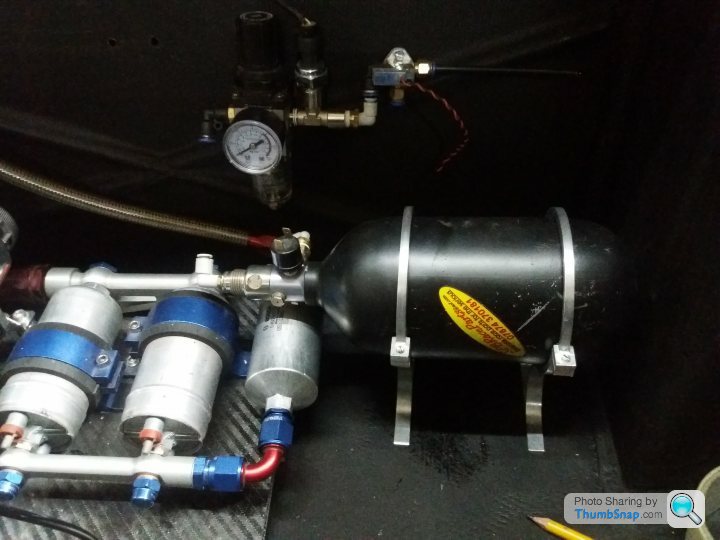
Resiting of air reservoir from over fuel pumps to the side necessitsted the making of new brackets. I could probably have used the existing brackets, but any excuse to play with the CNC Mill :-)
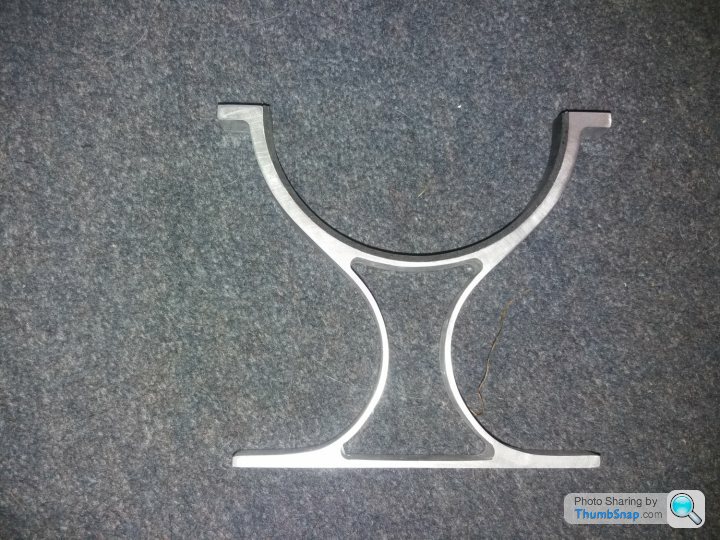
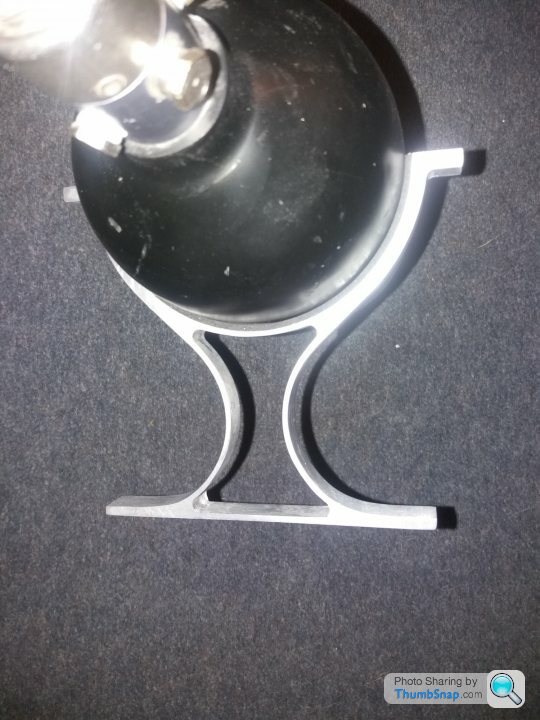
Resiting of air reservoir from over fuel pumps to the side necessitsted the making of new brackets. I could probably have used the existing brackets, but any excuse to play with the CNC Mill :-)
Gassing Station | Readers' Cars | Top of Page | What's New | My Stuff