Jaguar xjc 4.2
Discussion


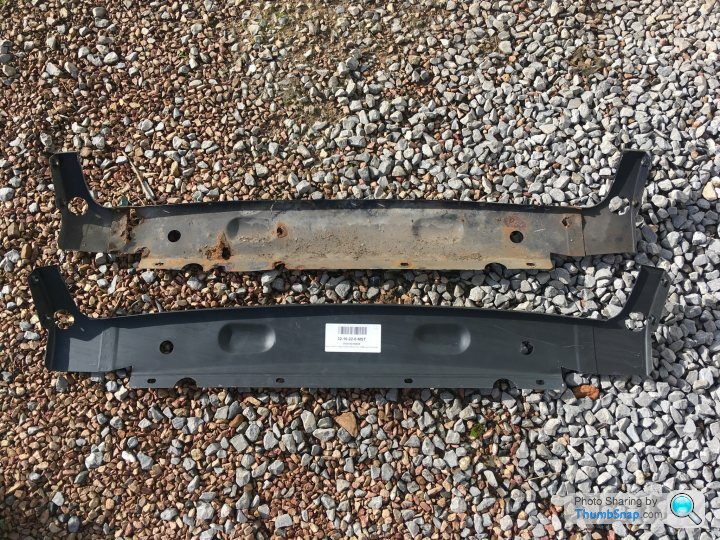
Replacement front valance. Would be fantastic if it fitted perfectly lol.
Made of 3 sections as per original. The outer parts have been spot welded on and should fit nicely into a joggled stamped edge but unfortunately the new part has just a bevel so the outer parts are fitted too wide by about 10mm. Other than that not bad a panel

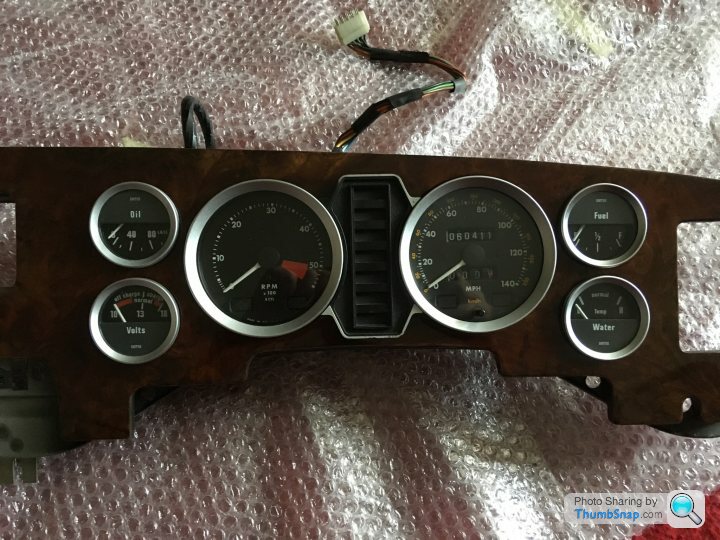
Thought I would test fit assemble the restored walnut dash to the backing plate then make sure all the dials fit nicely within the wood. Only the fuel gauge aperture needed a bit of careful lacquer removal. The wiring I’ve also connected so as I can see which bulbs go where. I fancy red lit dials.
The dials all have green filters though. So quick experiment was to shine a red led bulb through a green filter and luckily it still glows red!
no need to take each dial apart to remove the green filters which is a bonus. Above picture just shows how dark the walnut is when restored. I really like it.
A couple of paint details to go over worn off areas notably the middle warning lamp display surround.
I’m pleased with how well the original dials scrub up fitted into the restored dash

More little bits I’ve found that need attention.

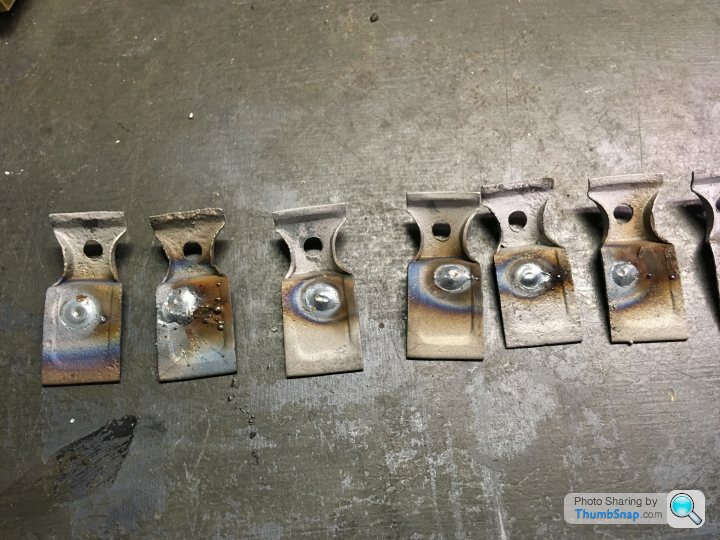
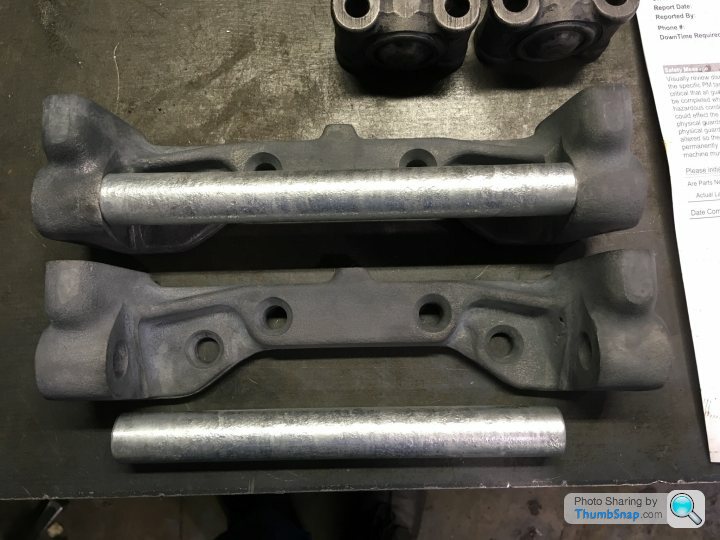
These I found yesterday as I was unwrapping the dials. They are brackets that screw into the sill to attach the jaguar logo’d Kick plates. The holes the kick plates screw into are the smaller of the 2 but as you can see none line up with anything as they were drilled after screwing into the sill. Basically I need the small holes tig welded over, flushed off then ready to drill again when the kick plates go back on.
As you can see I’ve already done this once before when I fitted a better set of kick plates about 15 years ago. So rather than try figure out where each one should go it’s far simpler to weld those holes again. I’ve also had new outer sills fitted so no holes to secure the brackets to either, bit of double jeopardy to try make all those brackets line up with the kick plates. I’m missing one as well grrr
Nincompoop said:
Been following your thread since page 1, Rob; one of my favourites - always happy to see an update. My late Pa ran a V12 xjc for a few memorable months when I was a wee one, so it's absolutely brilliant to see you raising yours from its muddy berth on your front lawn.
Keep posting!
I will until it’s finished Keep posting!
Just to say thank you to those for the recent words of encouragement. Sometimes I wonder if my posts are a bit boring or haphazard but it’s just me fitting in bits and bobs around work, family and budget.
Currently I’m waiting for the rear axle cage and front suspension subframe/clip to be painted body colour. I’ve virtually got all axle components painted over the galv so next step is get a budget from somewhere to buy all new bushings and re-plate all the original load bearing bolts,shafts and securing hardware. New springs, dampers and brake discs will be budgeted nearer Christmas or the new year.
Engine wise I need to remove the carburettors and manifold together with the cam covers and remove my first paint attempt and simply polish as I should have done in the first place. The bell housing needs attention as does the gearbox exterior.
So loads still to do and only 11 months left of me working in this Ford motor company toolroom until I’m made redundant.
stevemcs said:
Ford tool room ...... I thought that job went ages ago ...... it’s been many years since I last visited a ford factory, in fact Ford still had there own boats that would off load at the back of Dagenham engine plant.
That toolroom did shut in 2013. I relocated to Ford Bridgend toolroom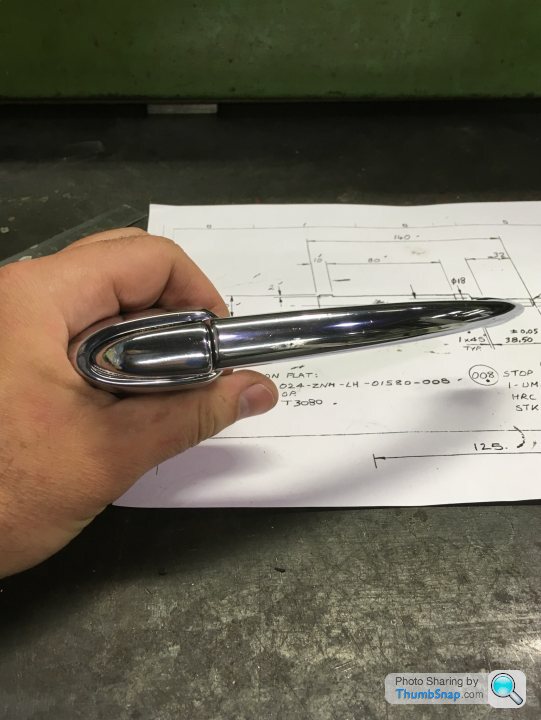
LanceRS said:
I watched the repeat Wheeler Dealer with one of these last night, brought back to the forefront of my mind just how stunning these are.
That probably explains why I had a fair few silly offers for mine when it was stuck on the front garden.That wheeler Dealer car wasn’t a very nice colour, very 70’s though.

Wheelbrace said:
Just call it patina.
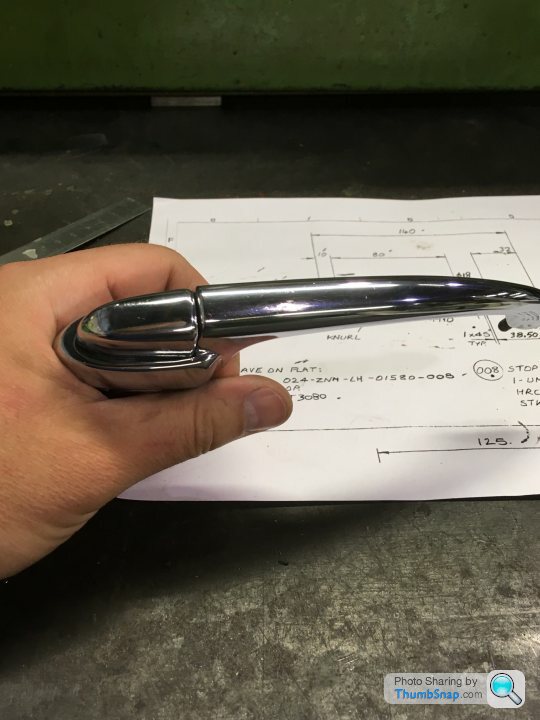
New ones are available to order, supposedly, for about £150 a pair which is not so bad in itself but where do you stop?
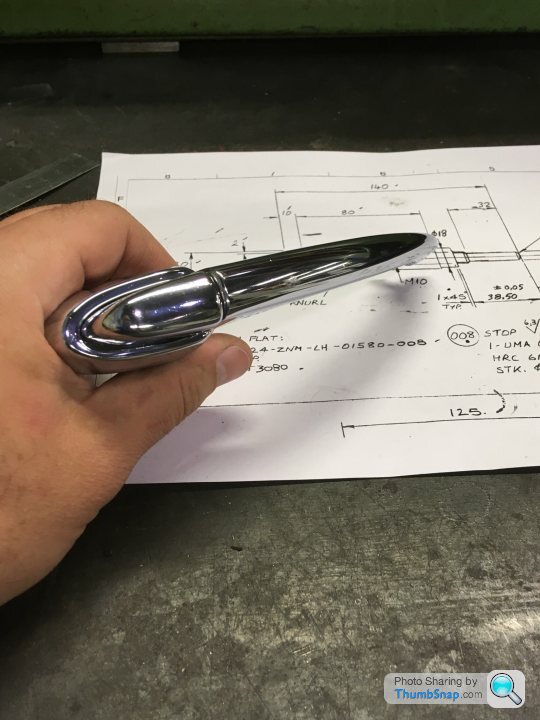
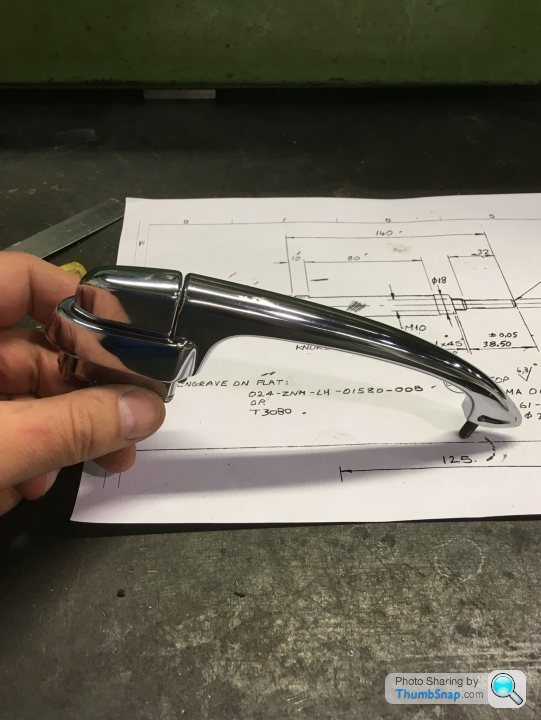
Put on new door handles, which show the gutter trims up so replace those. Gutter trims show the badges up and so on until you've spunked away a boat load of money.
By the way, if you need new gaskets for the handles don't bother buying them because they are s t. Easy enough to make your own.
I know what you mean regarding the chrome it’s easy to get carried away. I think as long as it’s not rough and massively pitted, a few age related marks are ok. New ones are available to order, supposedly, for about £150 a pair which is not so bad in itself but where do you stop?
Put on new door handles, which show the gutter trims up so replace those. Gutter trims show the badges up and so on until you've spunked away a boat load of money.
By the way, if you need new gaskets for the handles don't bother buying them because they are s
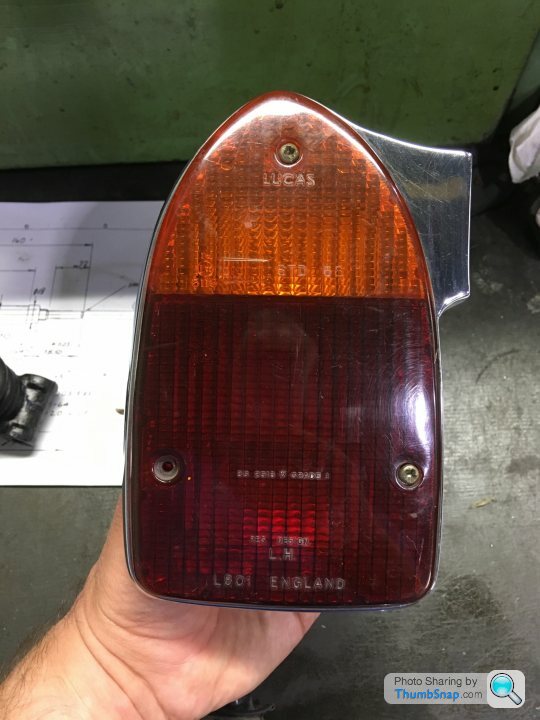
t. Easy enough to make your own.Earlier today I drove to stoneleigh for the jaguar spares day. I had dropped off my rather sorry looking front and rear bumpers together with the overriders 6 months earlier and today they were paid for. Not cheap but done now. So once the body is painted and looking rather fab the eye would look at the bumpers. The originals had far too much patina but now they don’t.
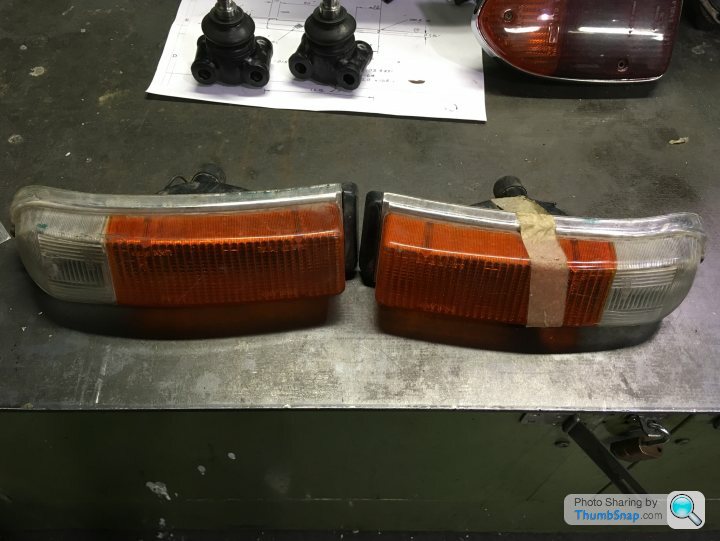
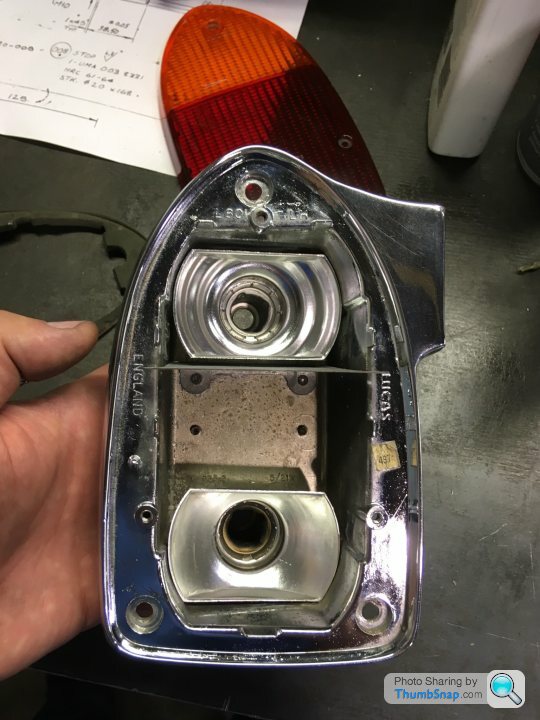
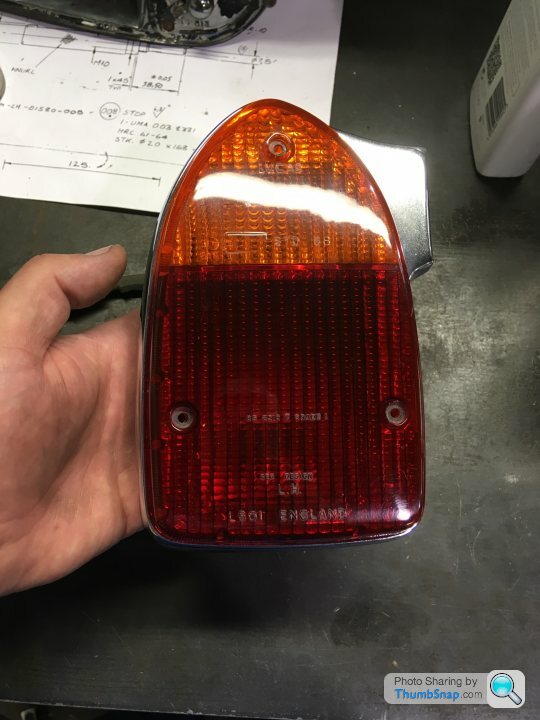
Also found a pair of grotty front indicators to make good and a good original left rear light chrome surround.
I’m currently at work, no production running this evening so will do a few more bits for myself
Also found a pair of grotty front indicators to make good and a good original left rear light chrome surround.
I’m currently at work, no production running this evening so will do a few more bits for myself
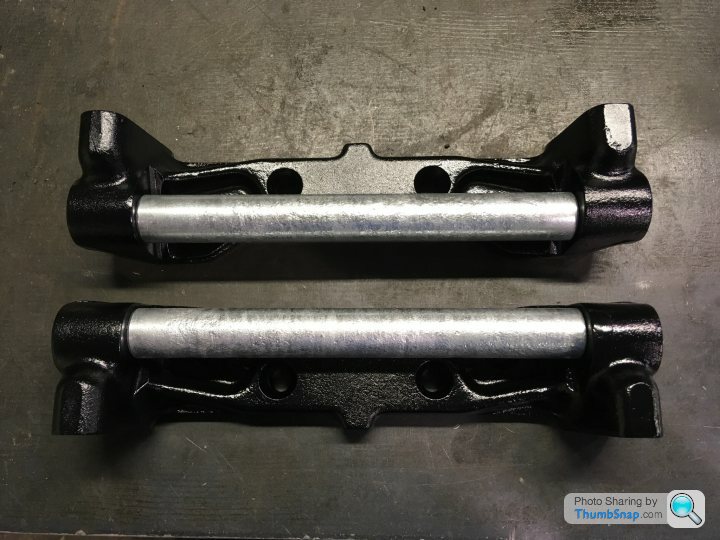
Basically I haven’t shown before but the parts that have been freshly galvanised can’t be painted on as it will just peel and crack. The dark grey parts have had a solution brushed over to oxidise the surface so as an etch primer can then bite into it and then top coat applied. The bright parts are untreated and cannot be painted over and provide a long lasting paint finish.
Bobberoo99 said:
That light came up well, liking the contrast on the black and zinc too!!
Thanks Those parts fit on the rear axle. Rather than just black I thought the bright zinc gives a bit of interest and saved painting them at the same time. I’ve got a few other bare galvanised parts and stainless bits I won’t paint and I’m hoping when fully assembled they look better than just another set of painted black axles.
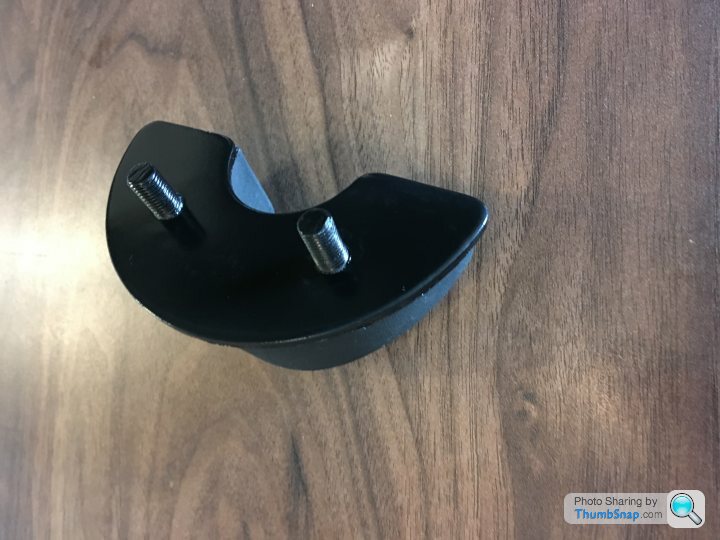
Ordered a pair of new front lower bump stops. The metal bases just had a very light coat of matte black paint so blasted that off, treated the steel, then etch and gloss top coat. I also shortened the securing stud length so stainless steel dome nuts can be used.
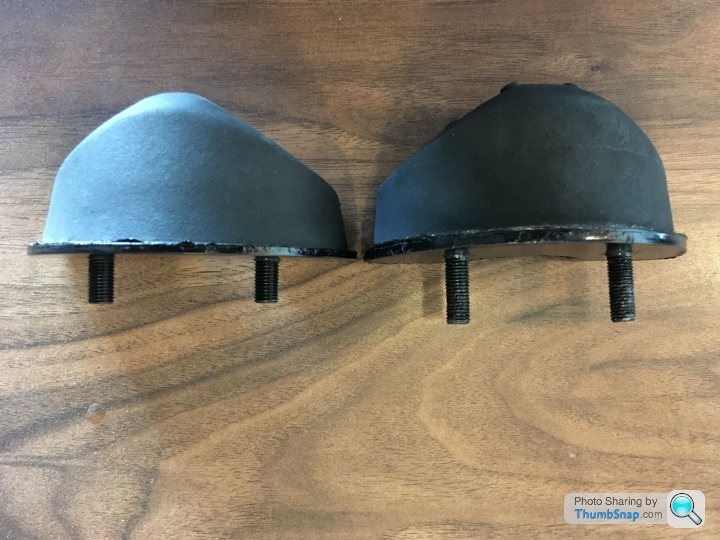
Above shows the securing studs shortened compared to originals. I did measure and not just cut a lump off!
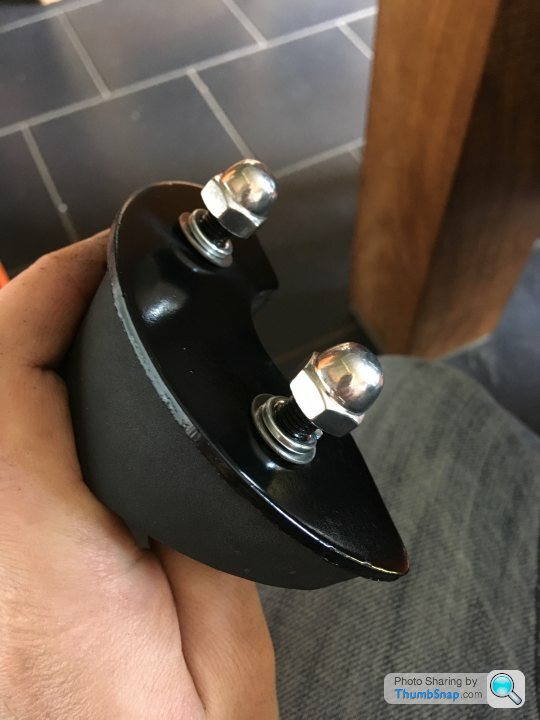
Freshly painted and below showing dome nuts
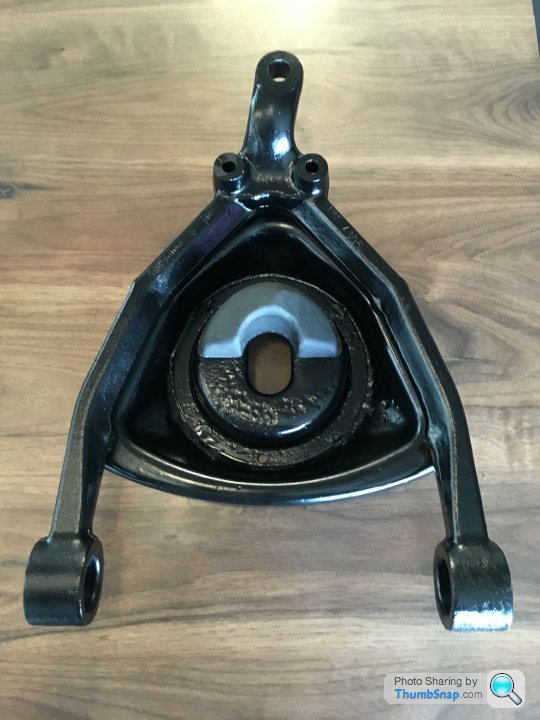
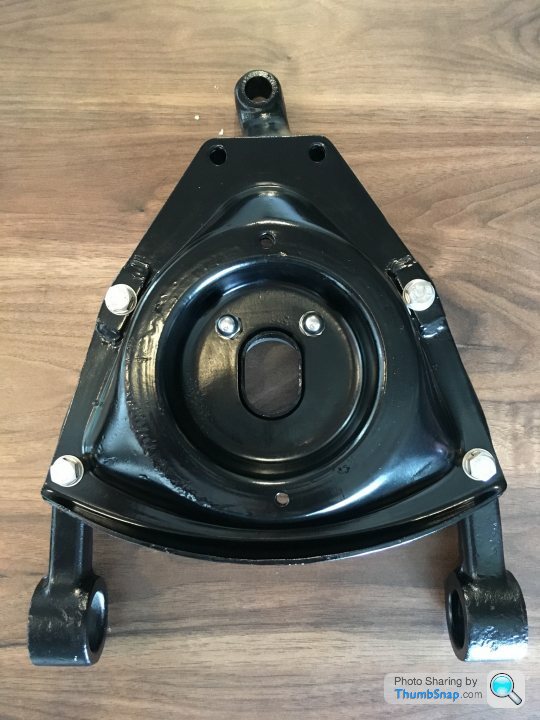
Front wishbone with fitted spring pan and bump stop. I’ve used new stainless steel bolts and washers for the spring pans as well. All correctly measured for length using the new spring and flat washers.
Above shows the securing studs shortened compared to originals. I did measure and not just cut a lump off!
Freshly painted and below showing dome nuts
Front wishbone with fitted spring pan and bump stop. I’ve used new stainless steel bolts and washers for the spring pans as well. All correctly measured for length using the new spring and flat washers.
Gassing Station | Readers' Cars | Top of Page | What's New | My Stuff