Jaguar xjc 4.2
Discussion


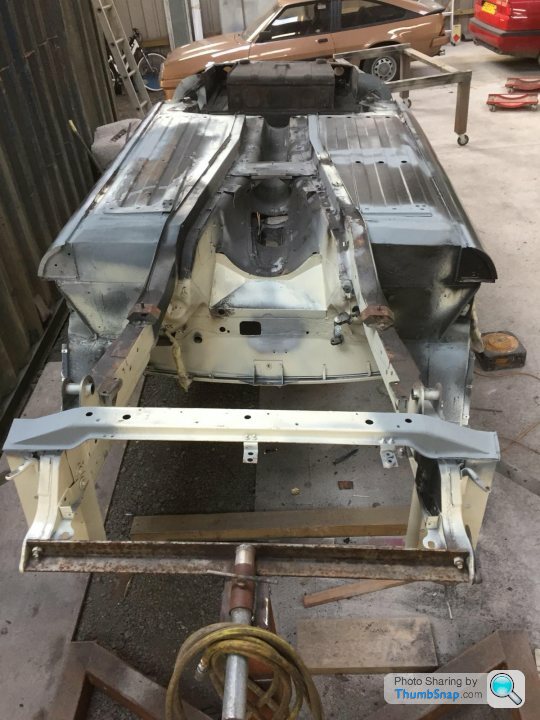
I’m still plodding on stripping rusty, crusty seized bits of old Jag. Seems endless if I’m honest.
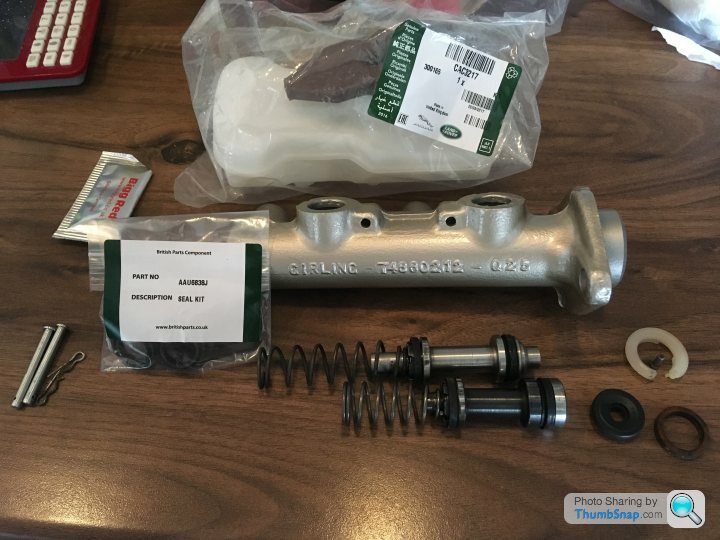
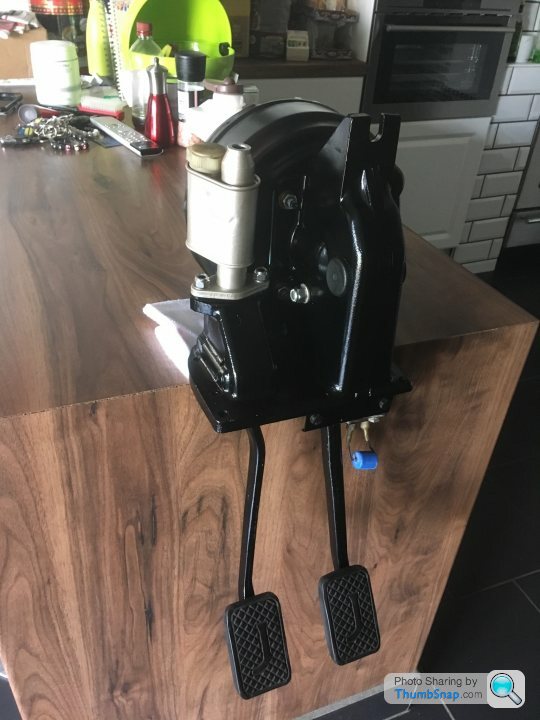
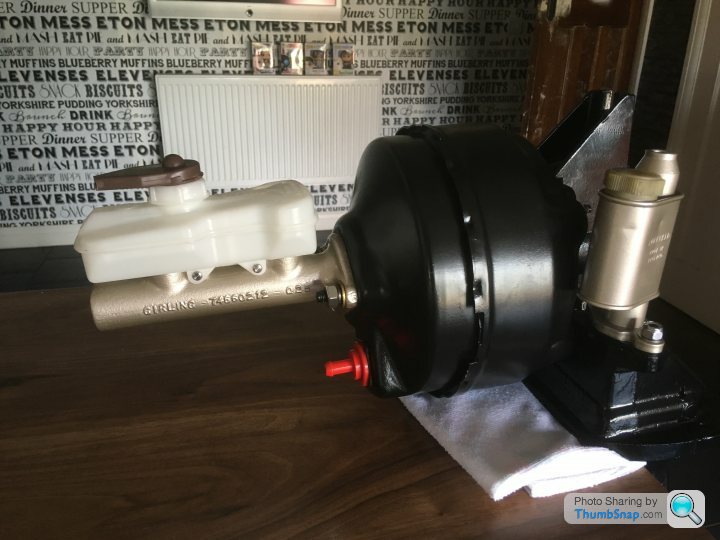
Latest parts I’ve stripped is the manual pedal box assembly. I had a seized clutch master cylinder. Had that apart into its component parts. Ordered a new seal kit for it and it will be good again. The brake master cylinder has also been stripped to component parts. The internal seals were remarkable good, but as they are 40 odd years old I might as well renew the rubber seals for new.
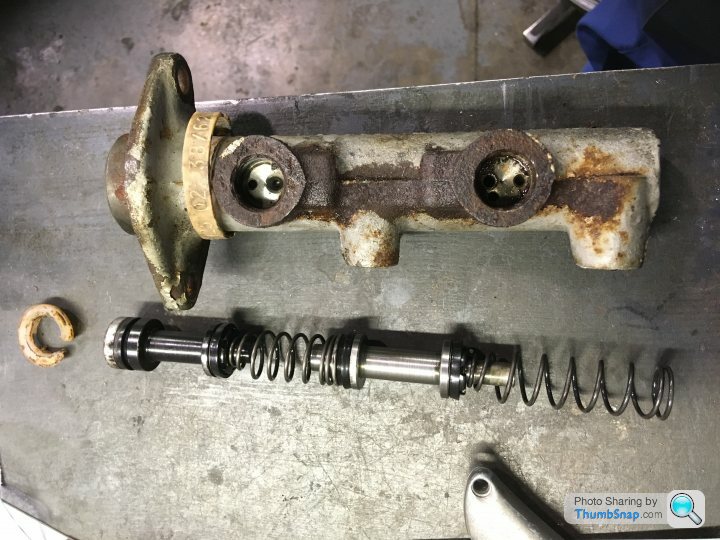
Picture shows grotty outside of brake master cylinder and rather new looking original internal parts.
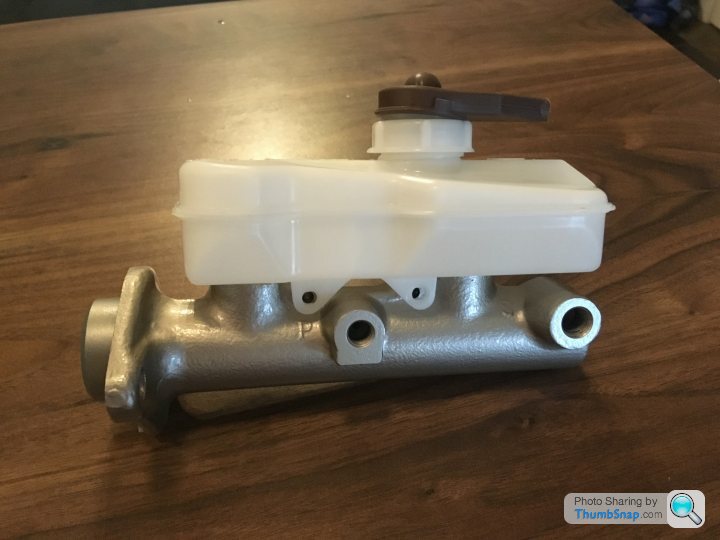
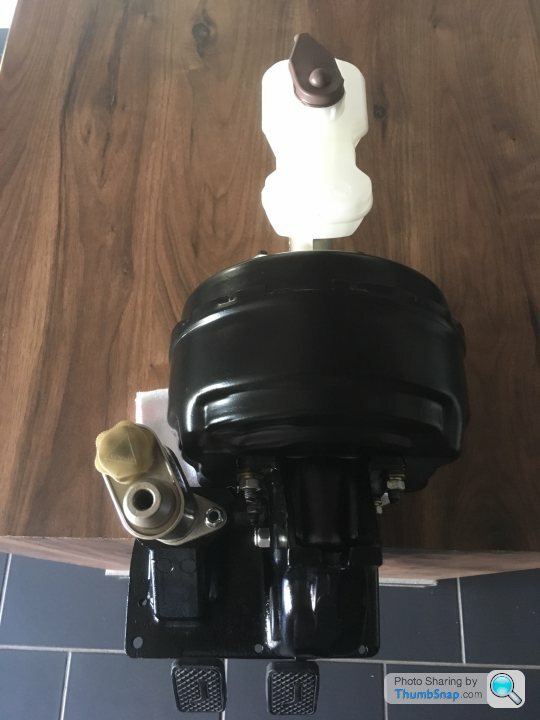
Bore of master cylinder is perfect so I’ve cleaned up the grotty outside rather than replace. I’ll put more pictures up when I reassemble. The brake servo had a rather thick coat of hammerite paint which although naff looking had actually kept rust at bay and because the master cylinder hadn’t leaked via perished seals the servo is in good working condition. Again that’s been stripped of paint and will have a more pleasant coat of satin black to finish.
The pedal box casting is aluminium and had the usual white powdery oxidisation on it. The worst on the base where it’s bolted to the car and was the cause of leaked water into the drivers footwell. That has been shotblast clean and currently has a first coat of etch primer to seal the metal from any future corrosion. I’ll paint that in satin black also. The gasket which originally is a rubber affair I’ve not been able to find as new so I’ll use a modern piped on gasket that’s used to seal the sumps on new modern design engines. The piped on stuff can then fill the little corrosion holes in the aluminium casting and create a perfect seal.
Latest parts I’ve stripped is the manual pedal box assembly. I had a seized clutch master cylinder. Had that apart into its component parts. Ordered a new seal kit for it and it will be good again. The brake master cylinder has also been stripped to component parts. The internal seals were remarkable good, but as they are 40 odd years old I might as well renew the rubber seals for new.
Picture shows grotty outside of brake master cylinder and rather new looking original internal parts.
Bore of master cylinder is perfect so I’ve cleaned up the grotty outside rather than replace. I’ll put more pictures up when I reassemble. The brake servo had a rather thick coat of hammerite paint which although naff looking had actually kept rust at bay and because the master cylinder hadn’t leaked via perished seals the servo is in good working condition. Again that’s been stripped of paint and will have a more pleasant coat of satin black to finish.
The pedal box casting is aluminium and had the usual white powdery oxidisation on it. The worst on the base where it’s bolted to the car and was the cause of leaked water into the drivers footwell. That has been shotblast clean and currently has a first coat of etch primer to seal the metal from any future corrosion. I’ll paint that in satin black also. The gasket which originally is a rubber affair I’ve not been able to find as new so I’ll use a modern piped on gasket that’s used to seal the sumps on new modern design engines. The piped on stuff can then fill the little corrosion holes in the aluminium casting and create a perfect seal.
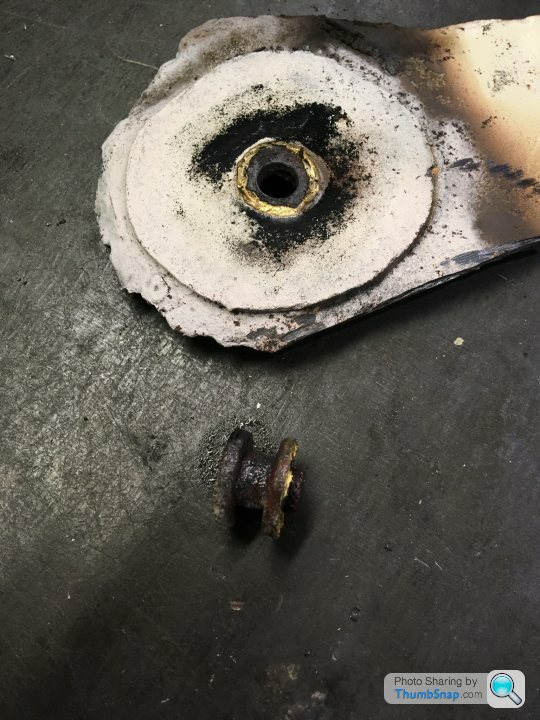
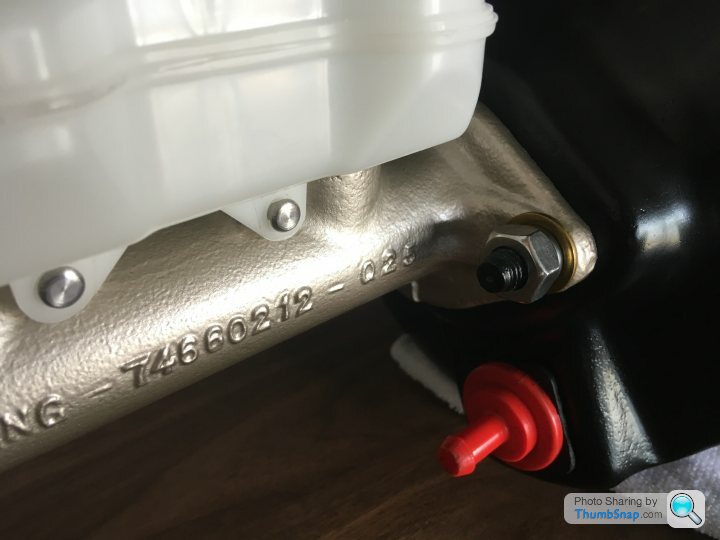
There are two pins under the brake fluid reservoir that roughly hold it in place onto the brake master cylinder. I kinda mullered the originals removing them. The fluid reservoir also cracked on the bottom so will renew that.

Above is a picture of the now knackered brake fluid reservoir also showing where pins go.

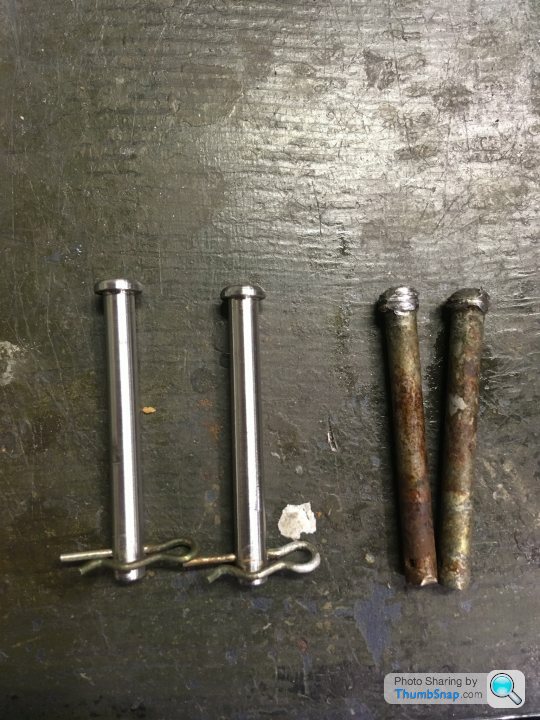
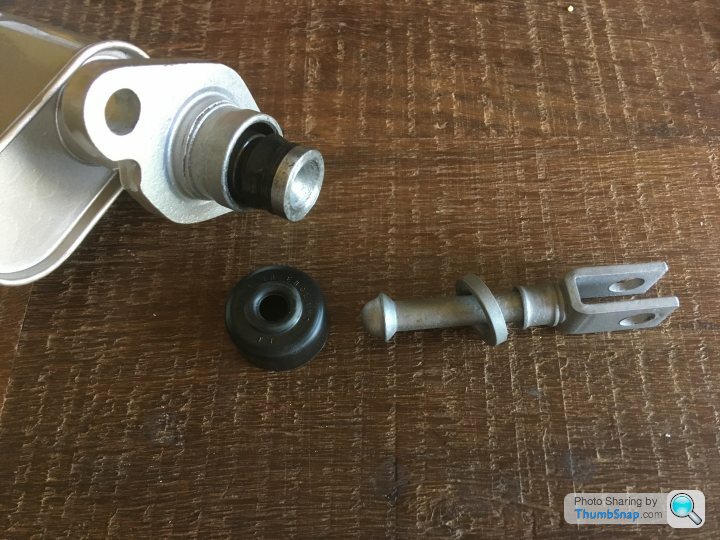
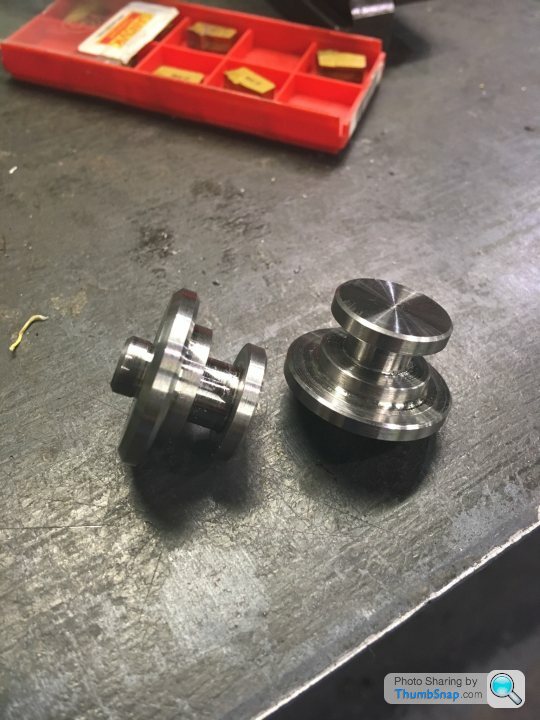
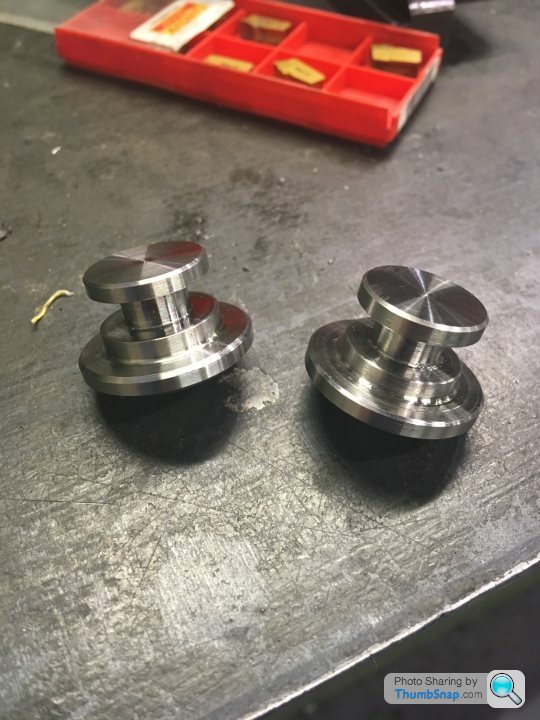
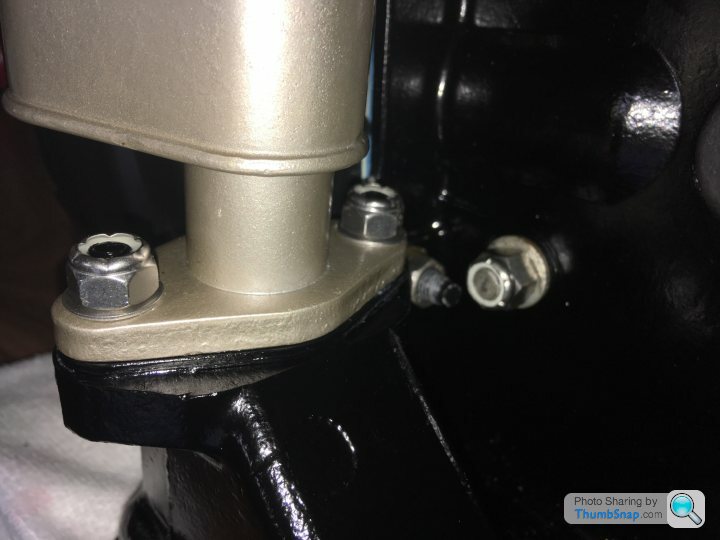
Above shows a new pair of pins I quickly made from turning down a stainless steel m8 bolt. The spring clips are the originals although I’m sure I have an rc car with stainless steel clips holding the body on that are almost identical. Will have a look later
Above is a picture of the now knackered brake fluid reservoir also showing where pins go.
Above shows a new pair of pins I quickly made from turning down a stainless steel m8 bolt. The spring clips are the originals although I’m sure I have an rc car with stainless steel clips holding the body on that are almost identical. Will have a look later


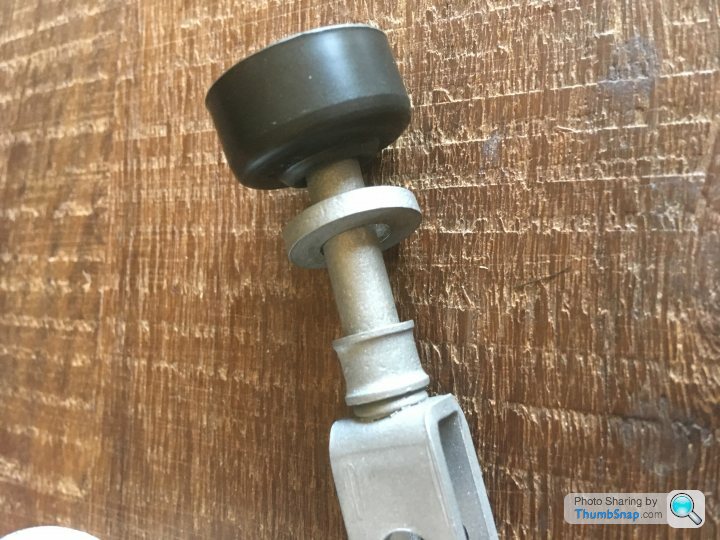
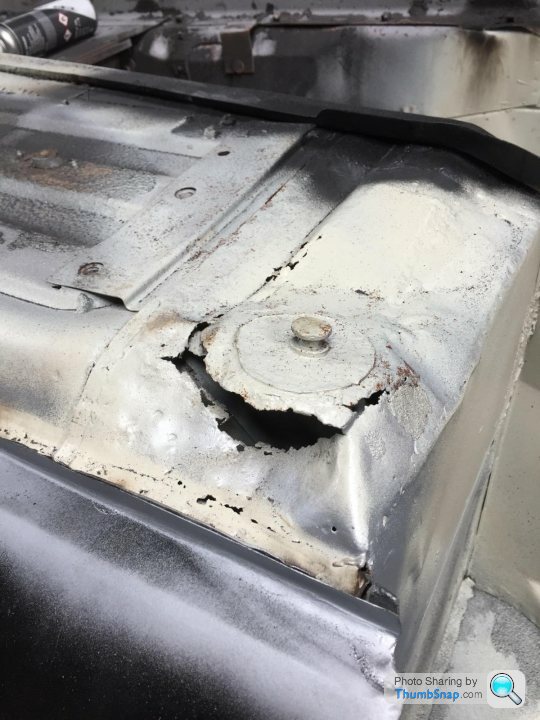
This was cut off the front jacking point. You can see the bad repair where the original had been cut out and then brazed on top.
I removed that locator myself to see if it was brazed or welded. That was brazed too.
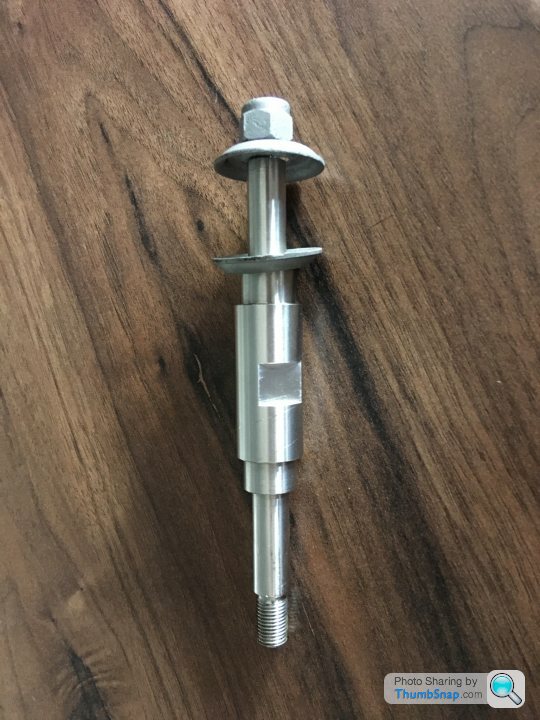
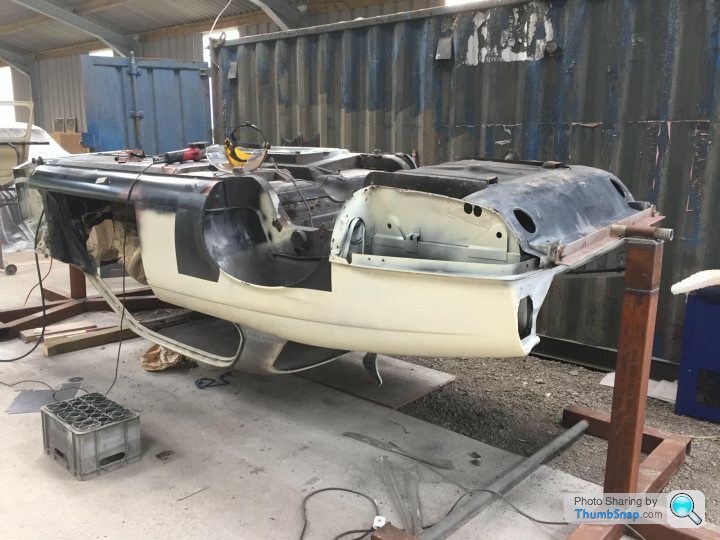
So made a new pair from stainless. The restorer working on the body has repaired the front jacking point areas including the support between the panels so the jack won’t crush it.
The larger base diameter on my locators just makes the welding in place a bit easier, also being stainless when used if the new paint is chipped off they won’t go rusty and creep into the mild steel beneath.
[url]

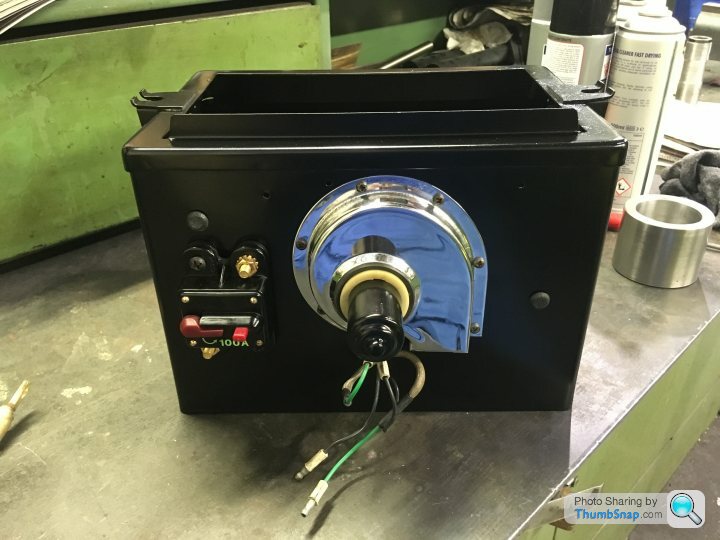
Battery holder has had a clean up and fresh coat of paint. Cooling fan was stripped, cleaned new oil on bearings usual blah and back together.
Stereo main power trip checked and working correctly so no need to change that.
Currently waiting for a sheet of gasket material to make a new gasket between the brake servo and pedal holder casting. Picture of old gasket below.


 Thank you
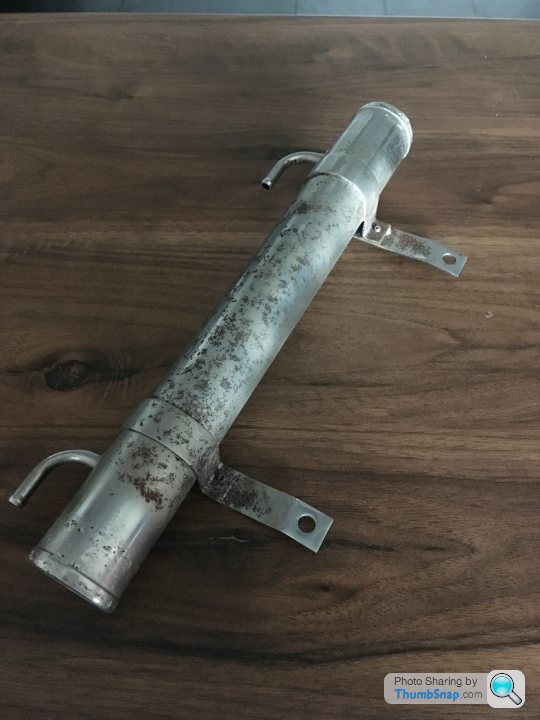
Above original lower radiator pipe with auto gearbox oil cooler.
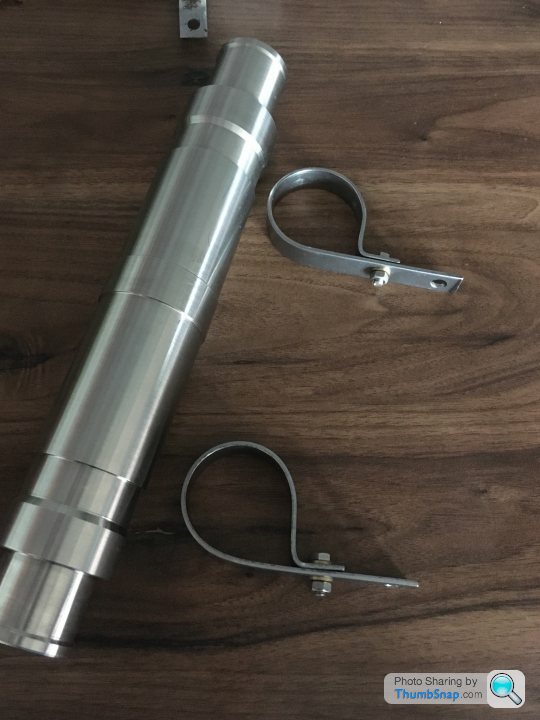

Above my new version. I had made the pipe a while back. The straps on my one are 3mm thick compared to original 1mm thick version. My stainless pipe is heavier :s.
The straps will be galvanised soon as they are plain steel

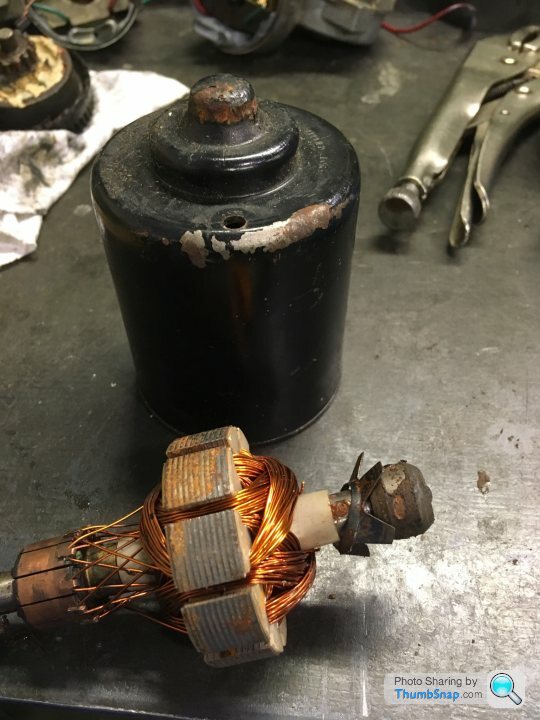
Electric window motor refurb time. Must admit I had 3 spares so 7 motors in total. Above shows a seized rusted bearing and it mullered the bearing holder as I removed the rotor. No point going any further with that one.
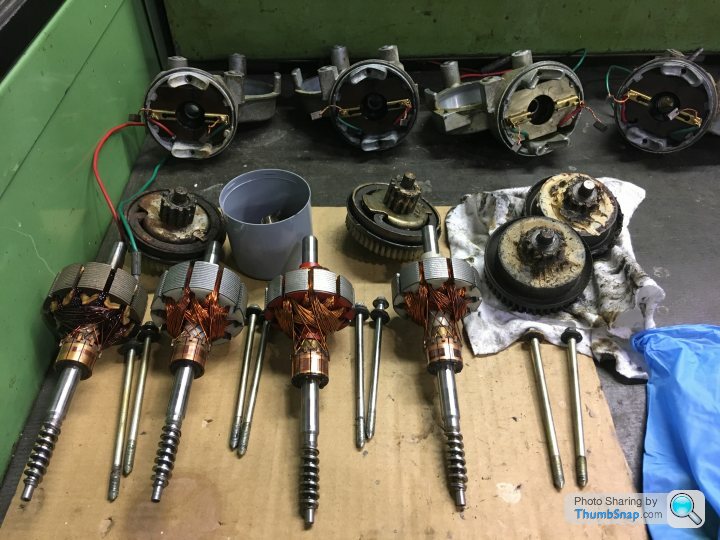
Above are obviously 4 in bits. All good rotors once cleaned although one clearly shows being over heated at one point. It could have been it was missing its ball bearing at the end of the shaft? Who knows. I’ve already repaired another 2 motors but I forgot to take pictures. So out of the remaining 4 I’ll build the best 2 with the parts I have. The main thing I found were corroded springs behind the brushes. The two motors I’ve already built I fitted new springs and once built tested them and they run lovely now. These 4 in bits actually had good springs and brushes so just an internal clean really with new bearing grease and freshly painted motor cans.
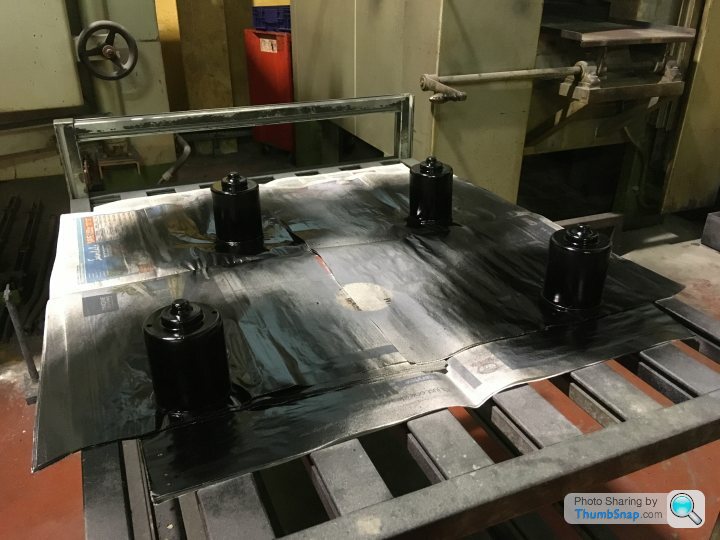
The motor cans have been shotblast first then etch primed then a couple of coats of black gloss. Should be good for another 40 years!
Below are some images of adjusting the bottom bearing loading so as the windows motors will run on minimum current but without any slack up and down movement of the rotor within its top and bottom bearings, kinda like simple thrust bearings.
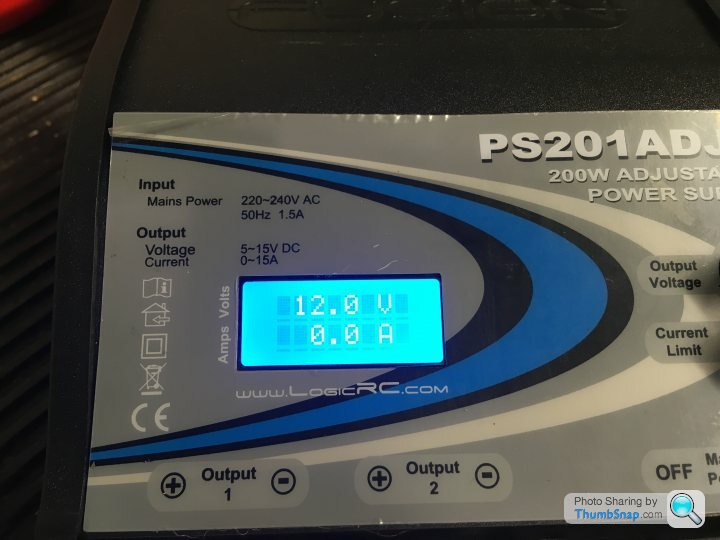
Picture shows no load on my power supply 12vdc and 0amps

Above shows 4.8amps with the screwdriver on the adjustable bottom bearing.

Now releasing the pressure on the bearing the motor is pulling only 1.4amps
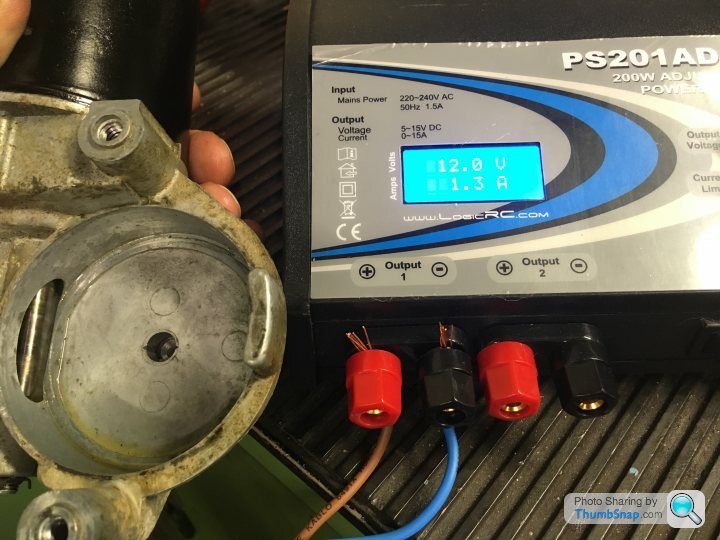
Finally with gentle movements I’m happy with 1.3amp pull and no up and down movement. Between the 6 motors this varied between 1.3 and 1.6amps. I’m happy with that now. The only reason for slow up and down window movement will be within the lifter mechanism and the rubber weather seals against the windows as they raise up and down. That said all I can do now with the lifting mechanism is a thorough degrease and a light oil waiting for the car to be painted for refitting.
Picture shows no load on my power supply 12vdc and 0amps
Above shows 4.8amps with the screwdriver on the adjustable bottom bearing.
Now releasing the pressure on the bearing the motor is pulling only 1.4amps
Finally with gentle movements I’m happy with 1.3amp pull and no up and down movement. Between the 6 motors this varied between 1.3 and 1.6amps. I’m happy with that now. The only reason for slow up and down window movement will be within the lifter mechanism and the rubber weather seals against the windows as they raise up and down. That said all I can do now with the lifting mechanism is a thorough degrease and a light oil waiting for the car to be painted for refitting.
Edited by RobXjcoupe on Sunday 29th September 15:30
Gassing Station | Readers' Cars | Top of Page | What's New | My Stuff