My BMW M3 Evolution Imola Individual GT2 Journal
Discussion


Well what can I say, payday happened ha.
I have just purchased
New fog lights
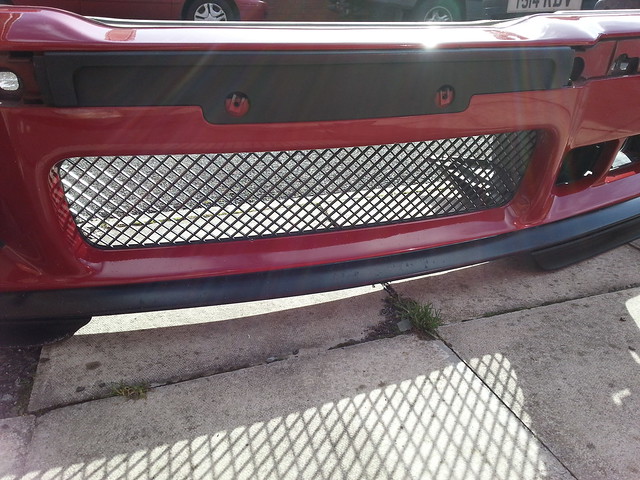
New front M Sport bumper grill
New drivers side wing mirror motor
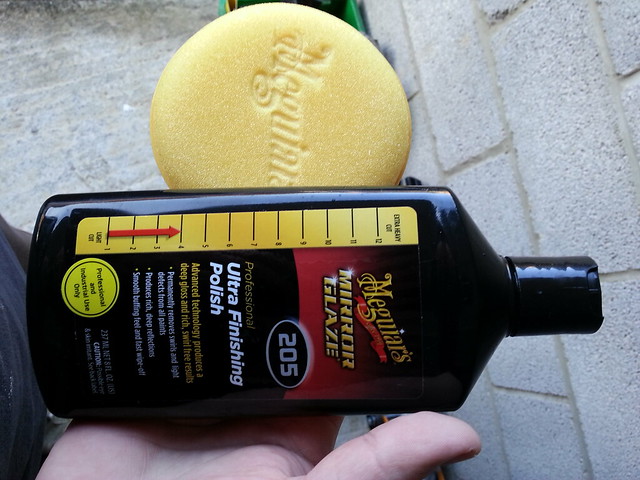
Also added to my cleaning kit
3 x Purple Monster drying and polishing towels
1 x Dodo juice shampoo
1 x detailing brush
2 x Wax/Polish Megs applicator pads
1 x Megs Polish
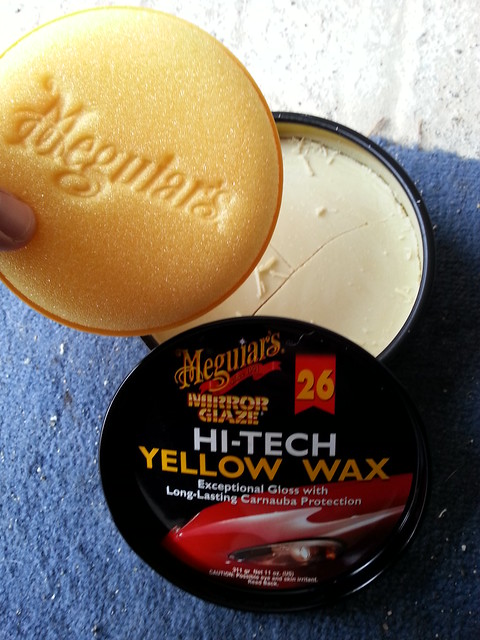
1 x Megs Yellow Wax #26
1 x Wash mit
I have not bought any APC yet as most of the areas I would use that on I have cleaned with elbow grease but will get some next month or when I want to go over these areas again.
I have still got to tackle the arches but thinking about getting some protection on the paint as I have not touched it since I compounded it. Fingers crossed if the weather is good and this lot turns up I will have a busy weekend
I have just purchased
New fog lights
New front M Sport bumper grill
New drivers side wing mirror motor
Also added to my cleaning kit
3 x Purple Monster drying and polishing towels
1 x Dodo juice shampoo
1 x detailing brush
2 x Wax/Polish Megs applicator pads
1 x Megs Polish
1 x Megs Yellow Wax #26
1 x Wash mit
I have not bought any APC yet as most of the areas I would use that on I have cleaned with elbow grease but will get some next month or when I want to go over these areas again.
I have still got to tackle the arches but thinking about getting some protection on the paint as I have not touched it since I compounded it. Fingers crossed if the weather is good and this lot turns up I will have a busy weekend
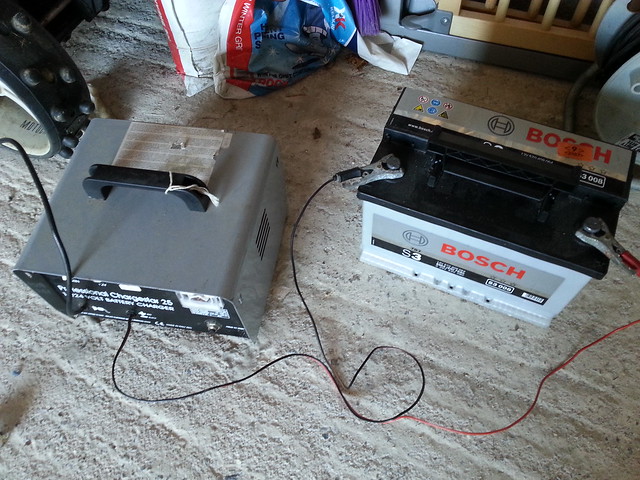
Looking out the window this morning looked perfect for polishing... until I went outside! How bloody cold! Anyway, I manned up and went for it
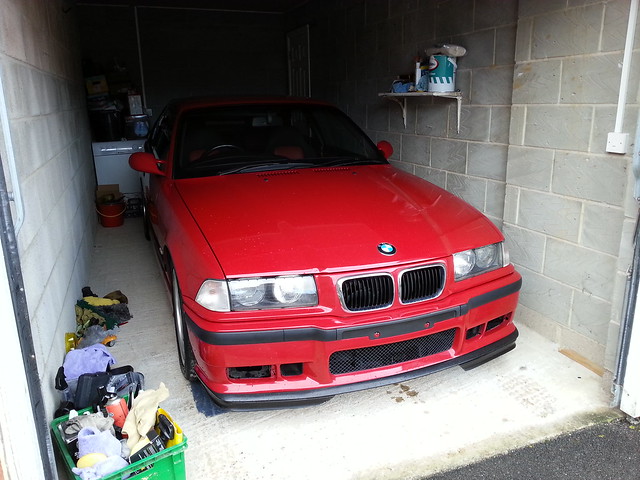
Got to the car, moved everything so I could get her out and it would not start! Flat battery, so pushed it out and got the battery on charge
Untitled by mboon, on Flickr
So I start by wetting the car down

Untitled by mboon, on Flickr
Two buckets setup and using Dodo Juice Lemon zest

Untitled by mboon, on Flickr
Washed the car down with my new Mit
Untitled by mboon, on Flickr

Untitled by mboon, on Flickr
Washed her down with plenty of water
Untitled by mboon, on Flickr
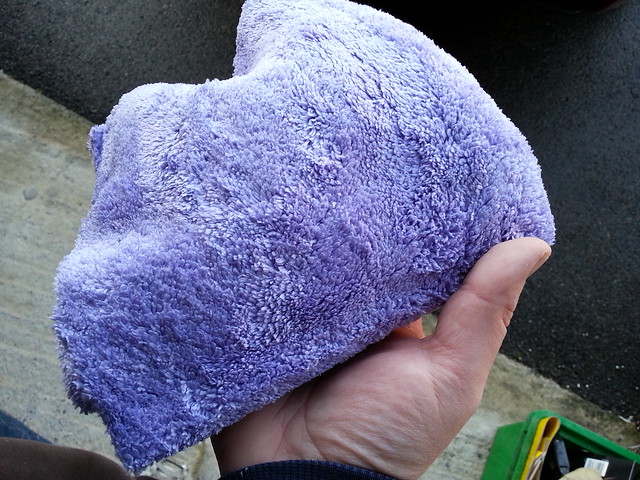
Used my new Purple monster drying towel which at first I thought looked pathetic but it really did work well, bloody cold hands though

Untitled by mboon, on Flickr
Dried off
Untitled by mboon, on Flickr
Next up was some polish, you will have to turn your head haha. I went with megs as I found them to be good in the pasted. Also using a Megs applicator pad
Untitled by mboon, on Flickr
Putting it on

Untitled by mboon, on Flickr
Another brand new Purple monster drying towel to remove the polish
Untitled by mboon, on Flickr
Removed
Untitled by mboon, on Flickr
Untitled by mboon, on Flickr
Next up, the wax. When I opened the pot I thought it was all dried out and ruined but I was wrong. This stuff is really good! So easy to put on and take off. Again, put this on with an application pad
Untitled by mboon, on Flickr
And you guessed it, another Purple monster towel to remove the wax

Untitled by mboon, on Flickr
So like always with this country, it started raining! Lucky for me I seen it getting dark and removed the wax, put the battery back on and put her back in the garage just in time before it got wet
Untitled by mboon, on Flickr
A couple drops of rain got on her
Untitled by mboon, on Flickr
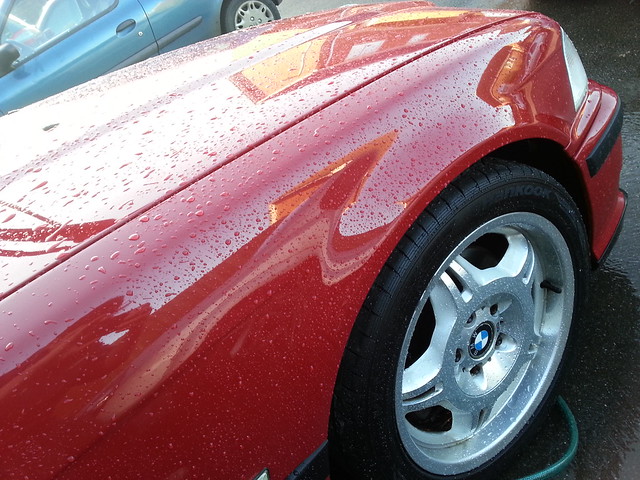
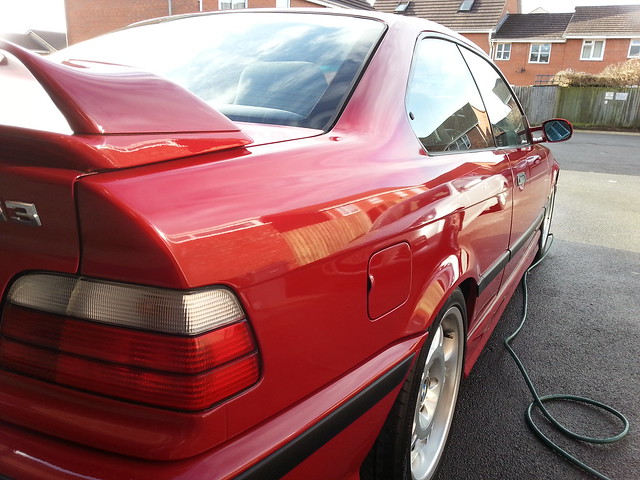
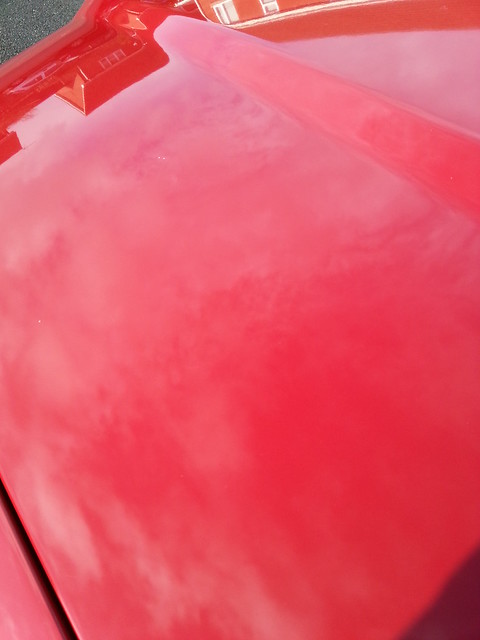
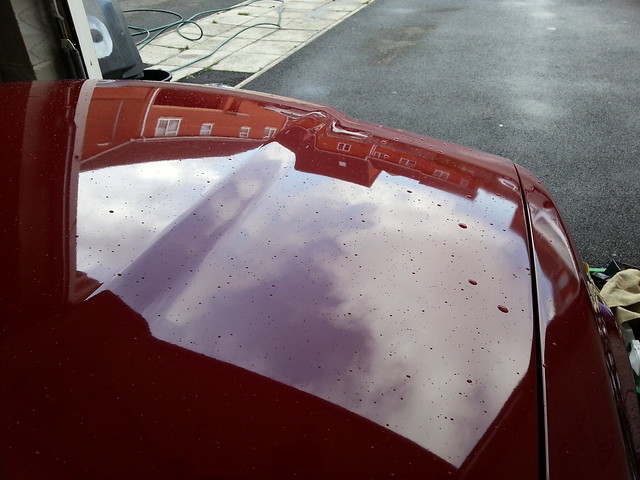
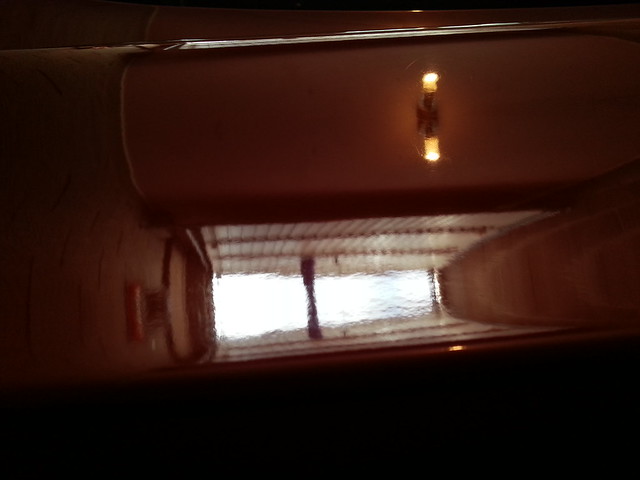
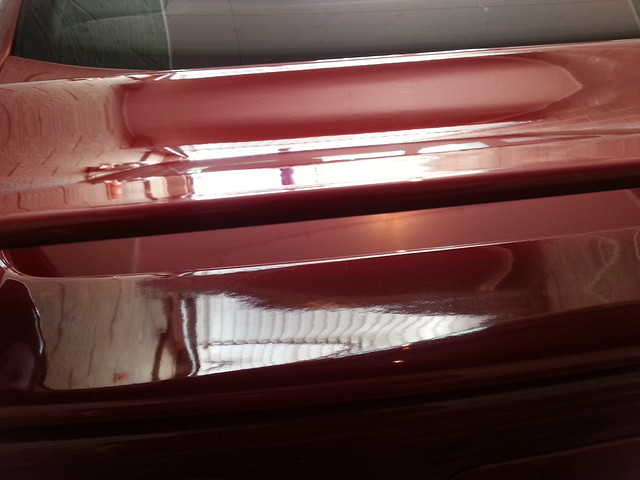
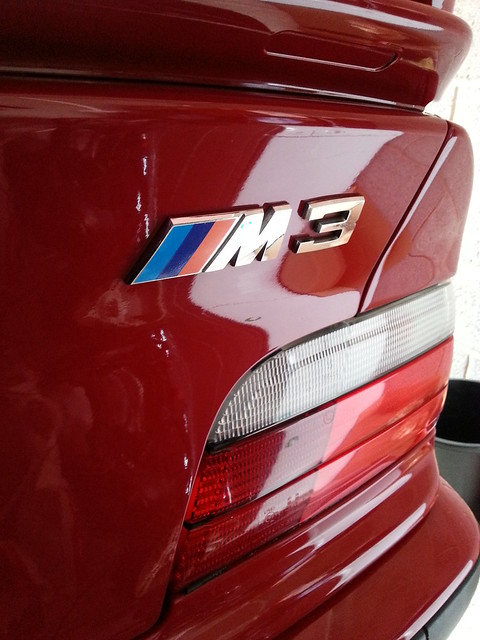
And a couple photos after the wax
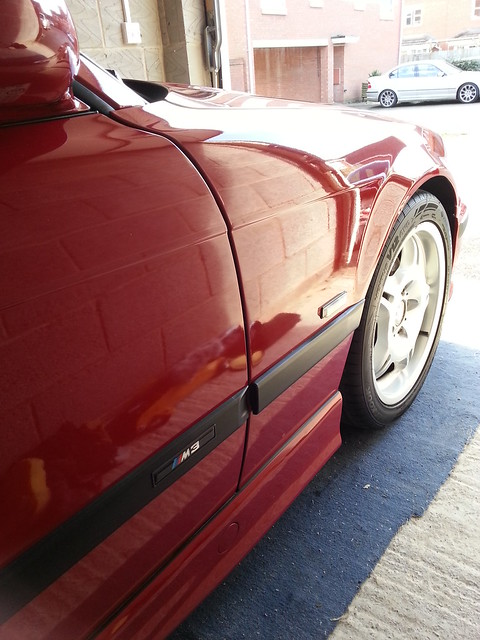
Untitled by mboon, on Flickr
This photo shows the same spot on the rear spoiler that I took a before and after of earlier in the journal showing the difference between the compound. As you can see with the layers of polish and wax it has filled most of the swirls, not perfect by no means but not bad for my hands and elbow grease
Untitled by mboon, on Flickr
Untitled by mboon, on Flickr
Untitled by mboon, on Flickr
Untitled by mboon, on Flickr
Untitled by mboon, on Flickr
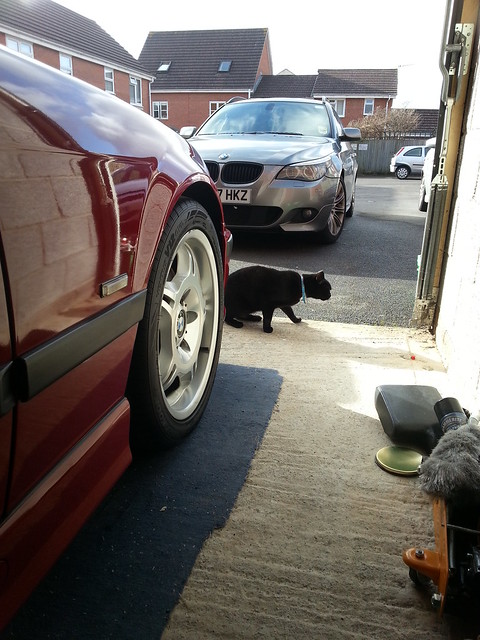
Bloody cat trying to sneak in
Untitled by mboon, on Flickr

Untitled by mboon, on Flickr
Also had ago at cleaning the vanos
Before
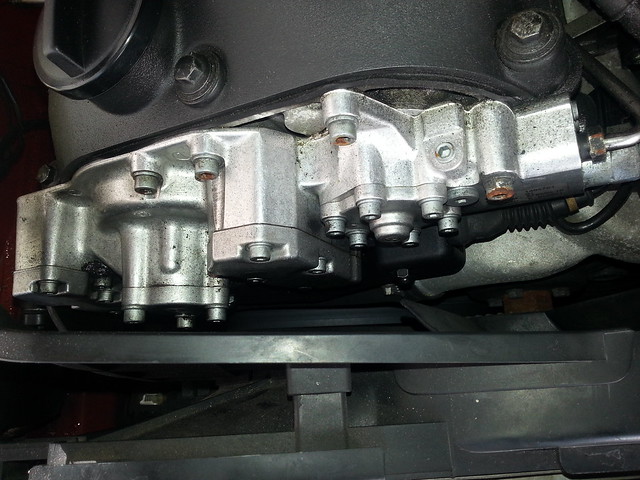
Untitled by mboon, on Flickr
After
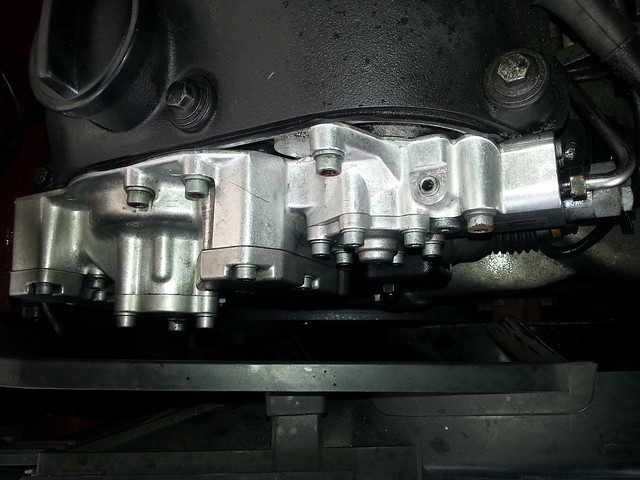
Untitled by mboon, on Flickr
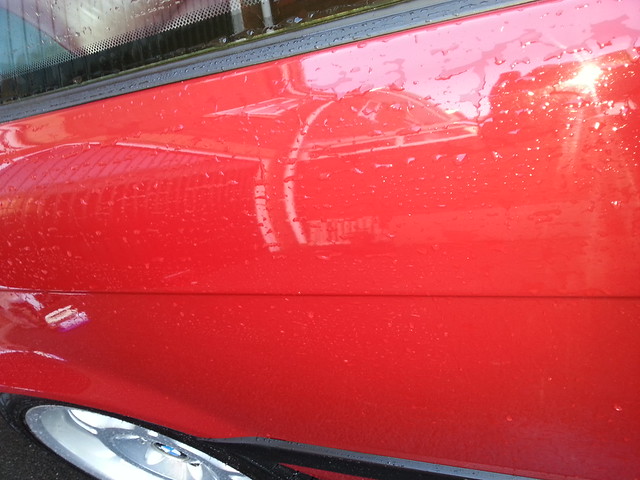
The biggest let down for the paintwork is sadly some vandalism!!! I would love to of known who did it (This was not done in my ownership)
Front wing

Untitled by mboon, on Flickr
Door

Untitled by mboon, on Flickr
Rear quarter

Untitled by mboon, on Flickr
Yeah! Not happy about it but never mind hey. Got a guy I know who will hopefully cure this and the coil cover under the bonnet. Also have one dent that needs to come out as well.
That is it for now. I have left the battery on charge and need to clean the glass as it is minging ha
Cheers
Mark
Got to the car, moved everything so I could get her out and it would not start! Flat battery, so pushed it out and got the battery on charge
Untitled by mboon, on Flickr
So I start by wetting the car down
Untitled by mboon, on Flickr
Two buckets setup and using Dodo Juice Lemon zest
Untitled by mboon, on Flickr
Washed the car down with my new Mit
Untitled by mboon, on Flickr
Untitled by mboon, on Flickr
Washed her down with plenty of water
Untitled by mboon, on Flickr
Used my new Purple monster drying towel which at first I thought looked pathetic but it really did work well, bloody cold hands though
Untitled by mboon, on Flickr
Dried off
Untitled by mboon, on Flickr
Next up was some polish, you will have to turn your head haha. I went with megs as I found them to be good in the pasted. Also using a Megs applicator pad
Untitled by mboon, on Flickr
Putting it on
Untitled by mboon, on Flickr
Another brand new Purple monster drying towel to remove the polish
Untitled by mboon, on Flickr
Removed
Untitled by mboon, on Flickr
Untitled by mboon, on Flickr
Next up, the wax. When I opened the pot I thought it was all dried out and ruined but I was wrong. This stuff is really good! So easy to put on and take off. Again, put this on with an application pad
Untitled by mboon, on Flickr
And you guessed it, another Purple monster towel to remove the wax
Untitled by mboon, on Flickr
So like always with this country, it started raining! Lucky for me I seen it getting dark and removed the wax, put the battery back on and put her back in the garage just in time before it got wet
Untitled by mboon, on Flickr
A couple drops of rain got on her
Untitled by mboon, on Flickr
And a couple photos after the wax
Untitled by mboon, on Flickr
This photo shows the same spot on the rear spoiler that I took a before and after of earlier in the journal showing the difference between the compound. As you can see with the layers of polish and wax it has filled most of the swirls, not perfect by no means but not bad for my hands and elbow grease
Untitled by mboon, on Flickr
Untitled by mboon, on Flickr
Untitled by mboon, on Flickr
Untitled by mboon, on Flickr
Untitled by mboon, on Flickr
Bloody cat trying to sneak in
Untitled by mboon, on Flickr
Untitled by mboon, on Flickr
Also had ago at cleaning the vanos
Before
Untitled by mboon, on Flickr
After
Untitled by mboon, on Flickr
The biggest let down for the paintwork is sadly some vandalism!!! I would love to of known who did it (This was not done in my ownership)
Front wing
Untitled by mboon, on Flickr
Door
Untitled by mboon, on Flickr
Rear quarter
Untitled by mboon, on Flickr
Yeah! Not happy about it but never mind hey. Got a guy I know who will hopefully cure this and the coil cover under the bonnet. Also have one dent that needs to come out as well.
That is it for now. I have left the battery on charge and need to clean the glass as it is minging ha
Cheers
Mark


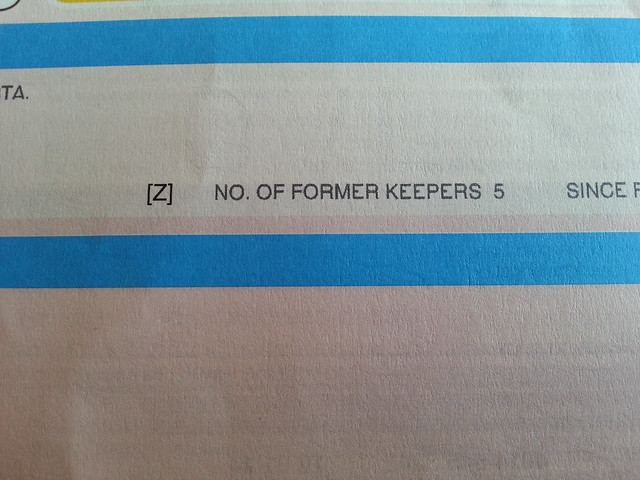
Logbook arrived today which was nice

Untitled by mboon, on Flickr
I am the 5th person to owner her
Untitled by mboon, on Flickr
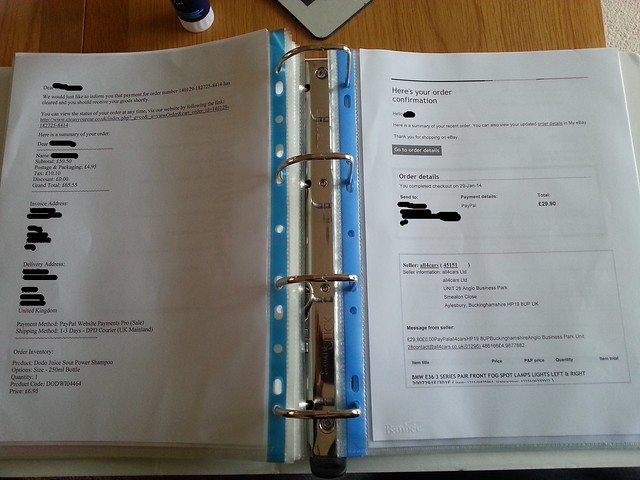
I had some more paperwork to go in the history so sorted this out

Untitled by mboon, on Flickr

Untitled by mboon, on Flickr
And some bits I have purchased so got them in order
Untitled by mboon, on Flickr
My bargain leather folder with all the books in

Untitled by mboon, on Flickr
This also arrived for the drivers side wing mirror... Can anyone tell me if the motors are the same throughout the E36 range? or does the M3 mirror have a different motor?

Untitled by mboon, on Flickr
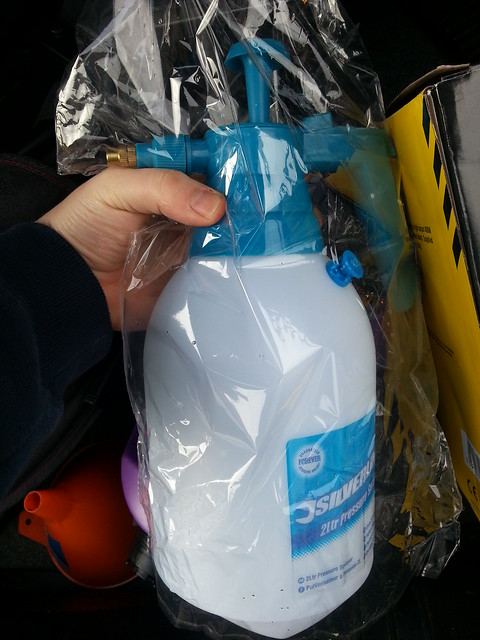
Also bought one of these to do the arches with and any little odds and sods, always handy to have
Untitled by mboon, on Flickr
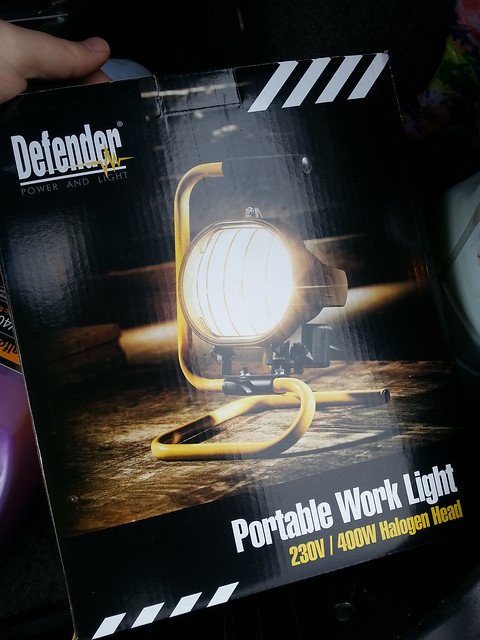
And this to give me more light in the garage at nights. The weather is really bad this end so getting the car out is not an option. Hoping to get the wheels off tomorrow and clean the arches but will have to do this in the garage
Untitled by mboon, on Flickr
Cheers
Mark
Untitled by mboon, on Flickr
I am the 5th person to owner her
Untitled by mboon, on Flickr
I had some more paperwork to go in the history so sorted this out
Untitled by mboon, on Flickr
Untitled by mboon, on Flickr
And some bits I have purchased so got them in order
Untitled by mboon, on Flickr
My bargain leather folder with all the books in
Untitled by mboon, on Flickr
This also arrived for the drivers side wing mirror... Can anyone tell me if the motors are the same throughout the E36 range? or does the M3 mirror have a different motor?
Untitled by mboon, on Flickr
Also bought one of these to do the arches with and any little odds and sods, always handy to have
Untitled by mboon, on Flickr
And this to give me more light in the garage at nights. The weather is really bad this end so getting the car out is not an option. Hoping to get the wheels off tomorrow and clean the arches but will have to do this in the garage
Untitled by mboon, on Flickr
Cheers
Mark
marky911 said:
Do a fee paying enquiry to the DVLA Mark.
They'll send you out photocopies of all the old V5 documents with all the owners on. It'll show you who owned it and when. I always do this. Nice to see where the car has spent it's life.
Cheers Mark, I will look into that. Always nice to catch up with previous owners.They'll send you out photocopies of all the old V5 documents with all the owners on. It'll show you who owned it and when. I always do this. Nice to see where the car has spent it's life.
Thanks for the comments
UPDATE:
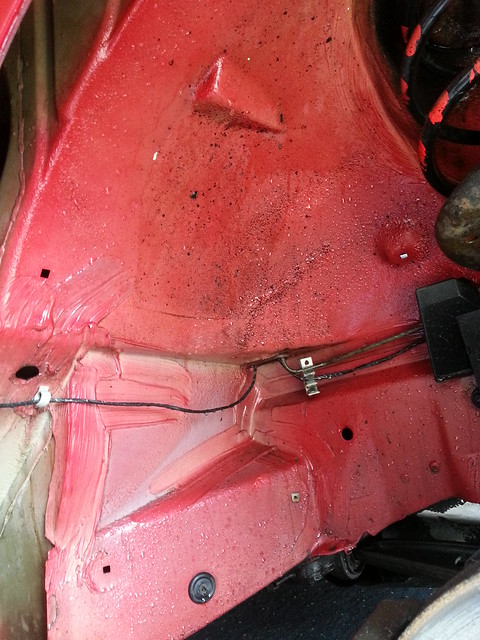
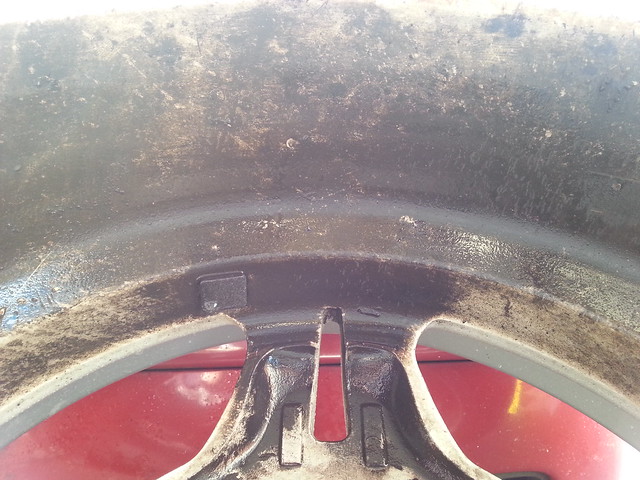
Today I started on the arches, this was what it looked like

Untitled by mboon, on Flickr
Not good
Untitled by mboon, on Flickr
Untitled by mboon, on Flickr
Untitled by mboon, on Flickr
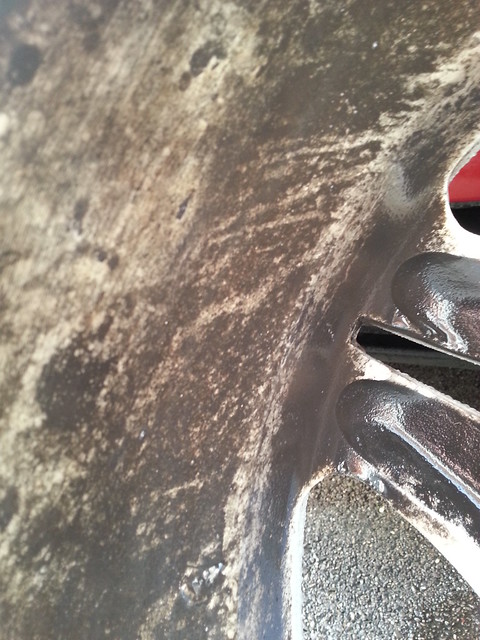
And this bit surprised me. The car has been sat in a dry warm well ventilated garage for a week since I cleaned her and this was still soaking wet! What a rubbish design, perfect place for dirt and stuff to build up and hold water
Untitled by mboon, on Flickr
After a scrub. Not gone over the top with these as I just wanted to clear any pockets of dirt that holds water
Untitled by mboon, on Flickr
Untitled by mboon, on Flickr
And the trap.
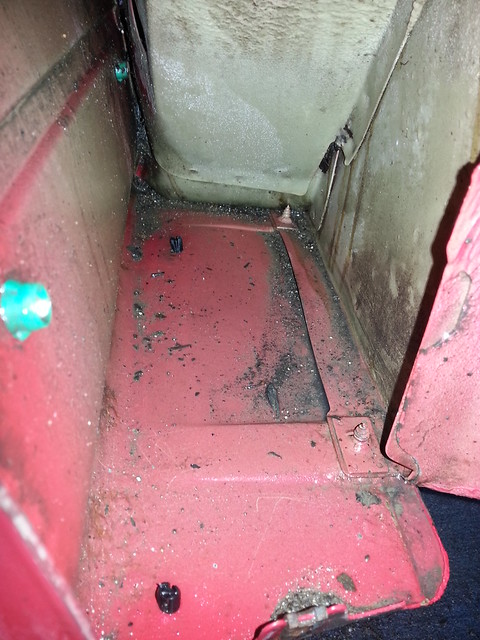
Untitled by mboon, on Flickr
I did actually get it all out but didn't take a photo of it

Untitled by mboon, on Flickr
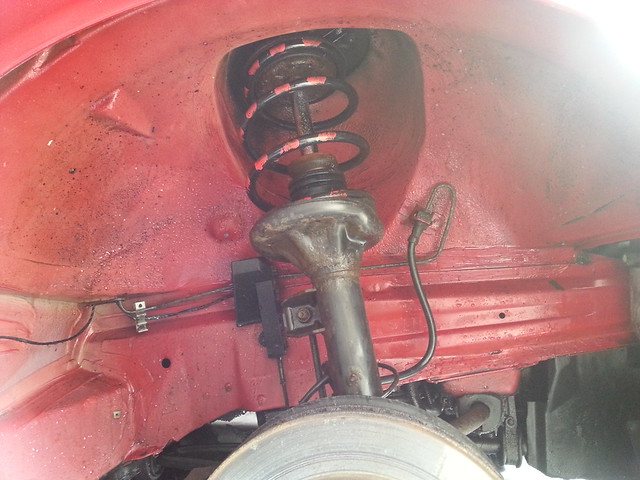
While in this area I notice this on the hub

Untitled by mboon, on Flickr
It also has the //M logo matching the break calipers etc... seems strange, anyone know what it means?
Also noticed she will need new brake pads on the front soon
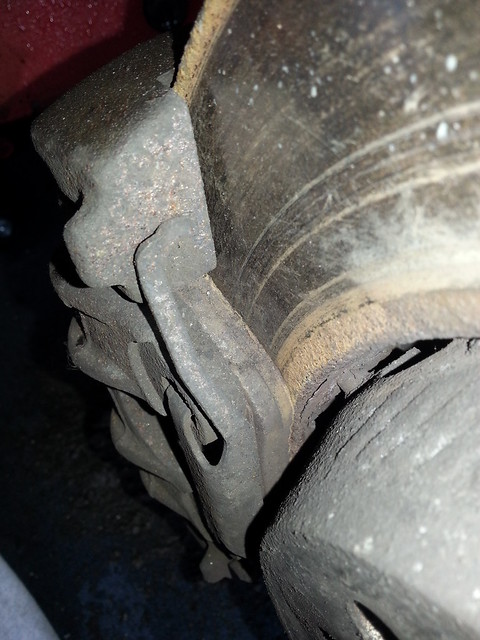
Untitled by mboon, on Flickr
This is how much crap came out from the arch

Untitled by mboon, on Flickr
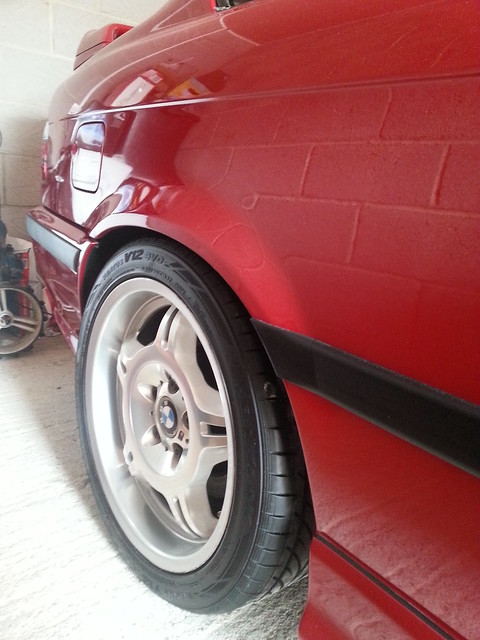
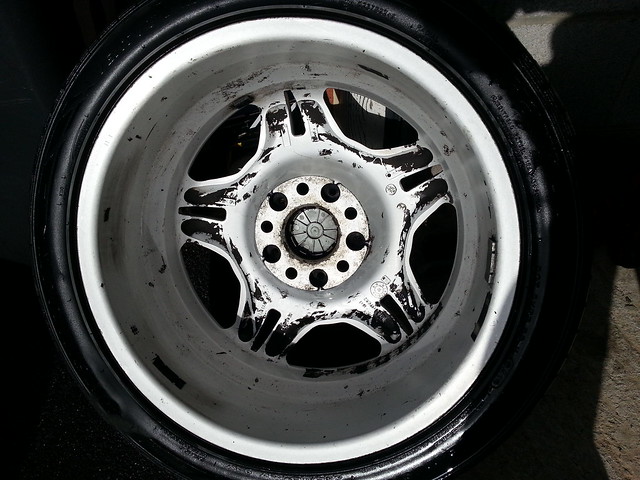
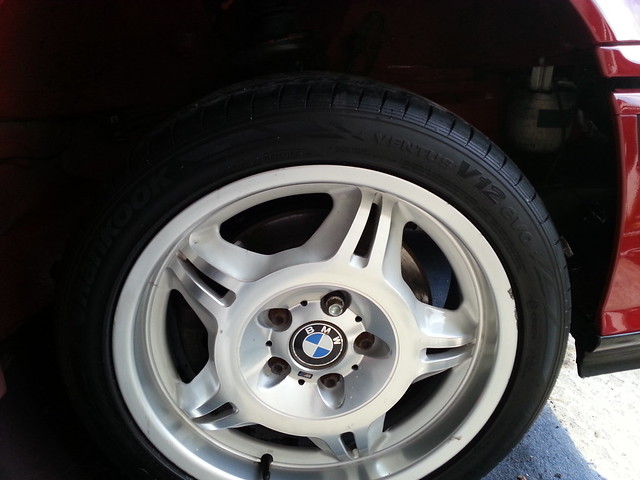
So next up was the wheel. Now one thing you have to remember with this car, it has original none refurbished wheels so excuse the little dings and dents etc. Apparently when you get these wheels refurbished they only last around 1 year until they start going milky etc.
Before
Untitled by mboon, on Flickr
Untitled by mboon, on Flickr
After
Untitled by mboon, on Flickr
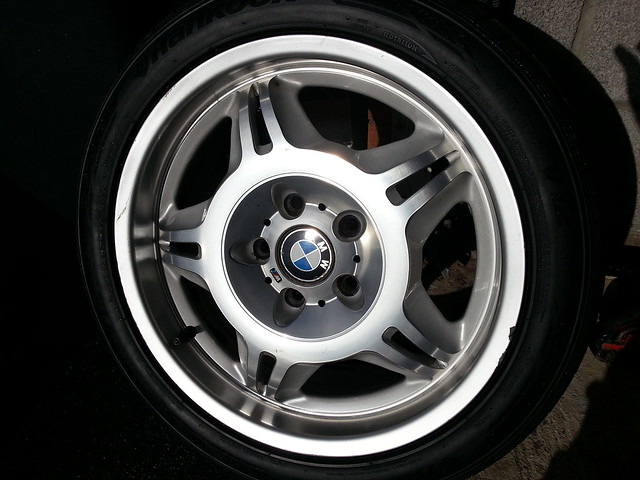
Untitled by mboon, on Flickr
Next up was putting the wheel back on. It was a bugger to get off so dug out my copper grease
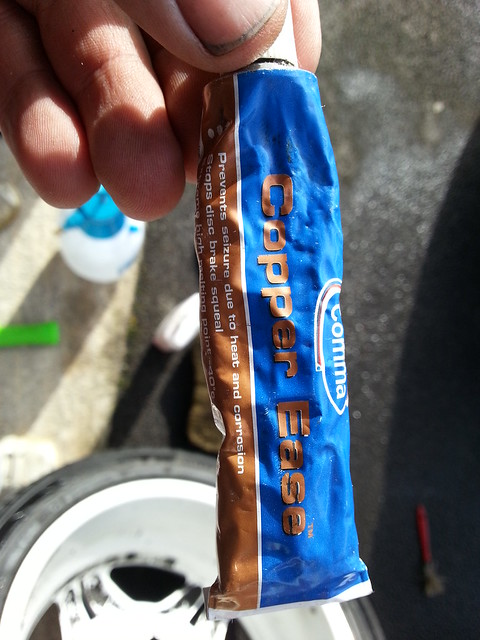
Untitled by mboon, on Flickr
I put a very small amount on the hub just to make it a little easier to remove the wheel at a later date

Untitled by mboon, on Flickr
And on the bolts themselves
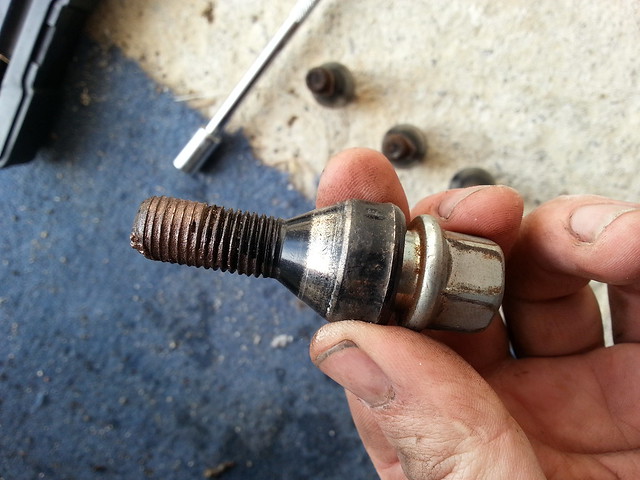
Untitled by mboon, on Flickr
Its all about the small things ha
So wheel back on without the arch lining as I had to remove the front bumper but had to move the car out to do so
Untitled by mboon, on Flickr

Untitled by mboon, on Flickr
Untitled by mboon, on Flickr
So next up was removing the bumper. I had a look around on forums etc and found a video on Youtube which showed the process. Great, followed, it came off. But!!! you can do this without removing the bolts under the arch linings
These

Untitled by mboon, on Flickr
If you just undo the 4 bolts under the trim on the bumper it will slip straight out of these guides. Made the job more hassle than it had to be and I have to now try and line the bumper up good again
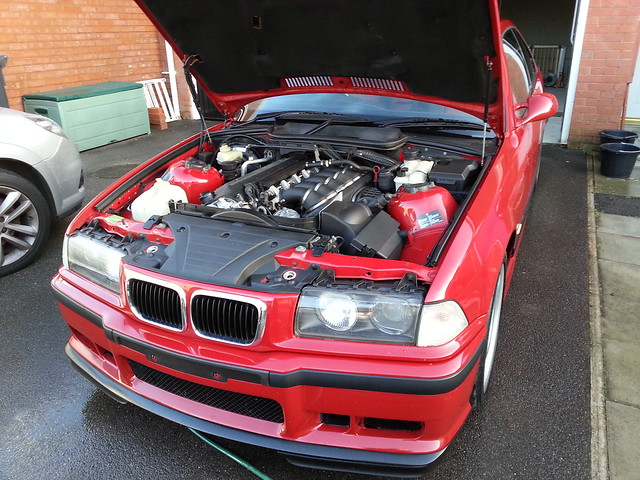
So bumper off
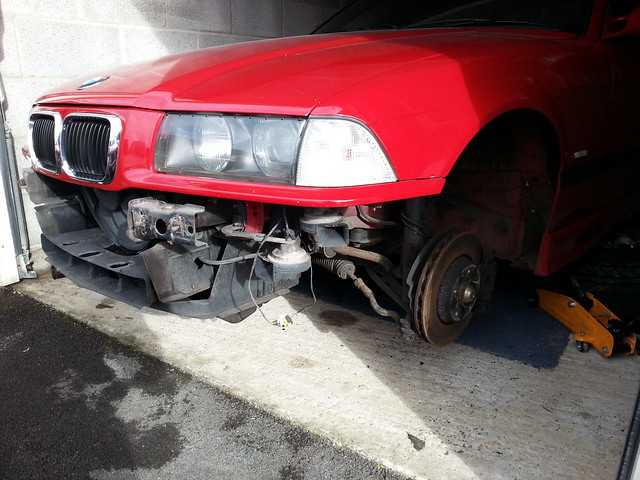
Untitled by mboon, on Flickr

Untitled by mboon, on Flickr
I am delving into this car and not finding any rust which is great news. Not even a bit of surface rust behind the bumper
Removed the bumper to replace this which is broken
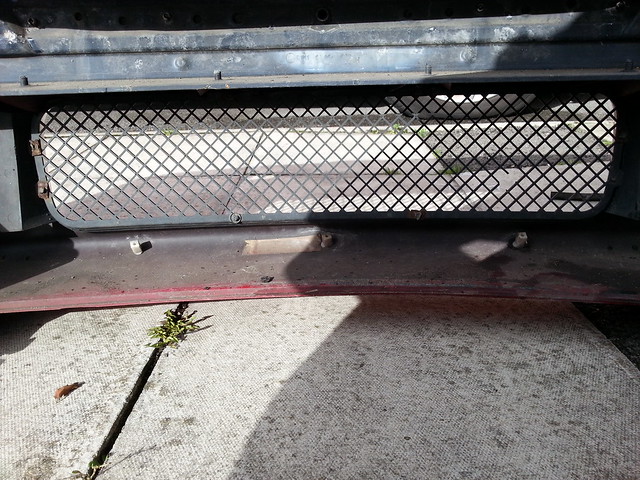
Untitled by mboon, on Flickr
After a few minutes looking it became apparent its a easy job made easier by removing the bumper
Old and new
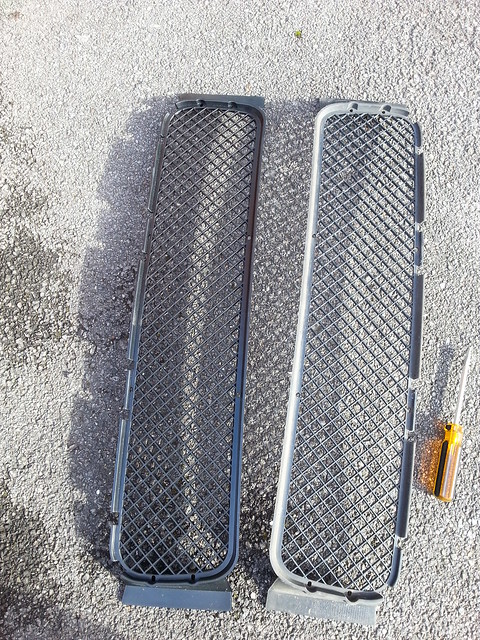
Untitled by mboon, on Flickr
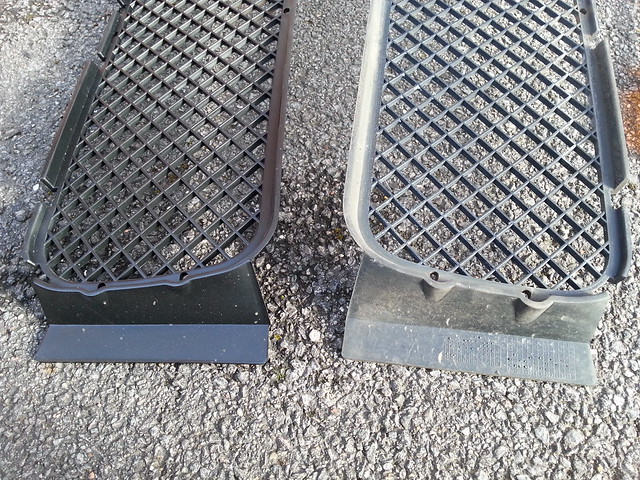
Untitled by mboon, on Flickr
Fitted into the bumper
Untitled by mboon, on Flickr
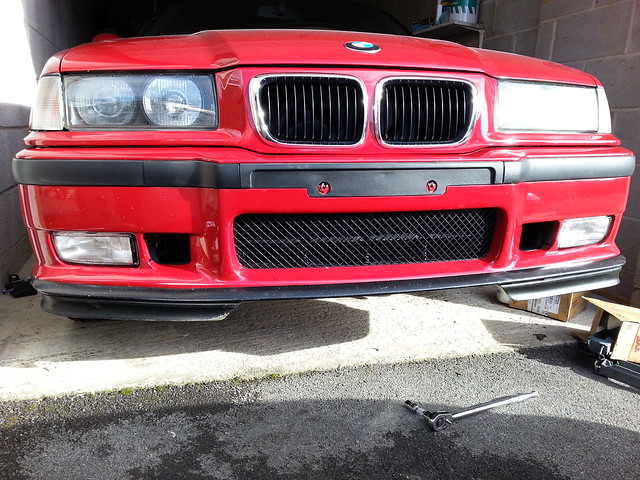
Fitted back on the car with the new fog lights (Bumper still needs adjustment)
Untitled by mboon, on Flickr
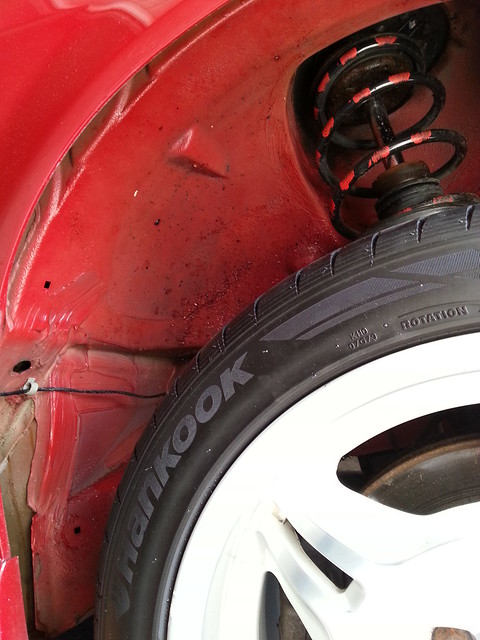
I have cleaned the passenger side arch as well and put the arch lining back in
I have put some silicon stuff on the black to soak in and make it look a little darker... This stuff obviously will soak in, looks very glossy at the moment

Untitled by mboon, on Flickr
And that is it, car was put back on four wheels, put back in and left. Not sure when I will next be with the car as I have a kitchen being fitted and need to do some jigging of the house. So might not see her until next month.
Cheers for reading
Mark
Today I started on the arches, this was what it looked like
Untitled by mboon, on Flickr
Not good
Untitled by mboon, on Flickr
Untitled by mboon, on Flickr
Untitled by mboon, on Flickr
And this bit surprised me. The car has been sat in a dry warm well ventilated garage for a week since I cleaned her and this was still soaking wet! What a rubbish design, perfect place for dirt and stuff to build up and hold water
Untitled by mboon, on Flickr
After a scrub. Not gone over the top with these as I just wanted to clear any pockets of dirt that holds water
Untitled by mboon, on Flickr
Untitled by mboon, on Flickr
And the trap.
Untitled by mboon, on Flickr
I did actually get it all out but didn't take a photo of it
Untitled by mboon, on Flickr
While in this area I notice this on the hub
Untitled by mboon, on Flickr
It also has the //M logo matching the break calipers etc... seems strange, anyone know what it means?
Also noticed she will need new brake pads on the front soon
Untitled by mboon, on Flickr
This is how much crap came out from the arch
Untitled by mboon, on Flickr
So next up was the wheel. Now one thing you have to remember with this car, it has original none refurbished wheels so excuse the little dings and dents etc. Apparently when you get these wheels refurbished they only last around 1 year until they start going milky etc.
Before
Untitled by mboon, on Flickr
Untitled by mboon, on Flickr
After
Untitled by mboon, on Flickr
Untitled by mboon, on Flickr
Next up was putting the wheel back on. It was a bugger to get off so dug out my copper grease
Untitled by mboon, on Flickr
I put a very small amount on the hub just to make it a little easier to remove the wheel at a later date
Untitled by mboon, on Flickr
And on the bolts themselves
Untitled by mboon, on Flickr
Its all about the small things ha
So wheel back on without the arch lining as I had to remove the front bumper but had to move the car out to do so
Untitled by mboon, on Flickr
Untitled by mboon, on Flickr
Untitled by mboon, on Flickr
So next up was removing the bumper. I had a look around on forums etc and found a video on Youtube which showed the process. Great, followed, it came off. But!!! you can do this without removing the bolts under the arch linings
These
Untitled by mboon, on Flickr
If you just undo the 4 bolts under the trim on the bumper it will slip straight out of these guides. Made the job more hassle than it had to be and I have to now try and line the bumper up good again
So bumper off
Untitled by mboon, on Flickr
Untitled by mboon, on Flickr
I am delving into this car and not finding any rust which is great news. Not even a bit of surface rust behind the bumper
Removed the bumper to replace this which is broken
Untitled by mboon, on Flickr
After a few minutes looking it became apparent its a easy job made easier by removing the bumper
Old and new
Untitled by mboon, on Flickr
Untitled by mboon, on Flickr
Fitted into the bumper
Untitled by mboon, on Flickr
Fitted back on the car with the new fog lights (Bumper still needs adjustment)
Untitled by mboon, on Flickr
I have cleaned the passenger side arch as well and put the arch lining back in
I have put some silicon stuff on the black to soak in and make it look a little darker... This stuff obviously will soak in, looks very glossy at the moment
Untitled by mboon, on Flickr
And that is it, car was put back on four wheels, put back in and left. Not sure when I will next be with the car as I have a kitchen being fitted and need to do some jigging of the house. So might not see her until next month.
Cheers for reading
Mark
Well for anyone that knows me, knows I love my Ford Cosworths. A mate posted this on facebook and it has really made me want to get the M3 out and use it in serious anger!
https://www.youtube.com/watch?v=vlir7J_ycv0
The image in my head is this sound playing loud on the radio and drifting the GT out of the garage and up the road
Must resist....
https://www.youtube.com/watch?v=vlir7J_ycv0
The image in my head is this sound playing loud on the radio and drifting the GT out of the garage and up the road
Must resist....
Cheers guys
I will have to double check it has silicon, pretty sure it does. It is megs stuff.
I have not got it on the paintwork though, just the plastics... That said I might have accidently rested a cloth with the stuff on, on the paintwork....
Cheers for the motor info. Not got around to changing that yet
Not seen the car now for a over a week. The kitchen however is coming along.
Gassing Station | Readers' Cars | Top of Page | What's New | My Stuff