Civic Type R FN2 Track Car
Discussion


MDifficult said:
I'd missed this new thread! Can't wait to see the build of this in intimate (and weight-focused) detail. Let's just hope this one starts 
It was a bit of a hard sell to to Mrs as the words were why do you need two track cars and a road car . She said she was not angry just disappointed 
It could not be more different to the Megane hard as nails and easy to work on and you just know it will keep going with very few problems .
TBH i love this little thing and after so many forced induction cars the joy of a hi revving N/A is refreshing .
I cant wait to bung it on track and im sure the Megane would be much faster round a track no doubt but i will have some great fun with the FN2 .
I wonder how much supercharger conversions go for
Edited by Kaveney on Friday 19th May 16:23
Going on from the Fuel pump and fuel filter change the next part to look at was the injectors .
The car has done over 100K miles and is still on the orginal injectors so they may be getting a bit tired now .
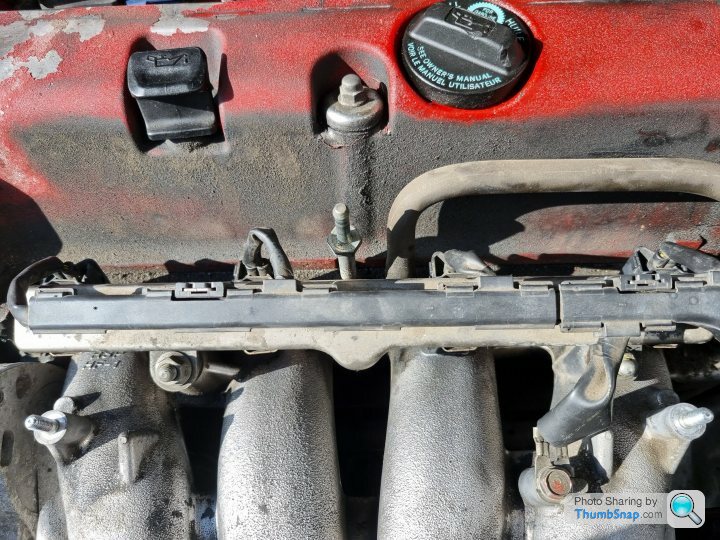
First was to gain access to the fuel rail and as this is not direct injection and the location is right at the front of the car this was very simple access .
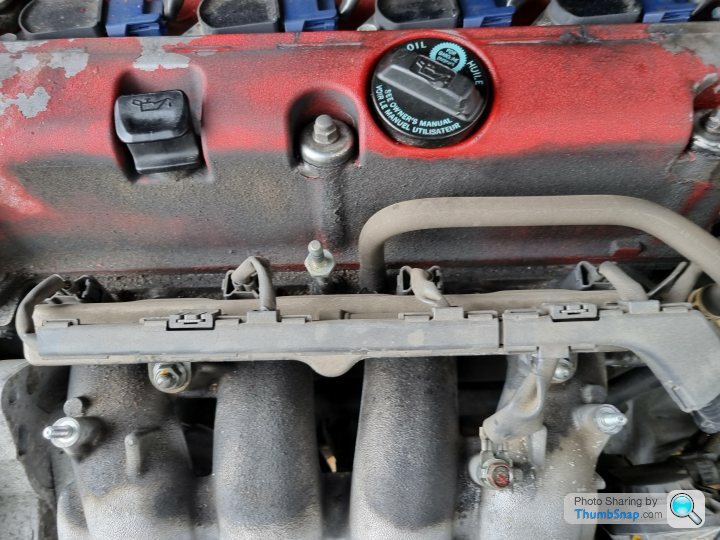
Then to remove the old fuel injectors .
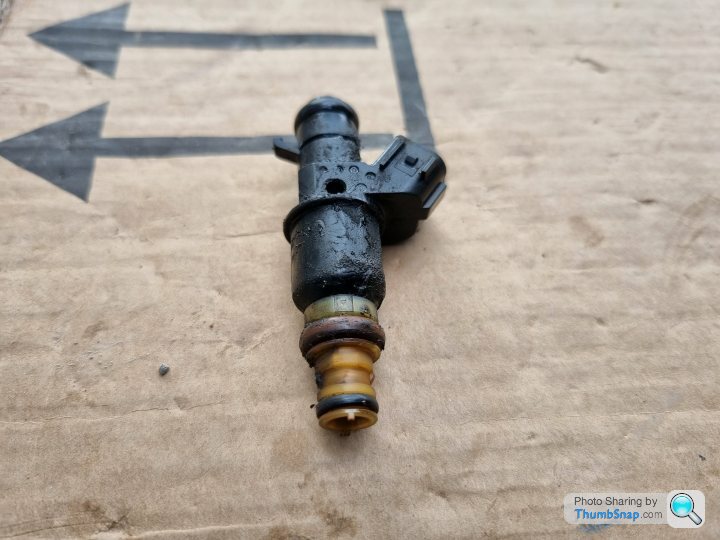

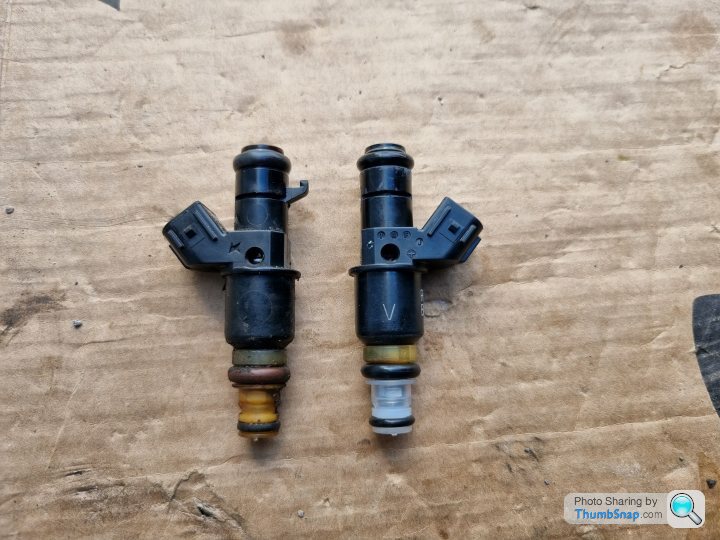
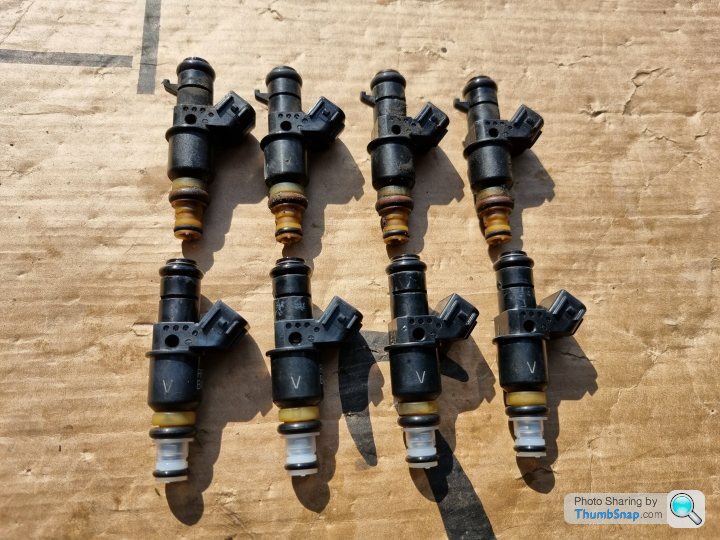
I ordered some refurbished OEM injectors that have had new filters , pintle caps and o rings fitted and then had a ultrasonic clean .

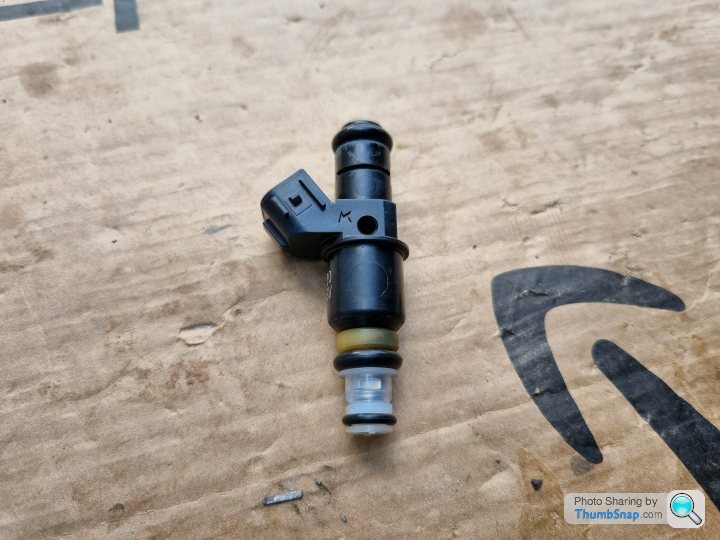
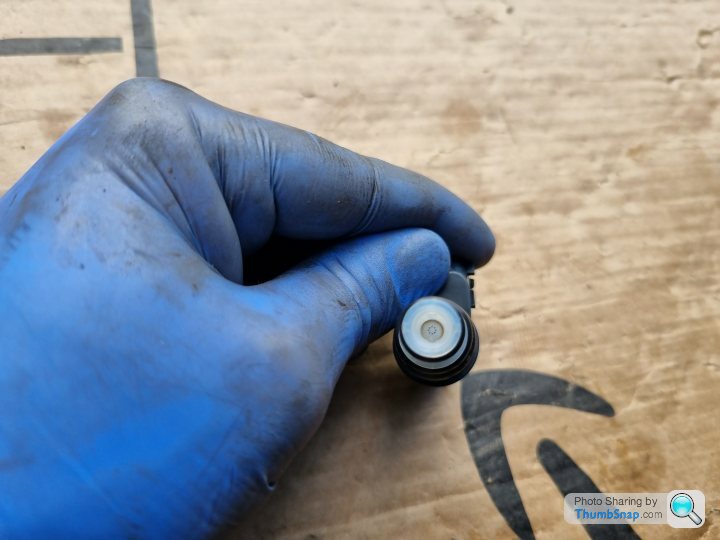
Old vs new .
 [url]
[url]
And all installed .
 |https://thumbsnap.com/qZh8BspD[/url]

The car has done over 100K miles and is still on the orginal injectors so they may be getting a bit tired now .
First was to gain access to the fuel rail and as this is not direct injection and the location is right at the front of the car this was very simple access .
Then to remove the old fuel injectors .
I ordered some refurbished OEM injectors that have had new filters , pintle caps and o rings fitted and then had a ultrasonic clean .
Old vs new .
[url]And all installed .
|https://thumbsnap.com/qZh8BspD[/url]With all of the fuel system now sorted next on the refresh / replace list was to look at the spark plugs as i cant see that they have been done in a while .
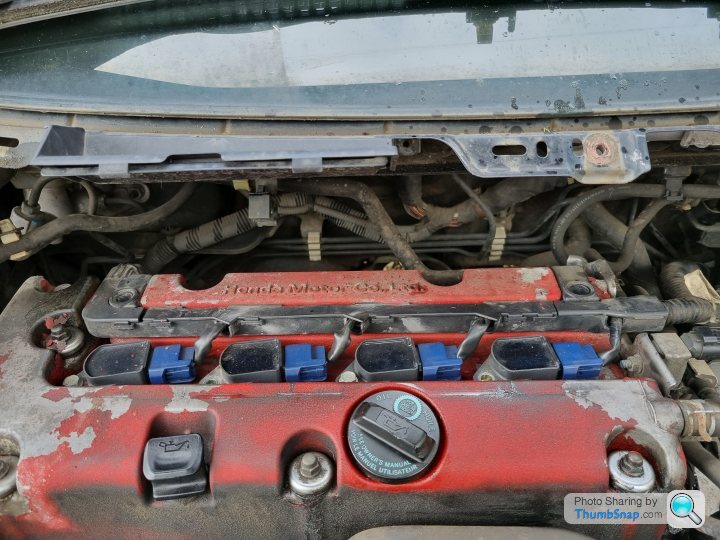
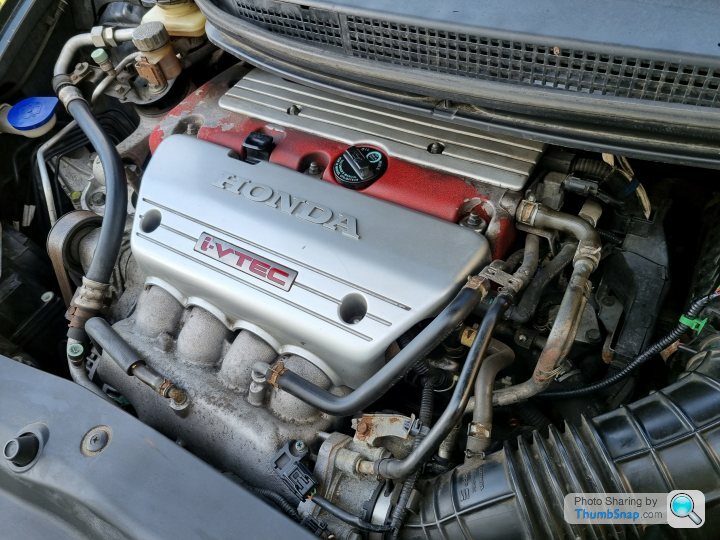
The car is a joy to work on but one pain is that you need to remove the scuttle panel and trim to get access to the spark plugs .

With the scuttle panel removed there is loads of access .
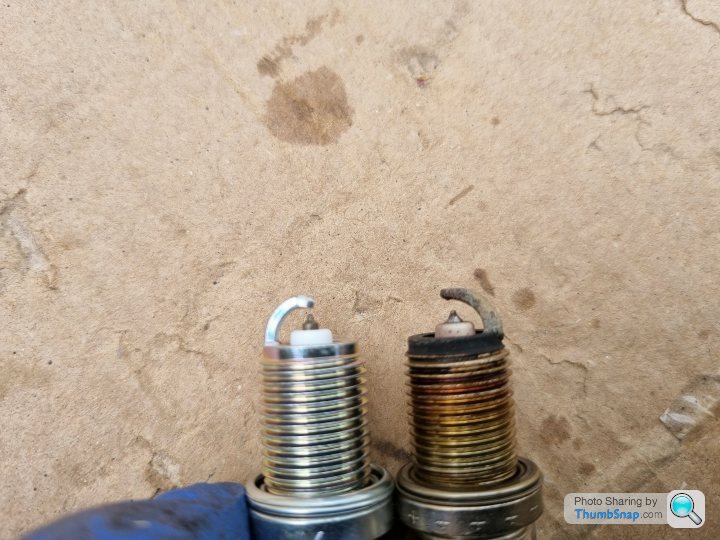
Looking at the old spark plugs they were overdue a change .
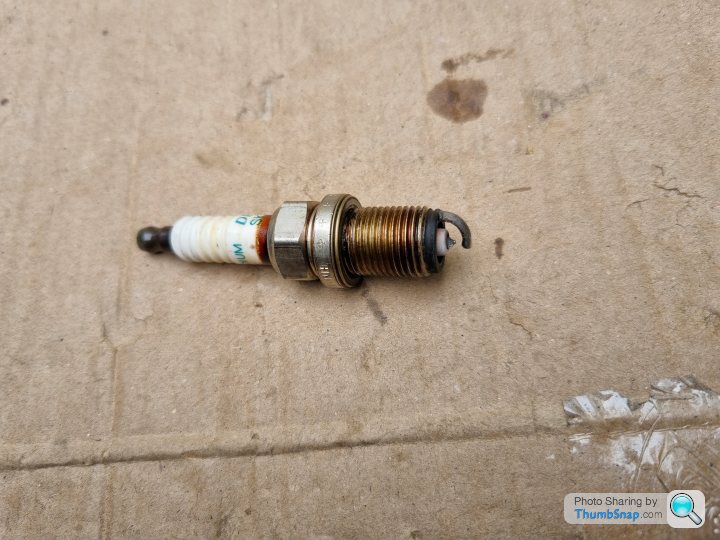

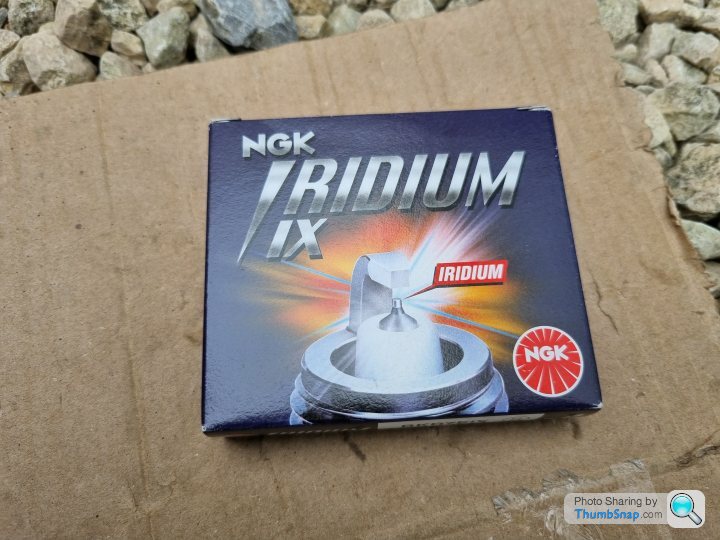
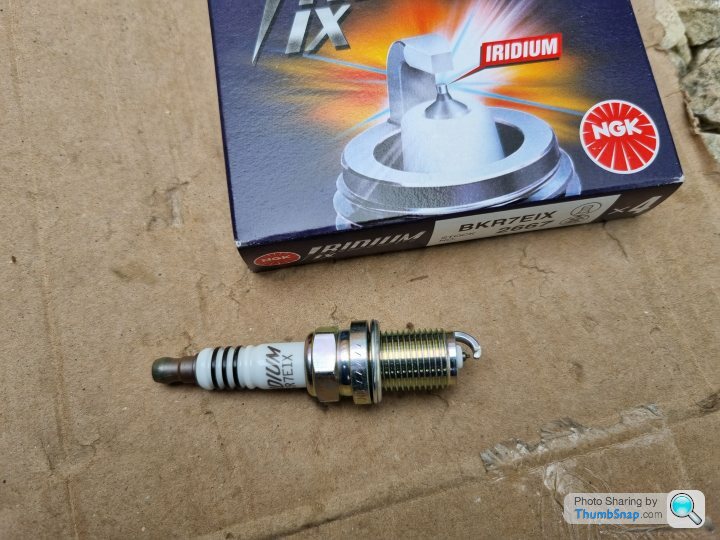
New Iridium NGK plugs .
Old vs new .
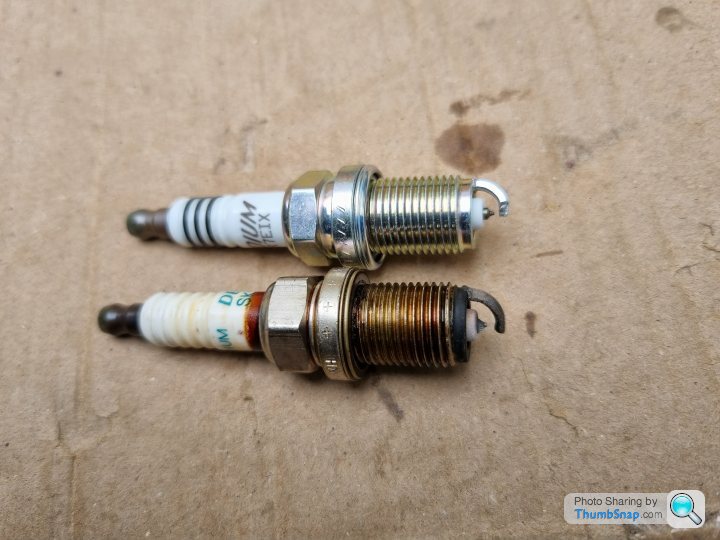
Then gapped to the correct spec of 1.1 and looking at the old units they were very much past there best .
Then all installed and scuttle back on .
The car is a joy to work on but one pain is that you need to remove the scuttle panel and trim to get access to the spark plugs .
With the scuttle panel removed there is loads of access .
Looking at the old spark plugs they were overdue a change .
New Iridium NGK plugs .
Old vs new .
Then gapped to the correct spec of 1.1 and looking at the old units they were very much past there best .
Then all installed and scuttle back on .
Next up on the engine refresh was to change out the two O2 sensors .
Location like most things on this car is good for access .

First up was to remove the secondary O2 sensor .
New NGK unit .

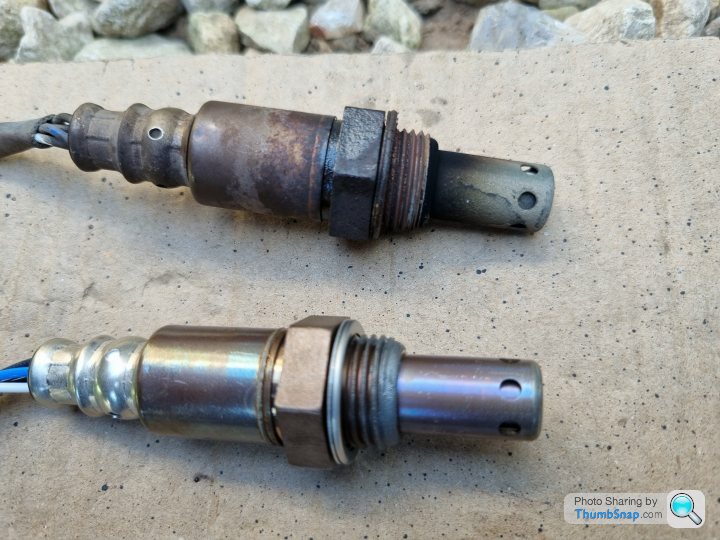
Old vs new .

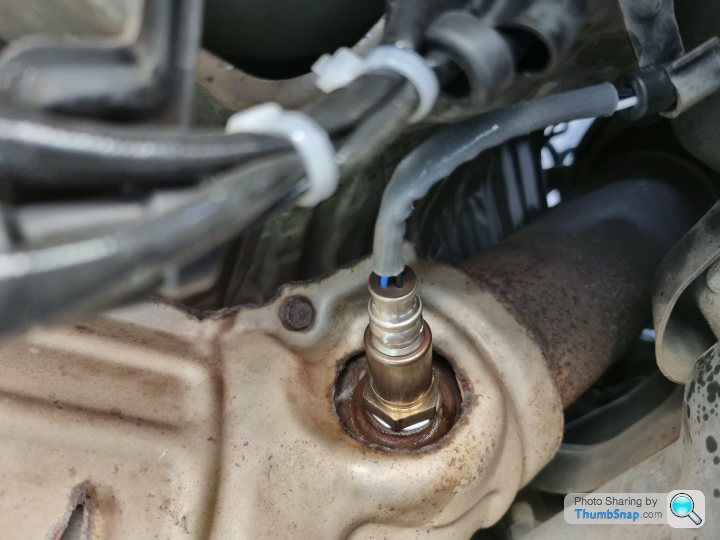
New unit installed .
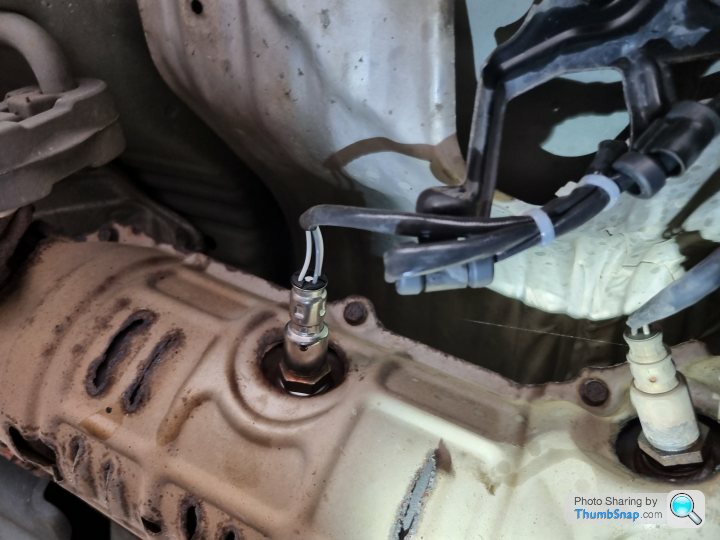
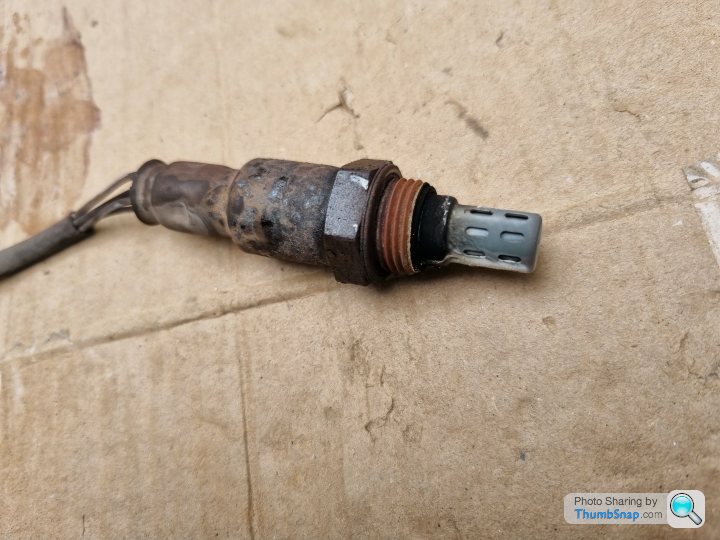
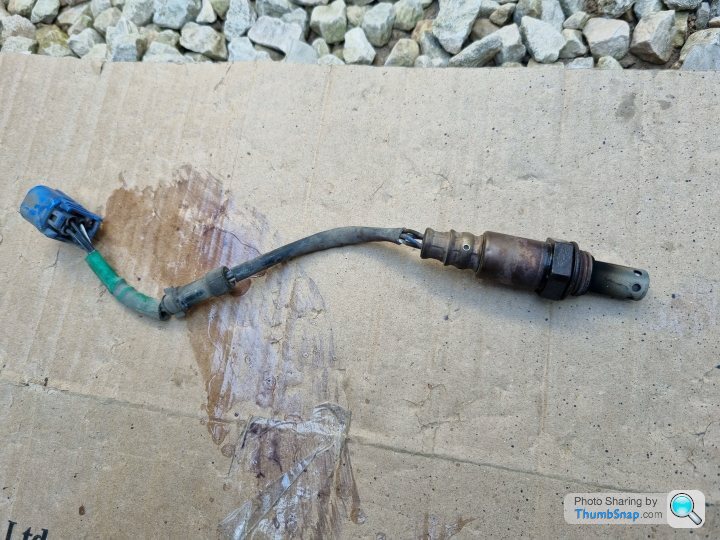
Then it was on to the primary O2 sensor .
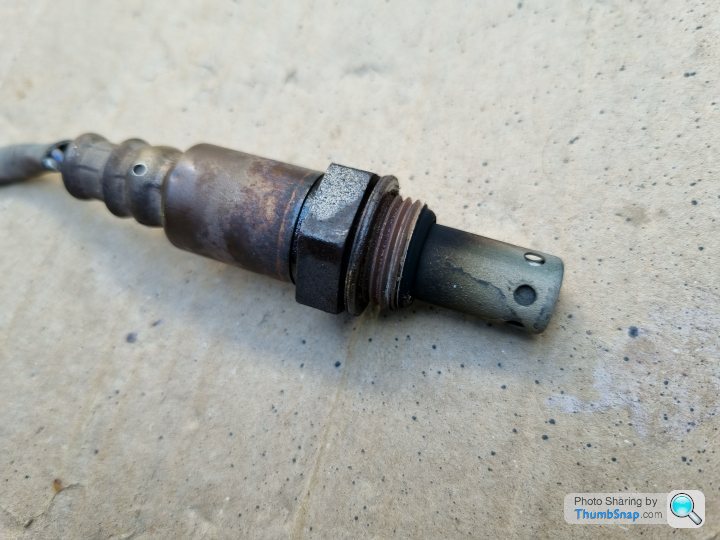
Old unit .
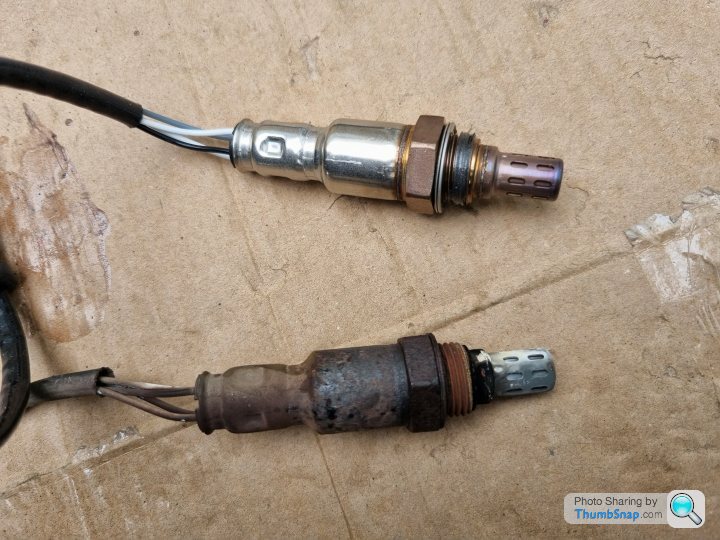
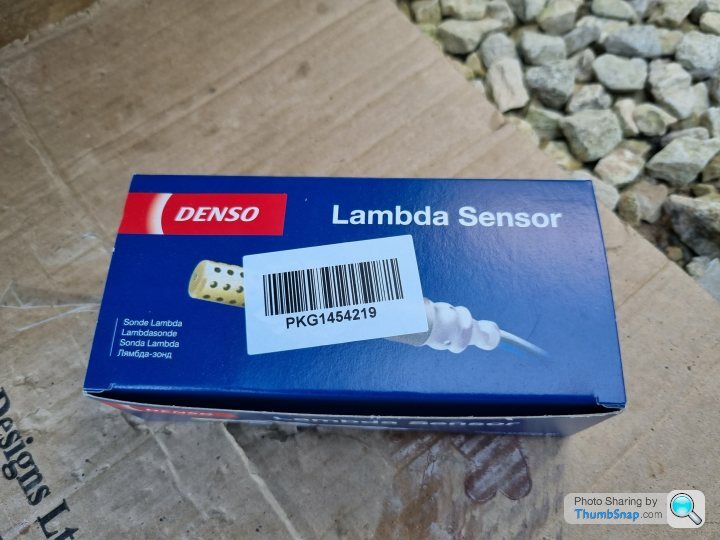
New Denso unit .
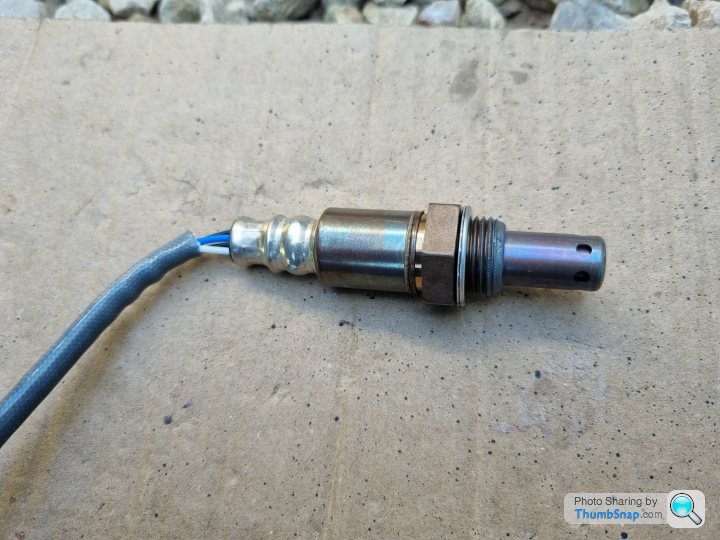
Old vs new .
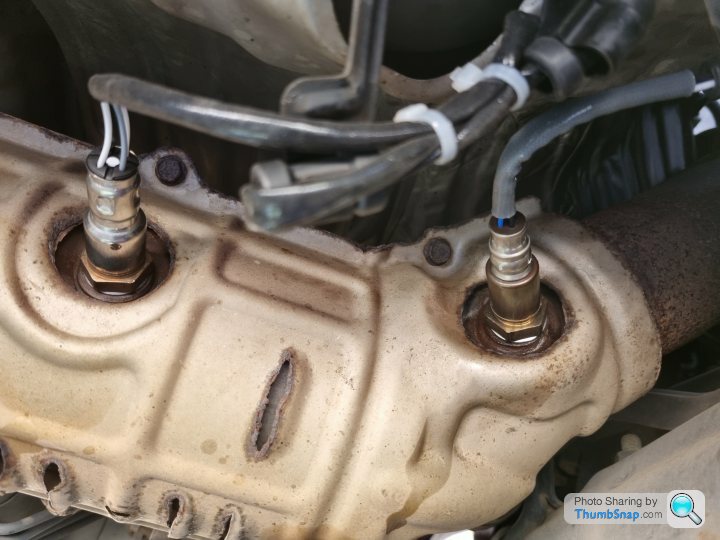
New unit installed .
Another job done and two new 02 sensors installed .
Location like most things on this car is good for access .
First up was to remove the secondary O2 sensor .
New NGK unit .
Old vs new .
New unit installed .
Then it was on to the primary O2 sensor .
Old unit .
New Denso unit .
Old vs new .
New unit installed .
Another job done and two new 02 sensors installed .
With most of the engine refresh done net on my long list was to look to change out the rather tired looking fog lights .

As you can see they have gone cloudy and are looking a bit past it .
I ordered some Mugen style cold air feed fog light inserts in a Black gel coat finish .
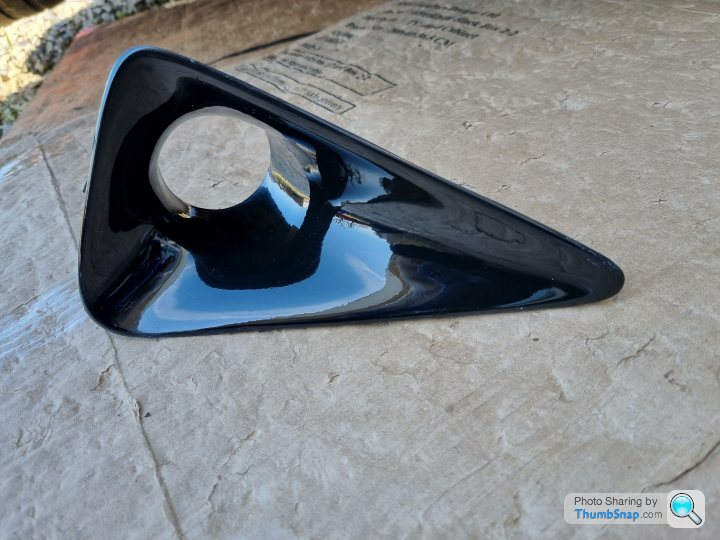
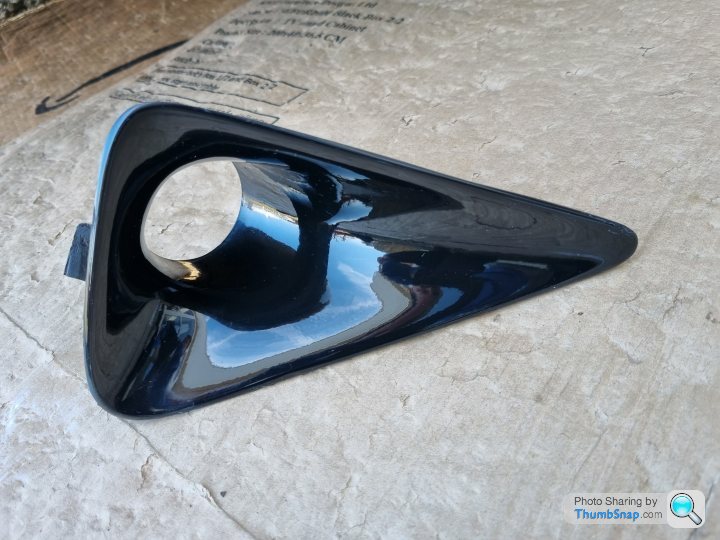
Old vs new .

And all installed on the car looking much better and having a second function to feed the induction that will be coming next .


As you can see they have gone cloudy and are looking a bit past it .
I ordered some Mugen style cold air feed fog light inserts in a Black gel coat finish .
Old vs new .
And all installed on the car looking much better and having a second function to feed the induction that will be coming next .
sgtbash said:
Very nice, have you had it on track yet? I had an FN2 previously and loved it but was constantly shamed for not having an EP3 
No not yet i still have a few bits to do first but im aiming at getting the FN2 on track for around September time .Im ready for all the should have got an EP3 , sh*t rear suspension etc
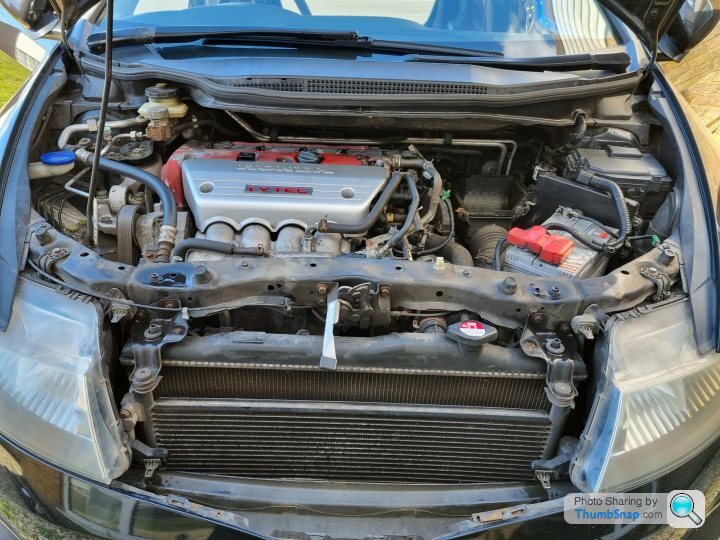
Next up was the induction upgrade that i have been looking forward to doing as the stock intake system is so quiet .
After looking around at what kits there were on the market the HKS induction is the most common but did not sit too well with me as i do not like the look of it and most important it suffers with heat soak so would most likely lose a few BHP .
I must admit tho that the noise is lovely . ( 46 sec in to vid )
https://www.youtube.com/watch?v=d4ummOA-FOg
Also at £ 570.00 it is silly money for an induction system so i set about making my own taking notes from other people that have done this .
The home made kit offers 95 % of the noise , a few BHP gain ( around 5-6 BHP i have seen on dyno charts ) and at a fraction of the price of the HKS kit .
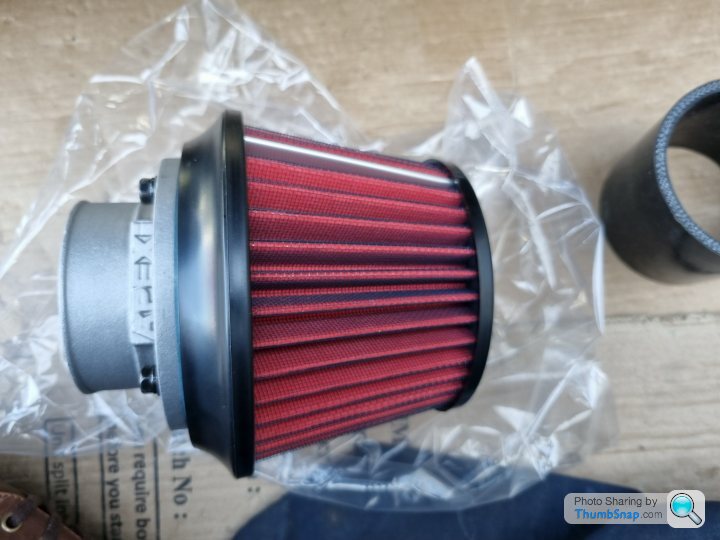
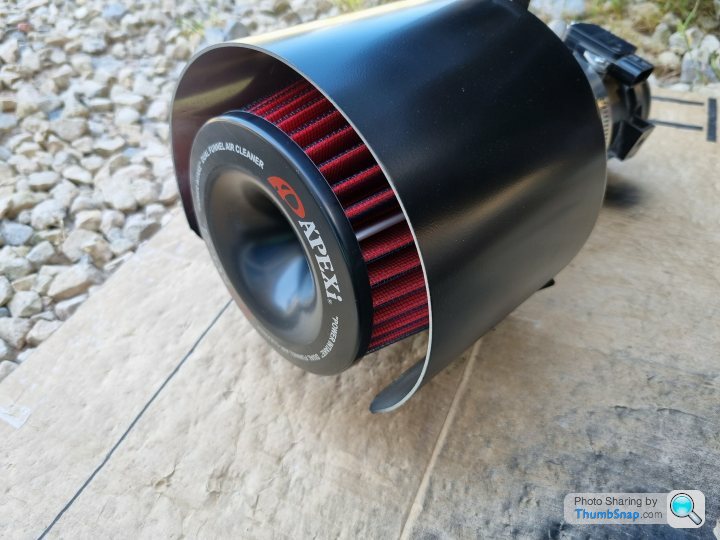
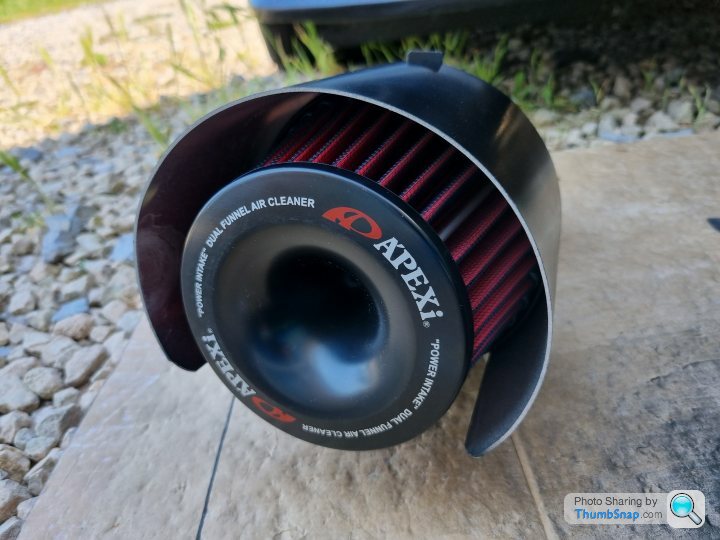
So first up was to source a good quality air filter that has a 80mm outlet neck so i imported an Apexi 500-A025 power intake filter all the way from Japan .


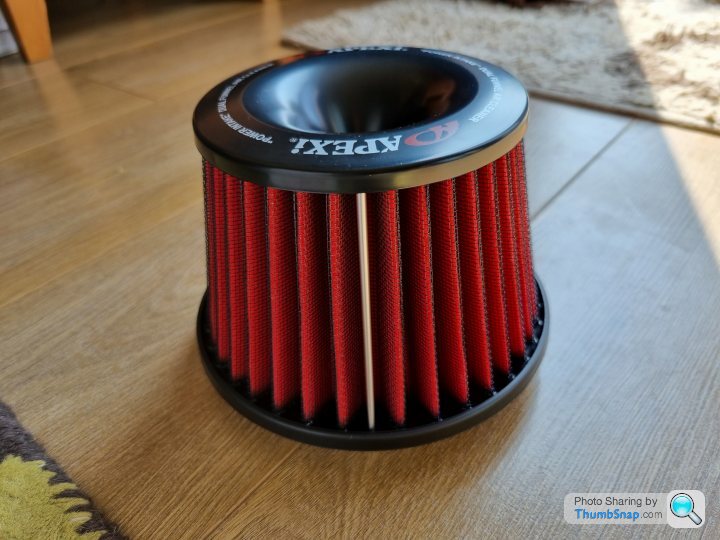
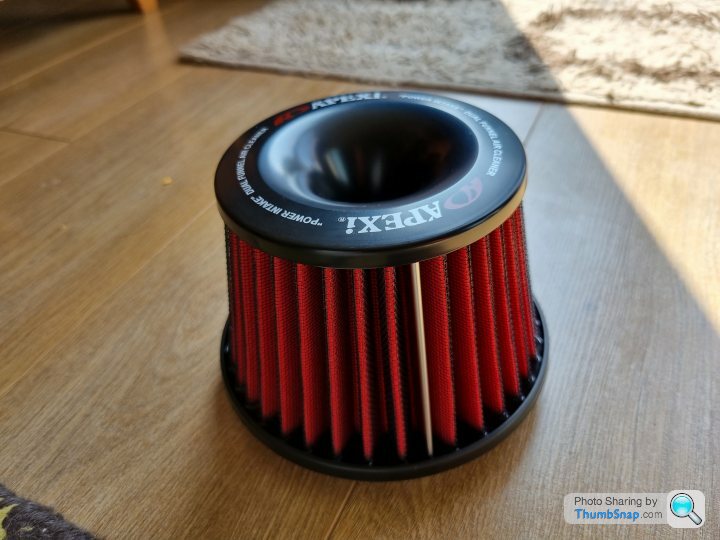
Another reason I went for this filter is because of the built in velocity stacks to replicate the one in the stock airbox .
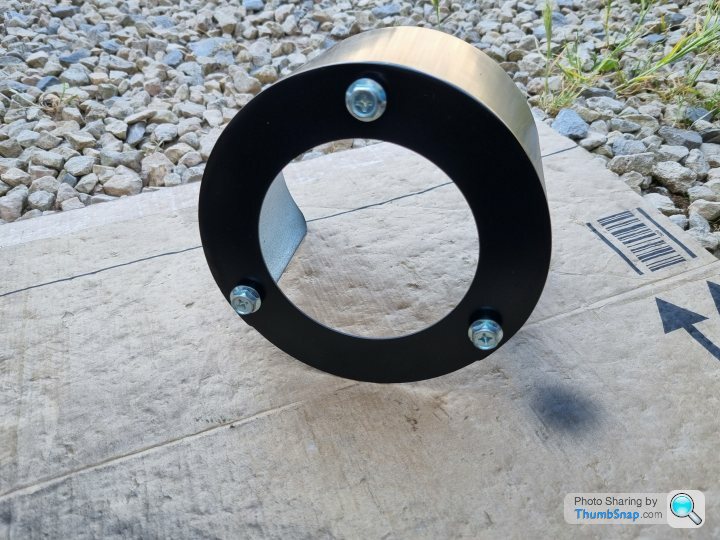
I also ordered an ASH heat shield for the air filter that has an enclosed rear .
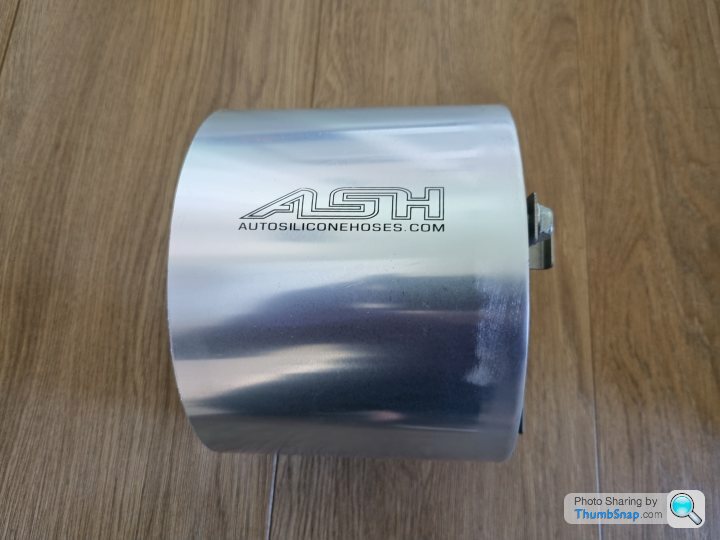
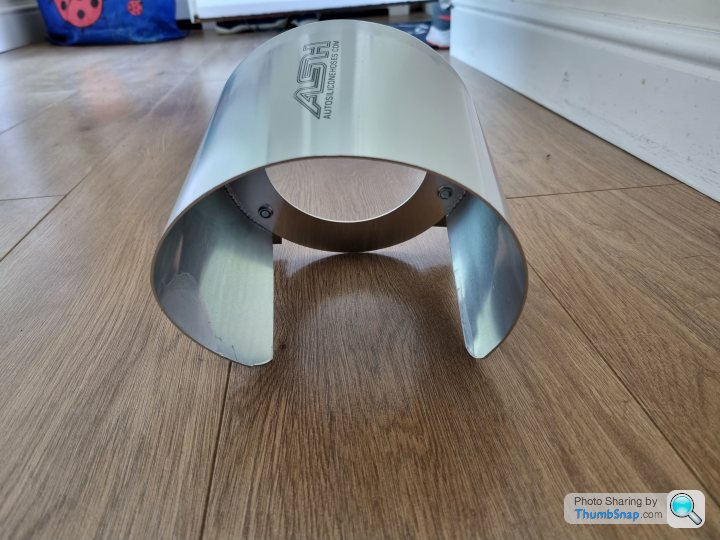
The only problem was that they do not do a Black finish and I’m not that keen on the silver so i dusted off my Art GCSE E grade and set to work .
Much better .
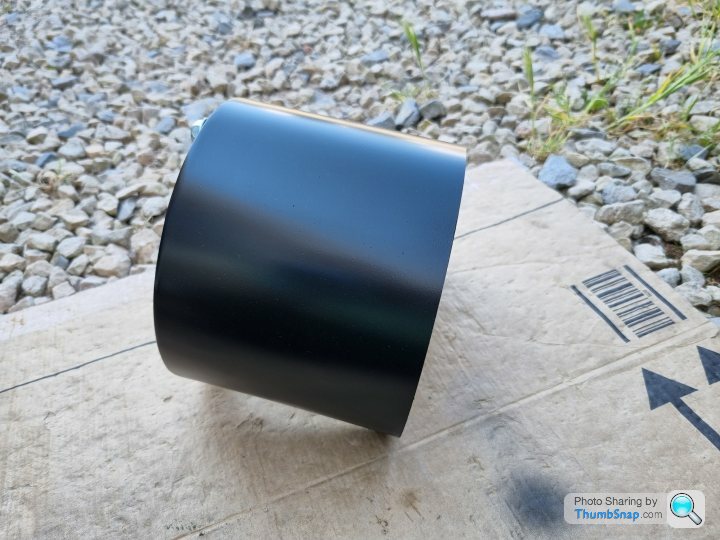
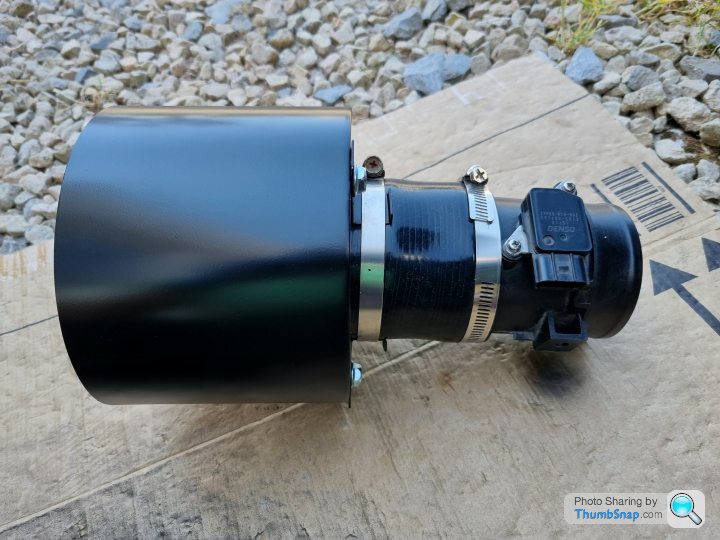
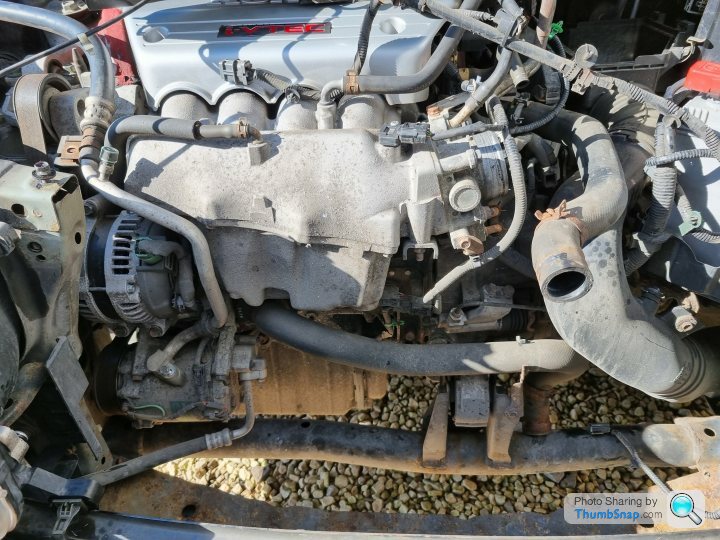
Next step was to get a second hand airbox and carefully cut out the maf housing and refined it until I ended up with this .

Then it was on to getting everything assembled together .
First the Apexi air filter .
Then the MAF housing and silicone couplers .
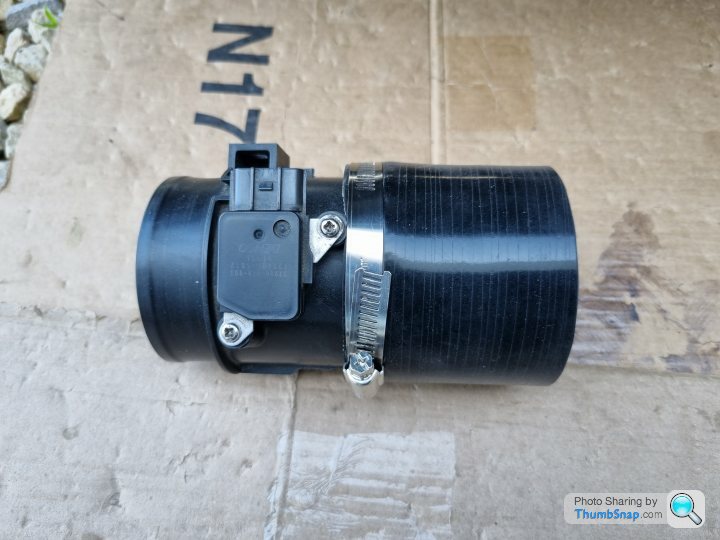
Then joining the two together .

And last to fit the heat shield .
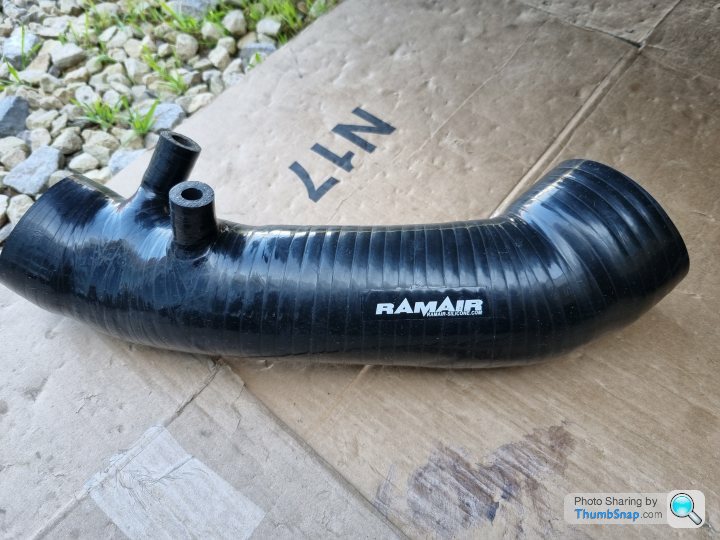
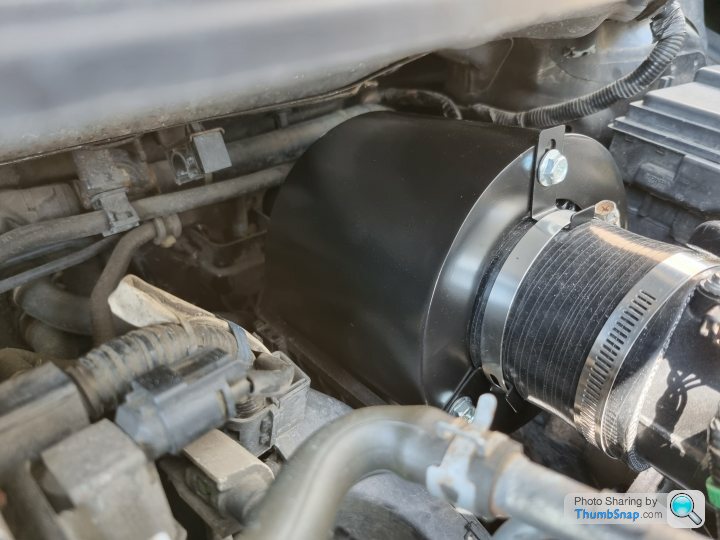
I also ordered a new Ram Air induction hose to replace the OEM unit .
Next step was to think about how to mount this kit and the perfect place in the bottom of the stock air box as 1. the air filter sits nice and snug in there and 2. it has a nice direct cold air feed .

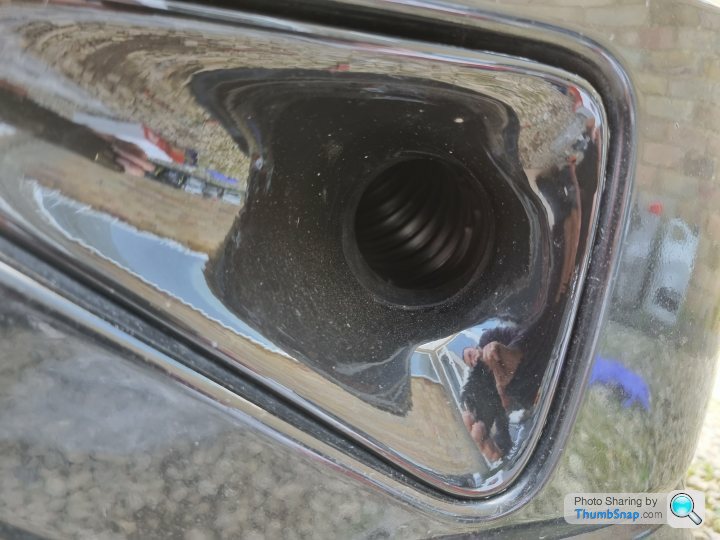
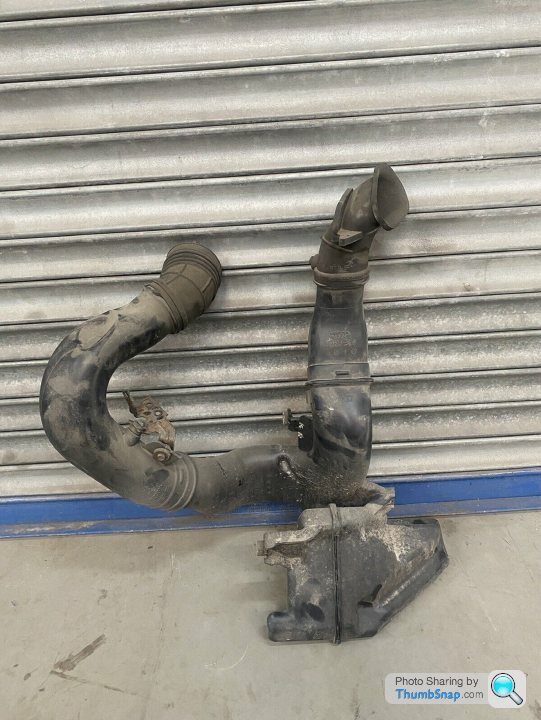
The stock cold air feed is not the best design so this was removed as i will be using the fog light for the cold air feed and new pipework .
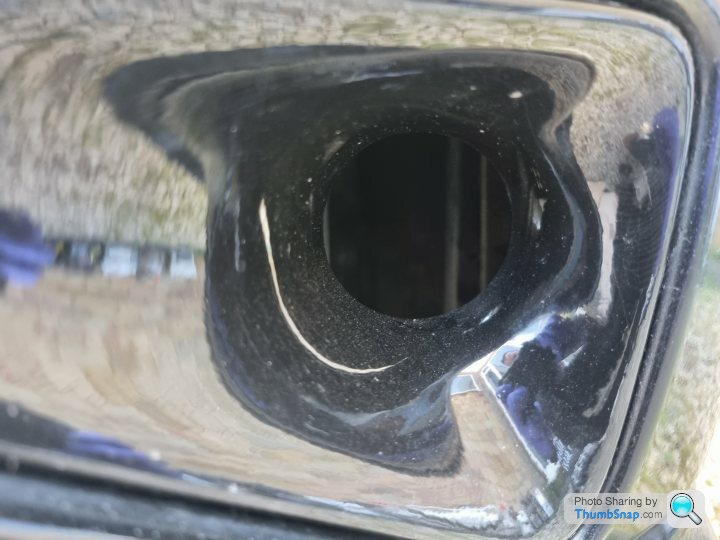
Fog light with a 52 mm cold air feed .
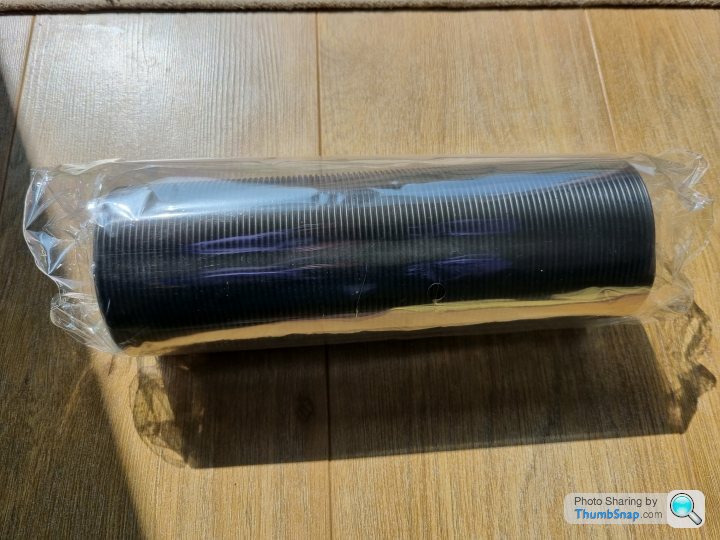
Some flex ducting .
And a silicone joiner .
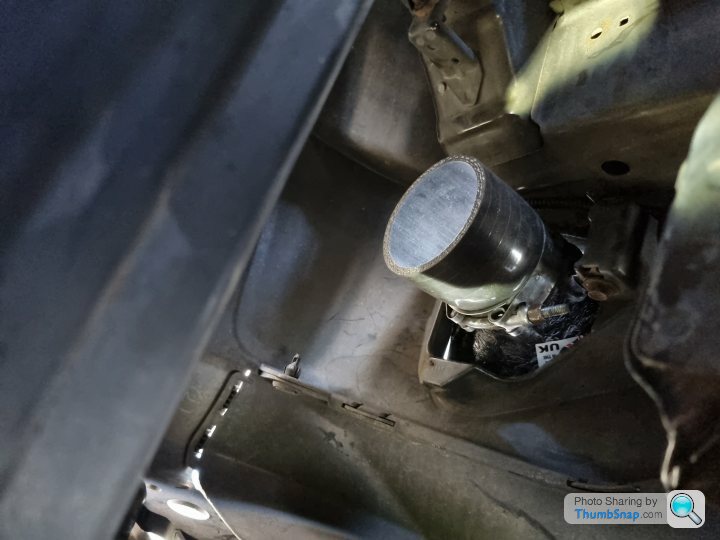
And this little lot make up a much more direct cold air feed than the OEM set up .

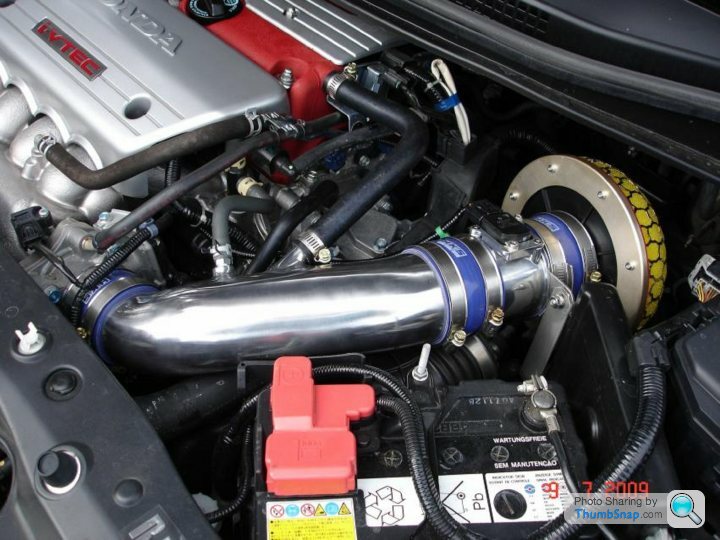
Then the last part was to install the induction kit in to place .
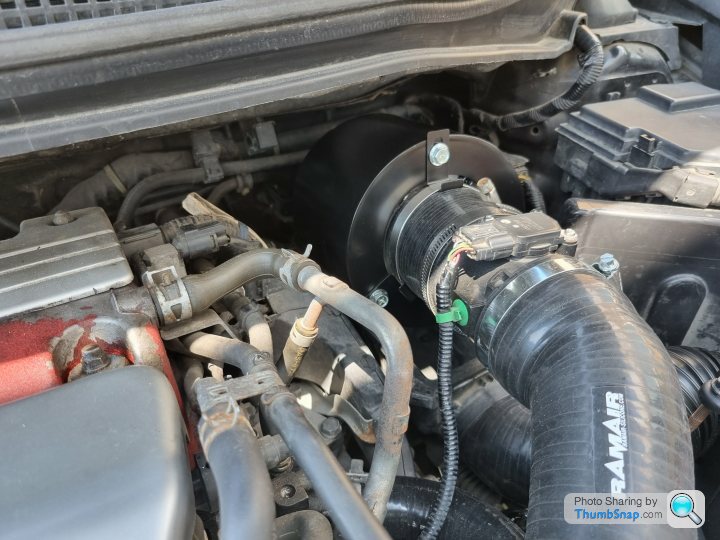


Im very happy with the fit and finish and subtle look and the induction noise is amazing ( well as amazing as a 4 pot can be )
After looking around at what kits there were on the market the HKS induction is the most common but did not sit too well with me as i do not like the look of it and most important it suffers with heat soak so would most likely lose a few BHP .
I must admit tho that the noise is lovely . ( 46 sec in to vid )
https://www.youtube.com/watch?v=d4ummOA-FOg
Also at £ 570.00 it is silly money for an induction system so i set about making my own taking notes from other people that have done this .
The home made kit offers 95 % of the noise , a few BHP gain ( around 5-6 BHP i have seen on dyno charts ) and at a fraction of the price of the HKS kit .
So first up was to source a good quality air filter that has a 80mm outlet neck so i imported an Apexi 500-A025 power intake filter all the way from Japan .
Another reason I went for this filter is because of the built in velocity stacks to replicate the one in the stock airbox .
I also ordered an ASH heat shield for the air filter that has an enclosed rear .
The only problem was that they do not do a Black finish and I’m not that keen on the silver so i dusted off my Art GCSE E grade and set to work .
Much better .
Next step was to get a second hand airbox and carefully cut out the maf housing and refined it until I ended up with this .
Then it was on to getting everything assembled together .
First the Apexi air filter .
Then the MAF housing and silicone couplers .
Then joining the two together .
And last to fit the heat shield .
I also ordered a new Ram Air induction hose to replace the OEM unit .
Next step was to think about how to mount this kit and the perfect place in the bottom of the stock air box as 1. the air filter sits nice and snug in there and 2. it has a nice direct cold air feed .
The stock cold air feed is not the best design so this was removed as i will be using the fog light for the cold air feed and new pipework .
Fog light with a 52 mm cold air feed .
Some flex ducting .
And a silicone joiner .
And this little lot make up a much more direct cold air feed than the OEM set up .
Then the last part was to install the induction kit in to place .
Im very happy with the fit and finish and subtle look and the induction noise is amazing ( well as amazing as a 4 pot can be )
Edited by Kaveney on Friday 23 June 14:35
Another little job done last weekend and one that i love doing as i have a bit of a thing with cooling
As the car will spend a lot of its life on track i looked in to upgrading the cooling system on the car and have always done this on all my past track cars as one of the first upgrades .
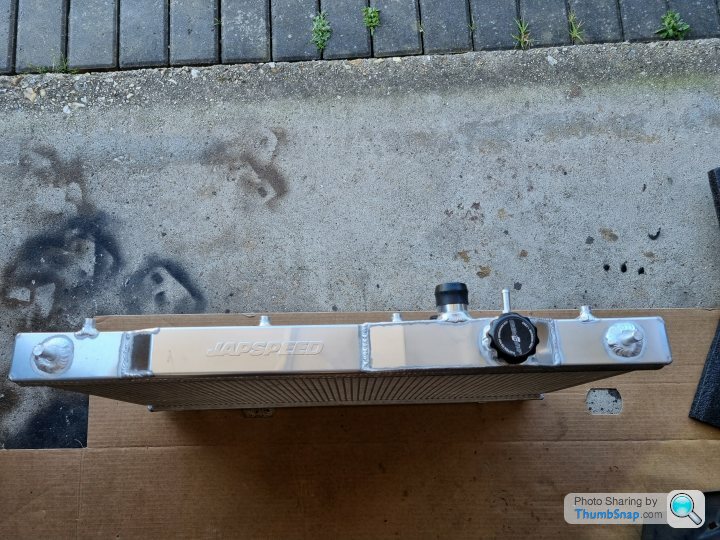
So i set about looking to find a new and upgraded Radiator for the car .
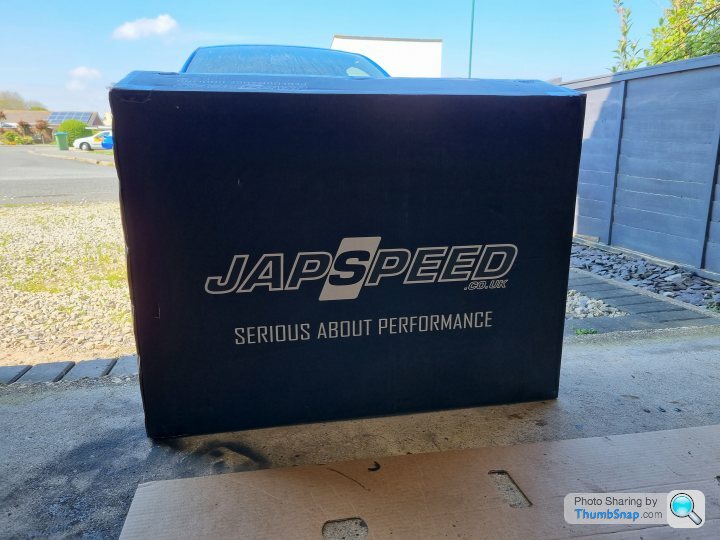
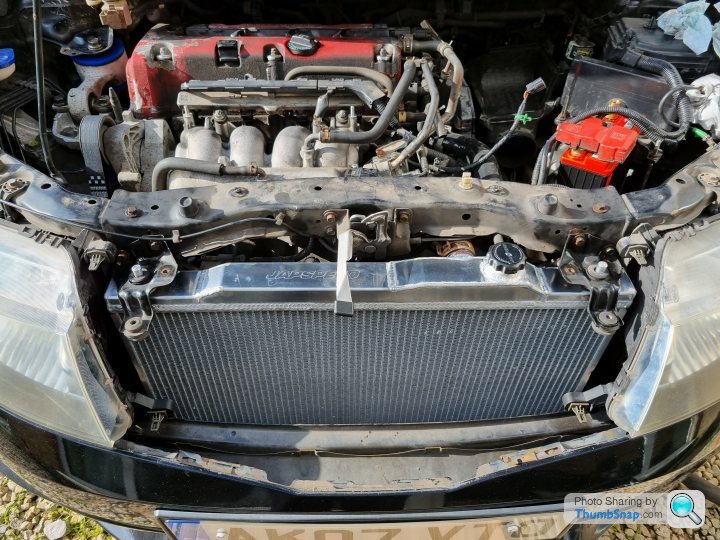
In the end i went for a Japspeed unit as this one is the largest unit that will still fit in the OEM mounting hole .
As I’m finding with this car most of the jobs are nice and simple and have lots of room / well thought out location of parts and the removal of the OEM Radiator was no exception as you don’t have to remove the complete bumper .
Top panel off gave access to the OEM Radiator .
Then just the matter of removing the OEM unit .
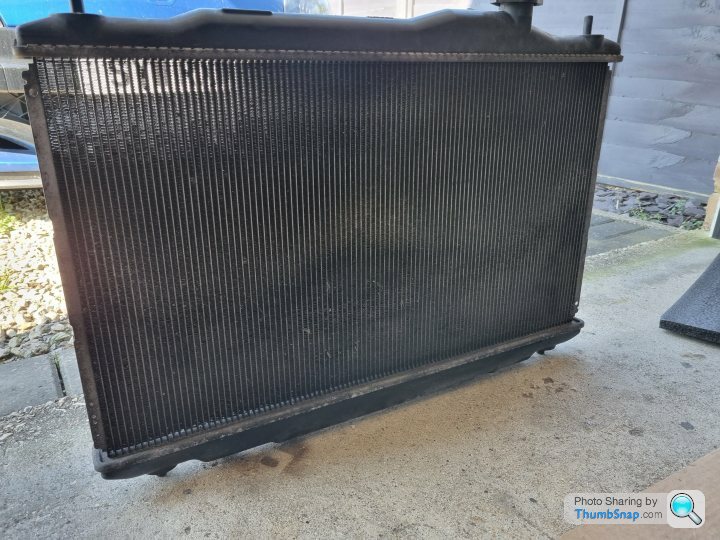
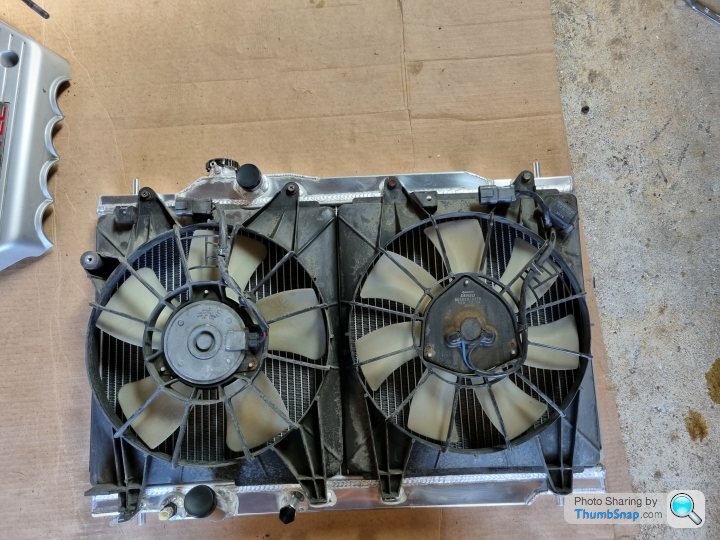
Stock OEM Honda Radiator .

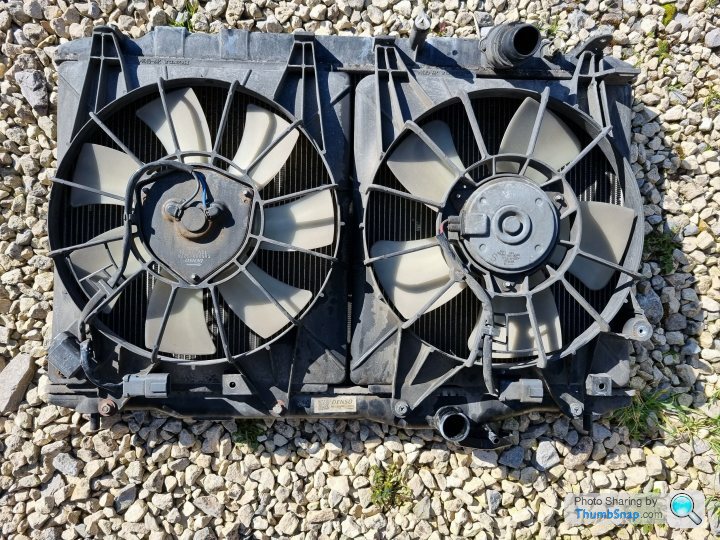
The stock cooling fans need to be removed to fit on the new unit .
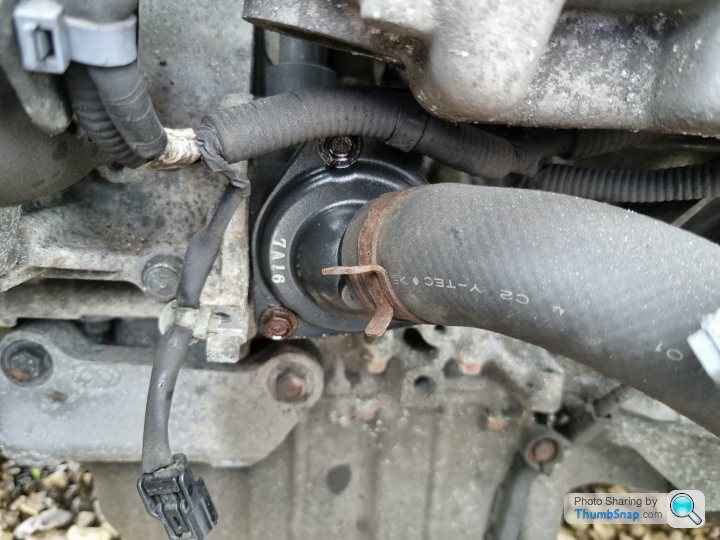
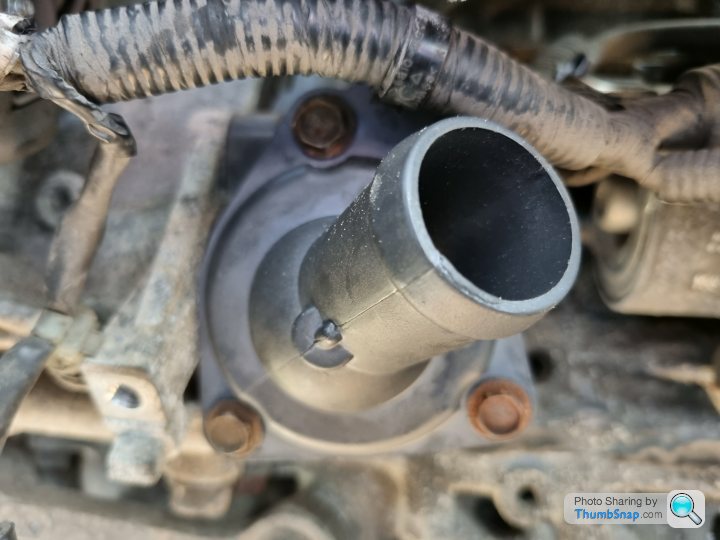
Next was to remove the stock thermostat as this will be replaced .

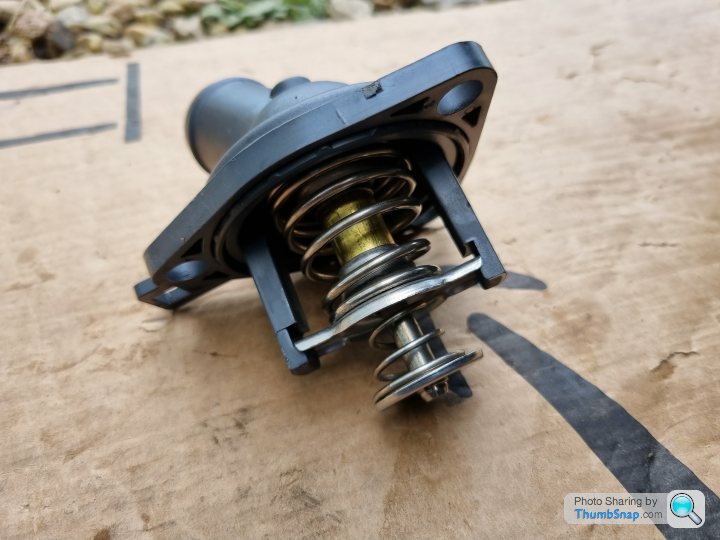
New Spoon low temp thermostat .
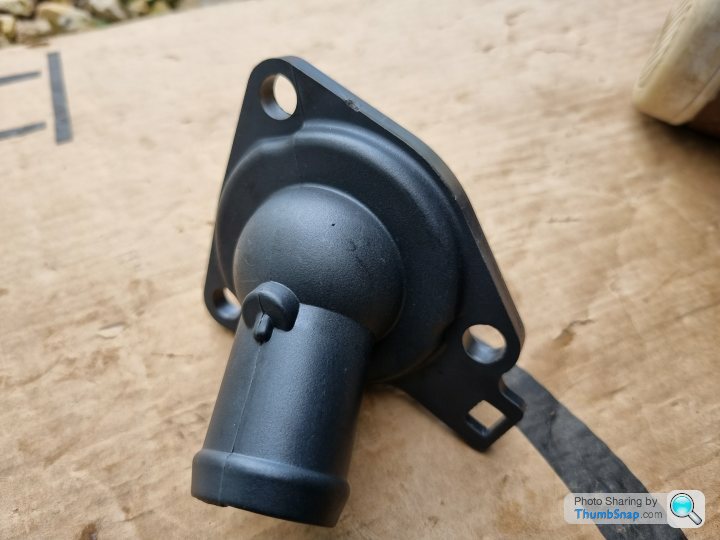
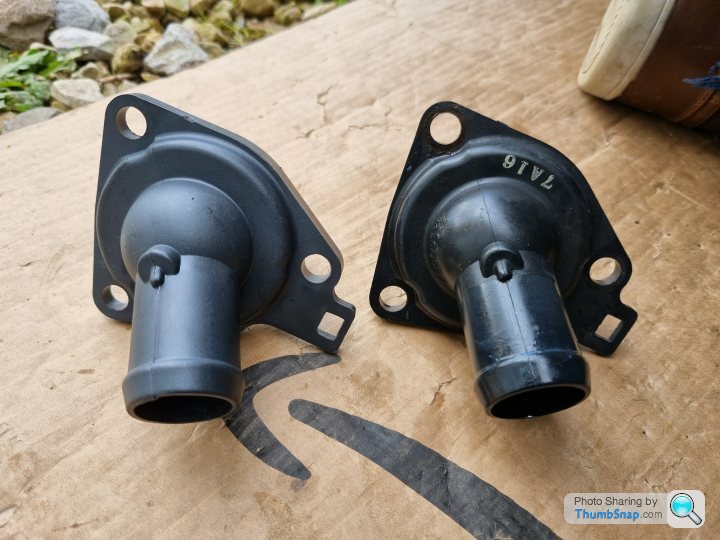
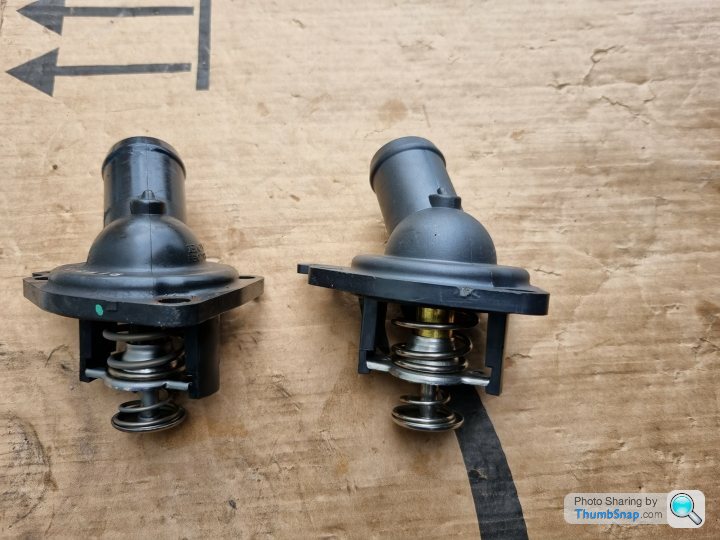
Old vs new .
New thermostat Installed .
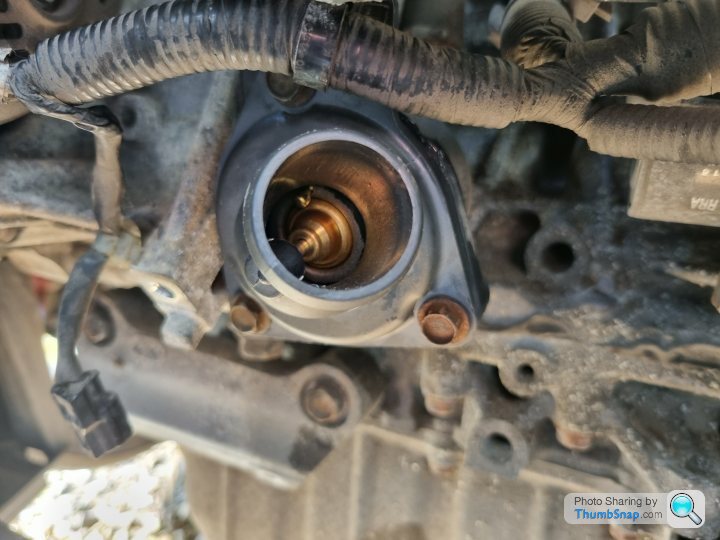
The stock OEM thermostat has a Opening temp of 78°C / Full open temp 90°C .
The Spoon thermostat has a Opening temp of 68°C / Full open temp 83°C .
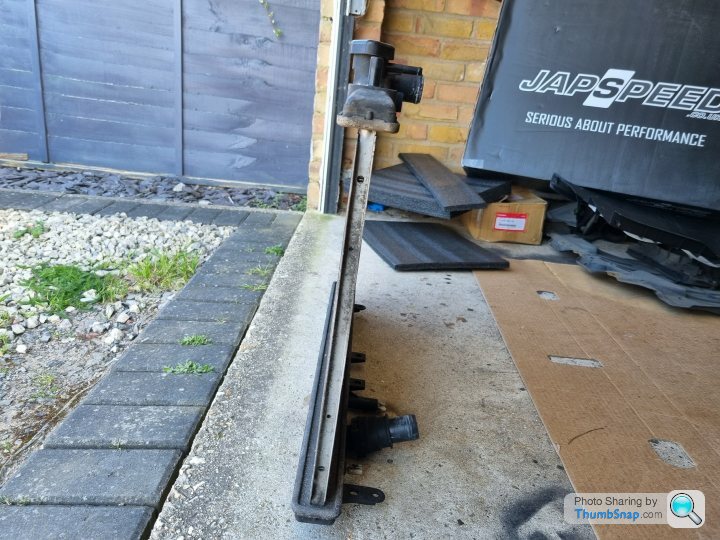
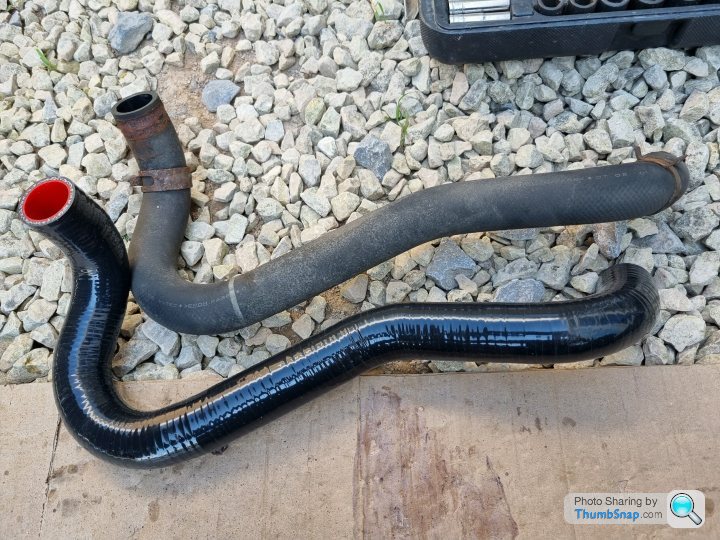
Next was to change over the stock rubber coolant hoses for some new Tegiwa Black units .
Old coolant hose .
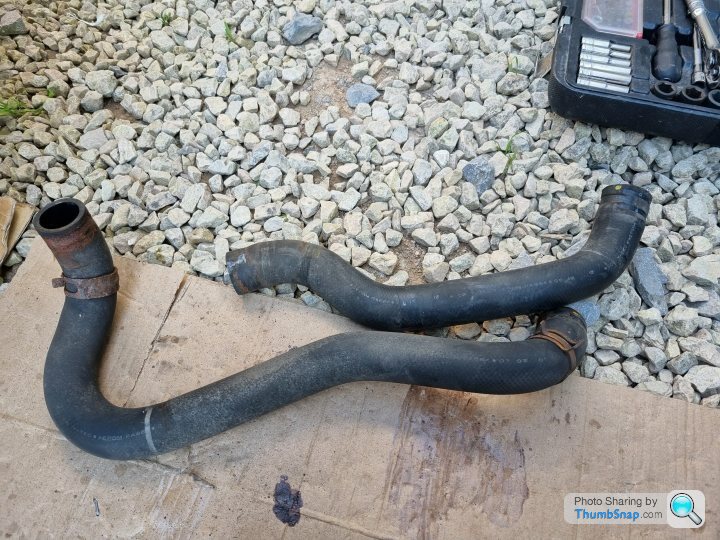
New Tegiwa units .
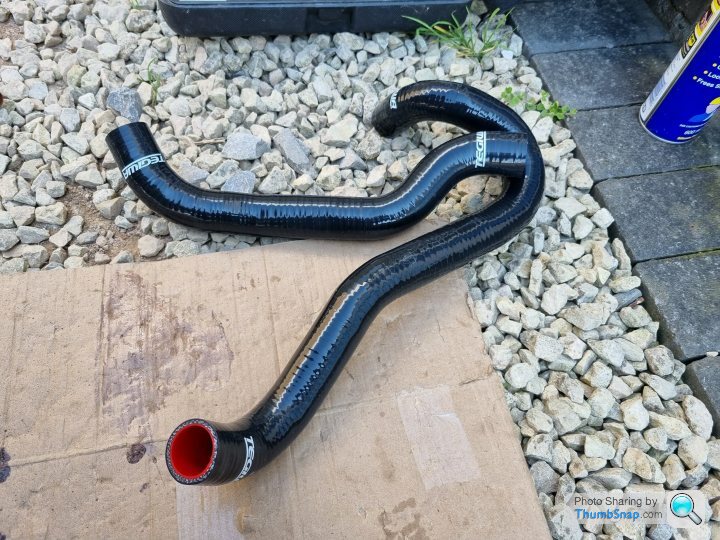
Old vs new .
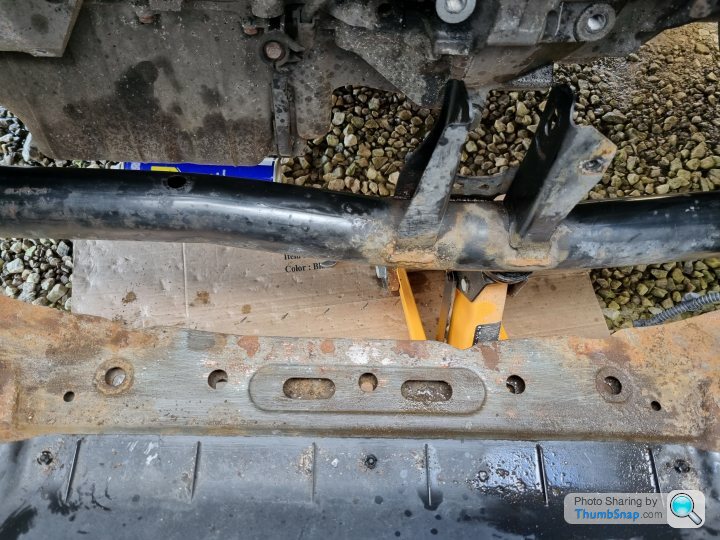
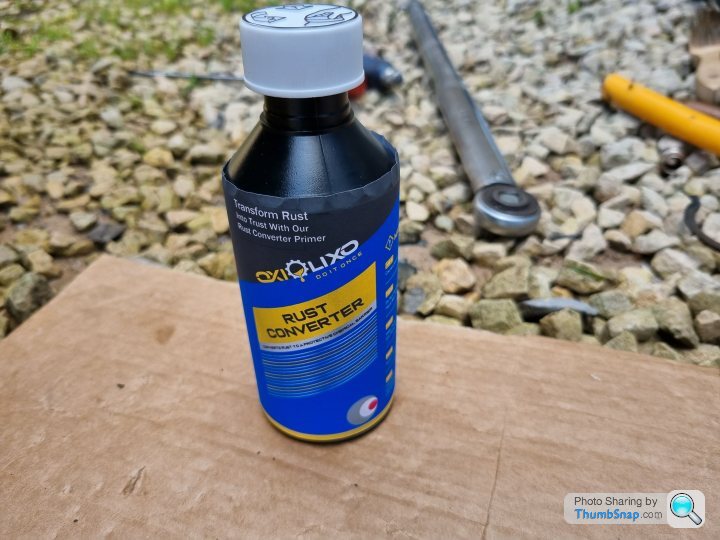
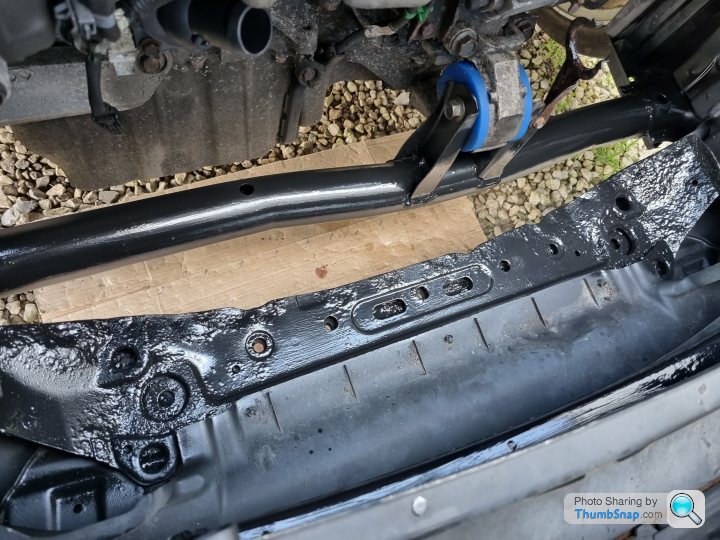
Next as i had the space and room was to add some rust treatment to the lower scuttle panel as this has some minor rust spots . Nothing major but as access is good it would be foolish not to .
Quick rub down .
Then treated .
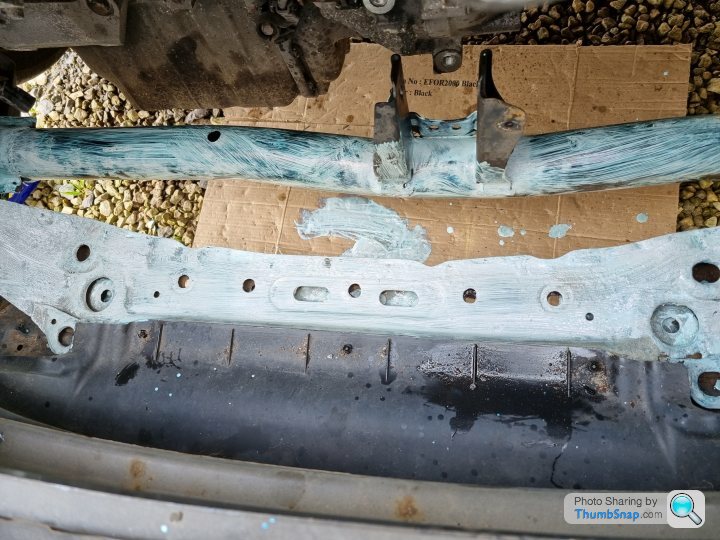
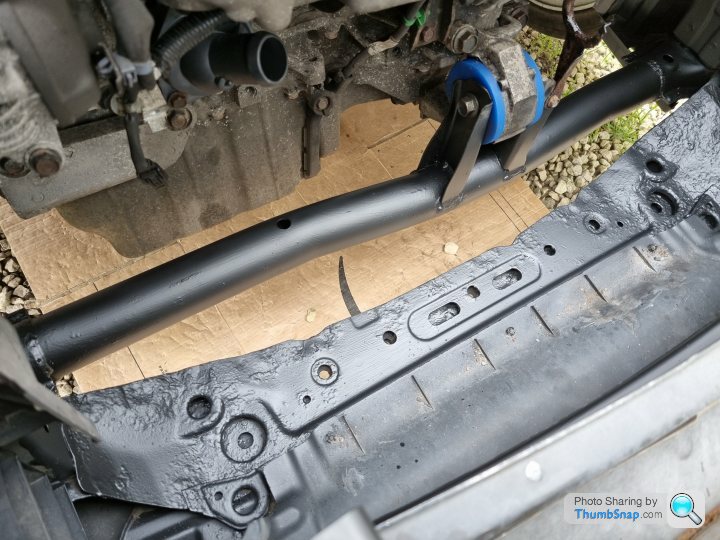
After this set over night some Black stone chip was used .
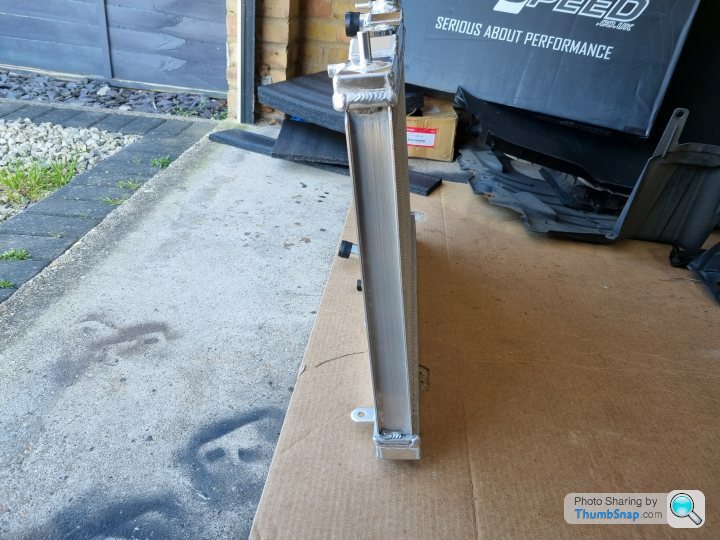
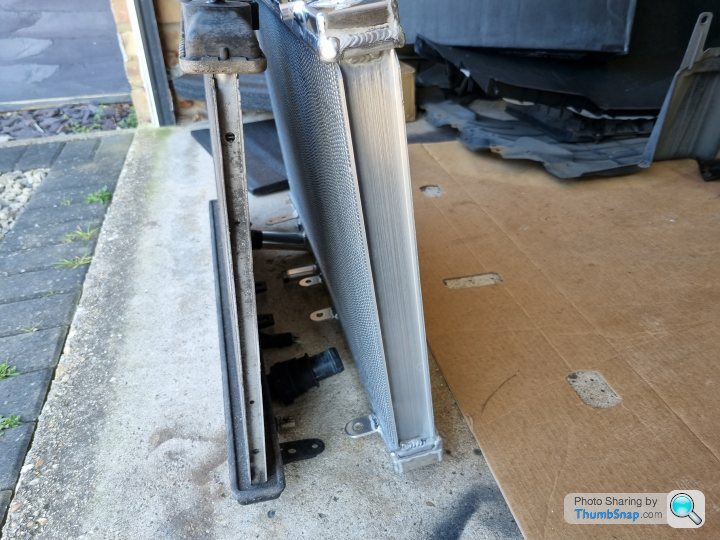
Then it was on to installing the new Japspeed Radiator .
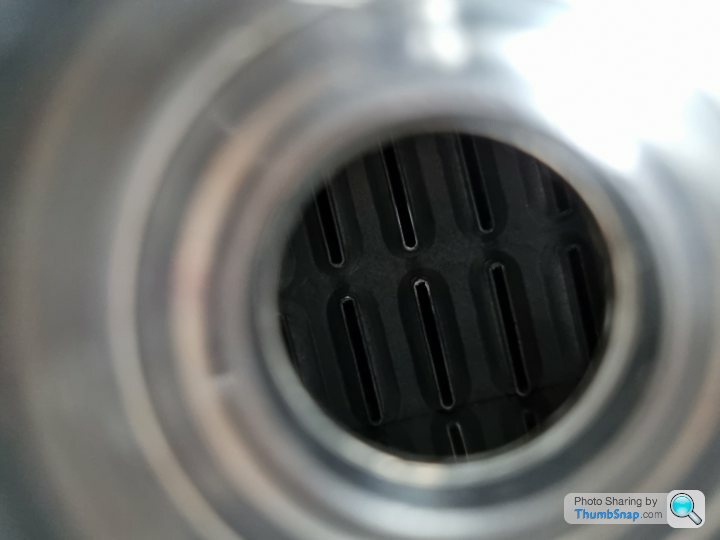
The new unit has a large high-flow aluminium core that is 42mm vs the OEM 24mm core .

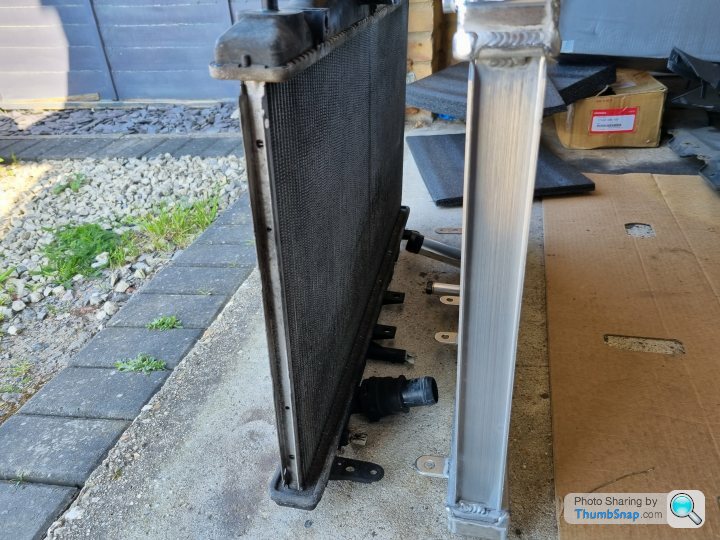
Old vs new .

Then the stock fan was installed on the new Radiator .
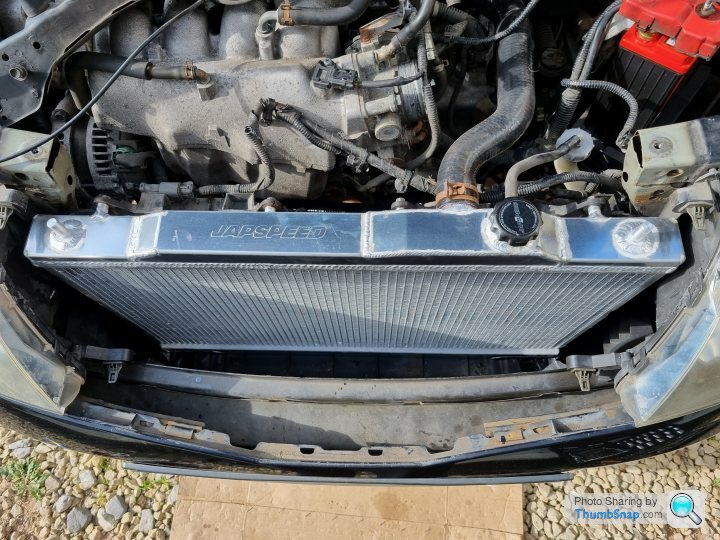
Then installing it back in the car .
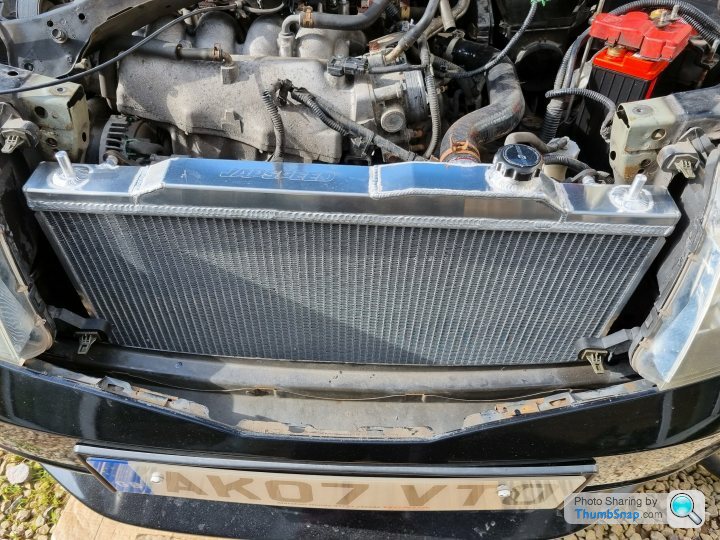
Mounting brackets back on .
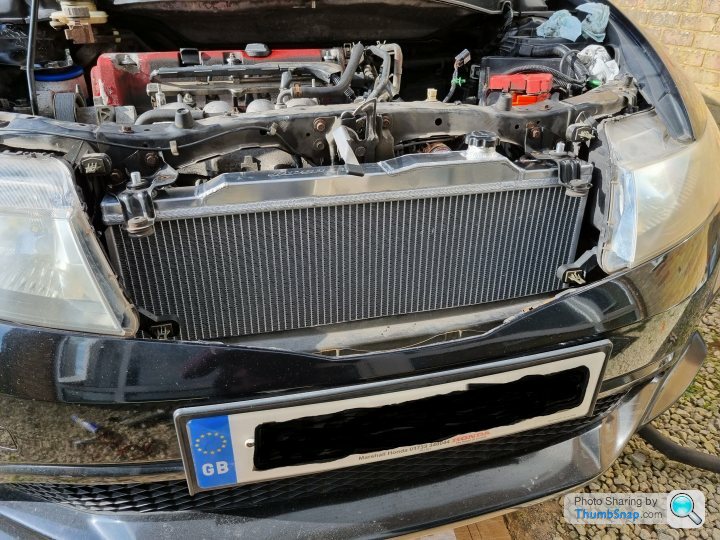
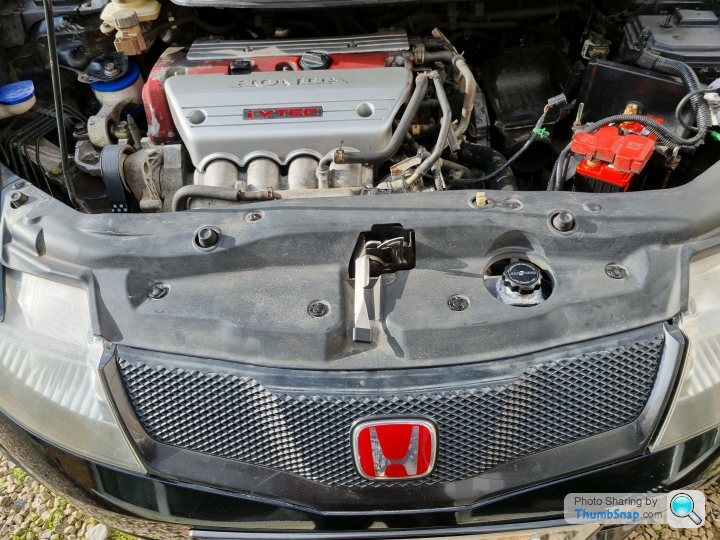
Front grill back on .
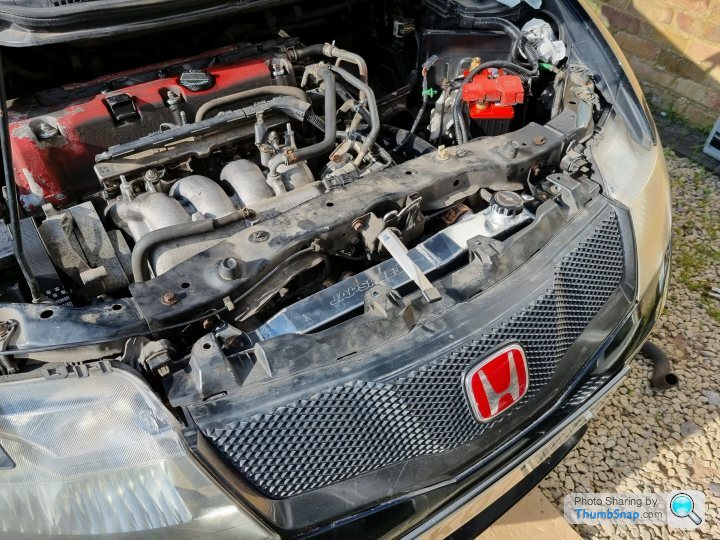
Then to finish slam panel back on .
The last job in to cooling upgrade was to install new coolant and water mix at 75 / 25 and add some water wetter and then bleed the system .

This should keep things nice and cool on track and i don’t think i will need to run an oil cooler at this power level but i will keep an eye on this and see how we go .
As the car will spend a lot of its life on track i looked in to upgrading the cooling system on the car and have always done this on all my past track cars as one of the first upgrades .
So i set about looking to find a new and upgraded Radiator for the car .
In the end i went for a Japspeed unit as this one is the largest unit that will still fit in the OEM mounting hole .
As I’m finding with this car most of the jobs are nice and simple and have lots of room / well thought out location of parts and the removal of the OEM Radiator was no exception as you don’t have to remove the complete bumper .
Top panel off gave access to the OEM Radiator .
Then just the matter of removing the OEM unit .
Stock OEM Honda Radiator .
The stock cooling fans need to be removed to fit on the new unit .
Next was to remove the stock thermostat as this will be replaced .
New Spoon low temp thermostat .
Old vs new .
New thermostat Installed .
The stock OEM thermostat has a Opening temp of 78°C / Full open temp 90°C .
The Spoon thermostat has a Opening temp of 68°C / Full open temp 83°C .
Next was to change over the stock rubber coolant hoses for some new Tegiwa Black units .
Old coolant hose .
New Tegiwa units .
Old vs new .
Next as i had the space and room was to add some rust treatment to the lower scuttle panel as this has some minor rust spots . Nothing major but as access is good it would be foolish not to .
Quick rub down .
Then treated .
After this set over night some Black stone chip was used .
Then it was on to installing the new Japspeed Radiator .
The new unit has a large high-flow aluminium core that is 42mm vs the OEM 24mm core .
Old vs new .
Then the stock fan was installed on the new Radiator .
Then installing it back in the car .
Mounting brackets back on .
Front grill back on .
Then to finish slam panel back on .
The last job in to cooling upgrade was to install new coolant and water mix at 75 / 25 and add some water wetter and then bleed the system .
This should keep things nice and cool on track and i don’t think i will need to run an oil cooler at this power level but i will keep an eye on this and see how we go .
MDifficult said:
Absolutely brilliant. I know I say it every time but I love your threads.
On the one hand, I want you to hurry up and finish at least one of them so you can get on track, but on the other hand the slow, drawn out satisfaction of the build is so enjoyable.
Keep going!
Many thanks sir .On the one hand, I want you to hurry up and finish at least one of them so you can get on track, but on the other hand the slow, drawn out satisfaction of the build is so enjoyable.
Keep going!
I have got my eye on Bedford at the end of September as i need to do at least one track day this year so will have to pause the build and drive the dam thing
Kev_Mk3 said:
Sadly not no one does them. Hoses I could possibly get from samco but they only do a few coolant ones and they wont fit due to the induction kit I have
Strange that you would think an upgraded rad would be easy to find as they are a great little track car .Whats the spec on your swift and is it a road car or a out and out track car ?
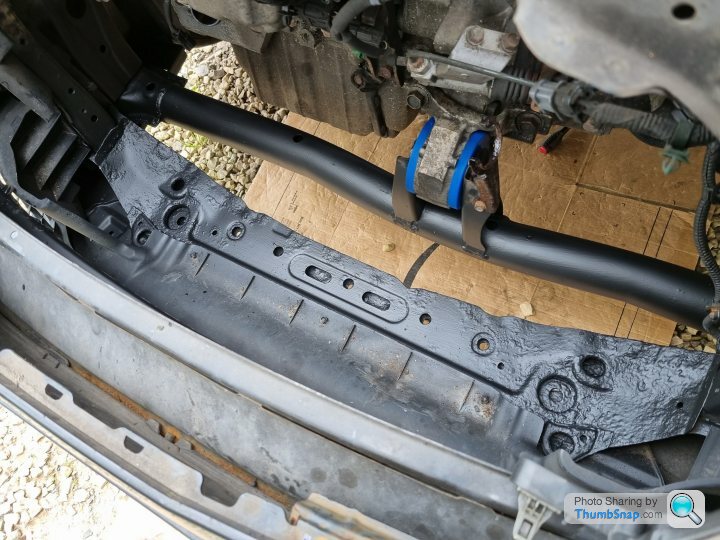
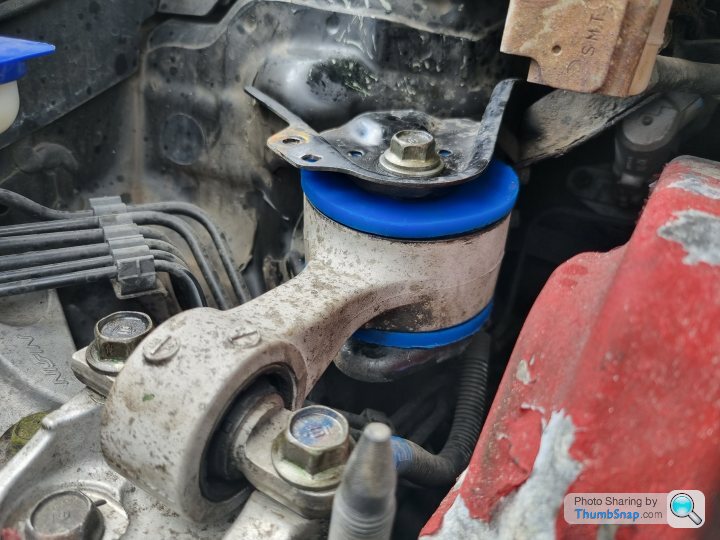
Next up on the car was to look to install some Polybush engine mount inserts .
There are x 3 engine mounts inserts in the kit x 1 for the upper engine mount x 1 for the lower engine / gear box mount and x 1 for the front lower engine mount .


As i was changing the radiator the first one to tackle was the front lower mount .
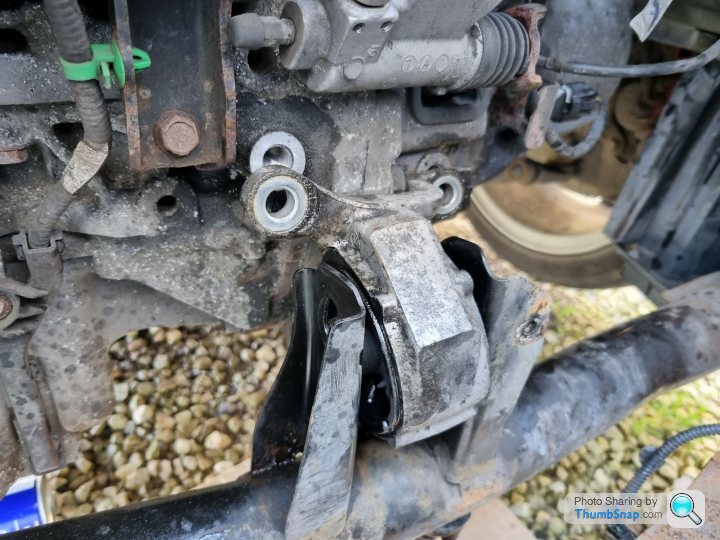
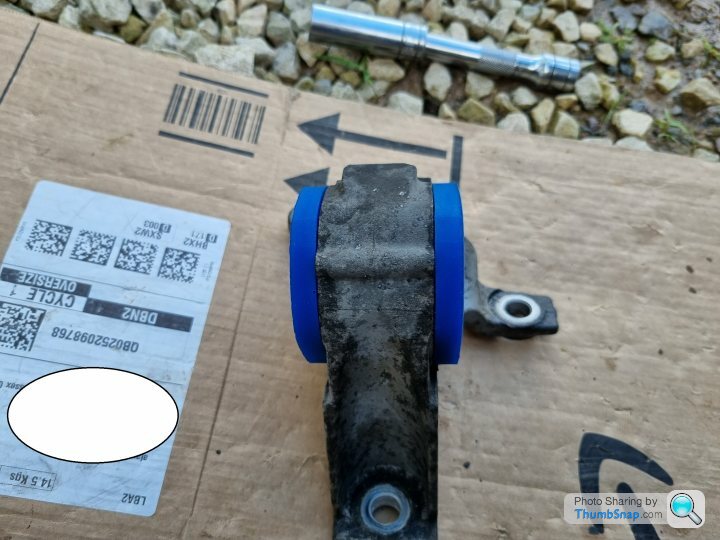
Removed .

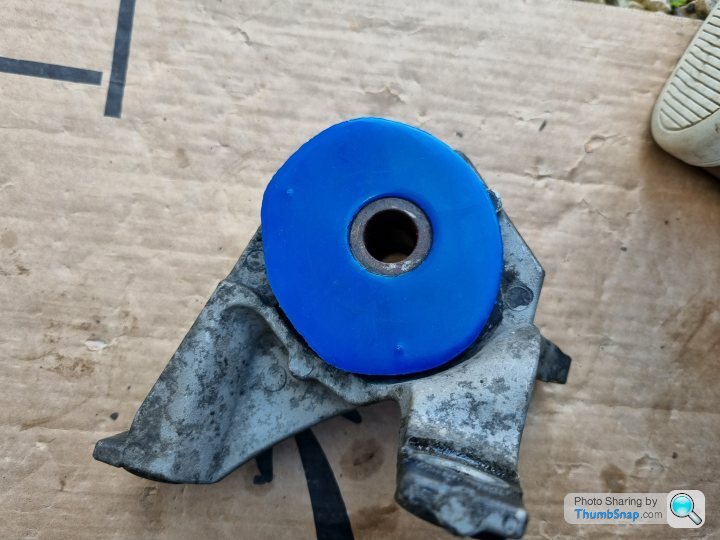
Pollybush insert installed .

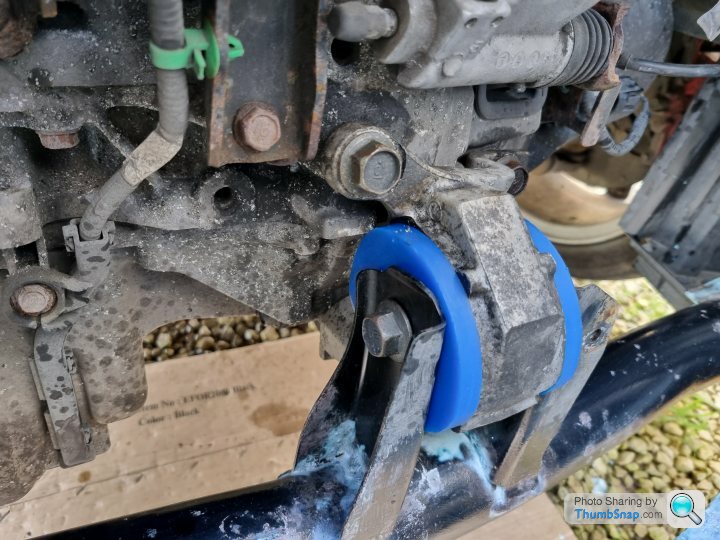
Then re installed .
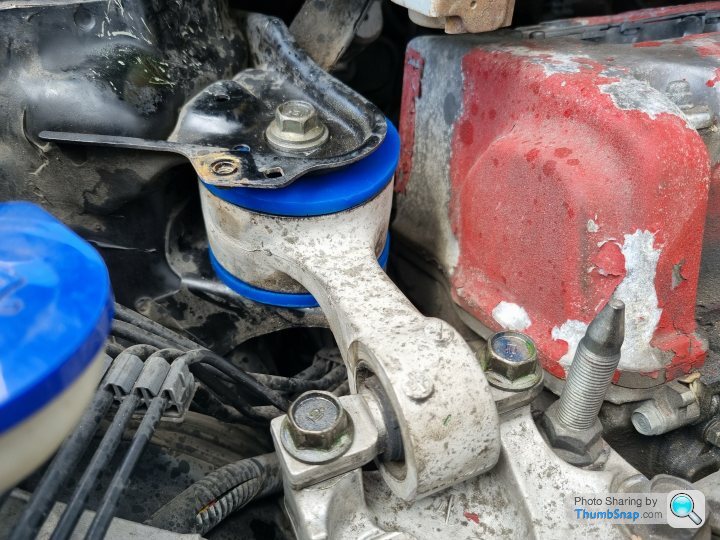
Then on to removing the upper engine mount .

Pollybush inserts installed .
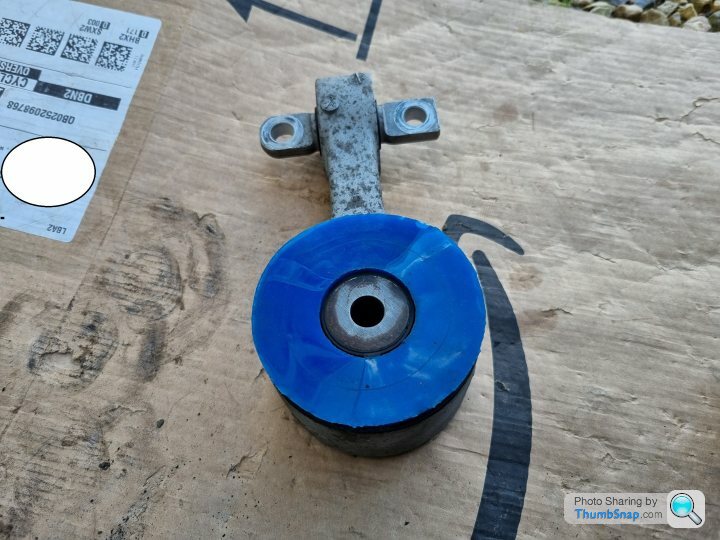
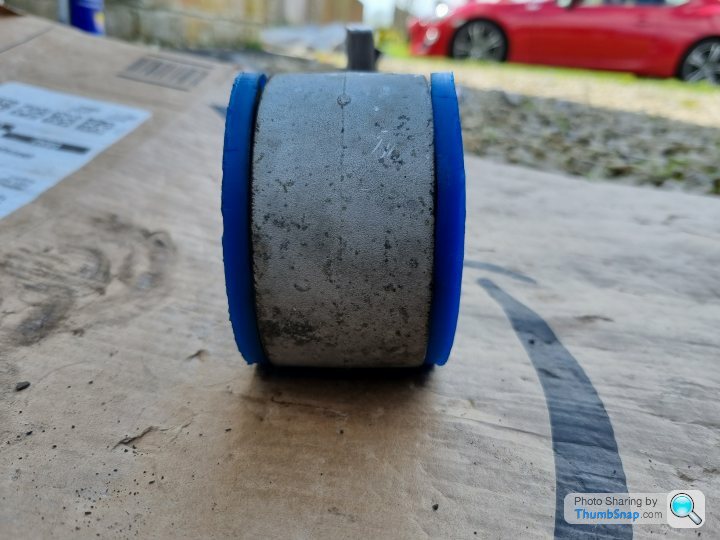
Then re installed .
Then on to the last lower one .

Removed .
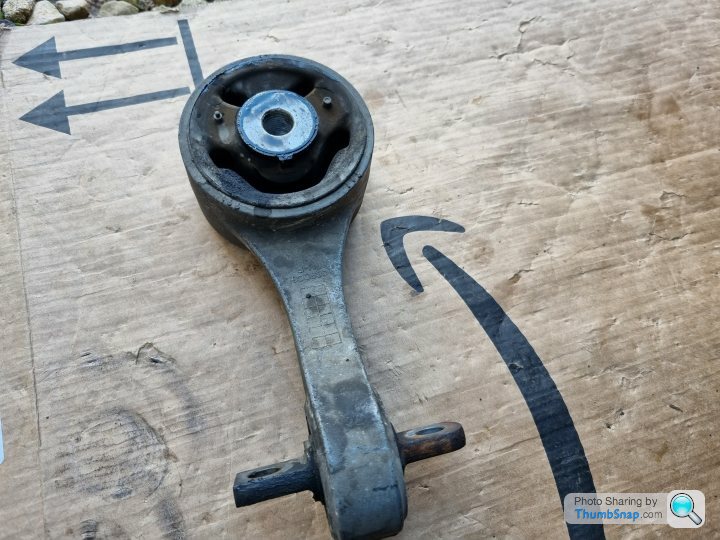
Pollybush insert installed and re installed .
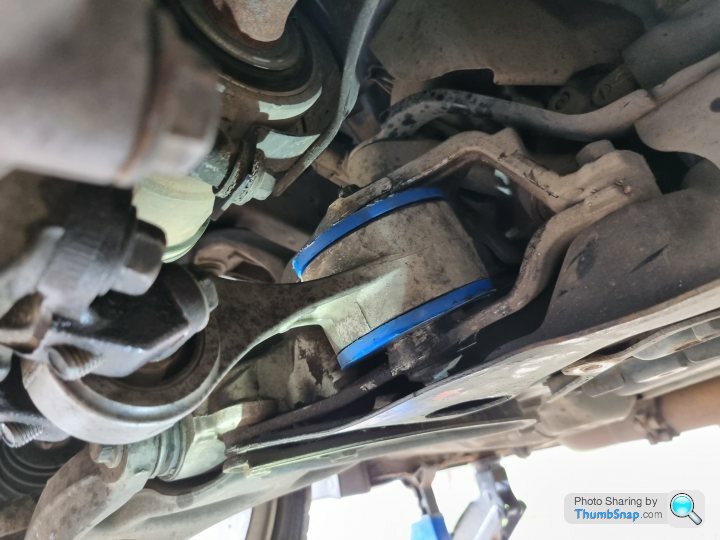
It was a nice easy job that should stiffen things up a bit but not make the car unbearable like solid hard grade engine mounts do ( been there done that never again )
There are x 3 engine mounts inserts in the kit x 1 for the upper engine mount x 1 for the lower engine / gear box mount and x 1 for the front lower engine mount .
As i was changing the radiator the first one to tackle was the front lower mount .
Removed .
Pollybush insert installed .
Then re installed .
Then on to removing the upper engine mount .
Pollybush inserts installed .
Then re installed .
Then on to the last lower one .
Removed .
Pollybush insert installed and re installed .
It was a nice easy job that should stiffen things up a bit but not make the car unbearable like solid hard grade engine mounts do ( been there done that never again )
Next up for the car was to take a quick break from the mechanical upgrades and switch to some cosmetic changes for the car .
On part on the car that has been annoying me is the rear Type R badge as this has seen better days and looks a little bit tired and past its best .
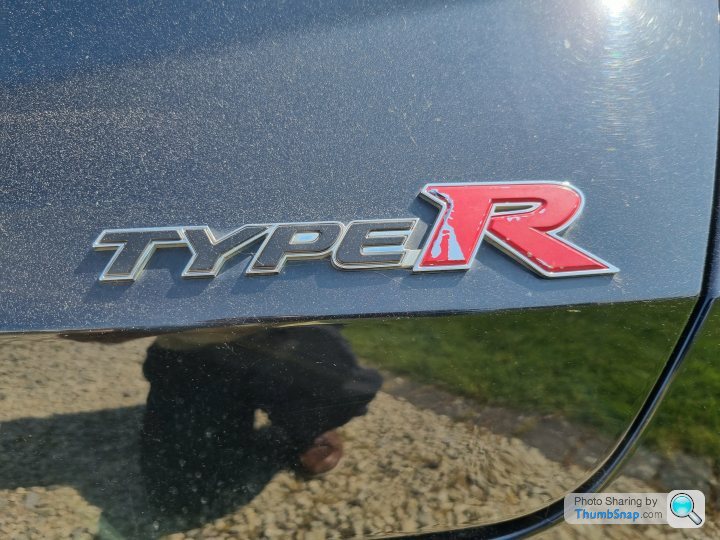
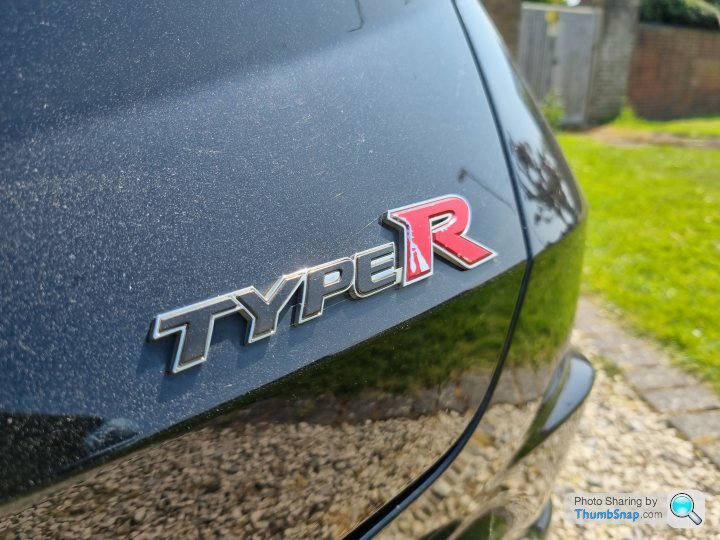
I was going to go for a new genuine Honda chrome rear Type R badge ( £ 40.00 how much I’m not trying to buy cocaine !!!!! ) but went for the Black version in the end .
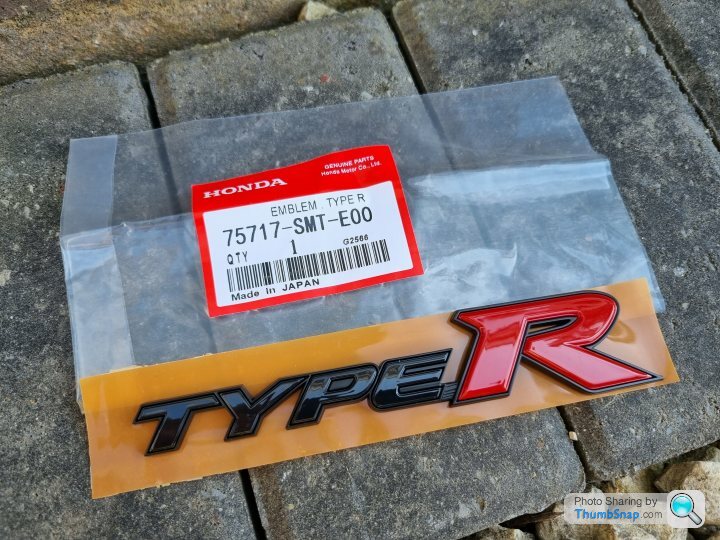
And then installed looking much nicer .


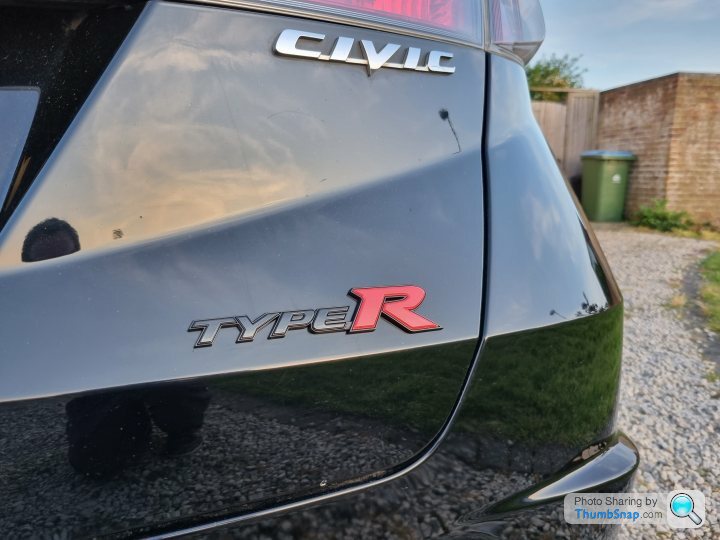
Then it was on to getting rid of the chrome Civic badge to tidy the back end up .
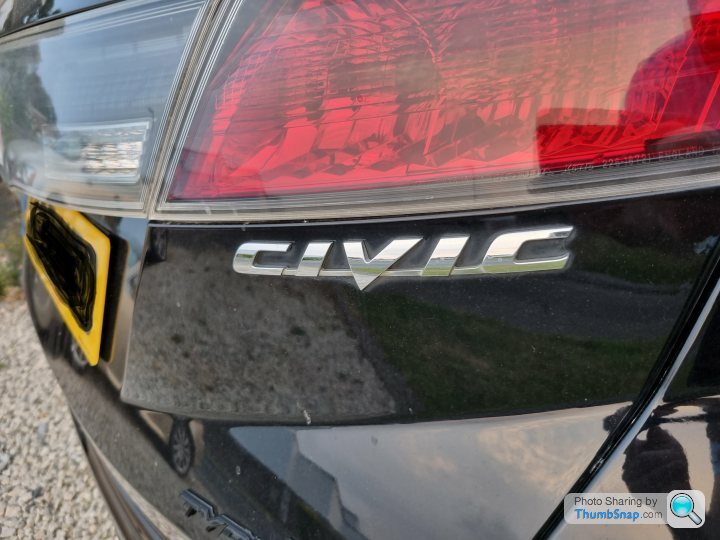
Much nicer .
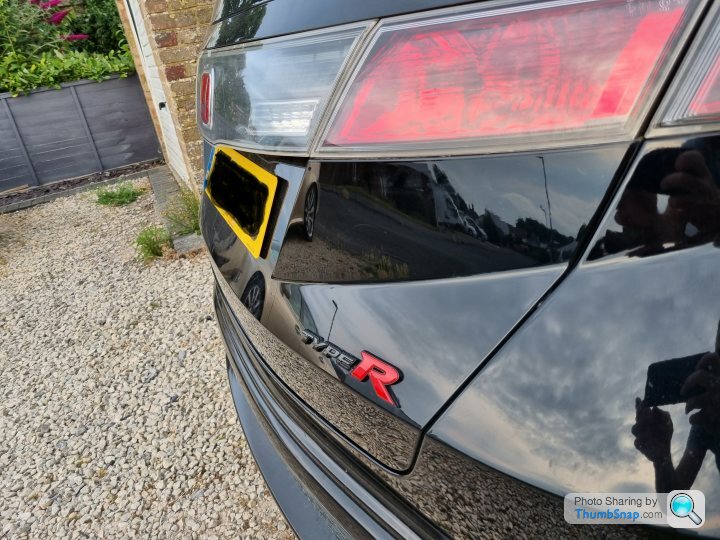
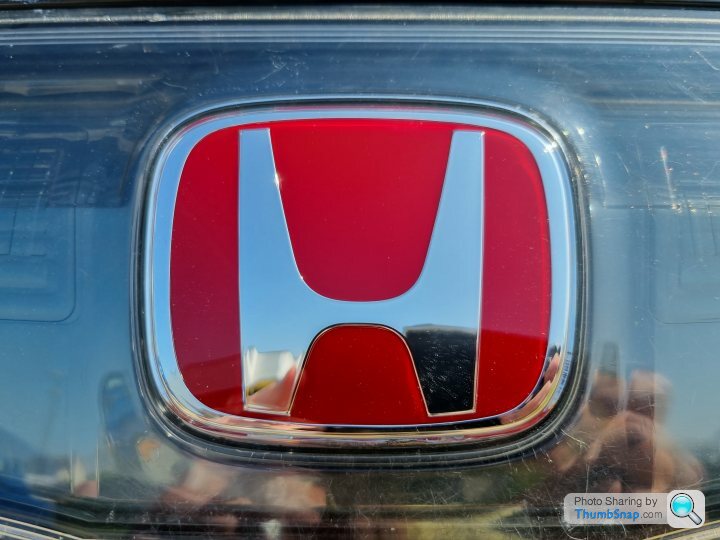
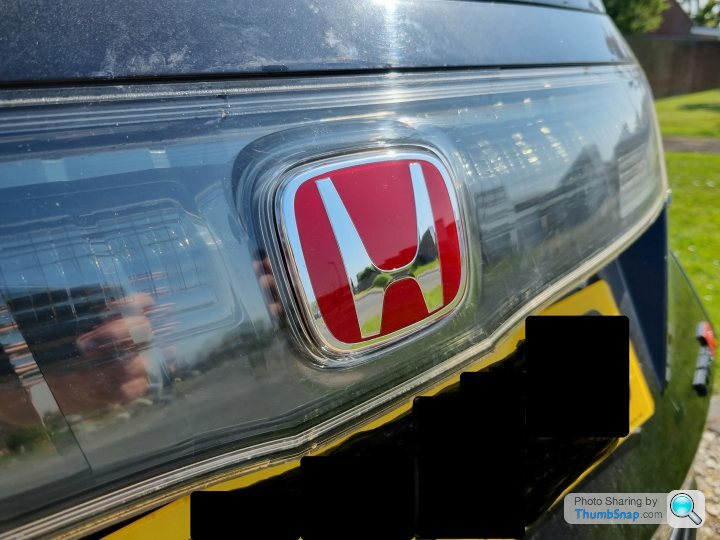
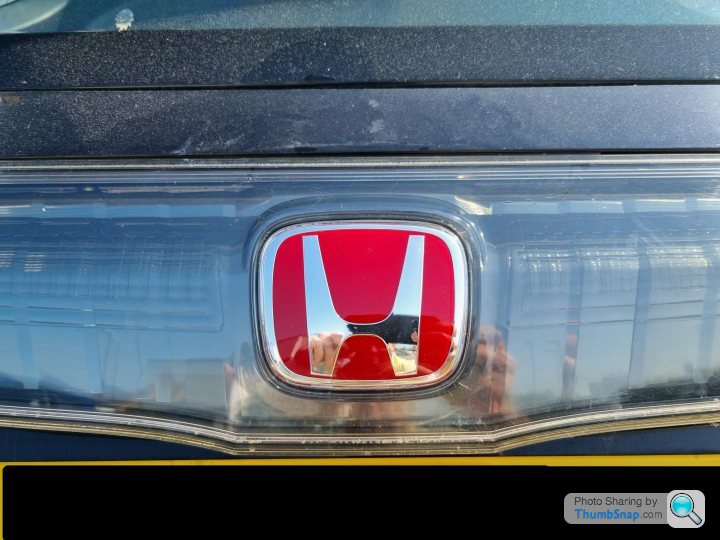
Then Last was to change the rear Red H badge as again it had seen batter days .

This was replaced with a new Honda OEM item at a much more reasonable £ 18.00 .
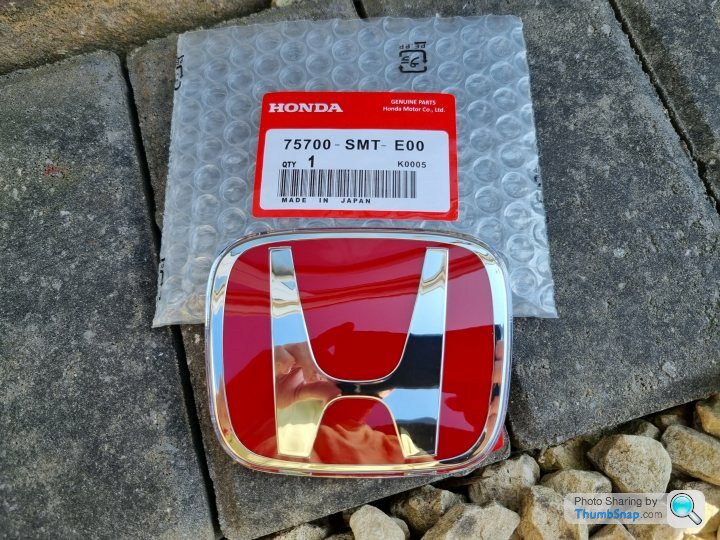
And then installed .
On part on the car that has been annoying me is the rear Type R badge as this has seen better days and looks a little bit tired and past its best .
I was going to go for a new genuine Honda chrome rear Type R badge ( £ 40.00 how much I’m not trying to buy cocaine !!!!! ) but went for the Black version in the end .
And then installed looking much nicer .
Then it was on to getting rid of the chrome Civic badge to tidy the back end up .
Much nicer .
Then Last was to change the rear Red H badge as again it had seen batter days .
This was replaced with a new Honda OEM item at a much more reasonable £ 18.00 .
And then installed .
MDifficult said:
Oh please get on and drive this bad boy… it’s begging for it at this point! Looking great as always.
I know i know but I will look to book a track day for end of September / early October so it is in the book and i have a time line as if i dont i will just keep on fiddling with the thing and miss yet another year Edited by MDifficult on Friday 7th July 21:34
StuE39 said:
I've only just spotted this build. I also have a FN2 and am reducing weight in various areas.
Really interested in seeing this progress. Some good mods. done so far. I'll be checking in to see what ideas I can pinch.
I have a long list for bit to be done to the car so you can see what might be useful to you and if you want any info just PM me and i will be happy to share any info .Really interested in seeing this progress. Some good mods. done so far. I'll be checking in to see what ideas I can pinch.
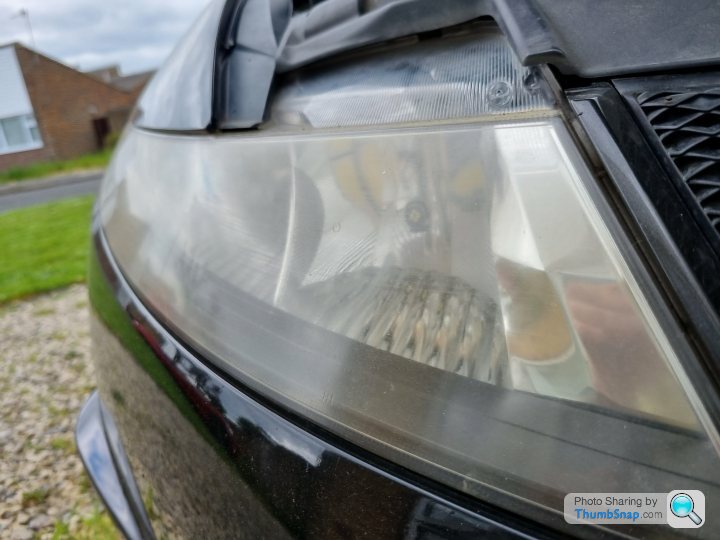
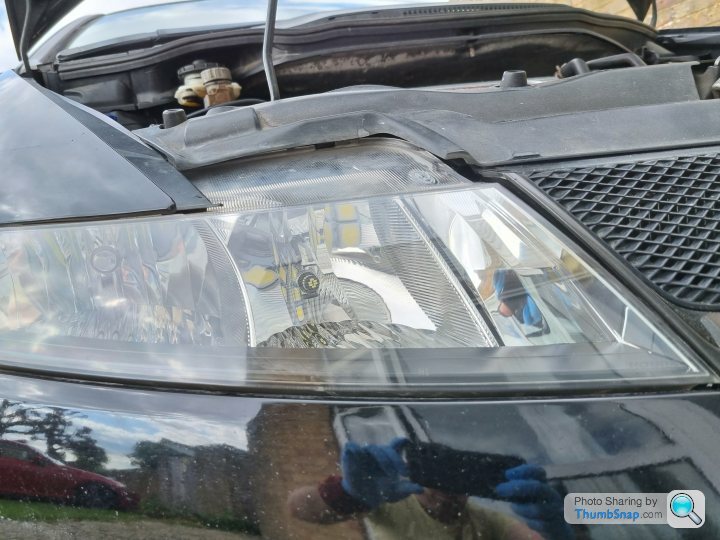
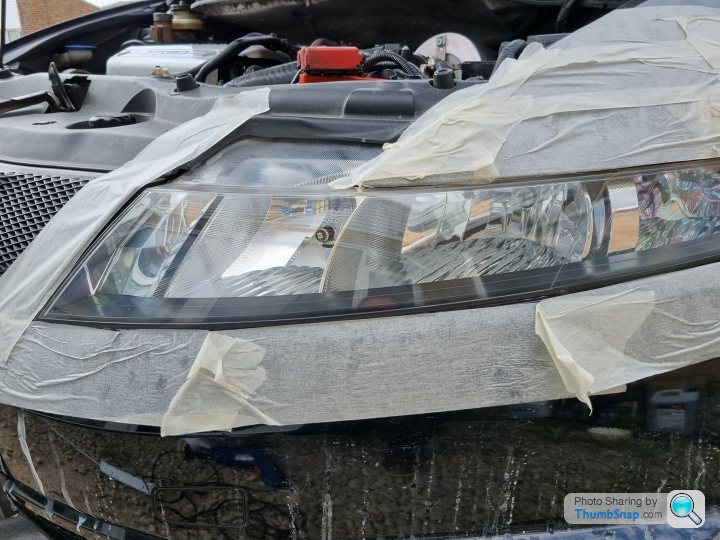
Keeping on with the cosmetic upgrades next was to look to sort out the headlights that were looking a bit past it so a cleaning kit was ordered to sort this .
Headlights that had seen better days .

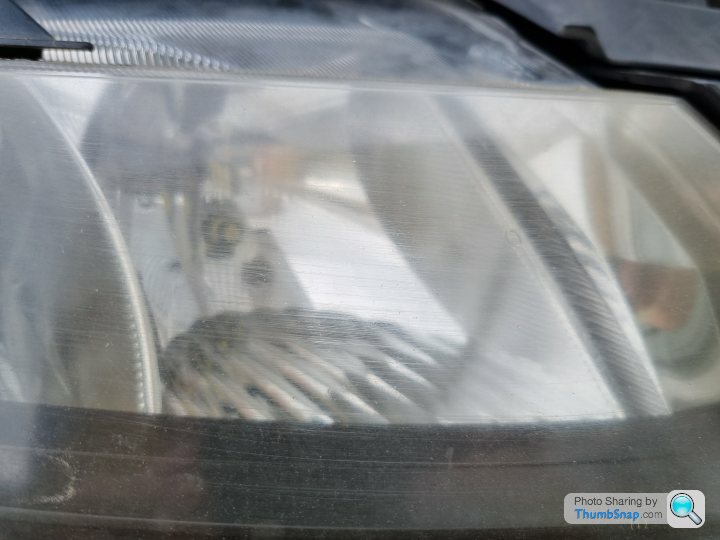
Getting much better .
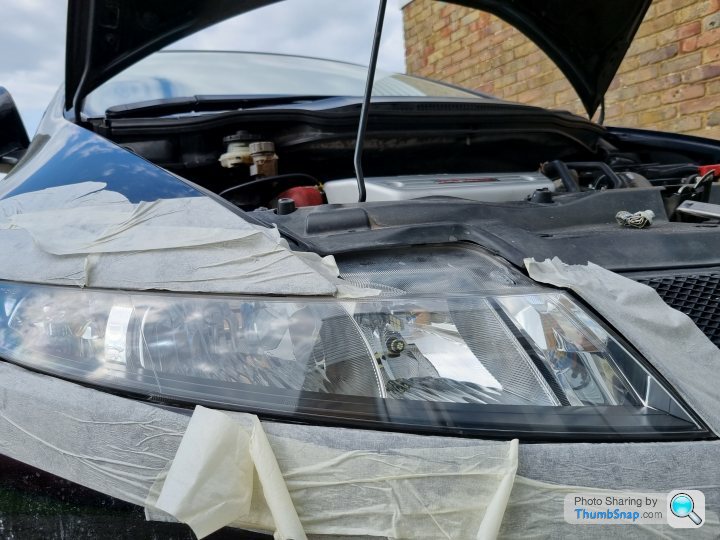
Then after a bit of time and effort looking much better .

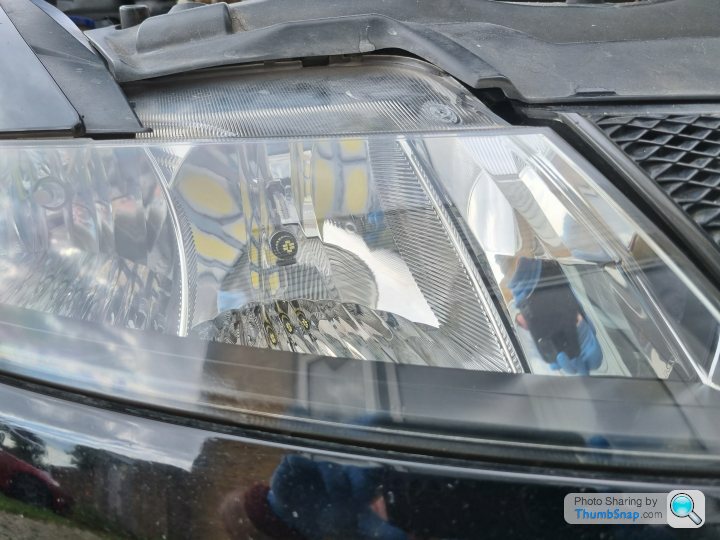

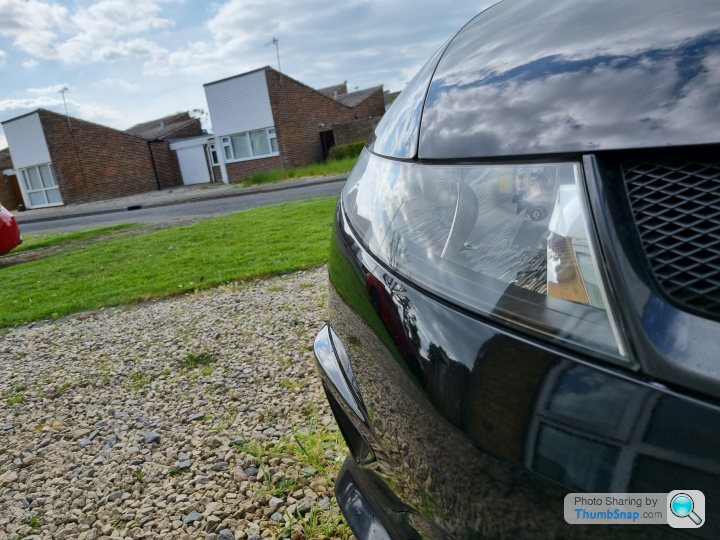
Then the passenger side done .
 |https://thumbsnap.com/vM5Vdz9Z[/url]


I’m very happy with the outcome and only cost around £ 20.00 for the kit .
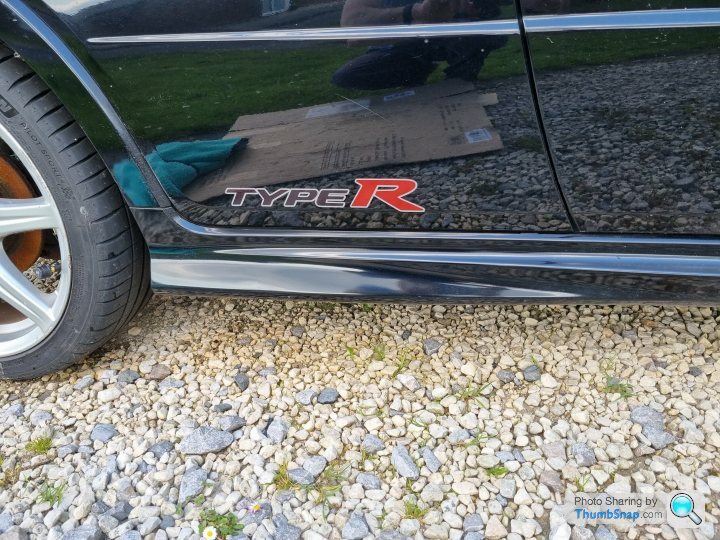
One last little job i got done was to install some rear side Type R stickers that were missing from the car .
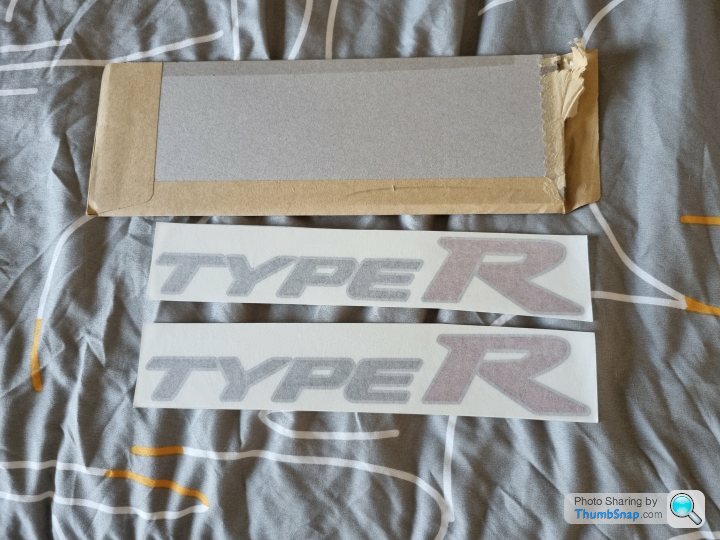
Before .

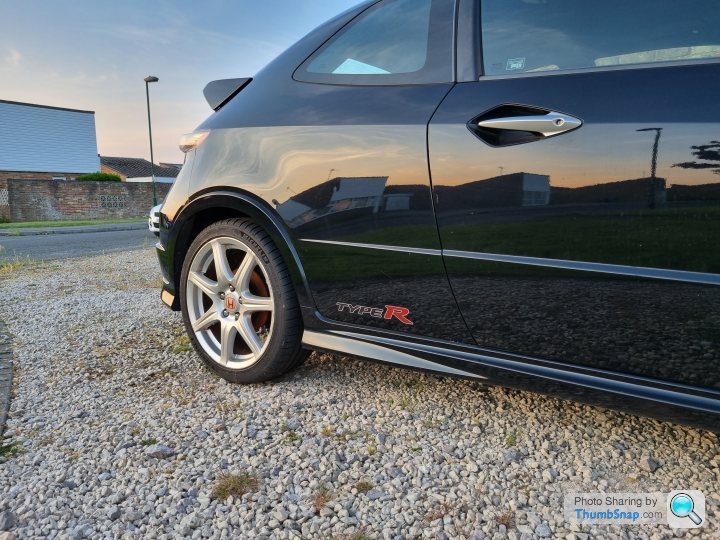
After .
Then to finish off a full wash , clay bar and wax to treat the old girl .
Headlights that had seen better days .
Getting much better .
Then after a bit of time and effort looking much better .
Then the passenger side done .
|https://thumbsnap.com/vM5Vdz9Z[/url]I’m very happy with the outcome and only cost around £ 20.00 for the kit .
One last little job i got done was to install some rear side Type R stickers that were missing from the car .
Before .
After .
Then to finish off a full wash , clay bar and wax to treat the old girl .

Gassing Station | Readers' Cars | Top of Page | What's New | My Stuff