Peugeot 205 Saloon Libre - RWD Space-Frame Silhouette Racer
Discussion


Ahh makes sense, though maybe consider marine plywood for bits of the floor which contact the ground often.
Seen a few LMP cars using that instead of carbon as it's more resistant to wear and cheap when you need to replace it.
Manta project here might get resurrected finally, new job beacons here and this time no more fixed term contracts.
I'll get a thread going once I've gotten it into a friends workshop and given it a good beating with the MIG.
There is an "engineered" hardwood ply, that uses an epoxy binder, so is pretty waterproof, used for boat flooring, but i can't for the life of me remember the trade name of it at the moment! It's heavy, but get you car under the weight limit, and use a "heavy" floor to bring the CofG down, a-la F1 with their brass sumps etc ;-)
I'll use the lightest thing I can as there's no minimum weight restriction and any weight added above ground raises the CoG. But I'll use some wooden skids for the corners of the splitter. Can't remember what car I saw that on, but it was a nice idea. 
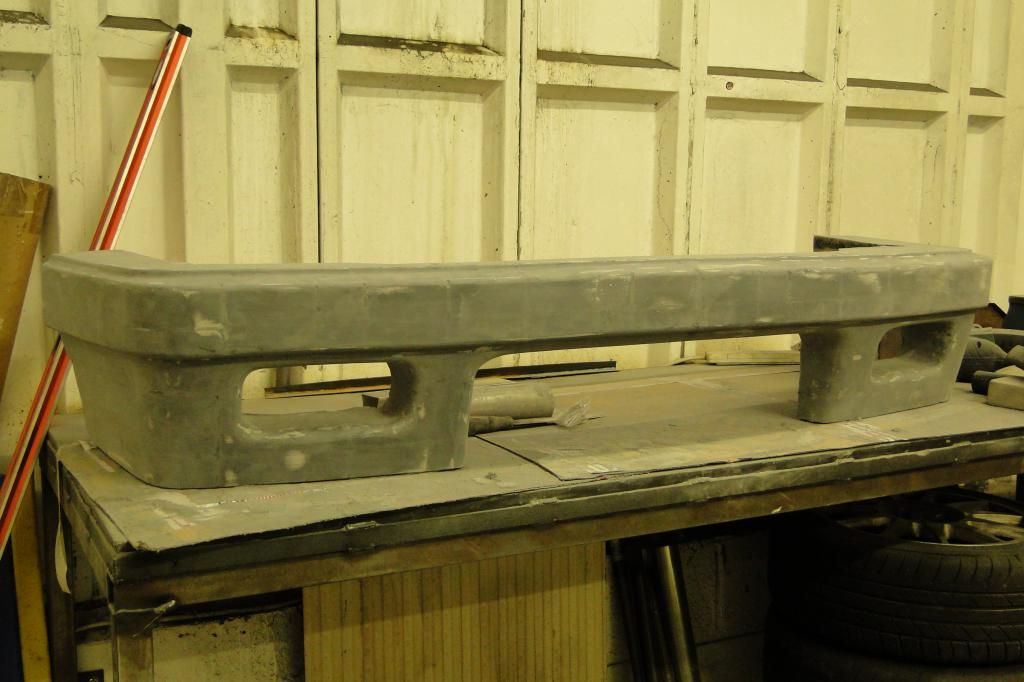
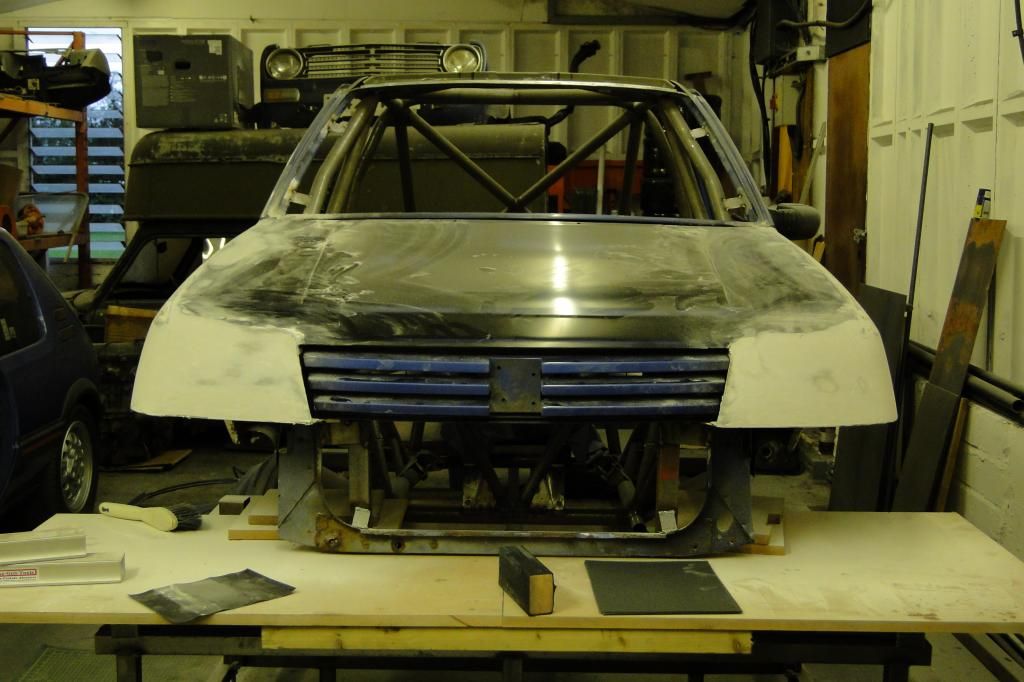
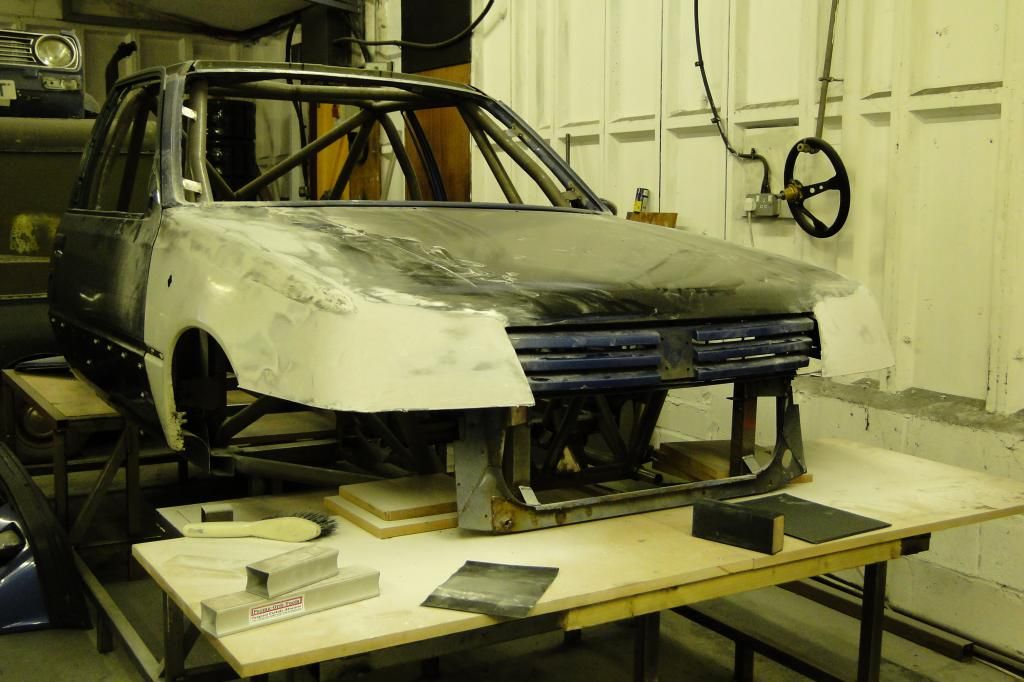
So lots of sanding today.. first off sanding the filler..
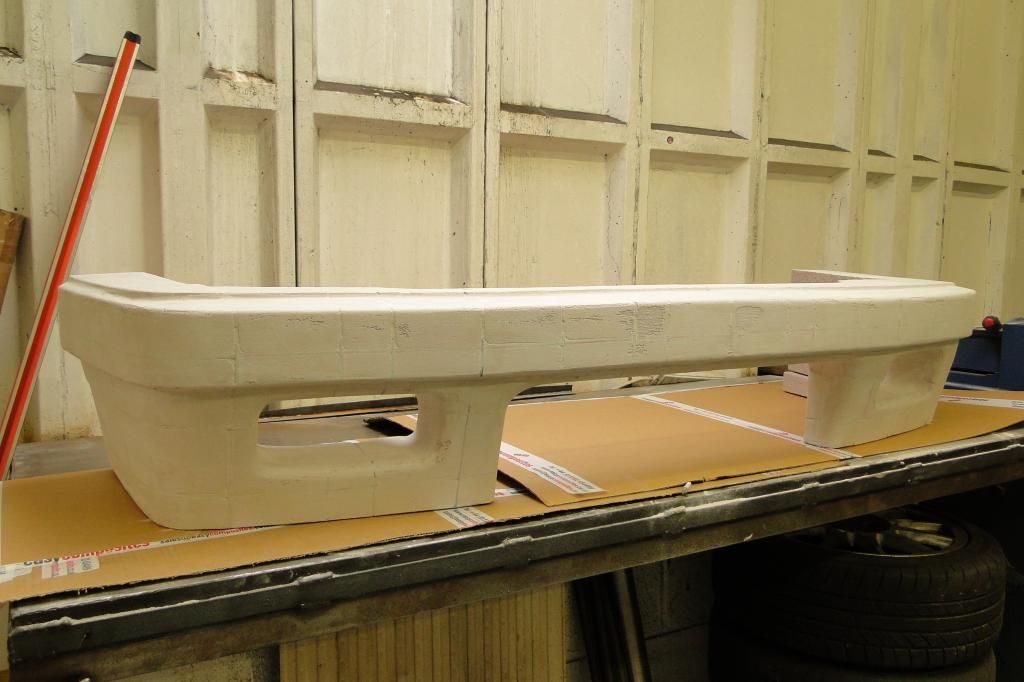
Then added the first coat of pattern coat..
Then spent about 6,000 years sanding that down.
So lots of sanding today.. first off sanding the filler..
Then added the first coat of pattern coat..
Then spent about 6,000 years sanding that down.
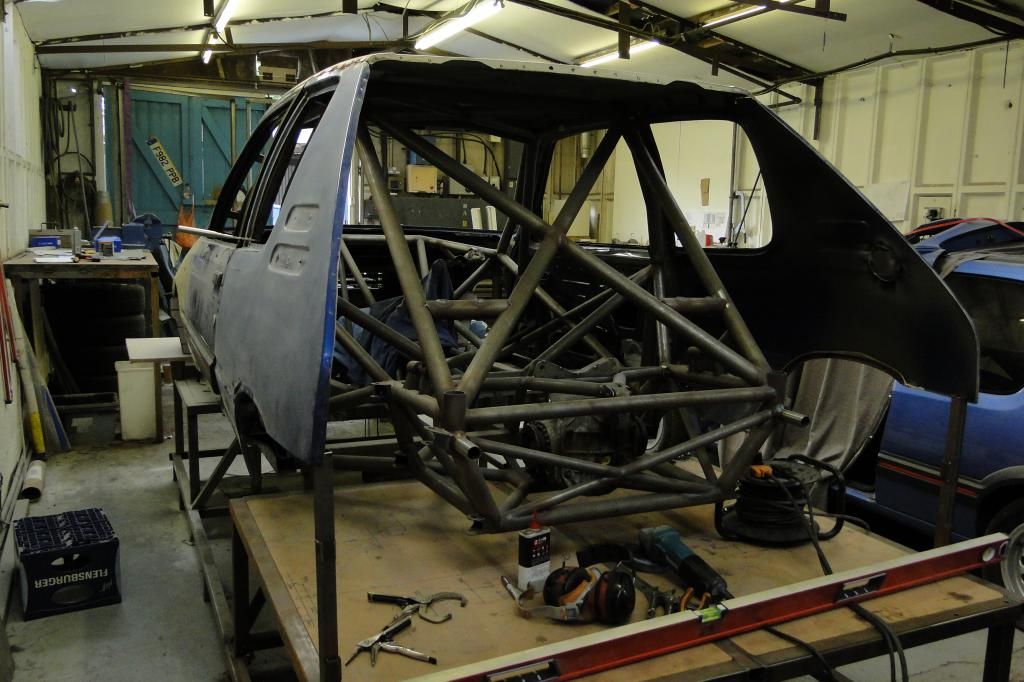
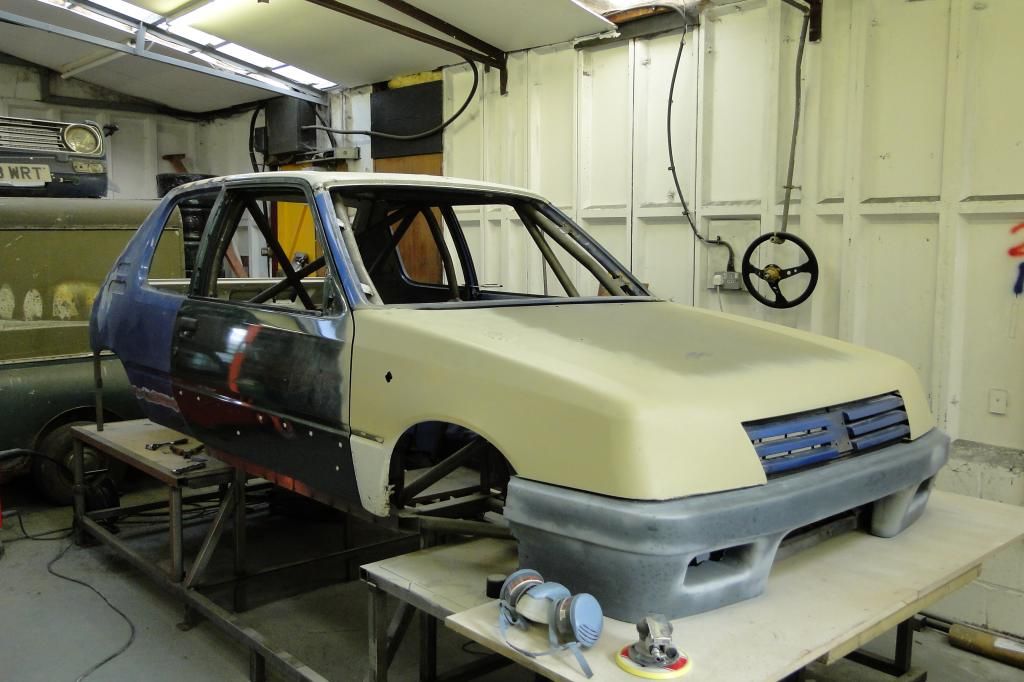
Here's a brief update of where things are at the mo..
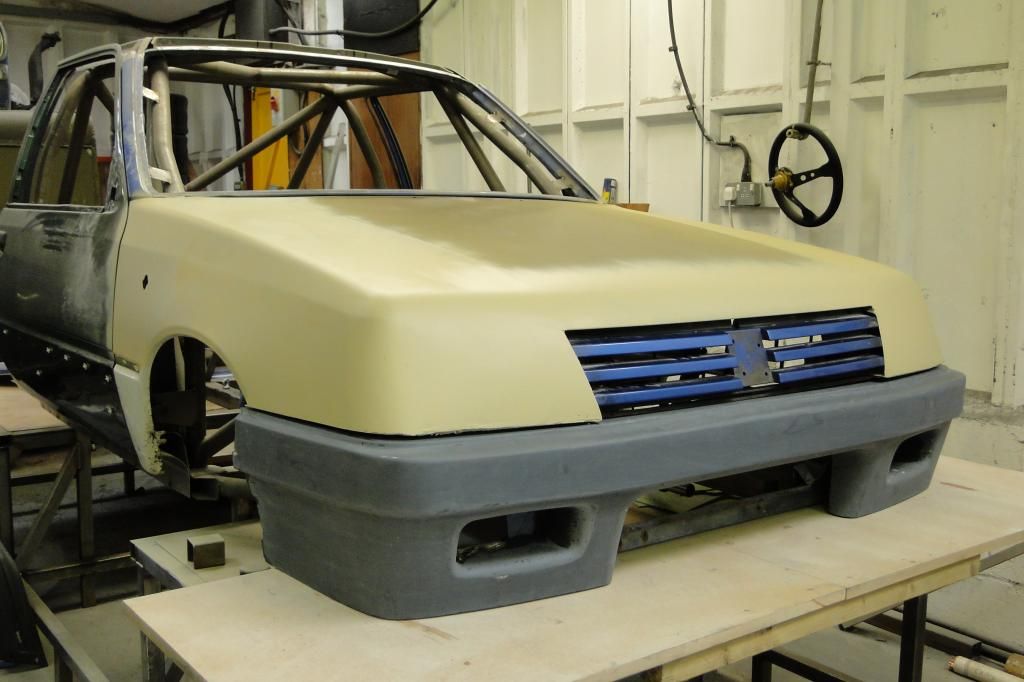
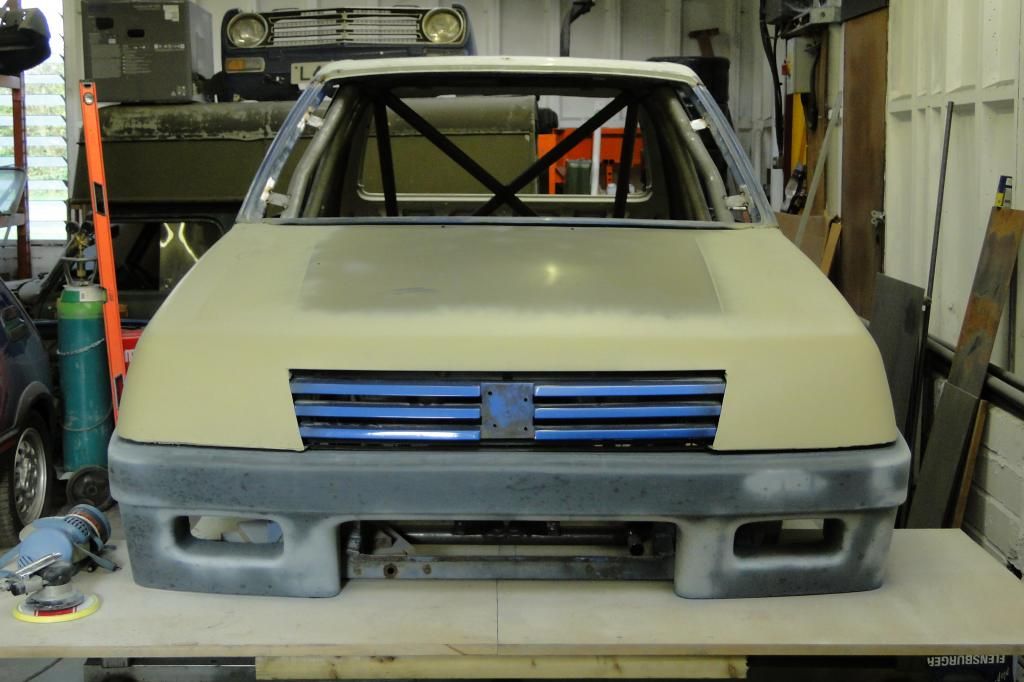
Since the bumper will be made separately to the bumper and wings, I made some return edges on the underside of the bonnet so that there is a bonding surface between the two; it'll also help with mould & part making.
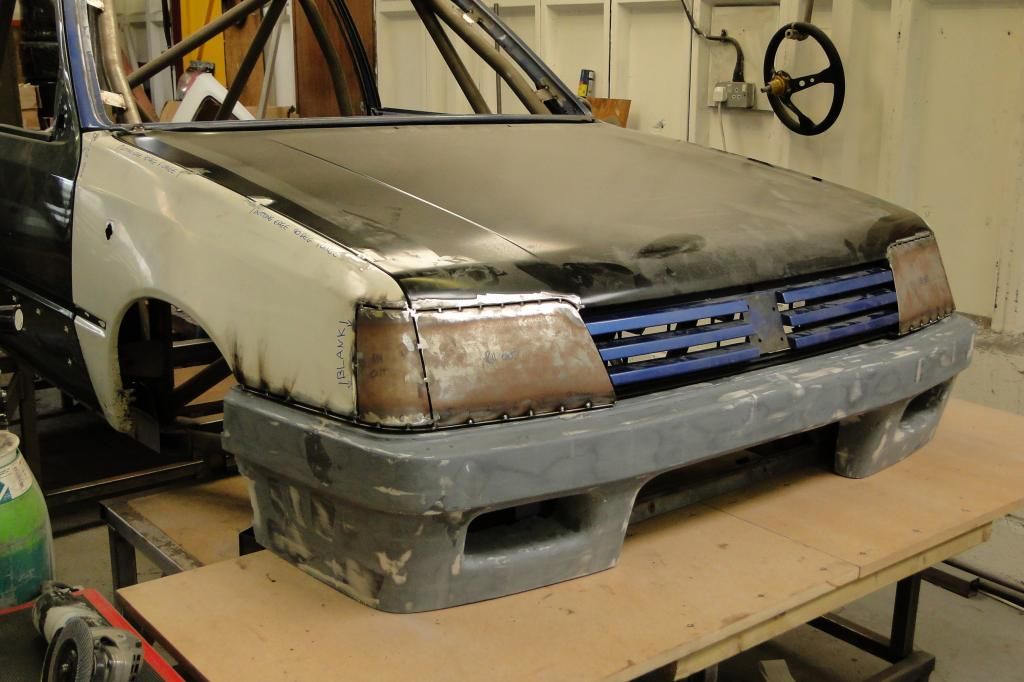
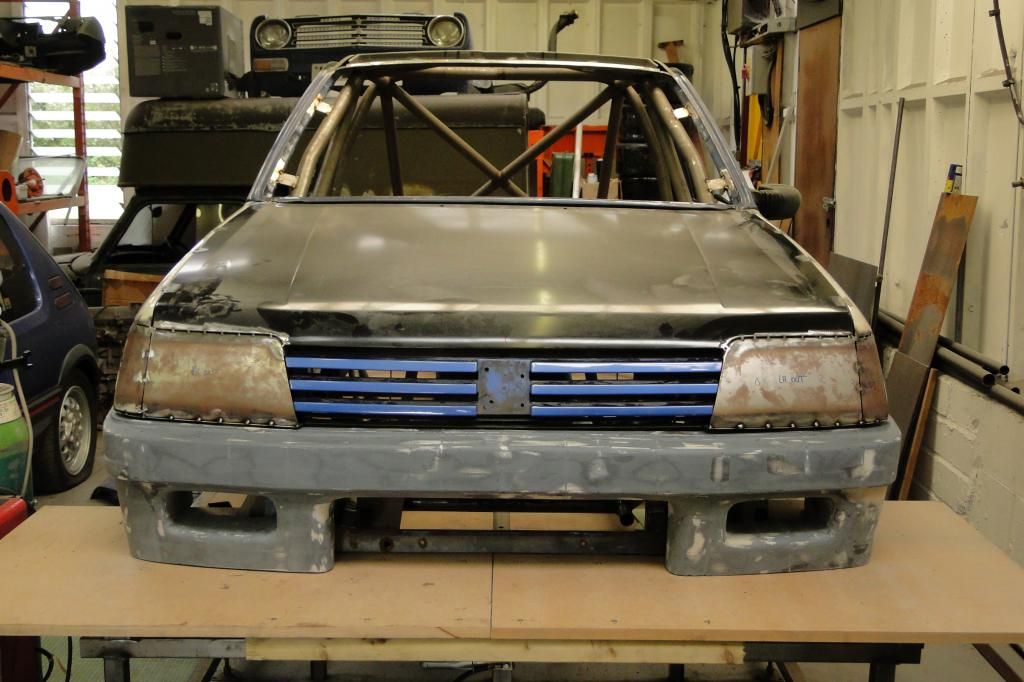
Then started to fill the bonnet / wing panel gaps, and skimming the lamp blanks.
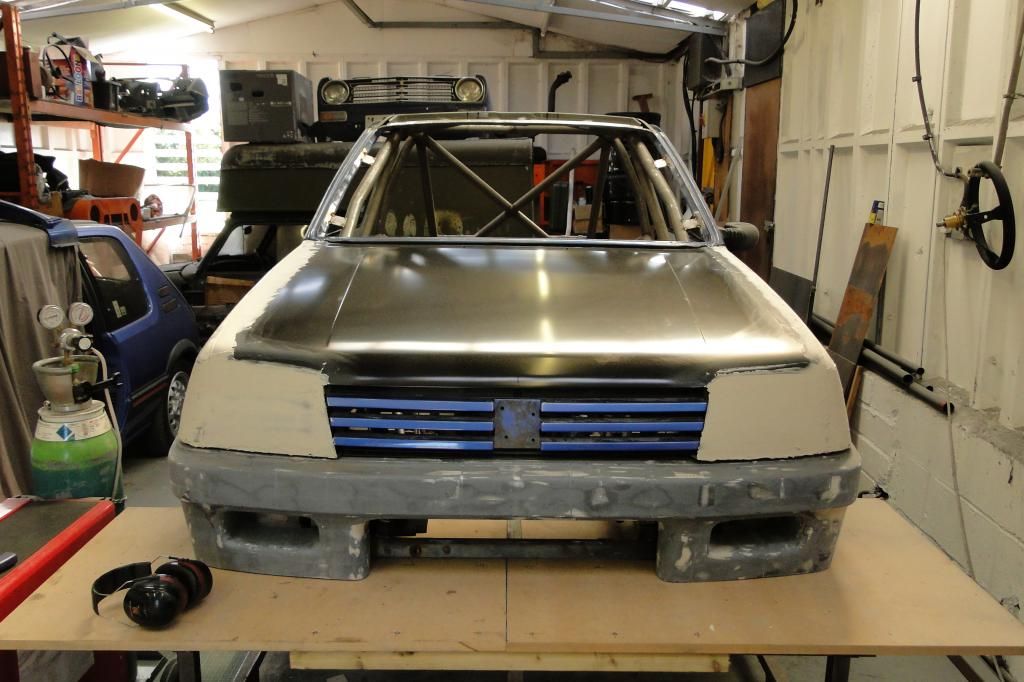
This evening I sanded the 2nd coat of filler on the bonnet & wings..
..And also wet-sanded the 3rd coat of pattern coat.
With any luck the next coat will be the last, and it'll be ready for gloss coat then fine sanding!
Since the bumper will be made separately to the bumper and wings, I made some return edges on the underside of the bonnet so that there is a bonding surface between the two; it'll also help with mould & part making.
Then started to fill the bonnet / wing panel gaps, and skimming the lamp blanks.
This evening I sanded the 2nd coat of filler on the bonnet & wings..
..And also wet-sanded the 3rd coat of pattern coat.
With any luck the next coat will be the last, and it'll be ready for gloss coat then fine sanding!
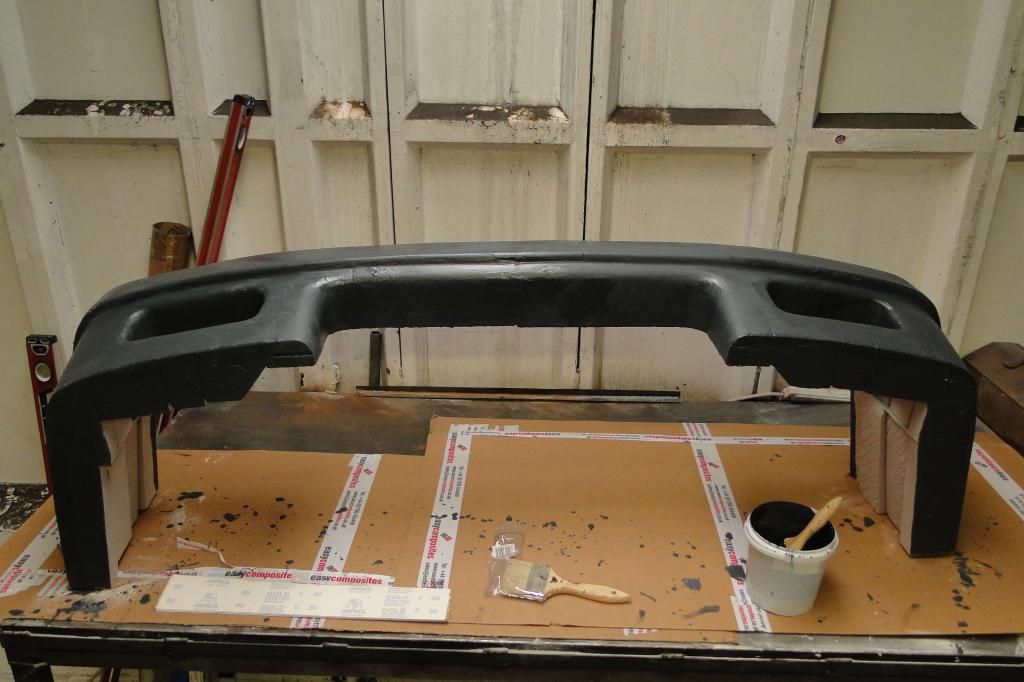
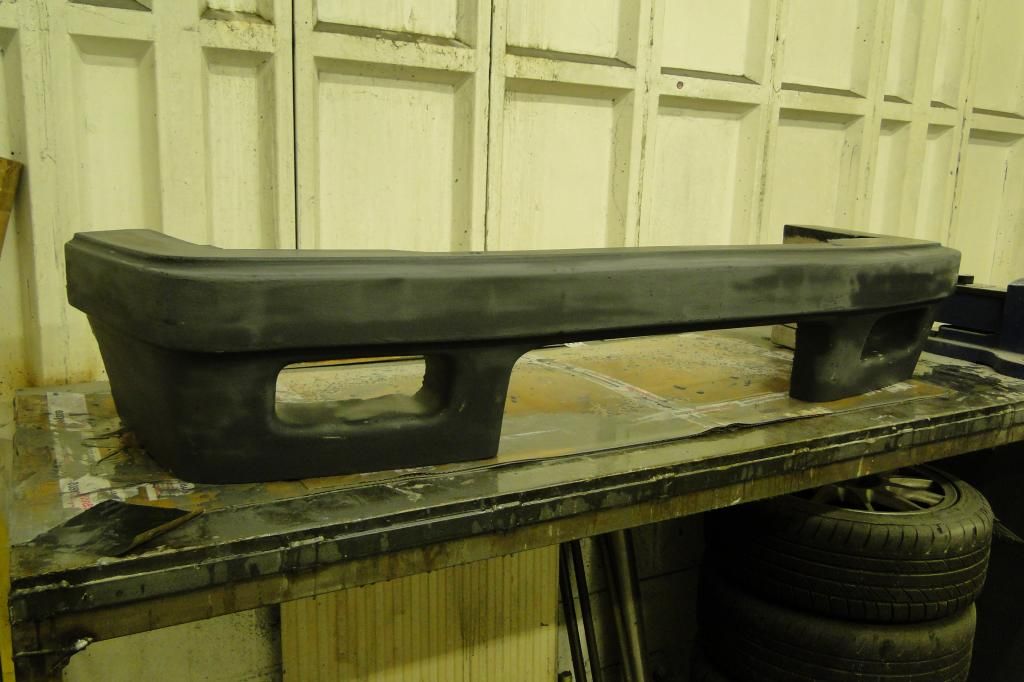
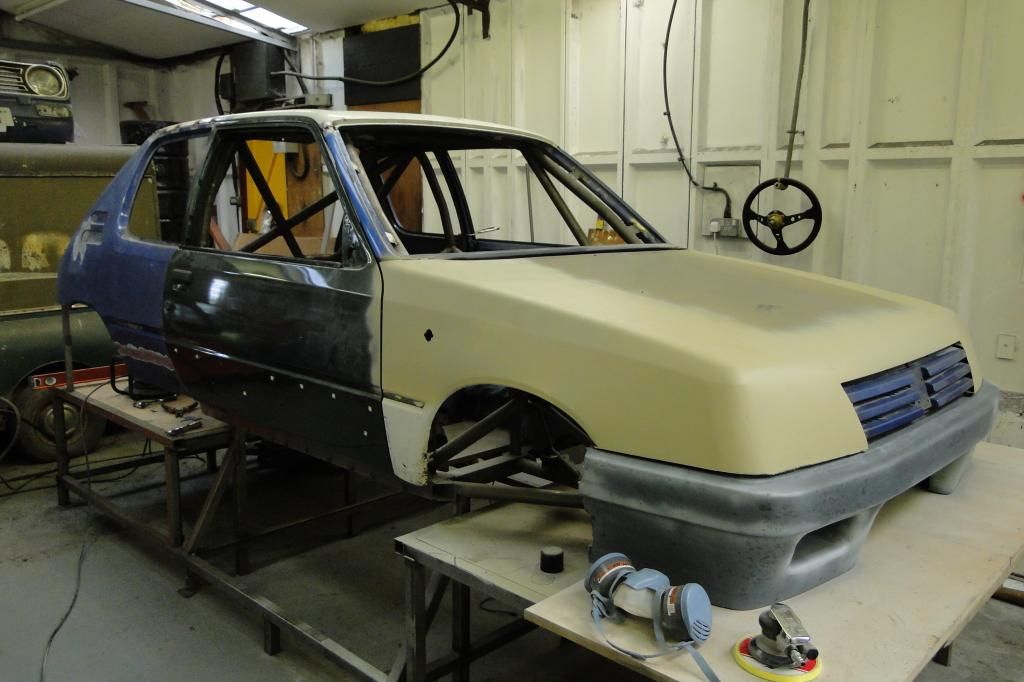
The front end is now filled & smoothed and had a coat of high-build over the filler. I'll block that all out once the paint has hardened properly. I fitted the bumper to check how much the panel gap will need filling, so there is still a bit of work to do there.

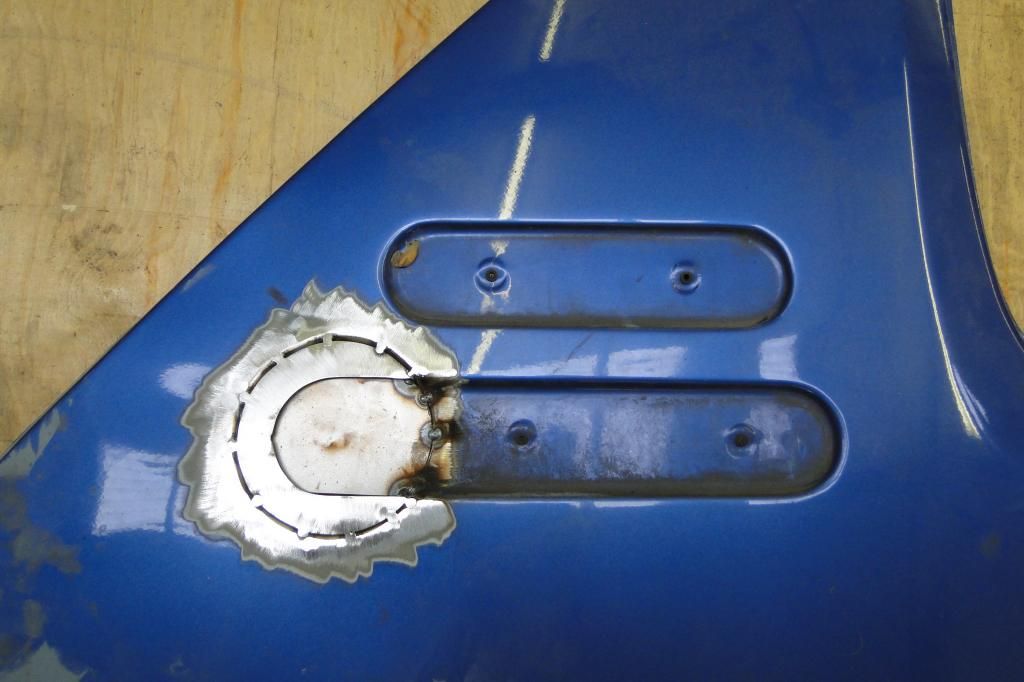
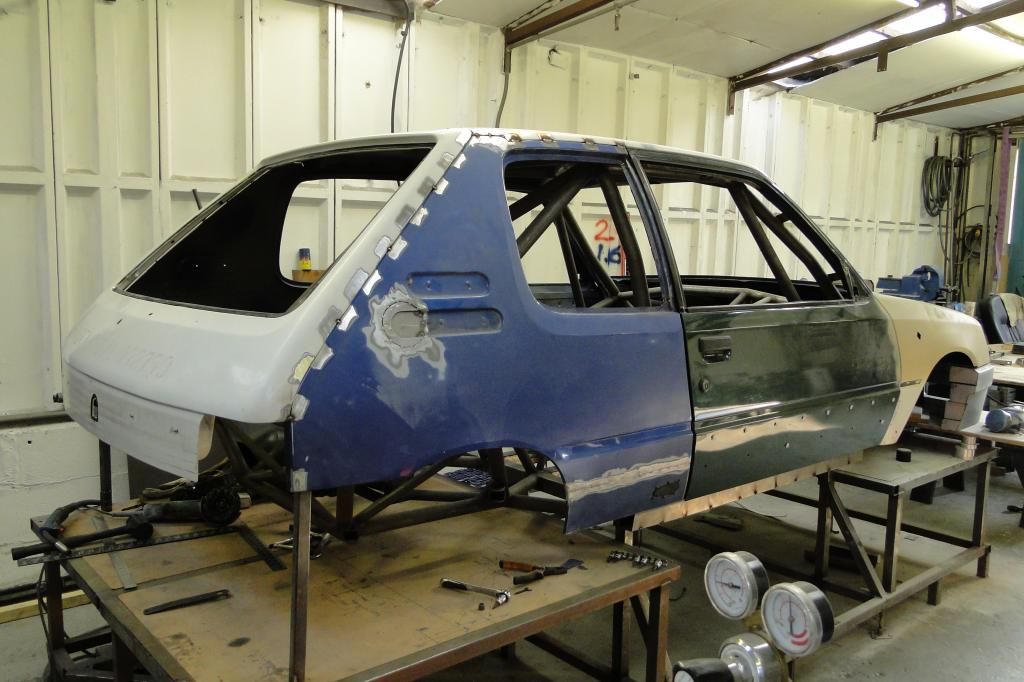
So turned my attention to the back.. I won't have a filler neck and didn't want to keep the original hole, but blanking it entirely would look rubbish, so have decided to copy the LH side so that there is a recess for symmetrical vinyl badges.
Then put the roof on and welded it in place, then fitted the 1/4 panels.
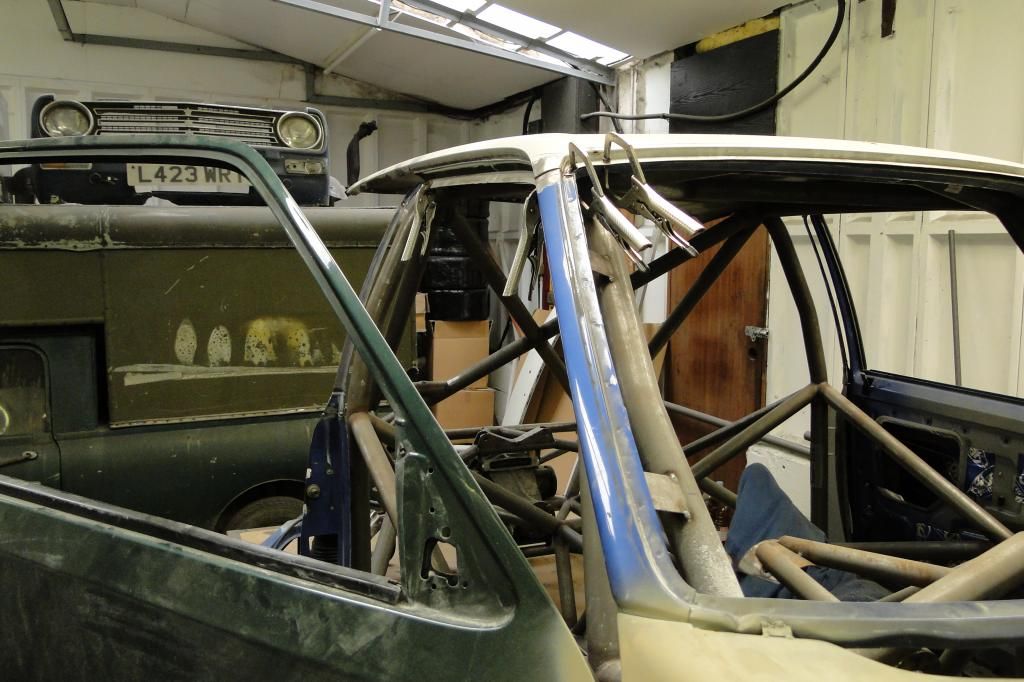
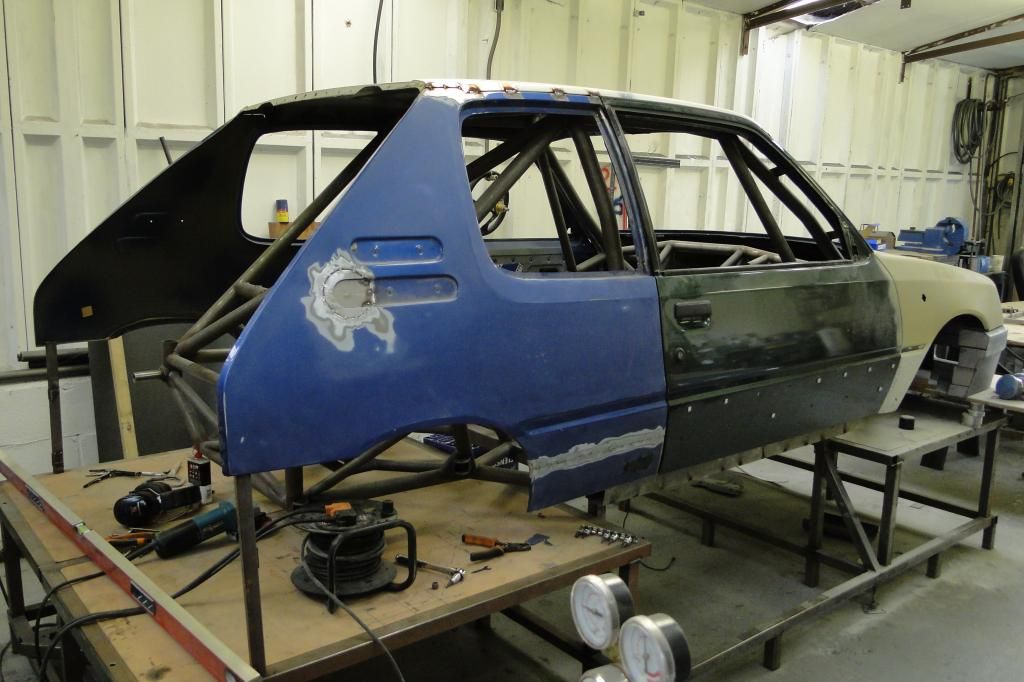
And finally, squared everything up and welded the boot lid on.
So turned my attention to the back.. I won't have a filler neck and didn't want to keep the original hole, but blanking it entirely would look rubbish, so have decided to copy the LH side so that there is a recess for symmetrical vinyl badges.
Then put the roof on and welded it in place, then fitted the 1/4 panels.
And finally, squared everything up and welded the boot lid on.


Gassing Station | Readers' Cars | Top of Page | What's New | My Stuff