Jaguar xjc 4.2
Discussion


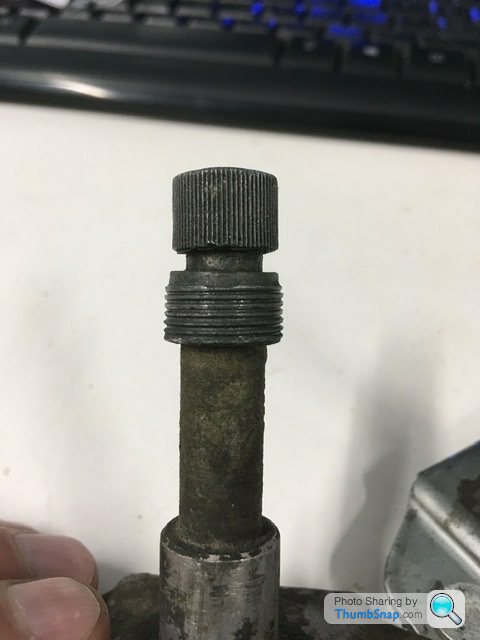
Above is a windscreen wiper spindle. The above is in ok working condition the other had a portion of that thread stripped. There is a specific 8 sided nut that screws on and that clamps the spindles in place.
So another Rob repair took place.
I removed the inside moving part first then set up the outer in a lathe to carefully machine off the damaged thread to a given diameter. A new piece of aluminium was then cut with a hole in the centre so that it was a very tight fit over the spindle shaft. I should have got it hot first to expand the hole but was in a bit of a rush so carefully pressed it onto the newly machined shaft.
The spindle was then set back up in the lathe to finish off the outside diameter ready to screw cut the new thread. 24tpi to match the original 8 sided nut. I Machine cut the new thread and it came out a treat.


Above shows the newly repaired spindle next to a good original
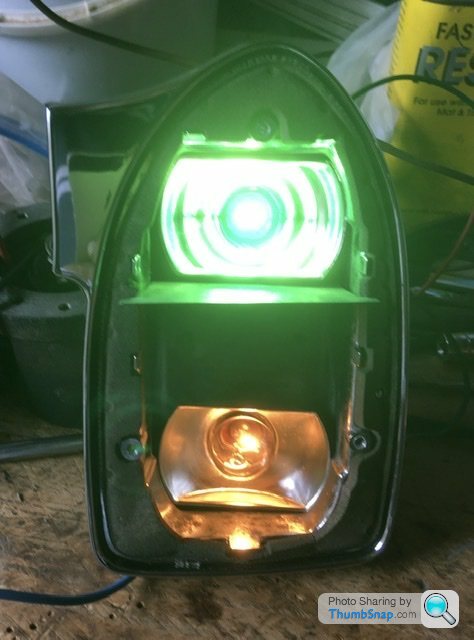
A little more progress this week, one of the jobs was the wiper motor assembly. It’s the push pull cable type. Previously I had overhauled the motor and recently the wiper spindles. To complete the assembly the push pull cable is attached back to the motor. Not a difficult job except a tiny piece inside to control the park position had snapped. Luckily it was a steel part so it could be repaired with a bit of welding.
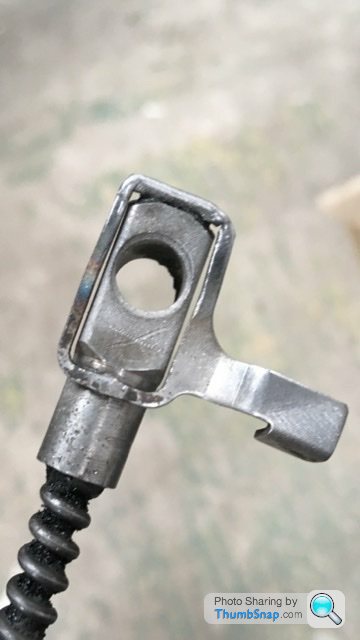
If you look closely at the top of the part you can see the repair. Very fine gas welding indeed as the area to weld was only about 1.5mm across on two sides. No additional metal was added
If you look closely at the top of the part you can see the repair. Very fine gas welding indeed as the area to weld was only about 1.5mm across on two sides. No additional metal was added
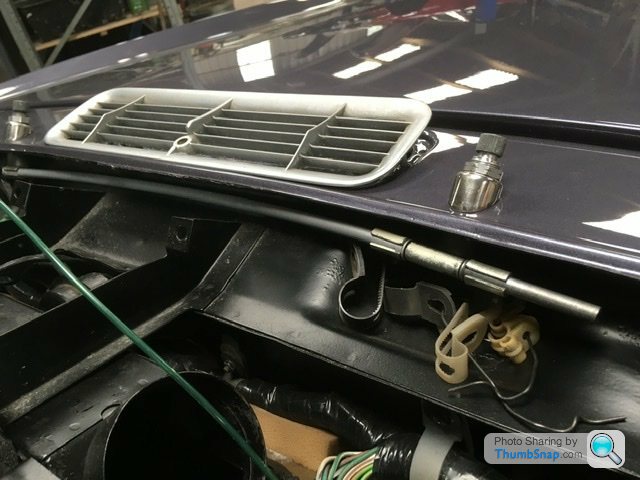
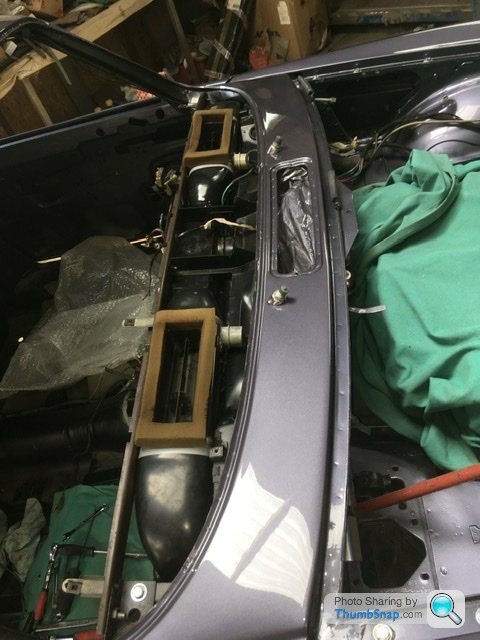
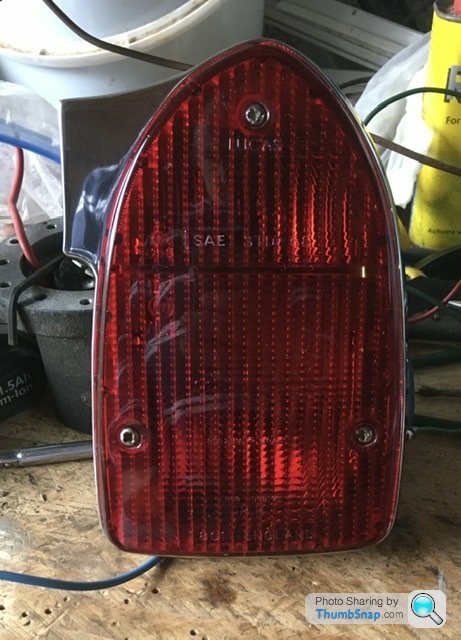
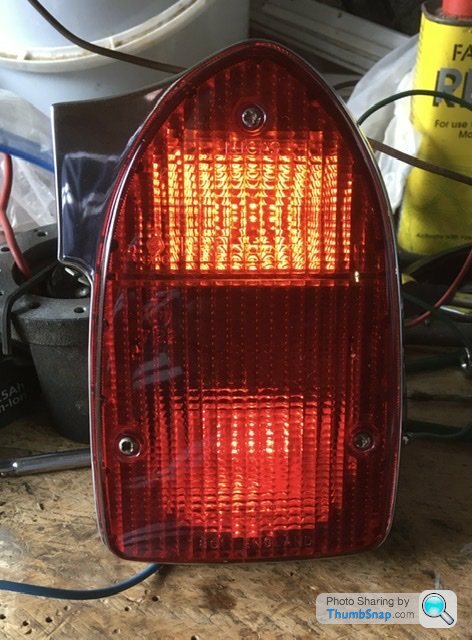
A few pictures of the wiper spindles fitted with new sealing grommets around the connector tubes that hold the push pull cable.
The fit looks neater on top without a gasket but unfortunately doesn’t seal the hole underneath. The chrome trims will be removed to fit rubber gaskets underneath.
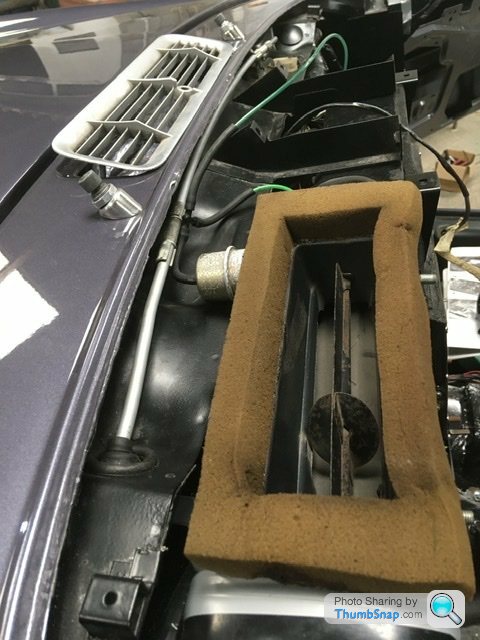
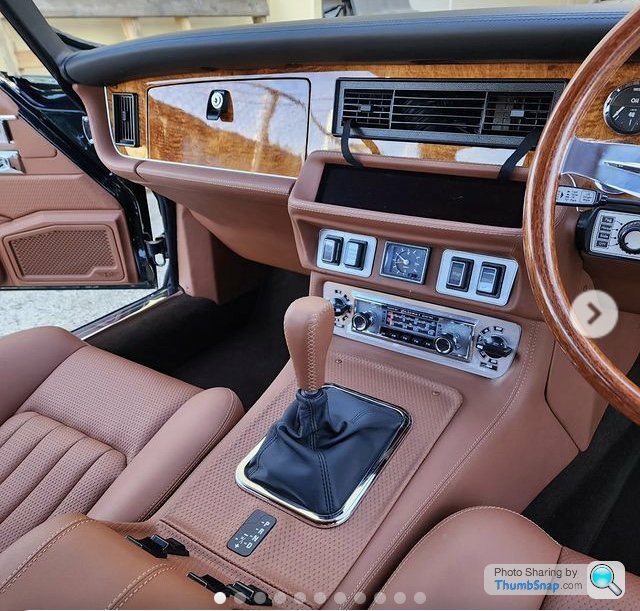
The centre vent hasn’t been fitted, it’s just sitting there wondering if I should have painted in body colour or add a bit of bling in a new chrome finish?
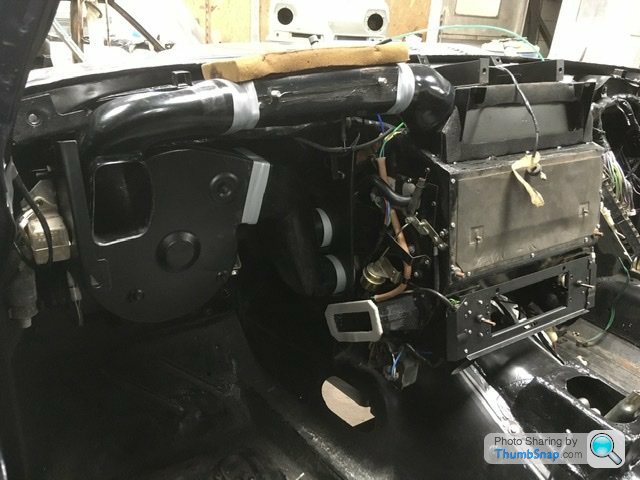
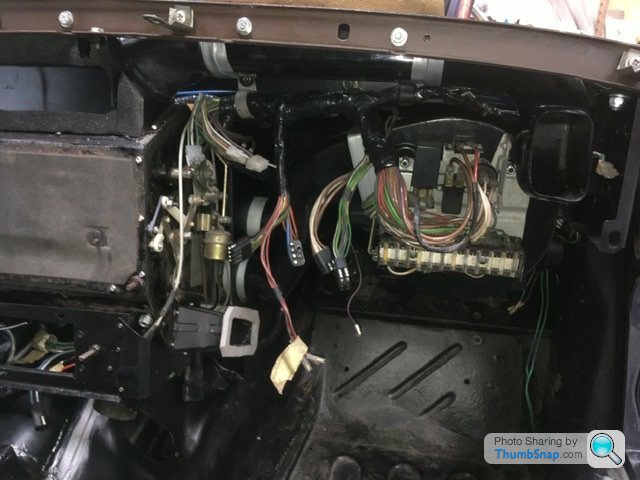
After approx 15hrs I’ve managed to nearly fit all the heater unit and dash wiring. It’s very time consuming getting parts to fit correctly with wiring connections cleaned especially earth connections. Using new clean bolts and washers. Never to be seen but I know it’s a thorough rebuild


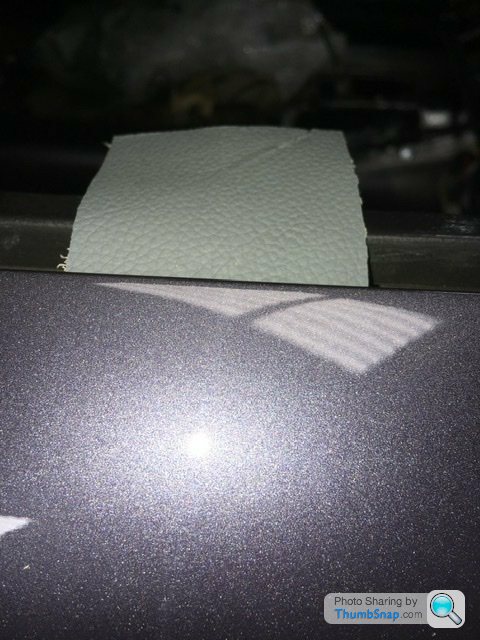
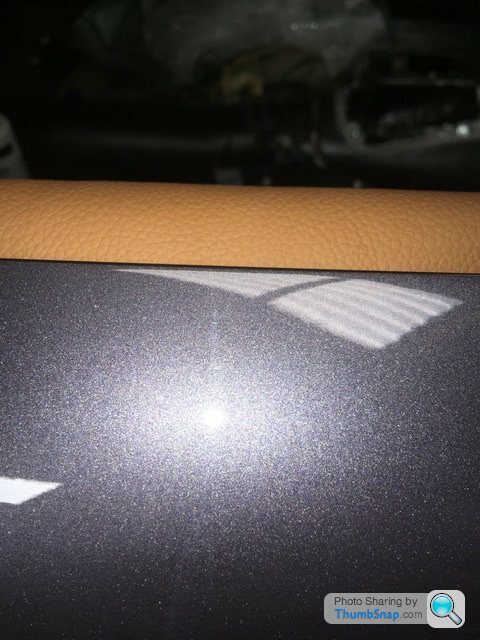
Sunset orange is no.3 . Hard to explain in words, it’s a variation of a traditional tan/beige colour with more depth of colour hence a burnt orange in effect. It was my preferred colour from those samples.
Will the interior look a bit Halloween if I go for a black headliner and surround?
Will the interior look a bit Halloween if I go for a black headliner and surround?
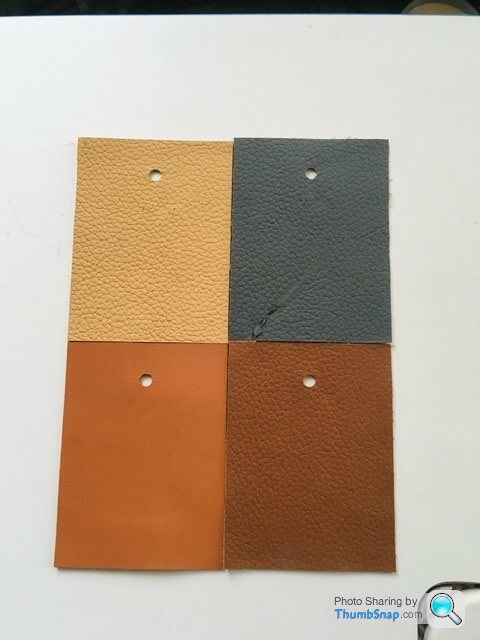
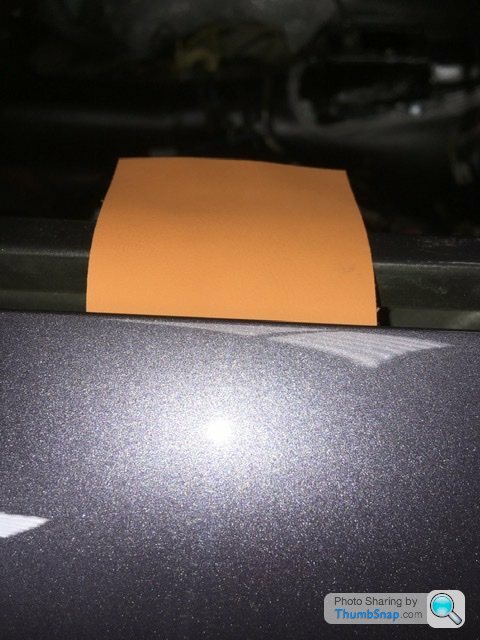
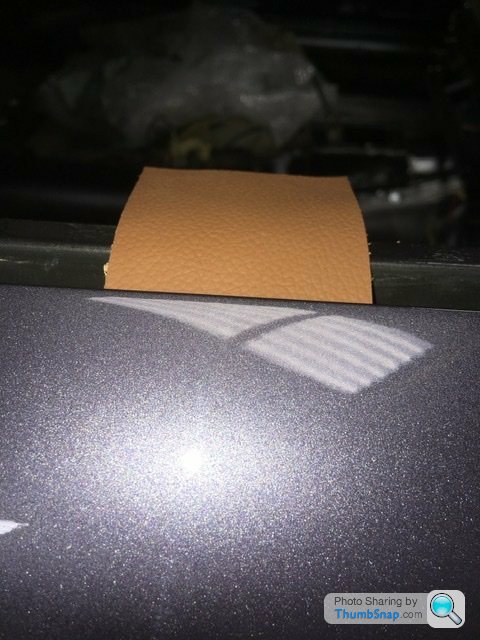
Had a little play with the colour settings to show the colour of the leathers a little more accurately on a screen
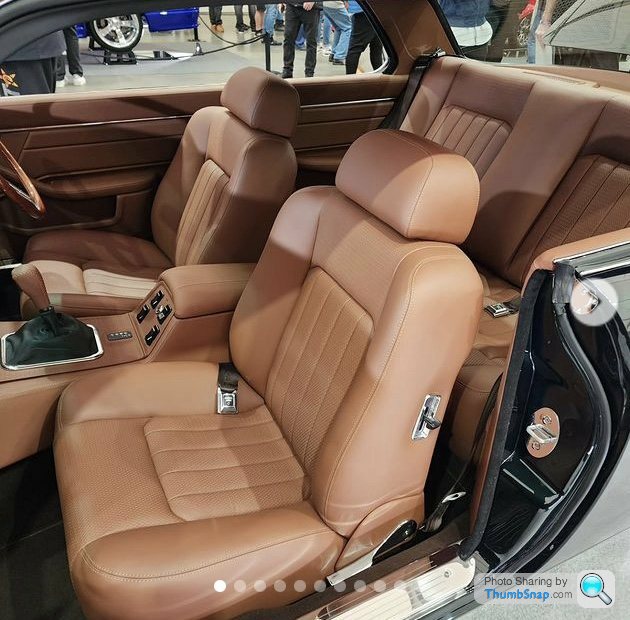
I think the burnt orange is a good choice for a show car. Bit of a wow look at that but not a keeper. The saddle tan is more a classic colour and hard not to dislike, so should I just go safe classic colour? Then I’m thinking change the front seats.
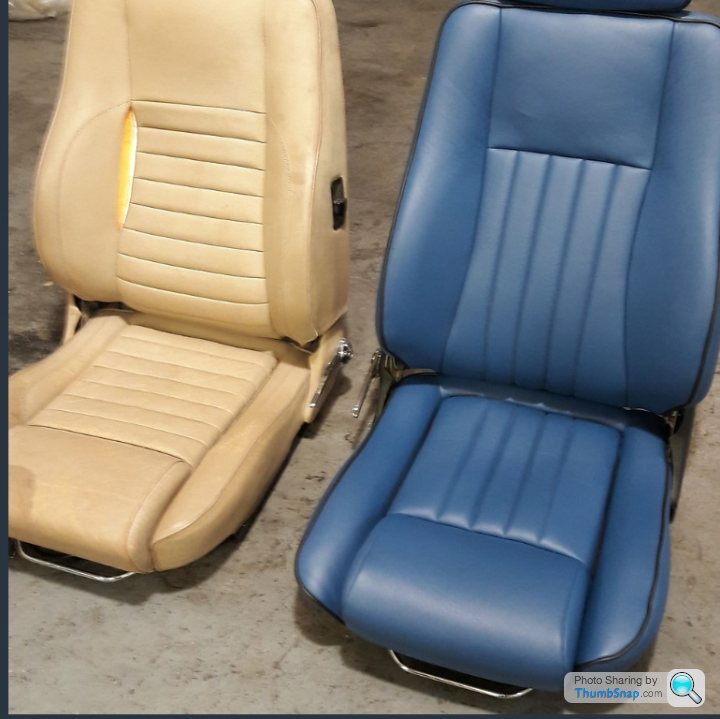
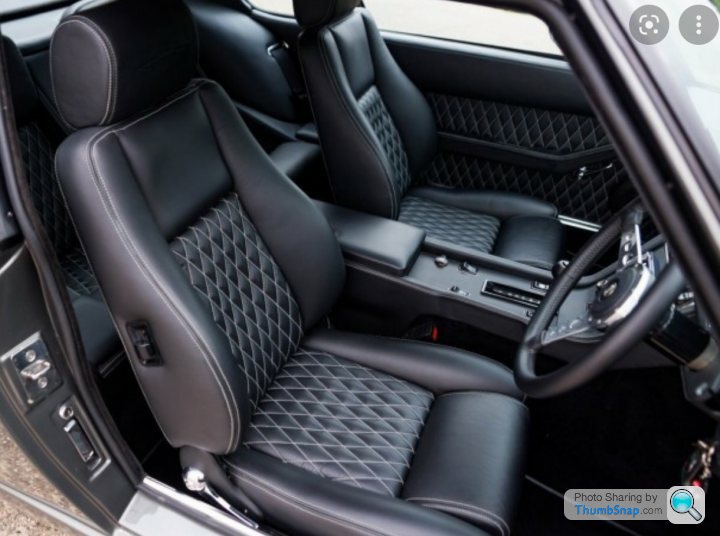
Below I found a couple of pictures of xjs sport pack seats with altered cover designs. The blue seat has vertical pleats much like the xjc had when new and the same as all series 2 xj6’s of the era. Personally I’m not convinced to match the front to the original rear. The black seat though has a simple diamond stitch and I think suits the seats very well especially with matching stitch on the door panels. It’s a very similar interior shape to the xjc (picture is a Jensen interior)
So could I produce a classic one off interior in saddle tan with diamond stitch centre panels front and rear using the xjs sport pack front seats? Maybe matching colour roof liner and side panels and just keep the black on the door tops and dash top? Use black stitch to create the diamonds? I have some vinyl I could use as samples. Tan with tan stitch diamonds and another tan with black stitch diamonds. Might do that later

I’ve quickly stitched 2 samples of the diamonds with a bit of Jag on top. Looking at them I think no. As just said, a bit footballer and leave the Bentley diamonds in a Bentley.
The mrs wasn’t keen before I stitched the samples lol and had a look for the saddle tan leather hides and it’s currently out of stock from the supplier I have an account with. Clearly a popular colour.
I’ll scrap the xjs seat idea and diamond stitching.
A little less to do which is a good thing
Edited by RobXjcoupe on Wednesday 26th July 19:06
cento16v said:
I think the tan leather would look great in the style of the blue interior you posted on the previous page.
Could you add piping like Daimler Sovereign seats had in a contrast colour?
Adding piping isn’t an issue. You do have to be careful not to over cook it so it doesn’t look like an outline drawing on the seats. Could you add piping like Daimler Sovereign seats had in a contrast colour?
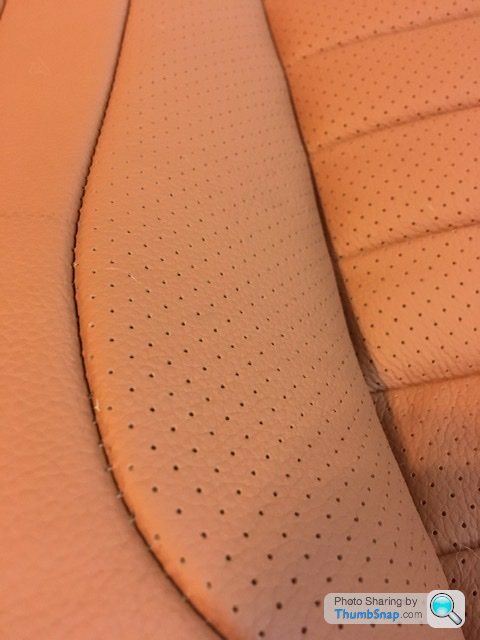
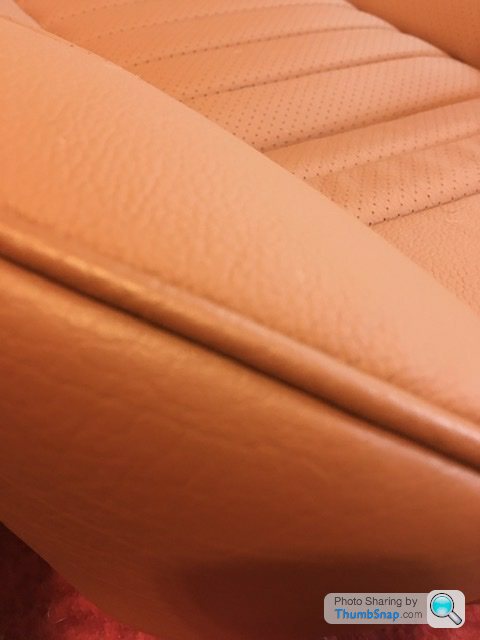
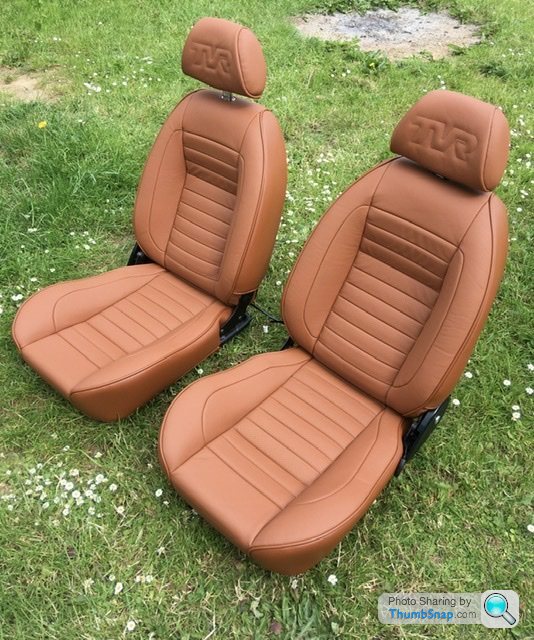
Another thought is using a perforated leather. I did a pair of TVR seats recently using the same saddle tan colour with perforated tuck and roll pleats. Did away with the French seam stitching and used piping instead and they have a lovely classic look. Pictures below
carinaman said:
Diamond quilt is a bit Audi these day too. I think your wife probably knows what works when it comes to the interior.
I am still in awe at your ability and skills and admiring the paintwork.
Traditional Jaguar tuck and roll it will be.I am still in awe at your ability and skills and admiring the paintwork.
The skills thing. Sometimes I wish I had enough pennies to let someone else have the job. Occasionally I do and I just get ripped off with half arsed work with minimal attention to detail. Now I do my best with the tools I have and my time.
So today I’ve spent nearly 10hrs repairing 2 switches, the indicator stalk and wiper stalk. Best part of £200 for new parts. Classic cars are expensive hobbies unfortunately.
Edited by RobXjcoupe on Sunday 30th July 16:09
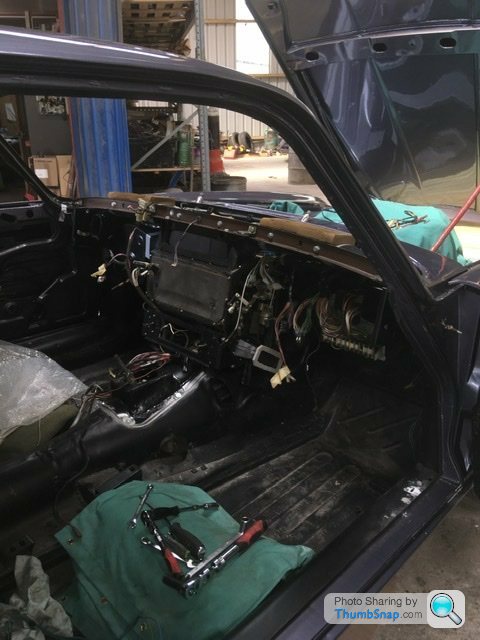
Today’s efforts were thwarted by the bonnet release lever. Thinking of modern cars I assumed it was in a lower position than what it actually is. To fit it I had to dismantle the entire driver side heater unit for access to a single nut to remove the end bracket to which the lever fits. The bonnet release catches were then installed with all the appropriate brackets etc. It feels like many years ago since I rebuilt those catches. I kept them in the plated finish rather than paint. Looks a bit more detailed I thought
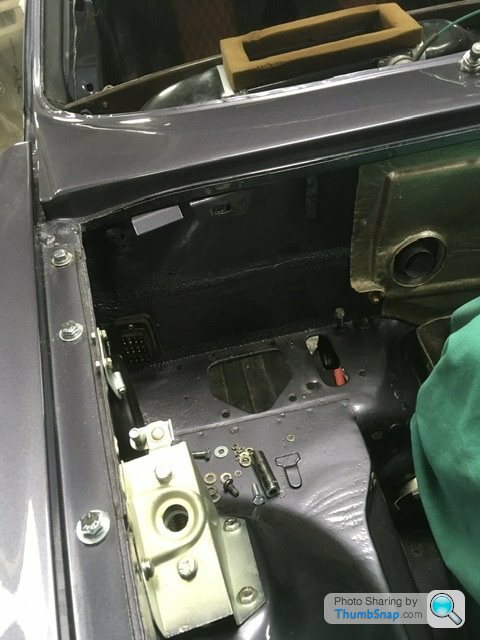
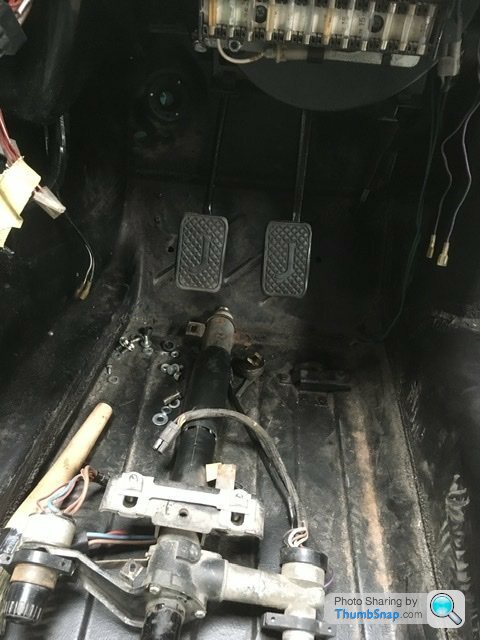
Then more trials and tribulations fitting the all important manual gearbox pedal box. That involved removing the steering column support that I had fitted last week, dismantled today, reassembled then found it bolts up after fitting the pedal box………lots of expletives today!
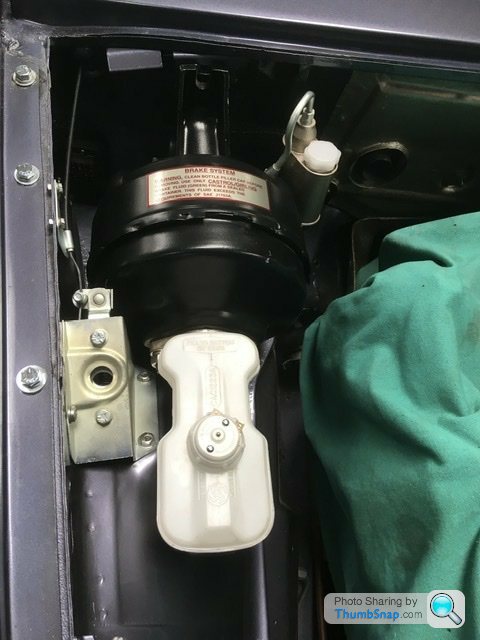
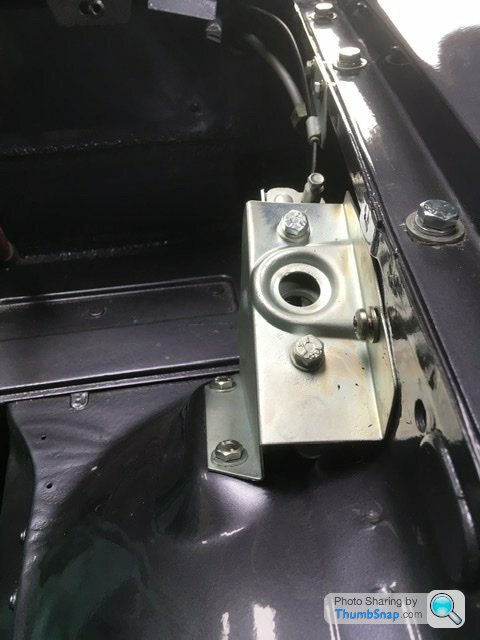
Lots of sealant under the mating face on this as originally it used a rubber gasket. That gasket had perished and was unusable and the bottom of the aluminium casting was not flat due to corrosion over the years. Hence the reason I etch primed the aluminium casting and then painted black to hopefully stop any future corrosion. Looks good in a black finish especially as the servo is black. The sealant is a loctite item used to seal the new engine sumps of the Ford engines that used to be built in the Bridgend engine plant.
Then more trials and tribulations fitting the all important manual gearbox pedal box. That involved removing the steering column support that I had fitted last week, dismantled today, reassembled then found it bolts up after fitting the pedal box………lots of expletives today!
Lots of sealant under the mating face on this as originally it used a rubber gasket. That gasket had perished and was unusable and the bottom of the aluminium casting was not flat due to corrosion over the years. Hence the reason I etch primed the aluminium casting and then painted black to hopefully stop any future corrosion. Looks good in a black finish especially as the servo is black. The sealant is a loctite item used to seal the new engine sumps of the Ford engines that used to be built in the Bridgend engine plant.
Gassing Station | Readers' Cars | Top of Page | What's New | My Stuff