Discussion


Well unfortunately I did end up grinding the old pulley away and then using a homemade Heath Robinson puller off it came, I've been grinding the old snout back for a few hours now and still have at least 2mm of material to go, particularly on the lower edge which is harder to get to. Easiest way to speed things up is probably to take some of the coolant pipework out of the way at the front of the engine so I can get access. I'm sure the coolant needed changing anyway 

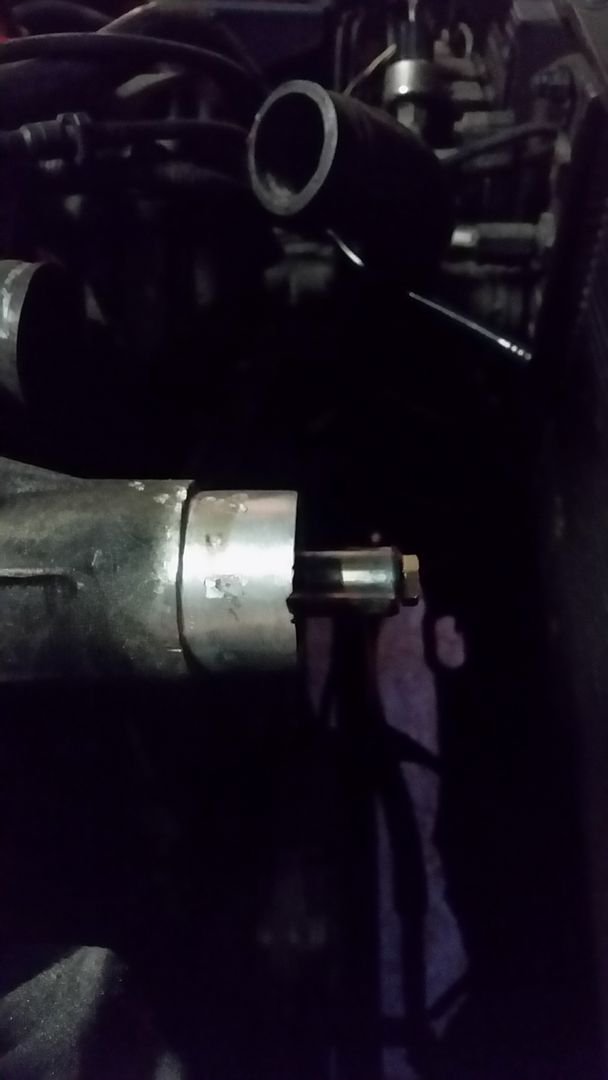
Well all did not go according to plan with the fitment, the snout of the supercharger has to be made smaller to fit the smaller inside diameter of the upper pulley. The supercharger shaft itself isn't keyed or anything so you have to heat the pulley up, then fit it. After around 10 seconds or so as it contracts it locks onto the shaft. Tight. For this you have to be pretty damn sure that the snout of the supercharger is a small enough diameter so as not to foul the pulley. In my case I got it slightly wrong and on fitting the whole thing locked solid! A lot of swearing ensued and then the following evening thankfully Lewis (AceOfHearts) come to the rescue letting me borrow some Mapp Gas and a decent puller. With some tension in the puller and a lot of heat it started to creak, and off it came. This allowed me to see the high spots where it'd made contact and dress them with the file.
After this pulley went on a piece of cake, I used a straight edge to ensure it was level with the end of the shaft.
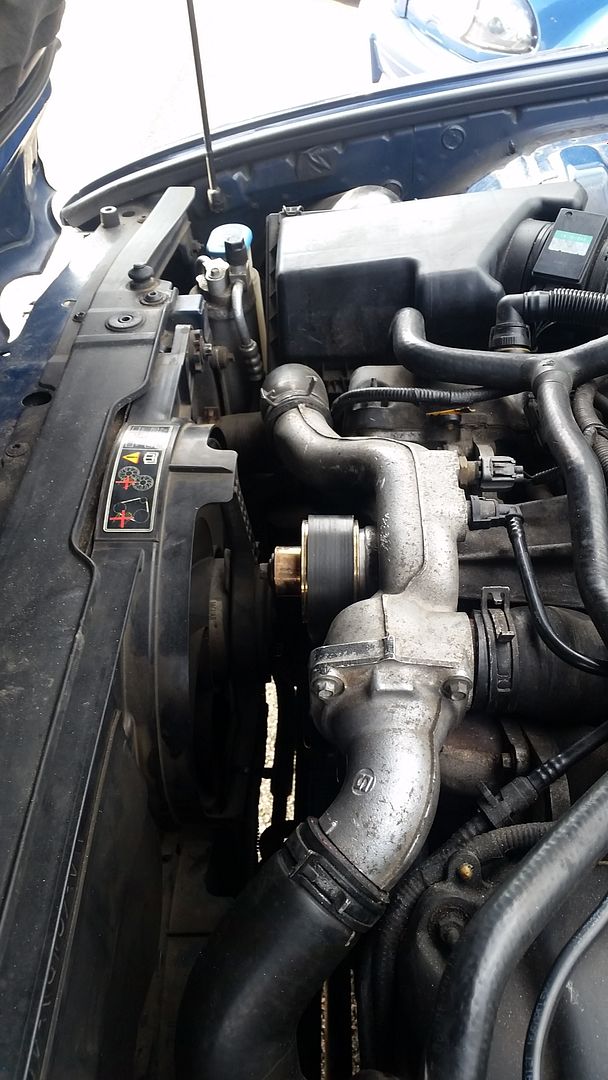
All this was around 9pm last night with it pissing down outside, the TVR is poorly and currently my Land Rover has no roof on so I was fairly determined to get it finished. Thermostat housing was resealed and refitted, and the copious amounts of aluminium filings blown away with compressed air and brake cleaner! With that I refitted the belt and put the fans back in.
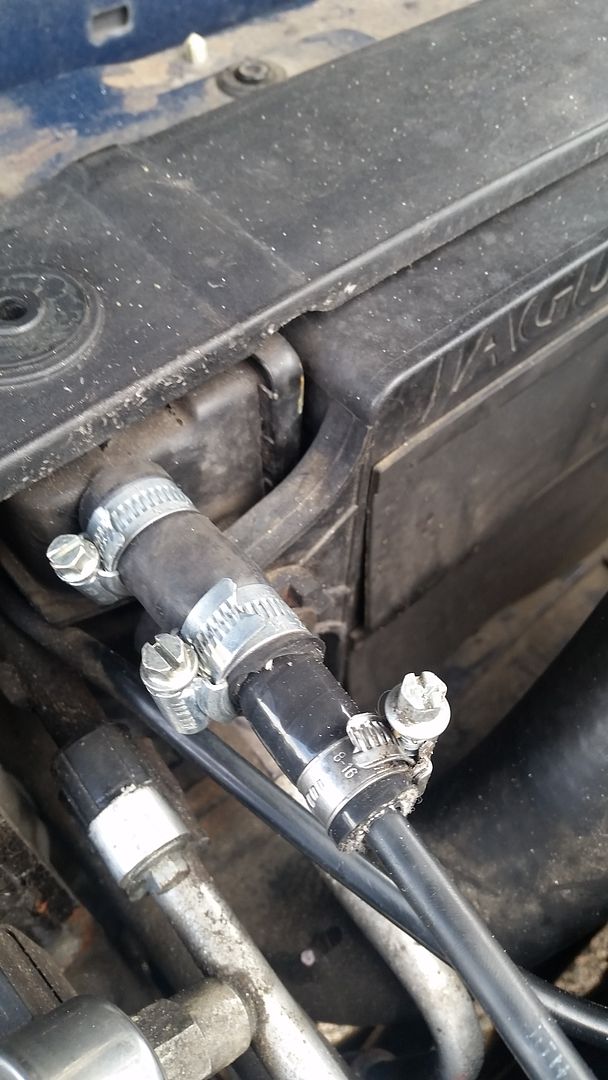
All looked cracking until it come to refill with coolant only to find a quick connector pipe from header tank to rad had bust off, I tried super gluing it back together but it still absolutely poured out, so a bit of ingenuity ensued this is similar to what it should look like:

Some heater hose from work and a bit of silicone hose from my TVR bits, hey presto a high flow header tank pipe!
Overall the improvement is great, it's not night and day more powerful it just feels a lot more eager than before, and on hard acceleration there's no bogging down, it just pulls from nothing. A great car, I'm enjoying it more than ever at the moment

After this pulley went on a piece of cake, I used a straight edge to ensure it was level with the end of the shaft.
All this was around 9pm last night with it pissing down outside, the TVR is poorly and currently my Land Rover has no roof on so I was fairly determined to get it finished. Thermostat housing was resealed and refitted, and the copious amounts of aluminium filings blown away with compressed air and brake cleaner! With that I refitted the belt and put the fans back in.

All looked cracking until it come to refill with coolant only to find a quick connector pipe from header tank to rad had bust off, I tried super gluing it back together but it still absolutely poured out, so a bit of ingenuity ensued
this is similar to what it should look like:
Some heater hose from work and a bit of silicone hose from my TVR bits, hey presto a high flow header tank pipe!

Overall the improvement is great, it's not night and day more powerful it just feels a lot more eager than before, and on hard acceleration there's no bogging down, it just pulls from nothing. A great car, I'm enjoying it more than ever at the moment
That is a pain! Never had the pleasure myself but allegedly removing the charger isn't actually that difficult. I found an old Jaguar R&I guide on the Web somewhere detailing each step and it didn't look to be all that bad if you know your way around a spanner. Gives a good chance to clean everything up too.
The bumper has two plastic towers coming out from the rear of the car to a post and clamp with a bolt through it, the bolt holds it together so it's literally two bolts and a couple of plugs for the side indicators then technically you should be able to remove it. Sadly on mine the reason it's drooped is that the post has pretty crumbled away to just flakey ally and as a result the bolt just spins without undoing! Not good.
Thought I'd undo at the 4 nuts holding the plastic tower to the car, but no, as these are a rawl bolt of sorts and also spun in the plastic bloody thing
For now I just did a temporary fix by lifting it and putting a strategically placed zip tie in the gap, feels solid now.
The bumper has two plastic towers coming out from the rear of the car to a post and clamp with a bolt through it, the bolt holds it together so it's literally two bolts and a couple of plugs for the side indicators then technically you should be able to remove it. Sadly on mine the reason it's drooped is that the post has pretty crumbled away to just flakey ally and as a result the bolt just spins without undoing! Not good.
Thought I'd undo at the 4 nuts holding the plastic tower to the car, but no, as these are a rawl bolt of sorts and also spun in the plastic
bloody thingFor now I just did a temporary fix by lifting it and putting a strategically placed zip tie in the gap, feels solid now.
Well the old bus has just passed its 135,000th mile and still going strong! I did the lower front shock bushes last week in an effort to cure a front end knock over uneven surfaces. Easy job actually, burnt the old ones out and cleaned the shock ends out, then pulled the new ones in with a bolt and socket.
Cleaned them up and put some paint on as obviously they look pretty rough.
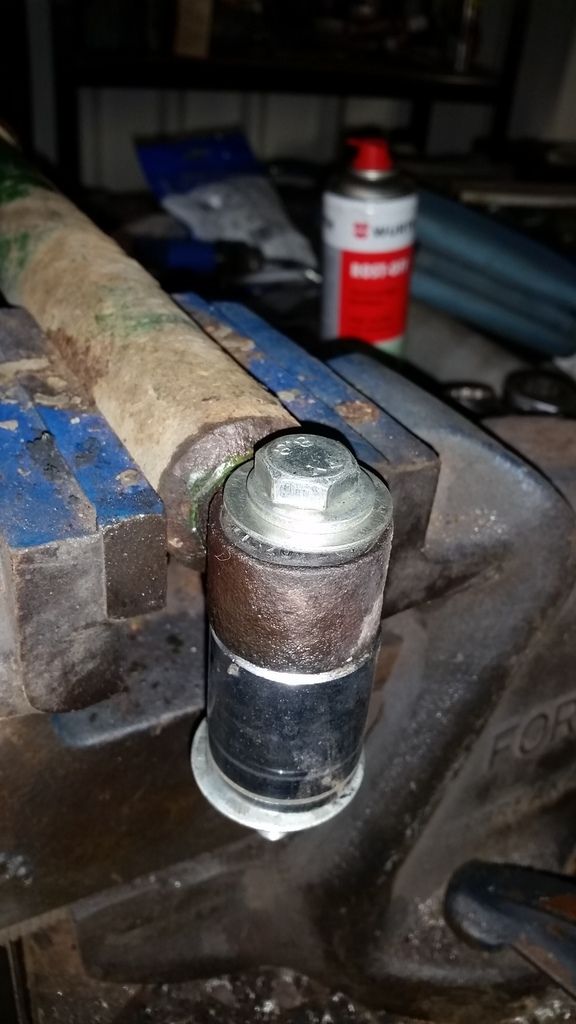
The knock unfortunately is still there as the top bushes seem to be the culprit, they're pretty buggered as seen here
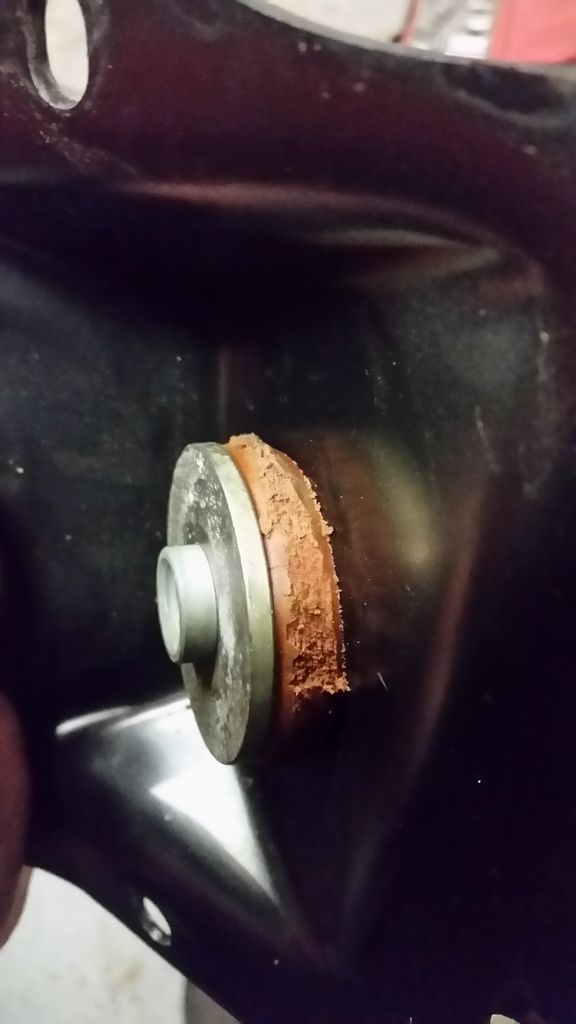
Looking to have some made if possible as I'm reticent to buy the entire assembly when it's not needed. 52mm external, 15 internal and 19mm depth if anyone can help!

Cleaned them up and put some paint on as obviously they look pretty rough.
The knock unfortunately is still there as the top bushes seem to be the culprit, they're pretty buggered as seen here

Looking to have some made if possible as I'm reticent to buy the entire assembly when it's not needed. 52mm external, 15 internal and 19mm depth if anyone can help!
Hello chaps,
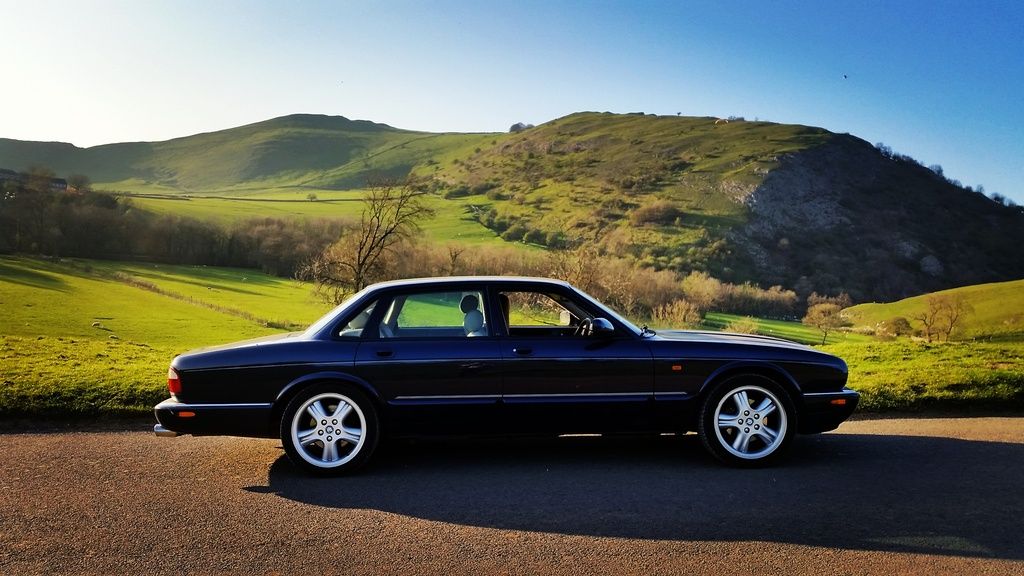
Unfortunately I've come to the decision to sell the R, it's just had a few final bits done to it and 12 months' MOT so it will be in the classifieds soon if anyone is interested. A great shame to see it go as it's lovely smoking about in it but sadly I just have too many cars and not enough space or funds!
Unfortunately I've come to the decision to sell the R, it's just had a few final bits done to it and 12 months' MOT so it will be in the classifieds soon if anyone is interested. A great shame to see it go as it's lovely smoking about in it but sadly I just have too many cars and not enough space or funds!


Gassing Station | Readers' Cars | Top of Page | What's New | My Stuff