Jaguar xjc 4.2
Discussion


B'stard Child said:
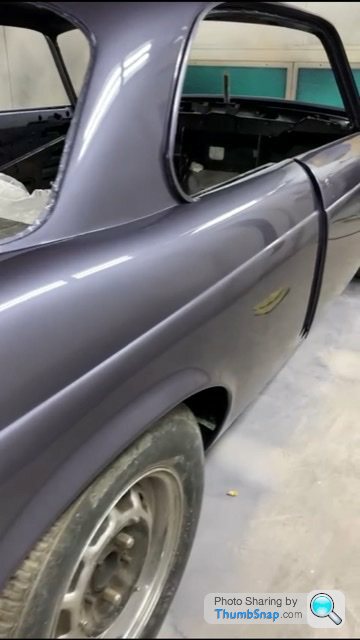
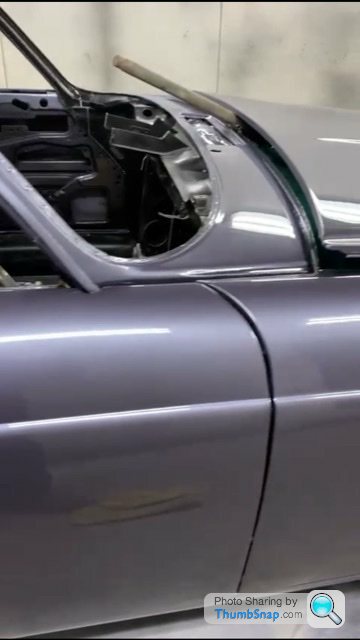
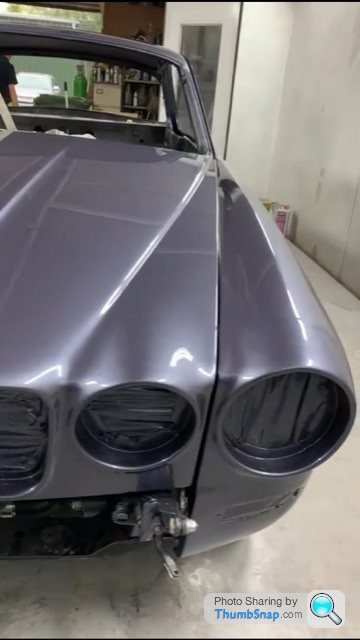
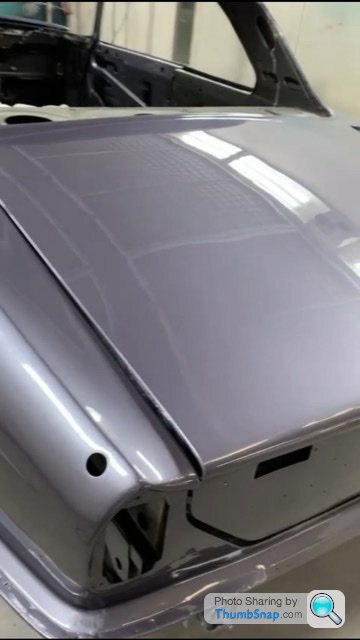
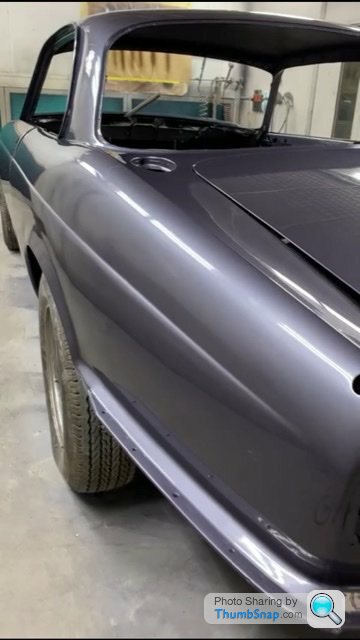
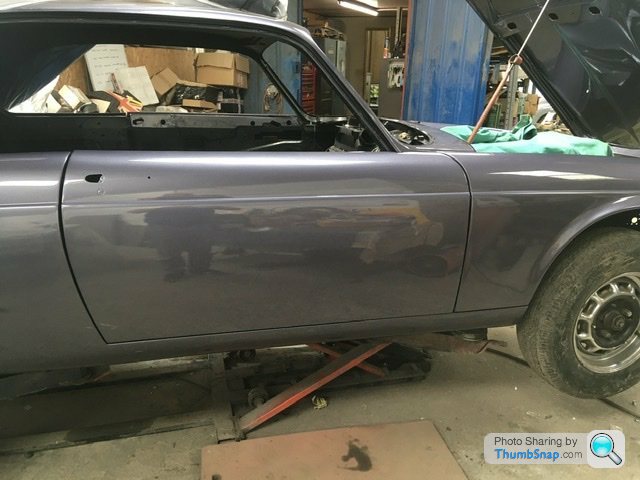
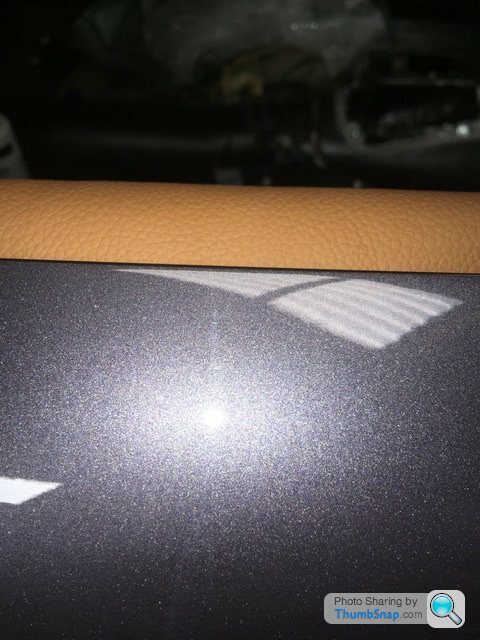
Takes a while to paint and assemble for a full picture. The colour won’t truly pop until the chrome is fitted. Looks grey in the photos but it isn’t. 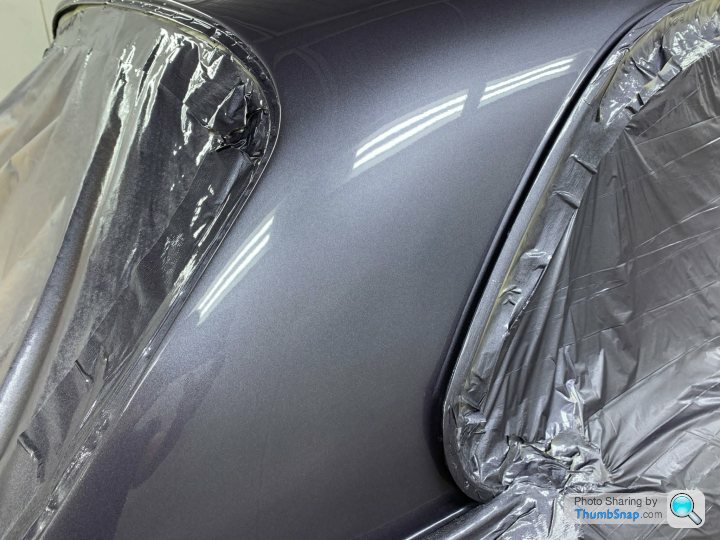

The wiring goes in next, then the next biggie is getting the ole girl firing and running.

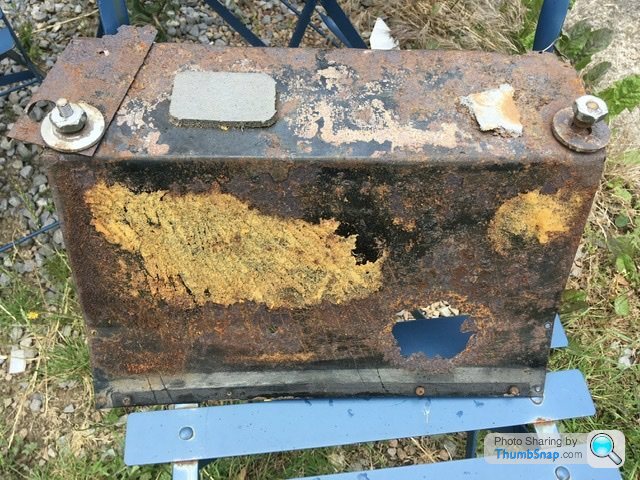
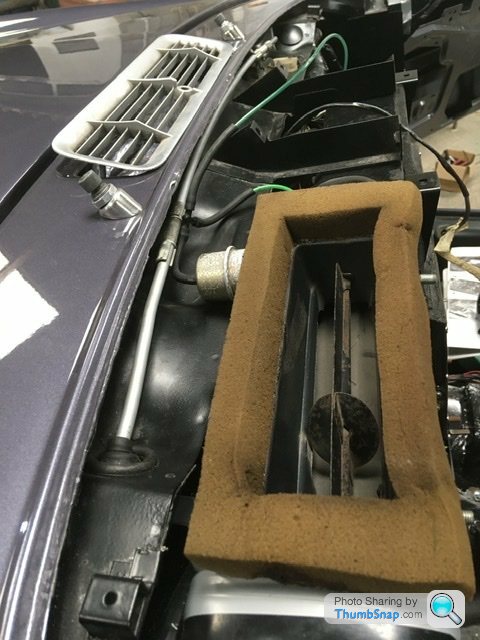
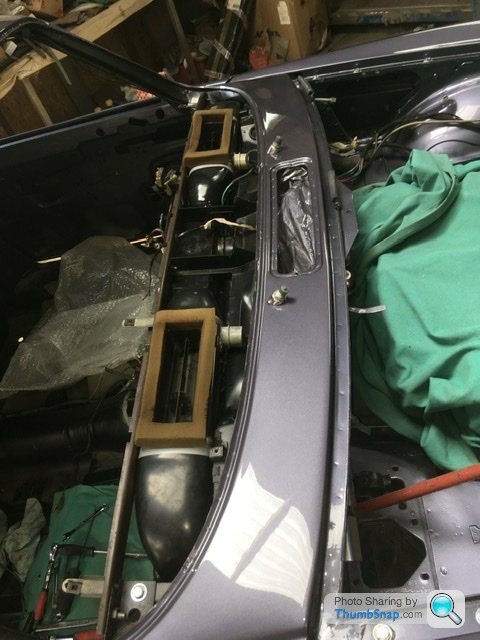
Picture above shows the cover of the heater box. Totally rotten!
I’ve spent too many hours repairing this part, but like most things once started it’s gonna get repaired!
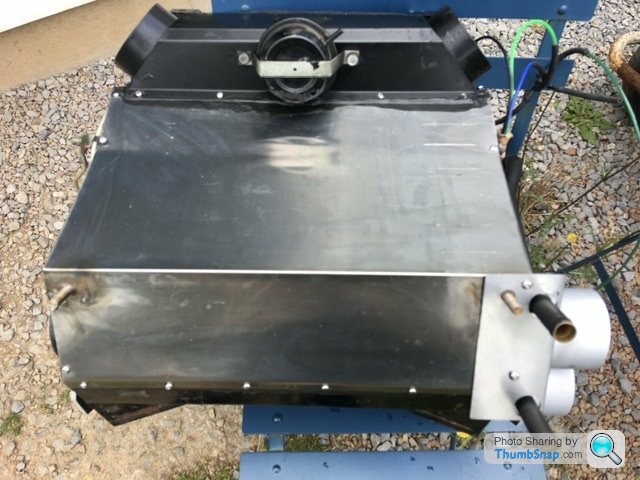
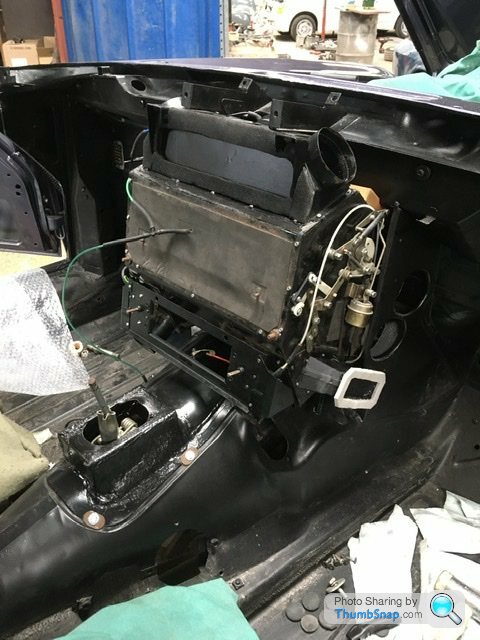
The heater box has many parts and many seals. I removed that grotty panel when I was still working as a Ford toolmaker and have made a stainless steel replacement. The past month I’ve had the innards out replacing the foam seals between moving panels. I’ve made a new lever for one vain as the original plastic version had split. Lots of naff bits to rectify and once together you can’t see any of it. Lastly I fitted a new heater matrix core as a bit of belt and braces repair as I won’t be dismantling this unit again when fitted back into the car. Picture below shows the unit assembled again with the new stainless steel panel fitted.
The original used foam seals between the panels. I used a rubber silicone sealant. There were lots of badly sealed parts so just took my time making sure all was correctly sealed and fingers crossed when it’s powered up the vents should blow with more air volume from the openings rather than out the sides of the panels.
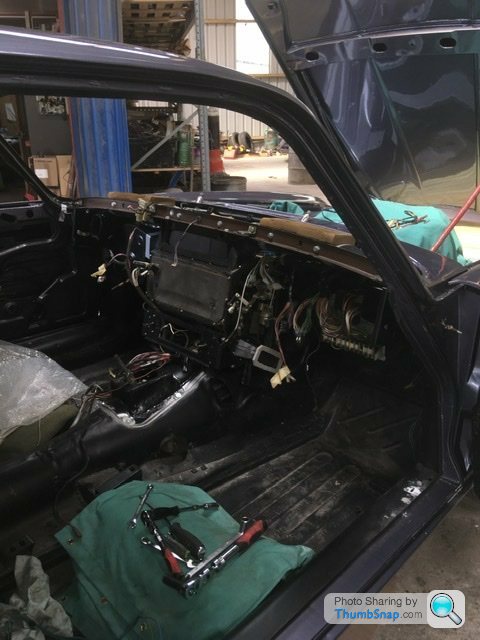
This will be fitted into the car tomorrow. So the rebuild finally begins
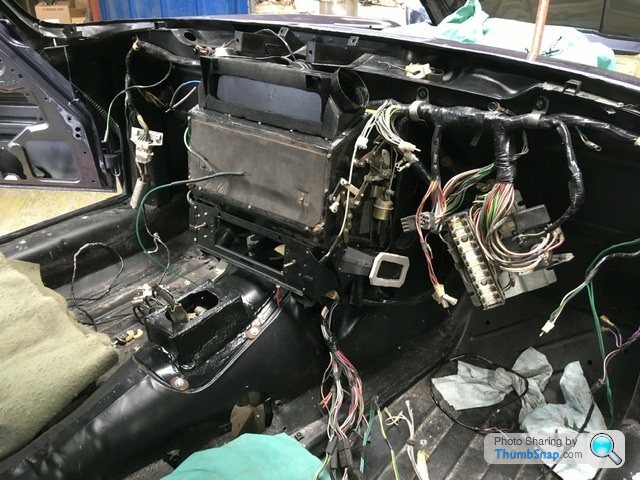
Eventually got the heater box fitted. Gearbox was sitting too high on its mount under the car so the transmission cover wouldn’t fit.
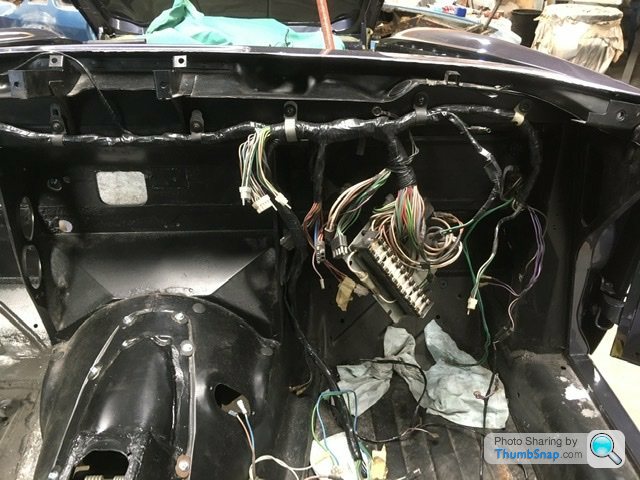
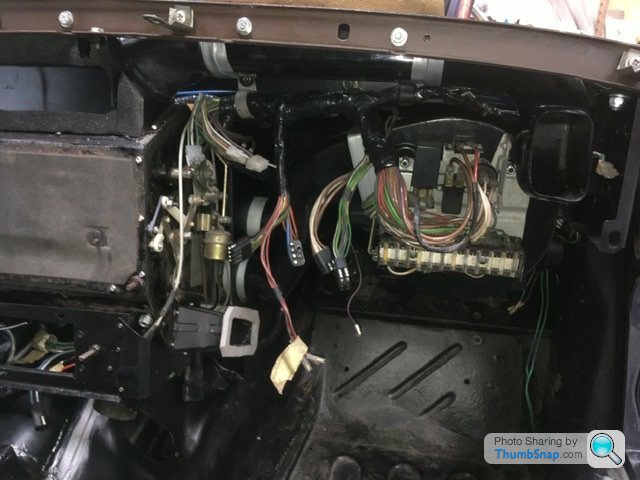
Then first bit wiring went over the heater box but with all the wired connections I could thread the wiring within the gap. So heater box removed to run the cables. Even then it took a couple of goes to get the earth points to line up properly.
One other thing to mention is the sealing of the various punched holes within the car to stop exhaust/engine fumes from getting inside the cabin. That transmission cover, access plates on the side of the tunnel, 3 holes under the heater box I found suitable sized rubber bung/grommets. I think these time consuming but necessary things helps the Old Jag become a better place to sit in once the interior goes in. Just knowing everything is correctly sealed underneath. I won’t use any dynamat as I found the ride was quiet anyway when the car last ran. I’ll use new standard insulation were appropriate though.

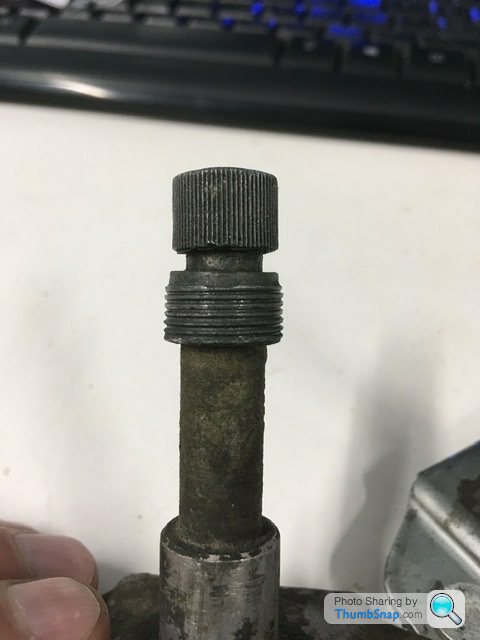
Above is a windscreen wiper spindle. The above is in ok working condition the other had a portion of that thread stripped. There is a specific 8 sided nut that screws on and that clamps the spindles in place.
So another Rob repair took place.
I removed the inside moving part first then set up the outer in a lathe to carefully machine off the damaged thread to a given diameter. A new piece of aluminium was then cut with a hole in the centre so that it was a very tight fit over the spindle shaft. I should have got it hot first to expand the hole but was in a bit of a rush so carefully pressed it onto the newly machined shaft.
The spindle was then set back up in the lathe to finish off the outside diameter ready to screw cut the new thread. 24tpi to match the original 8 sided nut. I Machine cut the new thread and it came out a treat.


Above shows the newly repaired spindle next to a good original
A little more progress this week, one of the jobs was the wiper motor assembly. It’s the push pull cable type. Previously I had overhauled the motor and recently the wiper spindles. To complete the assembly the push pull cable is attached back to the motor. Not a difficult job except a tiny piece inside to control the park position had snapped. Luckily it was a steel part so it could be repaired with a bit of welding.
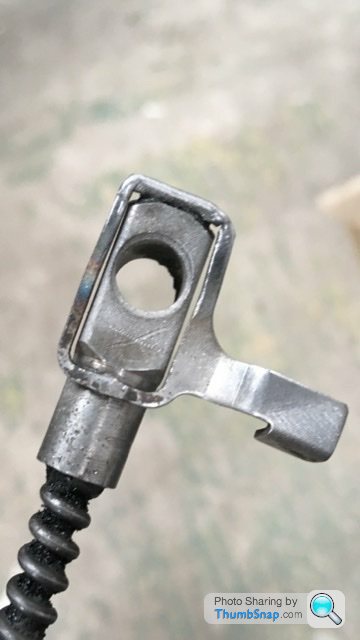
If you look closely at the top of the part you can see the repair. Very fine gas welding indeed as the area to weld was only about 1.5mm across on two sides. No additional metal was added
If you look closely at the top of the part you can see the repair. Very fine gas welding indeed as the area to weld was only about 1.5mm across on two sides. No additional metal was added
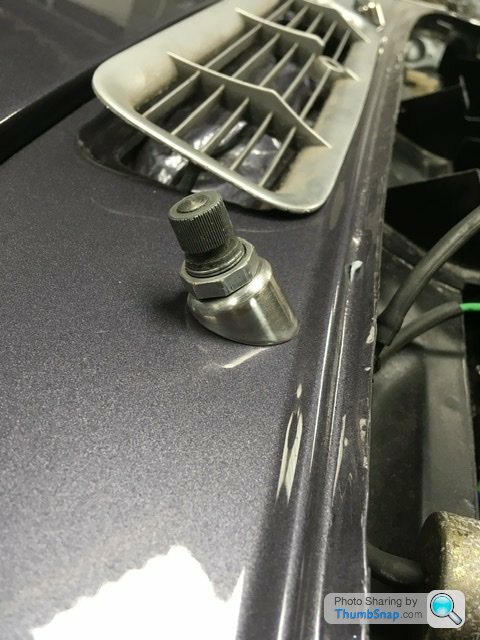
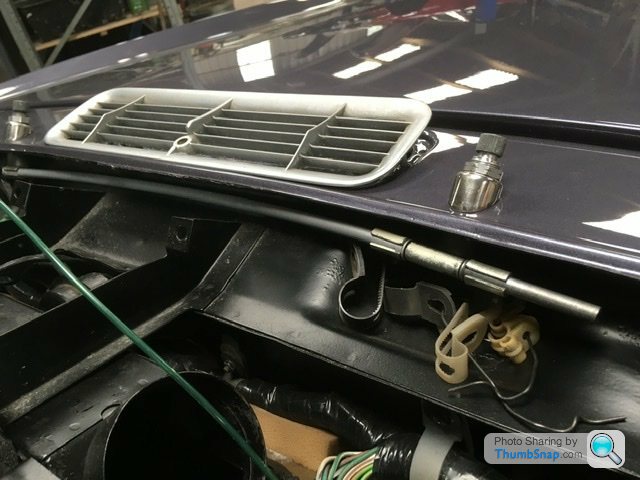
A few pictures of the wiper spindles fitted with new sealing grommets around the connector tubes that hold the push pull cable.
The fit looks neater on top without a gasket but unfortunately doesn’t seal the hole underneath. The chrome trims will be removed to fit rubber gaskets underneath.
The centre vent hasn’t been fitted, it’s just sitting there wondering if I should have painted in body colour or add a bit of bling in a new chrome finish?
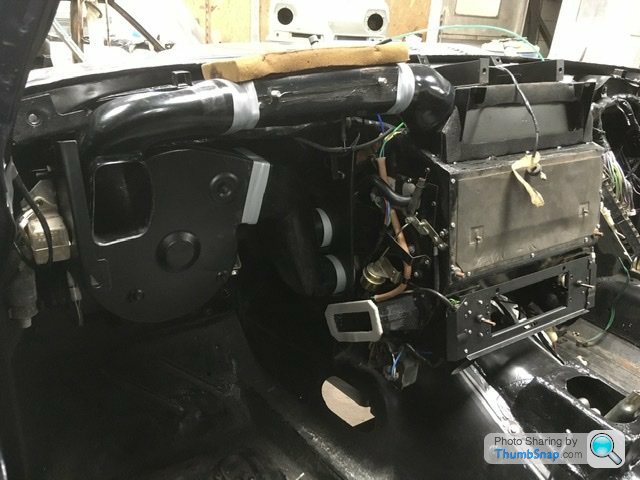
After approx 15hrs I’ve managed to nearly fit all the heater unit and dash wiring. It’s very time consuming getting parts to fit correctly with wiring connections cleaned especially earth connections. Using new clean bolts and washers. Never to be seen but I know it’s a thorough rebuild


Awesome work and attention to detail. Far better than the day it left the factory. All the care and time taken with the heater flaps' operation and cleanliness of the earthpoints will pay dividends.
The pillarless look is timeless. Even more so on a classic coupe shape like your car though. Colour, with the depth of the metallic, looks so classy with the big coupe look too. Needs chrome to contrast. Don't paint the wiper spindle sleeves.
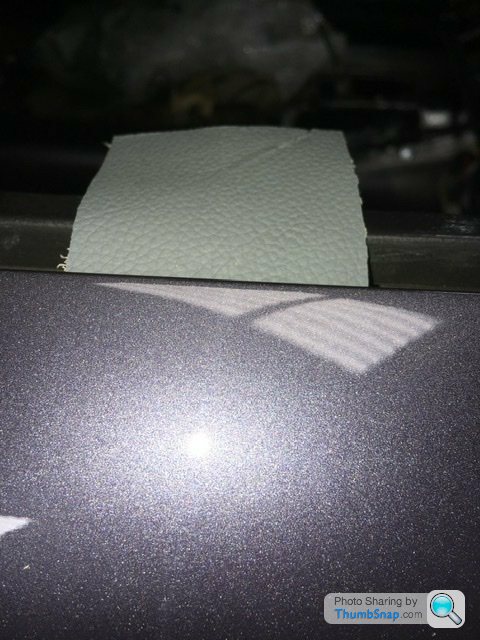
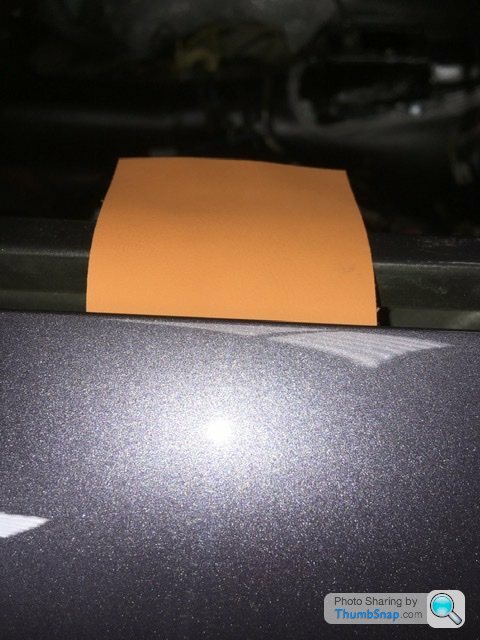
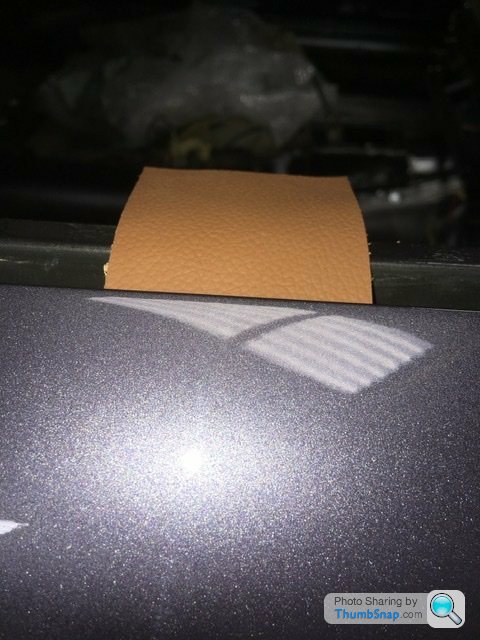
Interior; No.4.
No.3 is a close second, but a shade too dark I think fella. Obvs not up to me though.
The pillarless look is timeless. Even more so on a classic coupe shape like your car though. Colour, with the depth of the metallic, looks so classy with the big coupe look too. Needs chrome to contrast. Don't paint the wiper spindle sleeves.
Interior; No.4.
No.3 is a close second, but a shade too dark I think fella. Obvs not up to me though.
Sunset orange is no.3 . Hard to explain in words, it’s a variation of a traditional tan/beige colour with more depth of colour hence a burnt orange in effect. It was my preferred colour from those samples.
Will the interior look a bit Halloween if I go for a black headliner and surround?
Will the interior look a bit Halloween if I go for a black headliner and surround?
Gassing Station | Readers' Cars | Top of Page | What's New | My Stuff