Attempting to build the fastest road legal Elan in the world
Discussion


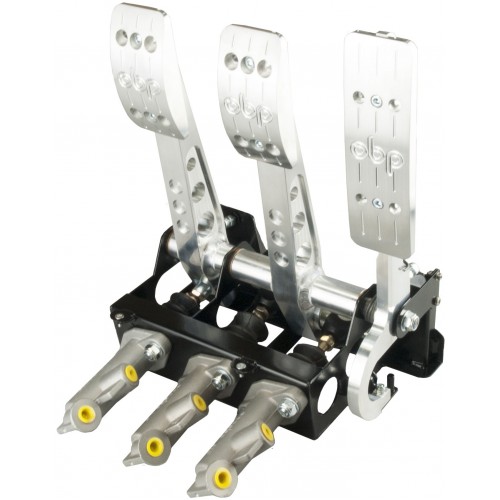
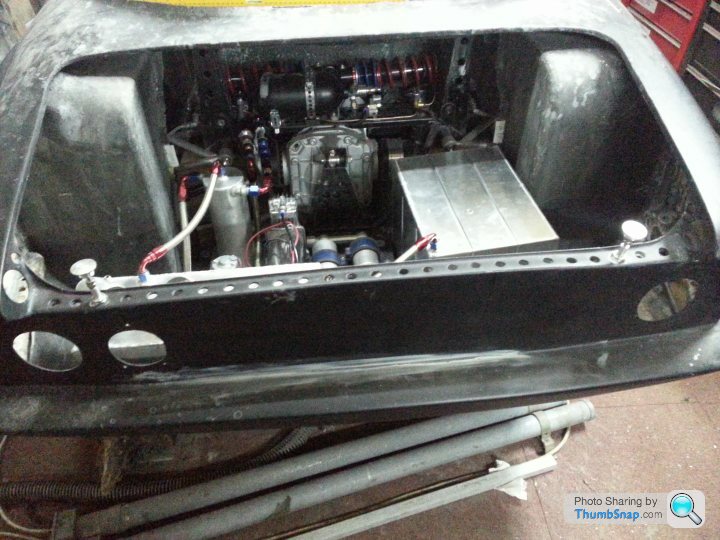
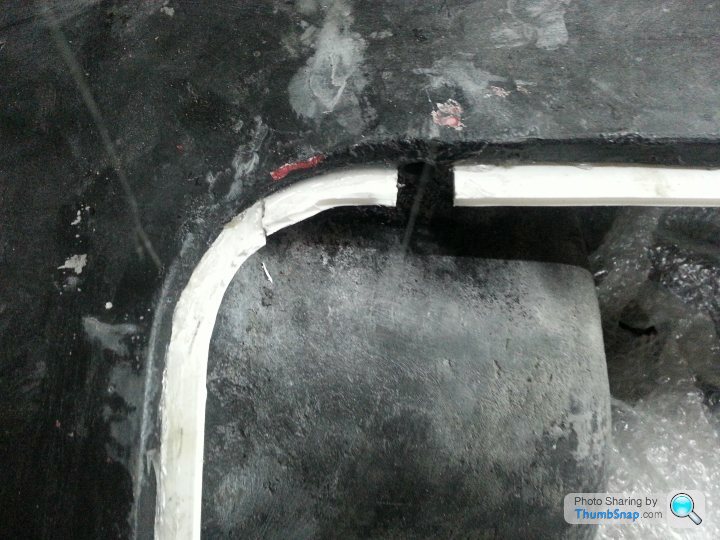
Hmmmmm, encountered a slight problem this afternoon. The floor mounted pedal box I planned to use is causing issues. It locates the pedals too close to the roll cage tube that crosses in front of it (just out of shot) and the new seat has pushed me forward compared to the seat that I made (no idea why photos are sideways).
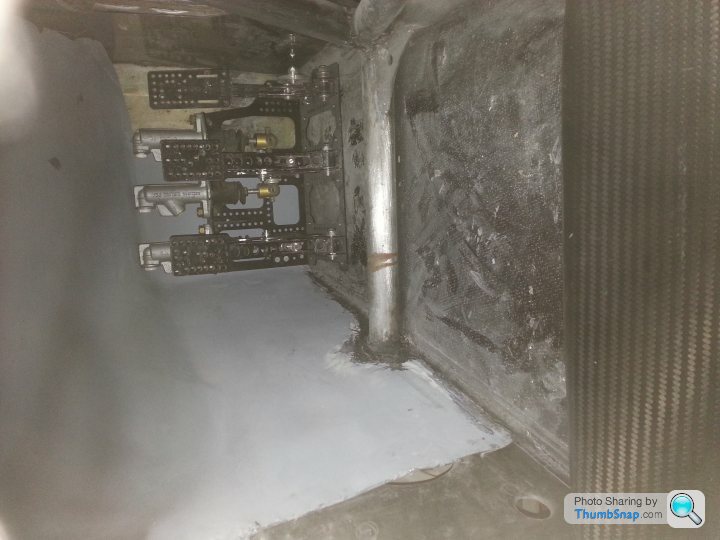
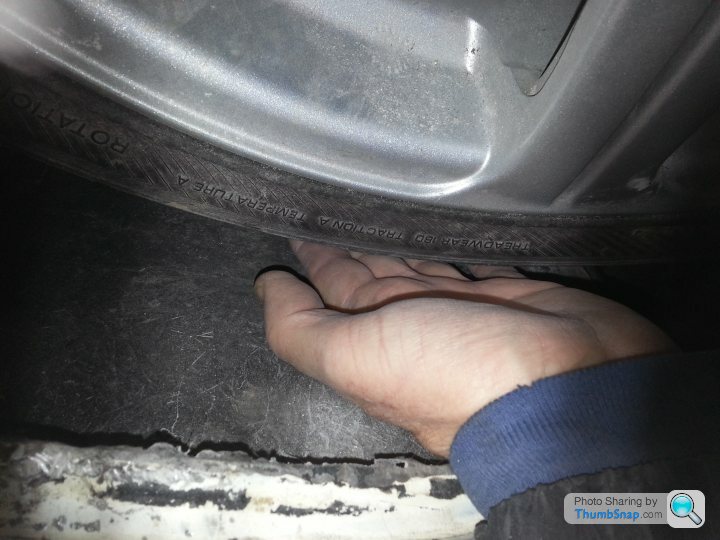
I had hoped to push the box forward by moving the wheel well. However, on checking tyre clearance - I have very little, less than an inch.
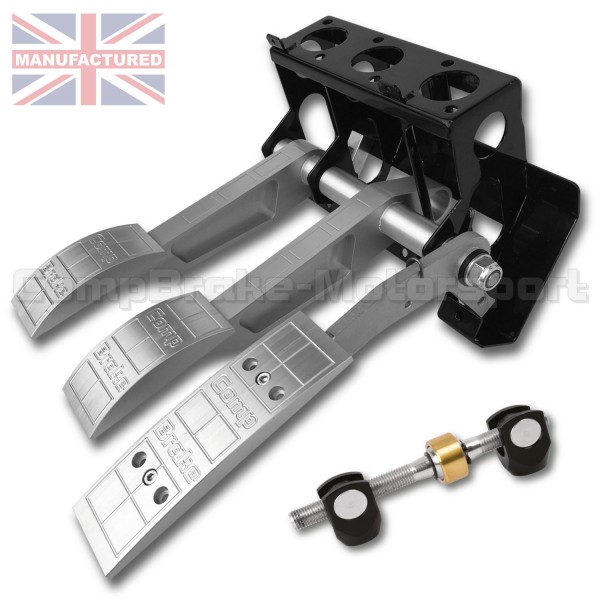
Bit of a game stopper, need to be able to operate pedals comfortably. So a rethink was in order. Looked at floor mounted, forward facing reservoirs but a lot of floor work required. So I looked into top mounted, forward facing reservoir pedal boxes. Compbrake offer such a beastie so a call to them on Monday is planned.
I had hoped to push the box forward by moving the wheel well. However, on checking tyre clearance - I have very little, less than an inch.
Bit of a game stopper, need to be able to operate pedals comfortably. So a rethink was in order. Looked at floor mounted, forward facing reservoirs but a lot of floor work required. So I looked into top mounted, forward facing reservoir pedal boxes. Compbrake offer such a beastie so a call to them on Monday is planned.
Edited by stevebroad on Sunday 29th January 11:50
Edited by stevebroad on Sunday 29th January 11:50
mikezs said:
Thought these looked familiar! http://www.ebay.co.uk/itm/322406204525
I see you're in Chelmsford too, would love to have a gander at this in real life when you're finished
:-)I see you're in Chelmsford too, would love to have a gander at this in real life when you're finished
Don't hold your breath but, hopefully, this year.
OK, I have a plan (but it may change :-) )
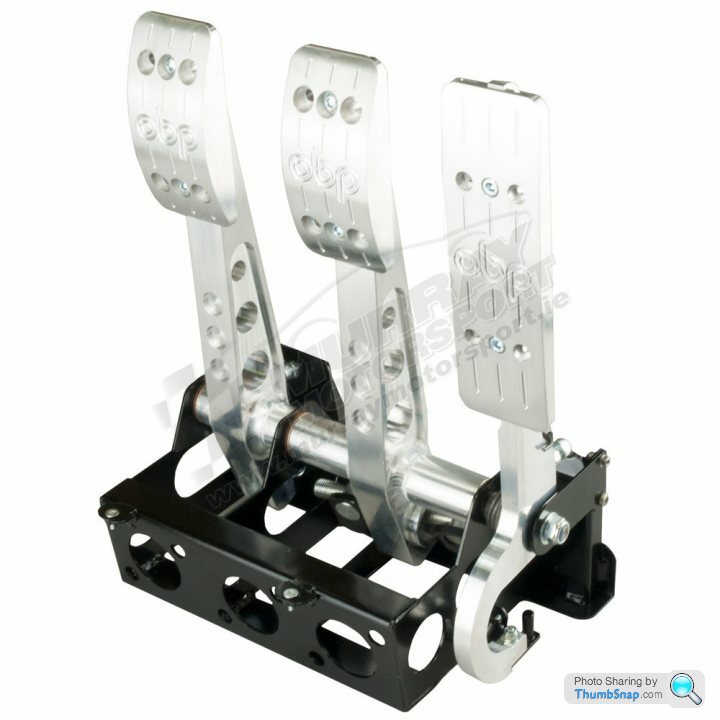
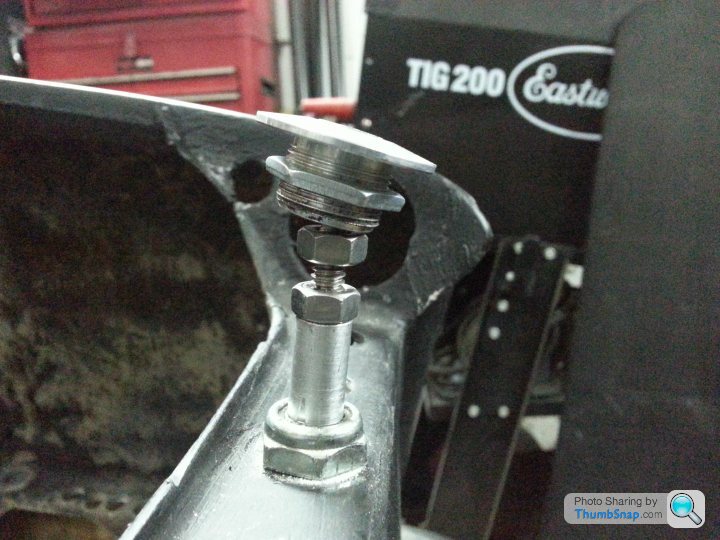
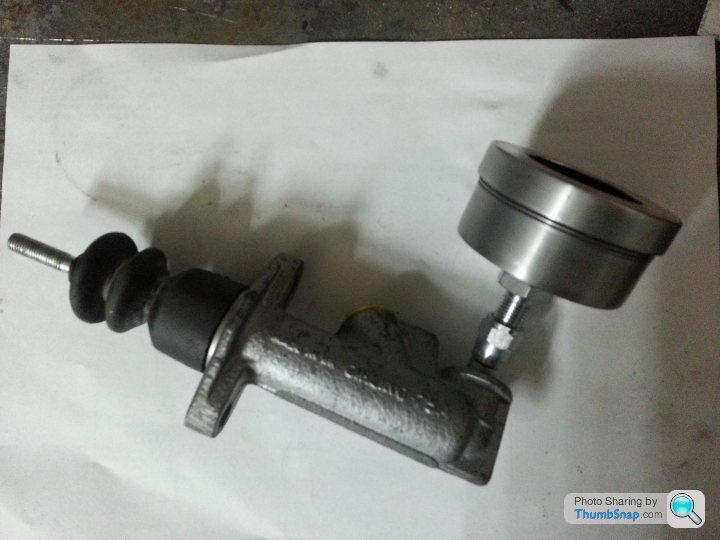
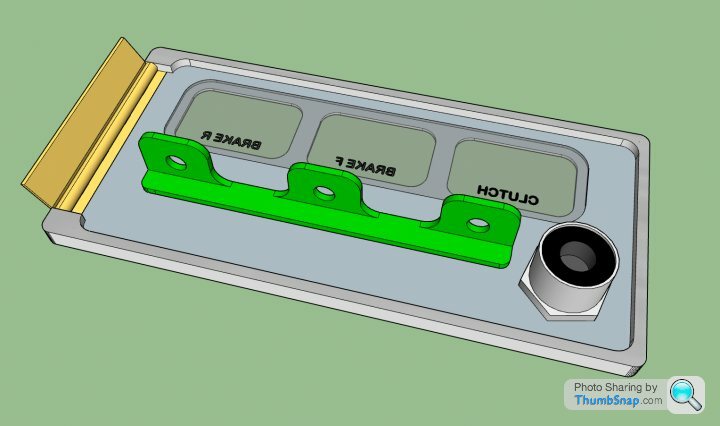
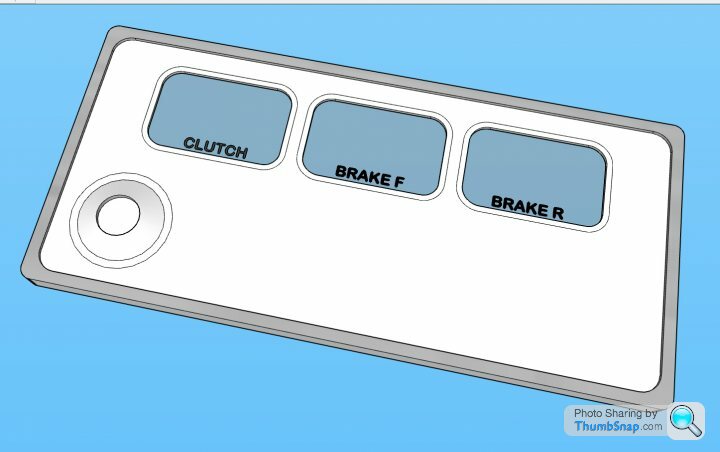
Use this pedal box and fit reserviors directly to master cylinders. However, cylinders sit at an angle so I will have to remove existing bolt tabs and make new ones.
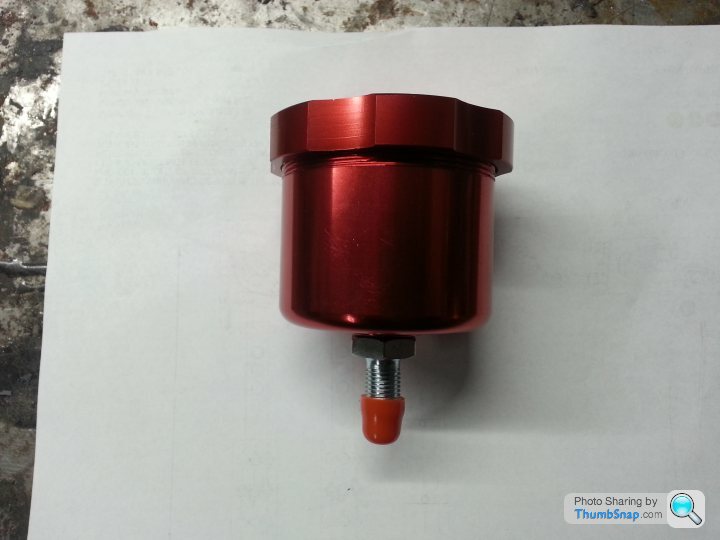
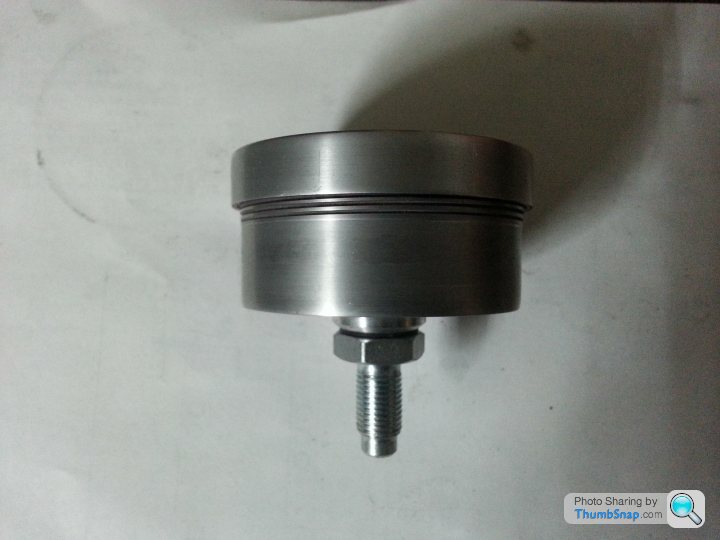
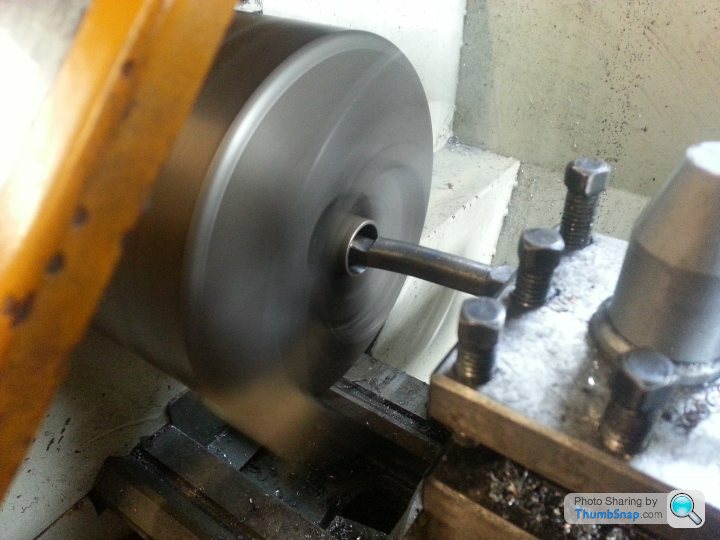
Available threaded reserviors are too tall so they will be attacked with my lathe until they are the right height. Bought this on eBay to experiment with.

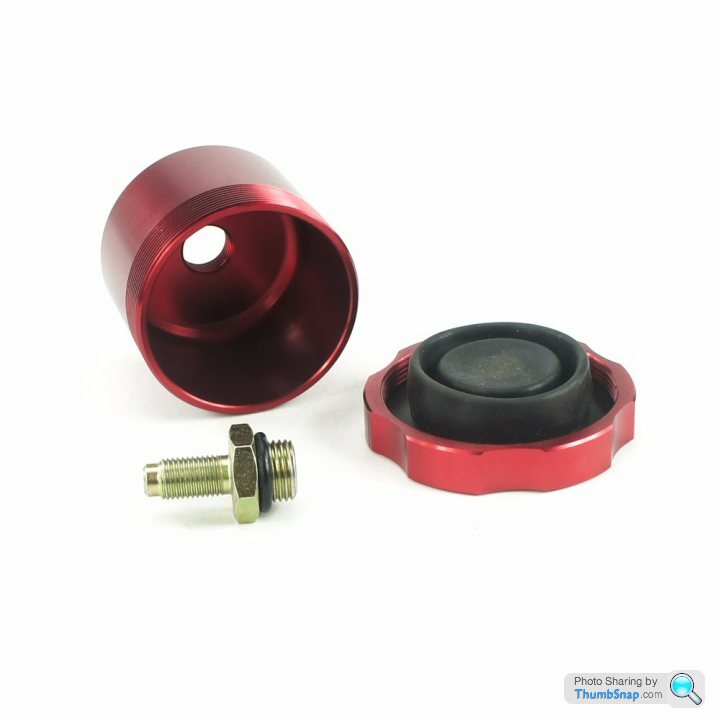
I may have to recess the box into the floor but won't know that until it arrives and I can do some real life testing.
Use this pedal box and fit reserviors directly to master cylinders. However, cylinders sit at an angle so I will have to remove existing bolt tabs and make new ones.
Available threaded reserviors are too tall so they will be attacked with my lathe until they are the right height. Bought this on eBay to experiment with.
I may have to recess the box into the floor but won't know that until it arrives and I can do some real life testing.
The larger of the two 12v solenoids/actuators arrived from China today so I was able to perform a proof of concept test. I used a Duracell 9v battery as the power source. The wires passing through the large hole will be hidden by the centre console. The unit will be fitted inside the handbrake housing and don't worry, I will use black tape.
The piston will push up the aluminium bar that is visible just above it, releasing the handbrake.
I will use the smaller unit in the final build, so if anyone has a use for this one let me know.
https://www.youtube.com/watch?v=NIWiY99yoxc
The piston will push up the aluminium bar that is visible just above it, releasing the handbrake.
I will use the smaller unit in the final build, so if anyone has a use for this one let me know.
https://www.youtube.com/watch?v=NIWiY99yoxc
ceebmoj said:
Have you seen what dp cars (http://dpcars.net/) is doing with pedal boxes? Some very neat packaging solutions that may work for you as well.
I had a look and can find nothing on pedal boxes, so must be looking in the wrong place. Could you post a link to the actual page?Had a play this afternoon with how to fit the boot. I think I have worked out what I am going to do. A pair of mini-latches at the rear with the boot sliding into some tubes at the front edge. Knocked up the threaded aluminium bars on the lathe and they will be cleaned up prior to final fitting. A couple of the lightening holes I drilled are serving more than one purpose. Colin Chapman would be proud of me
Edited by stevebroad on Friday 3rd February 23:05
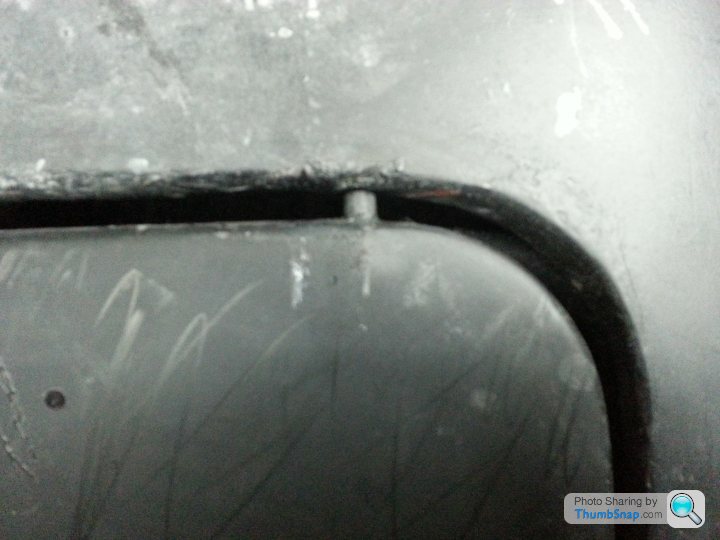
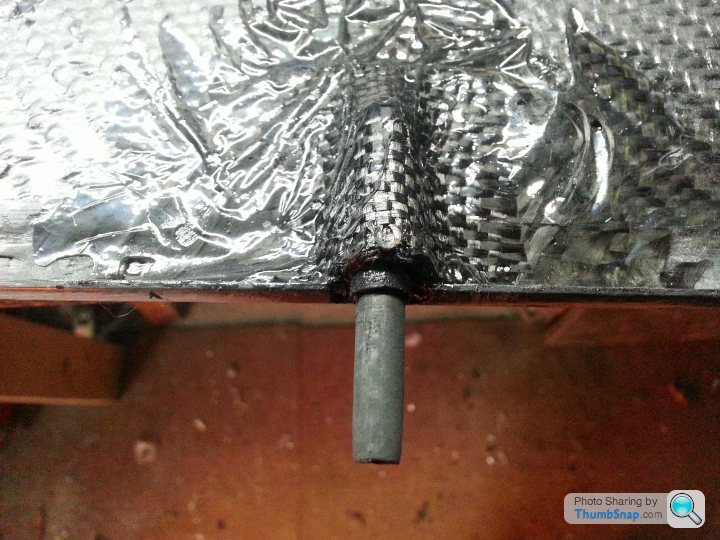
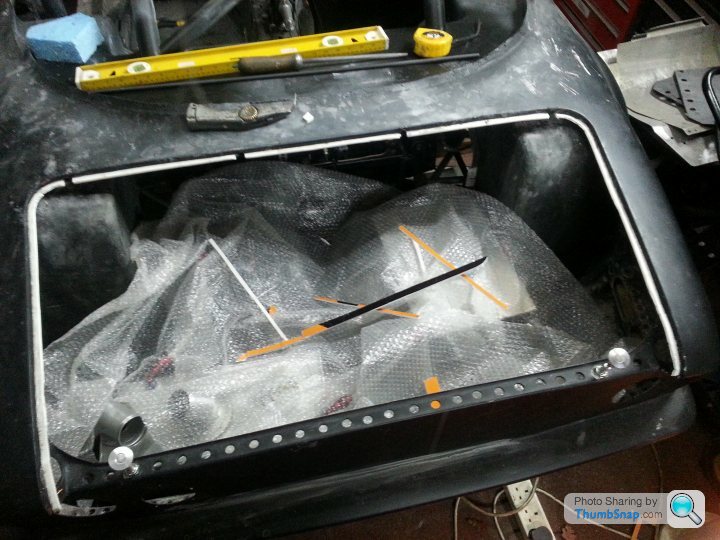
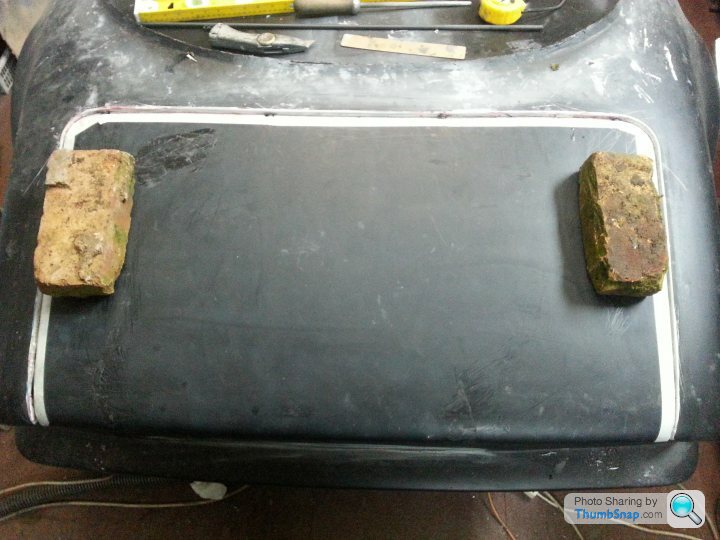
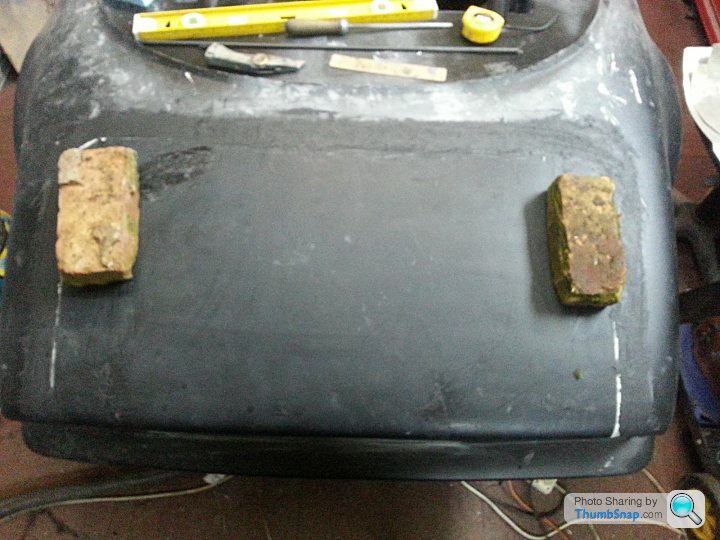
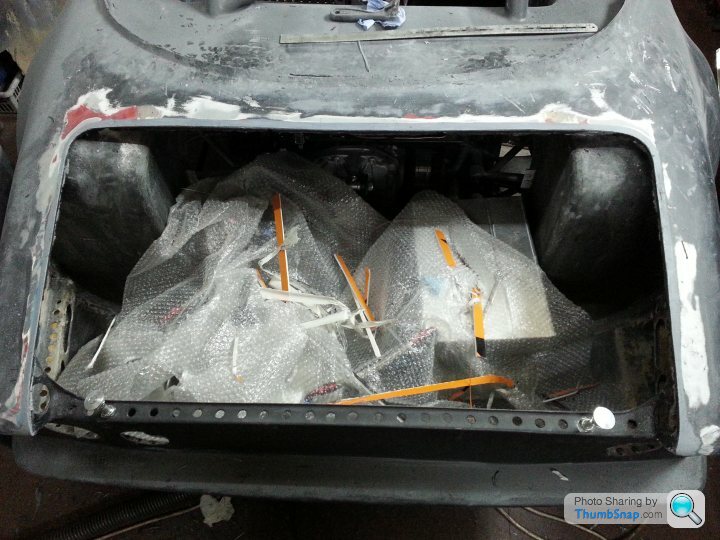
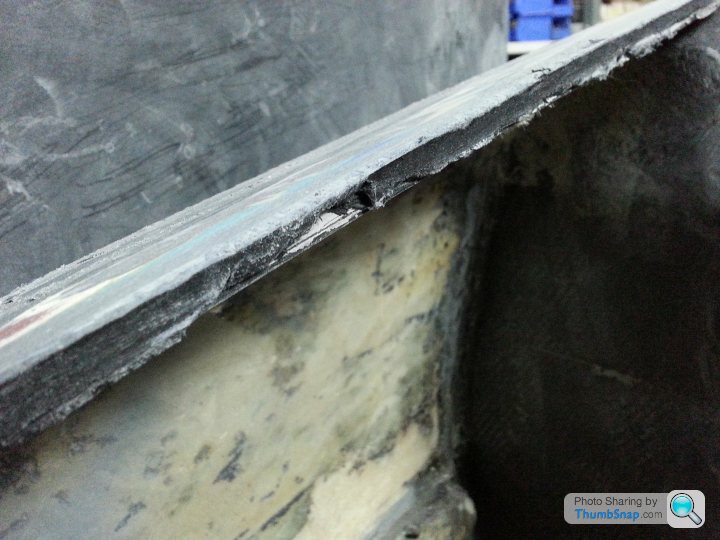
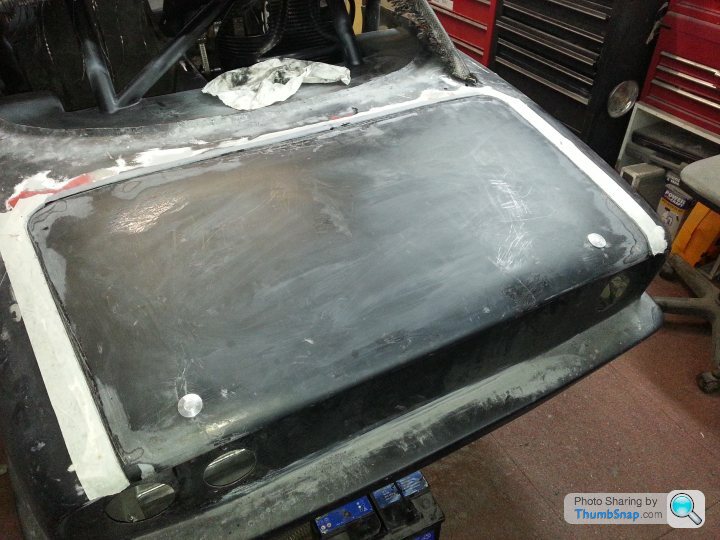
Fitting boot lid. The carbon fibre boot lid was made (not by me) using the original lid as the pattern, so is slightly bigger. Even so, the fit is crap, or perhaps I should say within normal Lotus tolerances. Gap was uneven and big so I decided to attempt to remedy this.
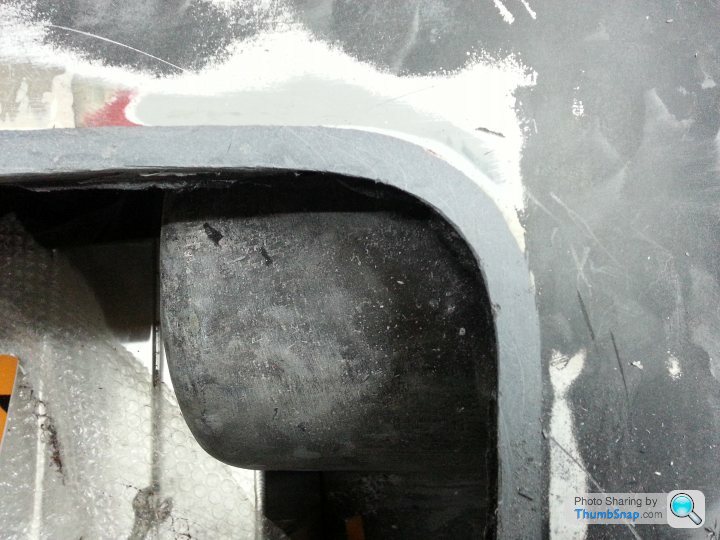
First, I had to make the boot lid fit as best I could. I decided to secure the front face using 4 carbon (obviously) dowels glued to the boot lid that slide into 4 carbon tubes fitted to the body. This worked out pretty well, even if I do say so myself. Next task was to work out how to fill the gap. My method, if it works, was to fill the gap completely, using (yes, you guessed) carbon fibre filler then to trim to the desired gap.
In order to prevent filler falling into the boot a barrier of Corex was hot glued to the underside of the boot lid surround. The boot lid edge was covered in masking tape in order to prevent the filler sticking to it (time will tell if this works). Filler was then used to fill the gap between lead and body. The bricks were used to align the lid with the body. Stiffening will be added to the lid to keep it to this shape at a later date.
Edited by stevebroad on Sunday 5th February 18:26
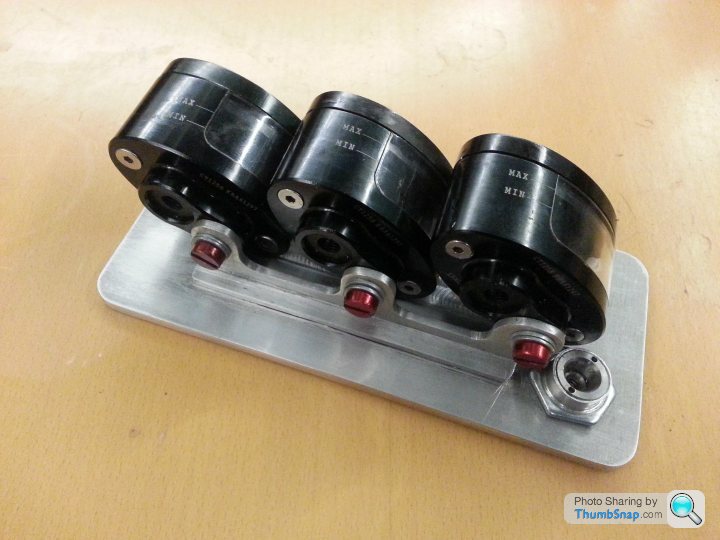
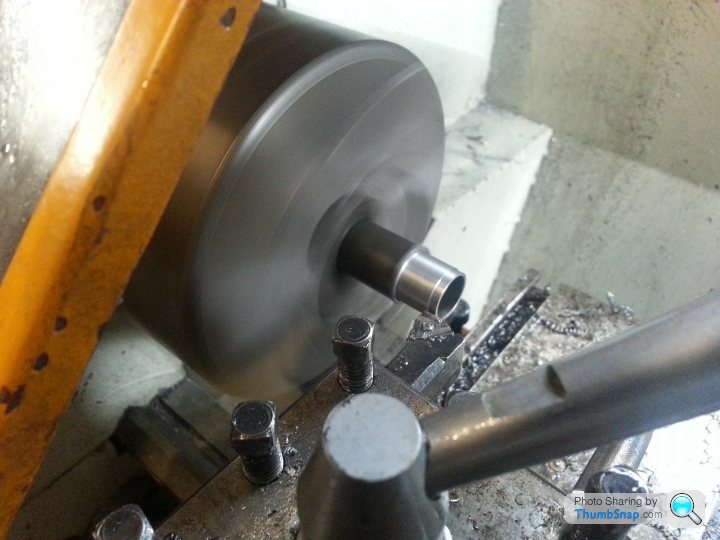
The experimental master cylinder reservior arrived today. Need to check that the aluminium used is suitable for welding. Cut it down to size and thinned the walls and cap. Original weight 227gms, now weighs 97gms, 31 of which are in the steel fitting so I will make some aluminium ones It welded fine so I will order two more. The shortened height will help in fitting them under my legs in the floor. Also saves around 400gms.
After a fair amount of work and mods, it became apparent that the reservoirs couldn't be fitted on the master cylinders or anywhere on the floor without causing leg and feet issues. So a major rethink took place and it was decided to relocate the reservoirs behind the dash, attached to an opening panel. This also allowed for easy fluid level monitoring.
As the hydraulic handbrake was designed to be fitted to cars without a centre console, relesing the lock was going to be a problem and I had to come up with a way of releasing in remotely. Decided on a tiny solenoid opersted by a button on the end of the handle. Seems to work.
https://www.youtube.com/watch?v=RbS-xXKvWoE
Edited by stevebroad on Saturday 4th March 08:19
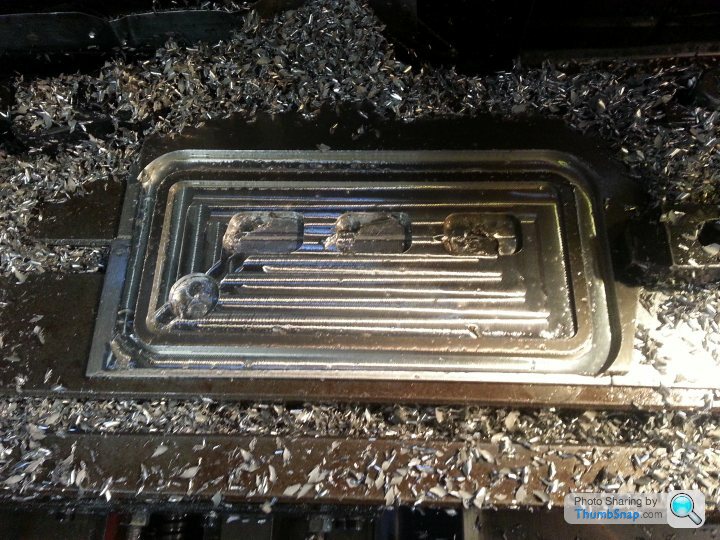
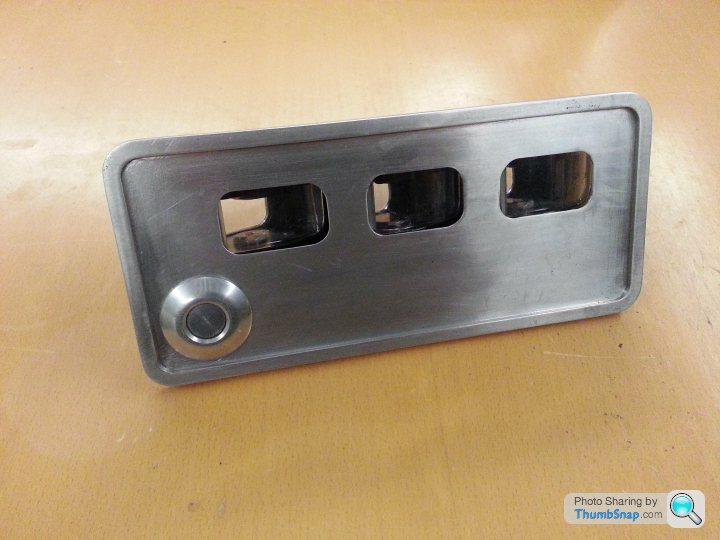
Fluid reservoir holder fabricated. Just needs a hinge, a little more sanding, perspex windows and cross hatching on the front (when new engraving cutter arrive) to disguise the iffy machining. It bares a vague resemblance to the SketchUp drawing The screws are a tad long (hence the extra washers) but this will be rectified (As Colin Chapman was heard to say many times, "Never take a washer for a free ride"). This will be located in the dash, so it can be seen by driver without contravening FIA and MSA regs.
Edited by stevebroad on Sunday 5th March 22:35
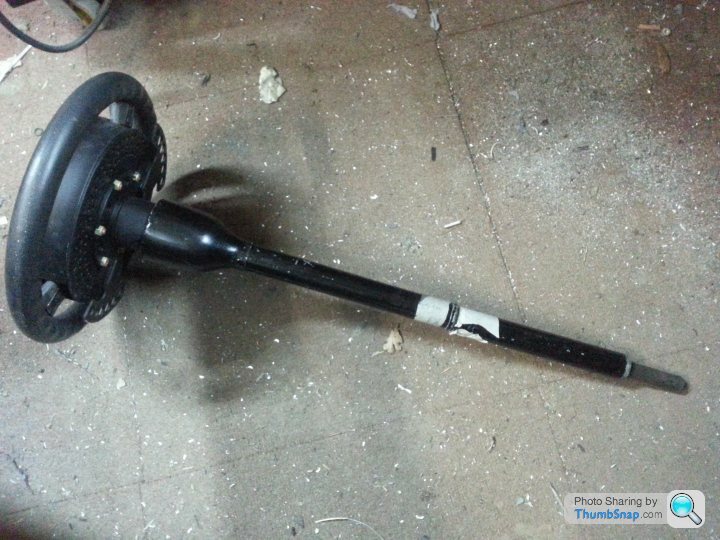
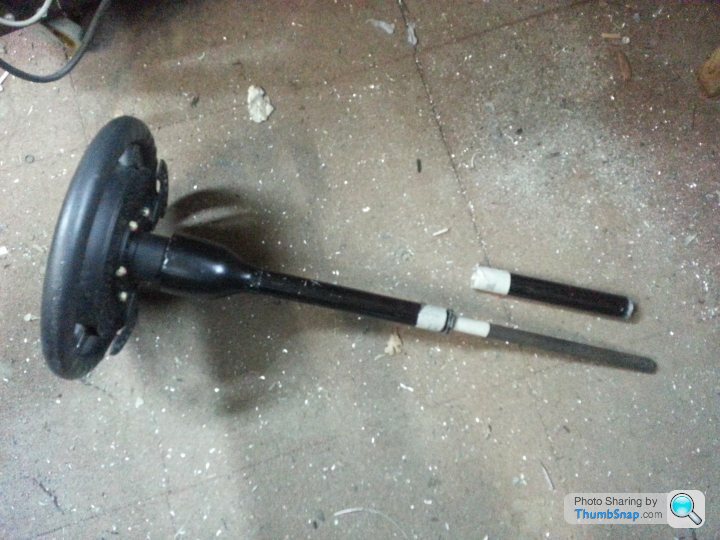
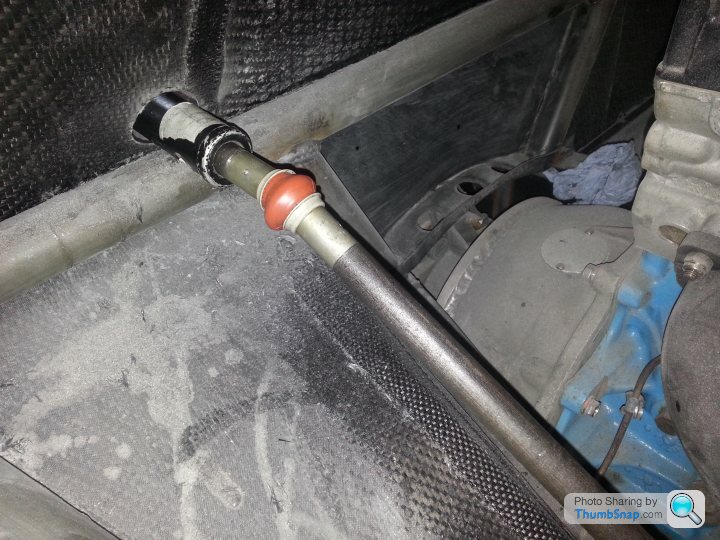
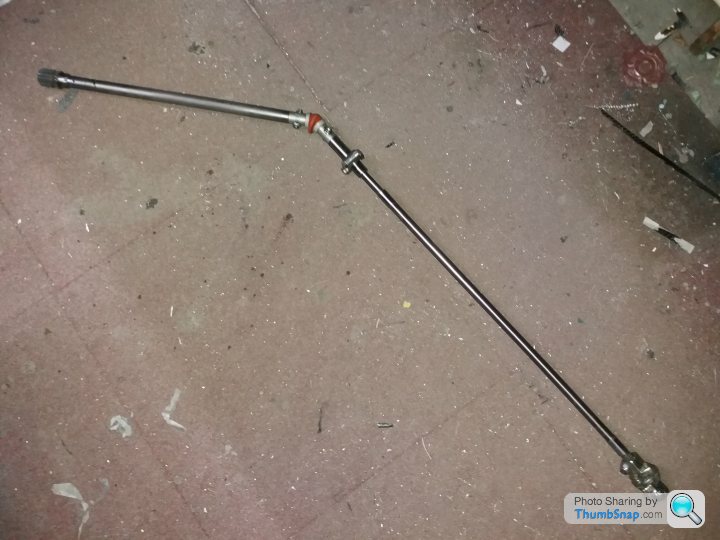
Finally tackled my personal Elephant in the room, the steering column. However, it turned out to be easier than I thought it would be. Only needed one joint and everything seems to line up pretty well, although there is not a lot of elbow room.
Edited by stevebroad on Thursday 9th March 22:20
Edited by stevebroad on Wednesday 22 March 10:49
Finally, after a lot of head scratching and numerous emails to the distributor, I have a working reservoir holder door latch.
https://www.youtube.com/watch?v=2P6ds6s1yKY&fe...
https://www.youtube.com/watch?v=2P6ds6s1yKY&fe...


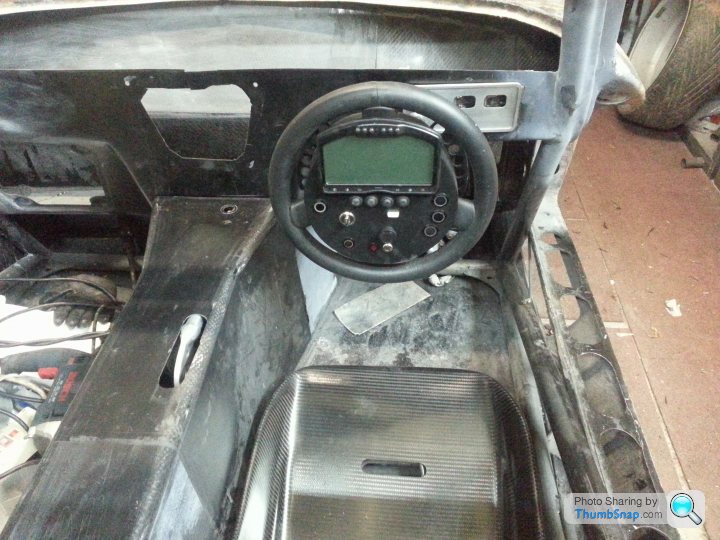
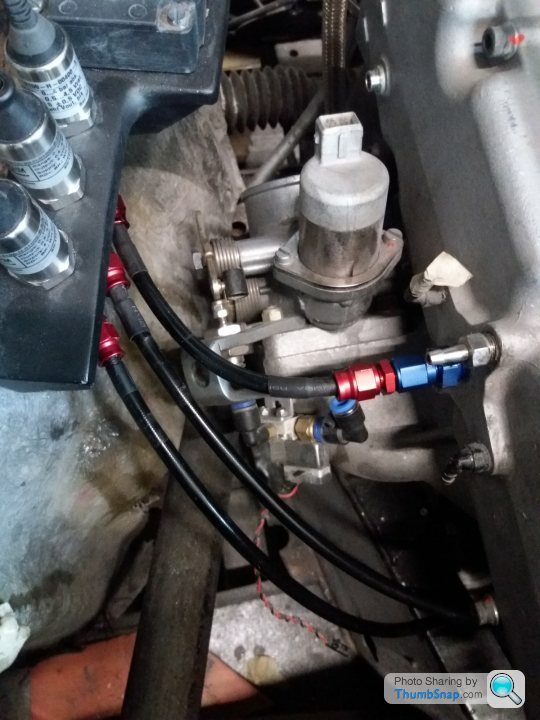
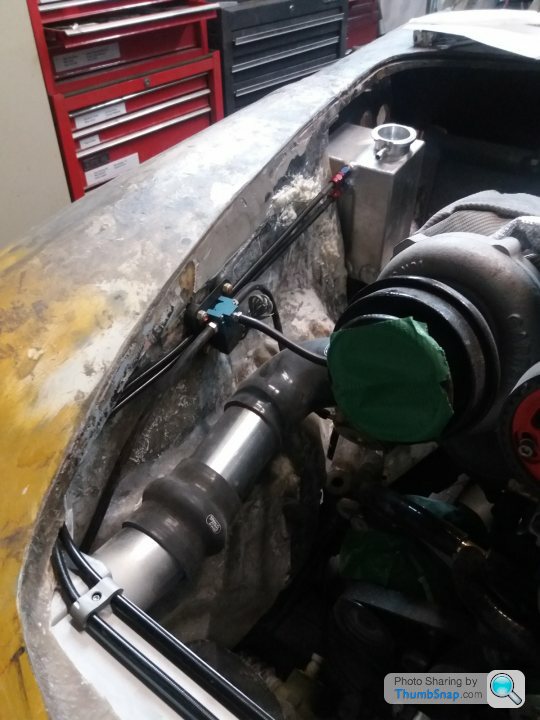
A little progress since last update. Steering column finished. Made from titanium apart from steering wheel and rack splines. Various sensors fitted. Header tank and overflow bottle made, along with swirl pot and connecting pipes.


Overflow outlet has since been resited so it faces bottle. Neater and 6ms lighter :-)
Overflow outlet has since been resited so it faces bottle. Neater and 6ms lighter :-)
Edited by stevebroad on Tuesday 18th July 11:13
Edited by stevebroad on Tuesday 18th July 11:14
shalmaneser said:
Re. the steering column, don't you need two joints fitted out of phase to ensure smooth steering inputs? Unless you've fitted some kind of fancy CV style joint under the orange cover?
The joint is an Apex Covered Universal Joint (aka: Helicopter Joint), bloody expensive but perfect for this job. There is also the standard shaft to rack flexible joint. There shouldn't be any issues with this setup, but only time will tell.Gassing Station | Readers' Cars | Top of Page | What's New | My Stuff