Jaguar xjc 4.2
Discussion


xjc said:

Here is a pic of my car, it currently has Wolfrace wheels on, which I will probably change for Kent alloys before it goes back on the road.
I do also think the 18" wheels you where running on your car look well.
Trying to remember the series 3 engine differences, the block has areas machined/cast to stop it cracking between bores and I believe is cast different to strengthen. The series 3 pistons have shorter skirts and therefore less weight to throw up and down that long stroke. If an injection head is used it was made with bigger inlet valves and breathes better accordingly. That’s all I can remember engine wise. A good friend built my engine over 10 years ago now and was a 6 cylinder jag nut. His cars were of 60’s era and he used to rally his own built mk2 with success.
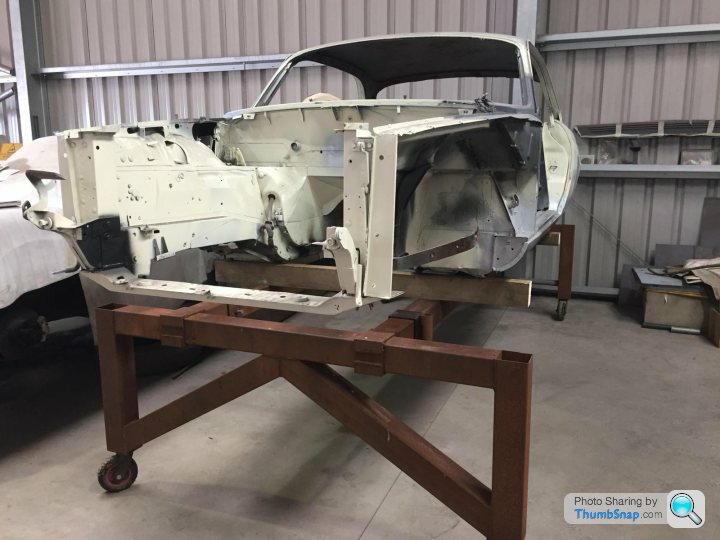
Well your cars body looks in damn better condition than mine did after sitting outside. It does rain a lot in South Wales though lol.
With regards to rebuilding the axles myself is purely down to cost. It would be fab to be able to farm everything out to various companies but I’m just a regular fella earning a regular wage. I post the pictures as they may give ideas to someone else in a similar position to me. I do enjoy it though. Making seemingly scrap parts look new again does give a sense of achievement


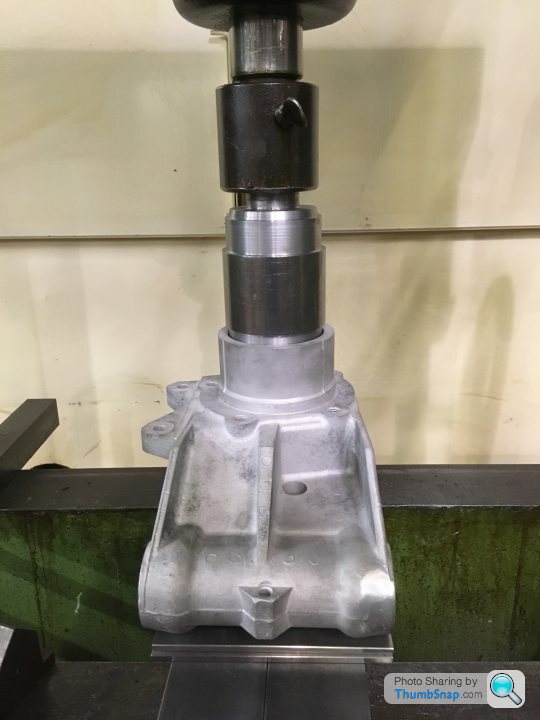
Another tool made to push the new outer bearing into the front hubs.
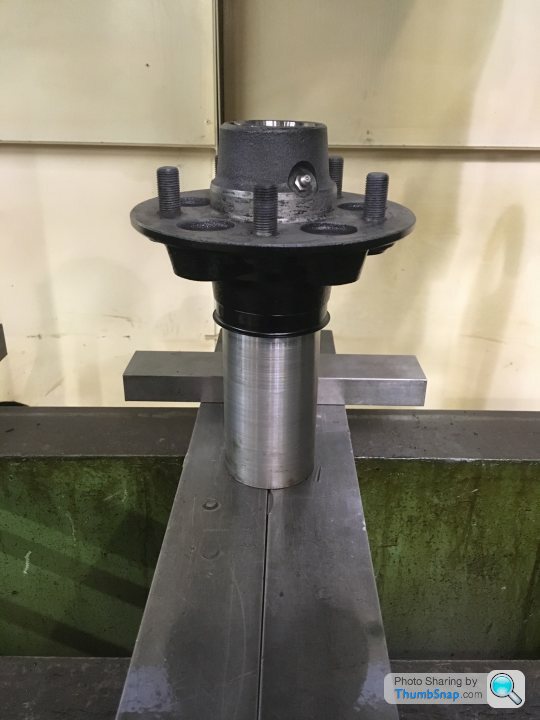
The new tool now helps push in the smaller opposite bearing outer by sitting square in the press and no pressure on the thin pressed steel grease seal on the back of the hub


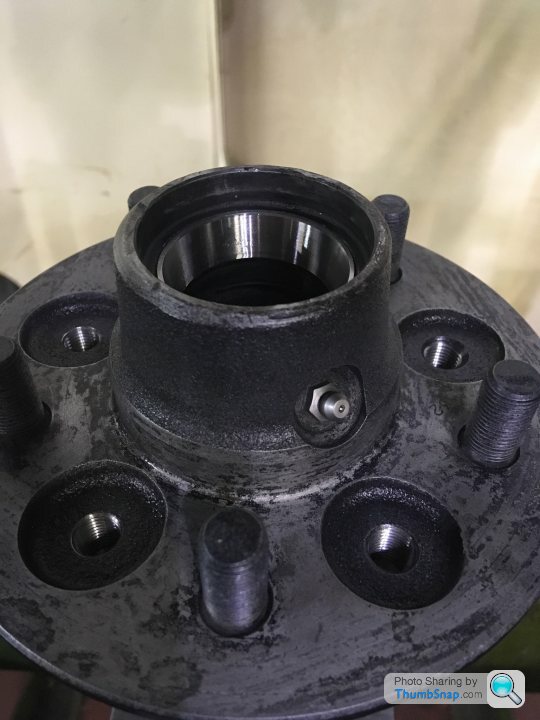
Both front wheel hubs fitted with new bearings. The inners are marked up to match each outer for fronts, rears, left hand and right hand.
CharlesdeGaulle said:
I love your thread. Making tools in order to restore your car is rather cool. I confess I have no idea what all these bits do, but it's an entertaining read and I'm massively impressed wiv da skillz.
It’s the first and probably the only car I will properly restore. My time working in a toolroom which is part of a factory selling engines to a European market is I feel very limited what with brexit looming. Just making the most of my time at work and the wages that go with it. Thanks for the compliment though, always appreciated and I hope this ole girl looks fab when complete

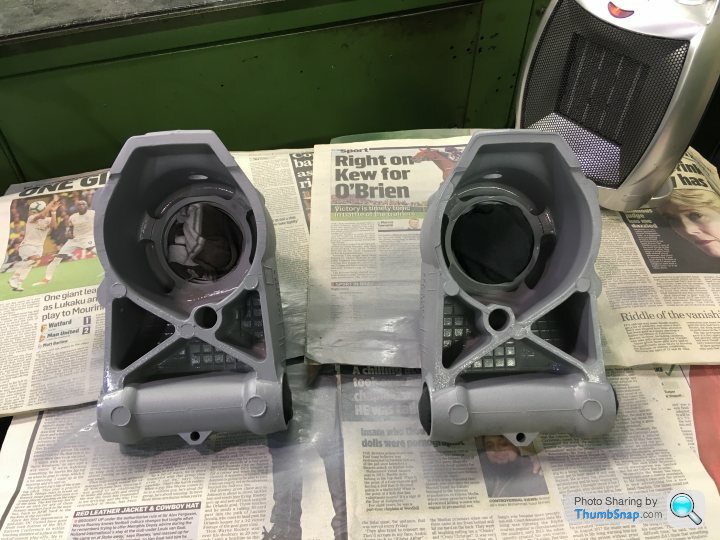
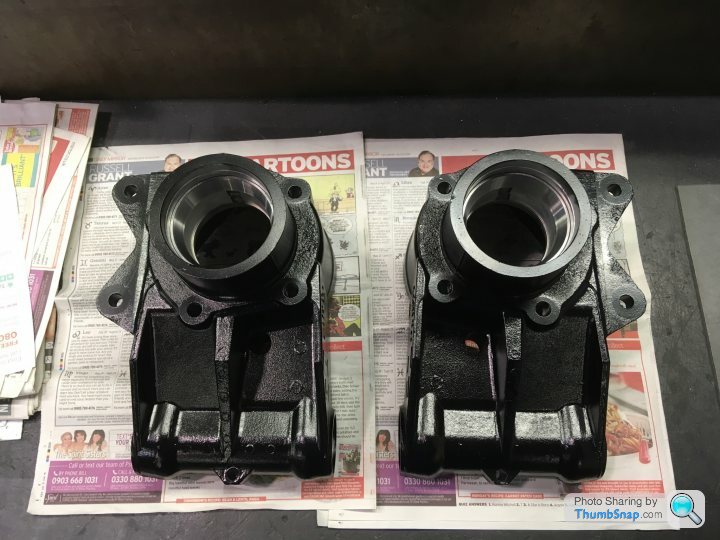
So here’s the late xjs diff for the coupe. Drained the oil and it was extremely clean. Removed the cover and the gears are like new. No slack in the bearing just really good. So cover went back on and a once over the rusty casing with a rotary wire brush, a degrease and the phosphate coating applied. Will take about 48hrs to dry before I can etch prime and then a gloss black top coat. All whilst hanging on the garage hoist. The aluminium cover will be refurbished once painting has been completed.


Pictures above show the panels which are under the rear bench seat when fitted. These have obviously rotted through.

Cut out and replaced with stainless steel. Reason for using stainless is a fibre glass exhaust heat shield is fitted directly under these panels. Once the car is running imagine the damp fibre from condensation, rain water etc now heated up via the exhaust. Water vapour rises and will dampen the panel under the rear seats and hence eventually rot through. Looking from under the car you can’t see what’s happening with that panel when all the running gear etc is fitted. Hence a stainless steel repair.
It will be properly painted and protected as if a plain steel panel so should be something I wont need to worry about in my lifetime


SiH said:
RobXjcoupe said:
Cut out and replaced with stainless steel. Reason for using stainless is a fibre glass exhaust heat shield is fitted directly under these panels. Once the car is running imagine the damp fibre from condensation, rain water etc now heated up via the exhaust. Water vapour rises and will dampen the panel under the rear seats and hence eventually rot through. Looking from under the car you can’t see what’s happening with that panel when all the running gear etc is fitted.
It makes you wonder about whether they even realised this at the time; whether they discounted it as being an issue or just thought 'sod it, it'll do...'.I have a suspicion it would be more likely to be the last one which is a shame but certainly appears to have been the prevalent mindset at the time. Either way I'm enjoying watching your work and look forward to seeing the finished car!


Been a while as trying to get to grips with being made redundant in a few months

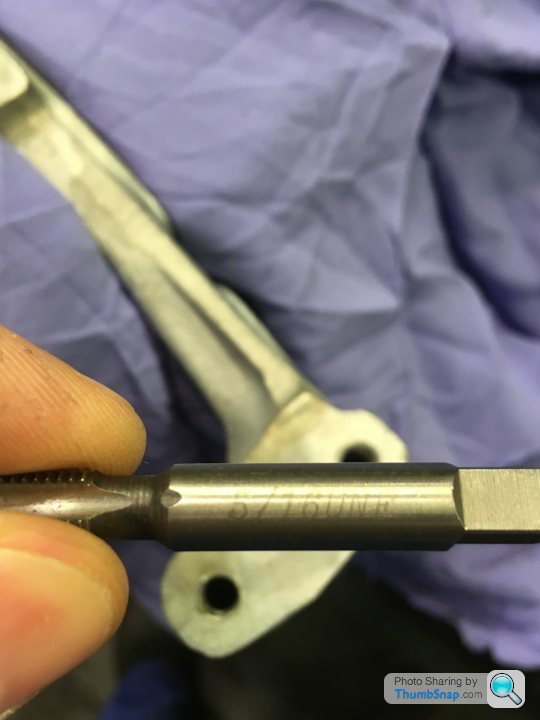
So above I’ve just made a pair of stainless steel front anti-roll bar drop links. The larger middle diameter will shortly be machined for spanner flats.
The screw threads I’ve kept imperial as the originals at 3/8 unf
Bobberoo99 said:
That's a s tter mate!!! Don't tell me they're blaming Brexit! Good luck with finding a new job, fingers crossed it will happen quickly!!
Of course nothing to do with brexit, just the market getting smaller and the big push to battery powered cars.tter mate!!! Don't tell me they're blaming Brexit! Good luck with finding a new job, fingers crossed it will happen quickly!! So I’m making the most of the facility’s now

Gassing Station | Readers' Cars | Top of Page | What's New | My Stuff