Project Datsun 280ZX - E36 M3 Evo Engine Swap
Discussion


Update.
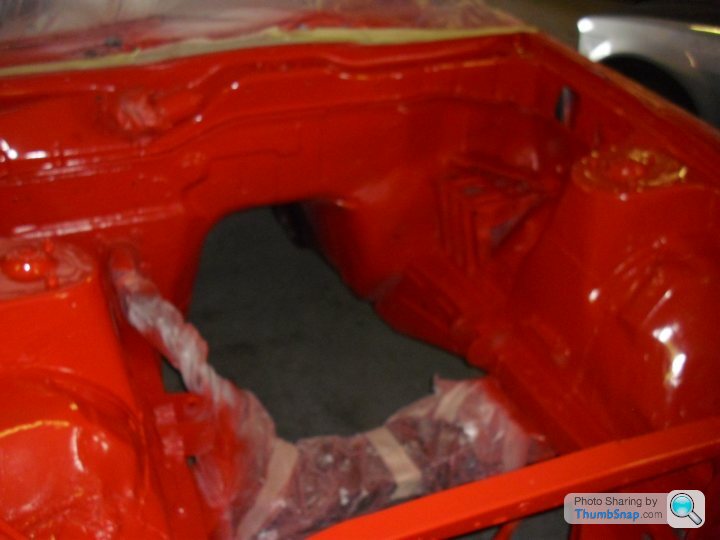
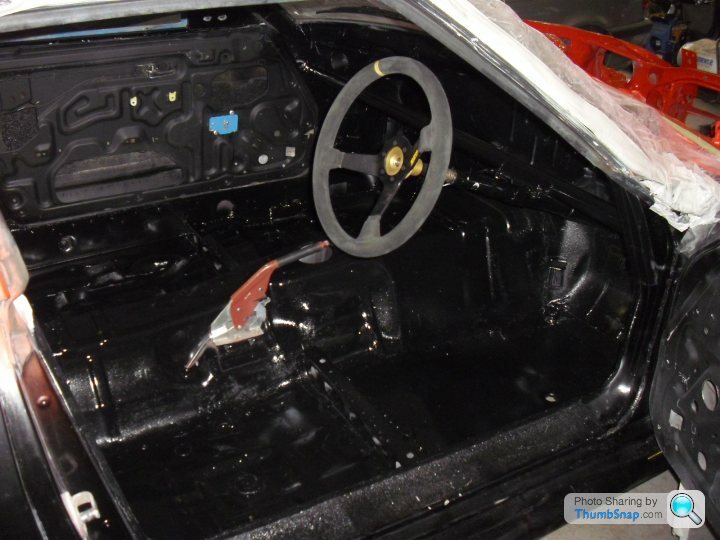
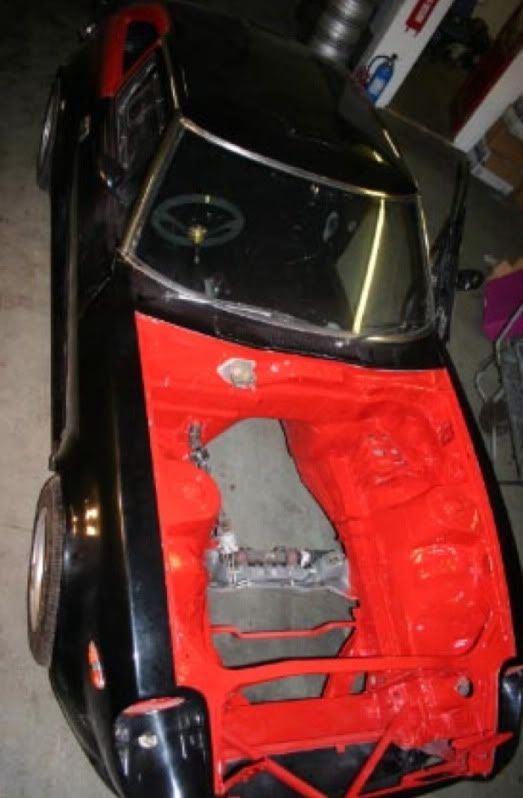
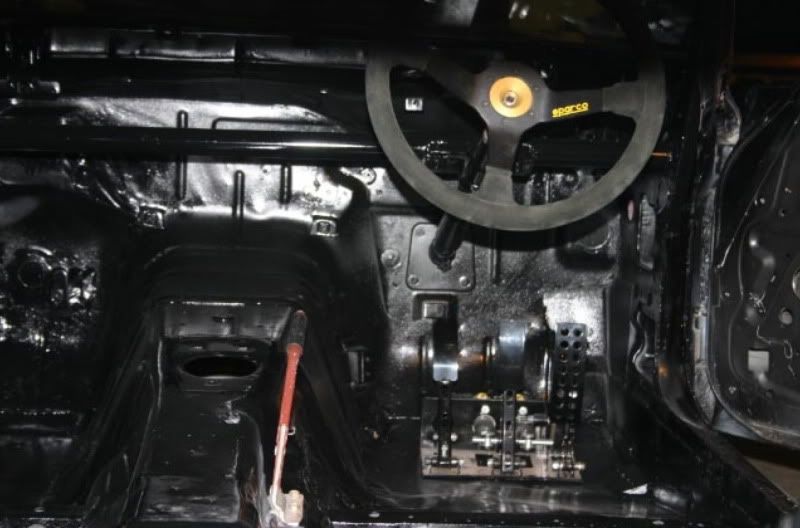
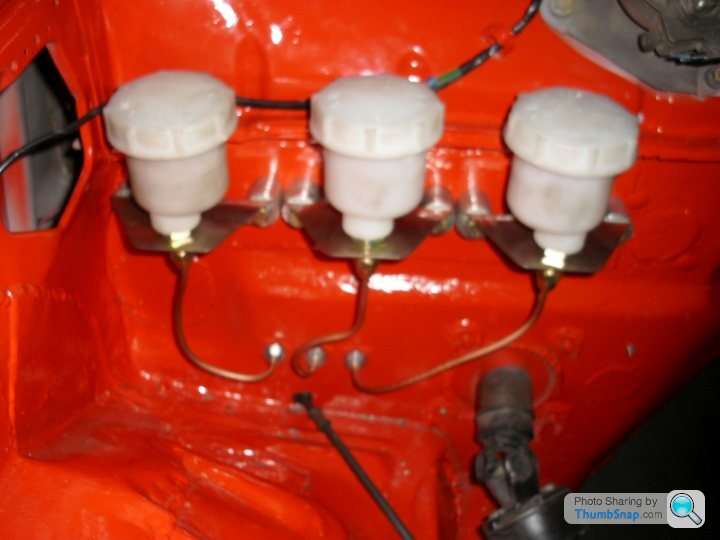
Well after allowing the paint to harden for a good week or so, thsi week we have fitted the pedle box, throttle cable, header tanks and brackets, i came to pipe them up and found the stainless braided line are not long enough so am having them from the cylinders indise to car to bulkhead fittings, from the bulkhead (engine bay side) to the resiviours i will fit metle pipes, although have found the fittings on the resiviours are like most things pretty specilist and not available localy, i have ordered some from ebay, bloody £4 each for a femail 7/16's nut to suit 3/8th pipe!, so whildt i wait for them to come i decided to do some wiring, i got the complete loom in, fitted the fuse box and switch panel, made a mounting for the indicator stalk on the colum, and have spent the last day wiring up the datsun electrics to it, so now we have lights, indicators, hazzards and wipers.
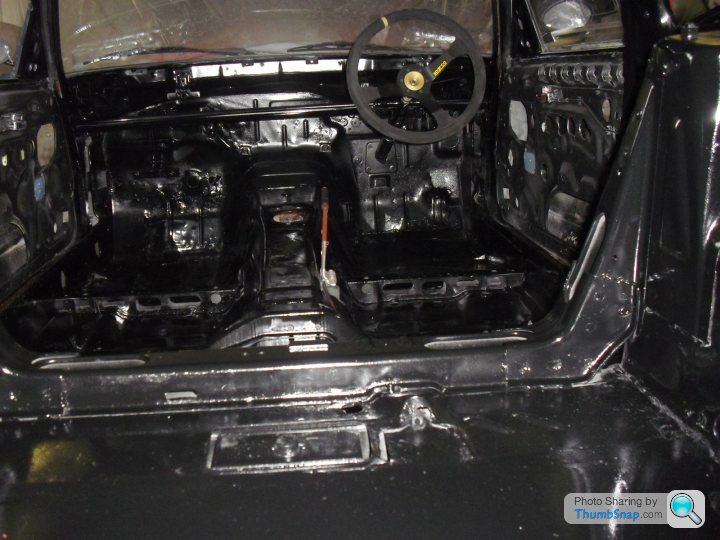
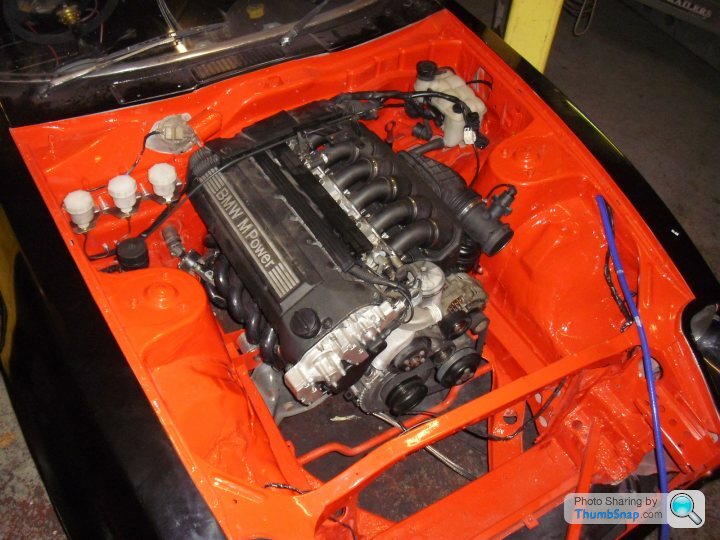
So pretty much the loom is done, a few things to sort with regaurds the battery and main isolator, and a small mod to do the the m3 engine harness and the elctrics are put to bed.
next i will finish of the brakes/clutch pipes, must fit a brake light switch some how, you would have thought the bloody pedle box would come with one of thos, is came with ecerything else, or at least somewhere to attach one, more fab required.
once the above is done, i wil start on the fuel sytstem, refit the engine, box, prop, exhaust, roll cage, seat and harness and she will be ready for her 1st fire up cant wait to here it fire into life.
Well after allowing the paint to harden for a good week or so, thsi week we have fitted the pedle box, throttle cable, header tanks and brackets, i came to pipe them up and found the stainless braided line are not long enough so am having them from the cylinders indise to car to bulkhead fittings, from the bulkhead (engine bay side) to the resiviours i will fit metle pipes, although have found the fittings on the resiviours are like most things pretty specilist and not available localy, i have ordered some from ebay, bloody £4 each for a femail 7/16's nut to suit 3/8th pipe!, so whildt i wait for them to come i decided to do some wiring, i got the complete loom in, fitted the fuse box and switch panel, made a mounting for the indicator stalk on the colum, and have spent the last day wiring up the datsun electrics to it, so now we have lights, indicators, hazzards and wipers.
So pretty much the loom is done, a few things to sort with regaurds the battery and main isolator, and a small mod to do the the m3 engine harness and the elctrics are put to bed.
next i will finish of the brakes/clutch pipes, must fit a brake light switch some how, you would have thought the bloody pedle box would come with one of thos, is came with ecerything else, or at least somewhere to attach one, more fab required.
once the above is done, i wil start on the fuel sytstem, refit the engine, box, prop, exhaust, roll cage, seat and harness and she will be ready for her 1st fire up
cant wait to here it fire into life.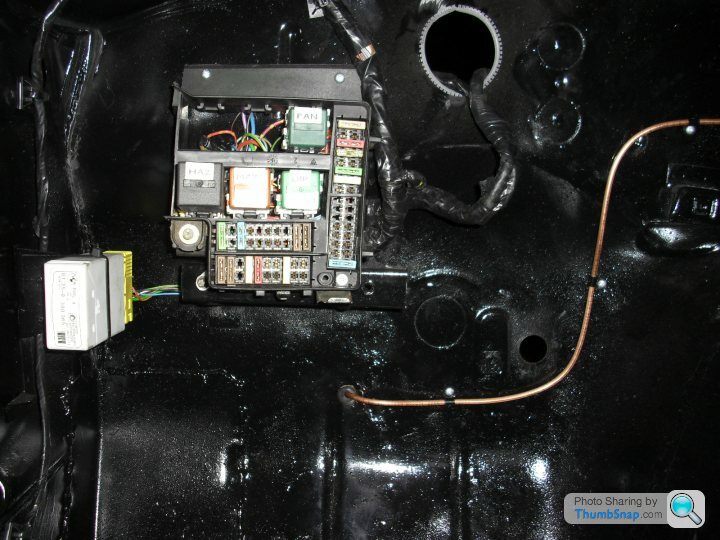
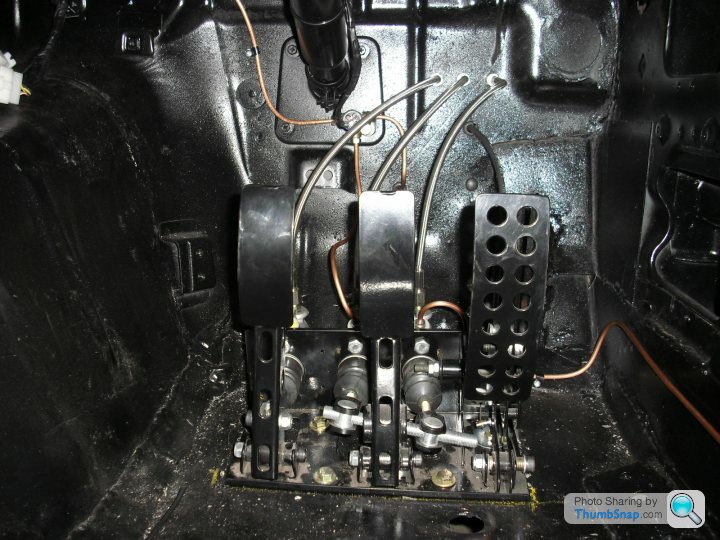

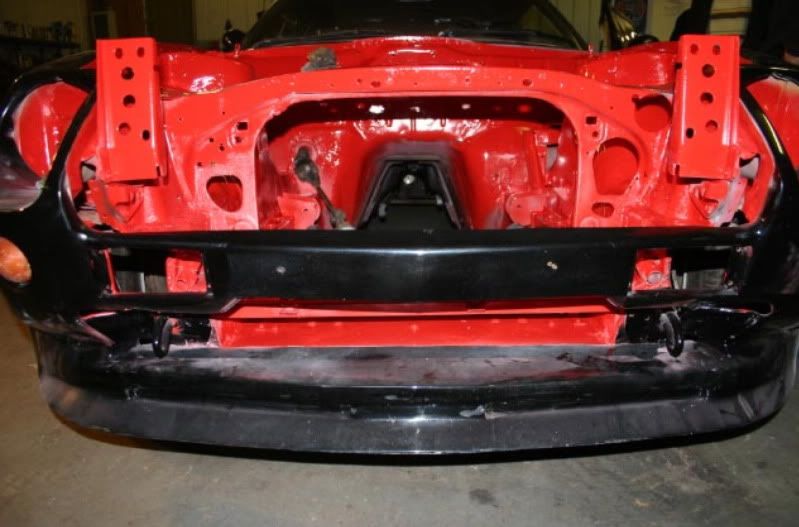
Flexi lines straight behind the pedals? You might want a re-think here lads. All the pressure exerted directly at the pedal will go into expanding the the braided lines and not pushing the calliper pistons out-keep flexi lines to a minimum. Result will be a spongey pedal and low braking confidence/feel through the pedal. Great build tho'.
FWDRacer said:
Flexi lines straight behind the pedals? You might want a re-think here lads. All the pressure exerted directly at the pedal will go into expanding the the braided lines and not pushing the calliper pistons out-keep flexi lines to a minimum. Result will be a spongey pedal and low braking confidence/feel through the pedal. Great build tho'.
the flexis are the feed pipes to the cyls and not the high pressure output lines, they are done in solid copper to the brakes where the rubber flexis have been repalce with braided lines. 
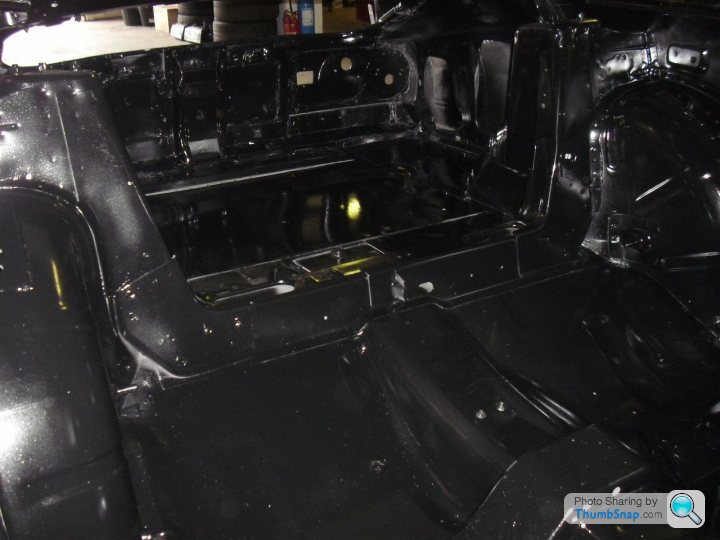
Fuel tank, pump and braided lines installeed, jut a few P clips to finish the lines of inside the car (ordered) and a roll over 1 way air admitance valve to fit in the breather
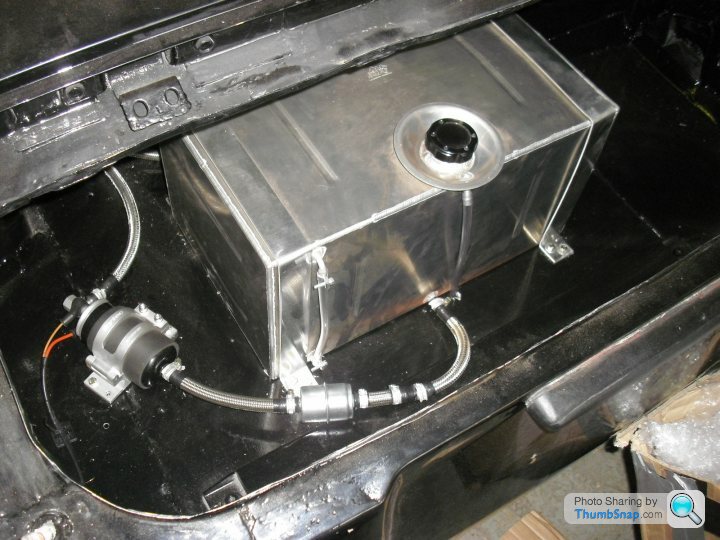
battery box suport made and fitted so next the battery box and wiring
then she will be ready for the engine, and with regards to that and some research after the dealers suplying me with 12 of the same red conrod bearings i have now decided to whip it back apart and swap the 6 in the rods to the blue ones (just arrived from BMW who havent got a scooby doo) we will alo fit a new set of ARP bolts as i do not trust a reused set, cheers dealers thats £150 out of pocket but its better to be safe than sorry.
Edited by d4cjr on Wednesday 30th November 10:59

The engine has now had its 6 upper conrod bearings swapped for blue ones (red ones in caps) and a new set of ARP bolts again, so im happy now its right, wish BMW maindealers had sold me the correct shells in the 1st place, they suplied all reds!!! although the part number on the blues is the same as the reds, its just the paint dot on them that is different.
Have just changed my mind with regards the switch panel, i need to incporporate the main kill switch, before this was on a flimsy bit of bent alloy with the termainal almost shorting to the car body, so i have drawn up and ordered an alloy panel that will fit to the dash bar and down to the tunnel, angled towards the driver and brought closser to him, just hope my measuremnets and angles are somewhere near! not a cheap do but will look better and kill a few birds with 1 stone as to speak.
hopefully that will be ready tommorow so i can fit all the switches and kill switch into it and get it in the car, once thats in and a few clips here aand there and the cage and seat can go back in, then thats me done on the interior as it will be pretty much sorted.
so by mid next week, we should have the engine, box, prop, exhaust and all that in and ready for her 1st fire up
aka_kerrly said:
Great build thread so far.
Some really good work but where is the roll cage that was mentioned earlier in the thread when the box sections for the supports were welded in?
The cage has been in and out but i forgot to take pics sorry, i will take pics of it once reinstalled, its a Safety devices cage that fits very well although its only a 6 point bolt in with added harness barrs, its all we could find available for the car, but its fully certified so will do the job.Some really good work but where is the roll cage that was mentioned earlier in the thread when the box sections for the supports were welded in?
keep your eye out for updates, i will get it pictured in the car soon,

Gassing Station | Readers' Cars | Top of Page | What's New | My Stuff