Land Rover 90 TD5 Tribute Build & Video Series
Discussion


Latest video is here:
https://www.youtube.com/watch?v=nDlnyEQVp20
First job of the week was removing old waxoyl and factory applied stone chipping material. When perusing the workshop manual, I noticed that Land Rover recommend dealers use an air powered scraper. These things are superb! Probably my favourite tool at the moment, the whole tub was stripped in under an hour, ready for a reapplication of stone chipping.

With that done, I moved my attention to the injector loom harness. On the TD5, oil eventually wicks along the wiring into the ECM - this had happened with our vehicle. Hopefully, we've caught it in time. The ECM has been drained and cleaned.

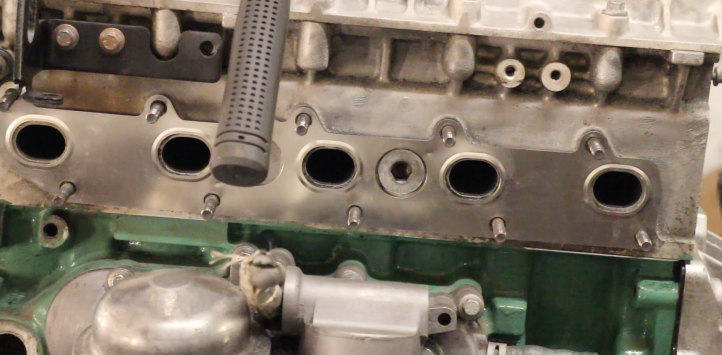
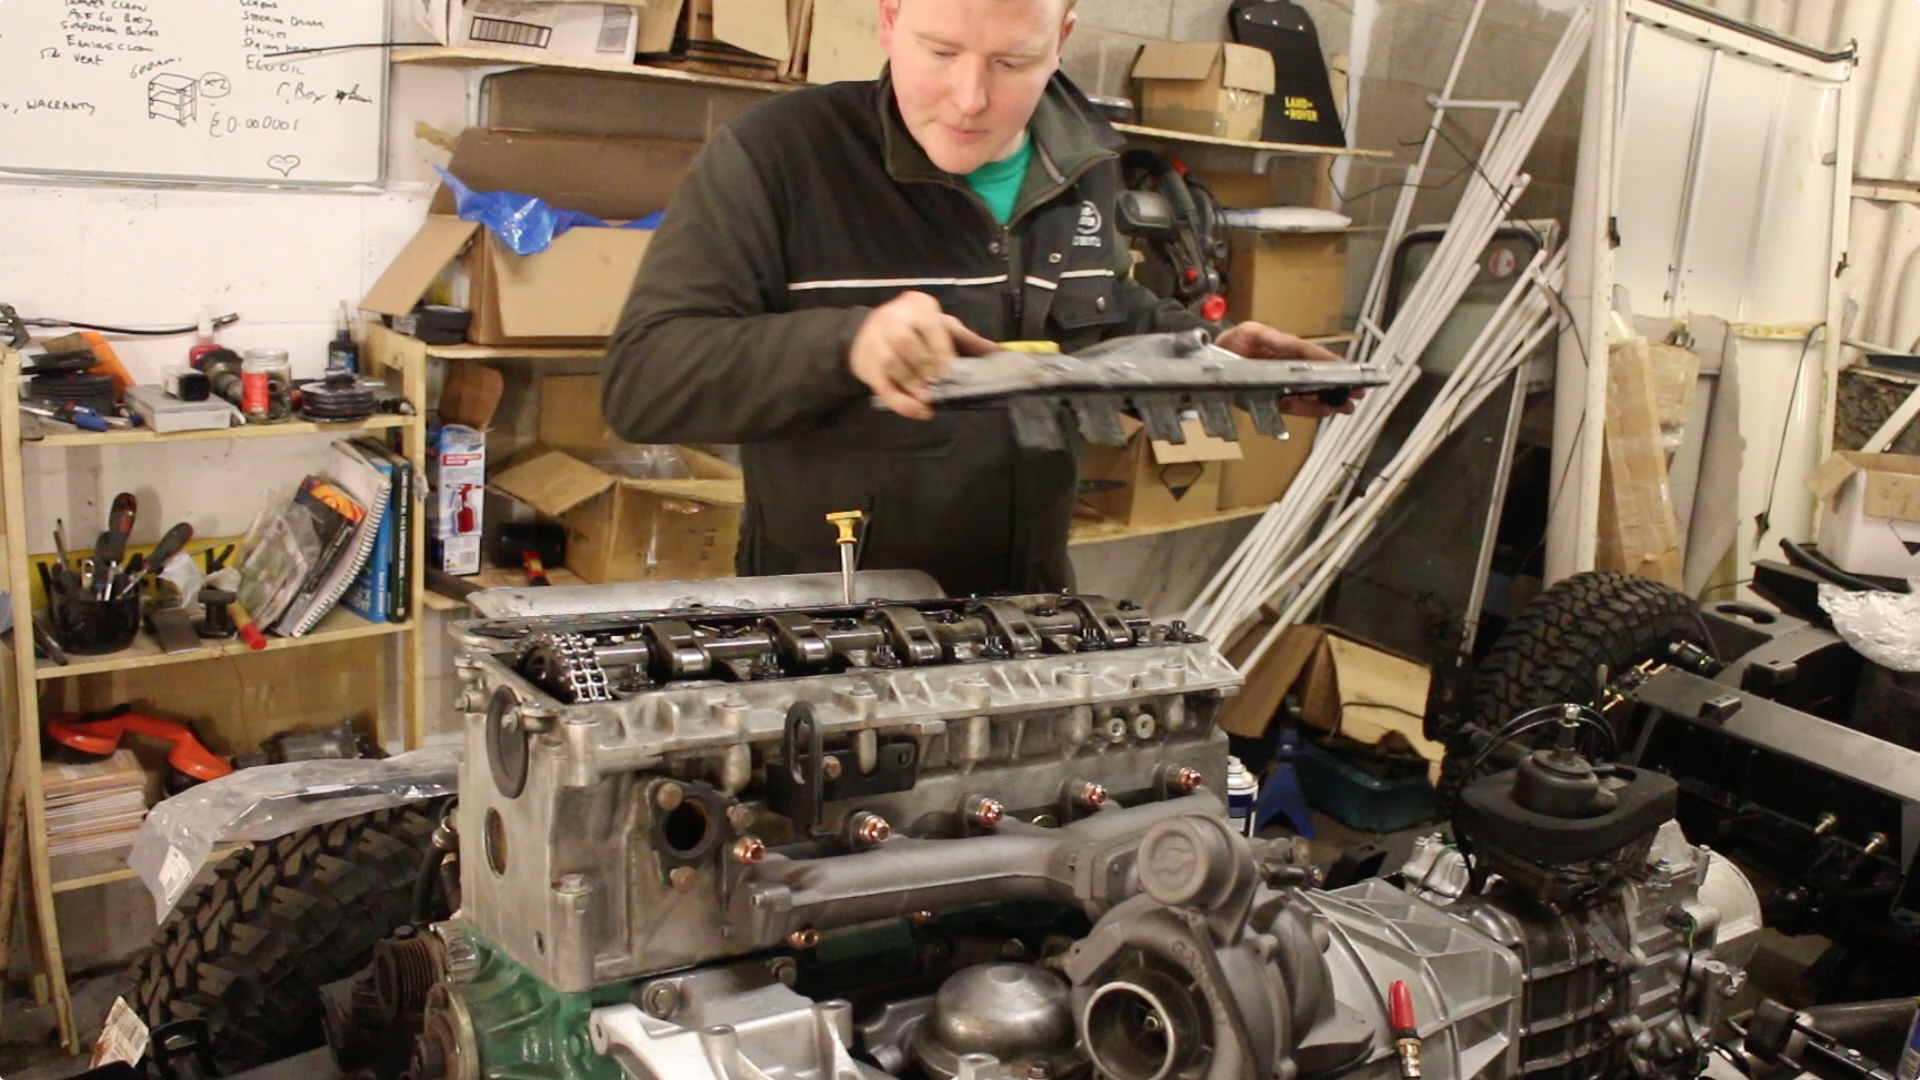
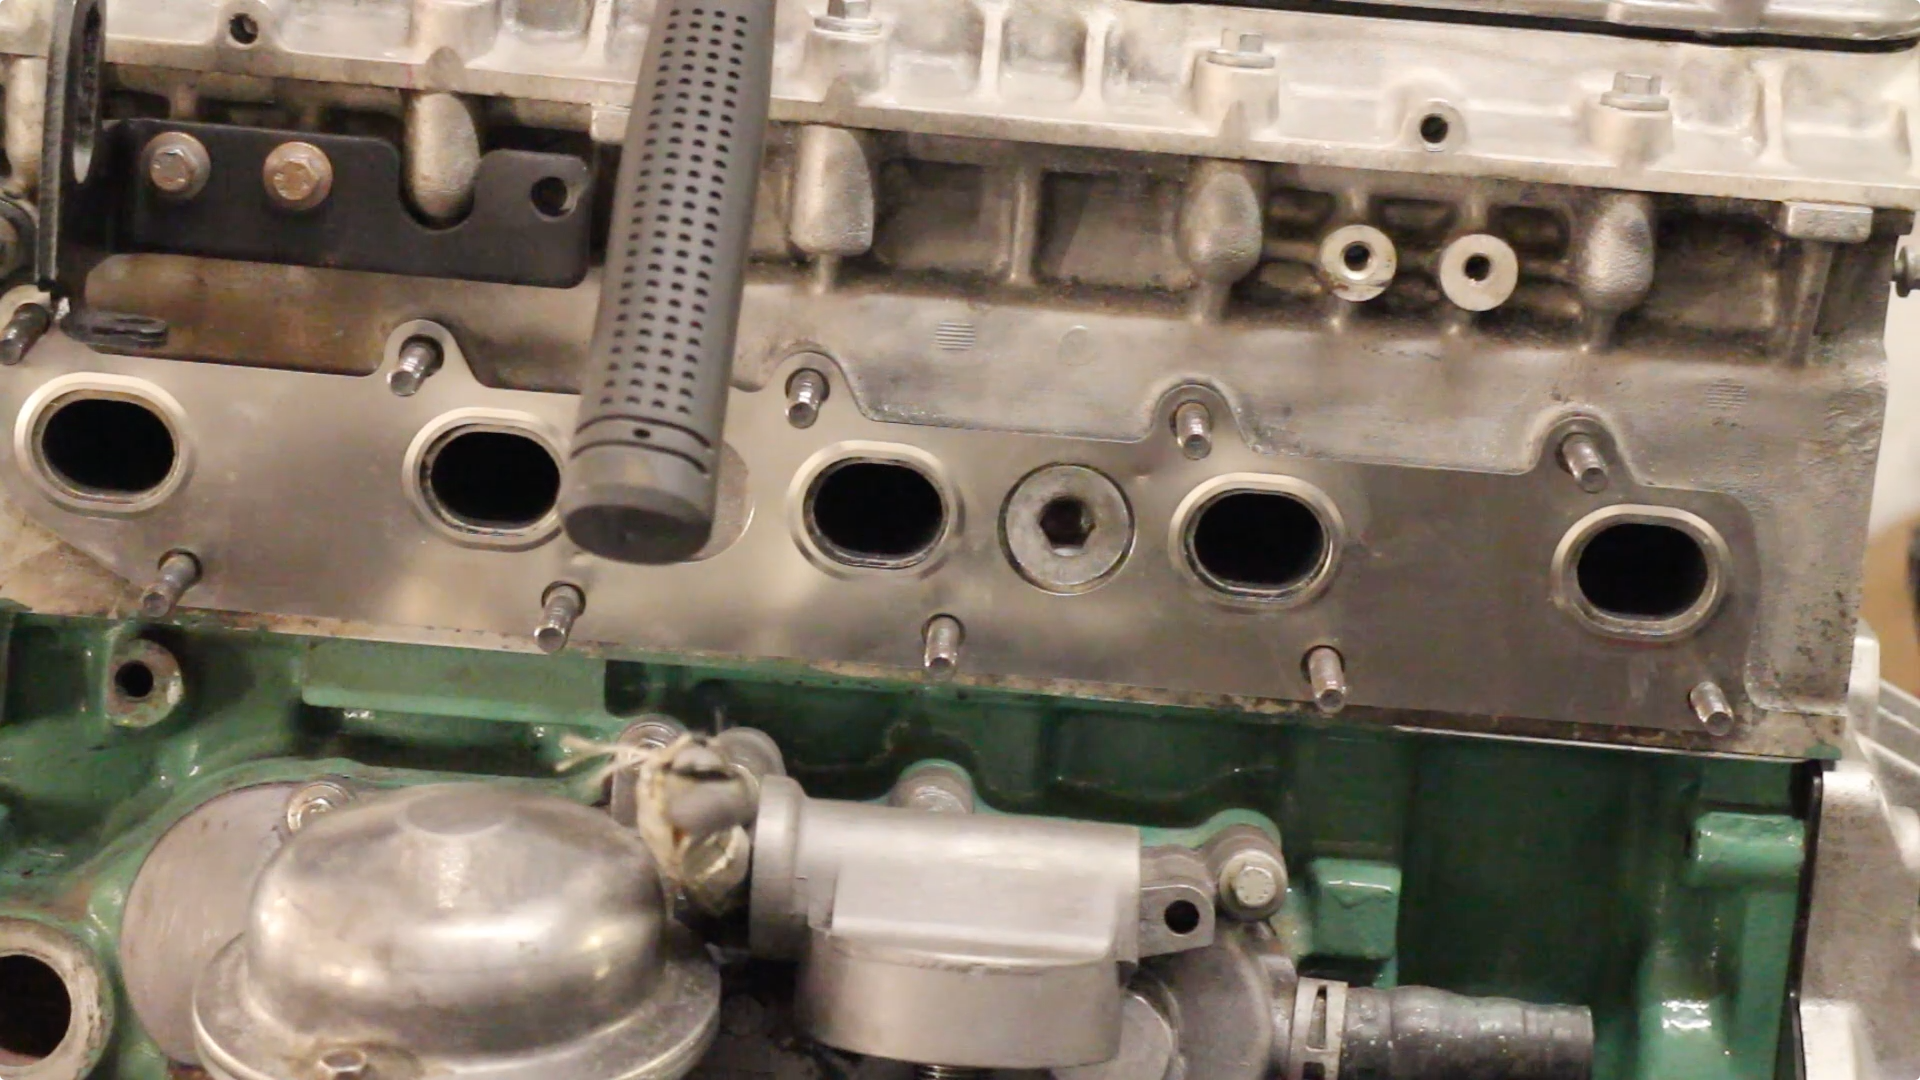
After removing the rocker cover, it's simply a case of removing the electrical connects for each injector.
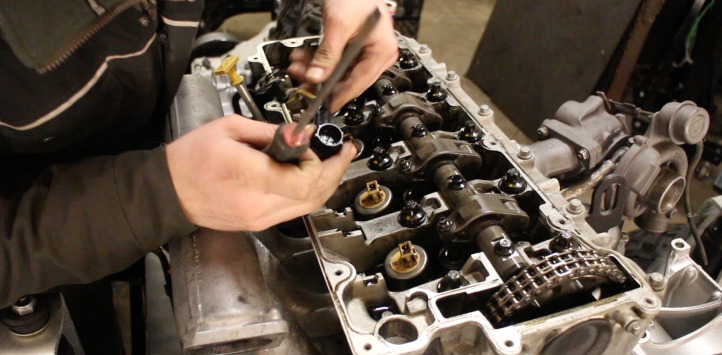
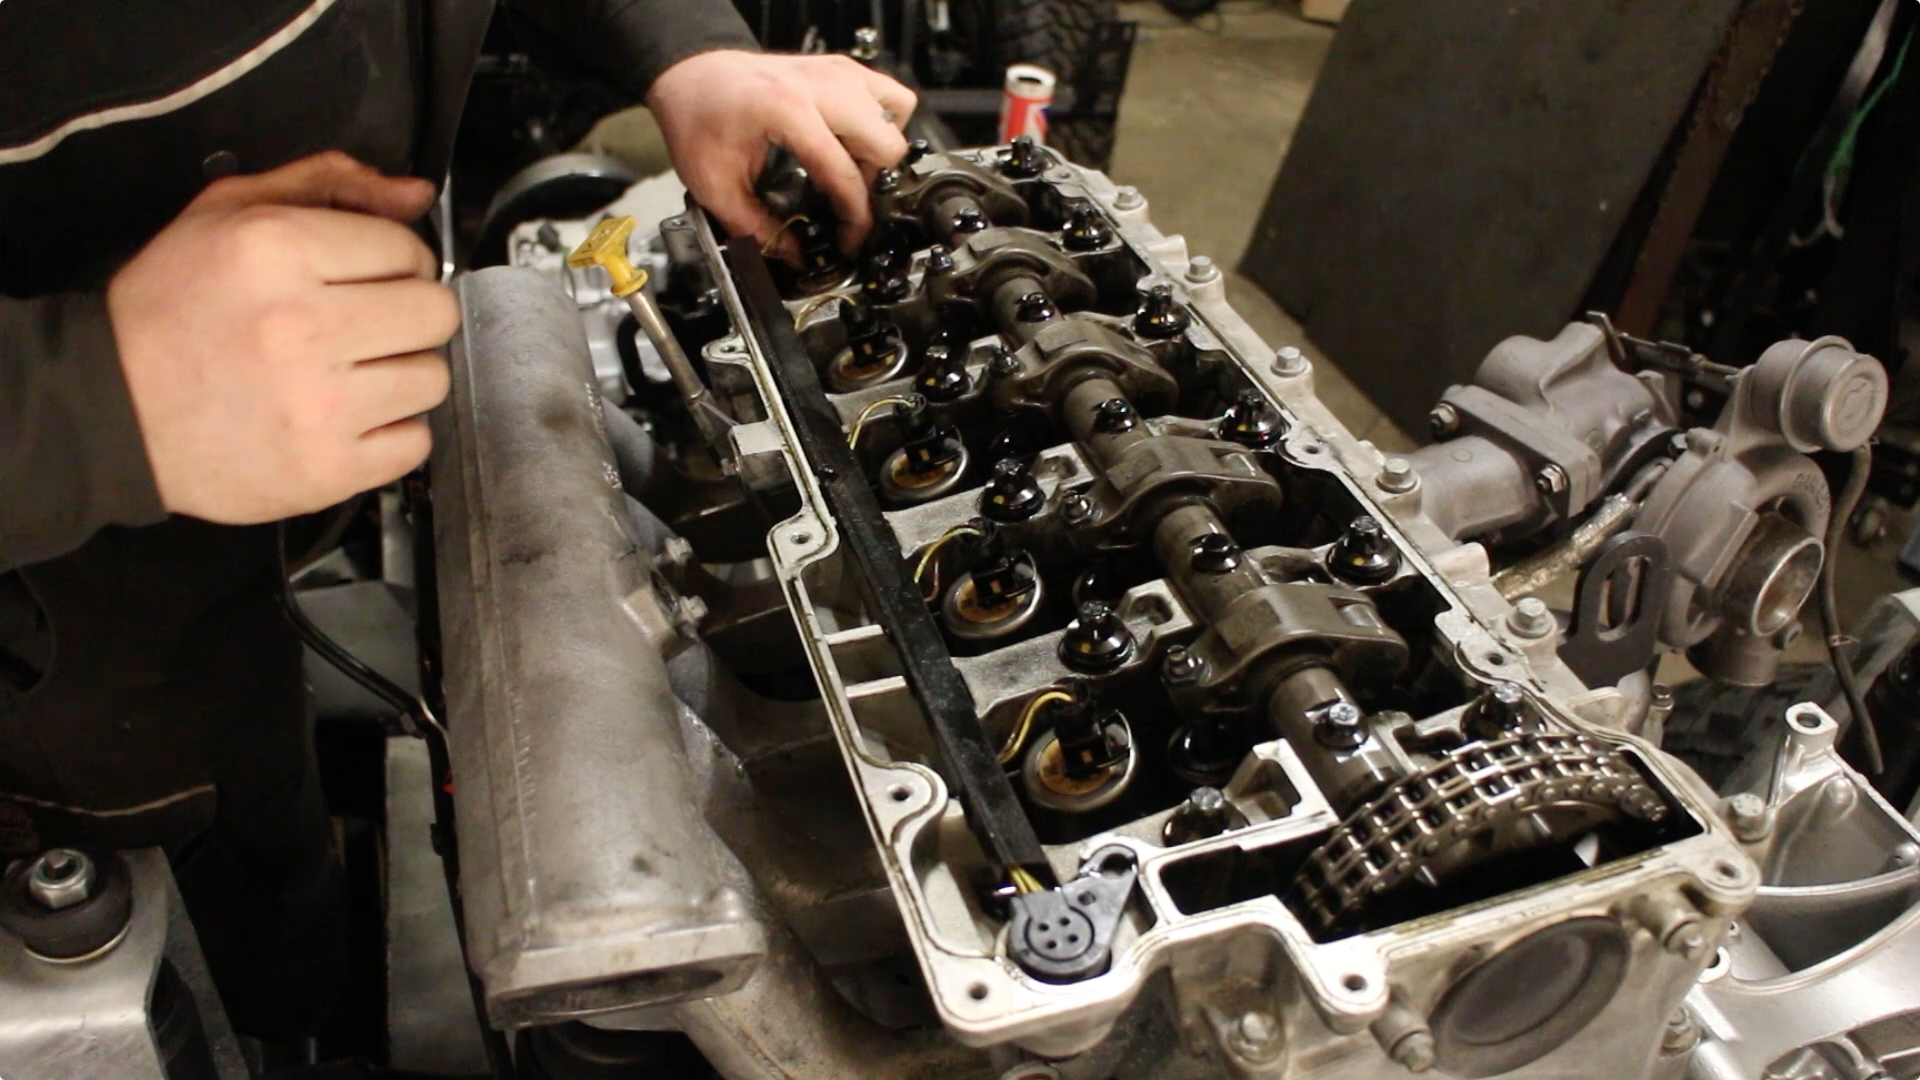
And then prizing out the main connector for the harness. The new harness drops into place in the same manner. All told, with no body on the vehicle - this takes around 5 minutes.
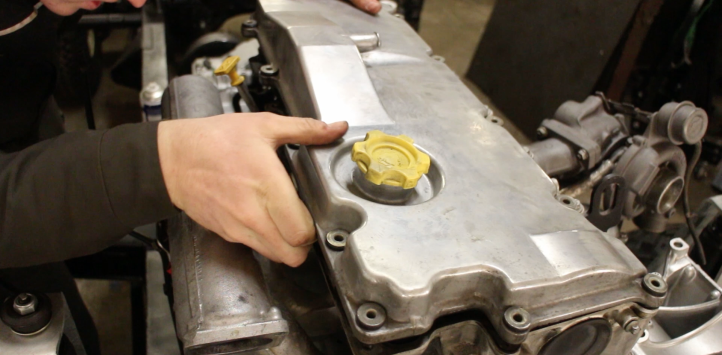
Dropping the rocker cover back onto a new gasket.
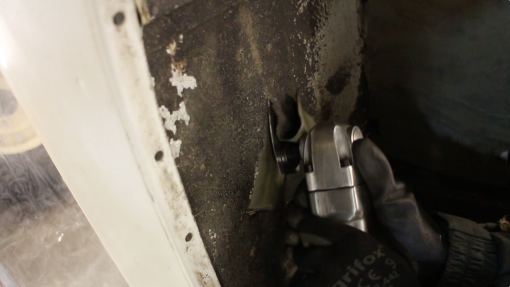
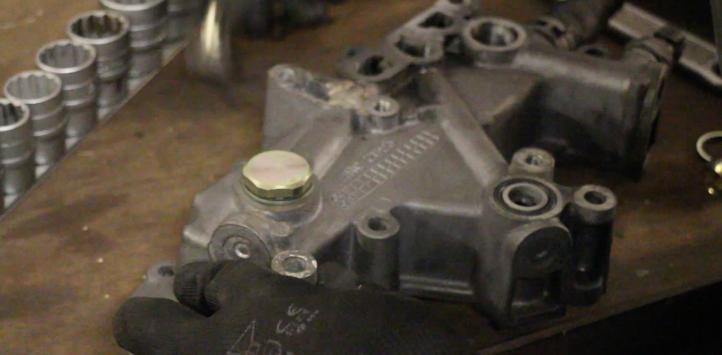
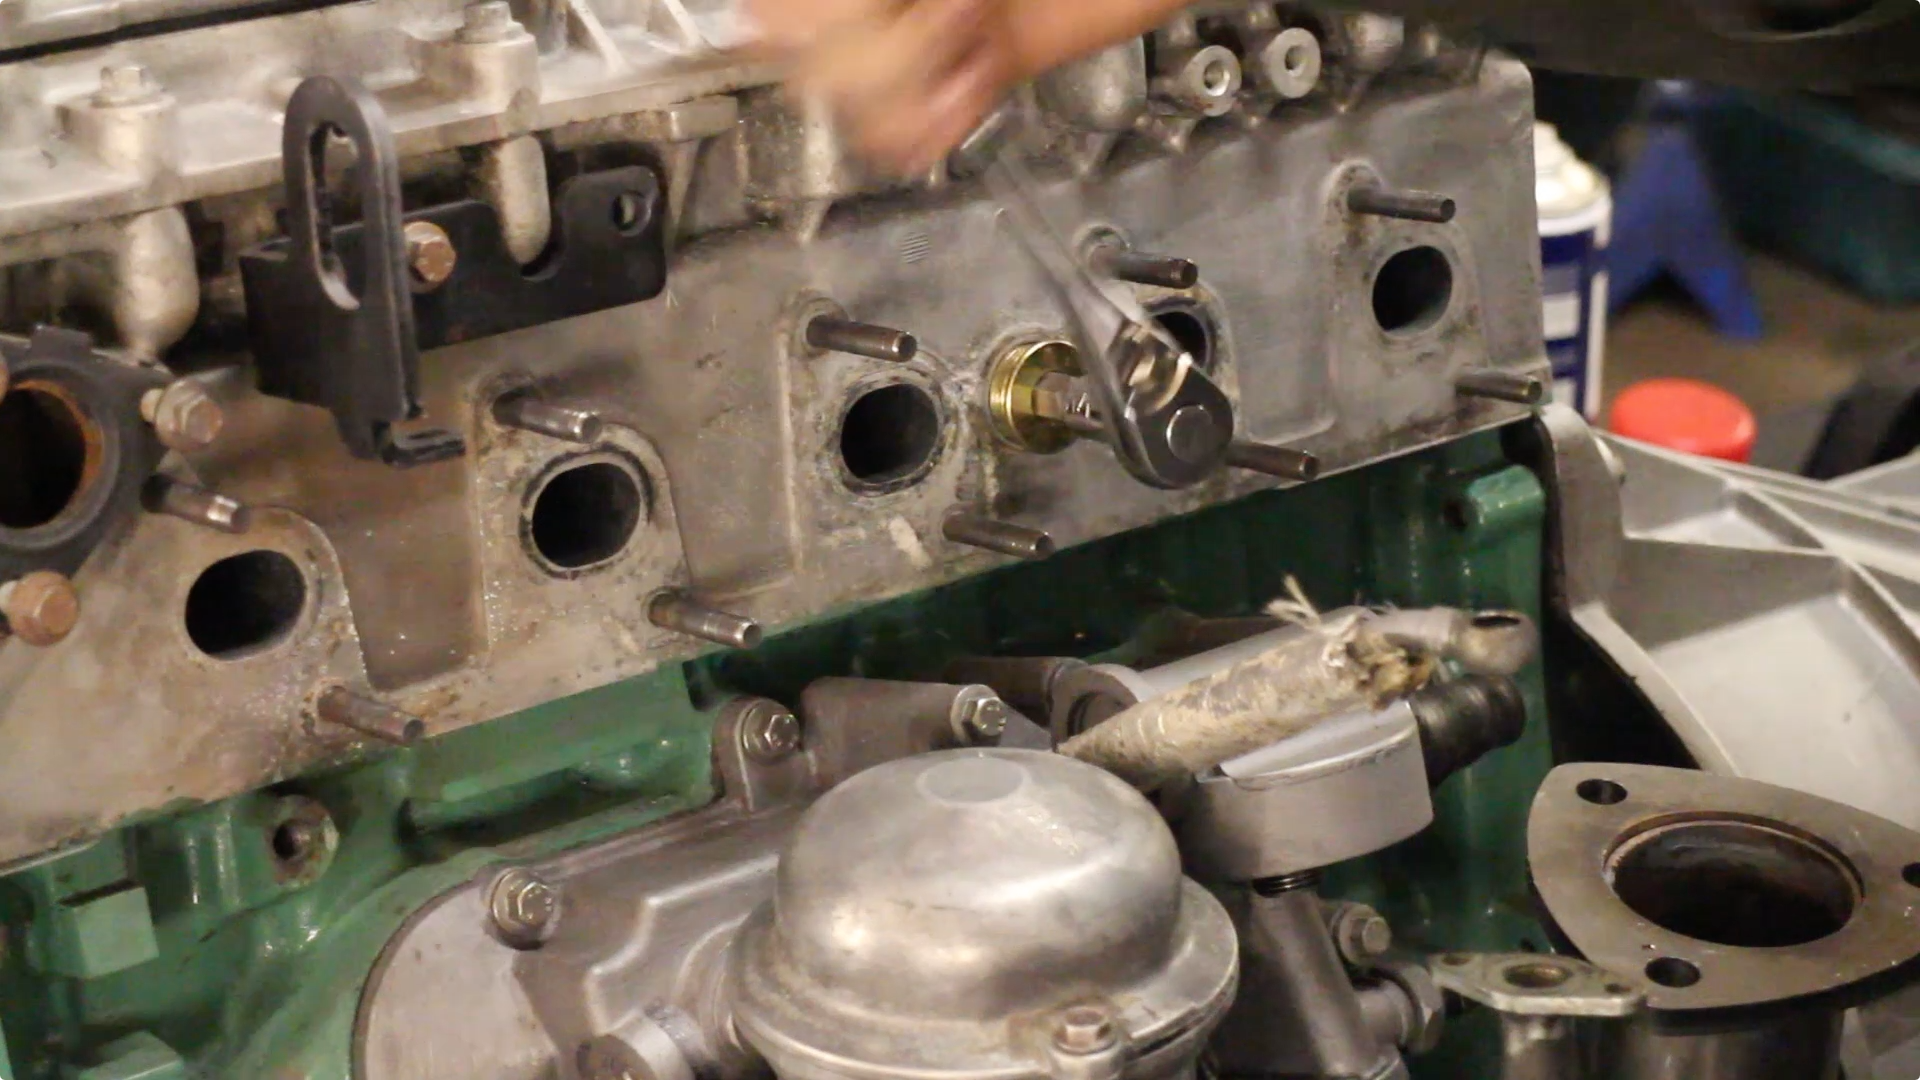
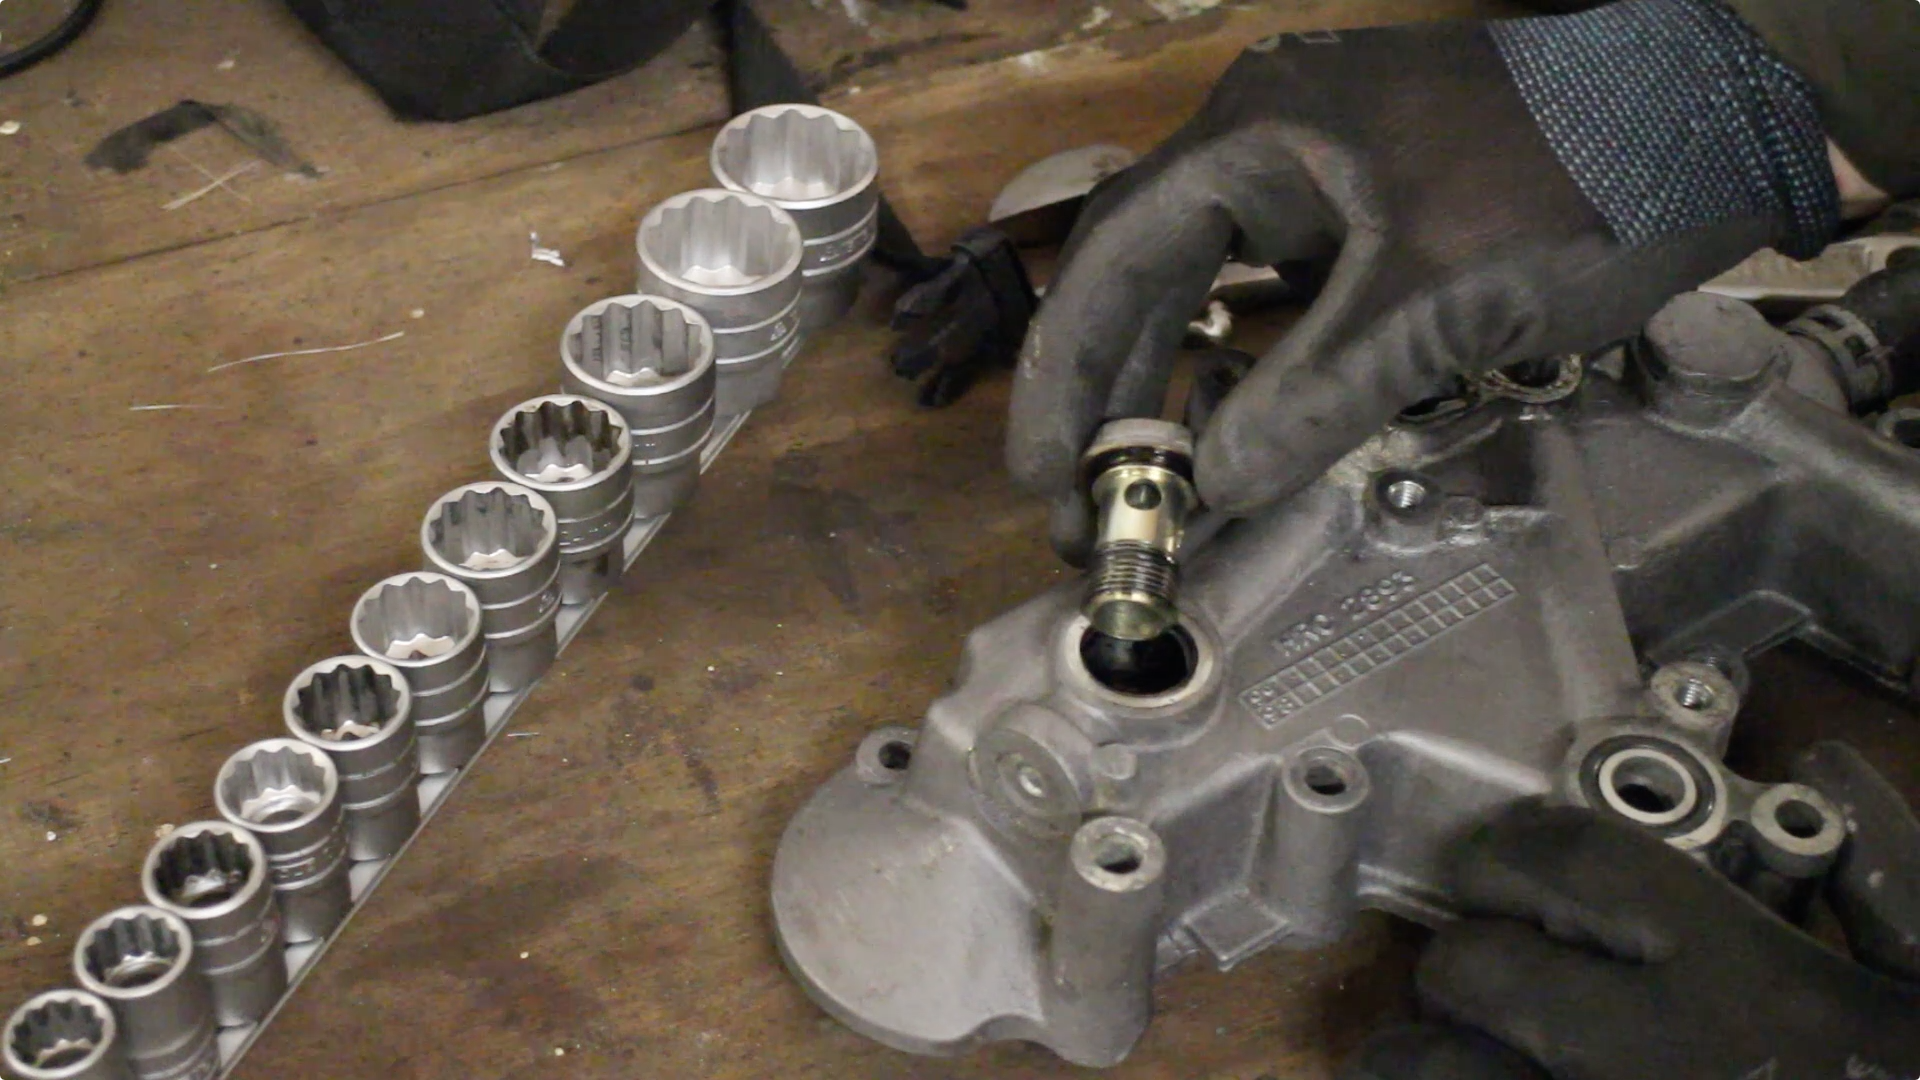
One of the great things about building a Land Rover in the manner we have, involving a huge community of Land Rover owners, is that we can get real time feedback. One viewer asked us to show how to replace this cylinder head coolant plug. So the exhaust manifold was removed again, and a 12mm allen key sourced.
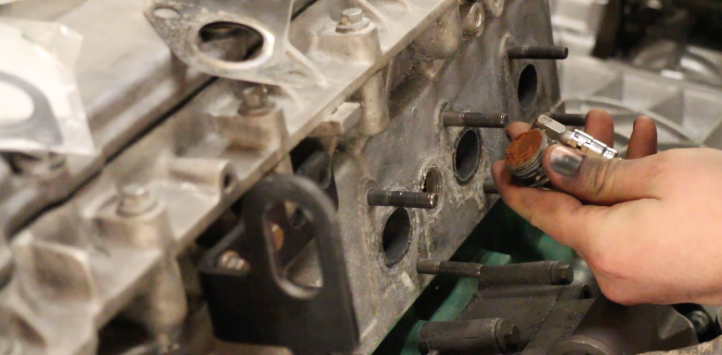
A set of hex sockets are useful to have in the toolbox.
As you can apply more force to the socket handle than a humble allen key. The new plug winds in quite nicely.
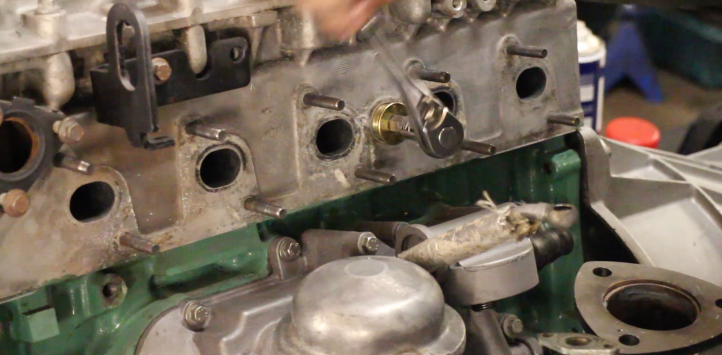
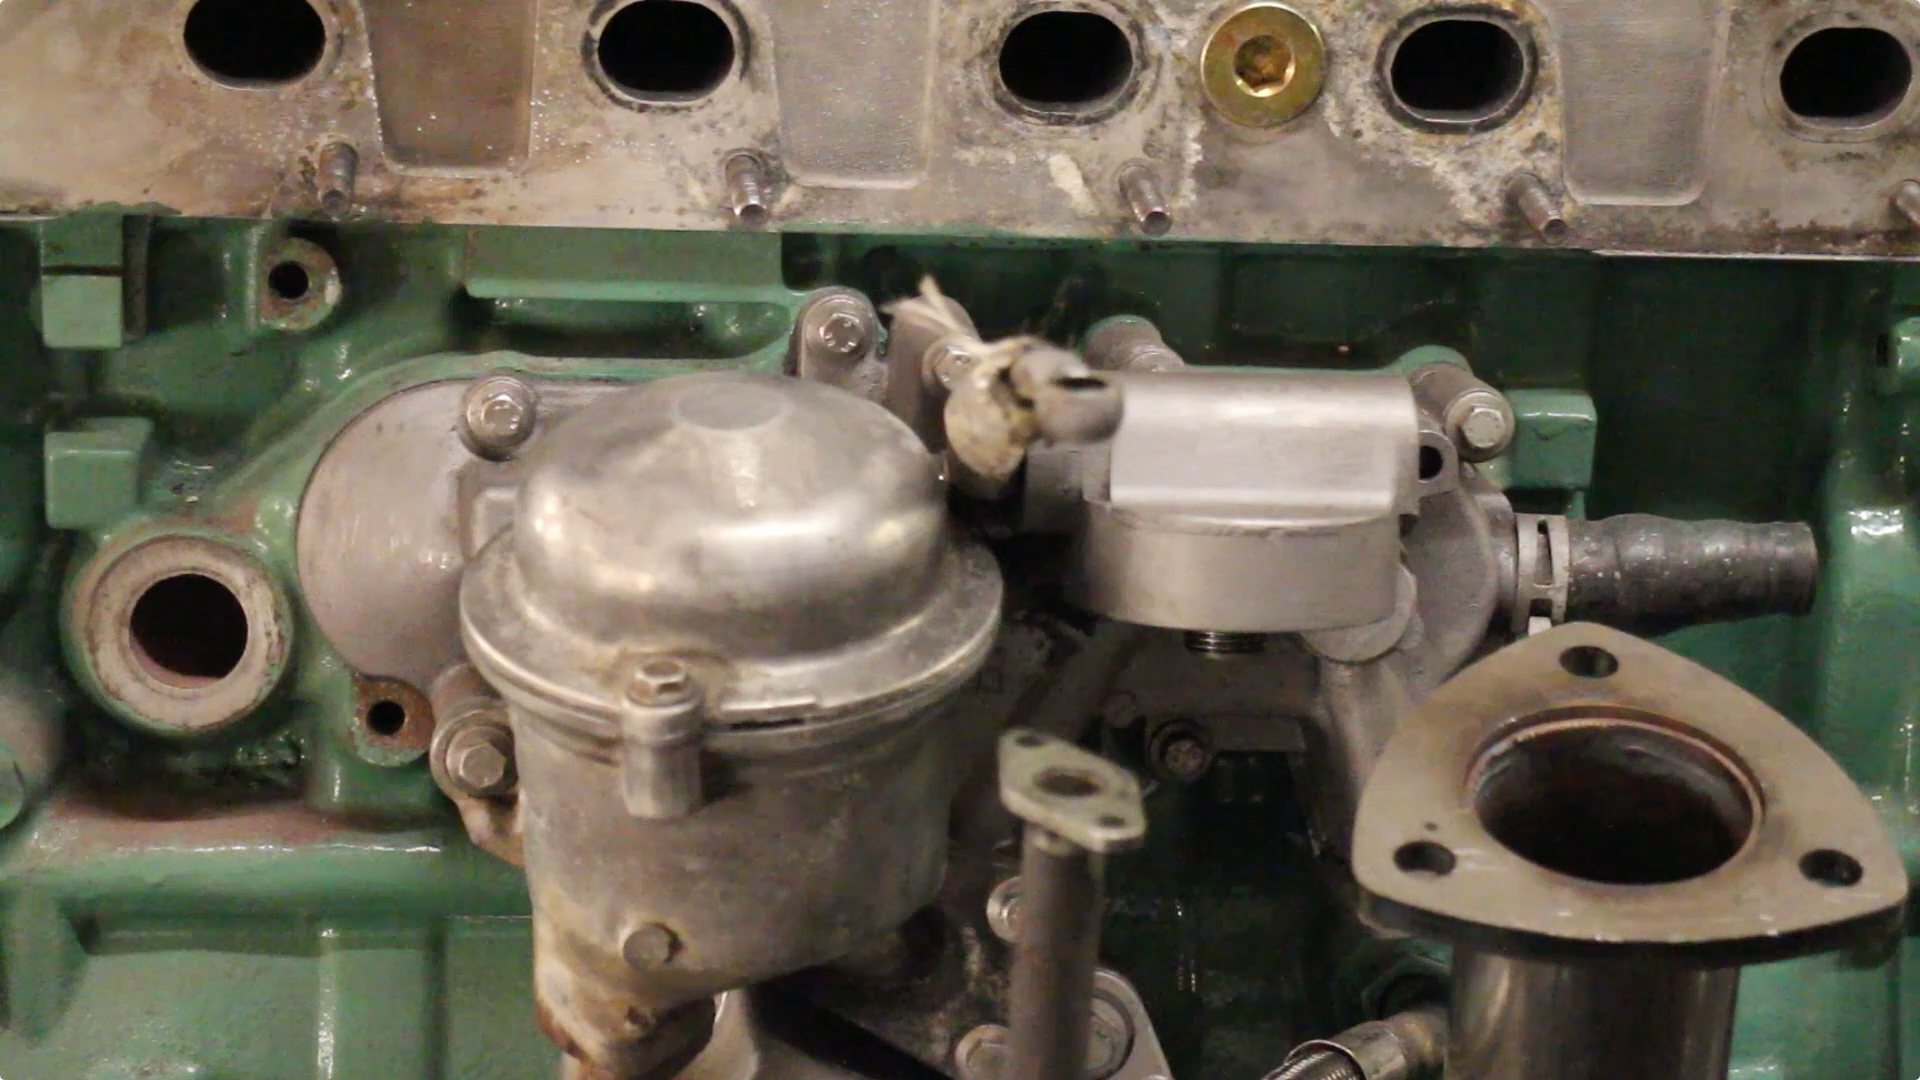
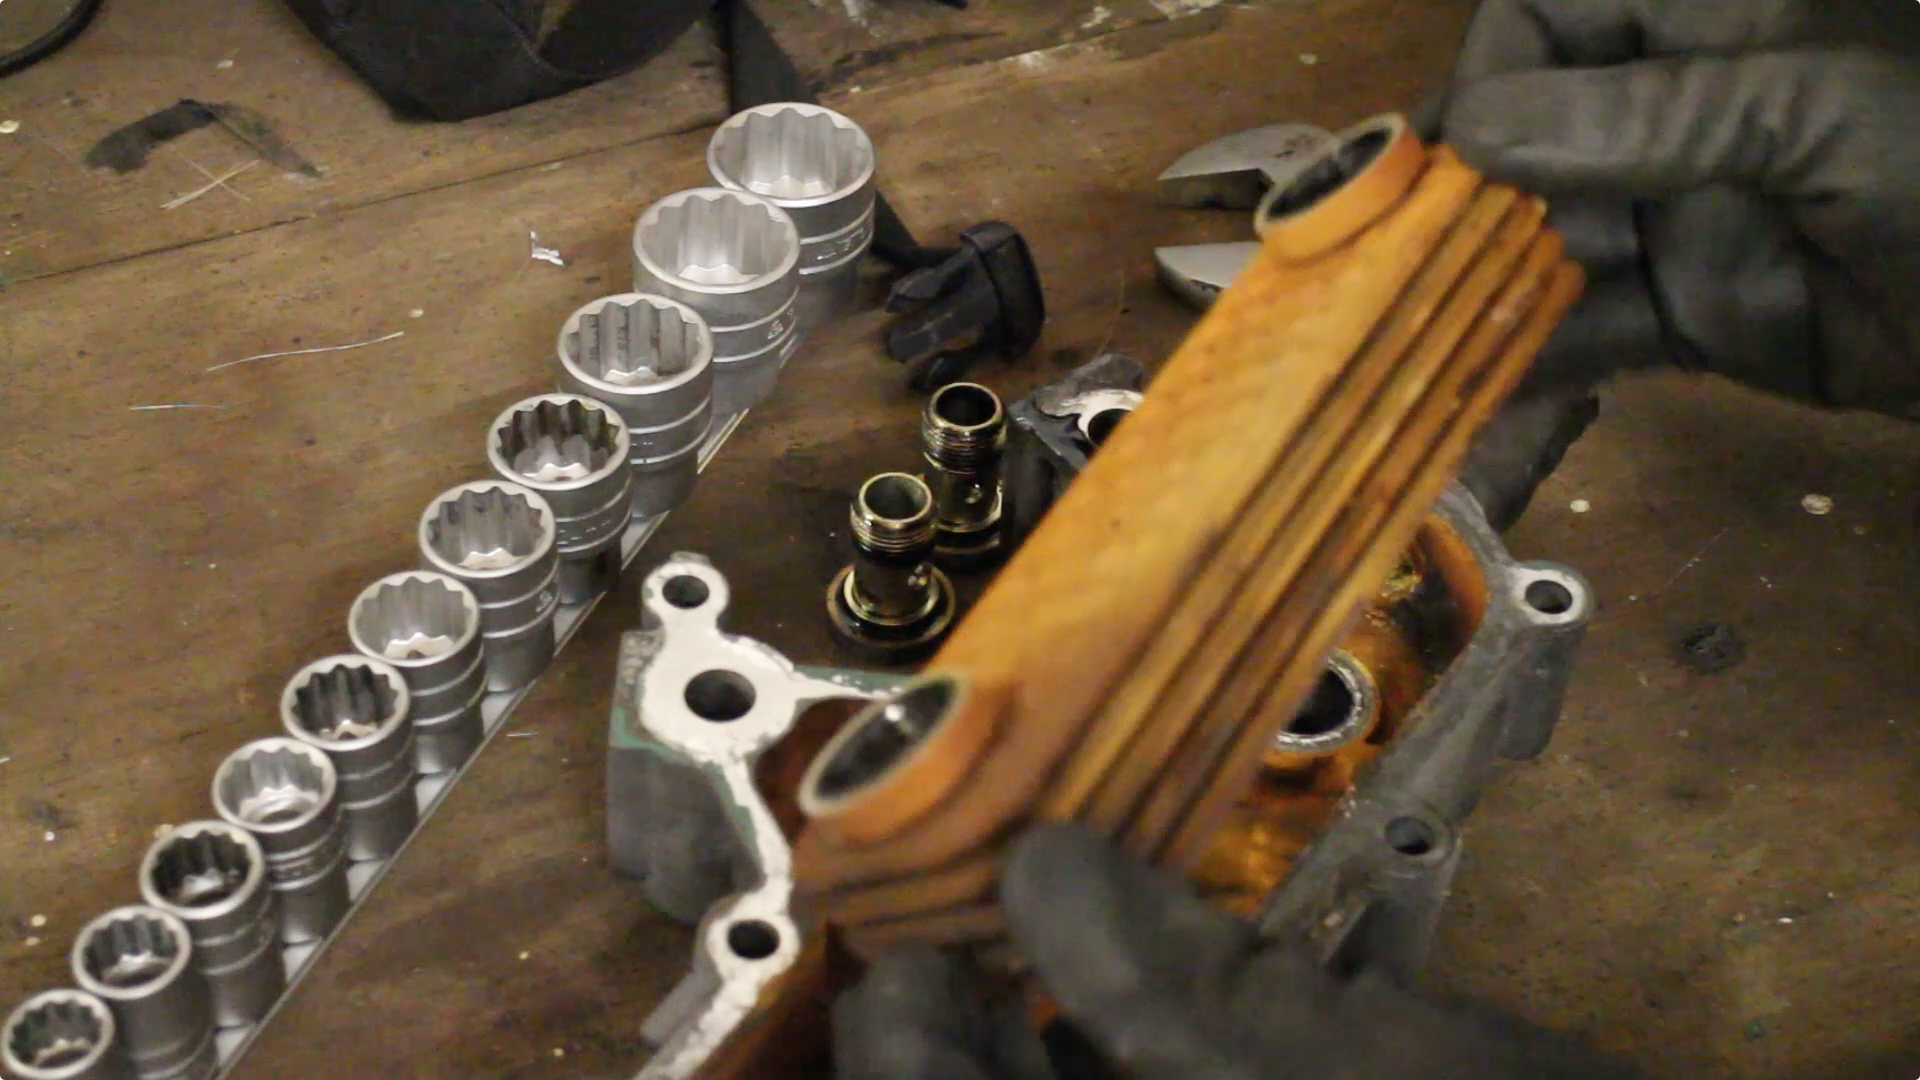
Following the advice of another viewer, we removed the oil cooler housing to replace the internal cooling block. The rotor oil filter housing needed to be removed.
And the whole thing is lifted clean off.
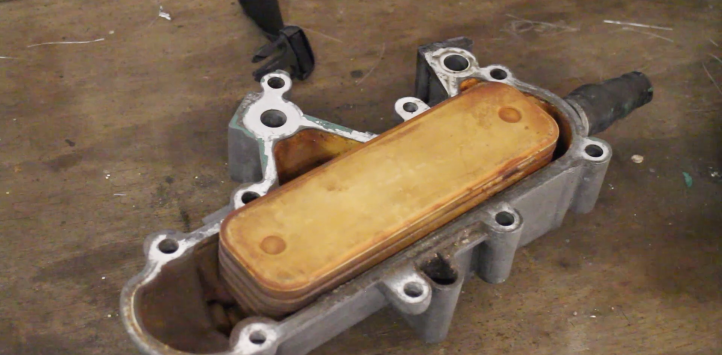
After stripping it down, we found ours to be in good condition, if not slightly tarnished from coolant / rust.

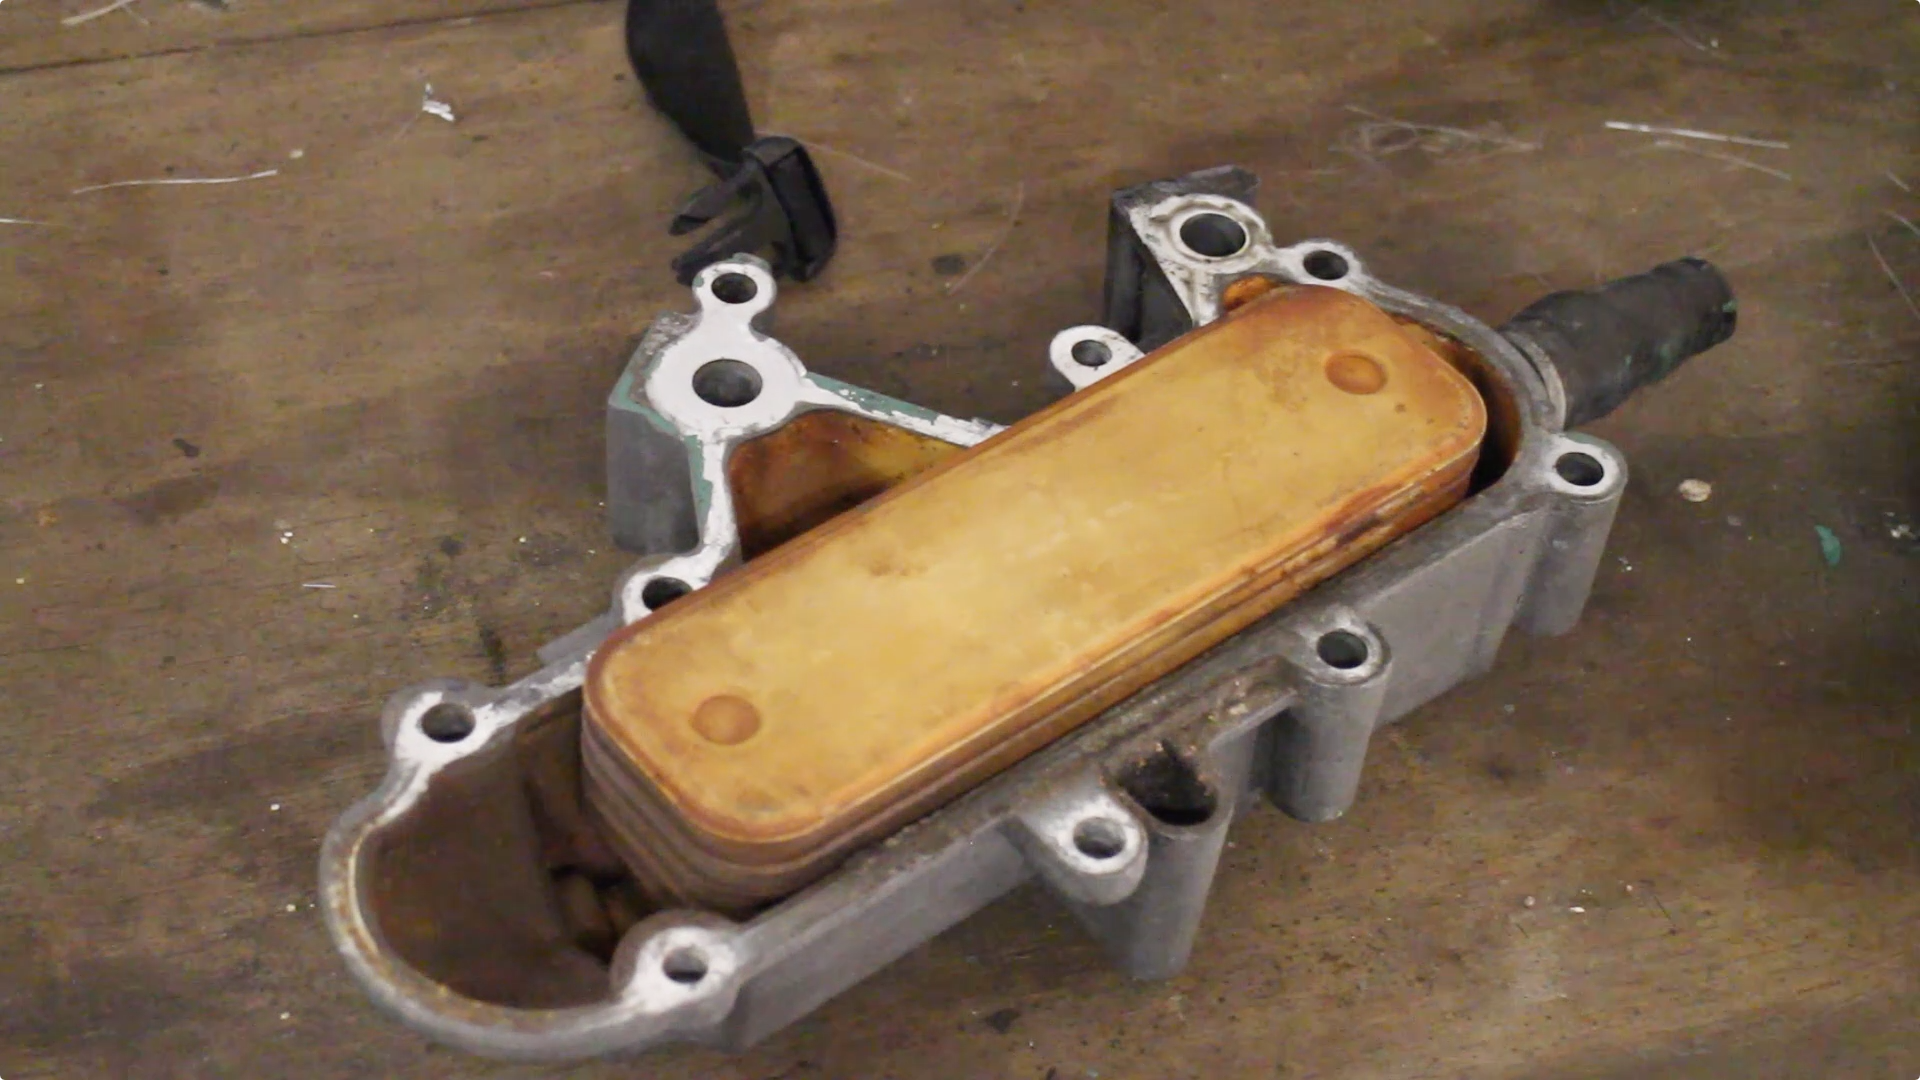
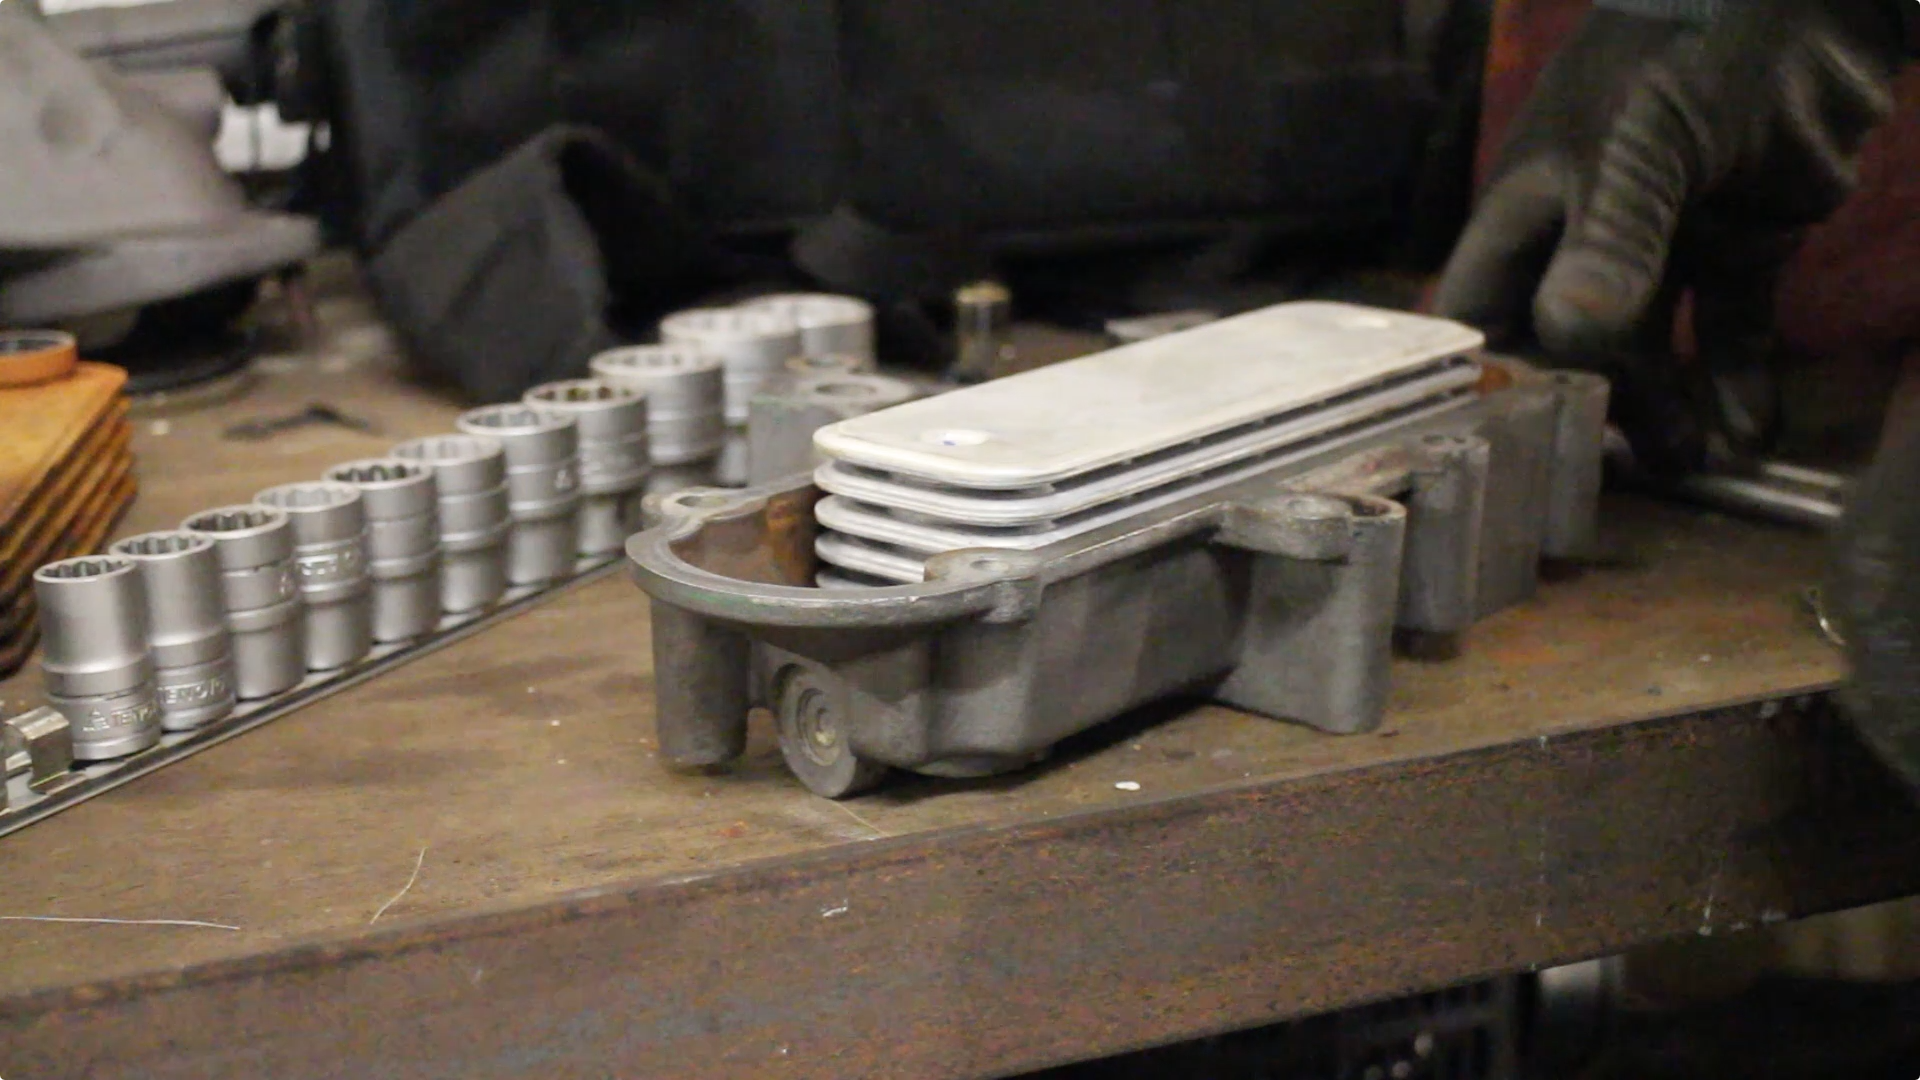
The cooling block is secured by 2 banjo bolts (internally relieved fixings). Thee are not overly tight and so easy to undo.
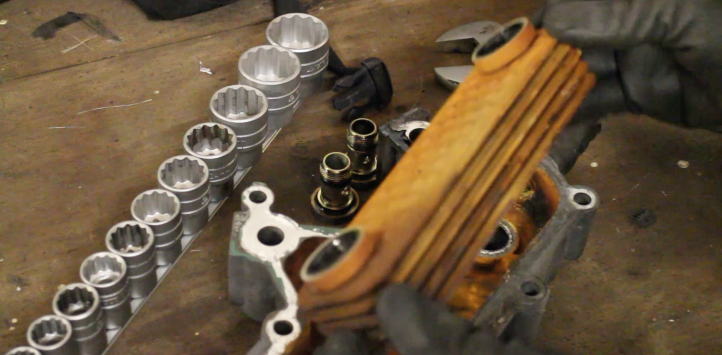
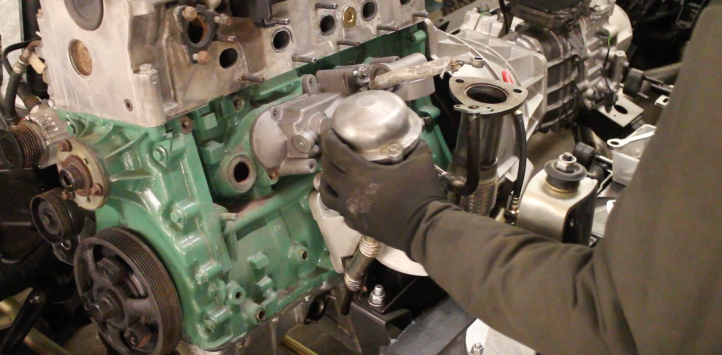
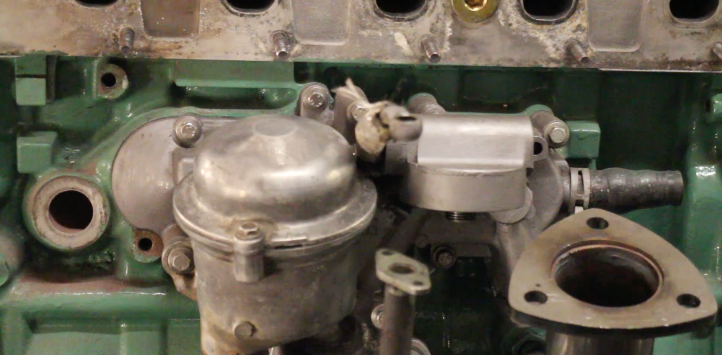
The old coolant block.
And the new one dropped in
Along with the 2 supplied replacement banjo bolts. An internally rubberised washer sits under the head.
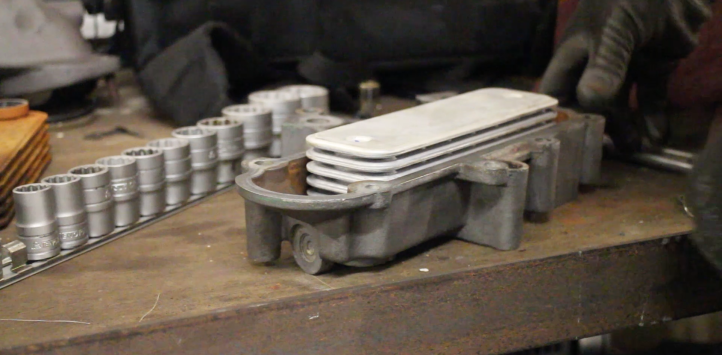
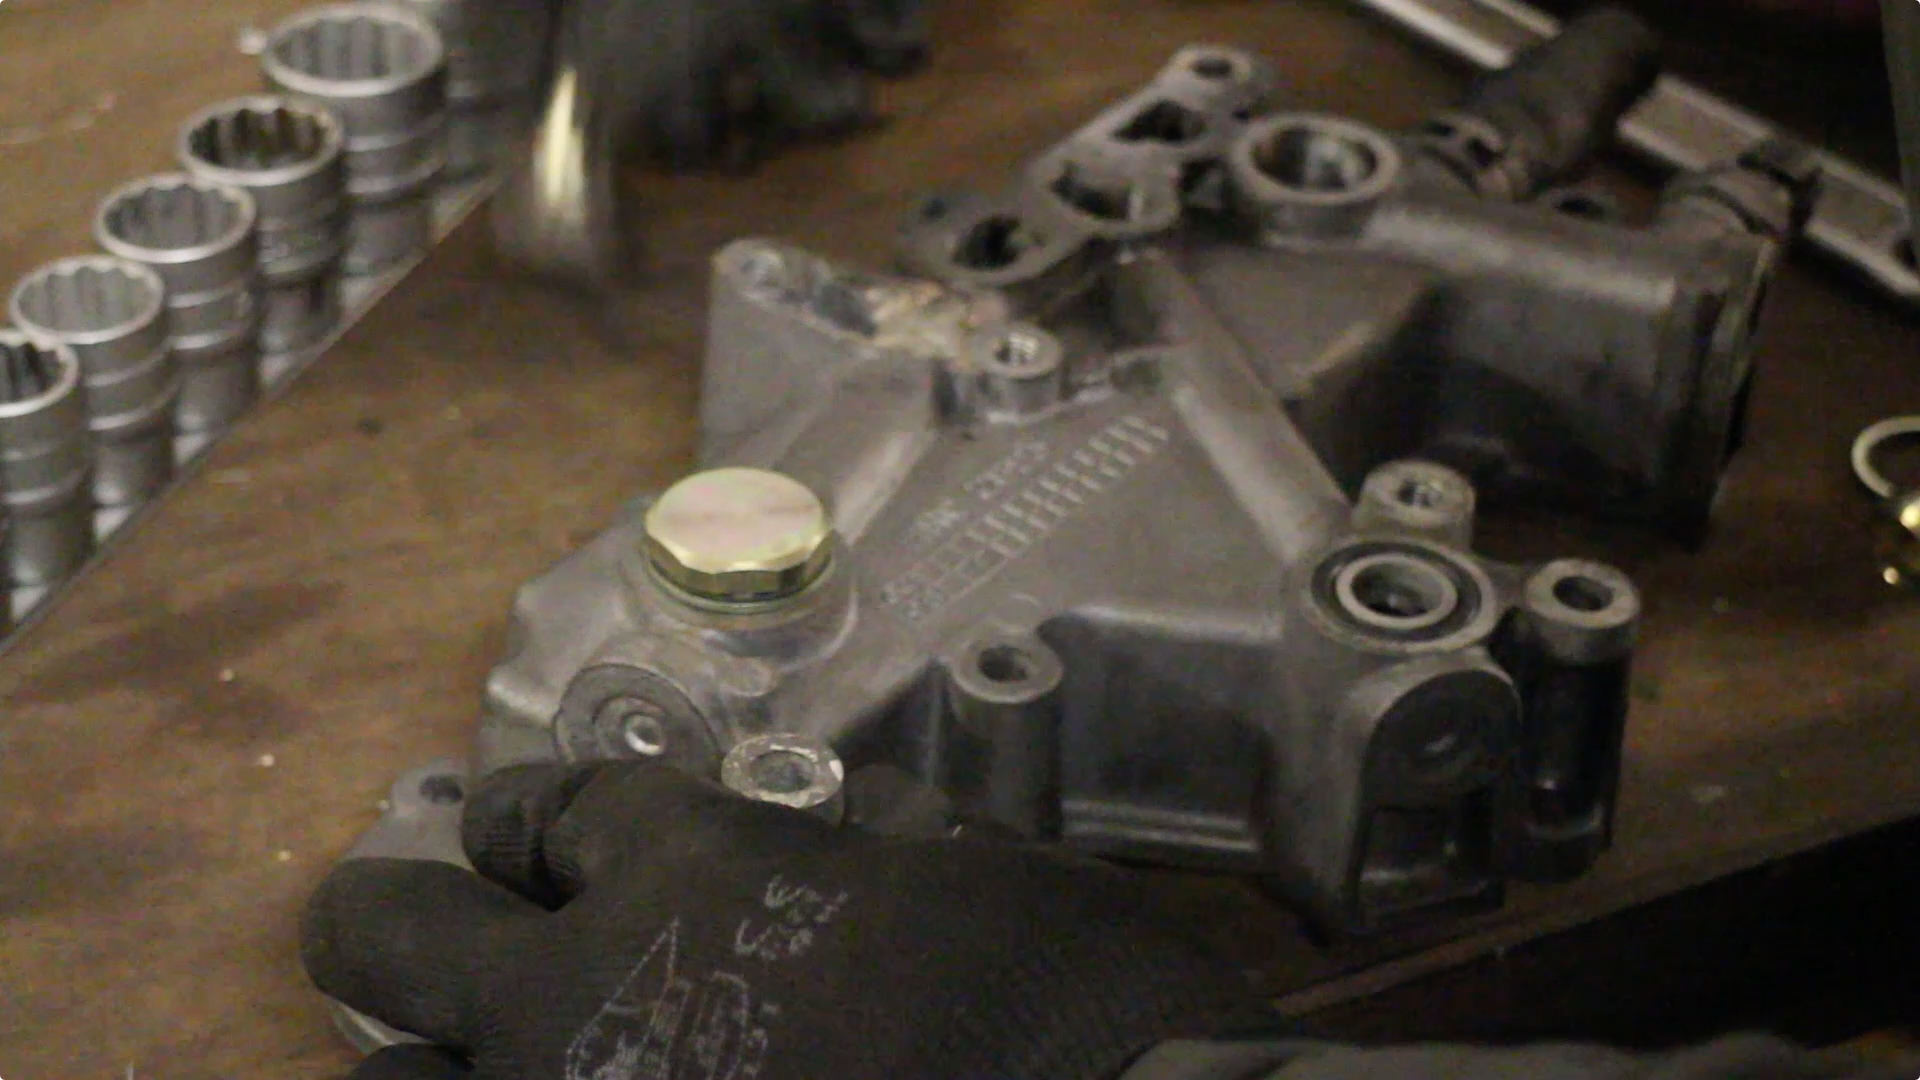
The gaskets on the oil rotor to sump pipe are also replace
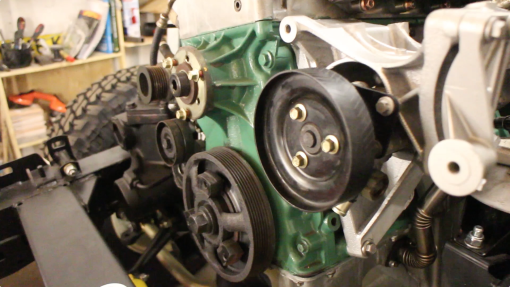
As we're nearing the point where I'd like to drop the main belt on, I decided to bolt up the power steering pump. This had been reconditioned.

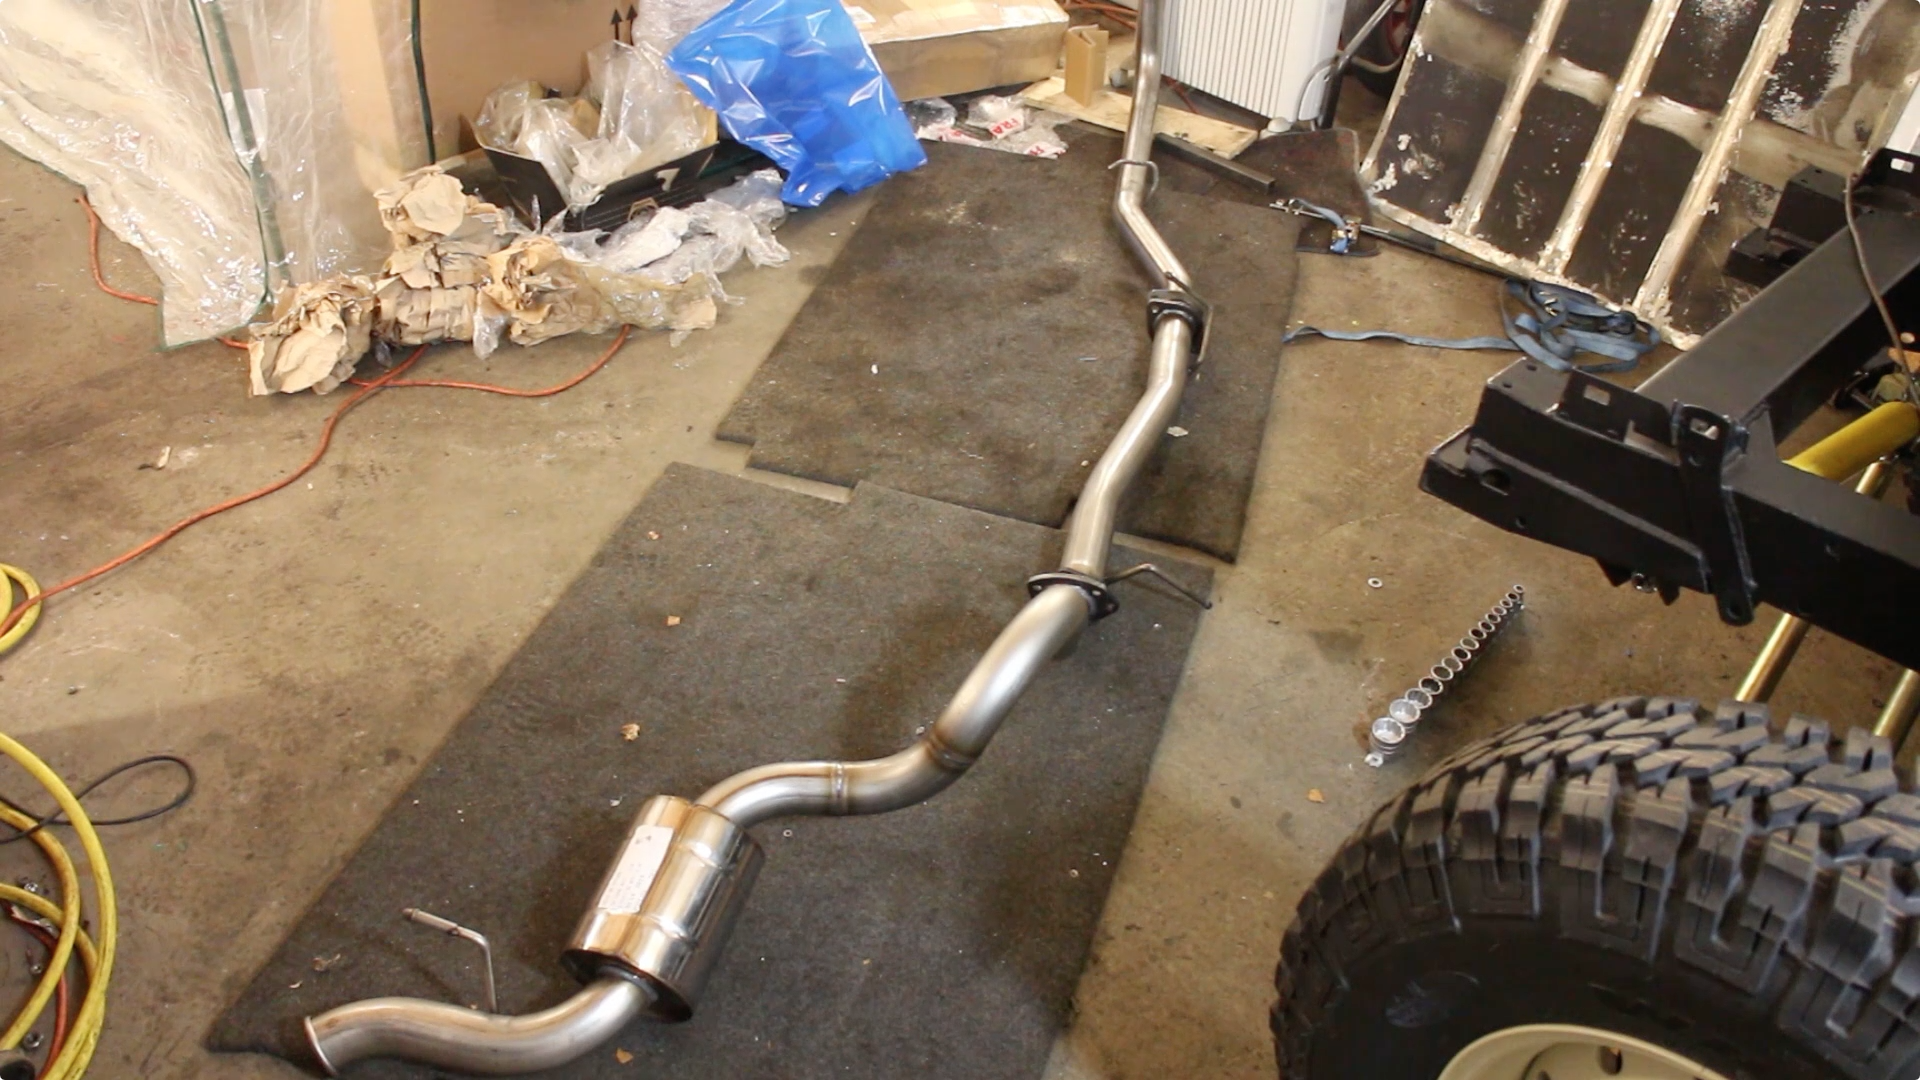
Now it's time to fit the exhaust. As we're fitting a few tasteful performance upgrades, we've gone for a stainless steel straight through exhaust (with an end silencer). When combined with the Td5, this produces a lovely, throaty burble - with the added benefit of long term corrosion resistance.
Starting at the turbo, we dropped a new gasket onto the down pipe and bolted the exhaust to the lower face of the turbo outlet. The 10P Td5 doesn't have a CAT or DPF, instead it has a braided flexi joint.
I took the time to replace all the exhaust mounts. Unfortunately, one of them was only available as a genuine part - pricey stuff! This is the mount for the mid pipe.
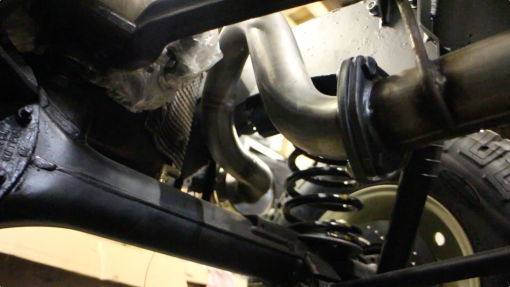
The rear silencer section can be carefully rotated into place without the need for removing any parts

Time to bust out the welder. I've been using Hobby Weld 5, it's a superb gas to weld with for, well, hobby welders! There's no canister fees to pay and there are dealers all over the country. Hobby Weld 5 is perfectly suited to MIG welding thin metal, which we are about to do, when we repair the bulkhead.

If you are hobby welder, or weld infrequently, Hobbyweld shielding gases are very cost effective. I also spent a bit of time replacing the torch wire liner, fitted some new tips and shrouds and it's transformed my welds!
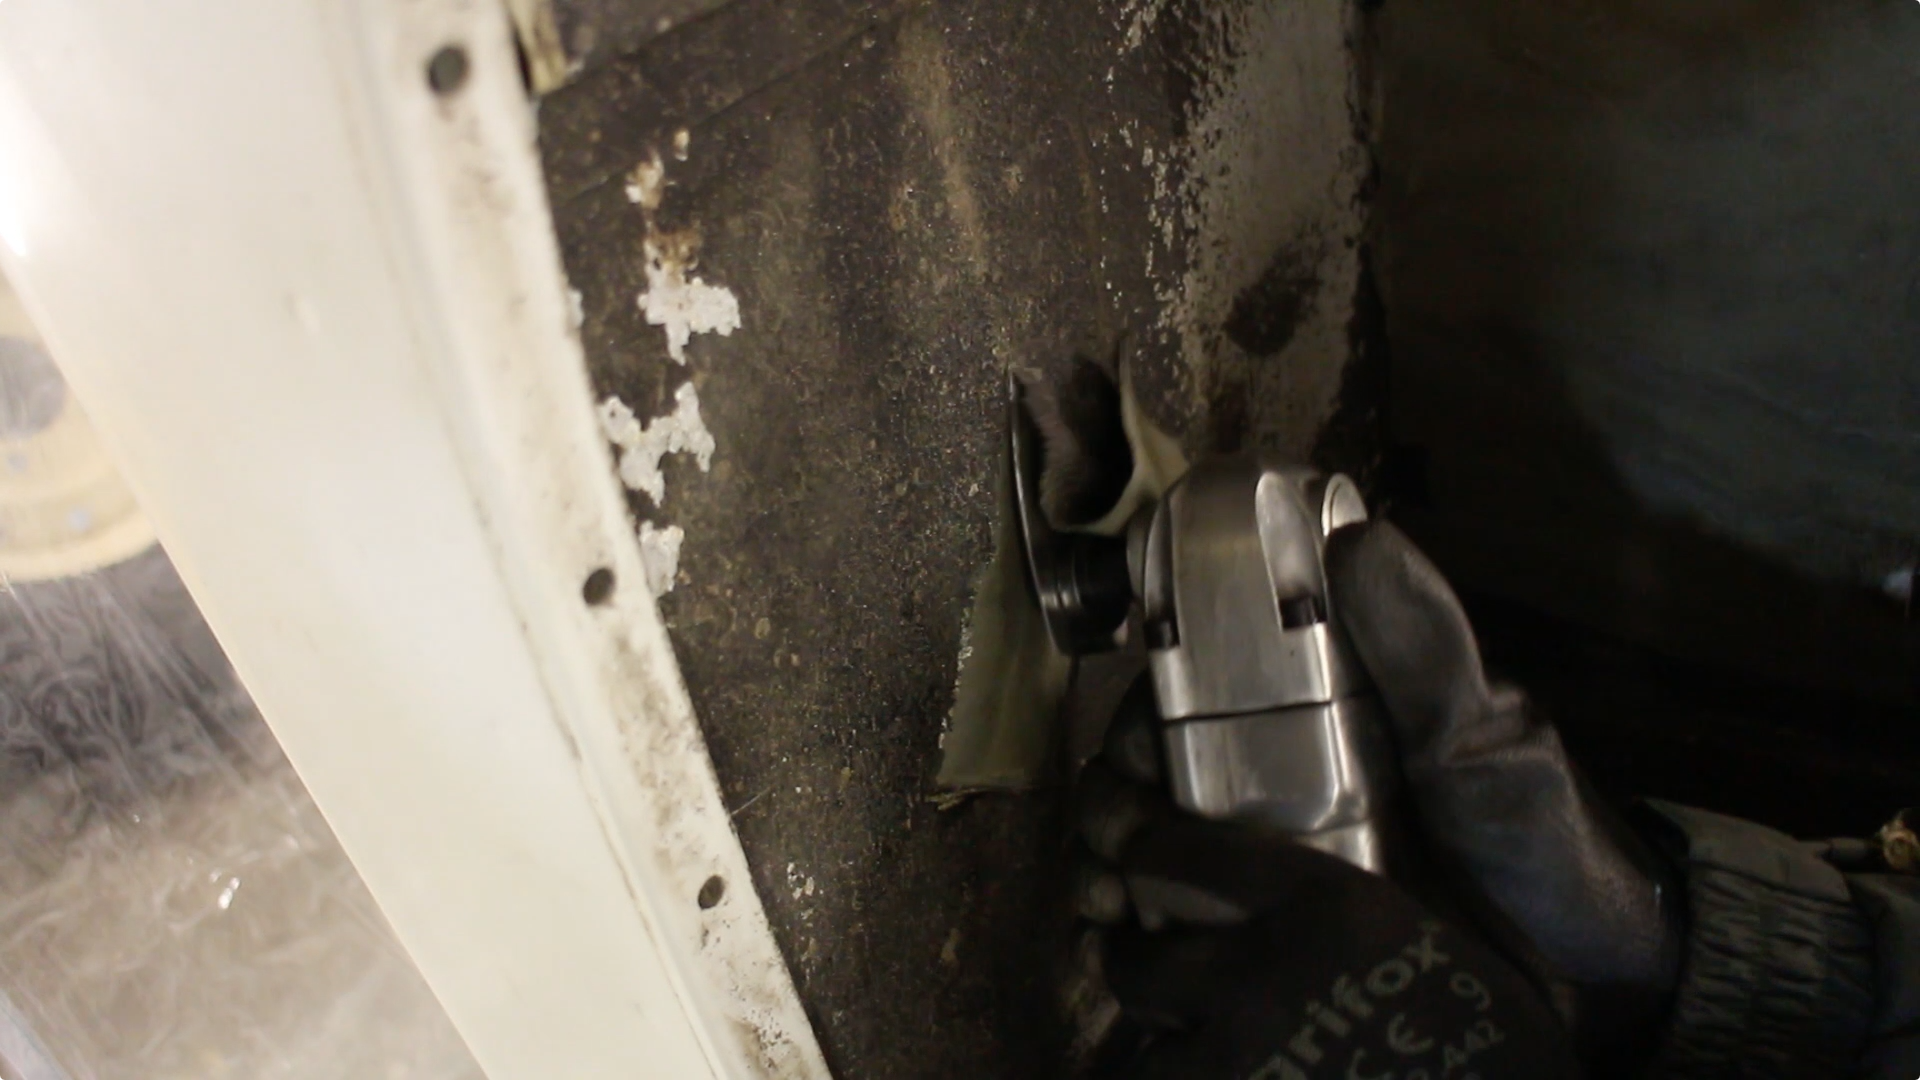
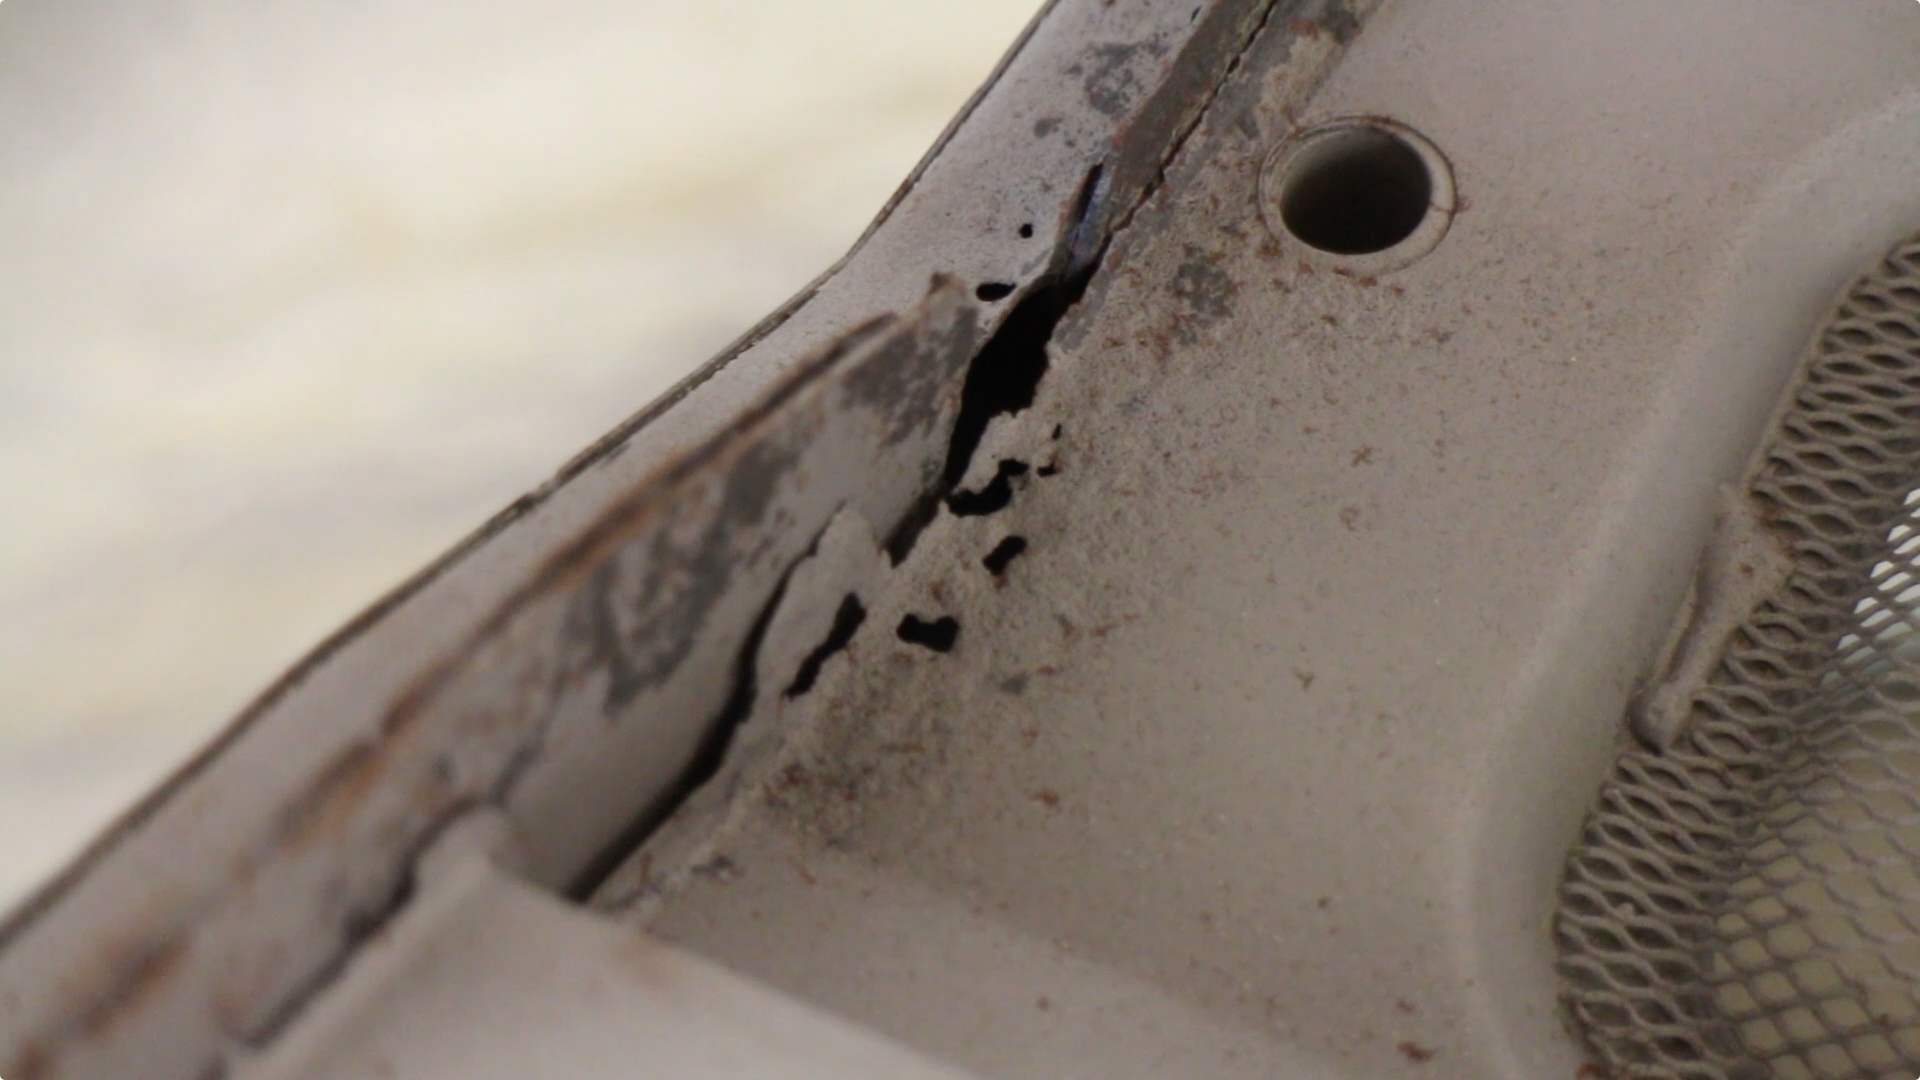
The bulkhead had some pitting that was revealed after blasting. I also stored this in the workshop for a while, which isn't the driest environment, so further rust formed on the surface. Only slightly worse than mill scale though.

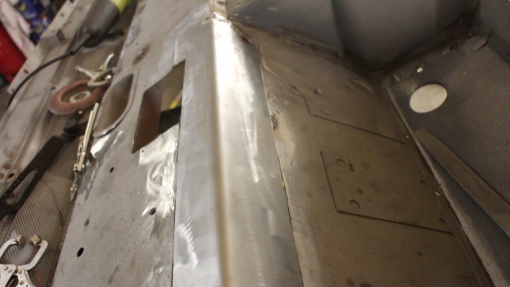
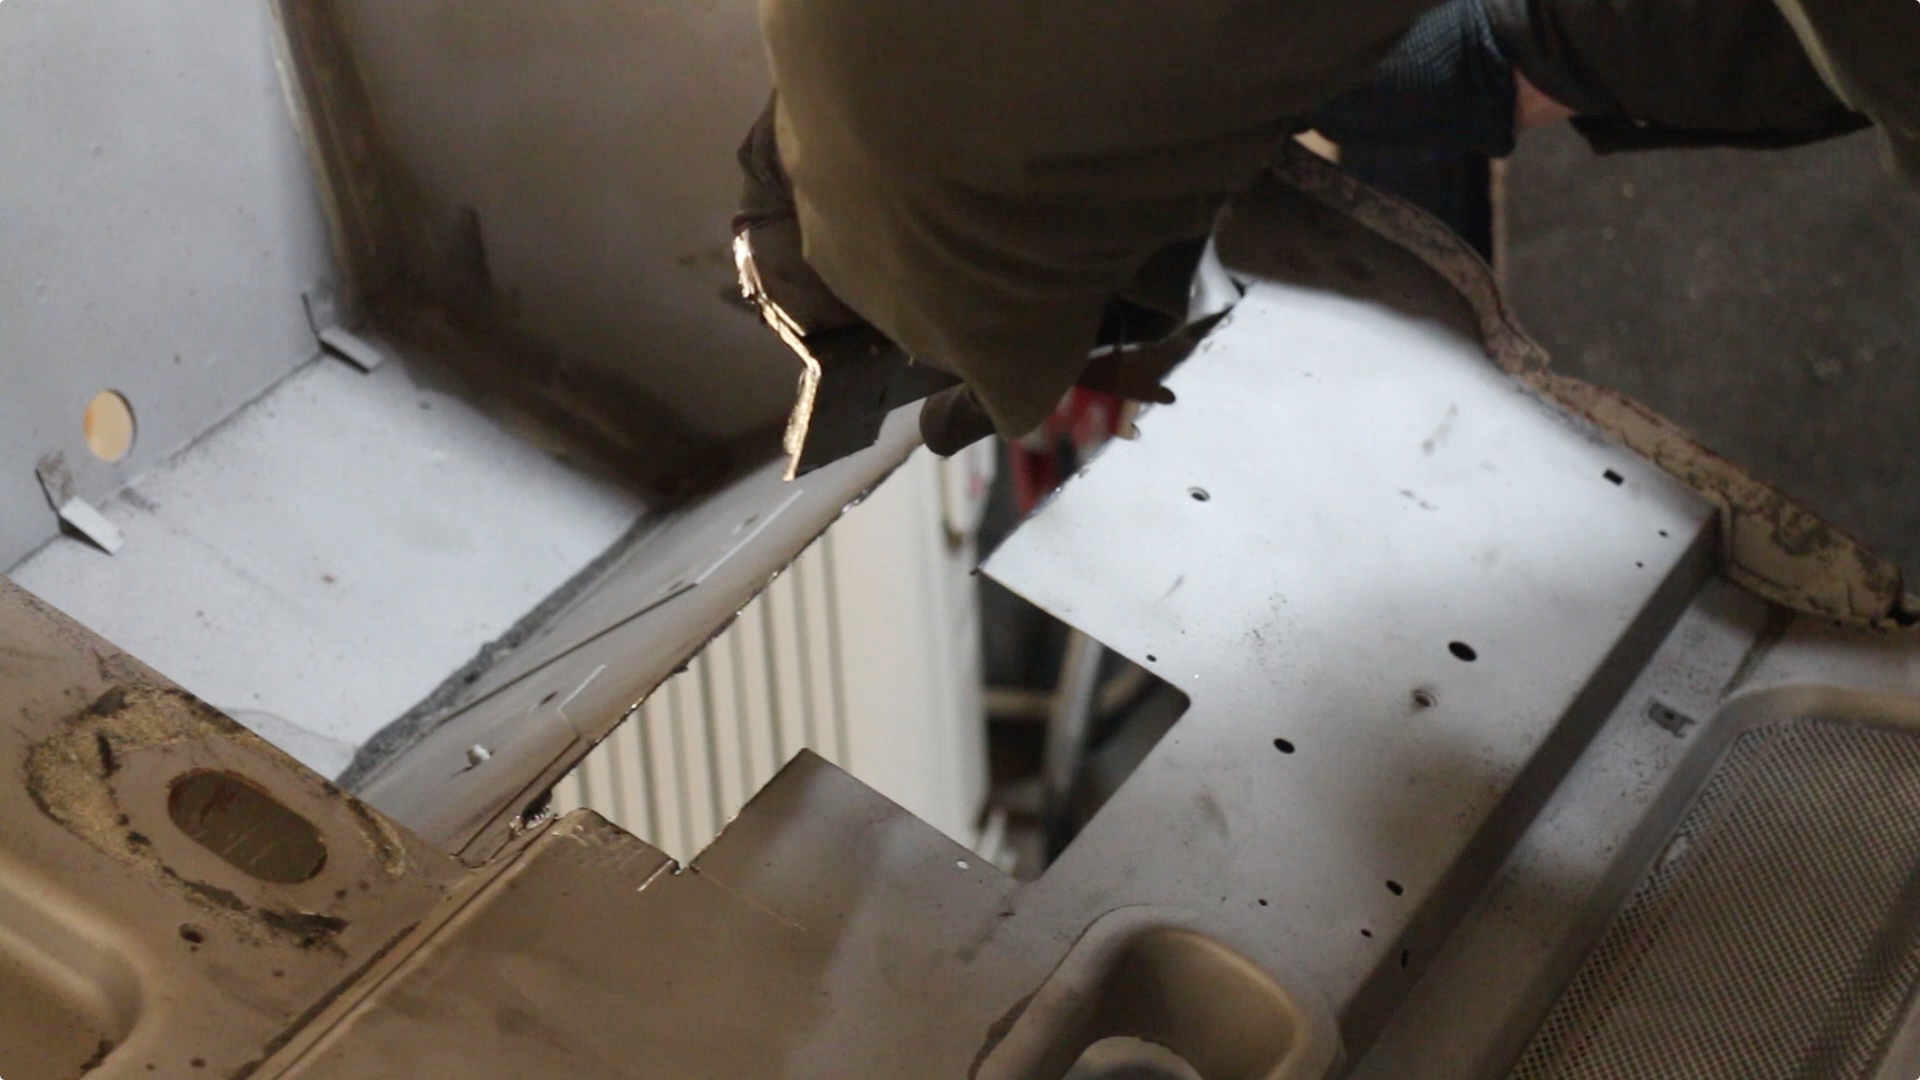
This area too had some corroded metal. Fortunately, there are companies who now produce replacement sections for commonly rusted out areas. Namely YRM Metal Solutions. In this case, I decided to have a go at localised repairs, using pieces that I'll fabricate myself.

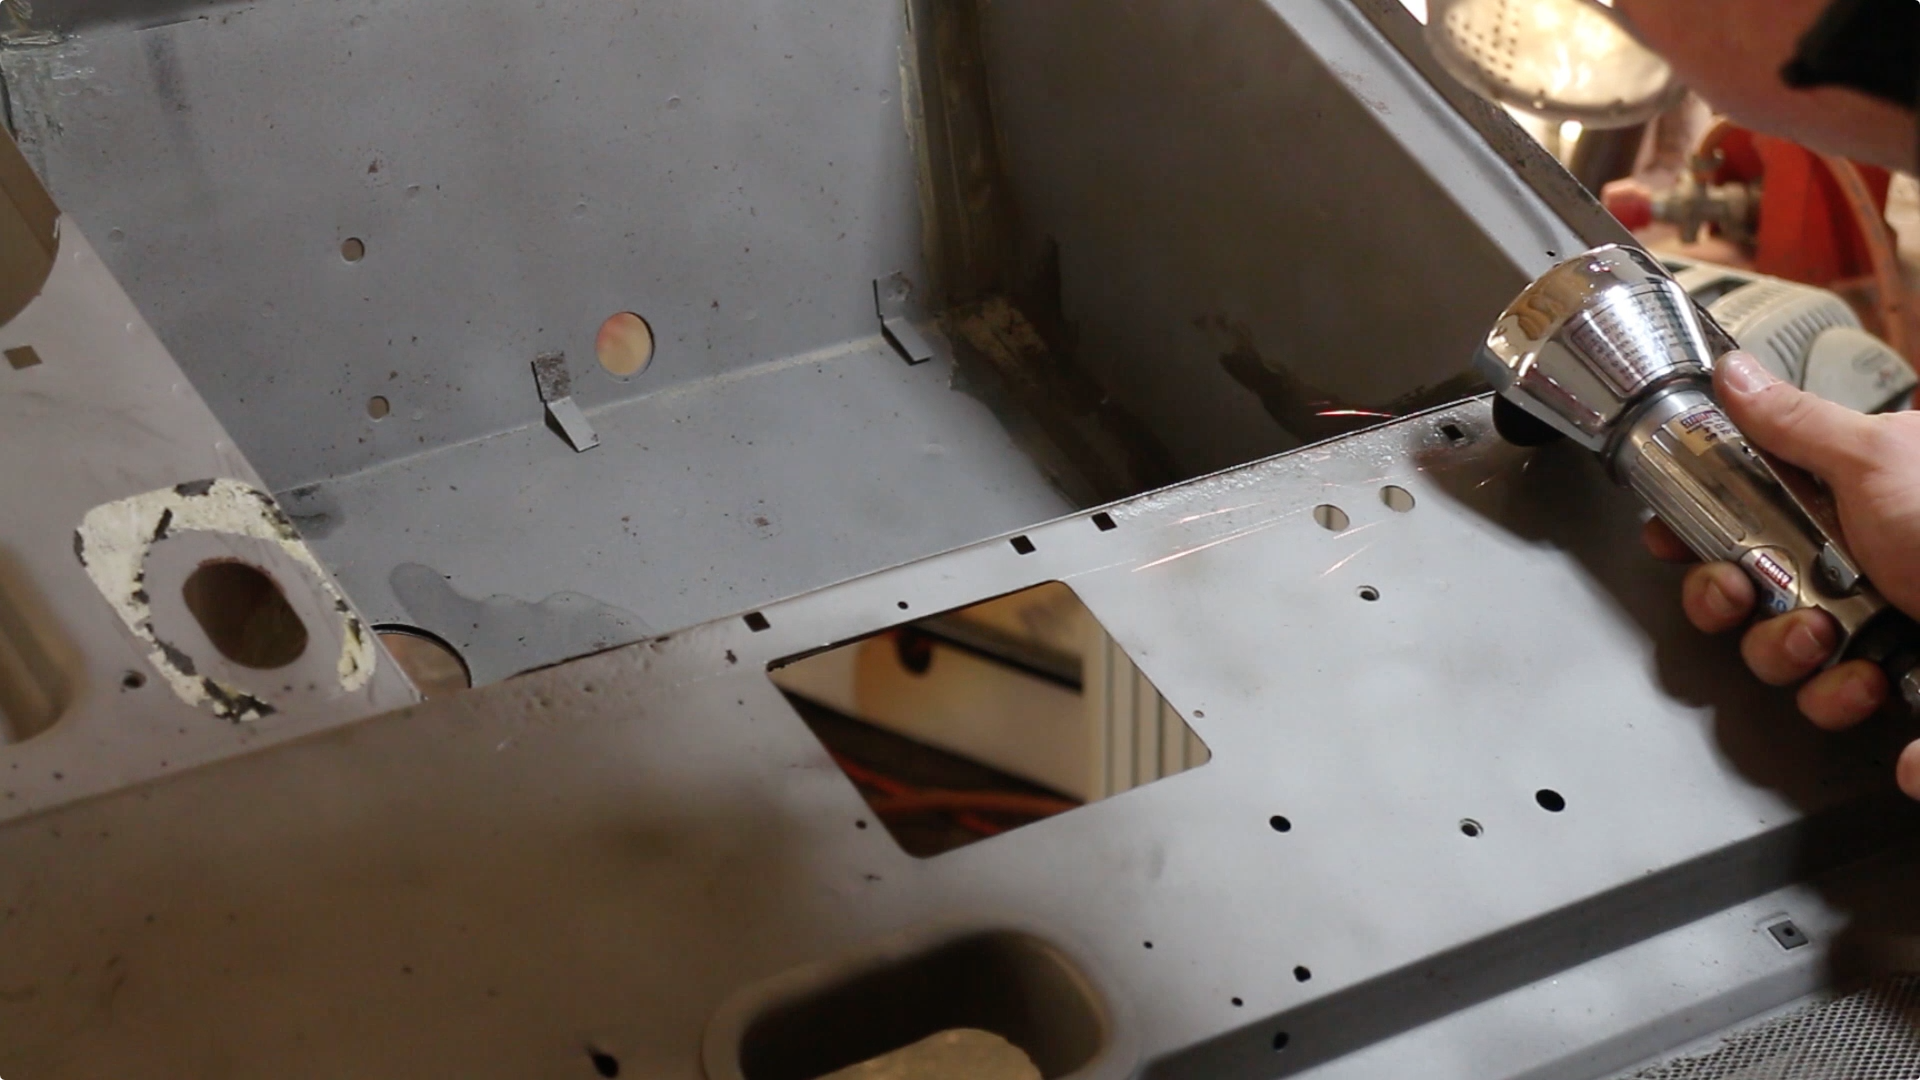
First, the corroding areas were marked and cut out

I wanted to get back to sound metal to weld my repairs to

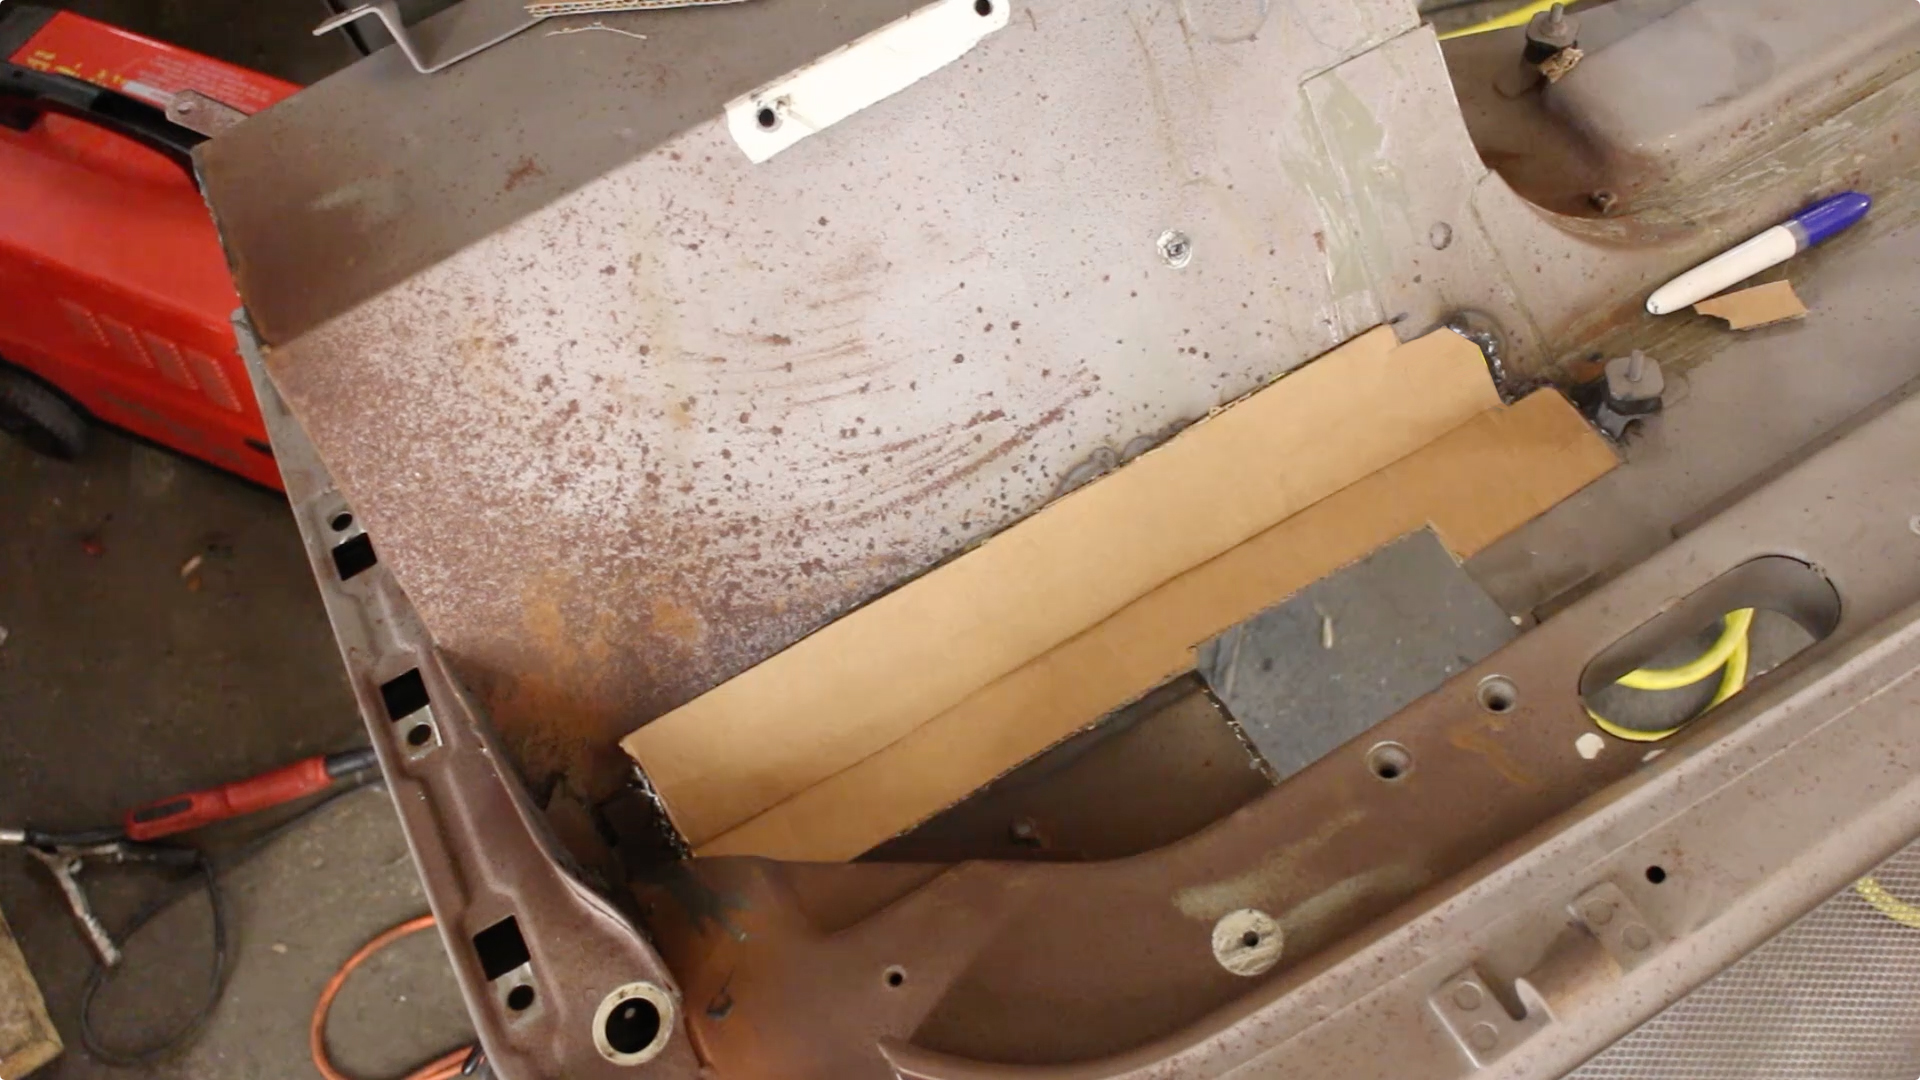
Then I made a cardboard template, this works really well for getting a perfect outline of the repair section to be made
I picked up a Clarke sheet metal folder to use in matching our repair piece to the form lines of the bulkhead.
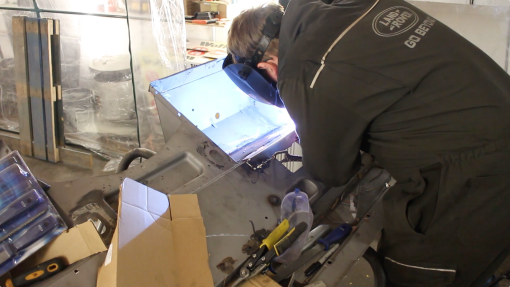
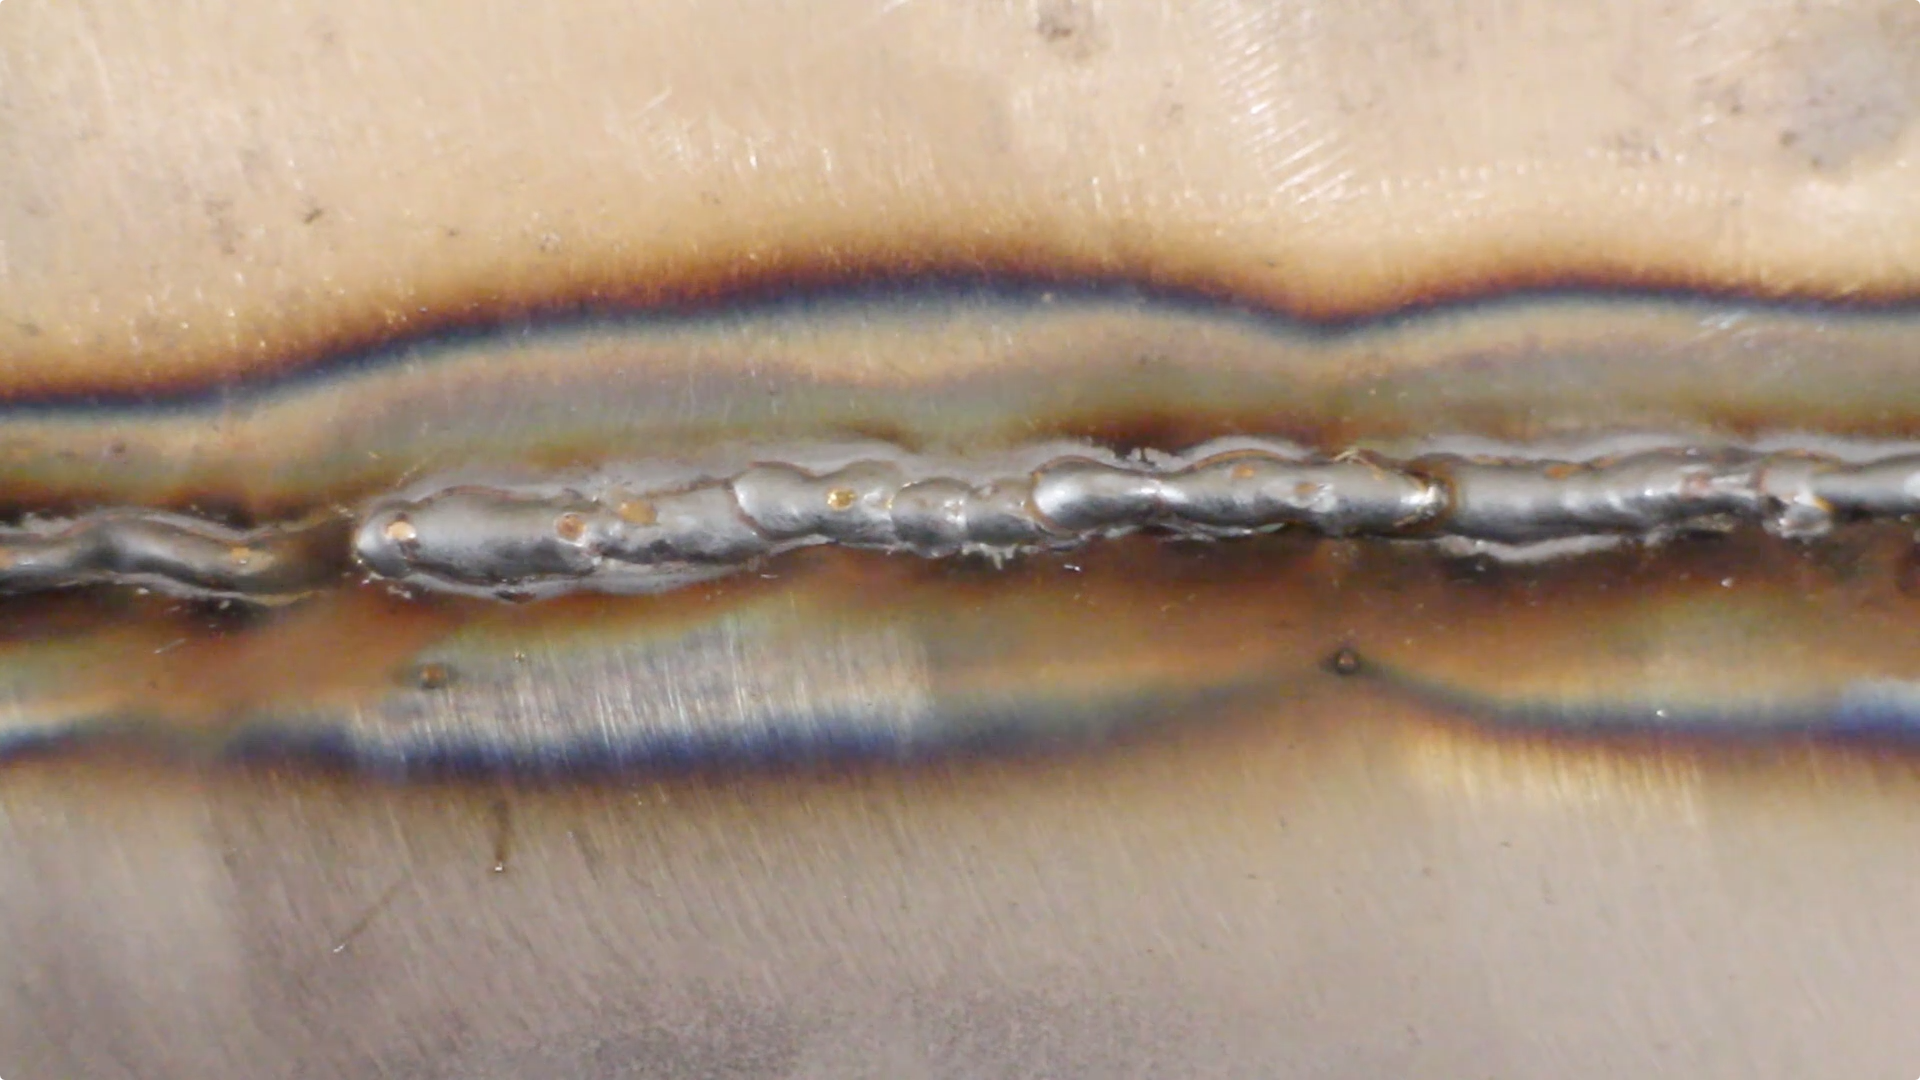
Then MIG welded the repair section in. I tacked the panel every inch or two, to try prevent warp, before filling in sections randomly.

The end result is a sound repair piece, even if my welds required a lot of grinding. Then, we shipped the whole lot off to the galvanisers.
https://www.youtube.com/watch?v=nDlnyEQVp20
First job of the week was removing old waxoyl and factory applied stone chipping material. When perusing the workshop manual, I noticed that Land Rover recommend dealers use an air powered scraper. These things are superb! Probably my favourite tool at the moment, the whole tub was stripped in under an hour, ready for a reapplication of stone chipping.
With that done, I moved my attention to the injector loom harness. On the TD5, oil eventually wicks along the wiring into the ECM - this had happened with our vehicle. Hopefully, we've caught it in time. The ECM has been drained and cleaned.
After removing the rocker cover, it's simply a case of removing the electrical connects for each injector.
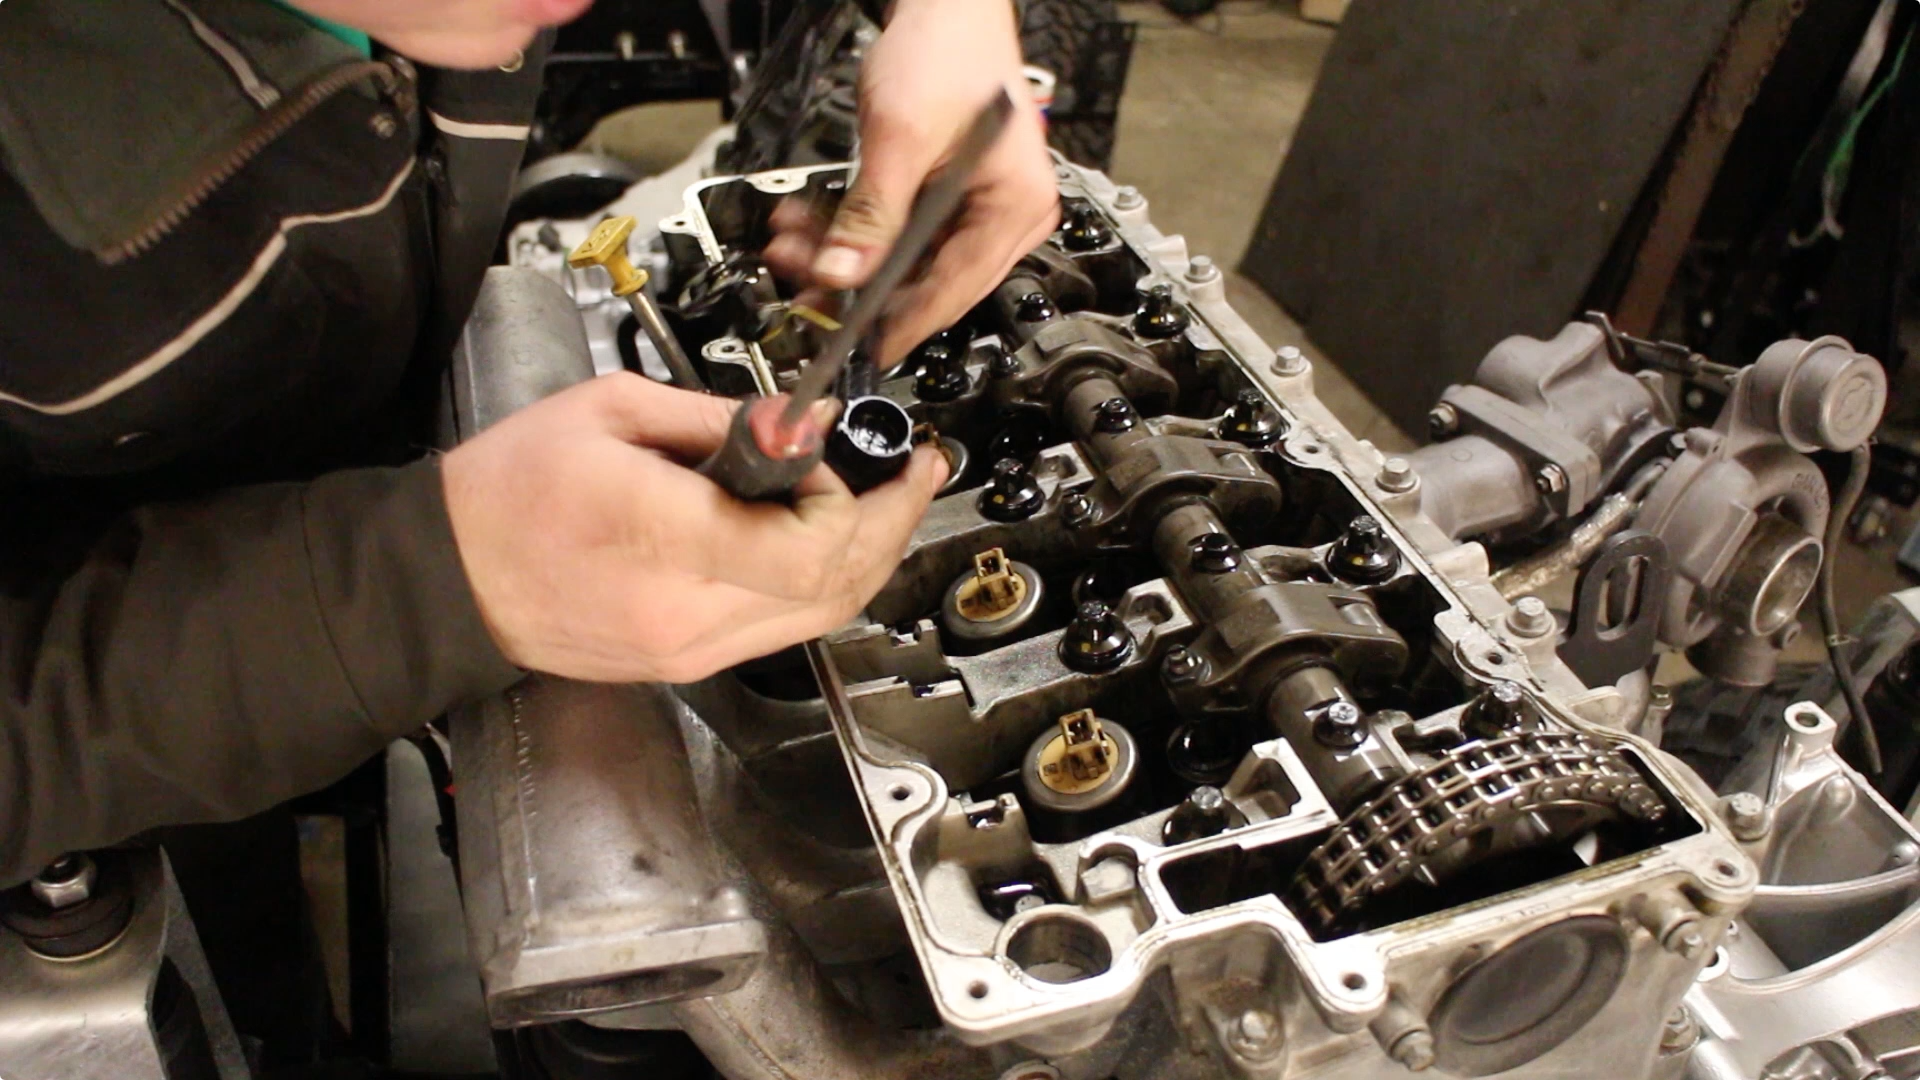
And then prizing out the main connector for the harness. The new harness drops into place in the same manner. All told, with no body on the vehicle - this takes around 5 minutes.

Dropping the rocker cover back onto a new gasket.
One of the great things about building a Land Rover in the manner we have, involving a huge community of Land Rover owners, is that we can get real time feedback. One viewer asked us to show how to replace this cylinder head coolant plug. So the exhaust manifold was removed again, and a 12mm allen key sourced.

A set of hex sockets are useful to have in the toolbox.
As you can apply more force to the socket handle than a humble allen key. The new plug winds in quite nicely.

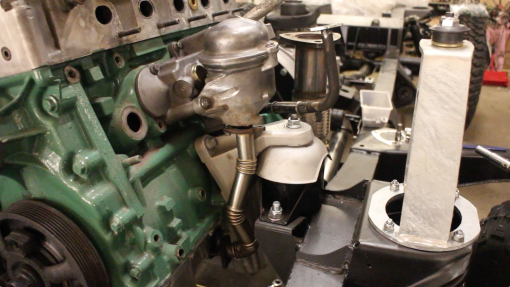
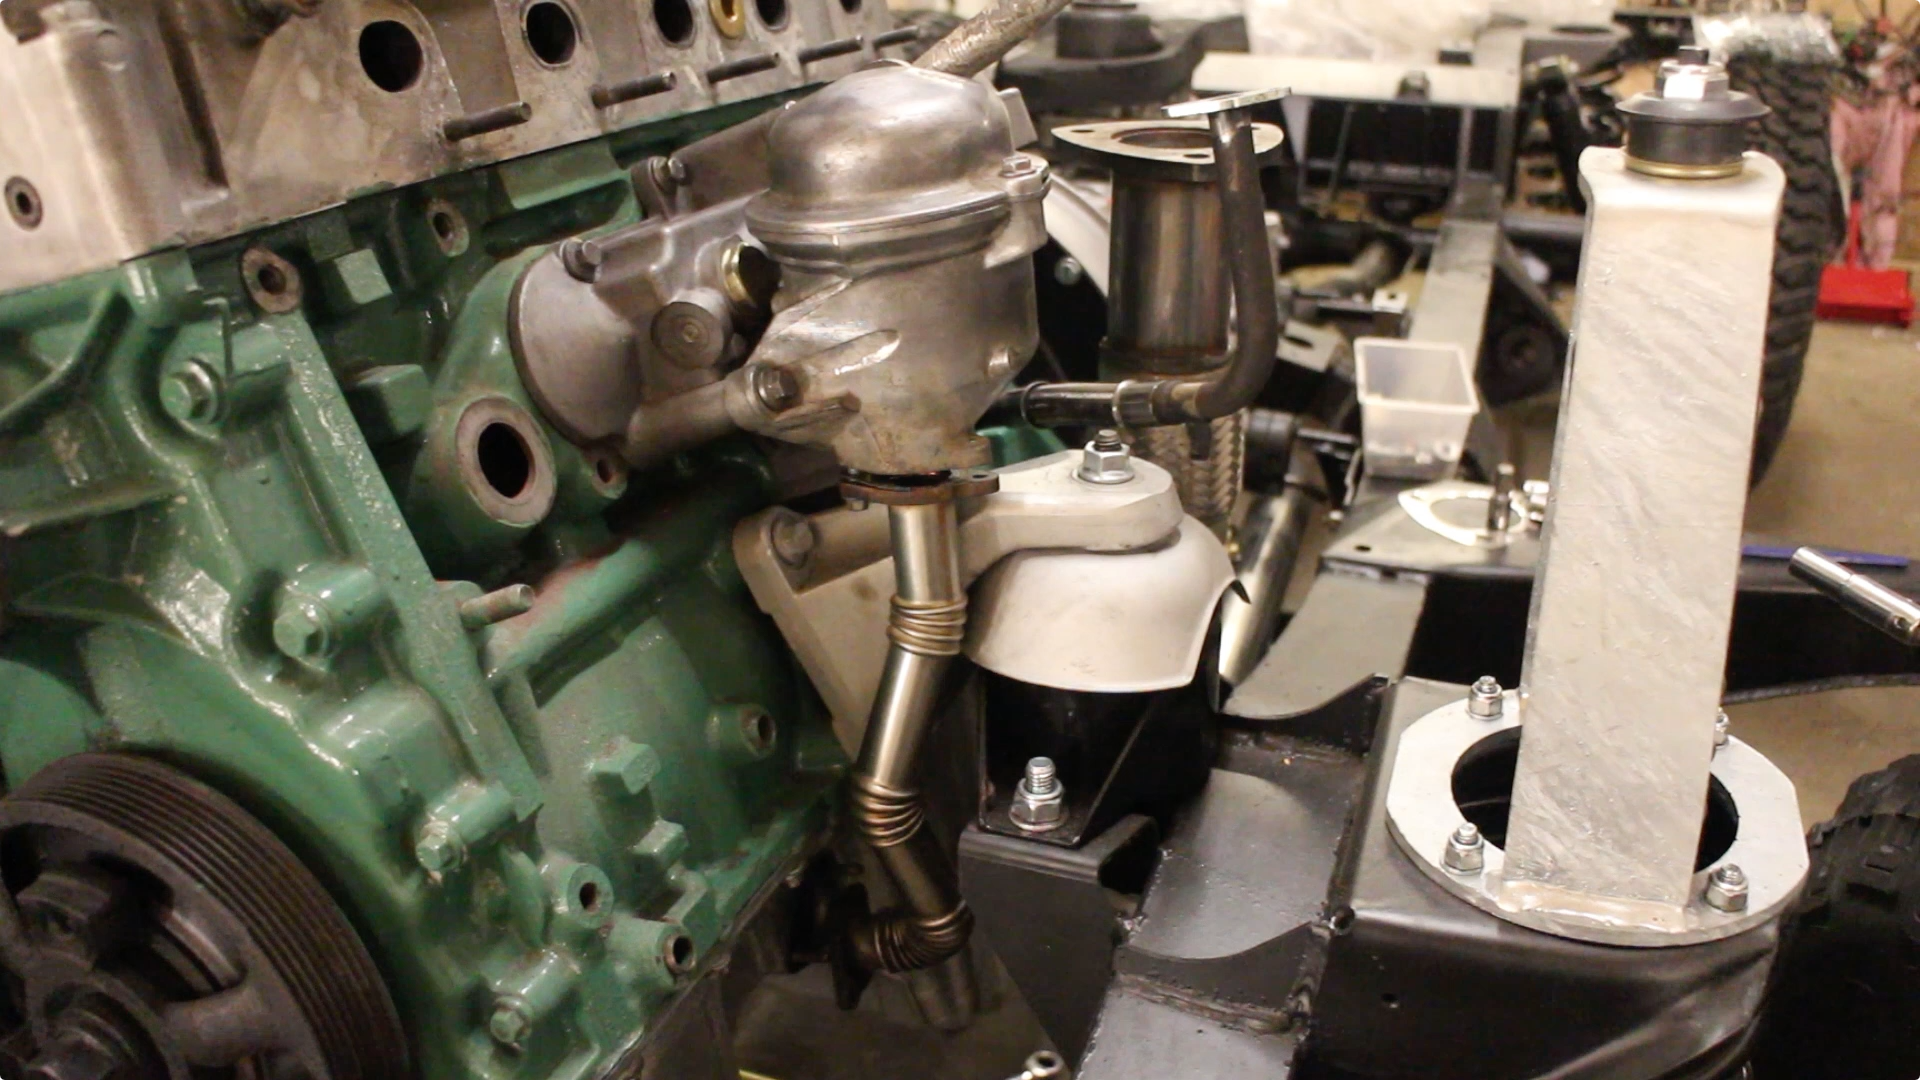
Following the advice of another viewer, we removed the oil cooler housing to replace the internal cooling block. The rotor oil filter housing needed to be removed.
And the whole thing is lifted clean off.
After stripping it down, we found ours to be in good condition, if not slightly tarnished from coolant / rust.
The cooling block is secured by 2 banjo bolts (internally relieved fixings). Thee are not overly tight and so easy to undo.
The old coolant block.
And the new one dropped in
Along with the 2 supplied replacement banjo bolts. An internally rubberised washer sits under the head.
The gaskets on the oil rotor to sump pipe are also replace

As we're nearing the point where I'd like to drop the main belt on, I decided to bolt up the power steering pump. This had been reconditioned.
Now it's time to fit the exhaust. As we're fitting a few tasteful performance upgrades, we've gone for a stainless steel straight through exhaust (with an end silencer). When combined with the Td5, this produces a lovely, throaty burble - with the added benefit of long term corrosion resistance.

Starting at the turbo, we dropped a new gasket onto the down pipe and bolted the exhaust to the lower face of the turbo outlet. The 10P Td5 doesn't have a CAT or DPF, instead it has a braided flexi joint.

I took the time to replace all the exhaust mounts. Unfortunately, one of them was only available as a genuine part - pricey stuff! This is the mount for the mid pipe.

The rear silencer section can be carefully rotated into place without the need for removing any parts

Time to bust out the welder. I've been using Hobby Weld 5, it's a superb gas to weld with for, well, hobby welders! There's no canister fees to pay and there are dealers all over the country. Hobby Weld 5 is perfectly suited to MIG welding thin metal, which we are about to do, when we repair the bulkhead.

If you are hobby welder, or weld infrequently, Hobbyweld shielding gases are very cost effective. I also spent a bit of time replacing the torch wire liner, fitted some new tips and shrouds and it's transformed my welds!

The bulkhead had some pitting that was revealed after blasting. I also stored this in the workshop for a while, which isn't the driest environment, so further rust formed on the surface. Only slightly worse than mill scale though.
This area too had some corroded metal. Fortunately, there are companies who now produce replacement sections for commonly rusted out areas. Namely YRM Metal Solutions. In this case, I decided to have a go at localised repairs, using pieces that I'll fabricate myself.
First, the corroding areas were marked and cut out
I wanted to get back to sound metal to weld my repairs to
Then I made a cardboard template, this works really well for getting a perfect outline of the repair section to be made

I picked up a Clarke sheet metal folder to use in matching our repair piece to the form lines of the bulkhead.

Then MIG welded the repair section in. I tacked the panel every inch or two, to try prevent warp, before filling in sections randomly.
The end result is a sound repair piece, even if my welds required a lot of grinding. Then, we shipped the whole lot off to the galvanisers.
BullyB said:
Fantastic progress!
I think you were very calm about the wheels getting scratched. You would think they could manage to do it without scratching?
Keep up the good work
Probably, but for the sake of 5 minutes with a brush I don't think it was worth a fuss. Plus, these were newly painted and so very easy to mark.I think you were very calm about the wheels getting scratched. You would think they could manage to do it without scratching?
Keep up the good work
Thanks for all the great comments guys and girls!
Land Rovers are simple in their construction. I'd go as far as saying they make a great first time restoration project, because you don't need a concours finish, these aren't cars meant to be garaged and the basic design is very easy to get your head around.
Here's the latest video:
https://youtu.be/Oit5zxTE-O4
Gassing Station | Readers' Cars | Top of Page | What's New | My Stuff