My BMW M3 Evolution Imola Individual GT2 Journal
Discussion


Hi all,
After a few years away I have just bought myself another E36.
For anyone who recognises the car please keep build numbers etc to yourselves. It is unknown on the database and not sure if I am going to keep it that way or not.
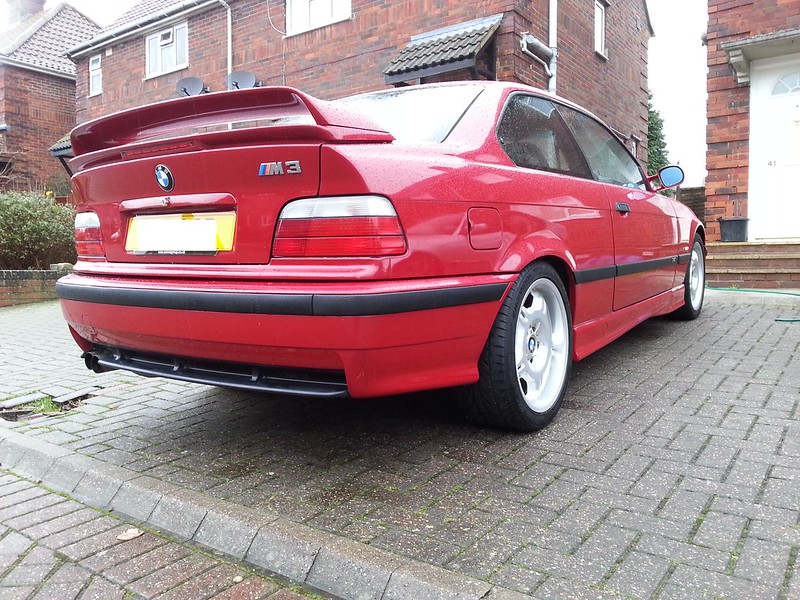
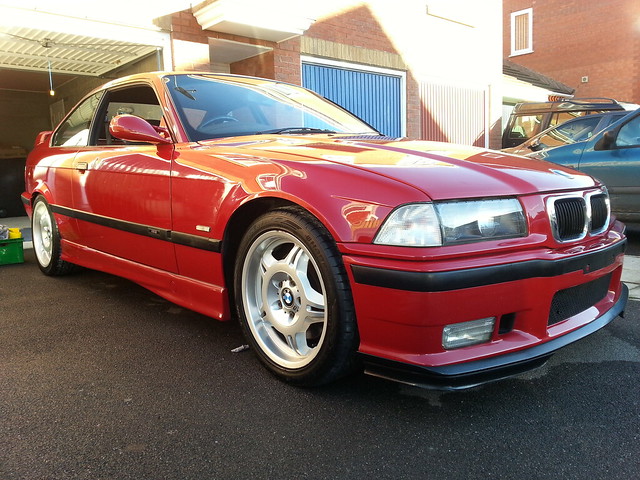
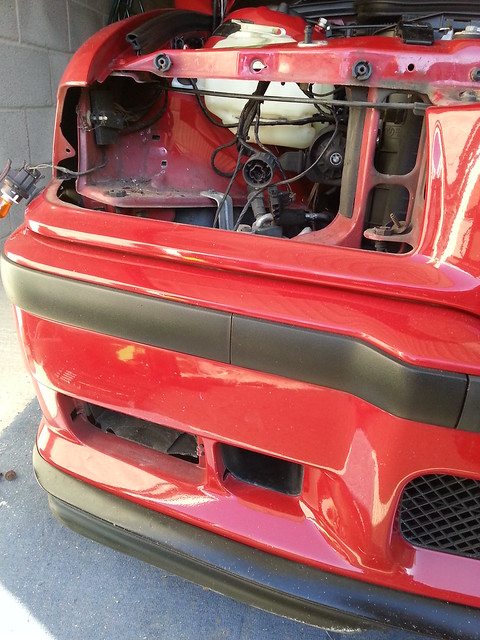
So here we have my new (to me) BMW E36 M3 Evolution Imola Individual GT2
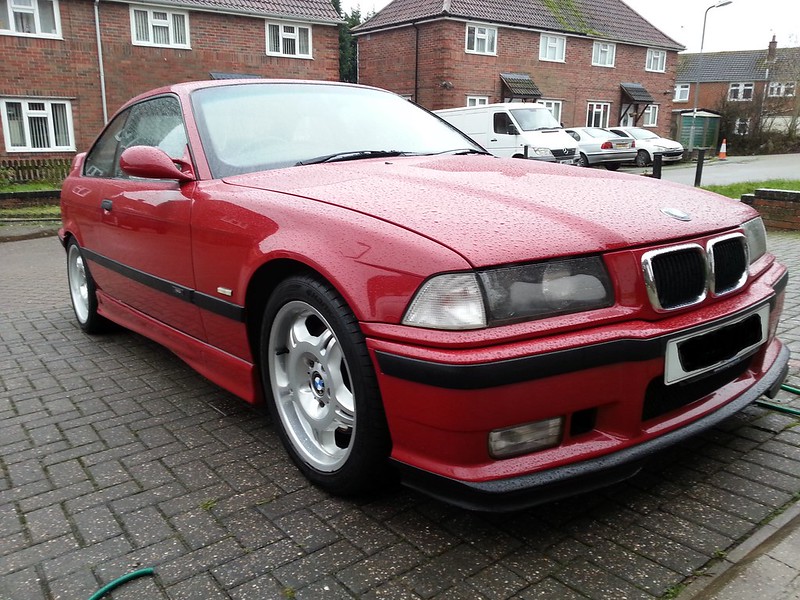
20140105_112021edit by Mark Boon, on Flickr
20140105_112010Edit by Mark Boon, on Flickr
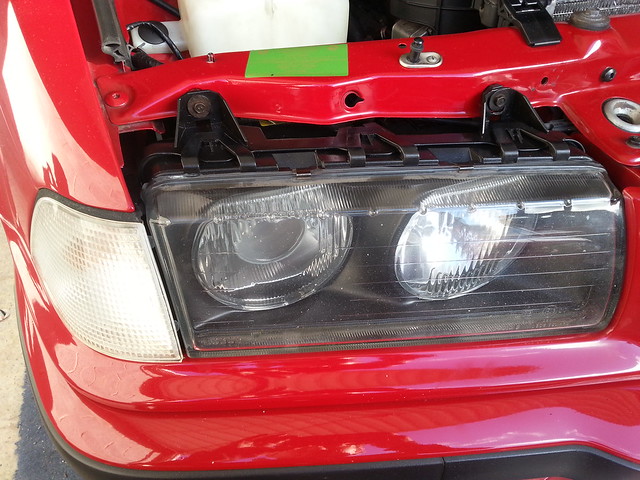
I have started by removing the light caps so they dry out.
Thanks for looking
Mark
After a few years away I have just bought myself another E36.
For anyone who recognises the car please keep build numbers etc to yourselves. It is unknown on the database and not sure if I am going to keep it that way or not.
So here we have my new (to me) BMW E36 M3 Evolution Imola Individual GT2
20140105_112021edit by Mark Boon, on Flickr
20140105_112010Edit by Mark Boon, on Flickr
I have started by removing the light caps so they dry out.
Thanks for looking
Mark

I have sat down with the service history tonight and found the car had a brand new Vanos fitted in 2007 and a clutch at 97,000. I have sorted the history into order. Only thing I do not have is the leather booklet the service book and manuals go in... Anyone got one they do not want?

Untitled by mboon, on Flickr
Untitled by mboon, on Flickr
UPDATE:
Today I started on the paintwork. Years of bad weather and poor cleaning had taken its toll so decided to using Megs cutting compound to try take out some of the swirl and grim on the paintwork.
This is a 75/25 shot of the roof during. The right hand side has not been touched.

M3 Evolution Imola Individual GT2 by mboon, on Flickr
I did noticed halfway through cleaning the car I was putting too much on and found it hard to take off again, this shows in these photos
M3 Evolution Imola Individual GT2 by mboon, on Flickr
I ended up using a fresh clean cloth to remove the extra, not perfect but should be fine once the polish and wax has been applied
This is a before and after of the rear spoiler. Like I said, nowhere near perfect but certainly an improvement. BMW paint is bloody hard!
Before

M3 Evolution Imola Individual GT2 by mboon, on Flickr
After

M3 Evolution Imola Individual GT2 by mboon, on Flickr
So this is what the car looked like after using the compound all over the bodywork
M3 Evolution Imola Individual GT2 by mboon, on Flickr

M3 Evolution Imola Individual GT2 by mboon, on Flickr
I decided to tackle the inside next as my hands were hurting!
This is the seat before

M3 Evolution Imola Individual GT2 by mboon, on Flickr
After using Glipton leather cleaner and conditioner

M3 Evolution Imola Individual GT2 by mboon, on Flickr
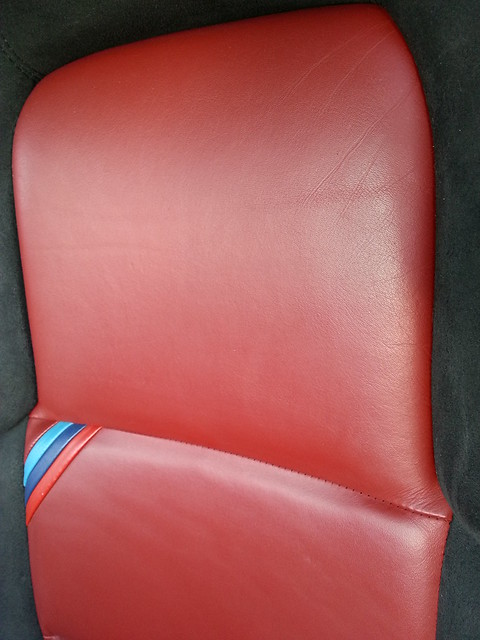
M3 Evolution Imola Individual GT2 by mboon, on Flickr
Drivers seat

M3 Evolution Imola Individual GT2 by mboon, on Flickr
Back seat

M3 Evolution Imola Individual GT2 by mboon, on Flickr
I also went over the steering wheel, not happy with this so will look to replace or get the leather renewed at some point
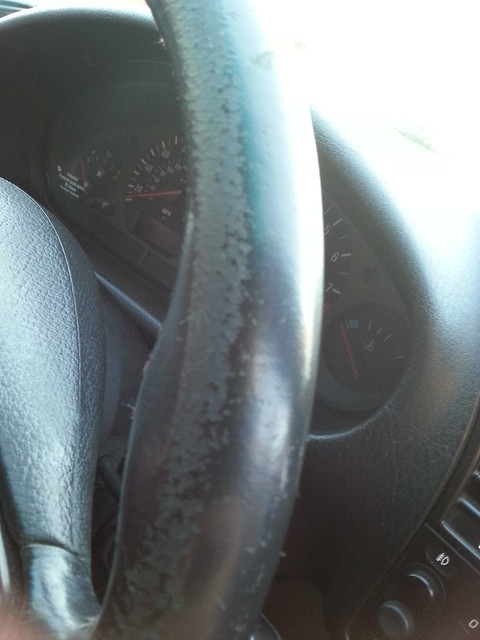
M3 Evolution Imola Individual GT2 by mboon, on Flickr

M3 Evolution Imola Individual GT2 by mboon, on Flickr
Hoovered
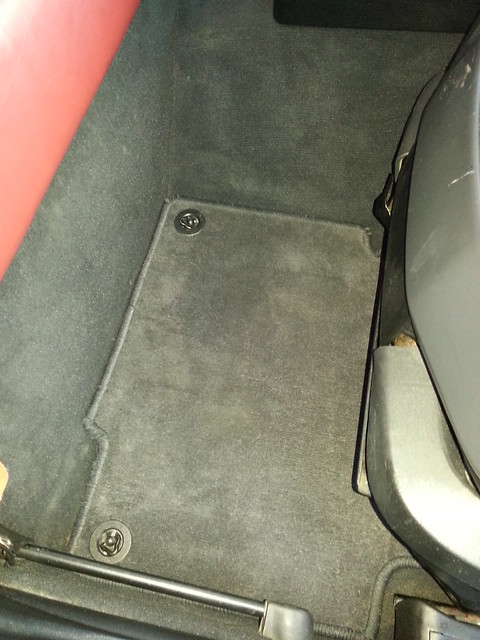
M3 Evolution Imola Individual GT2 by mboon, on Flickr
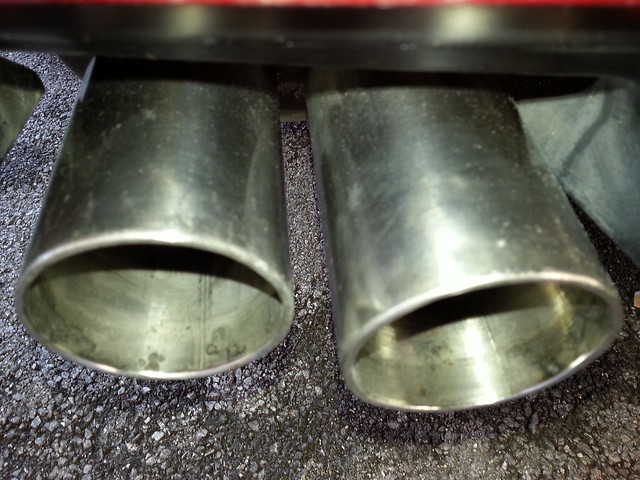
Cleaned the exhaust using wet and dry and some Autosol metal cleaner
M3 Evolution Imola Individual GT2 by mboon, on Flickr
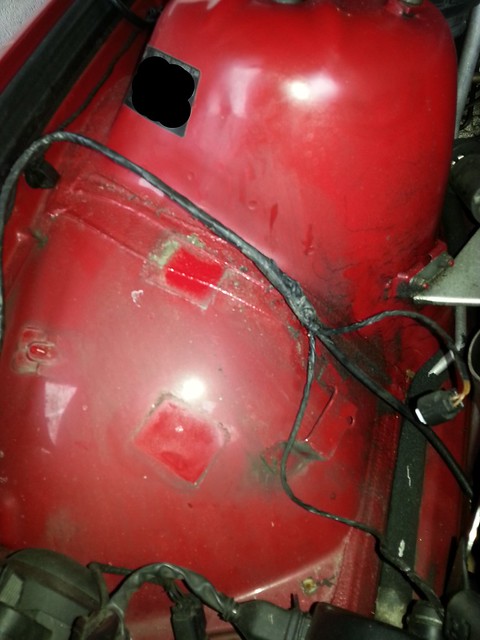
A couple things I want to do
Sort this
M3 Evolution Imola Individual GT2 by mboon, on Flickr
Any ideas?
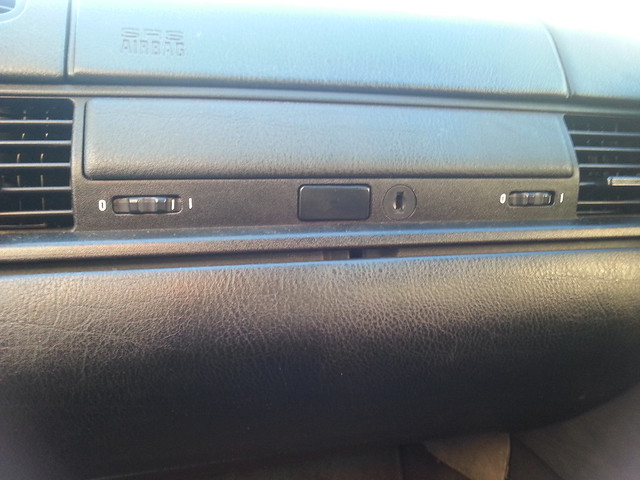
Radio screen is mixing pixels

M3 Evolution Imola Individual GT2 by mboon, on Flickr
Anyone know if this is a standard BMW head unit or are they different for the HK setup?
And need to tackle the engine.
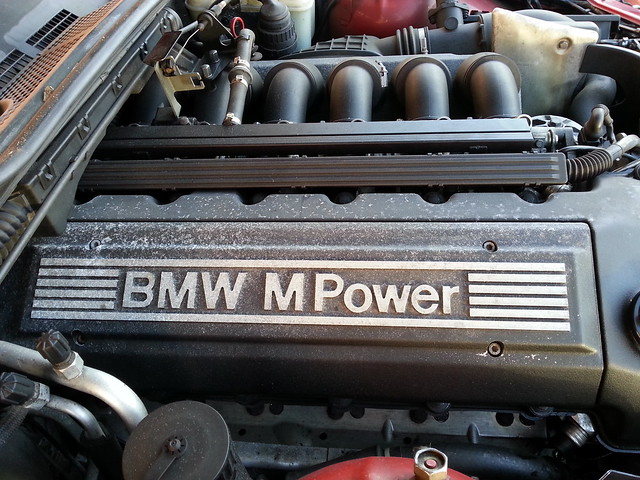
M3 Evolution Imola Individual GT2 by mboon, on Flickr
I will hopefully tackle it again tomorrow, might have another go with the cutting compound and look into some polish.
I will upload a little video I made walking around the car, nothing special but good to see in a different light
Thanks for reading
Mark
Today I started on the paintwork. Years of bad weather and poor cleaning had taken its toll so decided to using Megs cutting compound to try take out some of the swirl and grim on the paintwork.
This is a 75/25 shot of the roof during. The right hand side has not been touched.
M3 Evolution Imola Individual GT2 by mboon, on Flickr
I did noticed halfway through cleaning the car I was putting too much on and found it hard to take off again, this shows in these photos
M3 Evolution Imola Individual GT2 by mboon, on Flickr
I ended up using a fresh clean cloth to remove the extra, not perfect but should be fine once the polish and wax has been applied
This is a before and after of the rear spoiler. Like I said, nowhere near perfect but certainly an improvement. BMW paint is bloody hard!
Before
M3 Evolution Imola Individual GT2 by mboon, on Flickr
After
M3 Evolution Imola Individual GT2 by mboon, on Flickr
So this is what the car looked like after using the compound all over the bodywork
M3 Evolution Imola Individual GT2 by mboon, on Flickr
M3 Evolution Imola Individual GT2 by mboon, on Flickr
I decided to tackle the inside next as my hands were hurting!
This is the seat before
M3 Evolution Imola Individual GT2 by mboon, on Flickr
After using Glipton leather cleaner and conditioner
M3 Evolution Imola Individual GT2 by mboon, on Flickr
M3 Evolution Imola Individual GT2 by mboon, on Flickr
Drivers seat
M3 Evolution Imola Individual GT2 by mboon, on Flickr
Back seat
M3 Evolution Imola Individual GT2 by mboon, on Flickr
I also went over the steering wheel, not happy with this so will look to replace or get the leather renewed at some point
M3 Evolution Imola Individual GT2 by mboon, on Flickr
M3 Evolution Imola Individual GT2 by mboon, on Flickr
Hoovered
M3 Evolution Imola Individual GT2 by mboon, on Flickr
Cleaned the exhaust using wet and dry and some Autosol metal cleaner
M3 Evolution Imola Individual GT2 by mboon, on Flickr
A couple things I want to do
Sort this
M3 Evolution Imola Individual GT2 by mboon, on Flickr
Any ideas?
Radio screen is mixing pixels
M3 Evolution Imola Individual GT2 by mboon, on Flickr
Anyone know if this is a standard BMW head unit or are they different for the HK setup?
And need to tackle the engine.
M3 Evolution Imola Individual GT2 by mboon, on Flickr
I will hopefully tackle it again tomorrow, might have another go with the cutting compound and look into some polish.
I will upload a little video I made walking around the car, nothing special but good to see in a different light
Thanks for reading
Mark
After yesterday my right hand was practically useless!
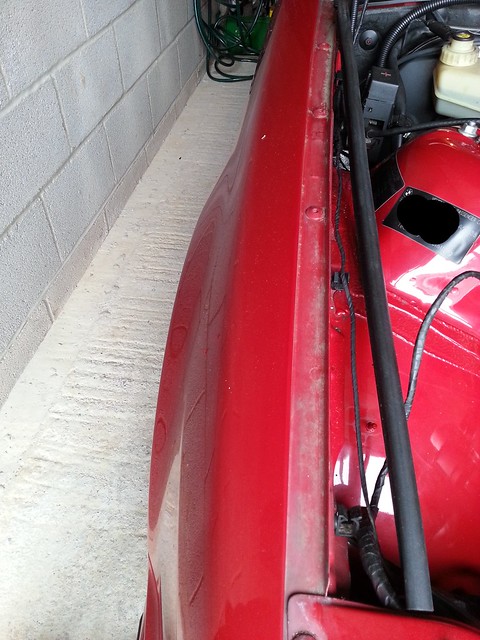
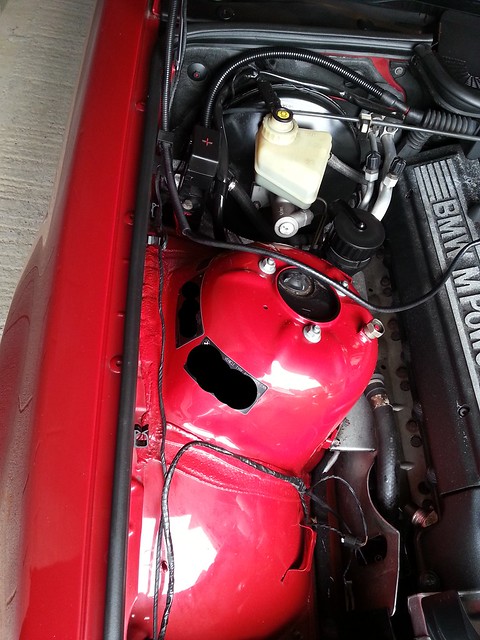
I had to go back to the car to move it over in the garage and decided to make a small start on the engine bay.
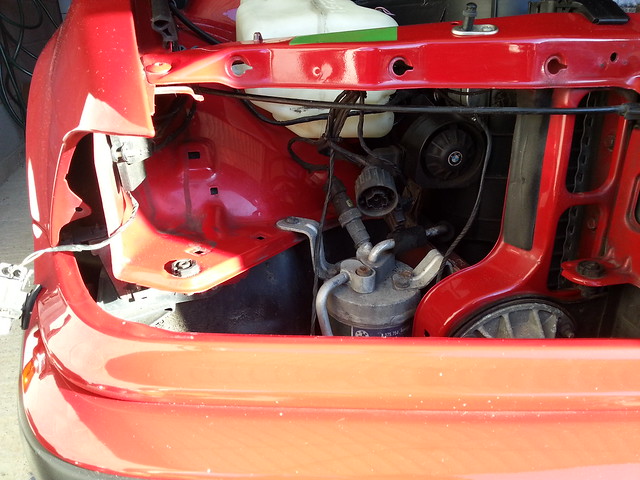
This is what it started off like
Untitled by mboon, on Flickr
Untitled by mboon, on Flickr
Untitled by mboon, on Flickr

Untitled by mboon, on Flickr

Untitled by mboon, on Flickr
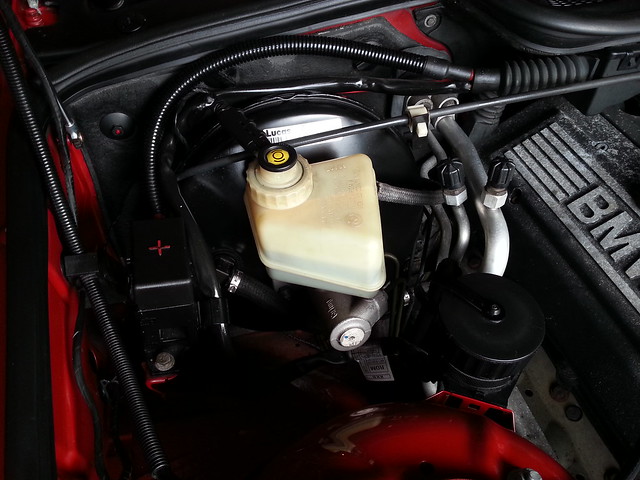
After
Untitled by mboon, on Flickr
Untitled by mboon, on Flickr

Untitled by mboon, on Flickr
Untitled by mboon, on Flickr
Untitled by mboon, on Flickr

Untitled by mboon, on Flickr
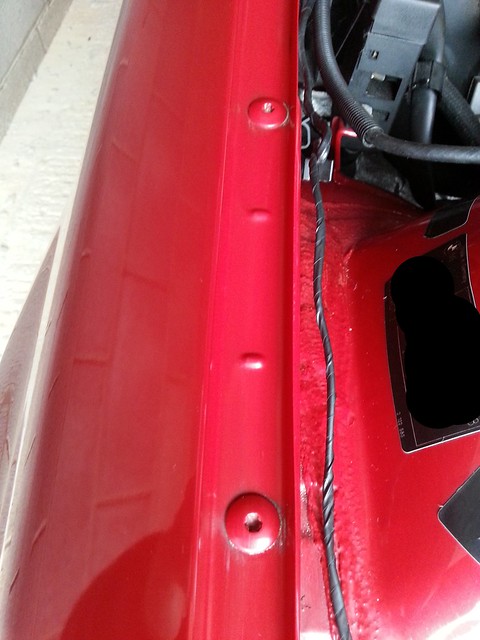
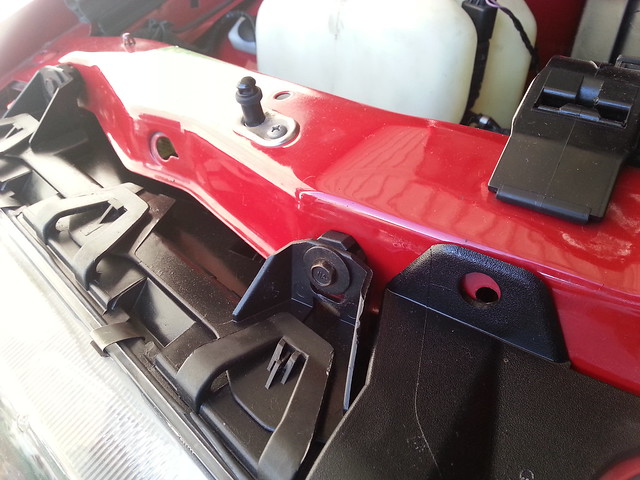
While I was cleaning this part, I noticed the bolts with the washers on was not very tight? I gave them a tweak up
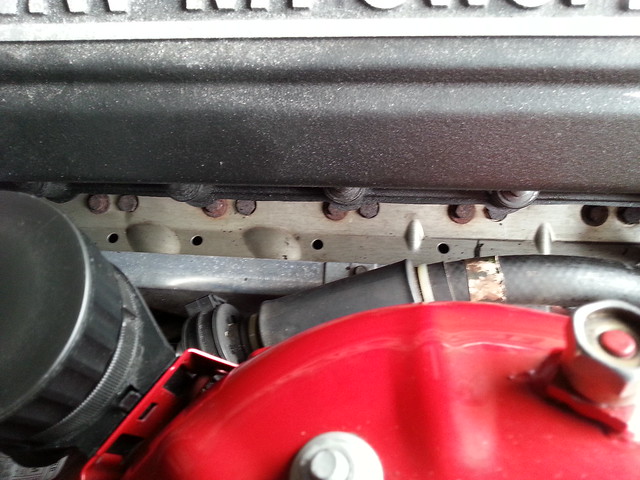
Untitled by mboon, on Flickr
I am guessing this is just a cover of some sorts?
I also managed to break this

Untitled by mboon, on Flickr
I am guessing this is the pump for the washer jets? anyone got a working one they do not need? Mine has broken when trying to remove the water pipe
Untitled by mboon, on Flickr
I took the coil cover off to try clean it up and found 6 BMW coils which was nice
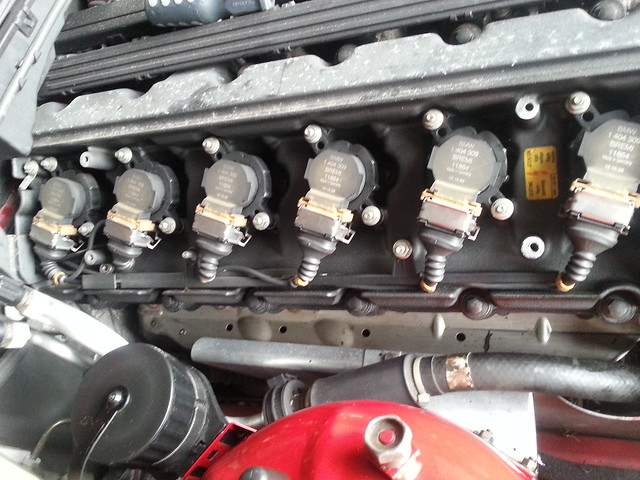
Untitled by mboon, on Flickr
This one also shows the top of the engine and the mess it is in.
This is the coil cover after a bit of a clean and put back on, also scrubbed the black crackle paint near this cover to see if it would come off, came off the engine part but not the removable coil cover, will need to get this sprayed

Untitled by mboon, on Flickr
That is all I managed today, need to let my hands recover now. Did not manage to clean the arches out but I can do that in the garage.
Thanks for reading
Mark
I had to go back to the car to move it over in the garage and decided to make a small start on the engine bay.
This is what it started off like
Untitled by mboon, on Flickr
Untitled by mboon, on Flickr
Untitled by mboon, on Flickr
Untitled by mboon, on Flickr
Untitled by mboon, on Flickr
After
Untitled by mboon, on Flickr
Untitled by mboon, on Flickr
Untitled by mboon, on Flickr
Untitled by mboon, on Flickr
Untitled by mboon, on Flickr
Untitled by mboon, on Flickr
While I was cleaning this part, I noticed the bolts with the washers on was not very tight? I gave them a tweak up
Untitled by mboon, on Flickr
I am guessing this is just a cover of some sorts?
I also managed to break this
Untitled by mboon, on Flickr
I am guessing this is the pump for the washer jets? anyone got a working one they do not need? Mine has broken when trying to remove the water pipe
Untitled by mboon, on Flickr
I took the coil cover off to try clean it up and found 6 BMW coils which was nice
Untitled by mboon, on Flickr
This one also shows the top of the engine and the mess it is in.
This is the coil cover after a bit of a clean and put back on, also scrubbed the black crackle paint near this cover to see if it would come off, came off the engine part but not the removable coil cover, will need to get this sprayed
Untitled by mboon, on Flickr
That is all I managed today, need to let my hands recover now. Did not manage to clean the arches out but I can do that in the garage.
Thanks for reading
Mark

OK so started on the other side of the engine bay today
Removed some parts and started with this
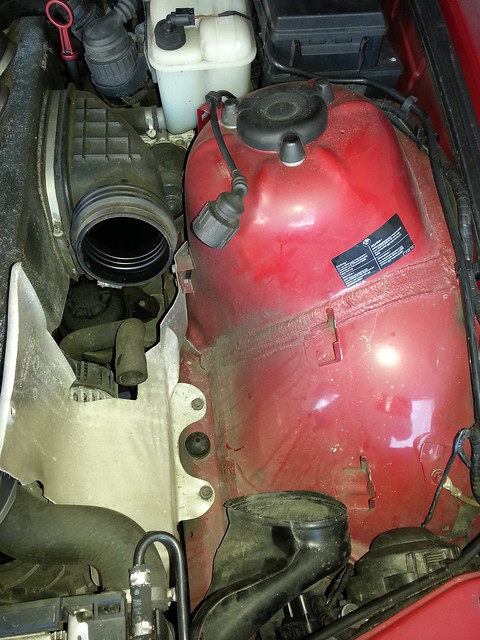
Untitled by mboon, on Flickr
Ended up looking like this

Untitled by mboon, on Flickr
My bonnet sound proof was filthy so had a stiff blush and went over it, not amazing but certainly better and lots of crap came out of it too
Before
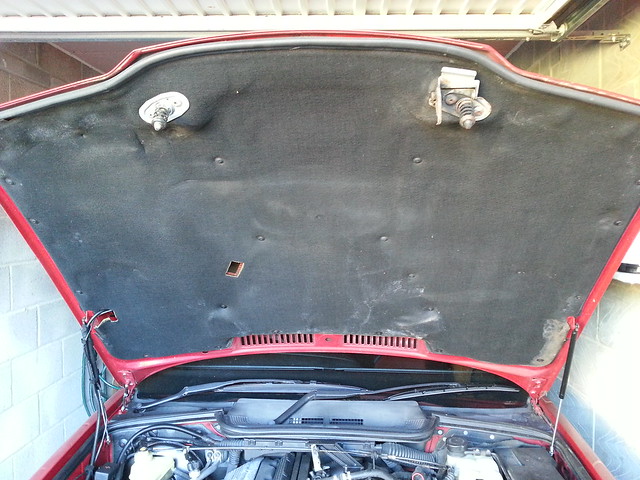
Untitled by mboon, on Flickr
After

Untitled by mboon, on Flickr
Next up I removed a few bits

Untitled by mboon, on Flickr
Was the standard kind of grime
Before
Untitled by mboon, on Flickr
After
Untitled by mboon, on Flickr
I cleaned up everything before putting it all back together
Ended up looking like this
Untitled by mboon, on Flickr

Untitled by mboon, on Flickr

Untitled by mboon, on Flickr
Untitled by mboon, on Flickr
I have not replaced the screws as they have been painted, waiting for them to dry before fitting, if they look pants I will go buy all new.
List of parts I am replacing
Front fog lights
Side rear window seals (bottom) both sides
Steering wheel either new or leather sorted
Might get the drivers side bolster reconditioned but its in pretty decent shape already so not urgent
New washer fluid pump as I broke that one
New clips for the side kit (one is broken but will replace all as they are cheap)
Coil cover repainted, spoken to my paint guy who is sorting this.
Scratch on the passage side which will need paint
Future jobs:
Clean the arches out
Clean the back of the wheels
Clean and degrees the actual engine
Inspection 2 service
Possibly take the front splitter off and the GT side splitter parts and re-paint. Is this satin black?
Thanks for reading
Mark
Removed some parts and started with this
Untitled by mboon, on Flickr
Ended up looking like this
Untitled by mboon, on Flickr
My bonnet sound proof was filthy so had a stiff blush and went over it, not amazing but certainly better and lots of crap came out of it too
Before
Untitled by mboon, on Flickr
After
Untitled by mboon, on Flickr
Next up I removed a few bits
Untitled by mboon, on Flickr
Was the standard kind of grime
Before
Untitled by mboon, on Flickr
After
Untitled by mboon, on Flickr
I cleaned up everything before putting it all back together
Ended up looking like this
Untitled by mboon, on Flickr
Untitled by mboon, on Flickr
Untitled by mboon, on Flickr
Untitled by mboon, on Flickr
I have not replaced the screws as they have been painted, waiting for them to dry before fitting, if they look pants I will go buy all new.
List of parts I am replacing
Front fog lights
Side rear window seals (bottom) both sides
Steering wheel either new or leather sorted
Might get the drivers side bolster reconditioned but its in pretty decent shape already so not urgent
New washer fluid pump as I broke that one
New clips for the side kit (one is broken but will replace all as they are cheap)
Coil cover repainted, spoken to my paint guy who is sorting this.
Scratch on the passage side which will need paint
Future jobs:
Clean the arches out
Clean the back of the wheels
Clean and degrees the actual engine
Inspection 2 service
Possibly take the front splitter off and the GT side splitter parts and re-paint. Is this satin black?
Thanks for reading
Mark
Gassing Station | Readers' Cars | Top of Page | What's New | My Stuff