Ducati custom build Mark II
Discussion


tvrolet said:
Fantastic job - but just one query. Why the rose joints on the sub-frame that mounts the seat? I know they'll remove any possibility of bending moments in the tubes. but is that really a problem? Why not just weld-up the tubes in the seat mount as a single frame, or it is to give some degree of adjustability? Just curious...
to be honest it was just I liked the look of them. as you will see in some early pictures I i did make some, and then someone on another forum suggested using rose joints... I dont think they add any structural advantage, probably the opposite really. they did make it easier to line everything up though... I do intend the replace the bracing struts with alloy soon as I get the tube...Dibble said:
Cheers buzzer
I had it in my head somewhere that it was “more difficult” to weld aluminium, but I could have made that up and I don’t know why it would be! I’m really enjoying this thread, so keep it coming. As I’ve said, to me, most of this stuff is witchcraft!
its MUCH more difficult to weld Aluminium... for lots of reasons. I will say though that my new TIG set is fantastic, and goes some way to make it easier... it has high frequency start, the amps ramp up, and down, so you don't end up with craters at the end of a run, it has pulse welding... fantastic!I had it in my head somewhere that it was “more difficult” to weld aluminium, but I could have made that up and I don’t know why it would be! I’m really enjoying this thread, so keep it coming. As I’ve said, to me, most of this stuff is witchcraft!
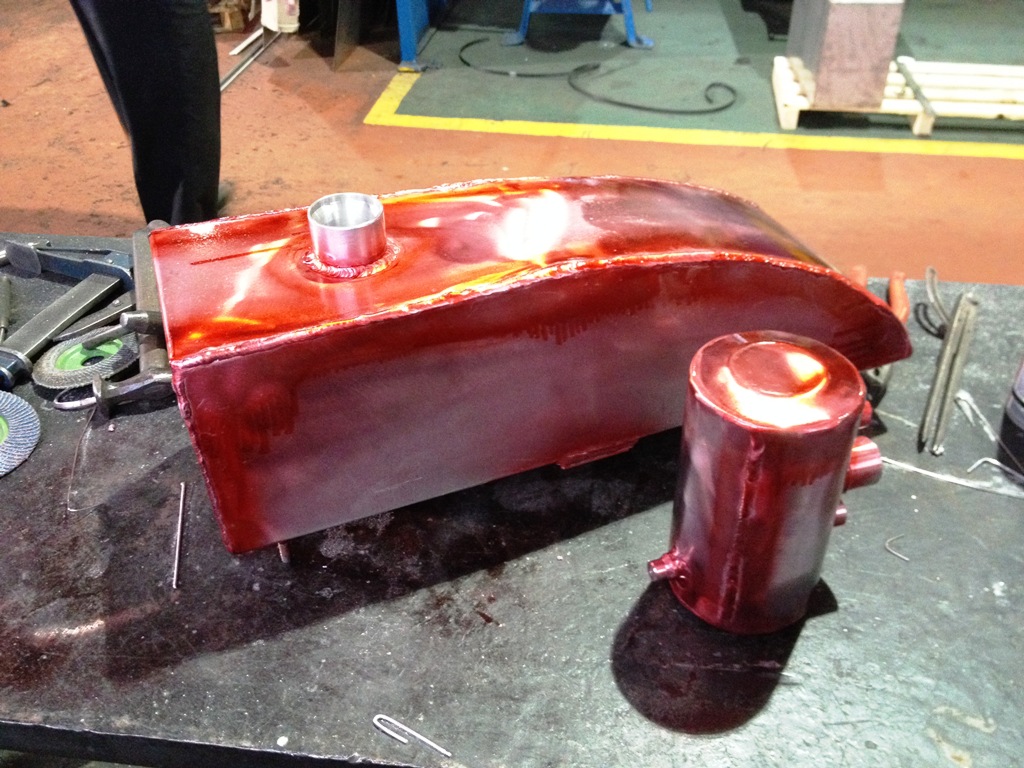
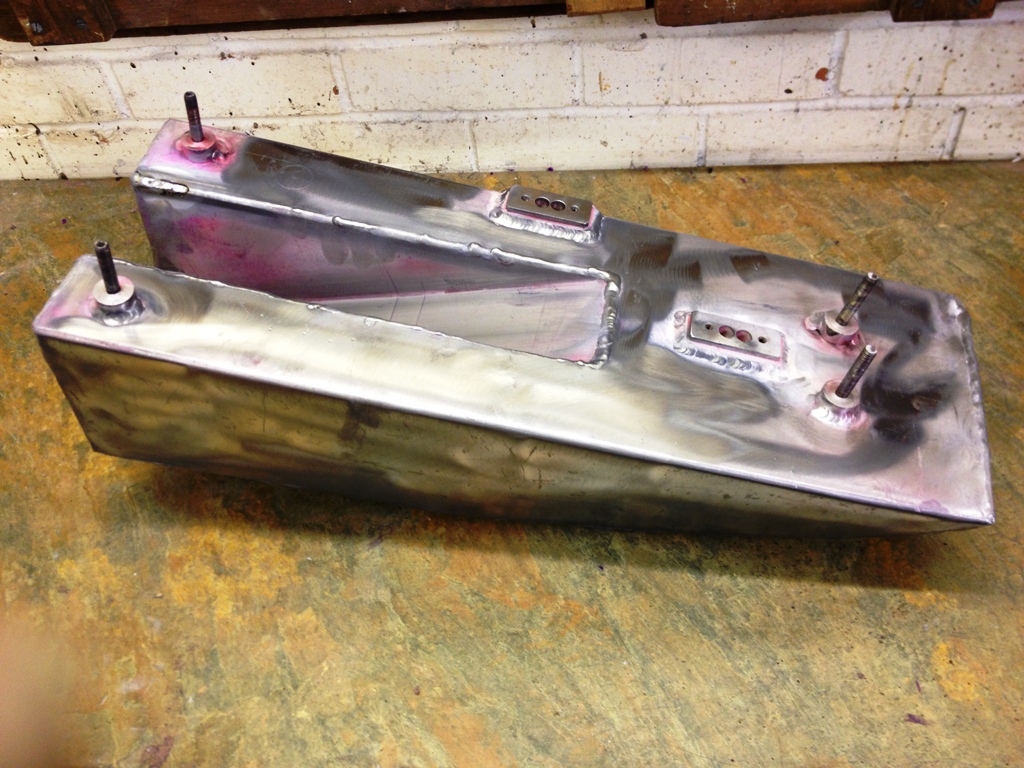
Up to now I have had to go to my mates factory for AC TIG... On the last build I made a fuel and oil tank from scratch, that was my first real play with TIG for many years. here are a couple of pictures. the red stuff is dye penatrant, I was in the process of looking for leaks in the welds, which there were a few....
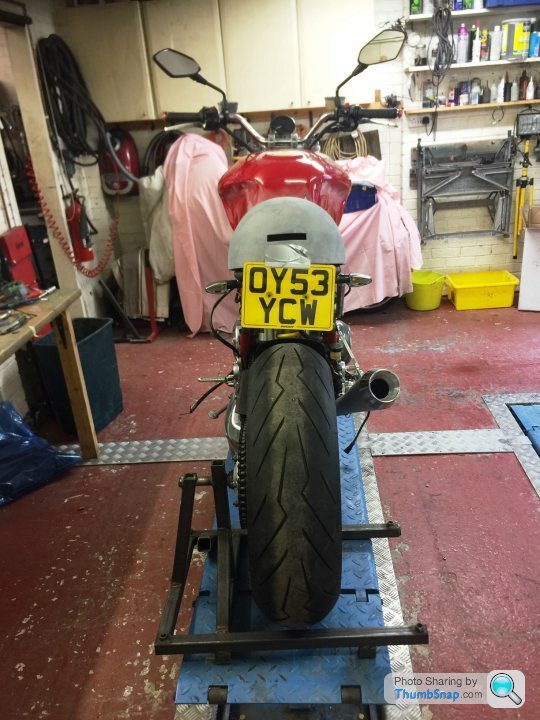
Great skills and it is your bike, but that seat unit IMO just doesn't look right with that tank. It is an old skool seat, and the tank is not! It sits too low in the frame and hence looks too "deep", again IMHO.
Have you considered or tried something based on something from the Ducati stable, eg a modified 999 seat unit? or even something like a TRX850 seat unit (race unit) that has a similar shape tank?
I'm loving the build overall though, again, as someone who has built a few bikes, very envious of your skills and kit!
tvrolet said:
Fantastic job - but just one query. Why the rose joints on the sub-frame that mounts the seat? I know they'll remove any possibility of bending moments in the tubes. but is that really a problem? Why not just weld-up the tubes in the seat mount as a single frame, or it is to give some degree of adjustability? Just curious...
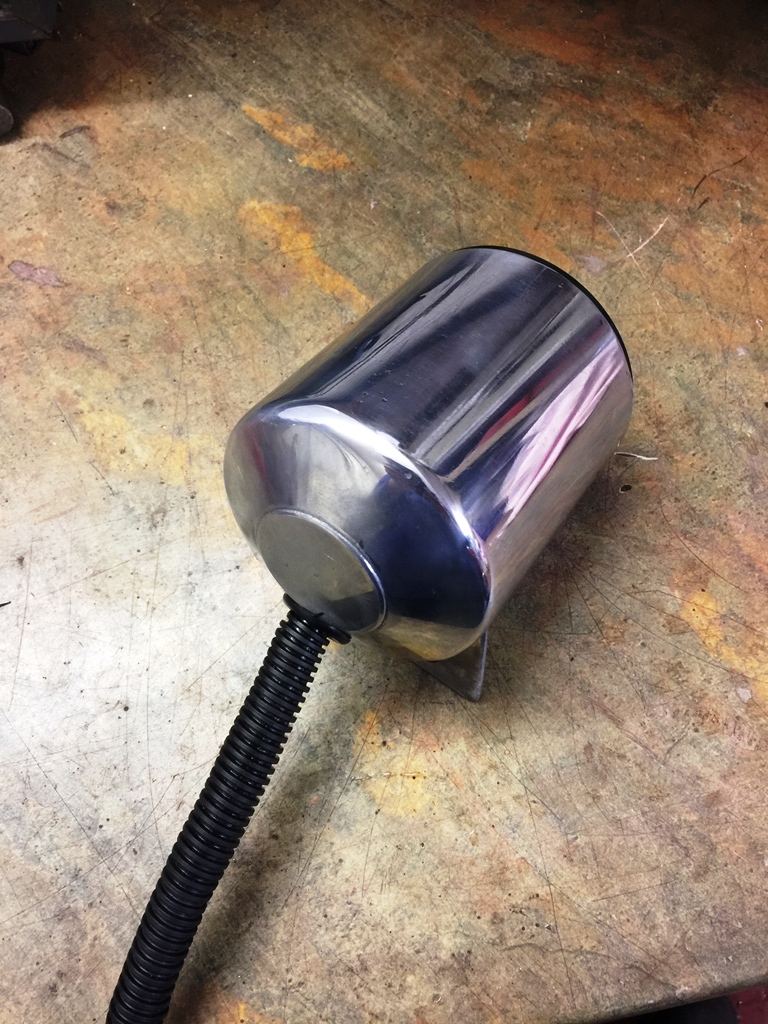
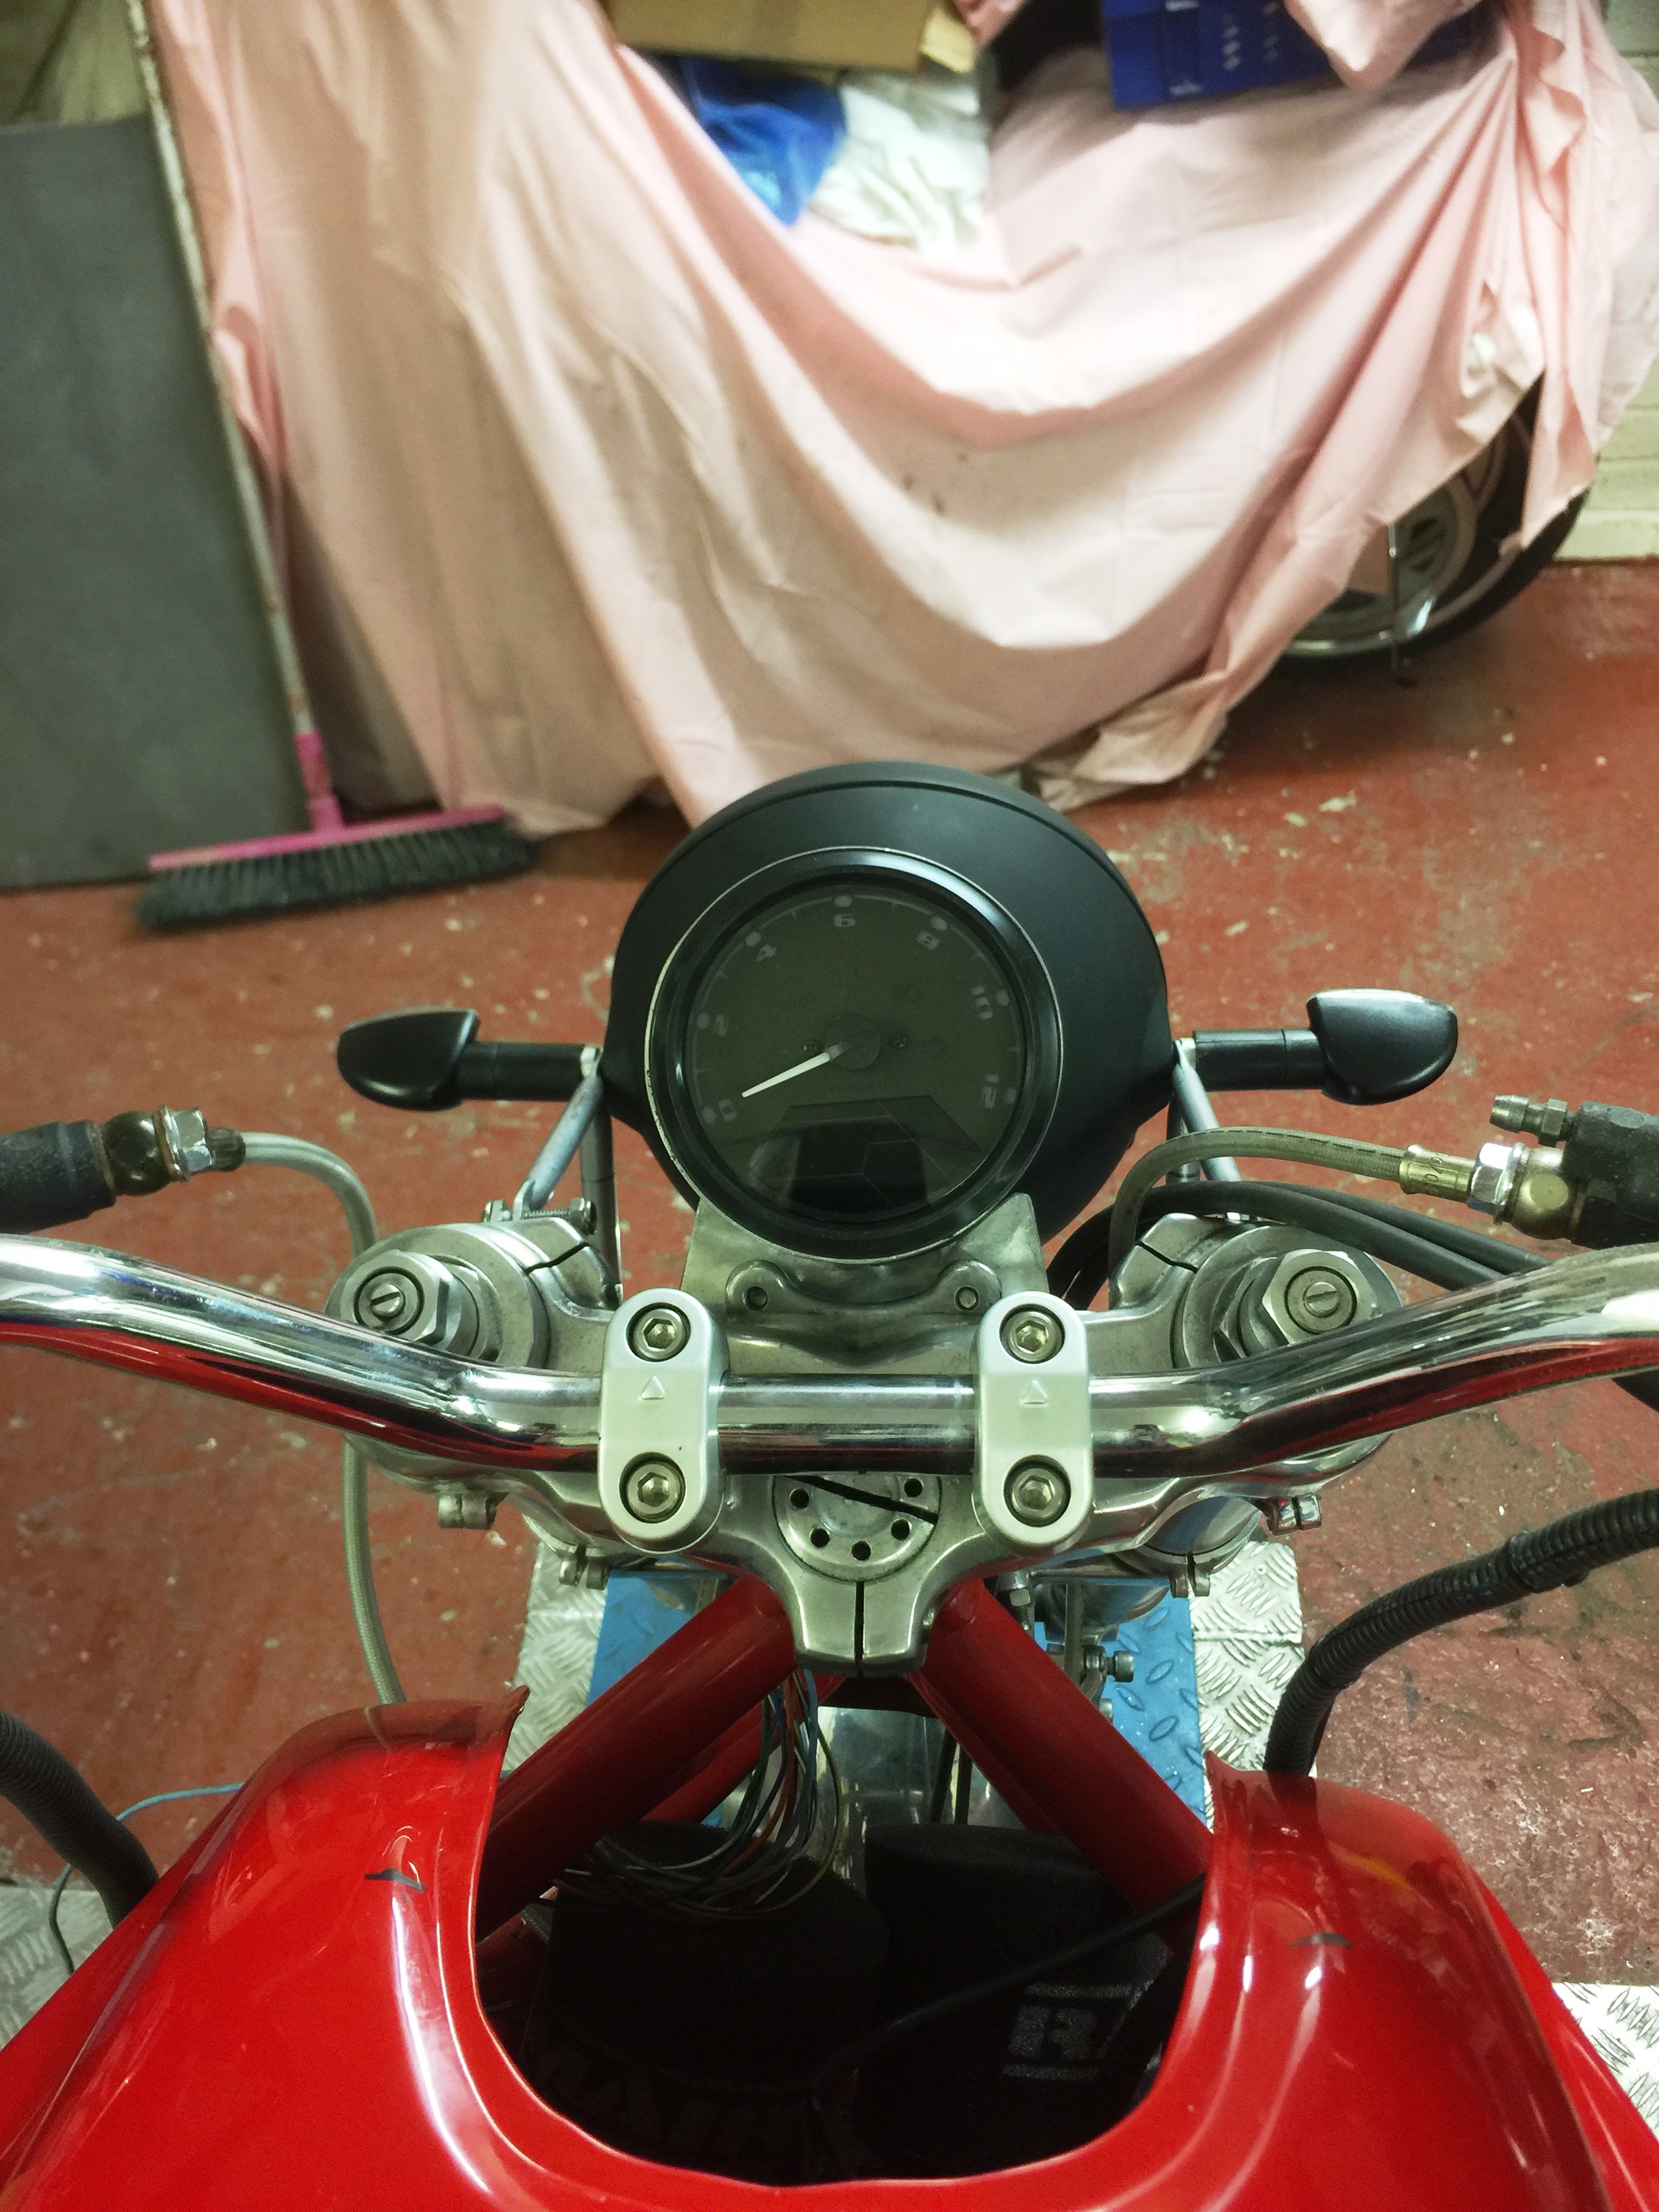
I was wondering that, usually you would want to bolt the subframe in solidly, unless there's some fancy seat suspension going on there!been busy the last few days making the speedo housing and mounting the headlight. I am using one of the digital rev counter and speedo's. this single unit contains all the functions I need and is fully configurable too... and quite cheap at £25. it didn't look that good though, so I made a housing to fit it in and keep the wires tidy.
to make the housing I rolled some sheet alloy (couldn't get the right size tube...) and welded the joint. I then spun an end in the lathe using the same material. this is an interesting process (and old as the hills!) where you form the metal by spinning it and applying force as its turning. I used an old bearing on a tube to save marking the alloy. it came out rather well.
I really am loving my new welder!


I was pleased with it... I am new to TIG welding, I have only done a few jobs over the last few years with my mates machine which is an old industrial one in his fabrication company. I found it quite difficult... then one of his guys bought his small inverter welder in and showed both me and my mate what it does...
its fantastic! its so configurable, the pre and post gas can be set in 10ths of a second... the pre start amp slope, and importantly the post amp slope can be set which stops that little crater forming when you loose the trigger... its also got pulse welding... different wave forms... so much to play with!
we both bought one!

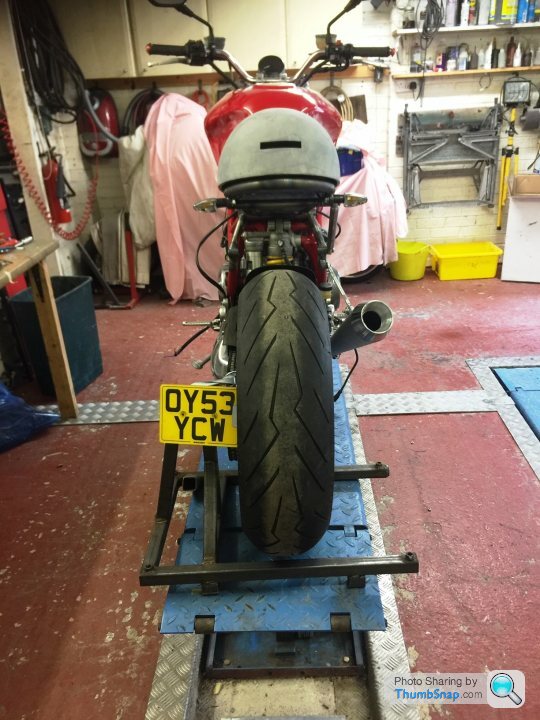
jobs for today has been to put the seat foam on the aluminium tray and sand it to shape before sending it off to the trimmer. I was able to sit on the bike and get it to the shape that suits me, which is nice. the trimmer will add 15mm of soft foam on top and contour it in, before trimming it in black.
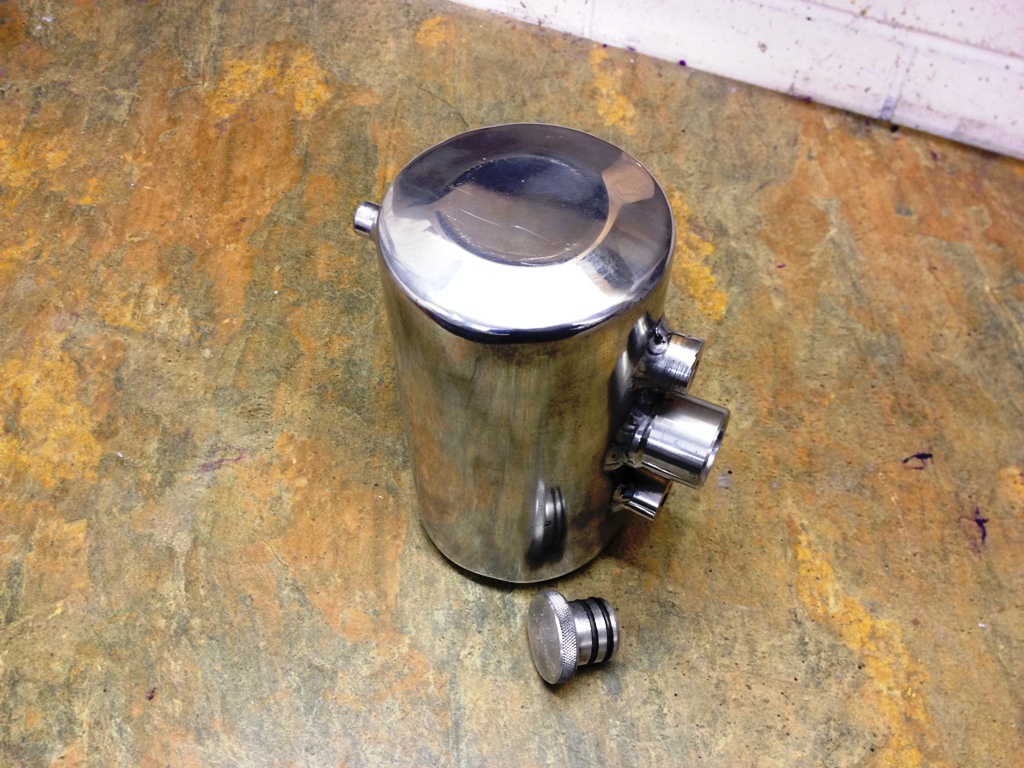
Best laid plans with the fuel tap… it was going to go in the plate that fills the hole where the fuel pump fits, but there is not enough clearance so I resorted to remote mounting it. its actually better as I can get to turn it on and off easier. the two inlets are so I can come off two pipes in the tank to give me a reserve facility.the tap is off a Suzuki Bandit 1000.
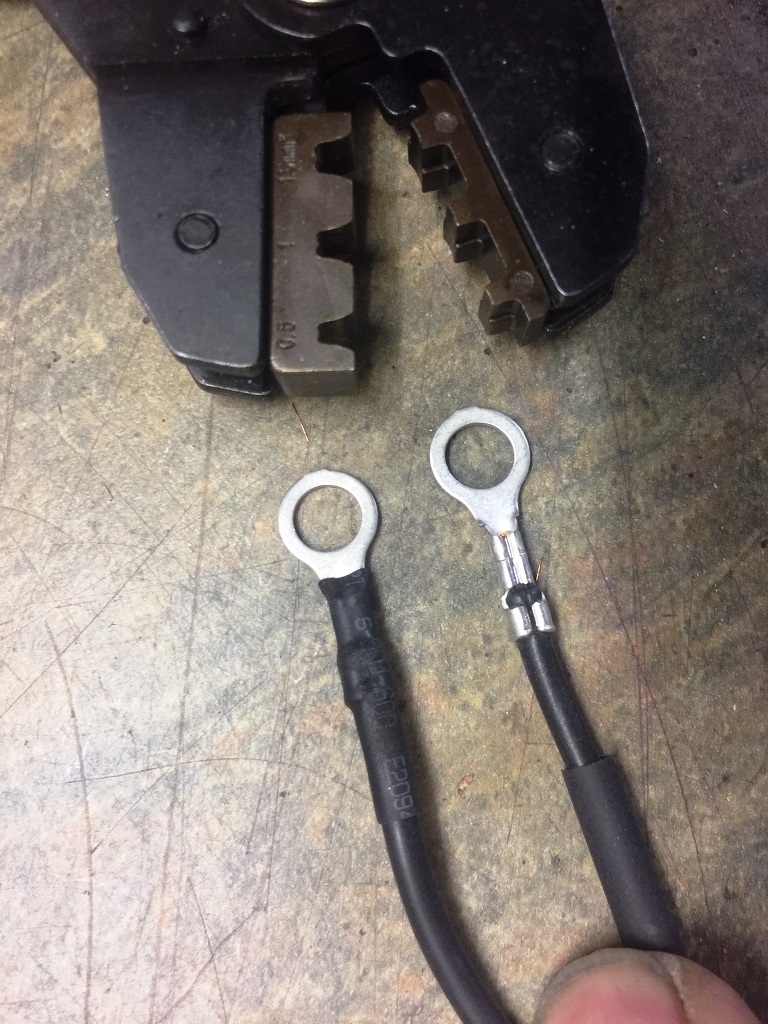
on projects in the past I have always soldered the connections, but this time I have gone for crimped joints, they look neater, and also as my mate always says you never see a soldered joint on aircraft wiring!


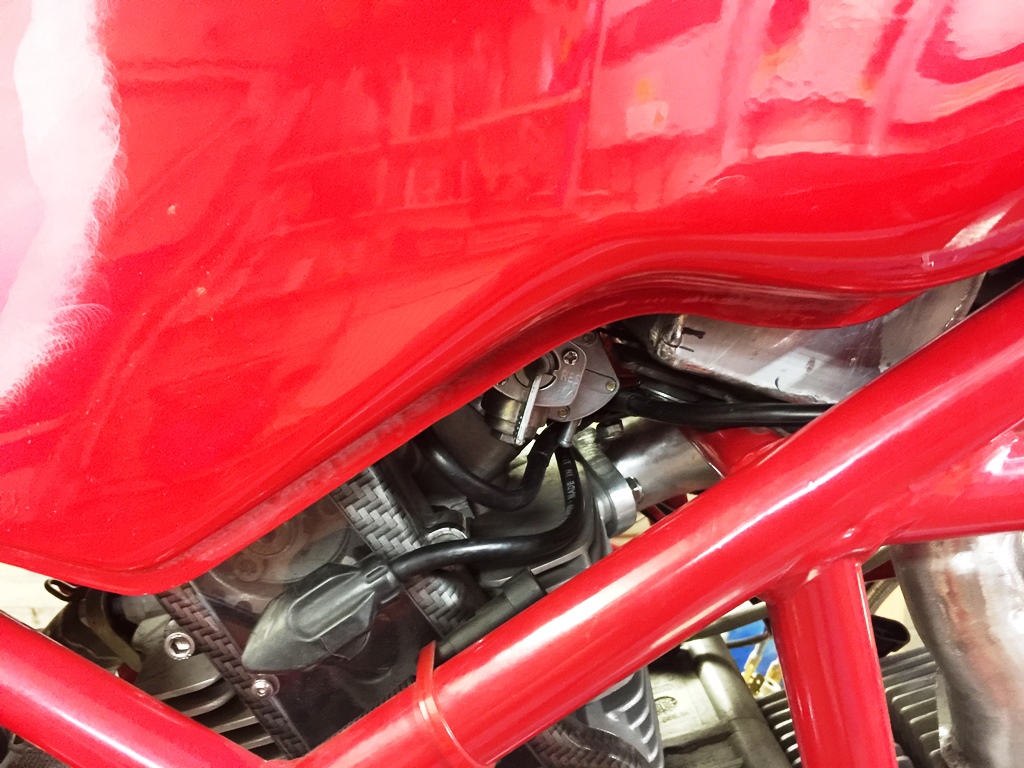
Best laid plans with the fuel tap… it was going to go in the plate that fills the hole where the fuel pump fits, but there is not enough clearance so I resorted to remote mounting it. its actually better as I can get to turn it on and off easier. the two inlets are so I can come off two pipes in the tank to give me a reserve facility.the tap is off a Suzuki Bandit 1000.
on projects in the past I have always soldered the connections, but this time I have gone for crimped joints, they look neater, and also as my mate always says you never see a soldered joint on aircraft wiring!
Be different.
Make the seat horizontal, then fit a rear mudguard and a light/no. plate bracket like this >>>> https://www.wwag.com/cgi-bin/WebObjects/WebSite.wo...

Make the seat horizontal, then fit a rear mudguard and a light/no. plate bracket like this >>>> https://www.wwag.com/cgi-bin/WebObjects/WebSite.wo...

been a little while as I am having to take a break to do some house DIY… but I managed to sneak in the garage and make a cover for the front of the tank. It took a while to plannish it out of some 2 mm alloy as its a complex compound curve, but i got there.
I was going to use keyless ignition as I have used on the last few builds, they are cheap and work well… however the brief on this build was as simple as I can make it, and it does not come more simple than a key operated switch! when I put it in the cover it didn’t look right, so I made a tool to emboss around the switch, which worked quite well…


I was going to use keyless ignition as I have used on the last few builds, they are cheap and work well… however the brief on this build was as simple as I can make it, and it does not come more simple than a key operated switch! when I put it in the cover it didn’t look right, so I made a tool to emboss around the switch, which worked quite well…
Gassing Station | Biker Banter | Top of Page | What's New | My Stuff