Discussion


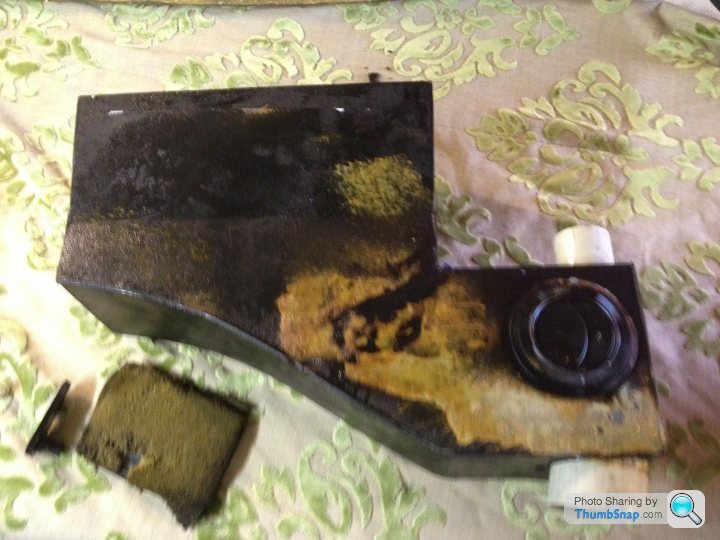
My heater was leaking like a b h so I decided to pull it apart and refurb it.
It only took 1/2 hour to remove, which I didn't expect hearing all the horror stories about matrix removal.
Firstly I undid the 4 hose connections at each end of the solid pipes, then unscrewed the two screws at the front of the heater box securing it to the bottom dash and the screw holding the pipes to the box, this then allowed some movement to get to the heater controls which were then unscrewed and the wire unhooked.
Once removed I dismantled the screen / footwell flap mechanism
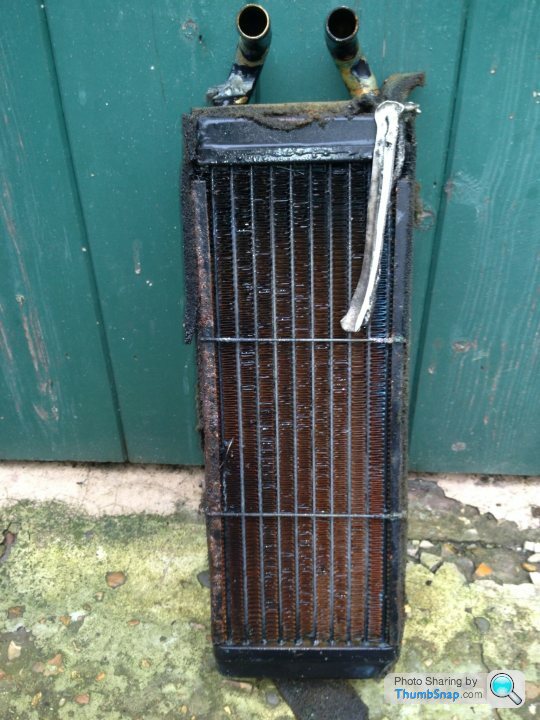
Then removed the matrix
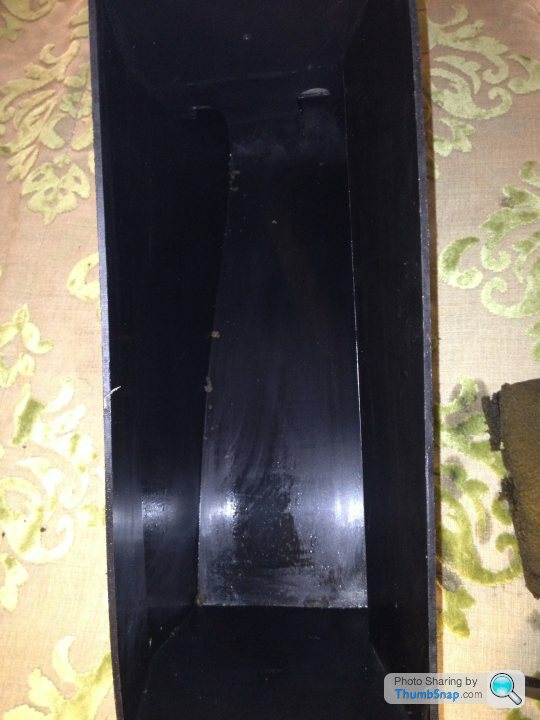
I then removed all the old foam and gave everything a good clean
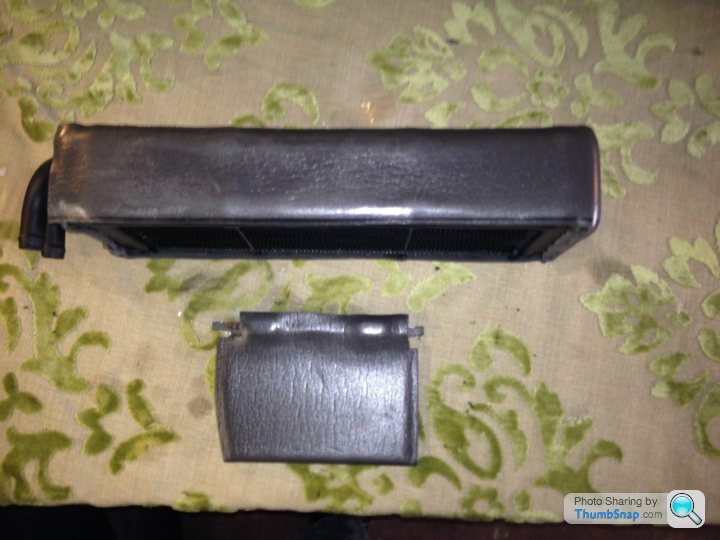
I then refoamed the new matrix and heater flap
Then I put it all back together

And all the gaps were filled with foam ( I had some self adhesive laminated floor underlay which was perfect for this)
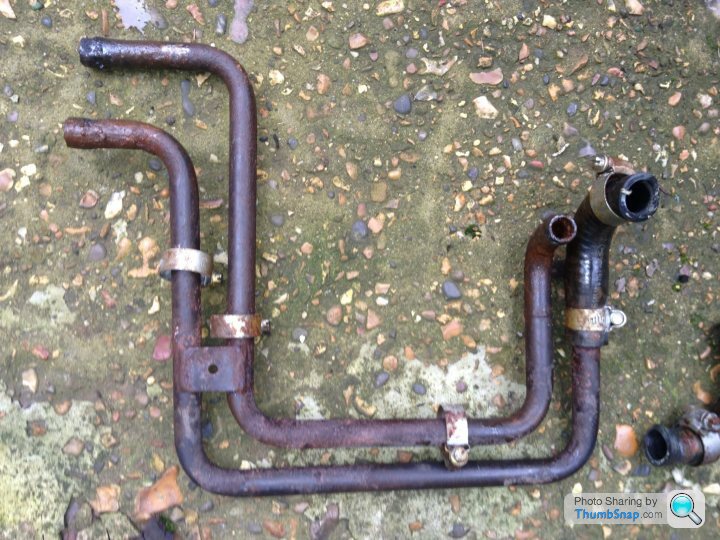
Then I decided to renew the rusty old steel heater pipes,
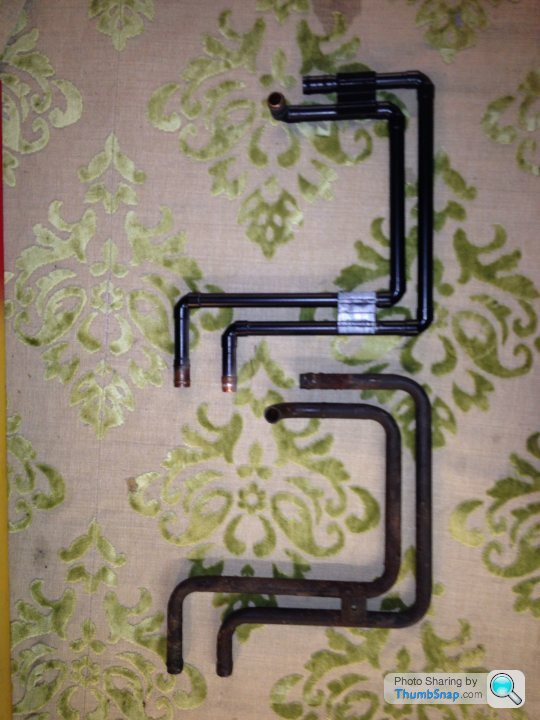
I bought some copper tube and some fittings and soldered it all up
That's as far as I have got so far I will update this tomorrow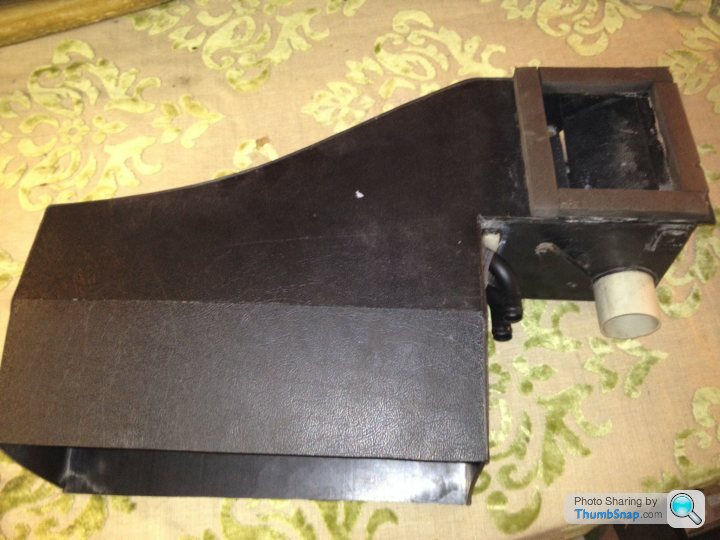
h so I decided to pull it apart and refurb it.It only took 1/2 hour to remove, which I didn't expect hearing all the horror stories about matrix removal.
Firstly I undid the 4 hose connections at each end of the solid pipes, then unscrewed the two screws at the front of the heater box securing it to the bottom dash and the screw holding the pipes to the box, this then allowed some movement to get to the heater controls which were then unscrewed and the wire unhooked.
Once removed I dismantled the screen / footwell flap mechanism
Then removed the matrix
I then removed all the old foam and gave everything a good clean
I then refoamed the new matrix and heater flap
Then I put it all back together
And all the gaps were filled with foam ( I had some self adhesive laminated floor underlay which was perfect for this)
Then I decided to renew the rusty old steel heater pipes,
I bought some copper tube and some fittings and soldered it all up
That's as far as I have got so far I will update this tomorrow
Edited by slideways on Wednesday 24th October 20:43
Daz I soldered the olives on, I did originally use a couple of pre soldered straight joints but had a leak when I tested them, they wouldn't seal when I sweated them so decided to use olives.
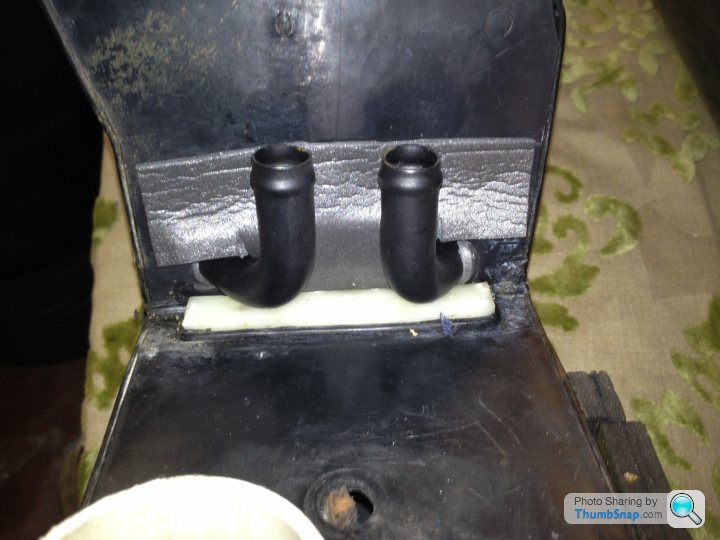
Q.B my ducting consists of a large air intake which comes from the wing between the door hinges and wheel arch, this goes straight into the heater, from the heater box there is a small hose on the left going to the passenger face vent, and one larger one which takes heat over to the drivers side foot well.
And one in the middle of the box which feeds the passenger footwell
This is where I'm guessing you furry resident is / was living, once you've drained the coolant and got the box out this should be easy to clean out, it would be worth clearing the pipe that feeds the drivers footwell too.
Just a thought you could get limited access by removing both footwell vents and get a flexi hose on a vacuum cleaner this would save a lot of grief.
Matrix from here
http://www.racetechdirect.co.uk/tvr-car-parts-deta...
The hcv seems ok but your probably right
http://www.racetechdirect.co.uk/tvr-car-parts-deta...
The hcv seems ok but your probably right
Edited by slideways on Wednesday 24th October 23:23
Hoofa said:
I might add this to the list of winter jobs, everything in my system was rusted, the heater pipes were rusty, odd thing is no one is making replacement heater pipes, act do the ones around the engine in stainless but doesn't make these ones.
Although the matrix is ok at the moment I just wonder how long it's going to last given the age of the car now.
Did you have to take the dash off at all ?
No the dash didn't need to come offAlthough the matrix is ok at the moment I just wonder how long it's going to last given the age of the car now.
Did you have to take the dash off at all ?
Quietlybonkers said:
slideways said:
Daz I soldered the olives on, I did originally use a couple of pre soldered straight joints but had a leak when I tested them, they wouldn't seal when I sweated them so decided to use olives.
Q.B my ducting consists of a large air intake which comes from the wing between the door hinges and wheel arch, this goes straight into the heater, from the heater box there is a small hose on the left going to the passenger face vent, and one larger one which takes heat over to the drivers side foot well.
And one in the middle of the box which feeds the passenger footwell
This is where I'm guessing you furry resident is / was living, once you've drained the coolant and got the box out this should be easy to clean out, it would be worth clearing the pipe that feeds the drivers footwell too.
Just a thought you could get limited access by removing both footwell vents and get a flexi hose on a vacuum cleaner this would save a lot of grief.
Thanks for this. I tried the vent removal you suggested a few weeks ago, and got some out, but there is a persistent residue that is hard to shift, though my passenger did get a face full on the way to Thunder in the Tunnels! I will have another look for the entrance to the air box, in the wong, as i was mistakenly under the impression that it was somewhere near the indicator, not at the rear of the wheel arch, and my vacuum hose won't go through the bodywork hole at the front of the car.Q.B my ducting consists of a large air intake which comes from the wing between the door hinges and wheel arch, this goes straight into the heater, from the heater box there is a small hose on the left going to the passenger face vent, and one larger one which takes heat over to the drivers side foot well.
And one in the middle of the box which feeds the passenger footwell
This is where I'm guessing you furry resident is / was living, once you've drained the coolant and got the box out this should be easy to clean out, it would be worth clearing the pipe that feeds the drivers footwell too.
Just a thought you could get limited access by removing both footwell vents and get a flexi hose on a vacuum cleaner this would save a lot of grief.
Hoofa said:
Quick questions, the small white stub, mine inst connected to anything, should the tube to the passenger vent connect directly onto it ? Also how did you reseal the intake side to the wing ?? looks like mine might have sealant around it although Ill know for sure when I start dismantling.
Yes to the first question it just pushes inside, and box is just sealed with cheap sealant, you will only be able to get to two side but this must be done if you don't want cold air blasting your passengers legs,Gassing Station | Chimaera | Top of Page | What's New | My Stuff