Griff Cat D restoration (Picture Heavy)
Discussion


Just thought I would copy this across from the TVRCC forum as I've been posting this rebuild for a few years now on there under Griff back from the dead. Changes to the rebuild have taken place but I will only put those up that have stayed.
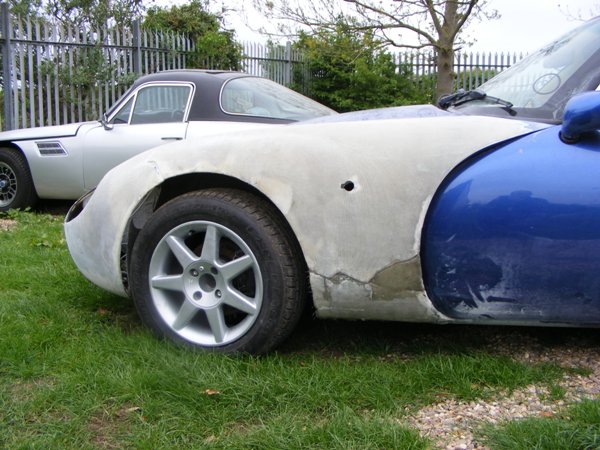
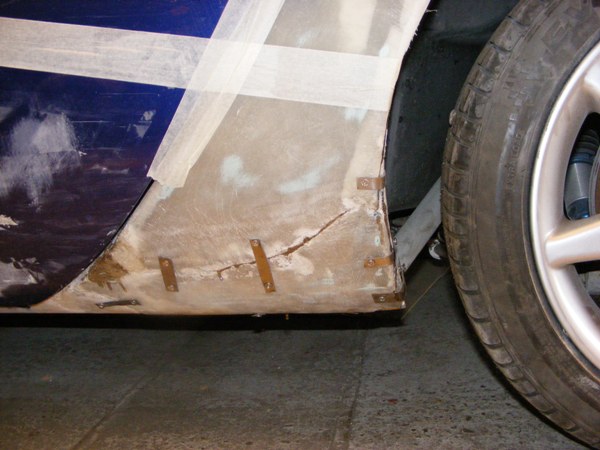
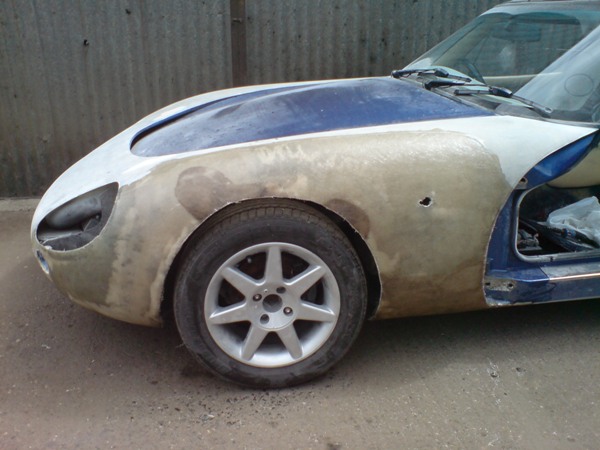
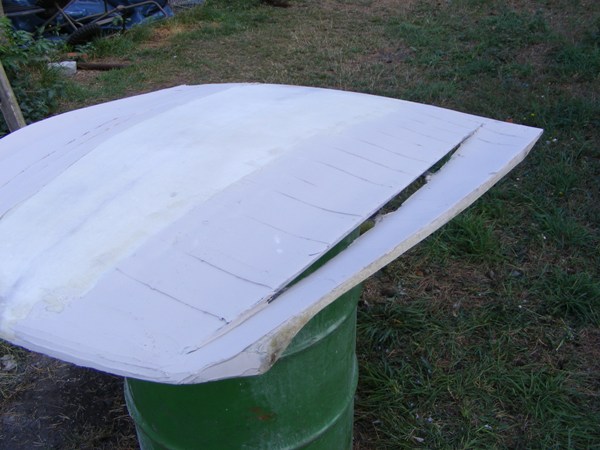
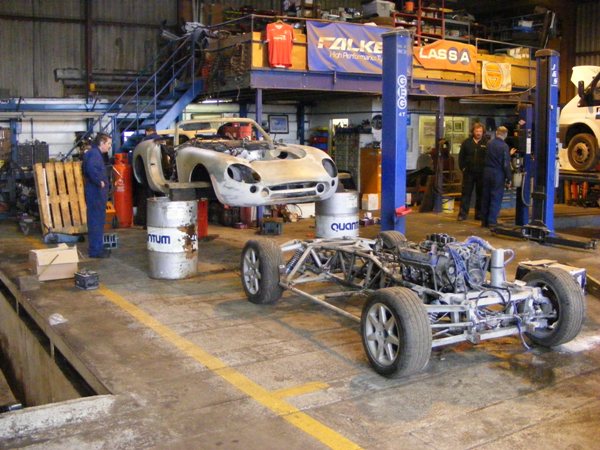
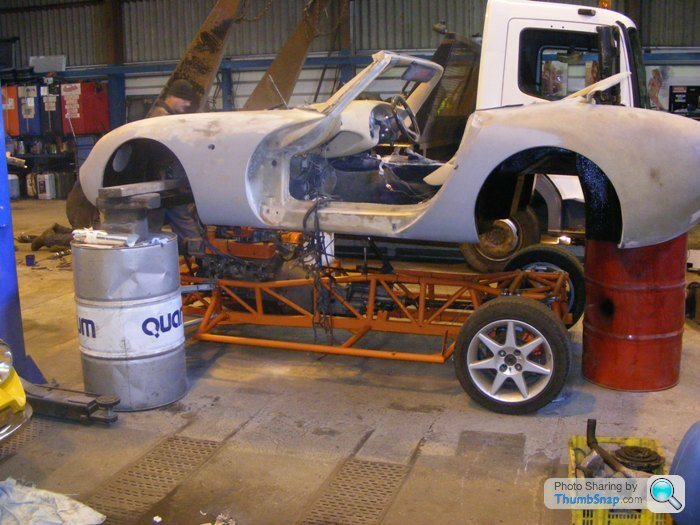
The car was Cat D with damage to the passengers side.

I cleaned up all the chassis and painted the outriggers and all of the wishbones had just been replaced by the previous owner.
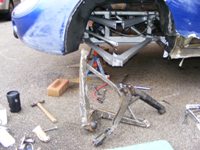
You can see the damage to the wishbones.
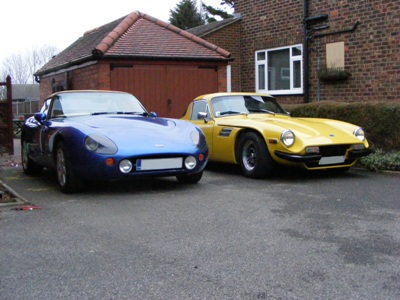
Both my Tiv's together before the Griff went to my brother for repair.

The car was Cat D with damage to the passengers side.
I cleaned up all the chassis and painted the outriggers and all of the wishbones had just been replaced by the previous owner.
You can see the damage to the wishbones.
Both my Tiv's together before the Griff went to my brother for repair.

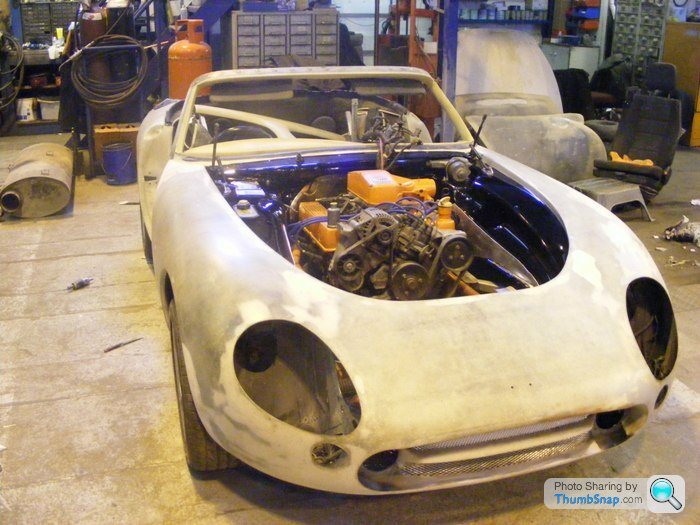
All my work painting the outriggers was then thrown out the window as I decided we were so far down the line to splitting the car that the outriggers may as well be done properly.
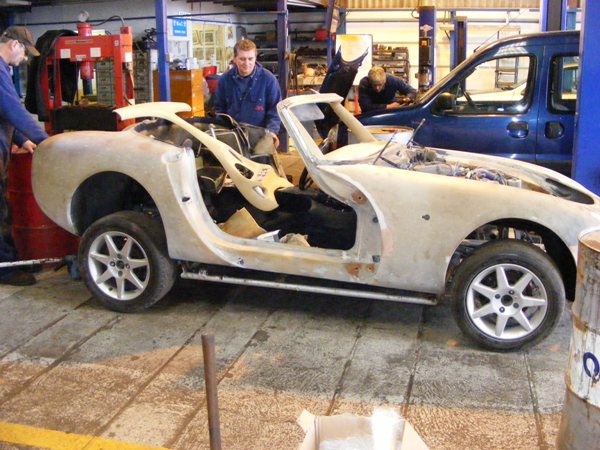
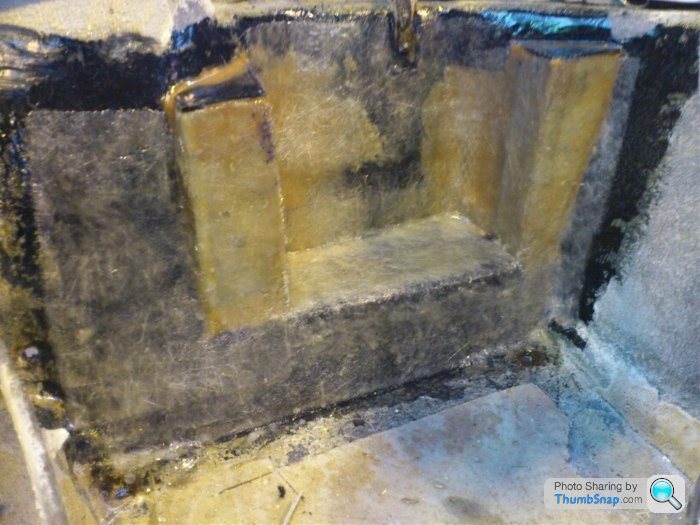
Cleaning the chassis showed some small holes but overall it was in good condition.

Outriggers replaced with bigger corner gaps on the plates and the bits that stick up on the outriggers left off.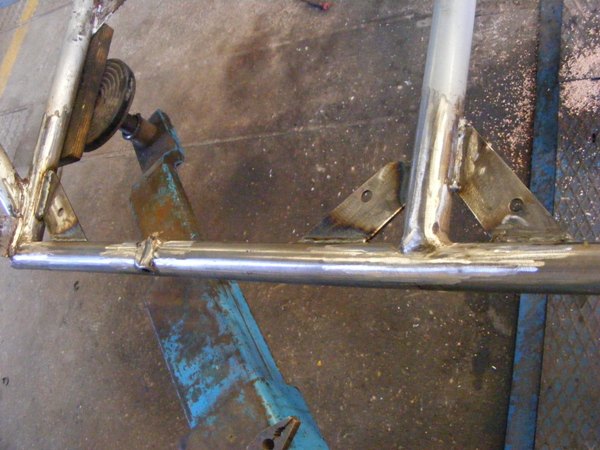
Post powder coating
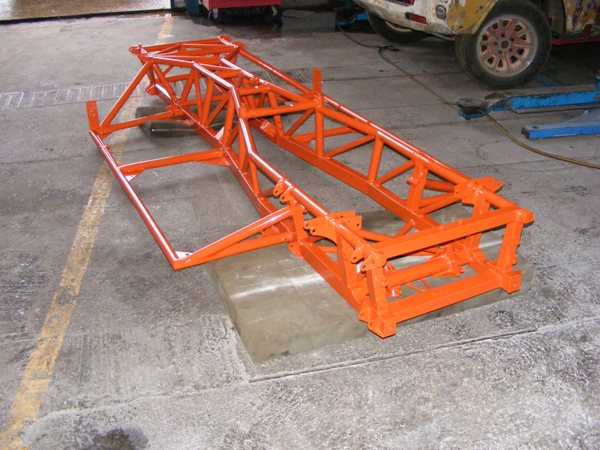
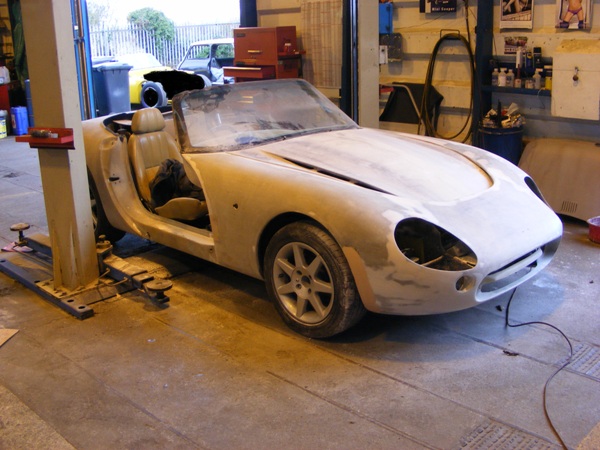
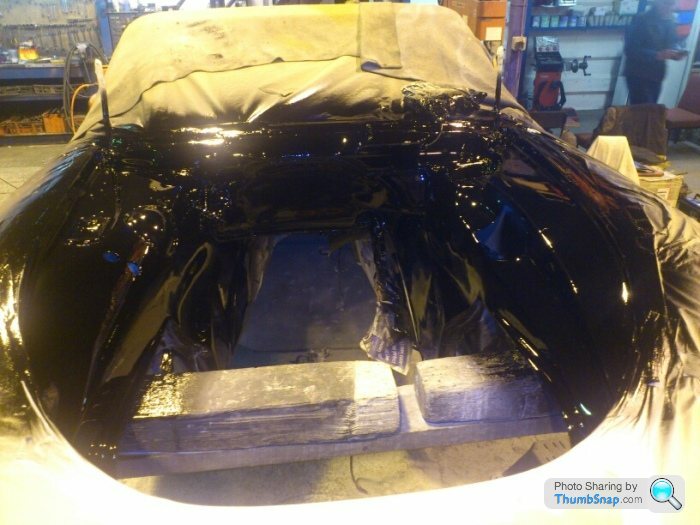
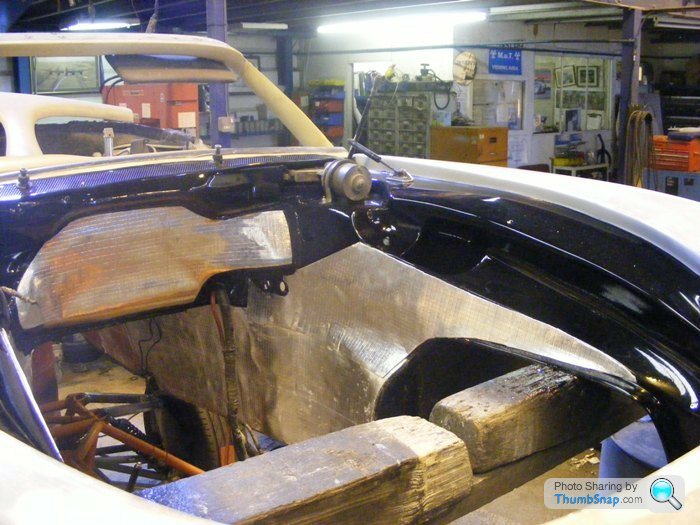
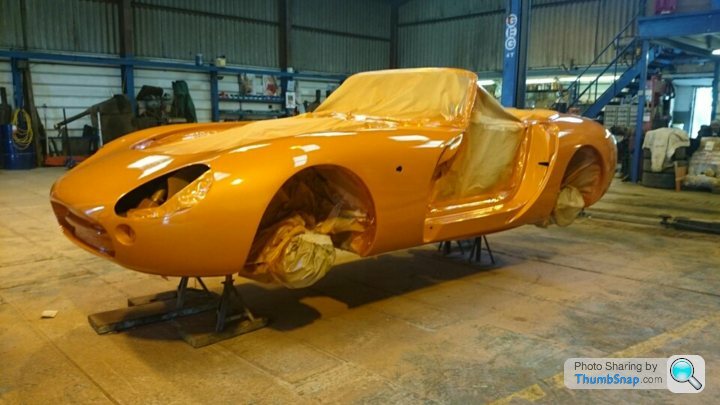
Rebuild begins
Cleaning the chassis showed some small holes but overall it was in good condition.
Outriggers replaced with bigger corner gaps on the plates and the bits that stick up on the outriggers left off.
Post powder coating
Rebuild begins


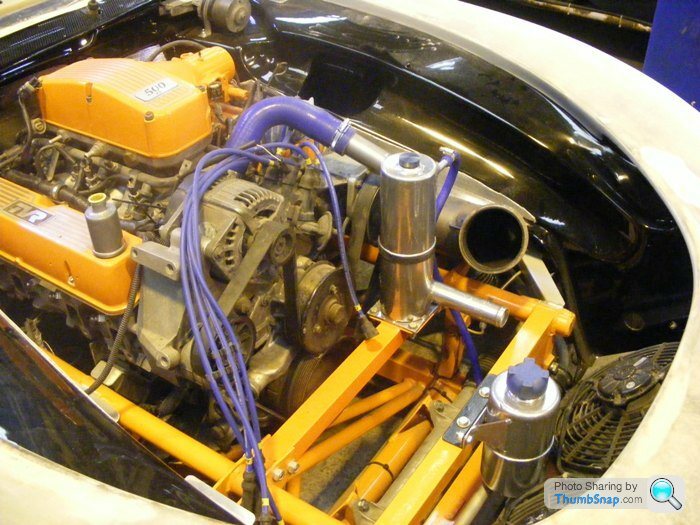


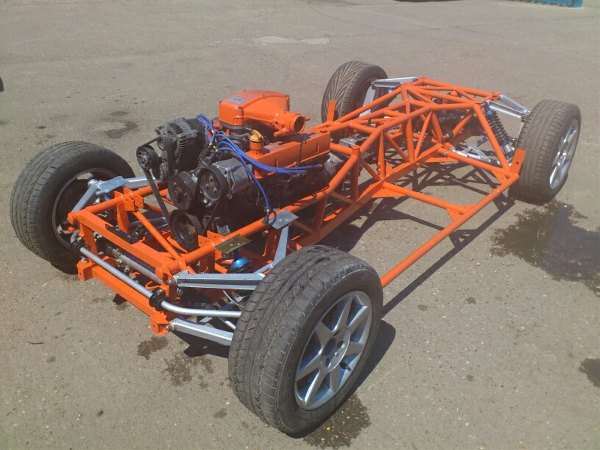
Pete, it all depends on how tall your partner is. You can see the chassis corner gaps in the picture and the gaps are that big as standard on a 3000M. The top loop that sticks up near the back is apparently for a factory role hoop, the only problem is it stops you cleaning that part of the top of the outrigger so I have left them out.
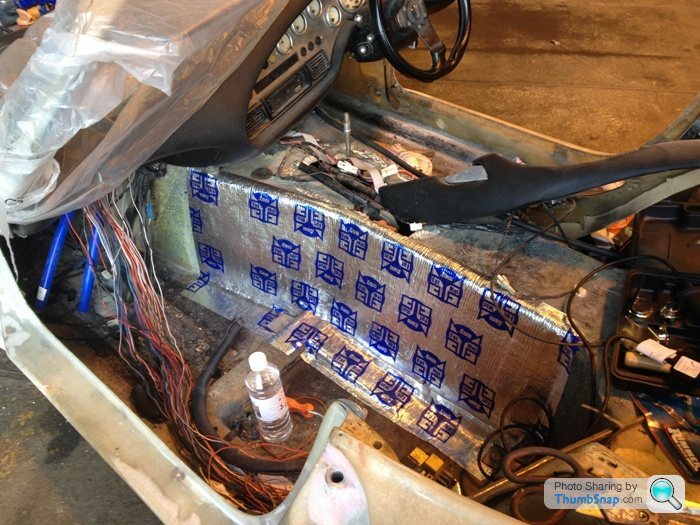
Things I wish we had done is weld frames in the fasten the seats to the chassis and weld some bolt to the front of the outriggers so I could bolt on some deflector behind the front wheels to protect from stone chips.
Things I wish we had done is weld frames in the fasten the seats to the chassis and weld some bolt to the front of the outriggers so I could bolt on some deflector behind the front wheels to protect from stone chips.
spikep said:
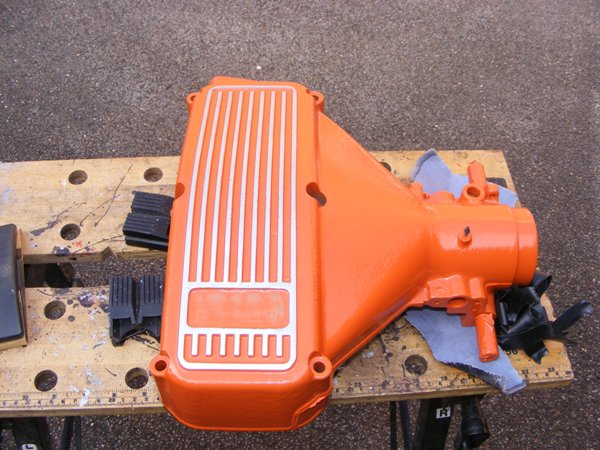
Rocker covers
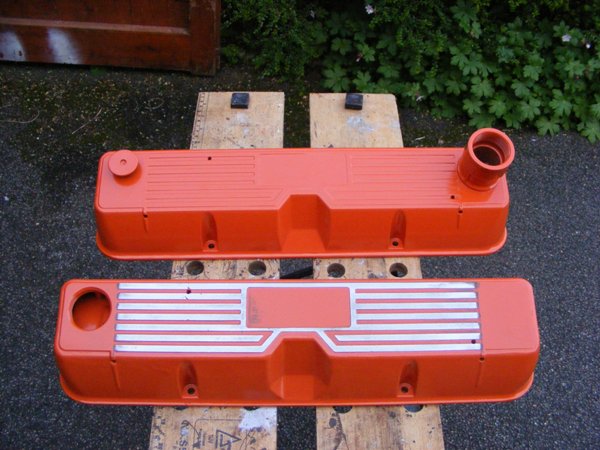
Hi Mate..Just wondering about the detailing of the fins..Were the rocker covers powder coated and then the fins sanded back and polished or were they polished and then coated with a tiny amount of oil before powder coating?..I have a pair that i have cleaned up for my Wedge and was going to polish them to a mirror finish and then detail in between the fins but cleaning would be a bit of a nightmare, Especially the N/S so i have decided to have them powder coated red but similar to yours with the fins polished..Trouble is most powder coater's i have spoken to can't do the polish bit but i don't mind doing that myself..
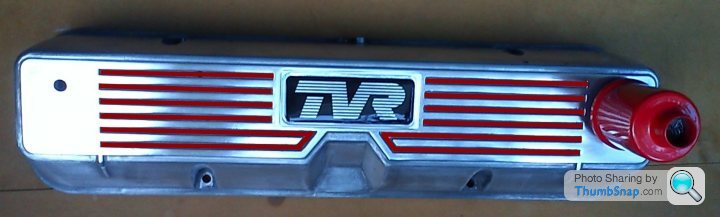
(I know...The badge and flame trap are on the wrong side rocker cover, Also the red is only drawn in with a paint programme at the moment)
Cheers...Ziga
By the way..What you are doing looks fantastic..

Hans
I initially thought the cables would not reach and tidied up the cables, but then my brother was trying to see if there was a better location and it freed off some extra and now it reaches. So I would go back and re look at it.
Quincy
Used your videos on YouTube, they were a great help.
I initially thought the cables would not reach and tidied up the cables, but then my brother was trying to see if there was a better location and it freed off some extra and now it reaches. So I would go back and re look at it.
Quincy
Used your videos on YouTube, they were a great help.


spikep said:
Pete, it all depends on how tall your partner is. You can see the chassis corner gaps in the picture and the gaps are that big as standard on a 3000M. The top loop that sticks up near the back is apparently for a factory role hoop, the only problem is it stops you cleaning that part of the top of the outrigger so I have left them out.
Things I wish we had done is weld frames in the fasten the seats to the chassis and weld some bolt to the front of the outriggers so I could bolt on some deflector behind the front wheels to protect from stone chips.
Mrs M is not very big. Challenge will be making sure the drivers seat can go far enough forward so she can drive it. I plan to weld in frames for the seats. Will have to think about those outrigger corners but as you know I plan to galvanize the chassis anyway. You know, one thing I thought, I could run a bead of silicon all around where the chassis meets the body thus keeping out stones and other sThings I wish we had done is weld frames in the fasten the seats to the chassis and weld some bolt to the front of the outriggers so I could bolt on some deflector behind the front wheels to protect from stone chips.
 t, however not sure if it would put up with the flexing and I am trying to get rid of the silicon under the bonnet so not sure I want to stick it under body. Any thoughts ....?
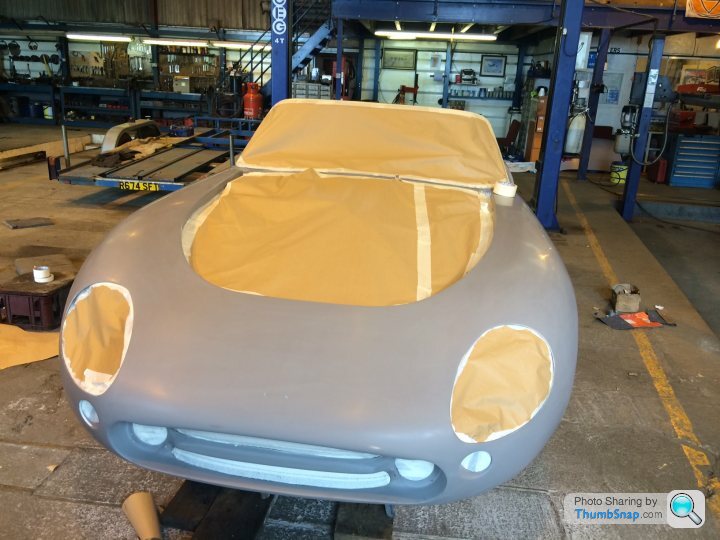
Gassing Station | Griffith | Top of Page | What's New | My Stuff