Lund's MG Metro 1275 Engine Build
Discussion


dogfather said:
so hows it all going lund , no pics for a while whats the progress.
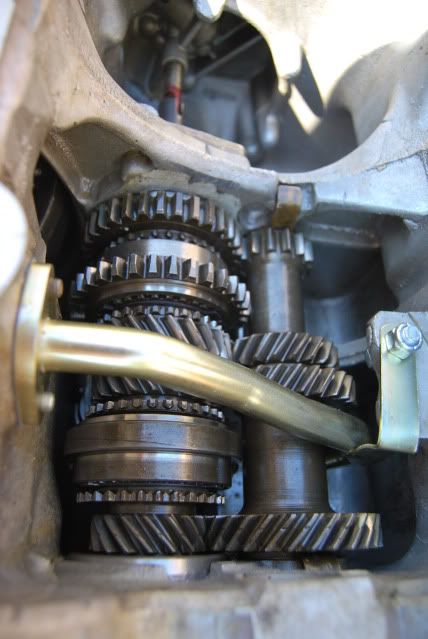
Its on hold for the moment, just received all of the gearbox parts, £240 for a box of what looks like sweet nothing.  However, I plan to sort the Hi-lo's on my rear suspension within the next few days. I'll let you know how I get on.
 Edited by Mini_Lund on Tuesday 19th May 23:23
guru_1071 said:
you want to watch those a plus flanged bolts that hold the triangle on. they will get hellish close to the wheel when its all nipped up - they are ever so tall.
id swop them for normal 1/4 bolts my self.
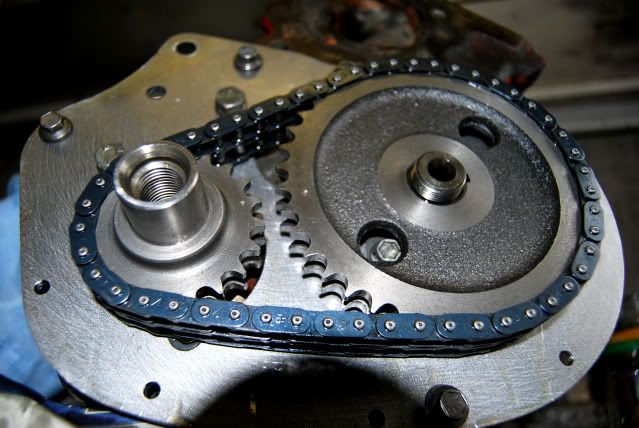
Hi Guru, I have checked for clearances & all seems close, but cleared. (Even the play in the timing chain clears). By triangle, do you mean that cam retainer tab? I havent Loctited these bolts but the counter-sunk bolts I have used Loctite. id swop them for normal 1/4 bolts my self.
Glad you have commented, will be phoning Harrogate tomorrow about some S-discs. These in particular, http://www.minispares.com/Product.aspx?ty=pb&p...
In order to stop the 1293! That kit includes the disk-shields. Are they really neccessary? I noticed the kit was sold-out yesterday, but today it appaears to be in stock.
Thanks, Tom
Not an update as such, but thinking out-loud.
This is the only way I'll remember, notes to self:
Oil pump bolts 11 Nm
Sump Plug 39Nm
Sump Screws 11Nm
Timing Cover, Short bolts 7Nm Long 17Nm
CAMSHAFT GEAR LOCKTAB C-AJJ3325
LOCKTAB CRANK PULLEY LATE TAM2020
DIFF OUTPUT SHAFT OIL SEAL ADU5738
CONE SPRING RUBBER ALL MINIS METRIC THREAD ONLY FAM3968
Edited by Mini_Lund on Tuesday 23 June 18:59
Edited by Mini_Lund on Tuesday 23 June 19:00
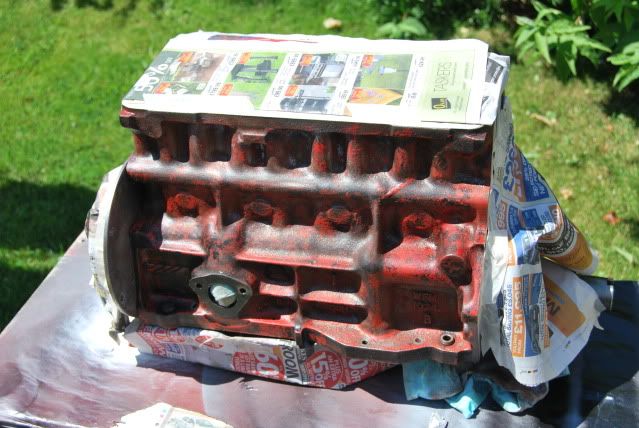
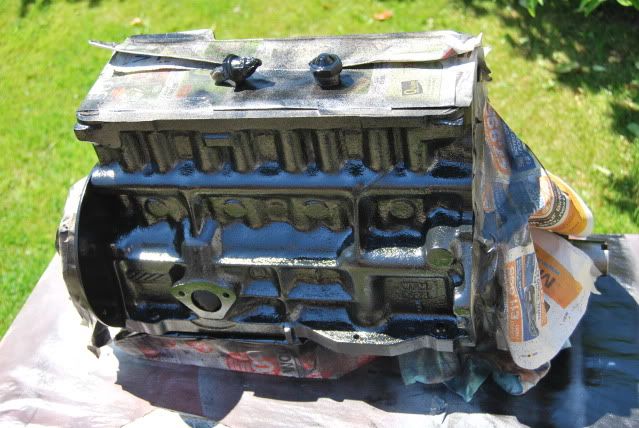
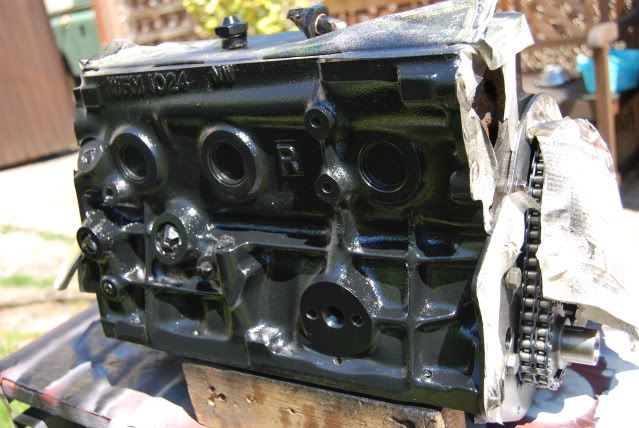
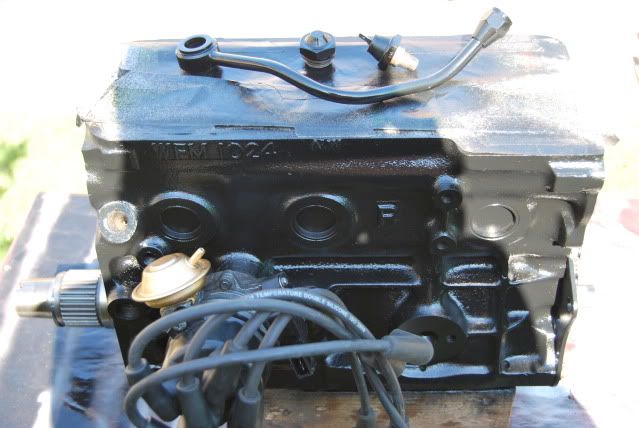
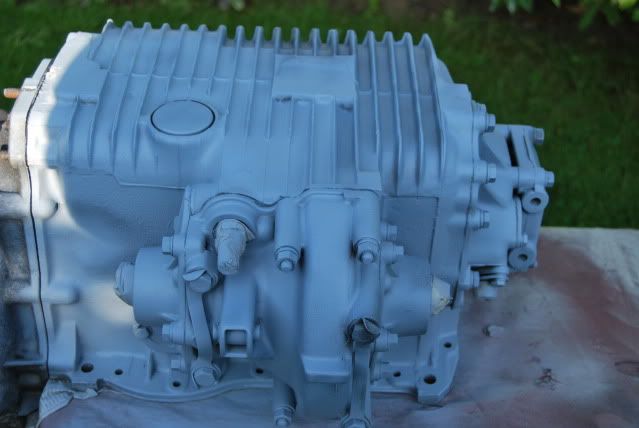
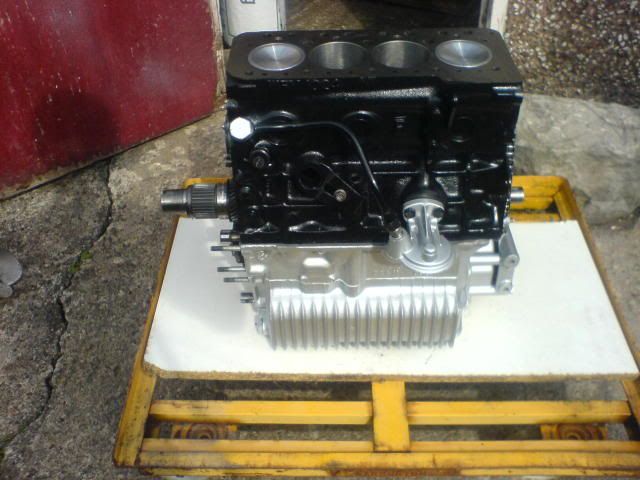
Fitted the oil pump today & also sprayed the engine block. Should I give the block a coat of clear lacquer, will it be more hard wearing? I sprayed topcoat gloss black enamel directly onto the engine block.
Fitted oil pump:
Paint preparation:
In paint:
I'll be spraying the gearbox in etch primer soon, then spraying it silver to match the flywheel housing.
Fitted oil pump:
Paint preparation:
In paint:
I'll be spraying the gearbox in etch primer soon, then spraying it silver to match the flywheel housing.
Edited by Mini_Lund on Wednesday 24th June 14:22


Small update guys n' gals.
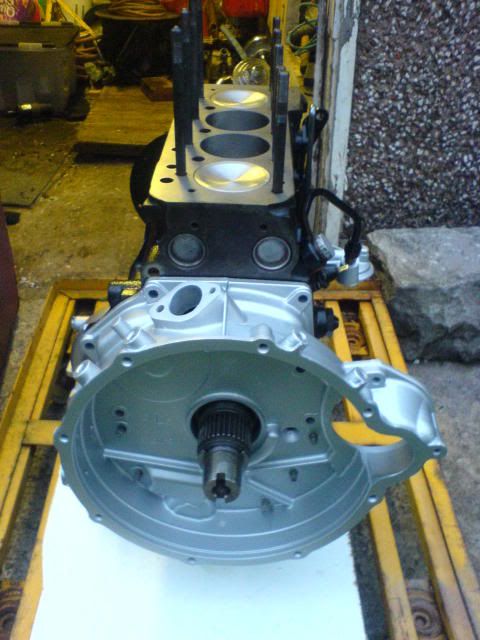
I have removed the gold paint as best I can from the gearbox ready for a coat of etch primer. I have since primered the gearbox ready for a few coats of silver to match the flywheel housing etc. I will then finish with 2 coats of lacquer.
All being well I will mate the gearbox with the engine within the next month or so. Next is to finish the cylinder head and put it on the block. I'm getting ever nearer to completion. I just want it in and done now.

I'm also currently underway with one of the more laborious tasks of the engine build, and thats cleaning all the nuts & bolts ready for paint.
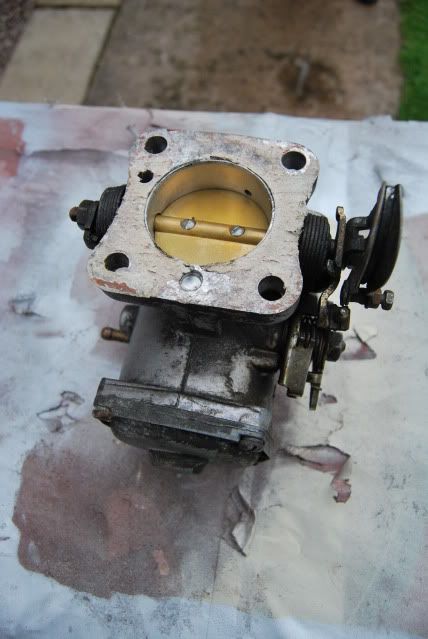
I have also started to clean and rebuild the carb. I am refurbishing the carb usig brake cleaner and a wire drill bit. I'll let you know how I get on.

Etch primer:
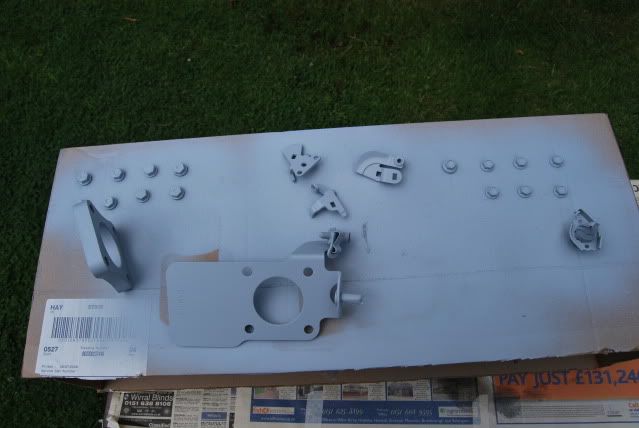
In Top Coat Silver:
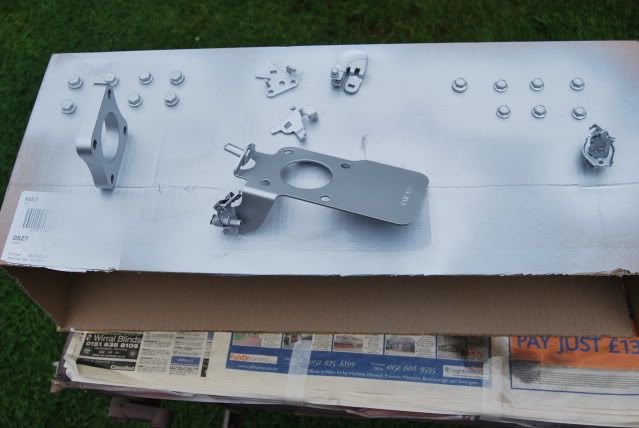
Some may think, why bother? It's all worth it in the end and will look really tidy and hopefully work well when complete!
Thanks, Tom
I have removed the gold paint as best I can from the gearbox ready for a coat of etch primer. I have since primered the gearbox ready for a few coats of silver to match the flywheel housing etc. I will then finish with 2 coats of lacquer.
All being well I will mate the gearbox with the engine within the next month or so. Next is to finish the cylinder head and put it on the block. I'm getting ever nearer to completion. I just want it in and done now.
I'm also currently underway with one of the more laborious tasks of the engine build, and thats cleaning all the nuts & bolts ready for paint.
I have also started to clean and rebuild the carb. I am refurbishing the carb usig brake cleaner and a wire drill bit. I'll let you know how I get on.
Etch primer:
In Top Coat Silver:
Some may think, why bother? It's all worth it in the end and will look really tidy and hopefully work well when complete!
Thanks, Tom
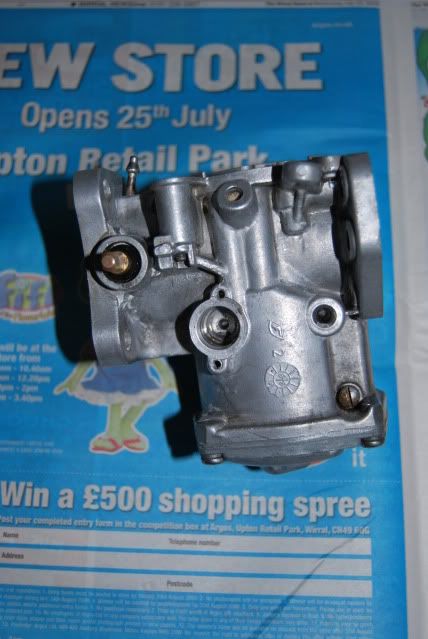
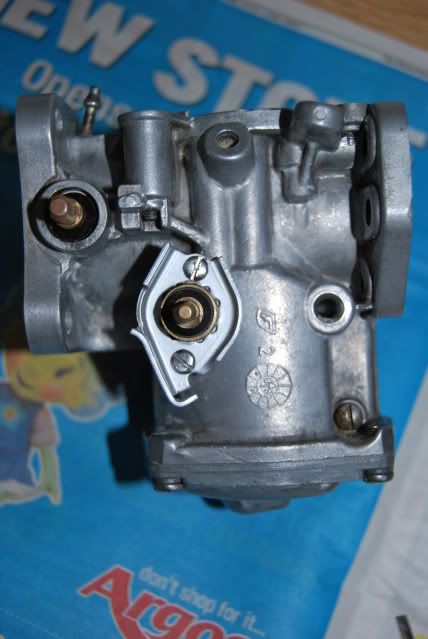
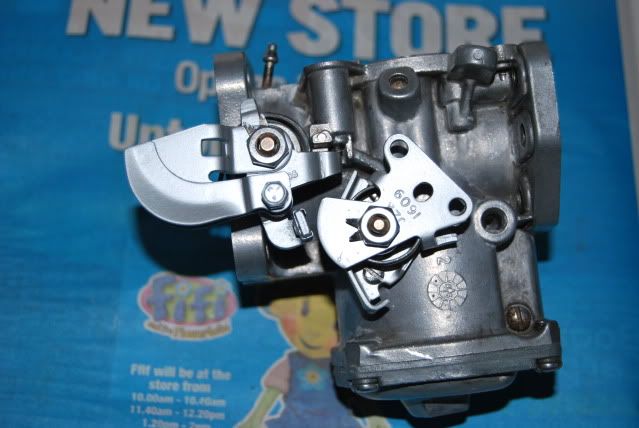
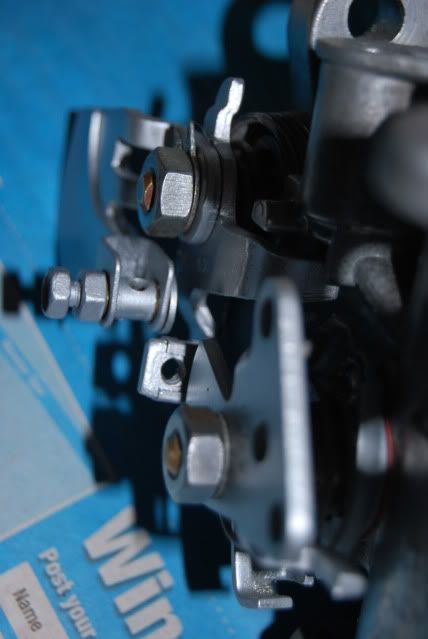
I have began to rebuild the carb now, after cleaning it best I could. Its not perfect but will certainly/hopefully do the job. It's all pieced together. I just haven't quite worked out how to reset the springs into place, but from looking at some of the before photo's I have an idea of how they should sit!
Bare Carb:
Part Assembled:
Assembled:
Thanks for looking.
Bare Carb:
Part Assembled:
Assembled:
Thanks for looking.
hi there at about the same point as you with my metro conversion. Was wondering how i get the metro clutch mechanism (verto) to work with the hydrolic system that my 1275gt used. do you just use the plunger and release leaver off the normal type? or do you have to modify the clutch system?
Edited by mish000 on Sunday 16th August 03:58
mish000 said:
hi there at about the same point as you with my metro conversion. Was wondering how i get the metro clutch mechanism (verto) to work with the hydrolic system that my 1275gt used. do you just use the plunger and release leaver off the normal type? or do you have to modify the clutch system?
I was going to ask you the same question!Watch this space
Okay so i think i have the solution.
my metro engine is verto but used a cable system, my 1275gt is non verto but also hydrolic
i have to buy a hole bunch of parts here is a list, ps this may not be correct or full.
DAM5353 1 Clutch Throwout Plunger - Verto
DAM5355 1 Clutch Arm - Verto
GSY118R 1 Clutch Slave Cylinder - Verto (1982 On)
DAM5992 1 Mounting Bracket - Verto Clutch Slave Cylinder
GVP1009 1 Clutch Hose - Rubber - Verto (1982 On)
as i am going to keen my metro verto if you want to go back to non verto you have to change flywheel starter and use all the non verto clutch mech.
hope this helps lol
Thank you for the information, I'll look into it when I get to that stage.
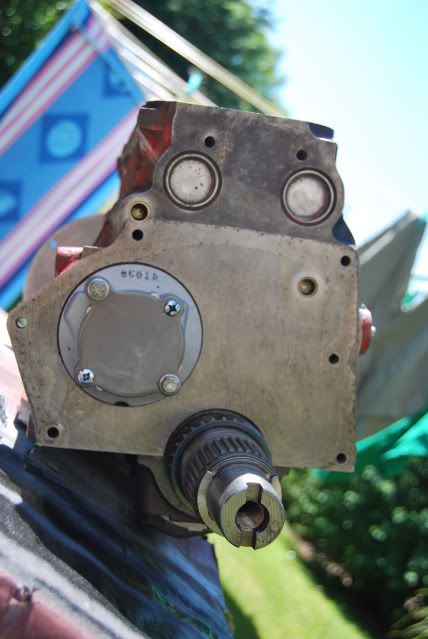
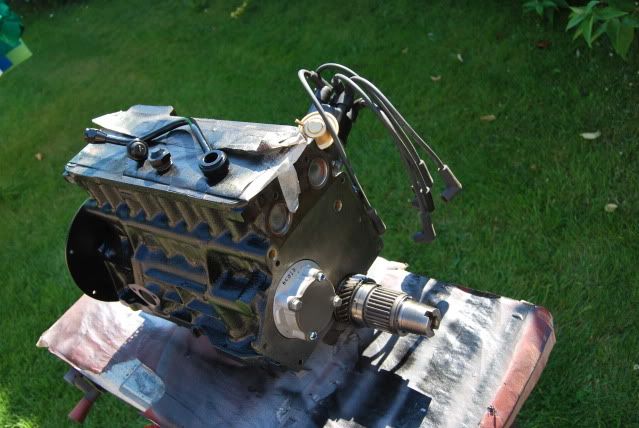
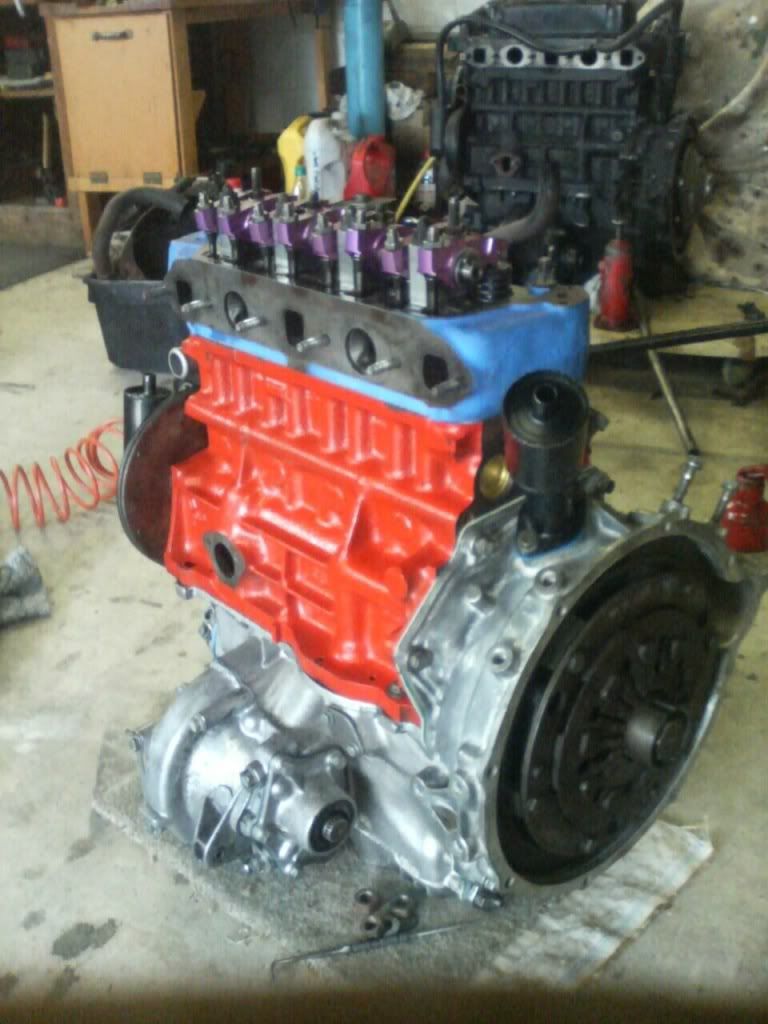
The MG engine didn't come with the flywheel cover on the side of the engine as it had previously been removed. I'm sure I need the 'locker washer strips'. However, as you can see from the pic, there are studs into the flywheel, thus needing bolts. However that wont work as well with the locktabs will it?
Should I remove the studs and insert bolts in their place or need'nt I bother & use bolts.
a+ units just have bolts and no lock tabs
you could if your worried just dap some thread lock on them. I have never known them to come loose, just make sure the threads are clean by running a tap though them 1st as the lower ones into the box will strip if your rough, also make sure you match the threads up right
unc into ally and unf into steel
duncancallum said:
a+ units just have bolts and no lock tabs
you could if your worried just dap some thread lock on them. I have never known them to come loose, just make sure the threads are clean by running a tap though them 1st as the lower ones into the box will strip if your rough, also make sure you match the threads up right
unc into ally and unf into steel
As the metro engine came without the housing on the side, I have no idea what bolts to use and which ones go where. I have removed all of the studs from the side of the gearbox. Should I use bolts into the gearbox on the inside of the housing or nuts on the studs I have just removed?you could if your worried just dap some thread lock on them. I have never known them to come loose, just make sure the threads are clean by running a tap though them 1st as the lower ones into the box will strip if your rough, also make sure you match the threads up right
unc into ally and unf into steel
Any direction?
Hey here my progress shot
Of the engine
before the painting
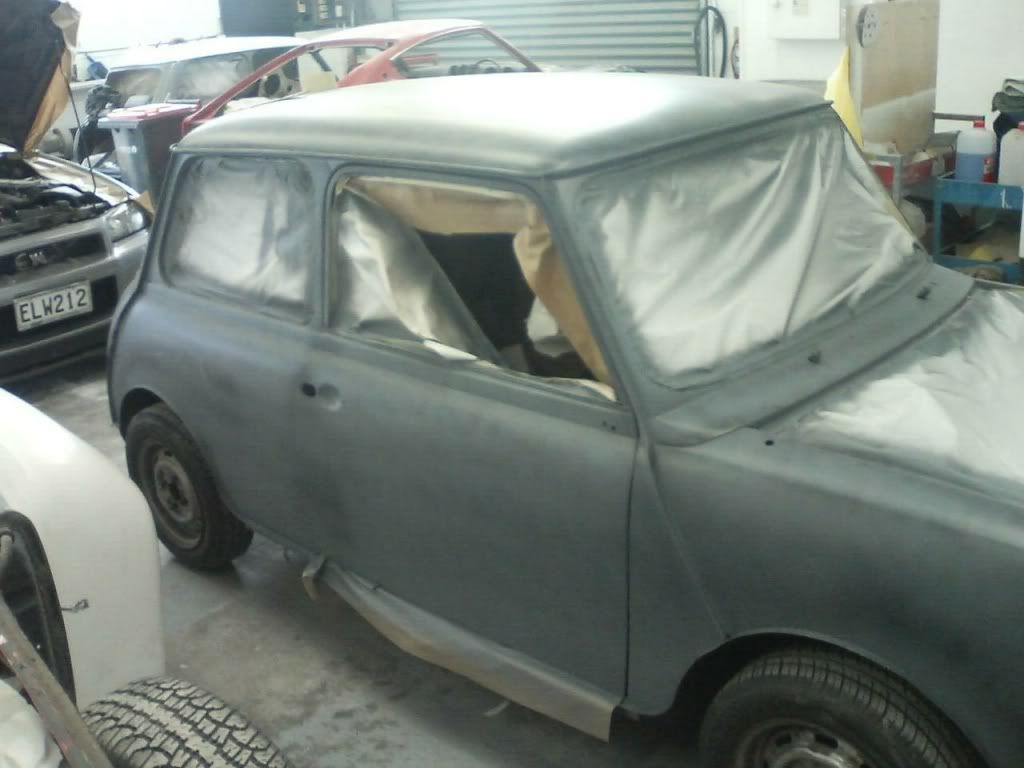
or see them all at http://s636.photobucket.com/albums/uu82/mish0o0/
Of the engine
before the painting
or see them all at http://s636.photobucket.com/albums/uu82/mish0o0/
Edited by mish000 on Sunday 23 August 07:04
Gassing Station | Classic Minis | Top of Page | What's New | My Stuff