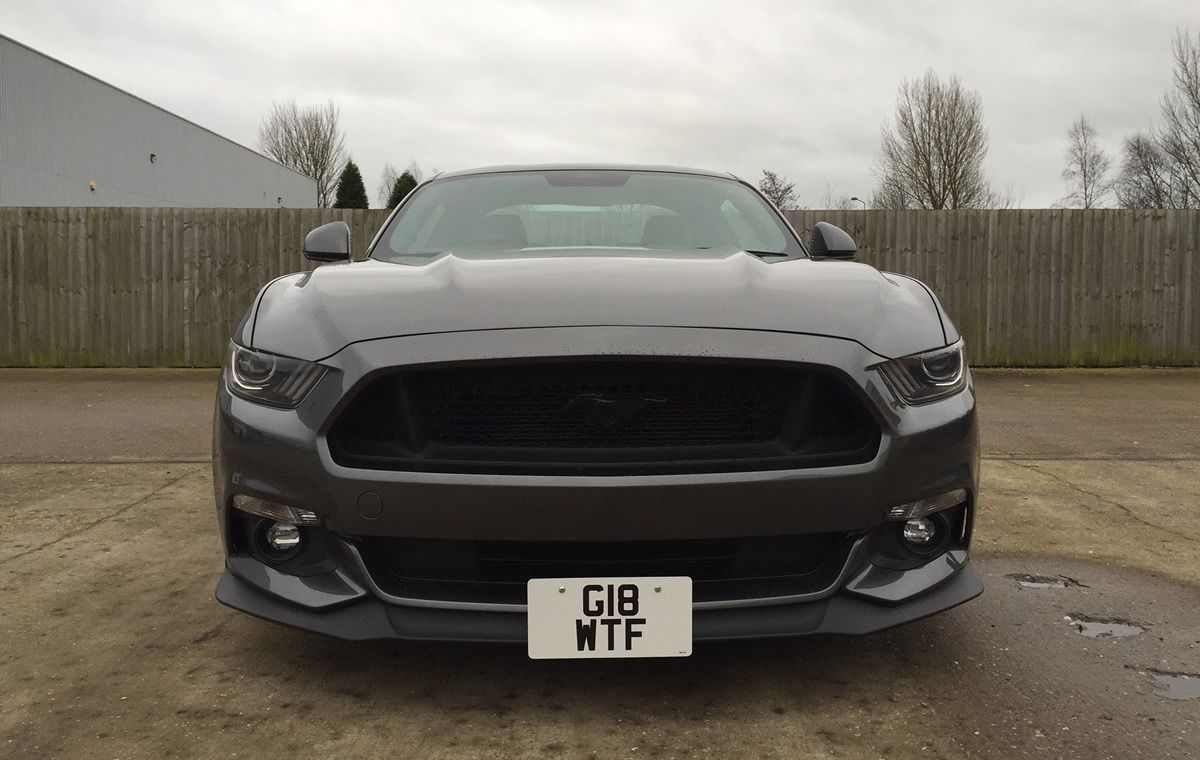
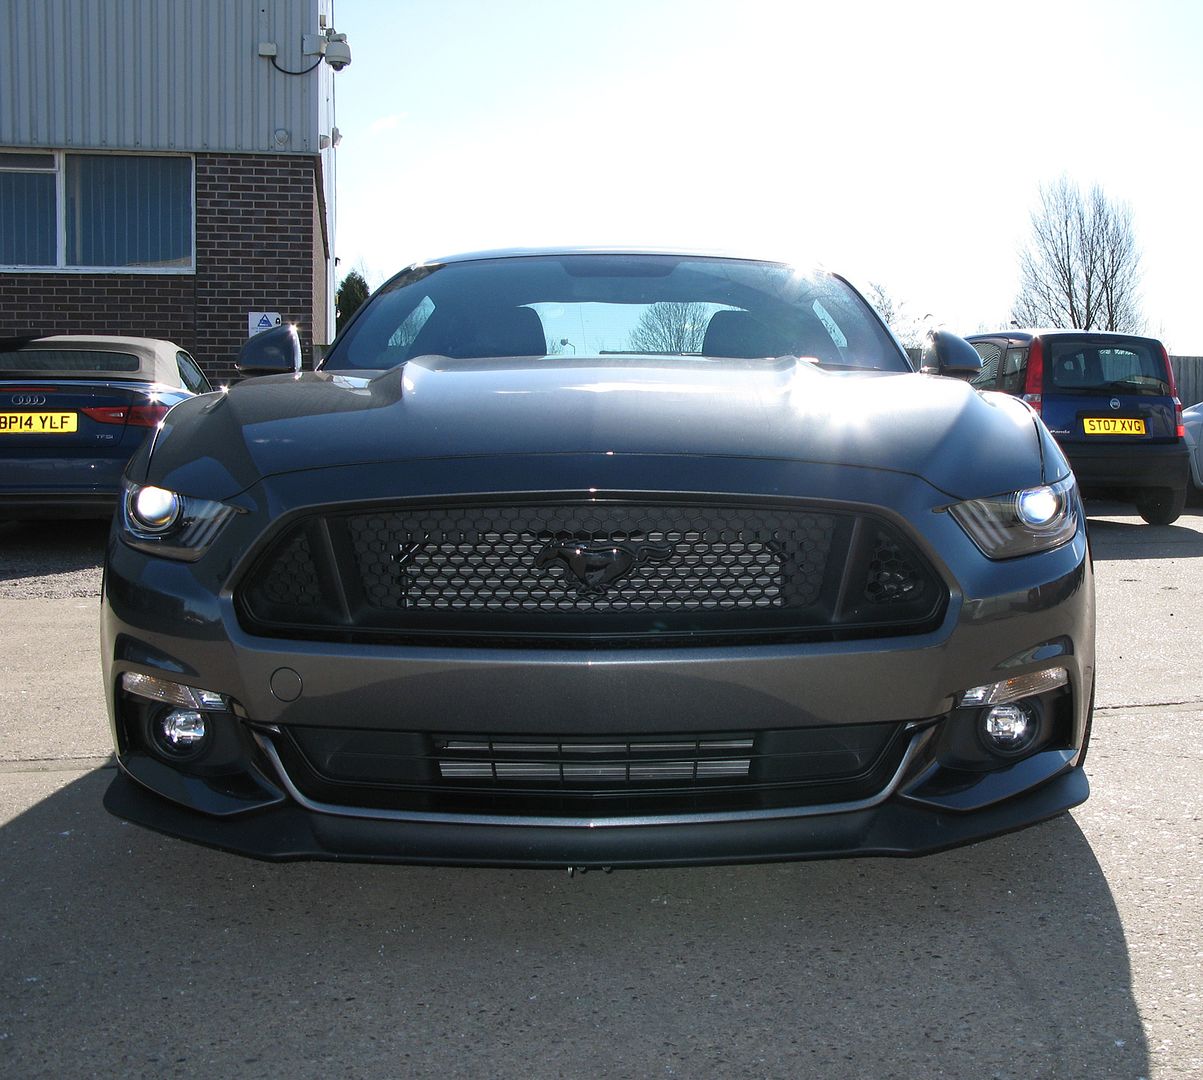
Deposit May 2014 and today I took delivery, oh my, what a...
Discussion


Hi there
So today was a very early start, the plan was to fit:
FRPP Dampers
Steeda Ultralite linear springs
FRPP toe knuckle bushes
FRPP air-oil seperator
Set car allignment up to my own settings.
So I arrived at XJK Jaguar early morning to crack on, put the Steeda Ultralite springs on the FRPP front dampers which look a little wonkey but was advised by Steeda and others this is indeed correct. The install went quite smoothly for the front being a typical McPherson setup, took around 1hr and with the cars weight on the front the springs/dampers as adviced by Steeda and other users did indeed straighten.
Next we moved onto rear, removing rear dampers is so easy, talking 5 minutes per side, but getting the rear springs out what an absolute nightmare, most of the rear suspension needed to be dismantled and giant pri-bar to give the clearance required to get those springs out, achieving it in my driveway would of bring near impossible. This took at least 2hr.
The FRPP bushes although simple in practice, the original ones were a little stubborn to get out and the new ones always wanted to go in at an angle so took several attempts, so again more time taken because we were being perfectionist and ensuring everything was done carefully and nothing just cowboyed in with force. Eventually it all went together.
Then put the car back together and tighten and torque all bolts to specification with the suspension loaded.
Next stop the allignment, the next nightmare was about to begin.
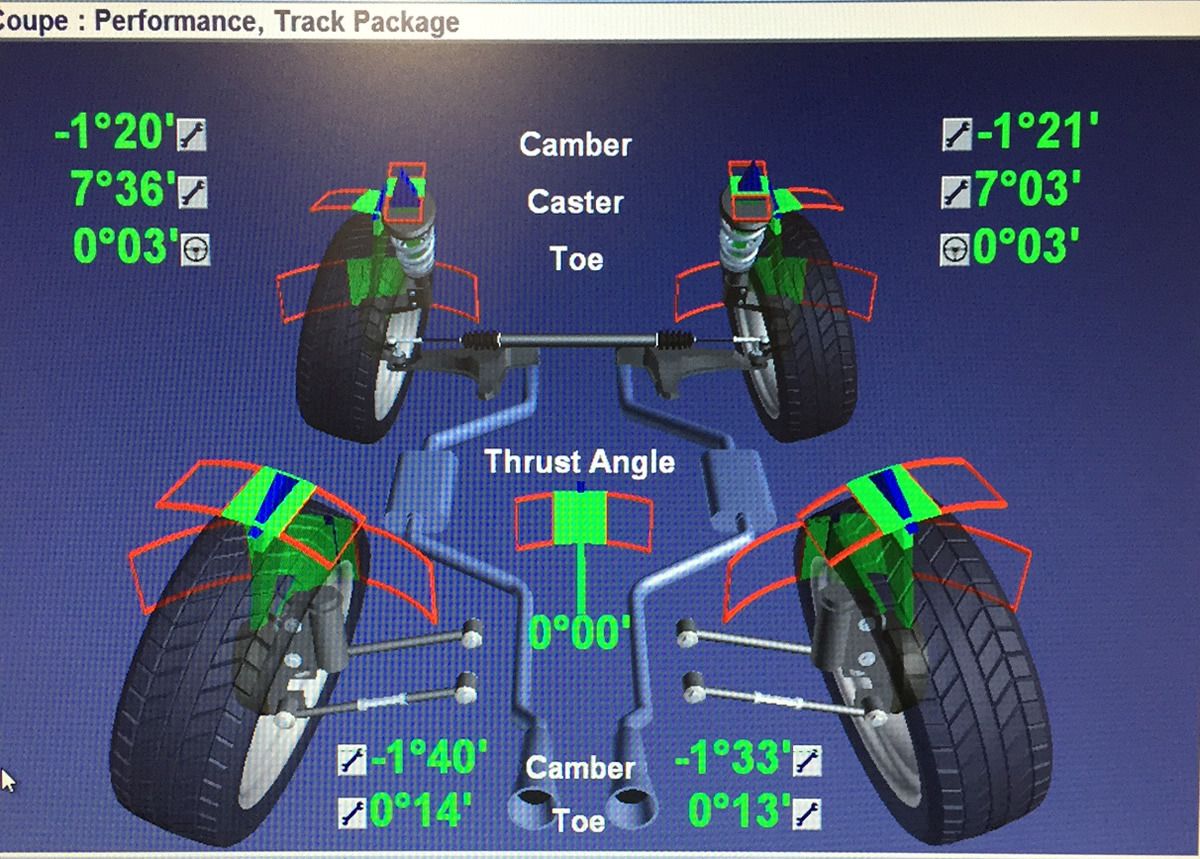
Ford factory specification is:
Front camber: -1.03
Front total toe: 0.00
Rear camber: -1.50
Rear total toe: +0.23
Ford Racing/Handling specification for circuit / auto X is:
Front camber: -1.55
Front total toe: 0.00
Rear camber: -1.98
Rear total toe: +0.23
As most of you know I've being researching parts for a year and settings so I knew the Ford Racing specification was truly only for track and not ideal for road as a few users had reports using such settings on the road impeded the cars performance, did not improve it.
So I went with following settings:
To translate that into American it reads as following:
Gibbo's recommended settings for UK roads:
Front camber: -1.33
Front total toe: +0.05
Rear camber: -1.55to1.65
Rear total toe: +0.26
So a little more aggressive than the Ford Performance Pack settings from the factory, this will give a great balance of wet handling on roads along with good sporty driving in the dry.
Now onto what the stock suspension adjustments offer:
Toe front and rear, you can dial in easily with stock components.
Rear camber: IT IS ADJUSTABLE, once lowered you can get -1.00 upto -2.50, just undo the upper camber arm bolt, it is slotted, and has a good 2-3 degrees of adjustment available.
Front camber: Camber bolts are an absolute must, there is practically zero adjustment available for front camber, so bolts or top mounts an absolute must. I used BMR camber bolts, they work very well and cost £20.
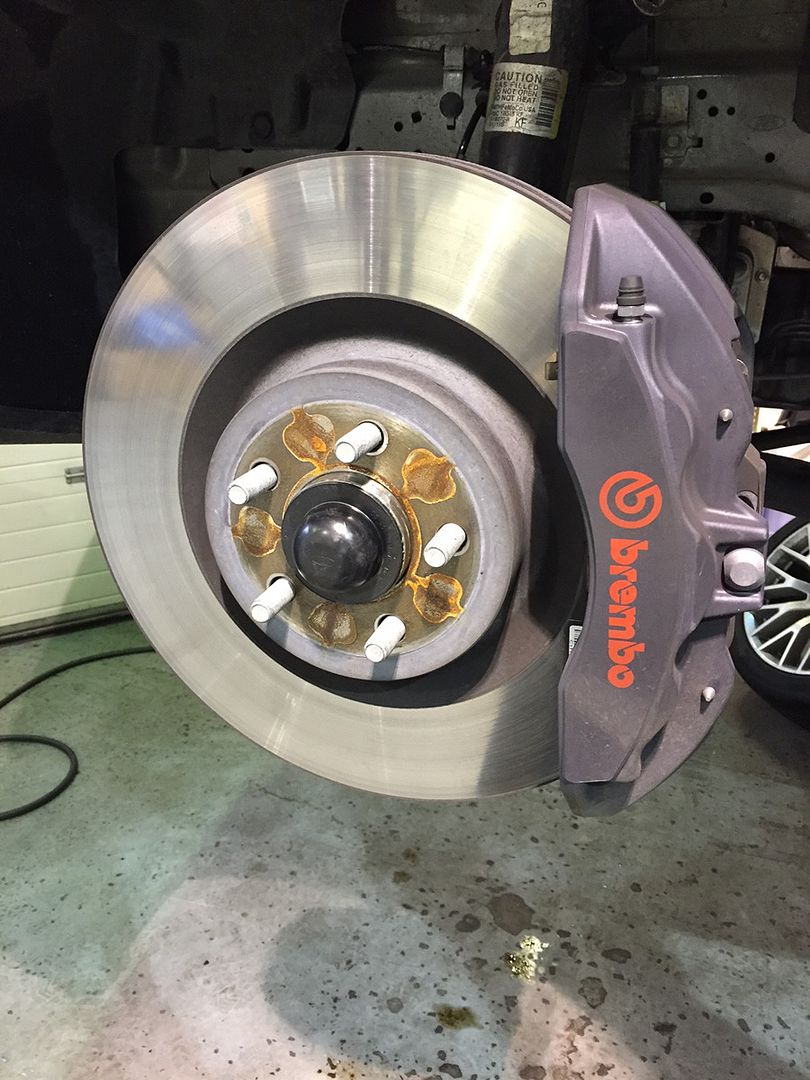
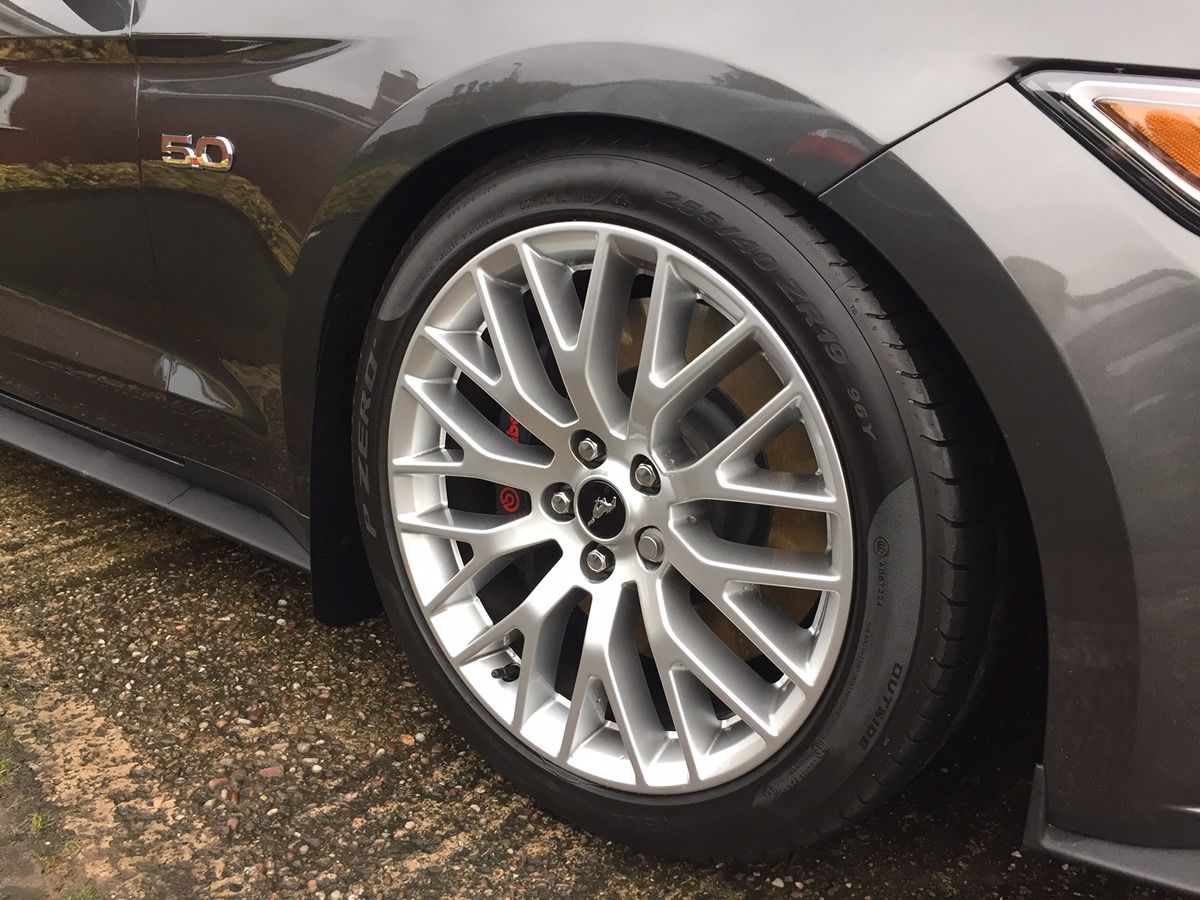
Some pictures from the install, starting with the giant Brembo brakes, my are they a work of art and the calipers for how big they are are so light.
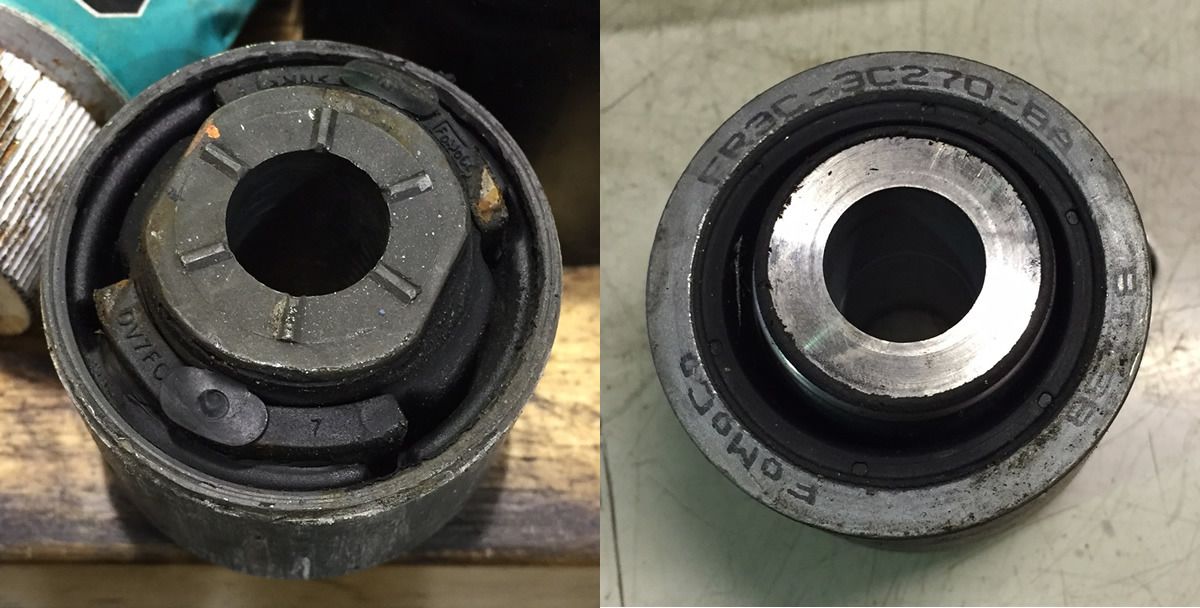
The stock toe knucle bushing on the left and on the right is the FRPP bushing a clear difference and a spherical bearing.
Ride height before we started, with nearly 80-100kg of suspension and tools in the boot:
Now the results with no tools/suspension in the boot:
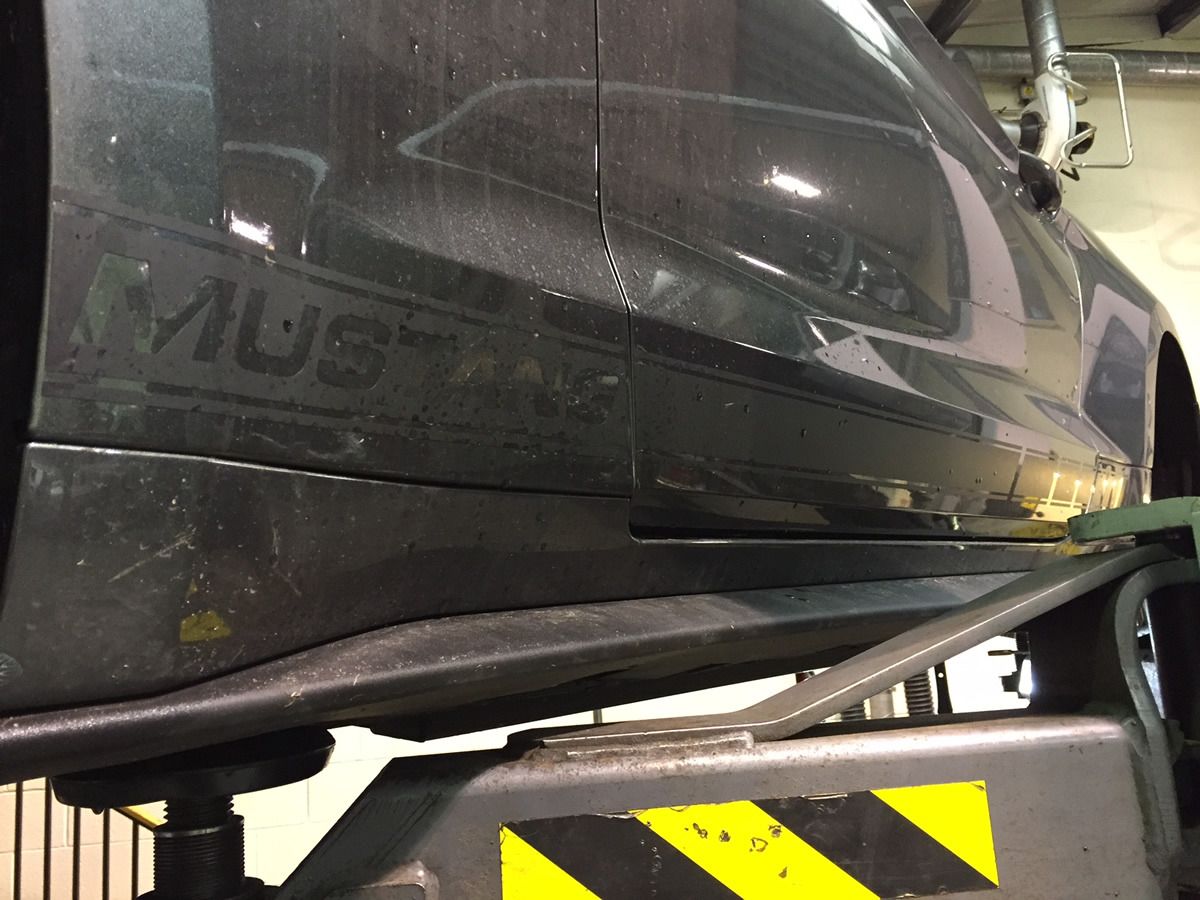
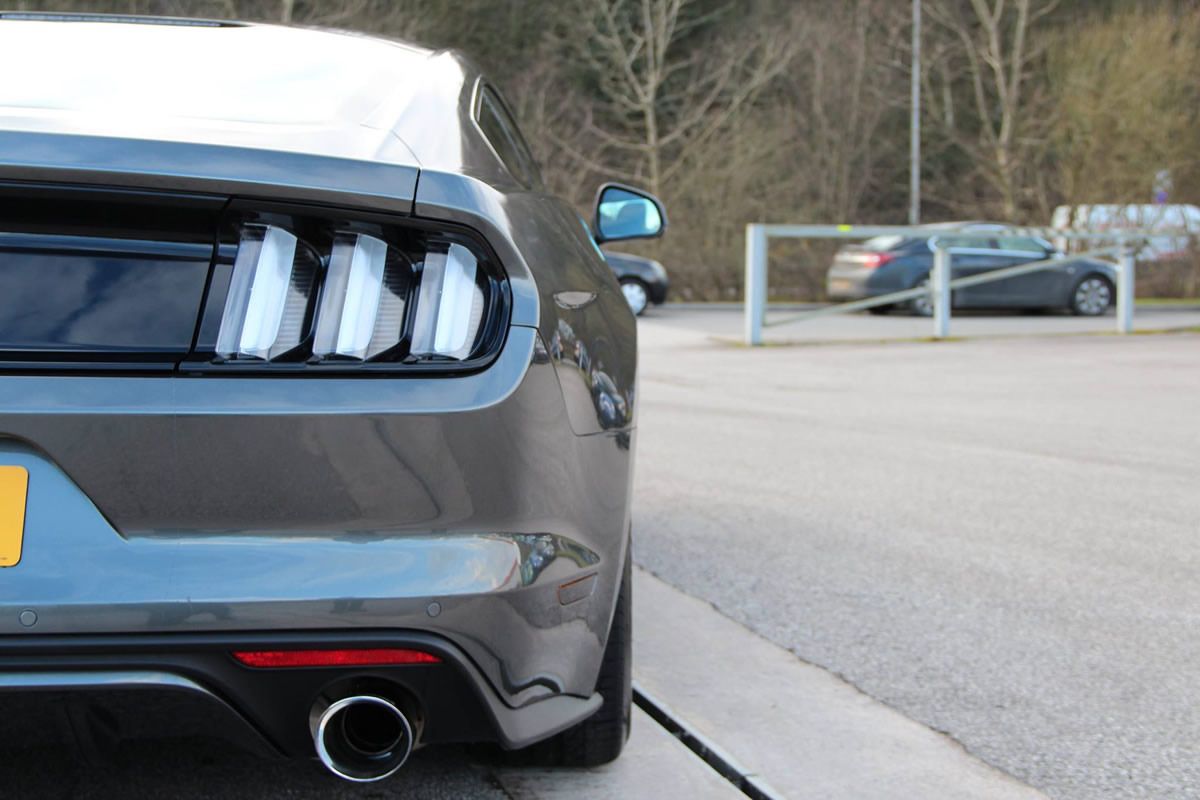
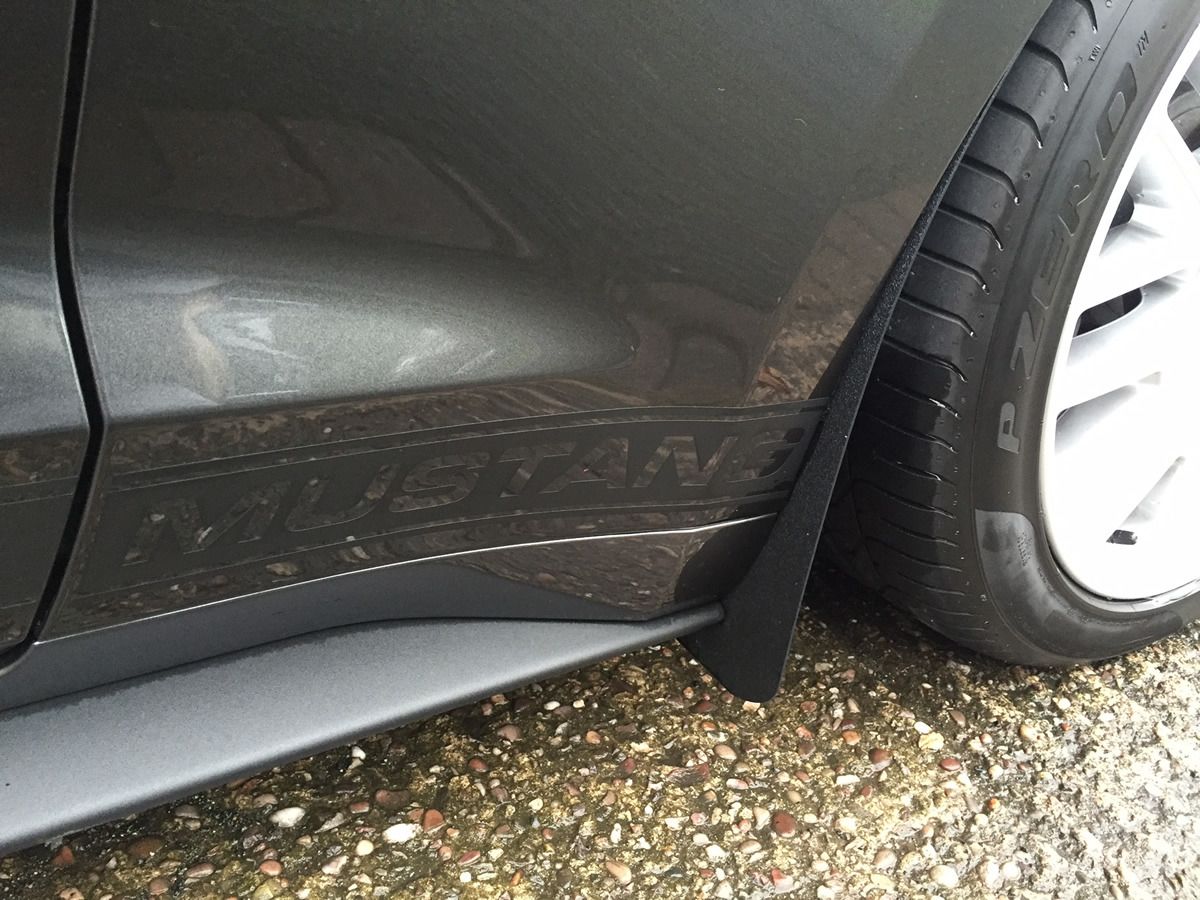
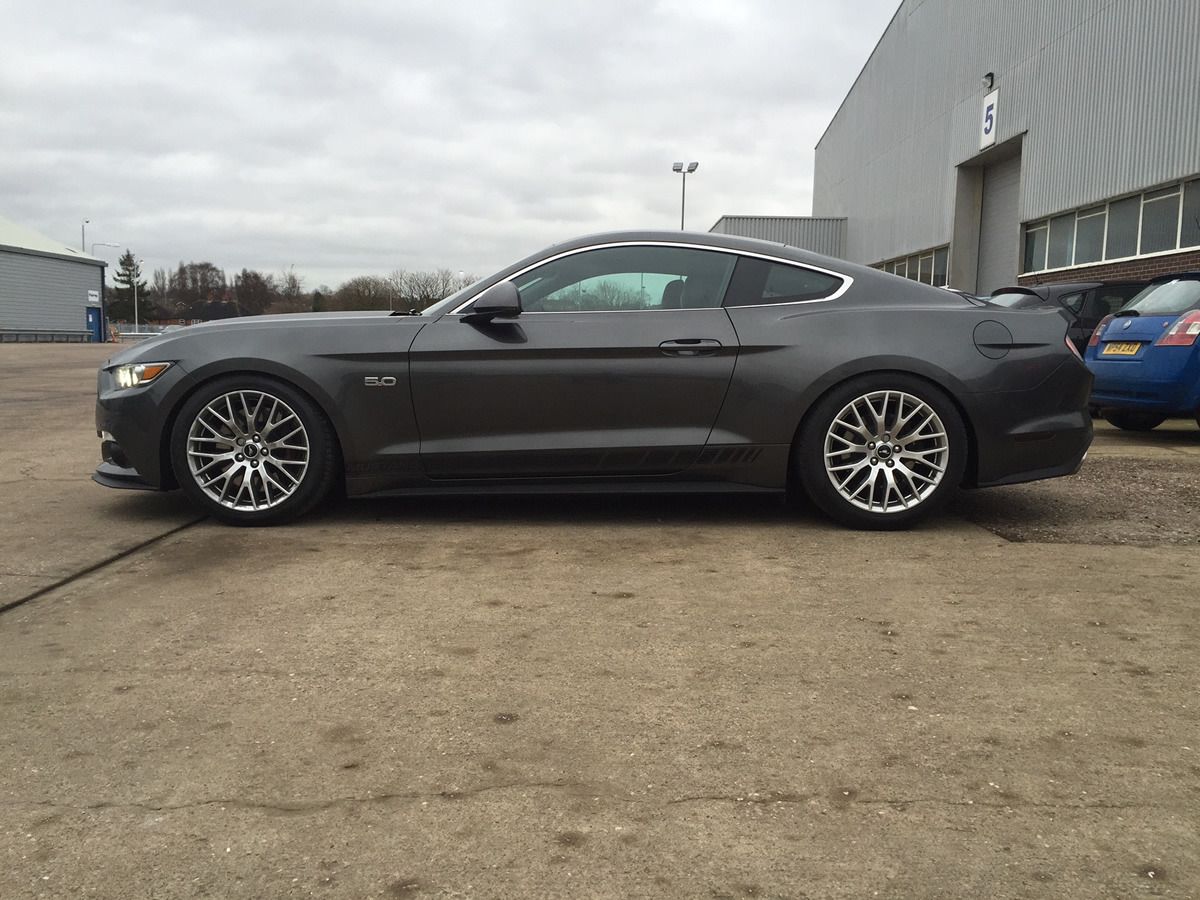
Here is a picture of the decals I fitted, sorry the car is so dirty, but oh well snow, grit and rain with daily usage makes it hard to keep clean always:
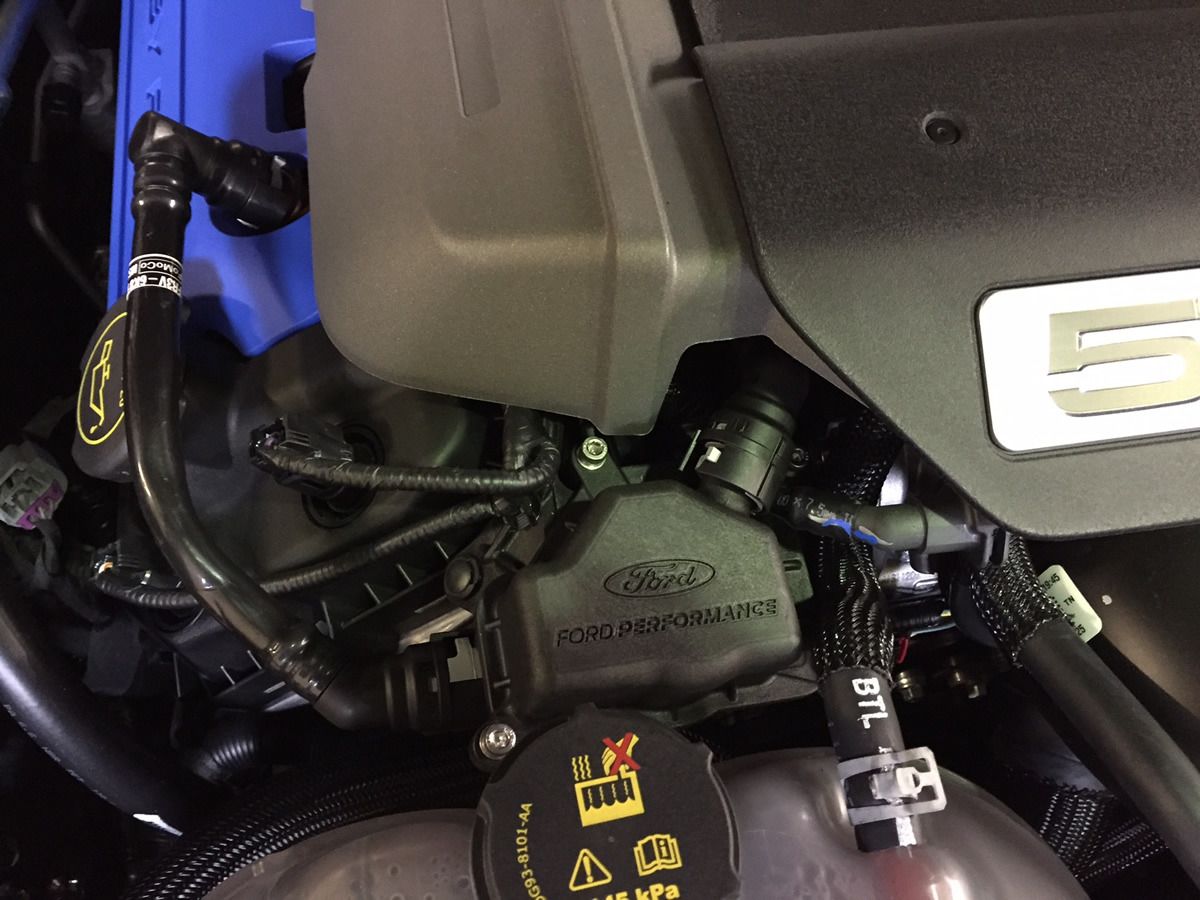
I also fitted the FRPP air-oil separator, an incredibly easy install taking about two minutes and looks completely stock because it is an OEM part:
I cannot give you any driving feedback until maybe later or a few days, that will follow!
So what is left?
1. Fit spacers & mud flaps to prevent paint from stone rash.
2. Fit tubular FRPP anti-roll bars.
3. Change colour of wheels to a shade of grey, un-decided.
4. Maybe de-chrome car.
5. POWER!
6. New wheels/tyres once these tyres are shot.
So what I had planned is very nearly completed.
P.S. Car has 6" ground clearance to front splitter.
P.S.1 I trial fitted the 23mm rear spacers, they took the rear of wheels meaning about 1-2mm needs removing from studs, 25mm fit fine.
So today was a very early start, the plan was to fit:
FRPP Dampers
Steeda Ultralite linear springs
FRPP toe knuckle bushes
FRPP air-oil seperator
Set car allignment up to my own settings.
So I arrived at XJK Jaguar early morning to crack on, put the Steeda Ultralite springs on the FRPP front dampers which look a little wonkey but was advised by Steeda and others this is indeed correct. The install went quite smoothly for the front being a typical McPherson setup, took around 1hr and with the cars weight on the front the springs/dampers as adviced by Steeda and other users did indeed straighten.
Next we moved onto rear, removing rear dampers is so easy, talking 5 minutes per side, but getting the rear springs out what an absolute nightmare, most of the rear suspension needed to be dismantled and giant pri-bar to give the clearance required to get those springs out, achieving it in my driveway would of bring near impossible. This took at least 2hr.
The FRPP bushes although simple in practice, the original ones were a little stubborn to get out and the new ones always wanted to go in at an angle so took several attempts, so again more time taken because we were being perfectionist and ensuring everything was done carefully and nothing just cowboyed in with force. Eventually it all went together.
Then put the car back together and tighten and torque all bolts to specification with the suspension loaded.
Next stop the allignment, the next nightmare was about to begin.
Ford factory specification is:
Front camber: -1.03
Front total toe: 0.00
Rear camber: -1.50
Rear total toe: +0.23
Ford Racing/Handling specification for circuit / auto X is:
Front camber: -1.55
Front total toe: 0.00
Rear camber: -1.98
Rear total toe: +0.23
As most of you know I've being researching parts for a year and settings so I knew the Ford Racing specification was truly only for track and not ideal for road as a few users had reports using such settings on the road impeded the cars performance, did not improve it.
So I went with following settings:
To translate that into American it reads as following:
Gibbo's recommended settings for UK roads:
Front camber: -1.33
Front total toe: +0.05
Rear camber: -1.55to1.65
Rear total toe: +0.26
So a little more aggressive than the Ford Performance Pack settings from the factory, this will give a great balance of wet handling on roads along with good sporty driving in the dry.
Now onto what the stock suspension adjustments offer:
Toe front and rear, you can dial in easily with stock components.
Rear camber: IT IS ADJUSTABLE, once lowered you can get -1.00 upto -2.50, just undo the upper camber arm bolt, it is slotted, and has a good 2-3 degrees of adjustment available.
Front camber: Camber bolts are an absolute must, there is practically zero adjustment available for front camber, so bolts or top mounts an absolute must. I used BMR camber bolts, they work very well and cost £20.
Some pictures from the install, starting with the giant Brembo brakes, my are they a work of art and the calipers for how big they are are so light.
The stock toe knucle bushing on the left and on the right is the FRPP bushing a clear difference and a spherical bearing.
Ride height before we started, with nearly 80-100kg of suspension and tools in the boot:
Now the results with no tools/suspension in the boot:
Here is a picture of the decals I fitted, sorry the car is so dirty, but oh well snow, grit and rain with daily usage makes it hard to keep clean always:
I also fitted the FRPP air-oil separator, an incredibly easy install taking about two minutes and looks completely stock because it is an OEM part:
I cannot give you any driving feedback until maybe later or a few days, that will follow!
So what is left?
1. Fit spacers & mud flaps to prevent paint from stone rash.
2. Fit tubular FRPP anti-roll bars.
3. Change colour of wheels to a shade of grey, un-decided.
4. Maybe de-chrome car.
5. POWER!
6. New wheels/tyres once these tyres are shot.
So what I had planned is very nearly completed.
P.S. Car has 6" ground clearance to front splitter.
P.S.1 I trial fitted the 23mm rear spacers, they took the rear of wheels meaning about 1-2mm needs removing from studs, 25mm fit fine.
Centurion07 said:
I guess this isn't how you did it then: https://www.youtube.com/watch?v=zLDfDgDACMg#t=12m1...
Hopefully the weather is good this weekend so I can get all my subframe bits fitted but I'll be waiting till I get it on a ramp before tackling the springs.
The vid makes it look relatively easy but your description has me wondering now....
Liking those stripes though!
Was not keen on completely removing subframe, did remove the two rear bolts for extra clearance. Hopefully the weather is good this weekend so I can get all my subframe bits fitted but I'll be waiting till I get it on a ramp before tackling the springs.
The vid makes it look relatively easy but your description has me wondering now....
Liking those stripes though!
Edited by Centurion07 on Thursday 4th February 21:51
bridgdav said:
Gibbo..
What Mud Flaps are you fitting..? Not many options that I am aware of.. And massively ovepriced on the ones that are..
The cars do suffer from a lot of rash, particularly behind the Dorris where the rear quarter starts to bulge.
Also, I would recommend adding some 3M clear door protection tape to the front and rear edges of the arches.
I have a set of the RPI guards, but am yet to fit them.. $50 for a basic cut out flat ABS plastic flap. Half the price of others though. I have been waiting out for others to be released.
http://www.rpidesigns.com/shop/item.aspx?itemid=54...
Yes I have RPI on the way. What Mud Flaps are you fitting..? Not many options that I am aware of.. And massively ovepriced on the ones that are..
The cars do suffer from a lot of rash, particularly behind the Dorris where the rear quarter starts to bulge.
Also, I would recommend adding some 3M clear door protection tape to the front and rear edges of the arches.
I have a set of the RPI guards, but am yet to fit them.. $50 for a basic cut out flat ABS plastic flap. Half the price of others though. I have been waiting out for others to be released.
http://www.rpidesigns.com/shop/item.aspx?itemid=54...
Gandahar said:
When I started reading this post I thought of that Gibbo, or Don Gibbo should one say, off the forum and you are the same. Thanks for always trying to get the video card info out whilst keeping the manufacturers happy. When is the next NVidia range due now? My 970 is getting a bit long in the tooth with it's 3.5GB RAM .. grrrr, NVidia monkeys short changing me.
Sorry for off topic, great work with the car.
Nothing really being confirmed by NVIDIA, expect to way a few more months yet, might see a Fury X2 from AMD in the meanwhile but again no confirmation of dates sorry. Sorry for off topic, great work with the car.
Hi there
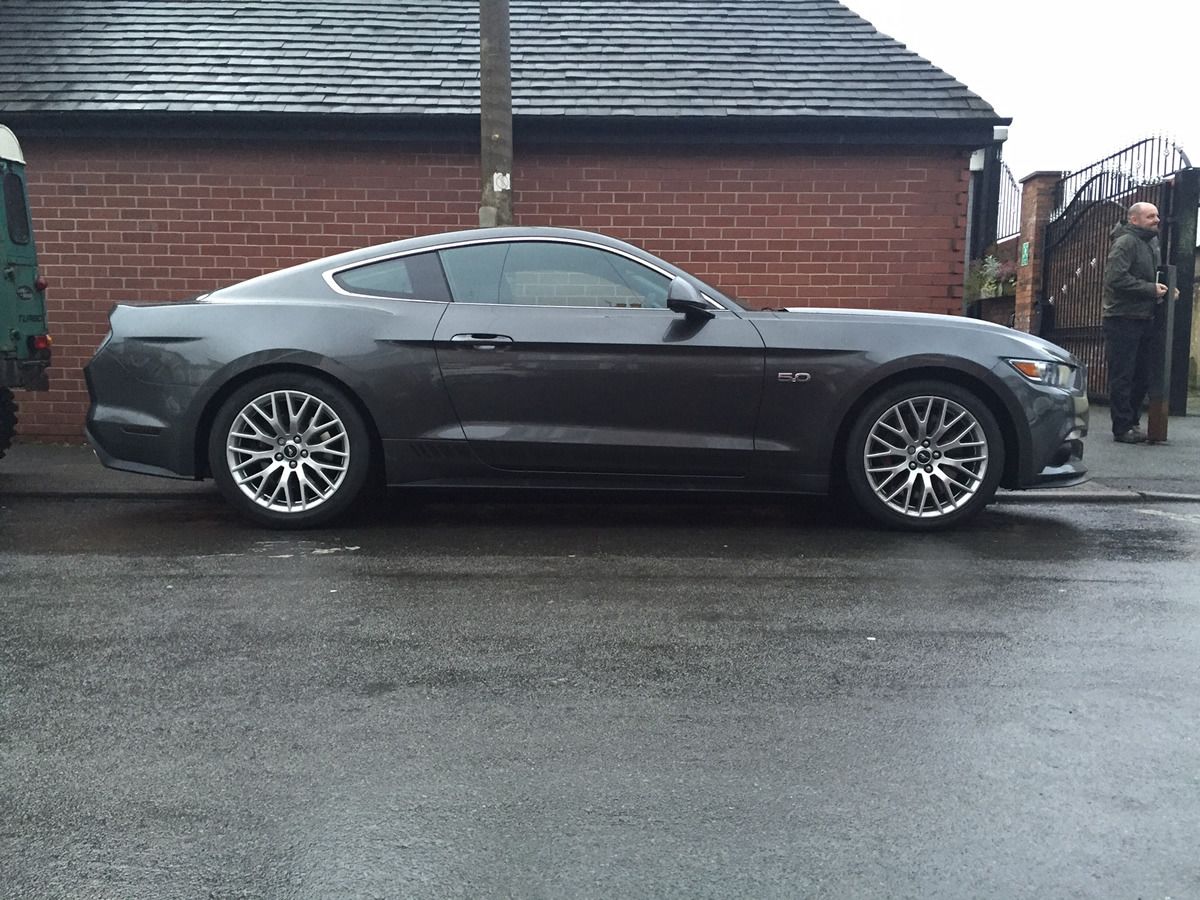
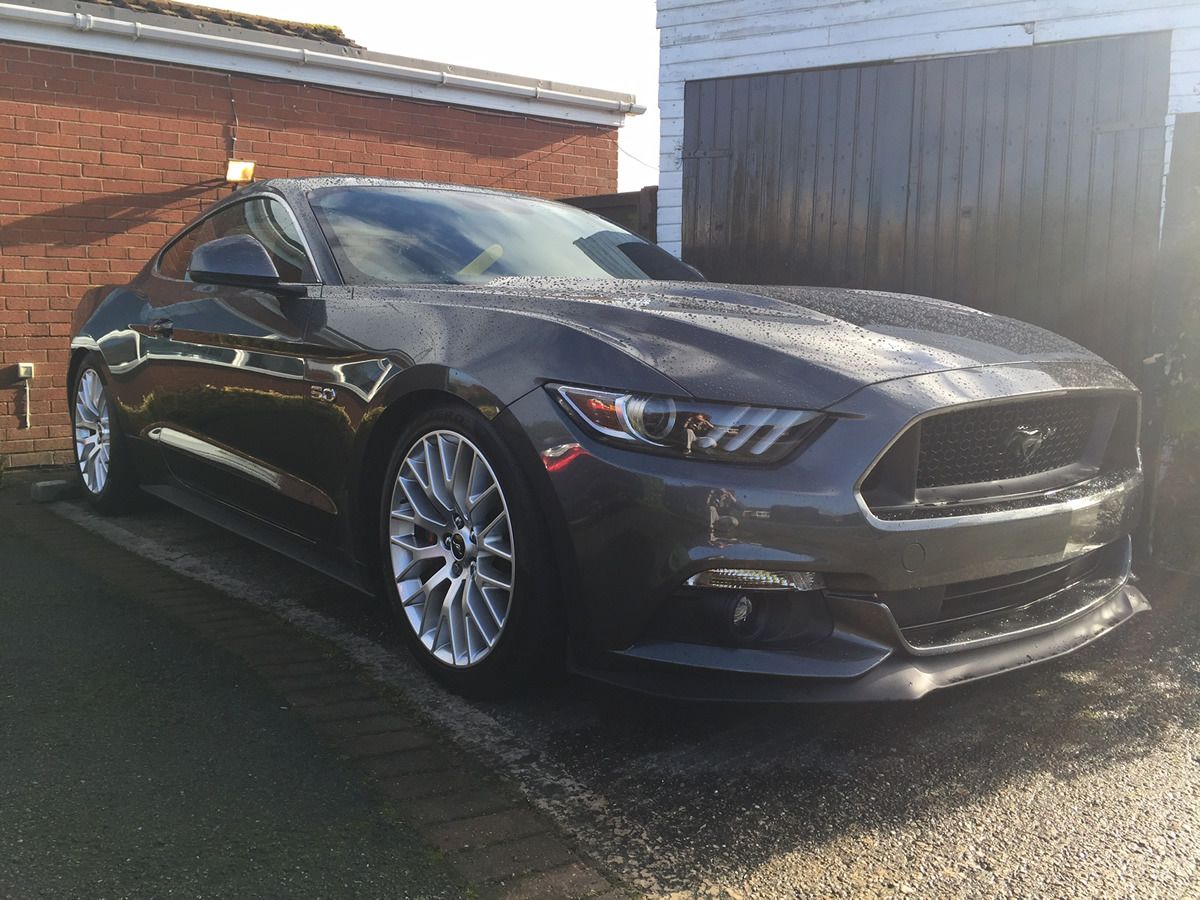
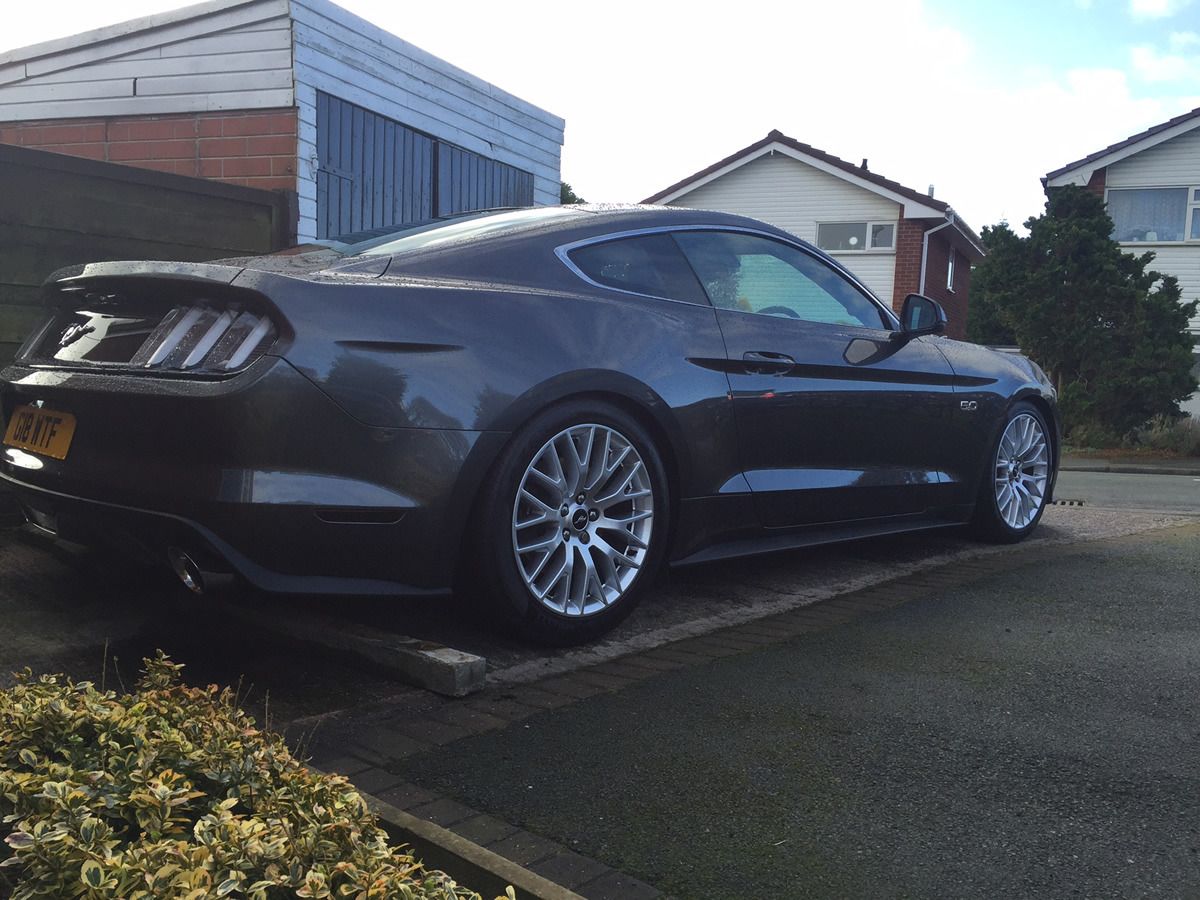
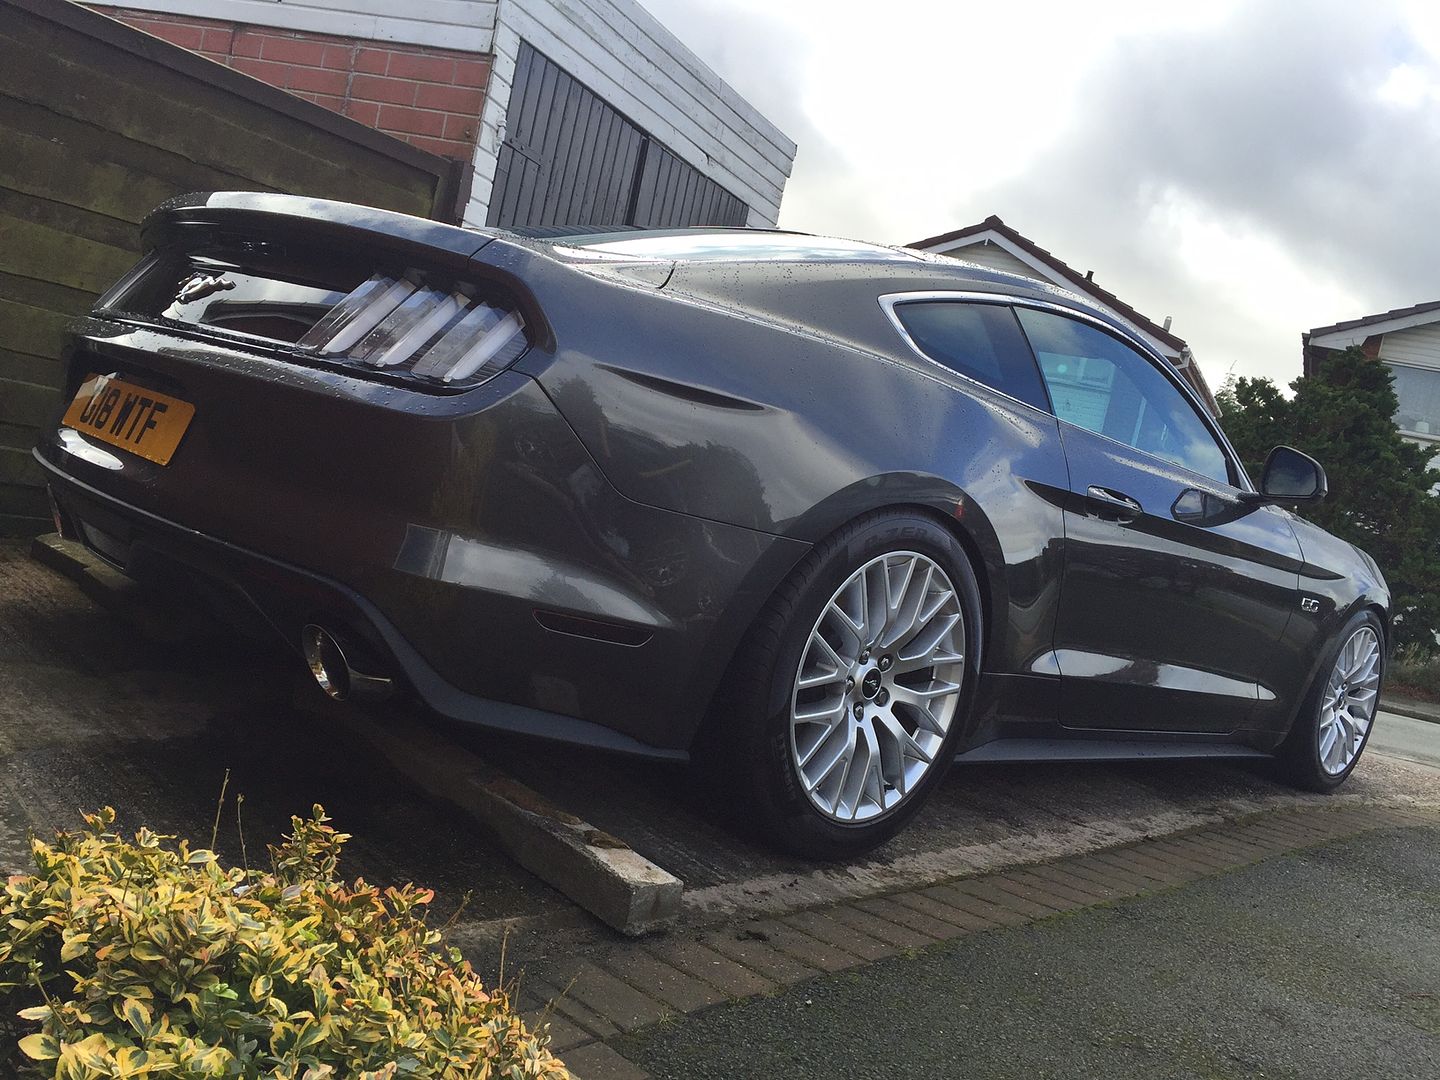
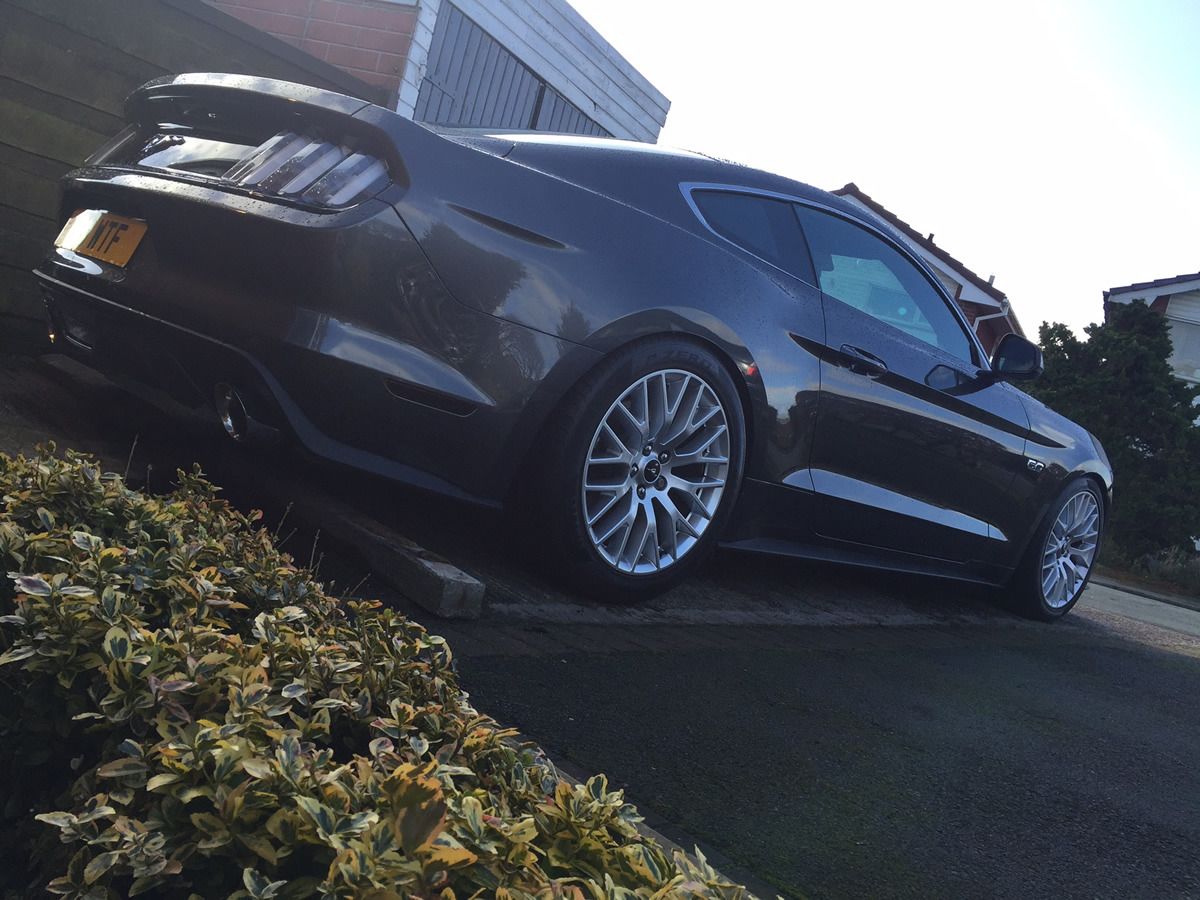
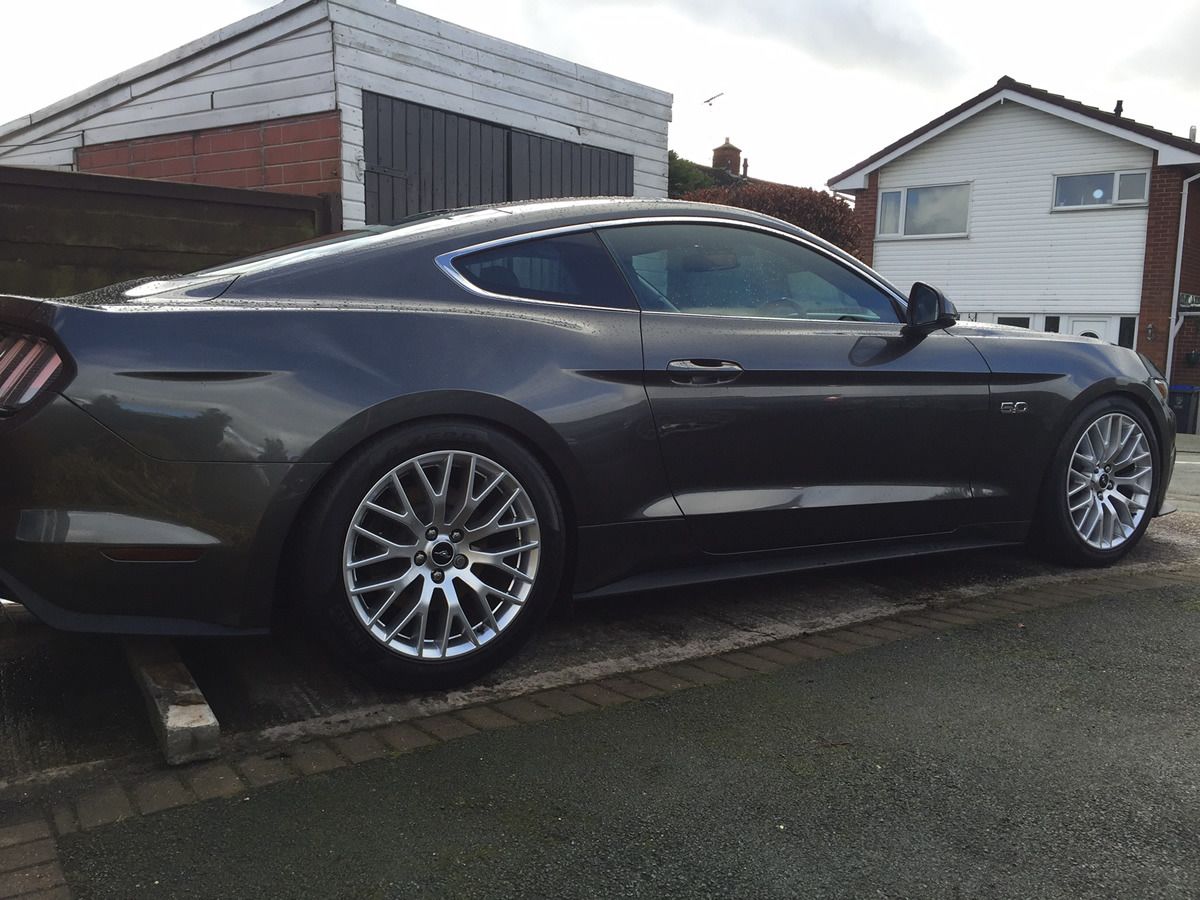
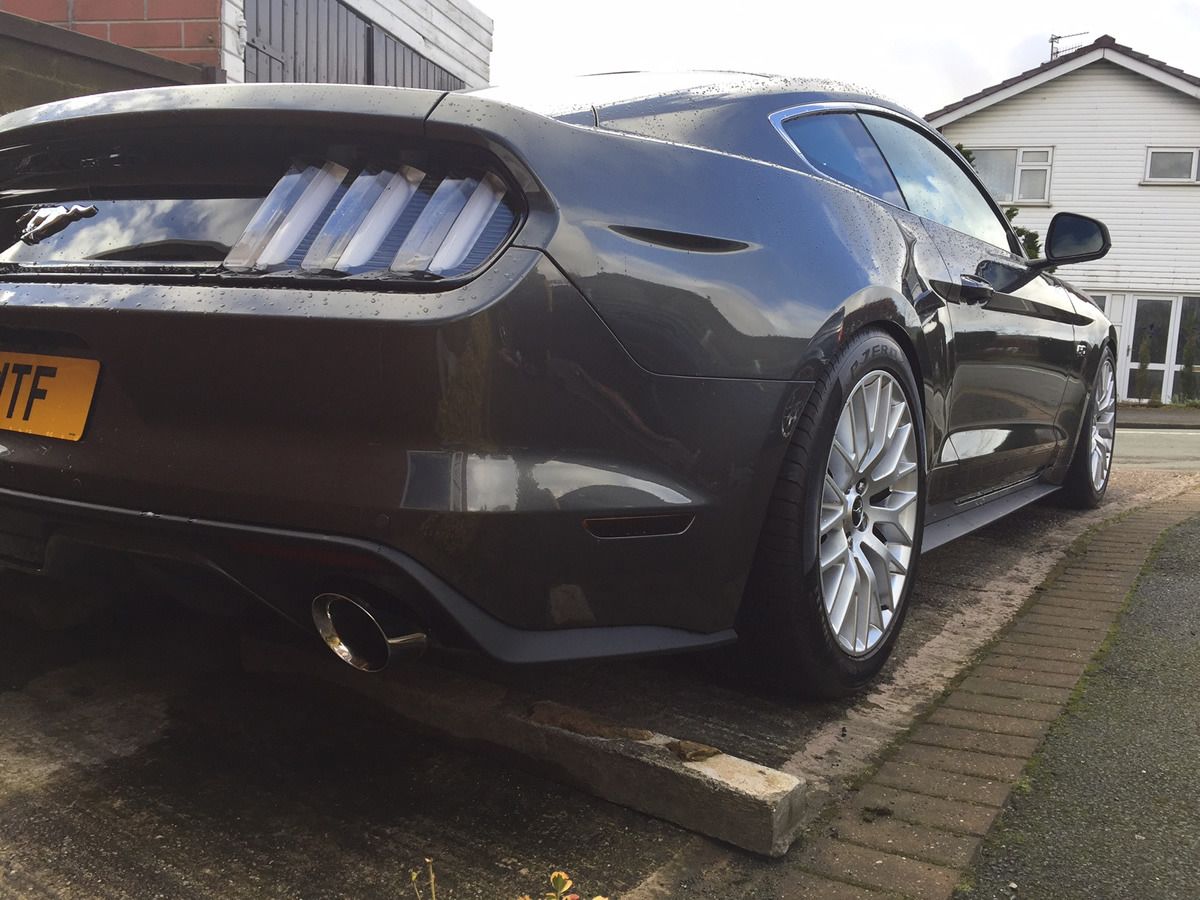
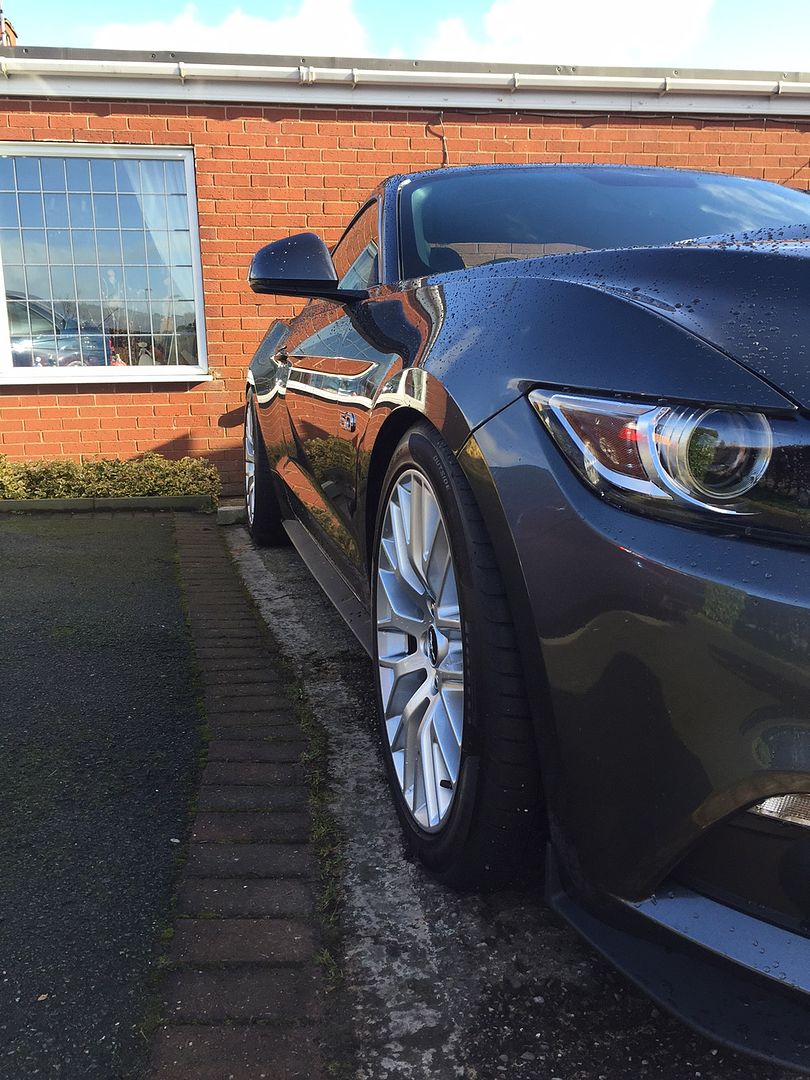
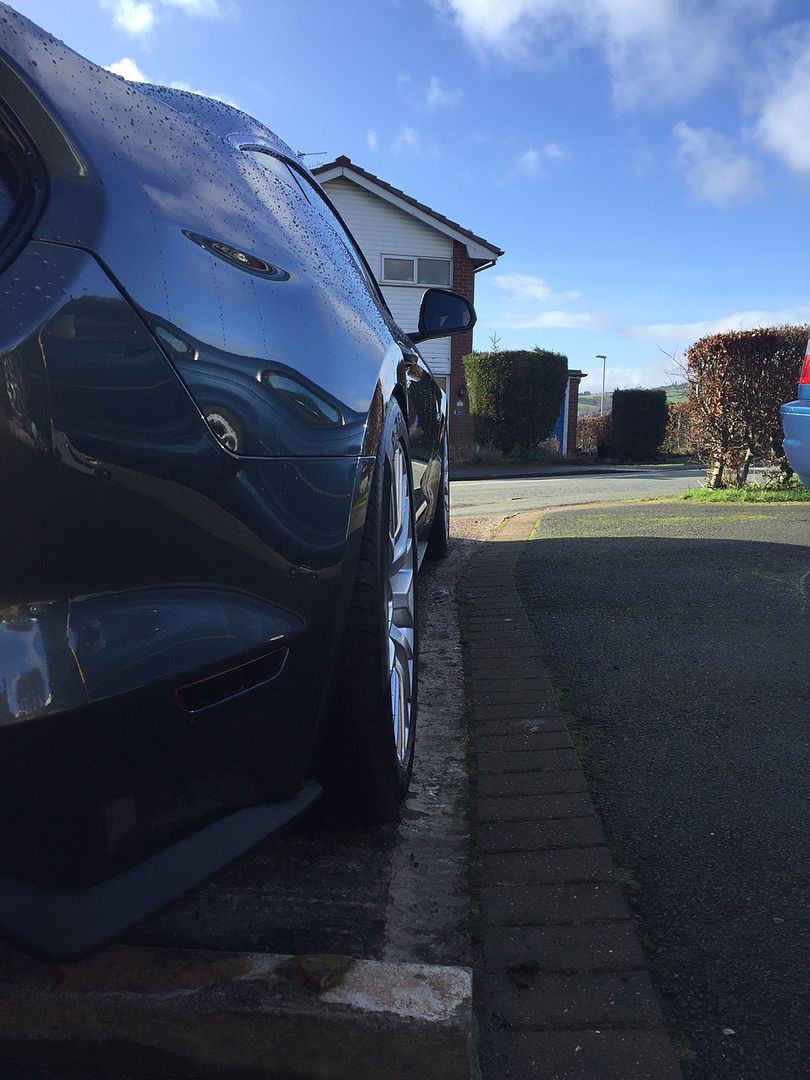
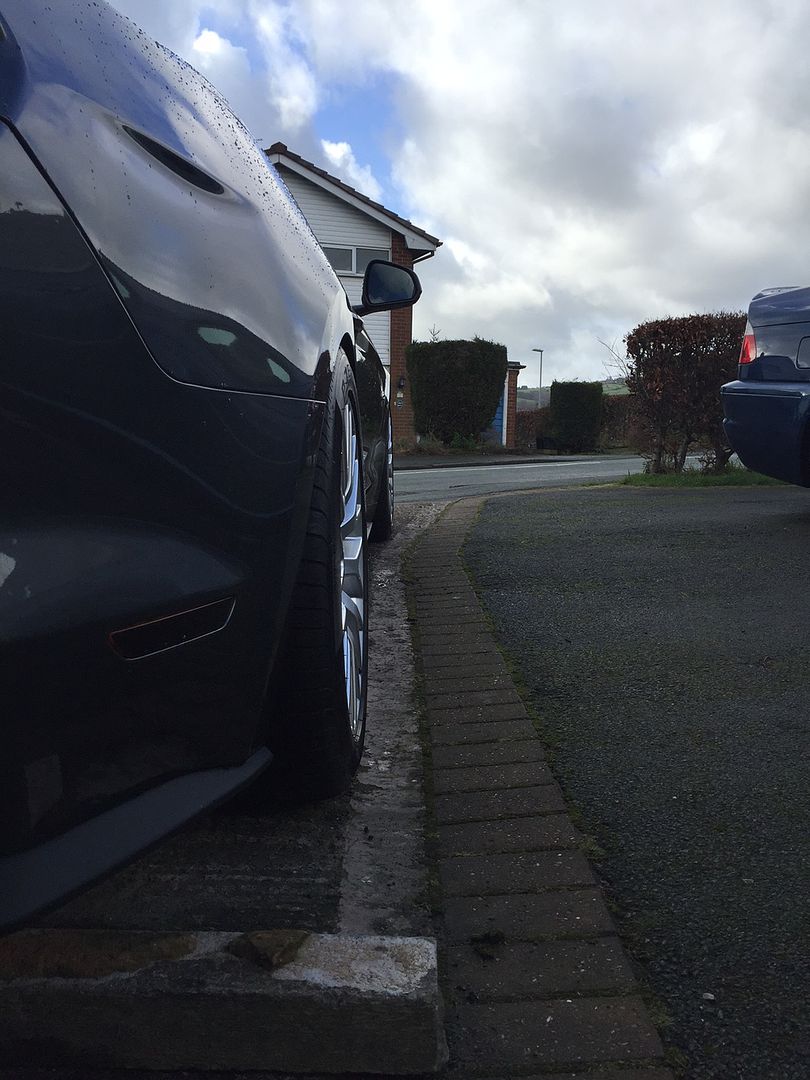
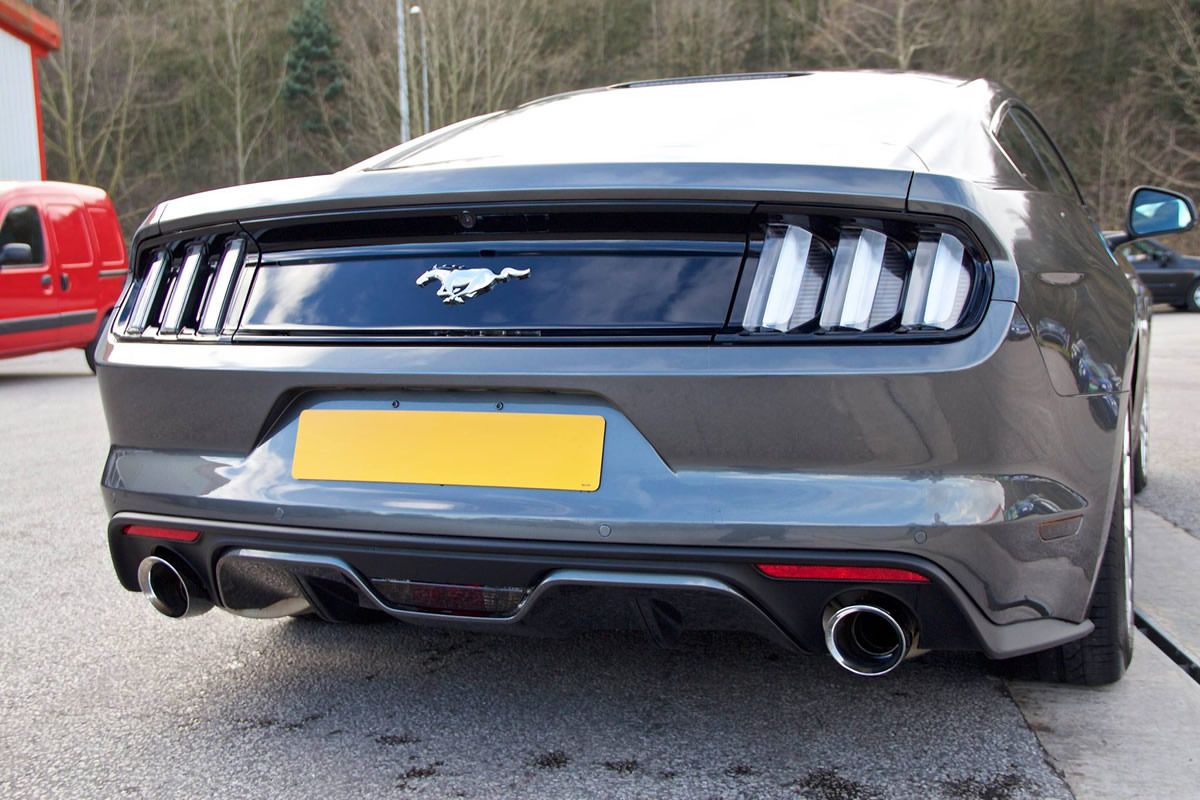
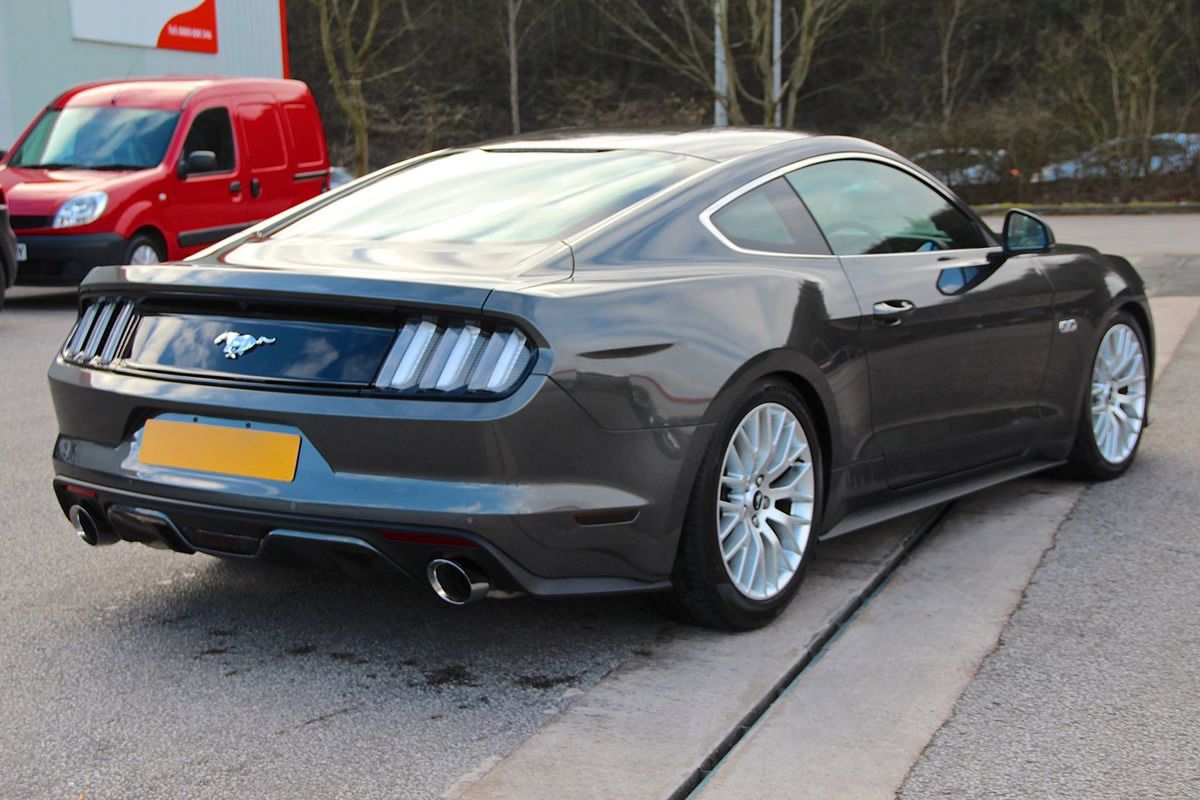
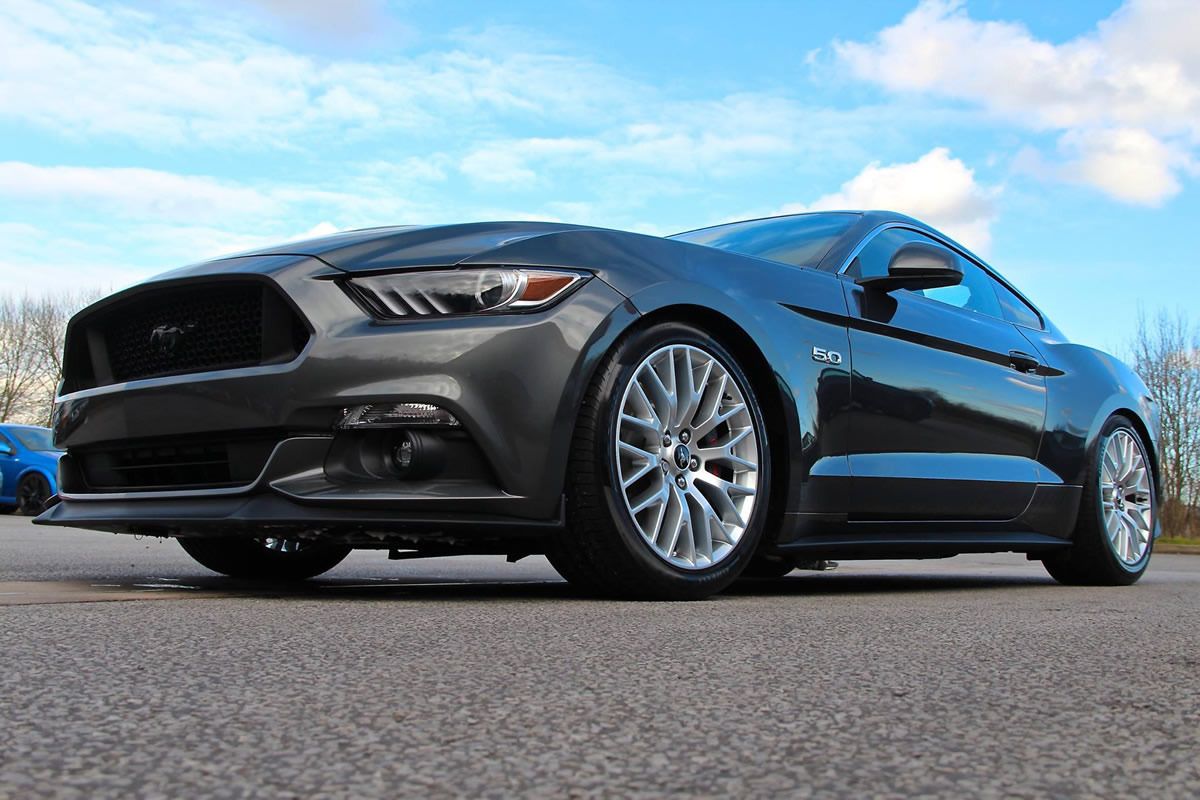
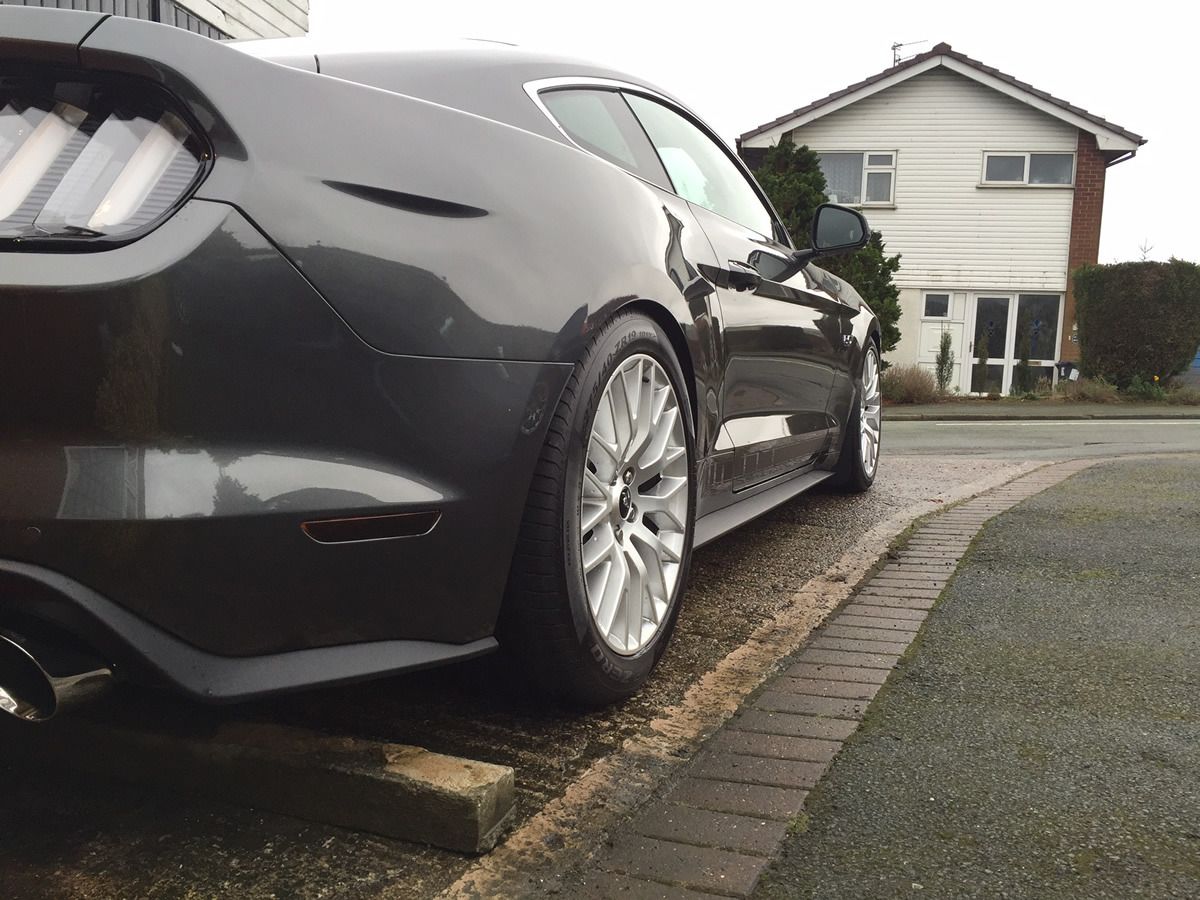
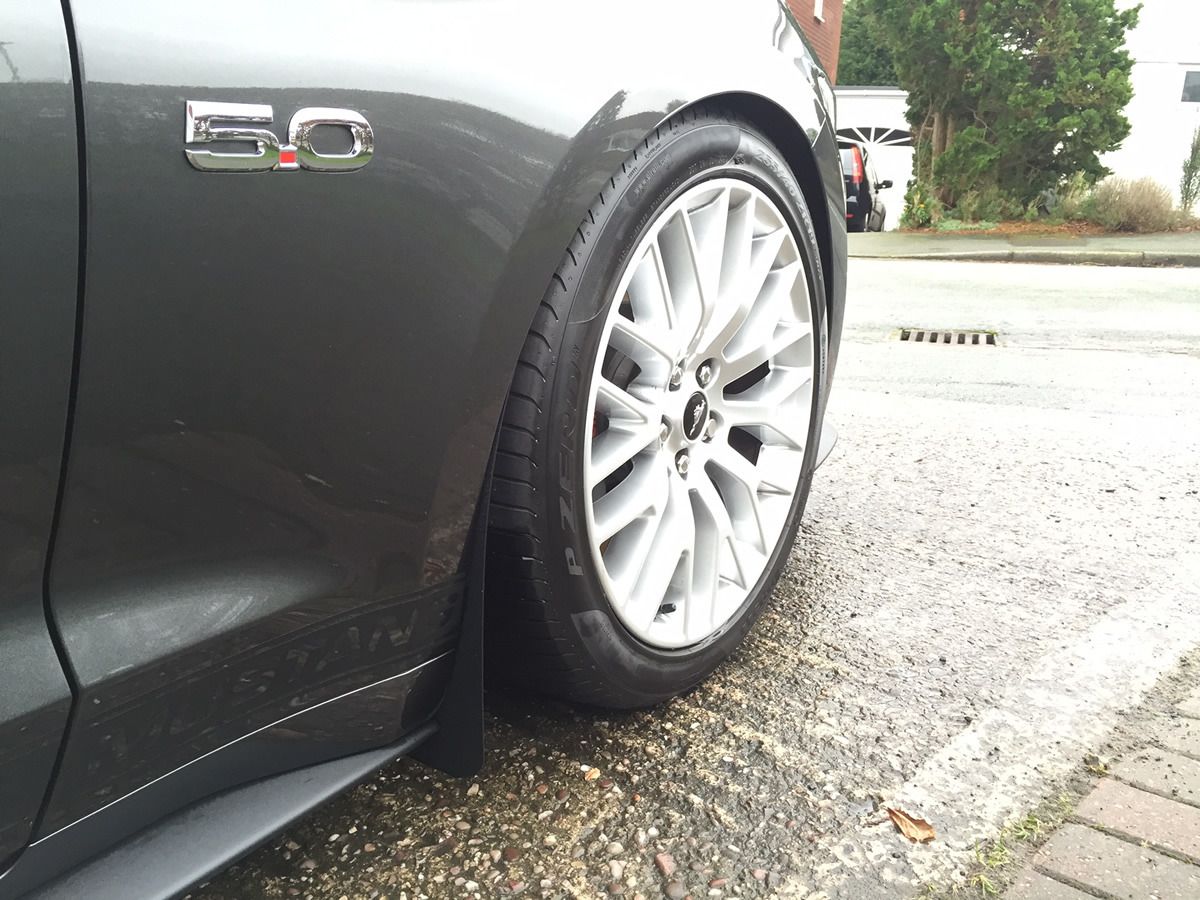
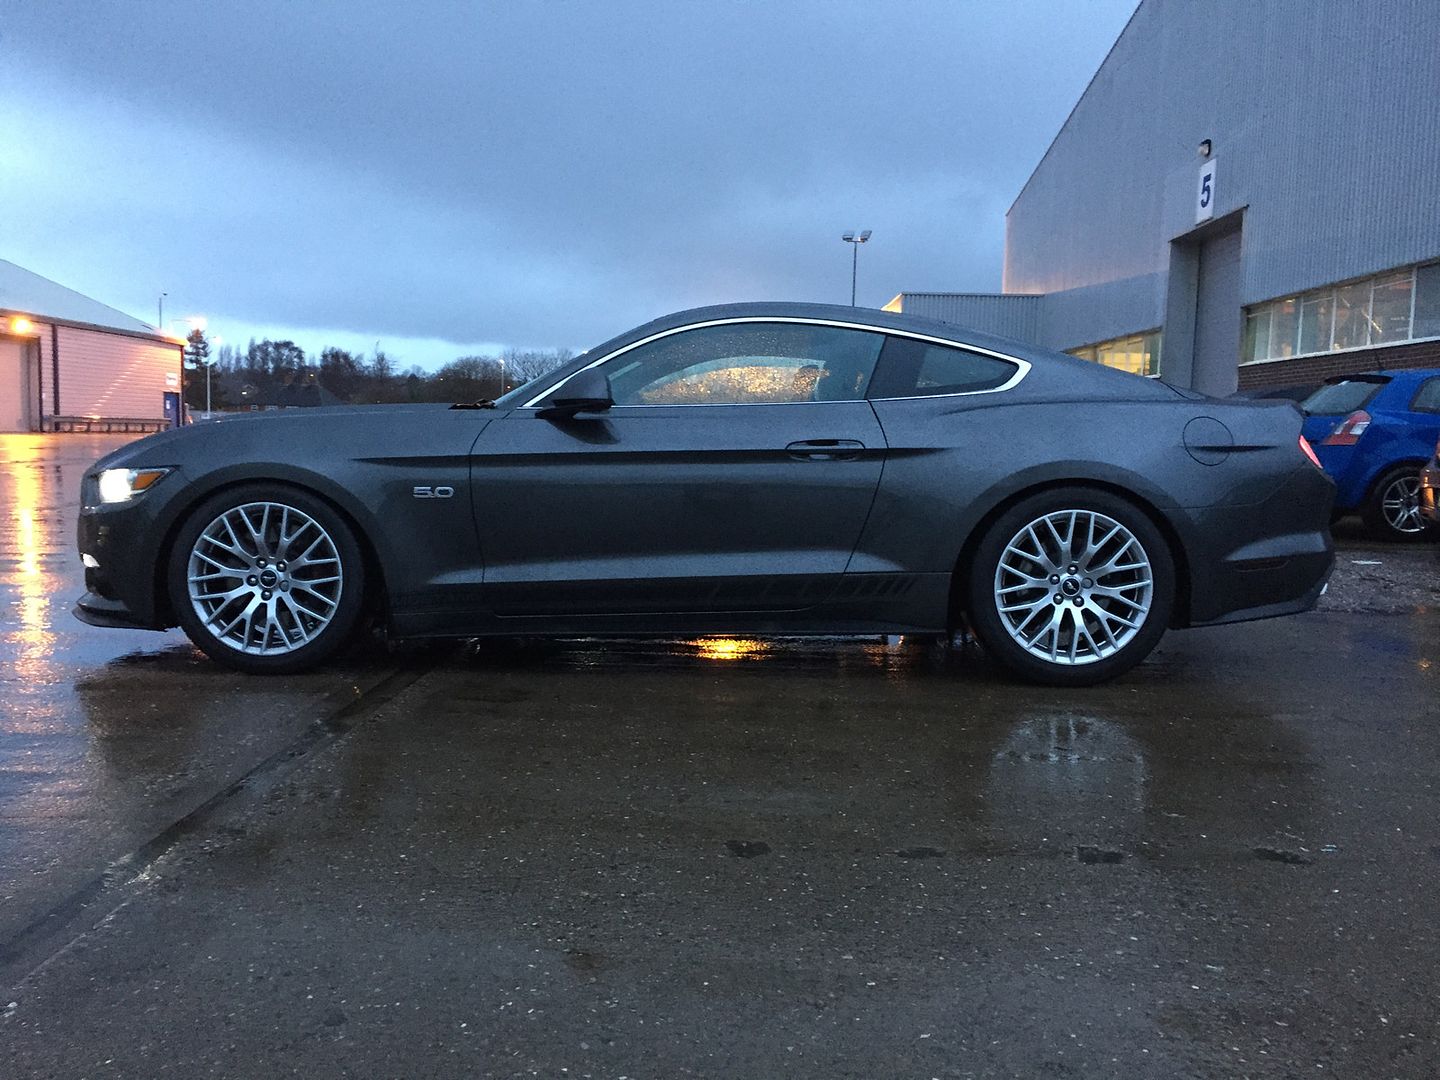
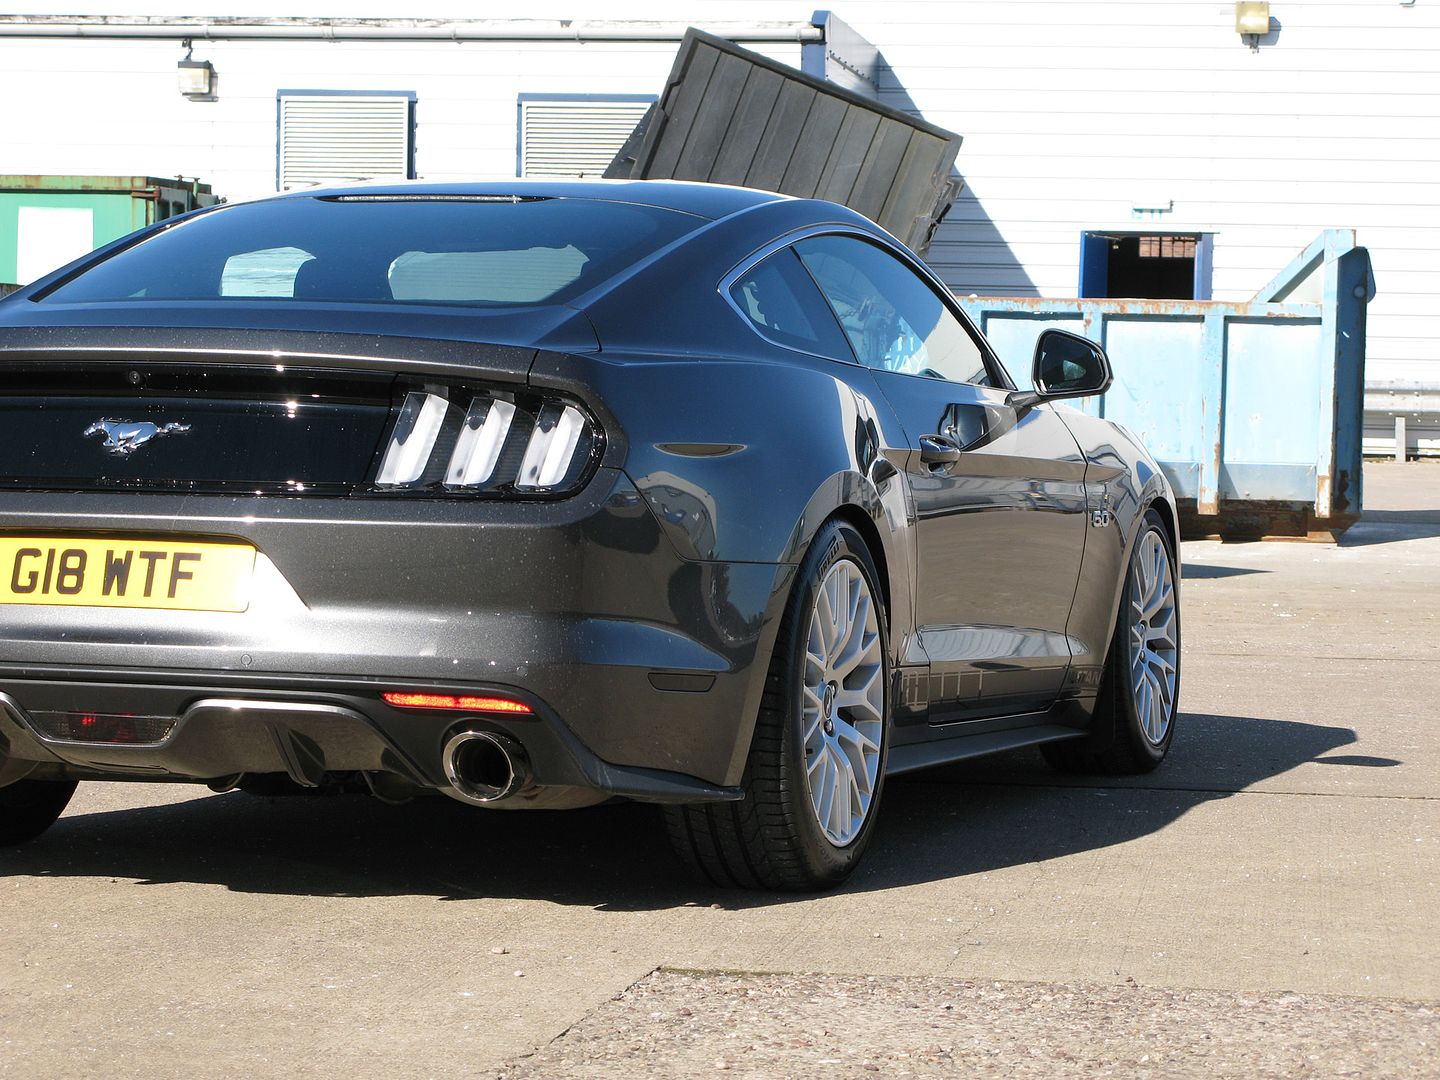
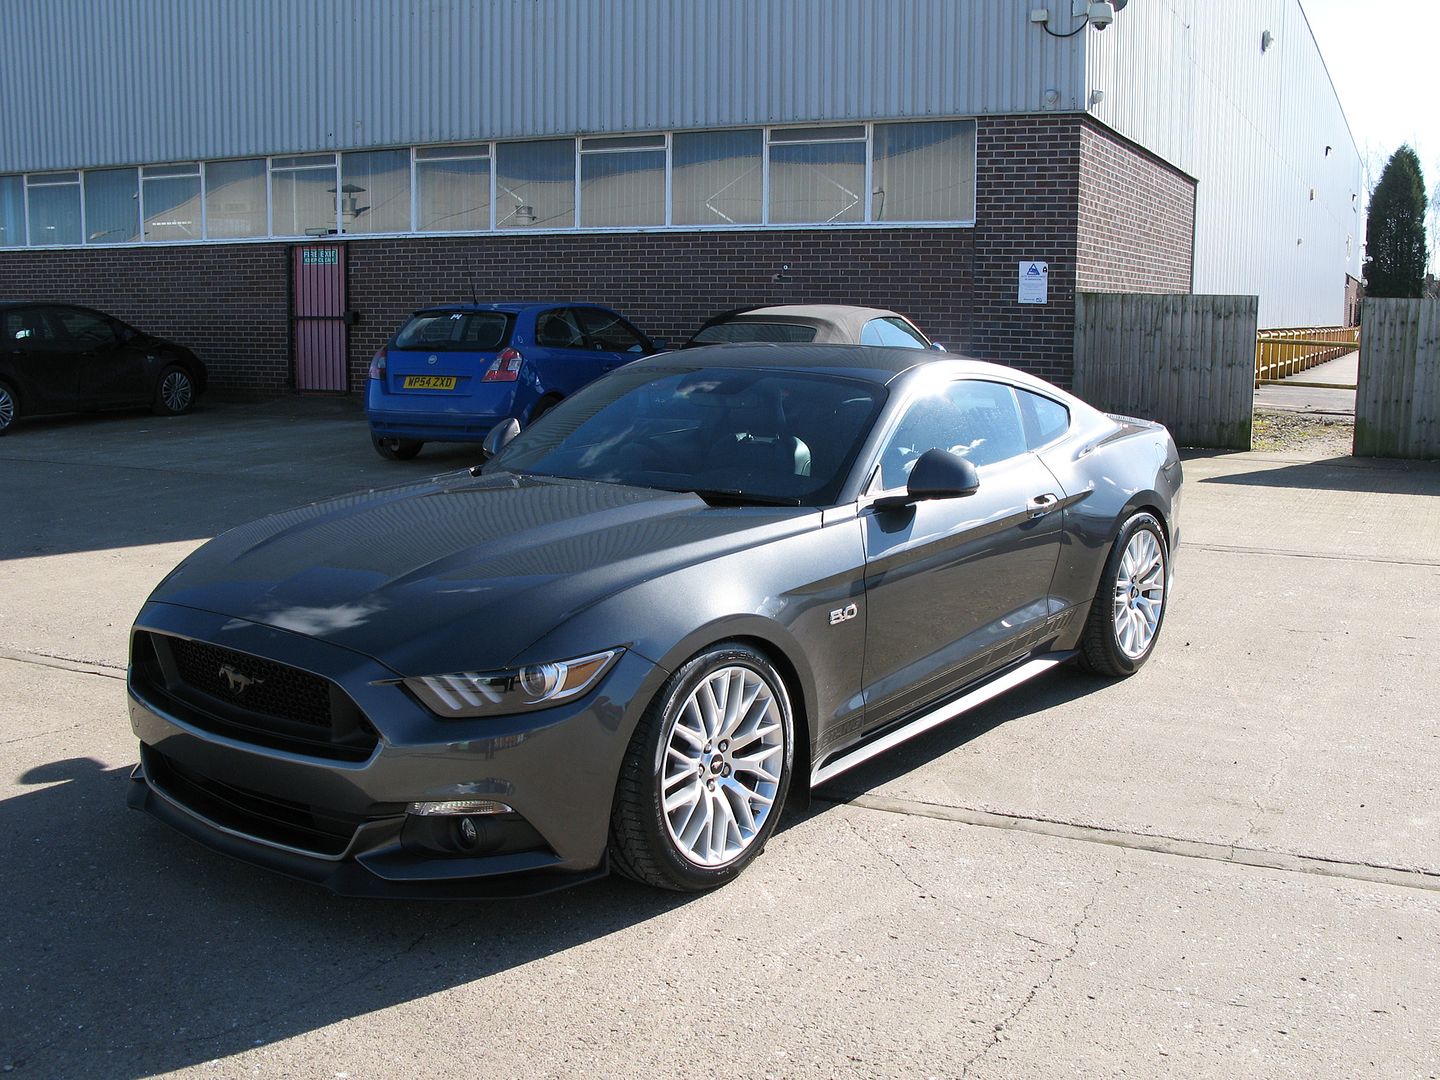
Tyre is no longer partially hidden in the rear arch now car is at normal load.
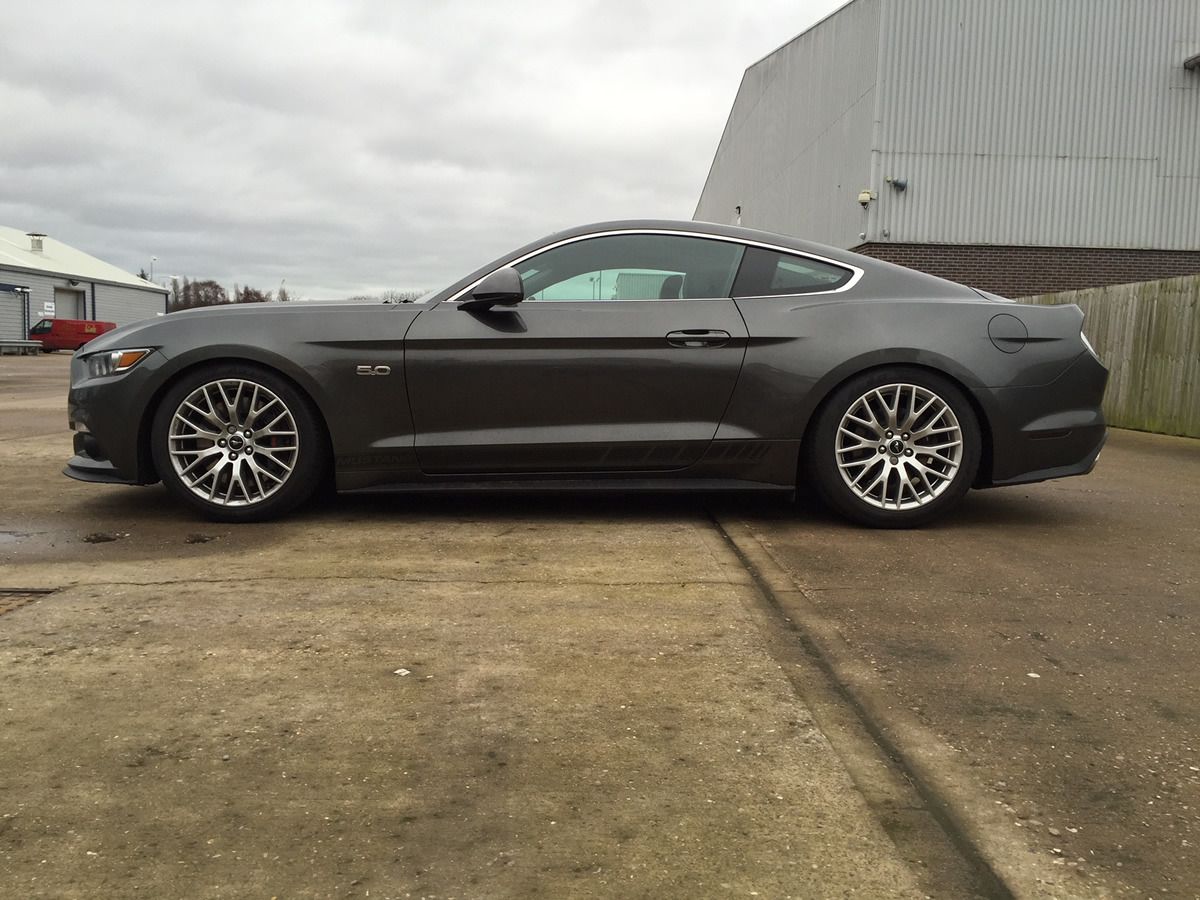
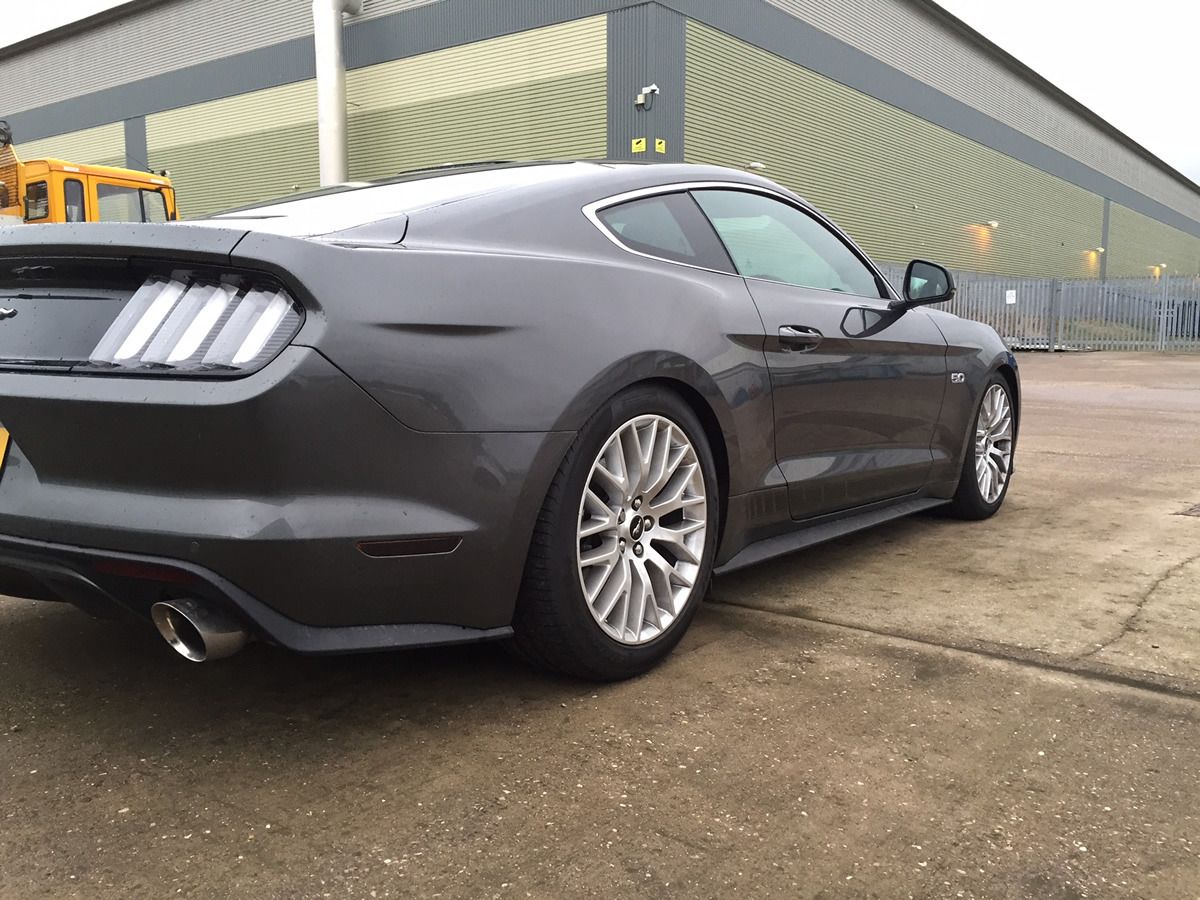
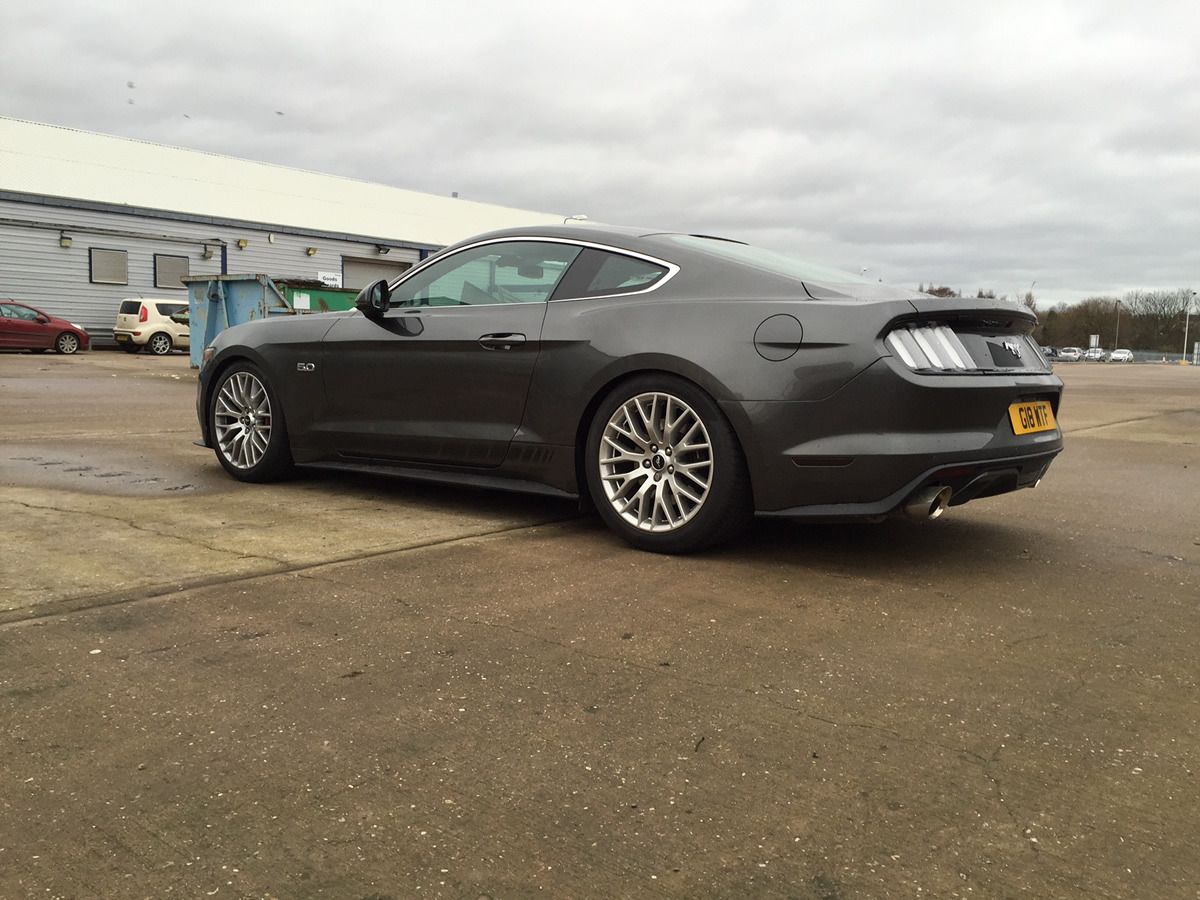
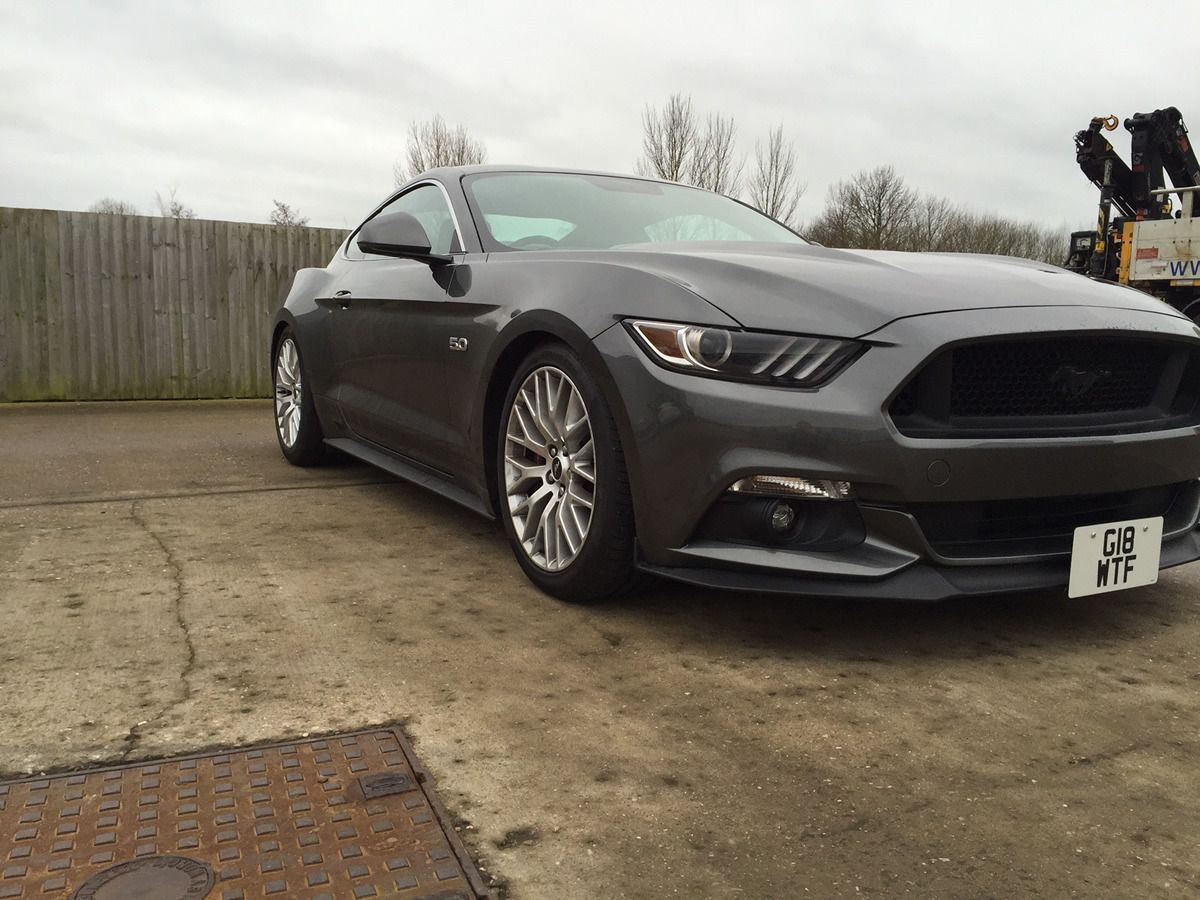
As you can clearly see the desired gap between tyre and arch is now present. Car artificially still looks lower in back than front, I say artificial as front is actually sitting lower, 1" drop in rear and 1.25" in front. The illusion is due to lack of spacers, the front can easily accomodate upto a 25mm spacer without poking. The rear however only needs a marginal spacer, I'd say as low as 12mm to be honest, as such I believe my 25/23mm spacers I will not use as they will give to much poke with my allignment settings. So I shall try a 8-10mm in the rear and look at a 15-18mm for the front.
If anyone is interested in the 25/23mm spacers let me know, probably best quality spacers out there.
So I can confirm ride comfort is improved, road noise even seems less and I have no idea how to explain that, but nonetheless is improved. Steering weight is increased so normal mode now feels like sport mode with the added benefit are increased feel, steering really is now super spot on, its got great feel and superb weighting in comfort and normal mode, sport mode is now pretty damn heavy.
All bounce, jiggle is eliminated and the car feels glued to the road at higher speeds, I've not really tried pushing the handling yet but in short more grip everywhere, car is more responsive to inputs, feels lighter on its feet, it feels like a proper sports car now it really does. But I just can't get over how well it rides, I have never lowered a car and had improved comfort, now it just glides over bumps and at higher speeds it is like they are not there. Hitting bigger holes/dips in the road have a slightly more firmer feel, not really a negative but maybe to some.
But hard to test in rush traffic but wet roads and car is simply turning in better, has way more traction on corner exit and feels faster (its not) but being closer to ground no doubt helps with that, though it is still super refined. Of course all of this may not be simply down to fitting of new parts, the alignment could be playing a big role and I spent a long time experimenting with camber, caster and toe on the M3 to see how they impact road and track driving. Hence to some my alignment settings for the Mustang might look a little tame, but that is because I want the car super capable on the road, even in the wet. This is not a track setup but is setup purely for maximum road performance and it seems to be working well, but like I say I cannot let you know how much is down to my alignment settings and how much is down to new parts.
In short the car has improved in every area from what I did yesterday, no negatives at all, will be interesting to see how the lighter and larger anti-roll bars impact handling and ride comfort. Because the stock roll bars do seem to be working very well with the lower suspension as body roll is vastly reduced and braking dive is all but gone.
Super impressed!
Tyre is no longer partially hidden in the rear arch now car is at normal load.
As you can clearly see the desired gap between tyre and arch is now present. Car artificially still looks lower in back than front, I say artificial as front is actually sitting lower, 1" drop in rear and 1.25" in front. The illusion is due to lack of spacers, the front can easily accomodate upto a 25mm spacer without poking. The rear however only needs a marginal spacer, I'd say as low as 12mm to be honest, as such I believe my 25/23mm spacers I will not use as they will give to much poke with my allignment settings. So I shall try a 8-10mm in the rear and look at a 15-18mm for the front.
If anyone is interested in the 25/23mm spacers let me know, probably best quality spacers out there.
So I can confirm ride comfort is improved, road noise even seems less and I have no idea how to explain that, but nonetheless is improved. Steering weight is increased so normal mode now feels like sport mode with the added benefit are increased feel, steering really is now super spot on, its got great feel and superb weighting in comfort and normal mode, sport mode is now pretty damn heavy.
All bounce, jiggle is eliminated and the car feels glued to the road at higher speeds, I've not really tried pushing the handling yet but in short more grip everywhere, car is more responsive to inputs, feels lighter on its feet, it feels like a proper sports car now it really does. But I just can't get over how well it rides, I have never lowered a car and had improved comfort, now it just glides over bumps and at higher speeds it is like they are not there. Hitting bigger holes/dips in the road have a slightly more firmer feel, not really a negative but maybe to some.
But hard to test in rush traffic but wet roads and car is simply turning in better, has way more traction on corner exit and feels faster (its not) but being closer to ground no doubt helps with that, though it is still super refined. Of course all of this may not be simply down to fitting of new parts, the alignment could be playing a big role and I spent a long time experimenting with camber, caster and toe on the M3 to see how they impact road and track driving. Hence to some my alignment settings for the Mustang might look a little tame, but that is because I want the car super capable on the road, even in the wet. This is not a track setup but is setup purely for maximum road performance and it seems to be working well, but like I say I cannot let you know how much is down to my alignment settings and how much is down to new parts.
In short the car has improved in every area from what I did yesterday, no negatives at all, will be interesting to see how the lighter and larger anti-roll bars impact handling and ride comfort. Because the stock roll bars do seem to be working very well with the lower suspension as body roll is vastly reduced and braking dive is all but gone.
Super impressed!
Hi there
Well the sun made an appearance today, so I trial fitted the spacers.
First photos are no spacer, then followed by many with spacers.
[size=6]NO SPACER![/size]

[size=6]23mm Spacer front & rear![/size]

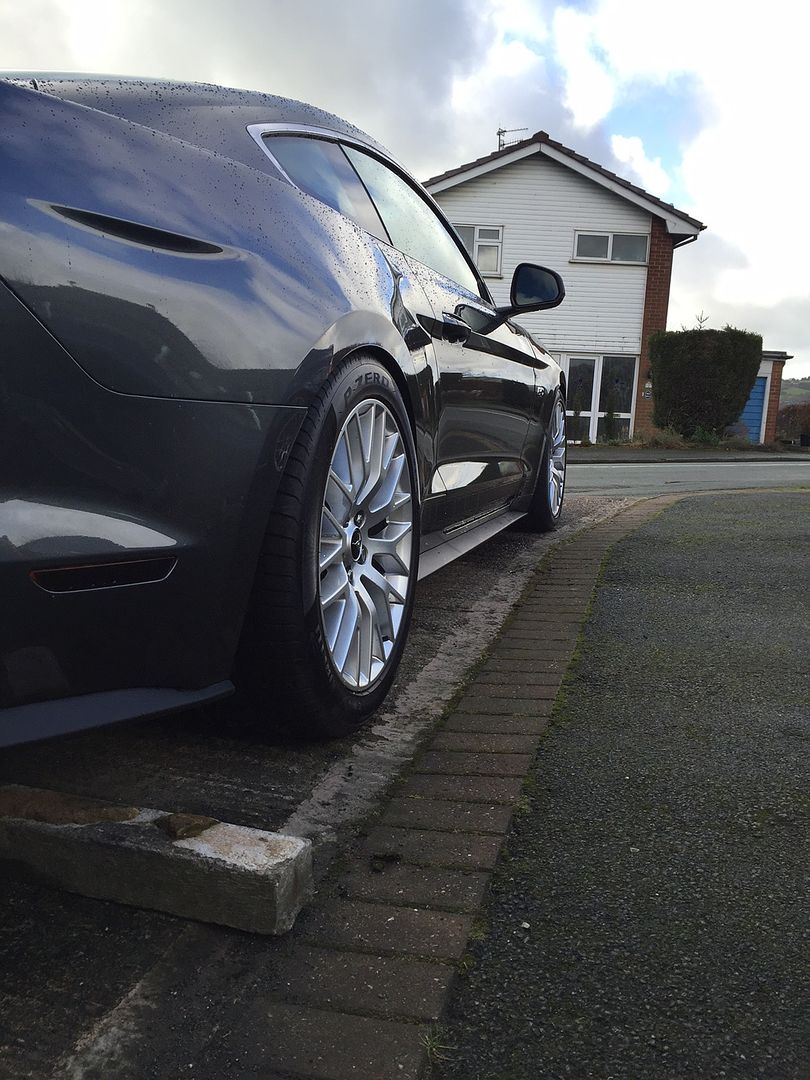
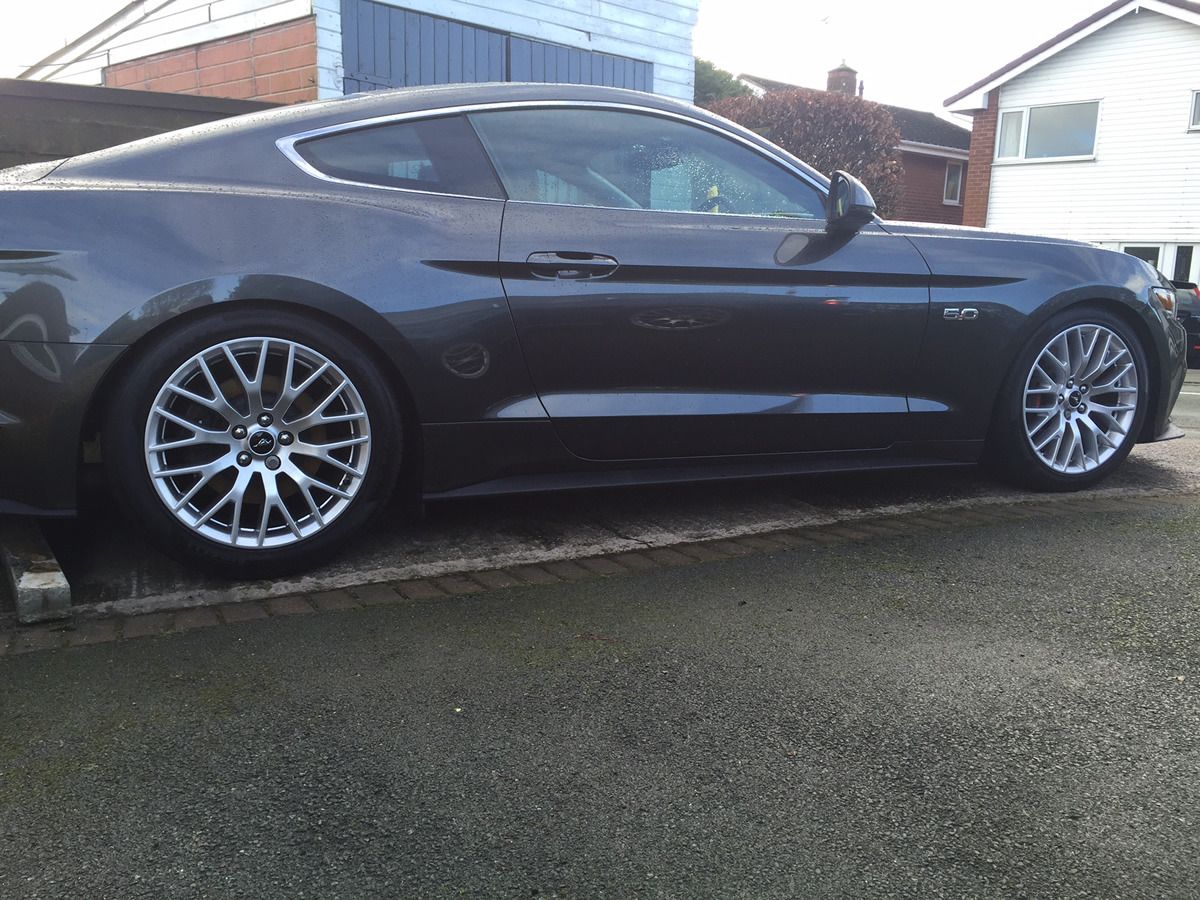
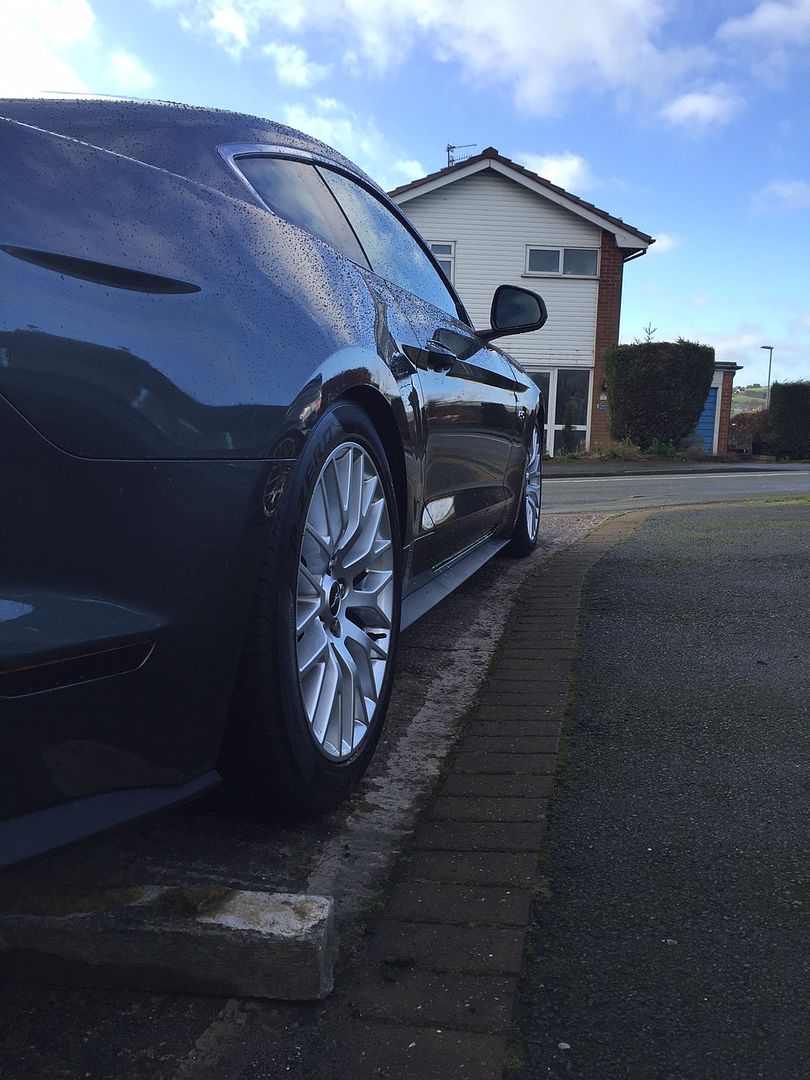
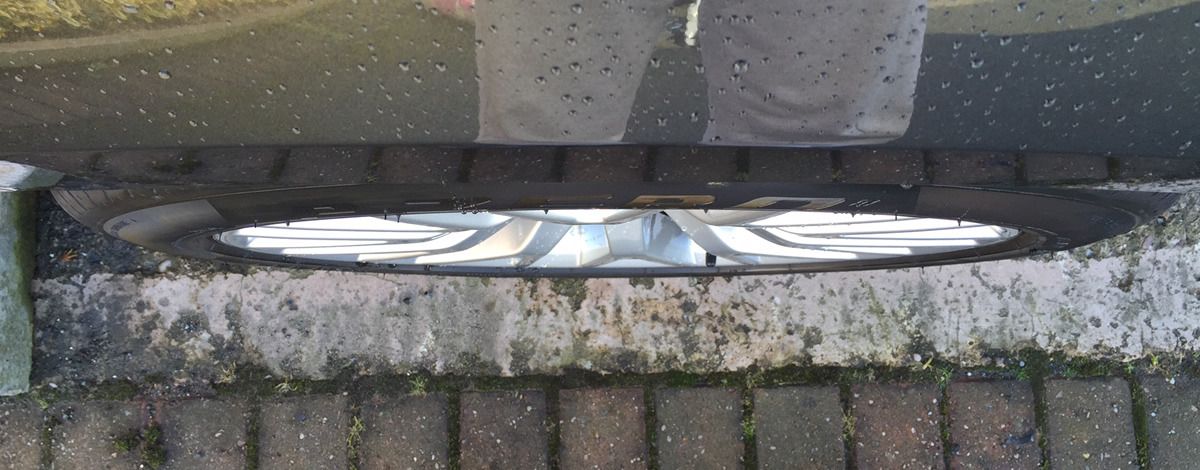
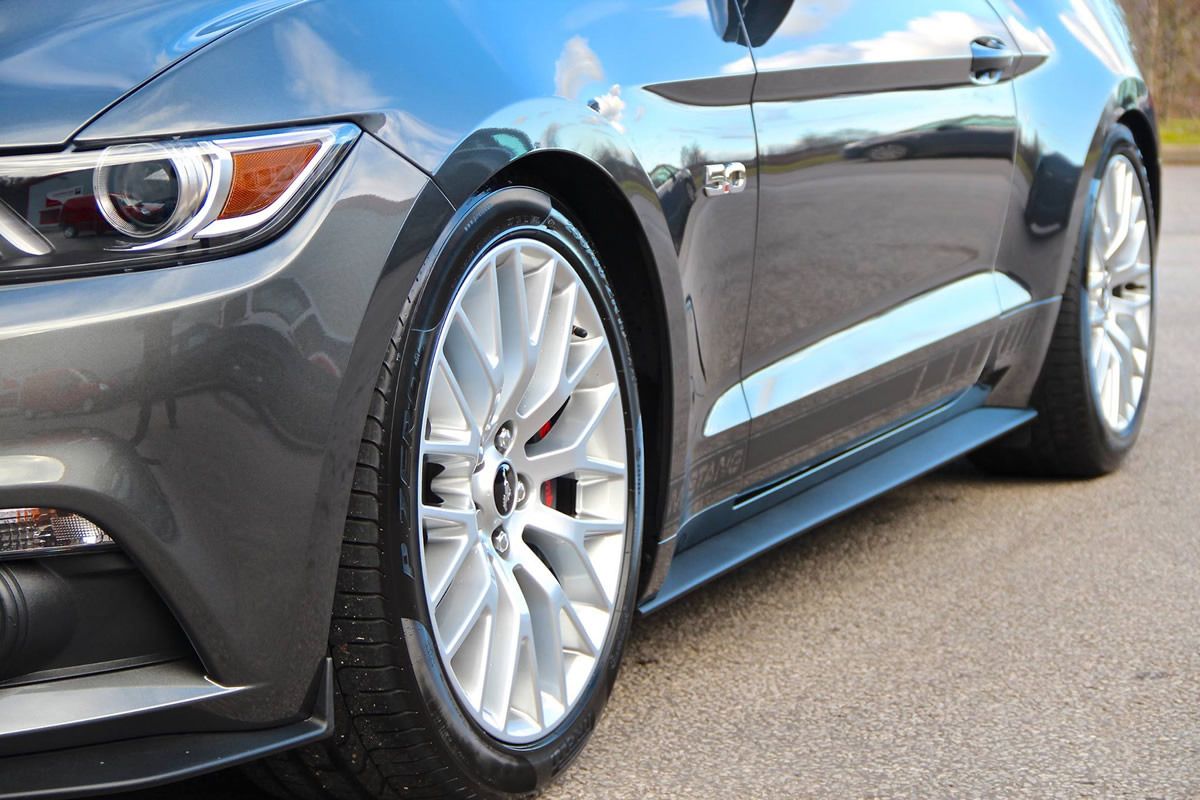
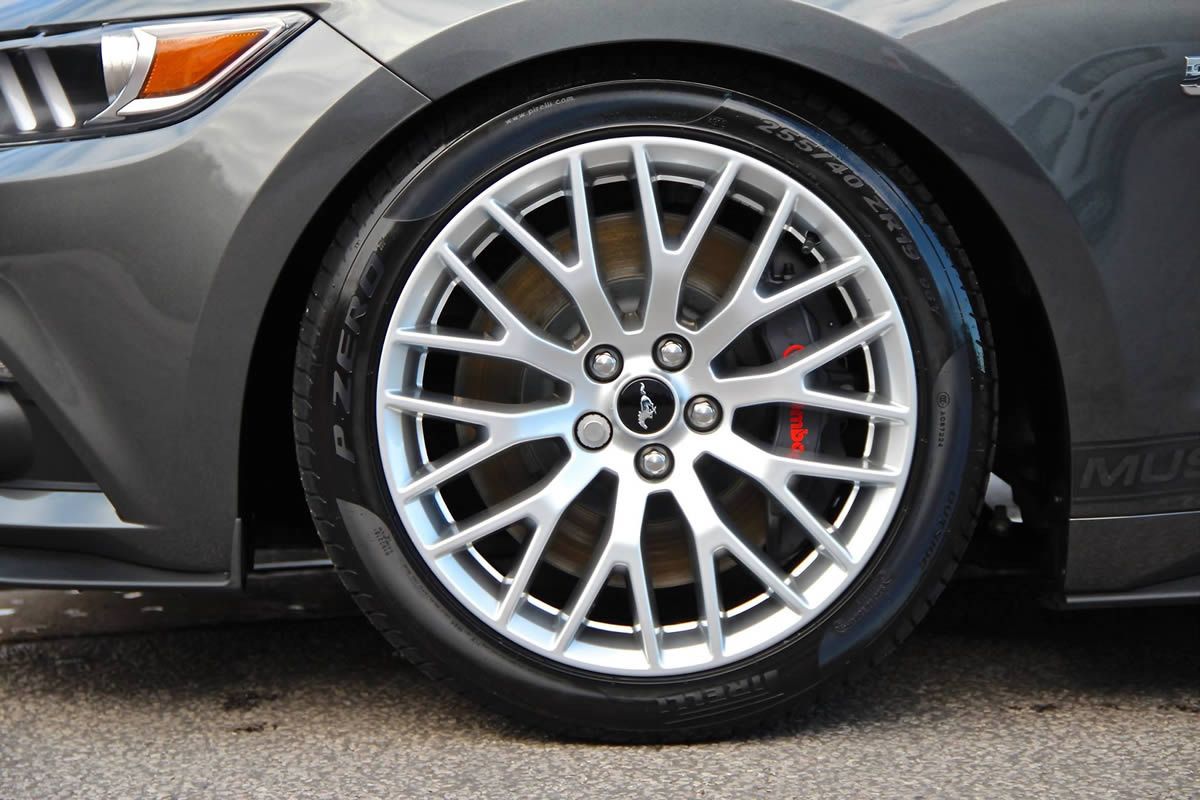
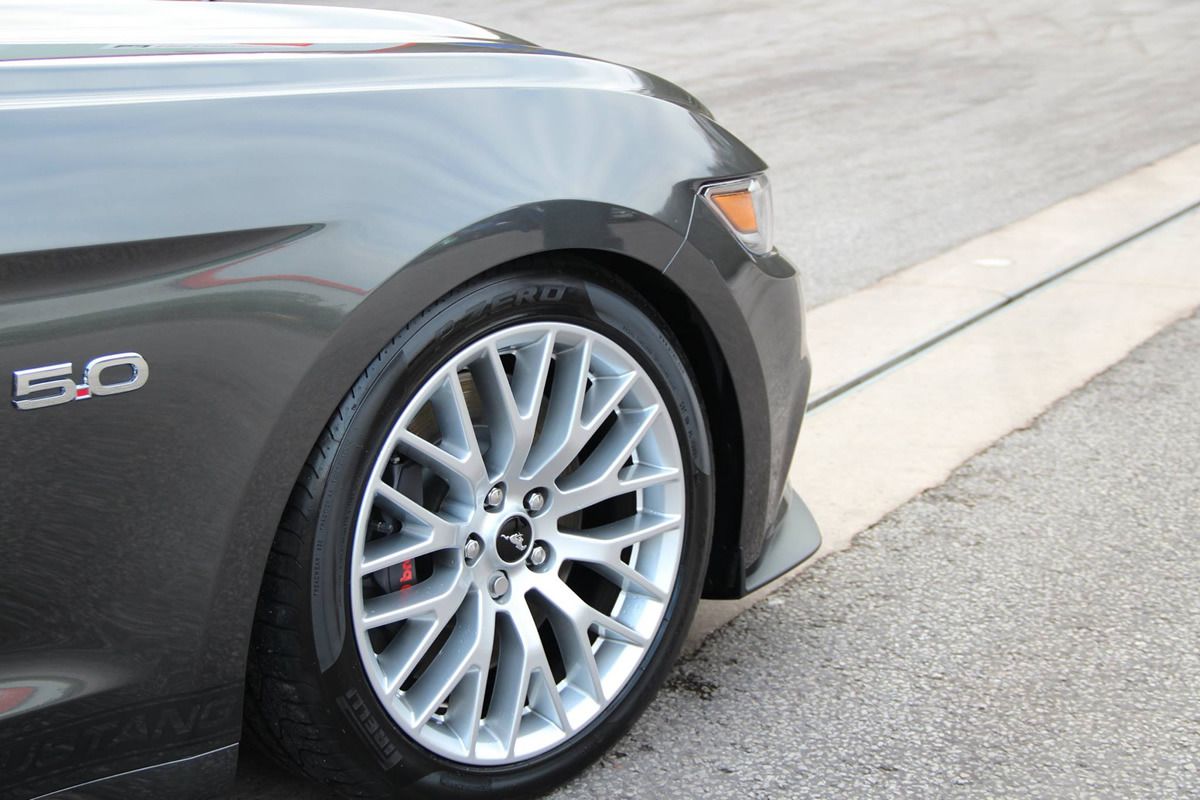
[size=6]The poke or lack off[/size]
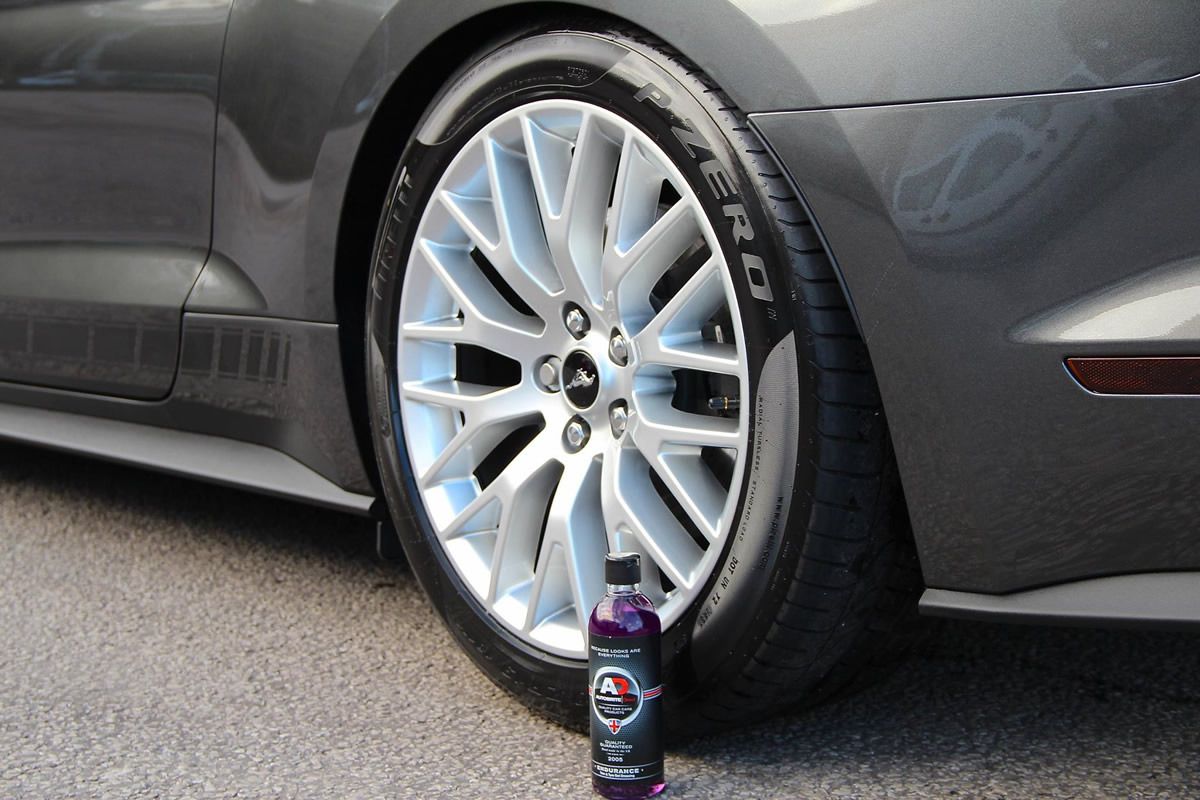
[size=4]Front Wheel[/size]
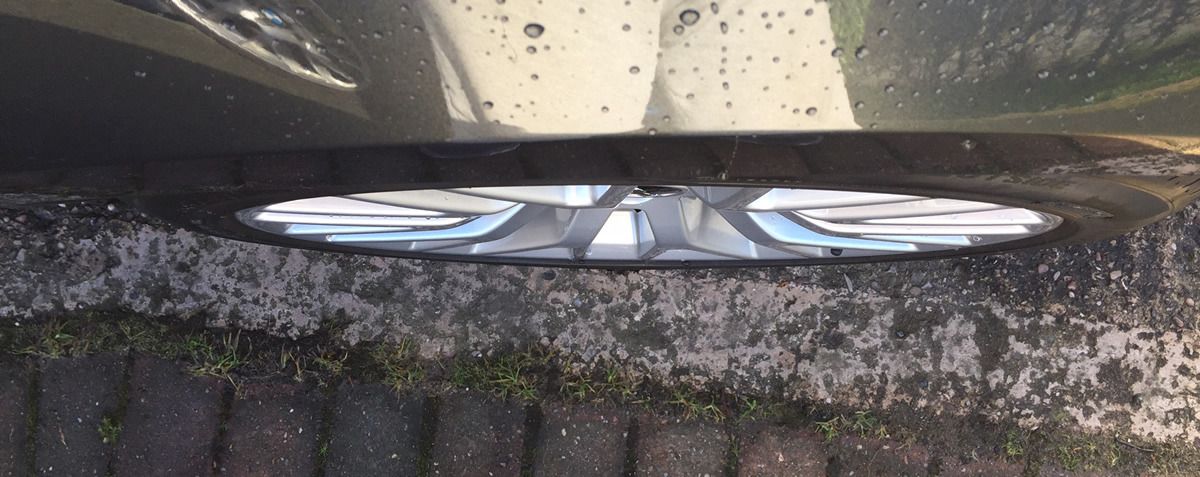
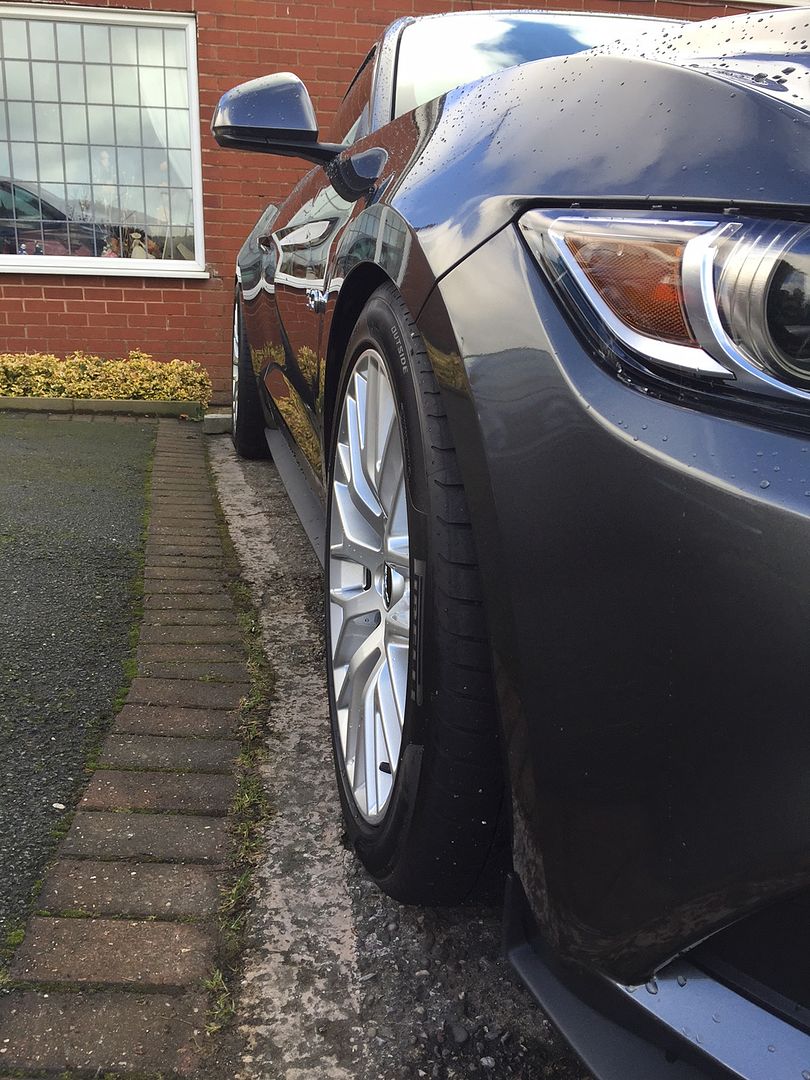

[size=4]Rear Wheel[/size]
Trust me after seeing car with 23mm spacers fitted I did not want to remove them, what a transformation, but for now they are off until my mud flaps arrive.
I think 23mm is absolutely spot on for the front, there is no poke and it looks just right, 20mm would also look spot on I imagine as well and 25mm will also work just fine in the front. So am happy with 23mm!
In the rear for me 23mm is too much, that is quite a lot of poke and I am sure they would also rub on bumpier roads or aggressive driving though a lot of US guys report no issues as such. However I shall grab myself some 15mm Eibach hubcentric spacers for the rear as I think 15mm will be pretty much spot on.
Absolutely love the look, cannot wait to get the spacers and mud flaps as it transforms the look from a heavy looking car to more what is should be a muscle/sports look. The rear also looks higher as well now, though I think if it was possible to get it 5-10mm higher would be absolute perfection, maybe possible with spring pads, but clutching at straws here. It is why we mod cars to get them looking how we want them to look, some will appreciate it and others will not, all that matters is the owner is happy.
After seeing the car like this I am now unsure about de-chroming and going darker wheels, it just looks so good now and how I had it pictured in my mind before I got the car.
So hope this helps others, front spacer 20-25mm and rear spacer 8-15mm will give a great look that is nearly flush with no poke.
I also measure ground clearance at the sides, after front wheels is 4.75" and just before rear wheels is just over 6", this car definitely has some rake going on.
Well the sun made an appearance today, so I trial fitted the spacers.
First photos are no spacer, then followed by many with spacers.
[size=6]NO SPACER![/size]
[size=6]23mm Spacer front & rear![/size]
[size=6]The poke or lack off[/size]
[size=4]Front Wheel[/size]
[size=4]Rear Wheel[/size]
Trust me after seeing car with 23mm spacers fitted I did not want to remove them, what a transformation, but for now they are off until my mud flaps arrive.
I think 23mm is absolutely spot on for the front, there is no poke and it looks just right, 20mm would also look spot on I imagine as well and 25mm will also work just fine in the front. So am happy with 23mm!
In the rear for me 23mm is too much, that is quite a lot of poke and I am sure they would also rub on bumpier roads or aggressive driving though a lot of US guys report no issues as such. However I shall grab myself some 15mm Eibach hubcentric spacers for the rear as I think 15mm will be pretty much spot on.
Absolutely love the look, cannot wait to get the spacers and mud flaps as it transforms the look from a heavy looking car to more what is should be a muscle/sports look. The rear also looks higher as well now, though I think if it was possible to get it 5-10mm higher would be absolute perfection, maybe possible with spring pads, but clutching at straws here. It is why we mod cars to get them looking how we want them to look, some will appreciate it and others will not, all that matters is the owner is happy.
After seeing the car like this I am now unsure about de-chroming and going darker wheels, it just looks so good now and how I had it pictured in my mind before I got the car.
So hope this helps others, front spacer 20-25mm and rear spacer 8-15mm will give a great look that is nearly flush with no poke.
I also measure ground clearance at the sides, after front wheels is 4.75" and just before rear wheels is just over 6", this car definitely has some rake going on.
Hi there
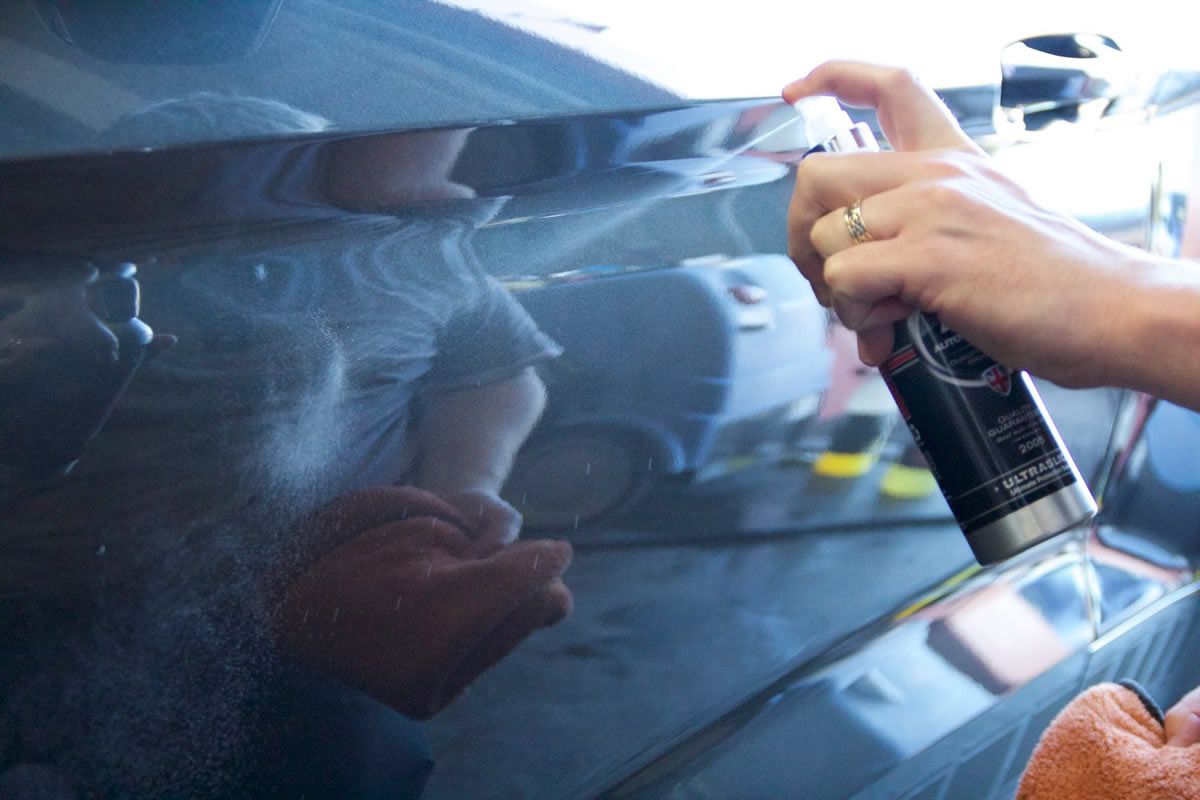
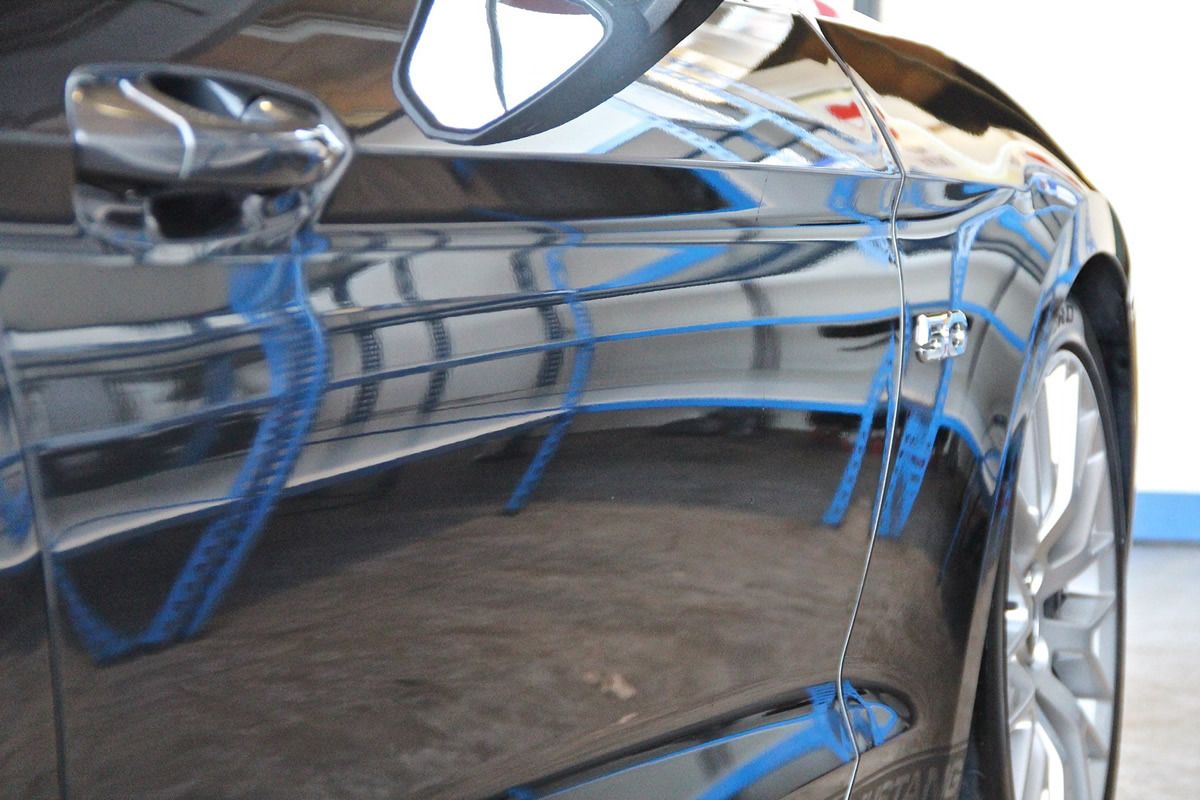
OK as it seems people stalk me, as pointed out above I was indeed at autobrite today, but not for a detail, because as already mentioned Ford did a great job of preparing the car and did not swirl or mar the paint work.
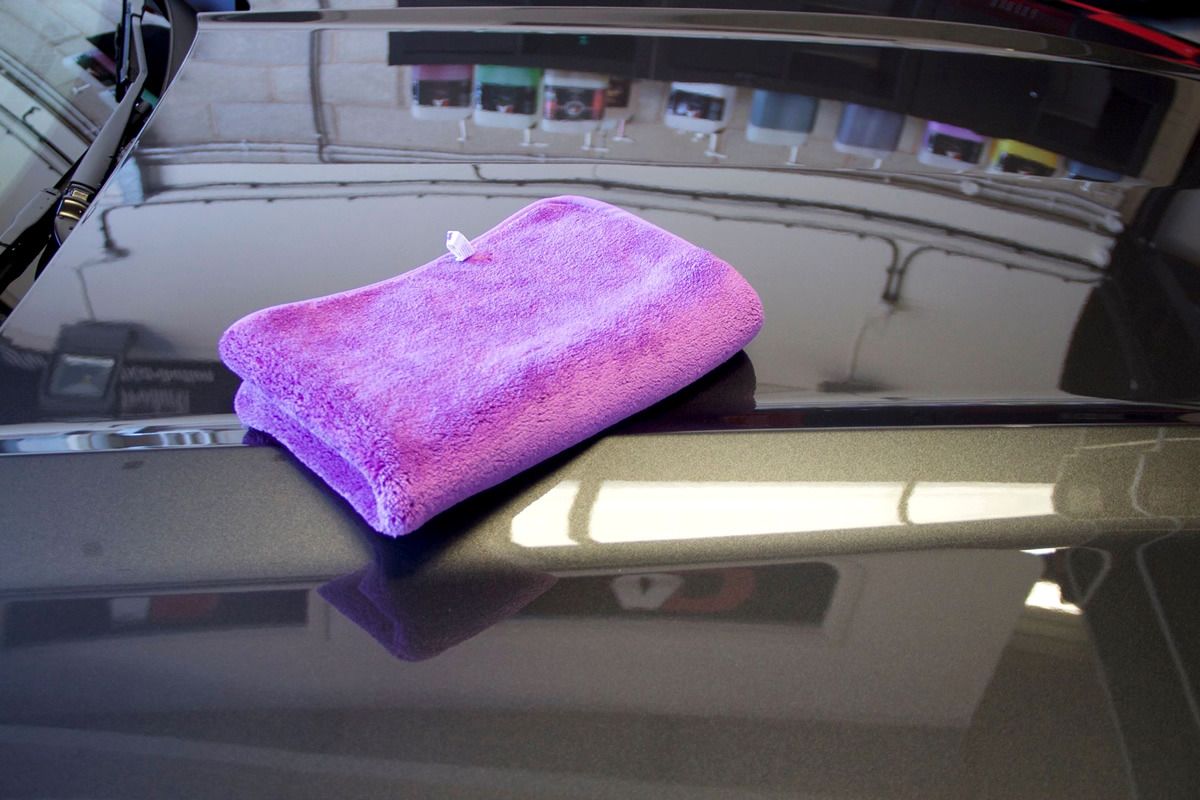
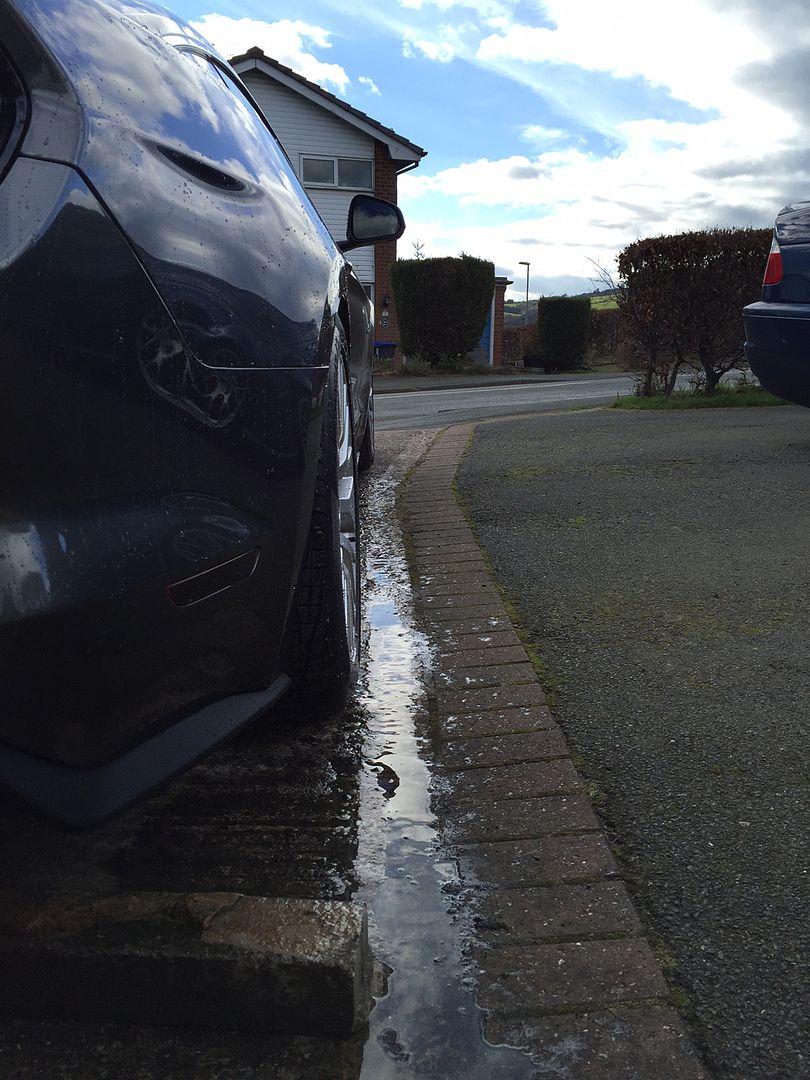
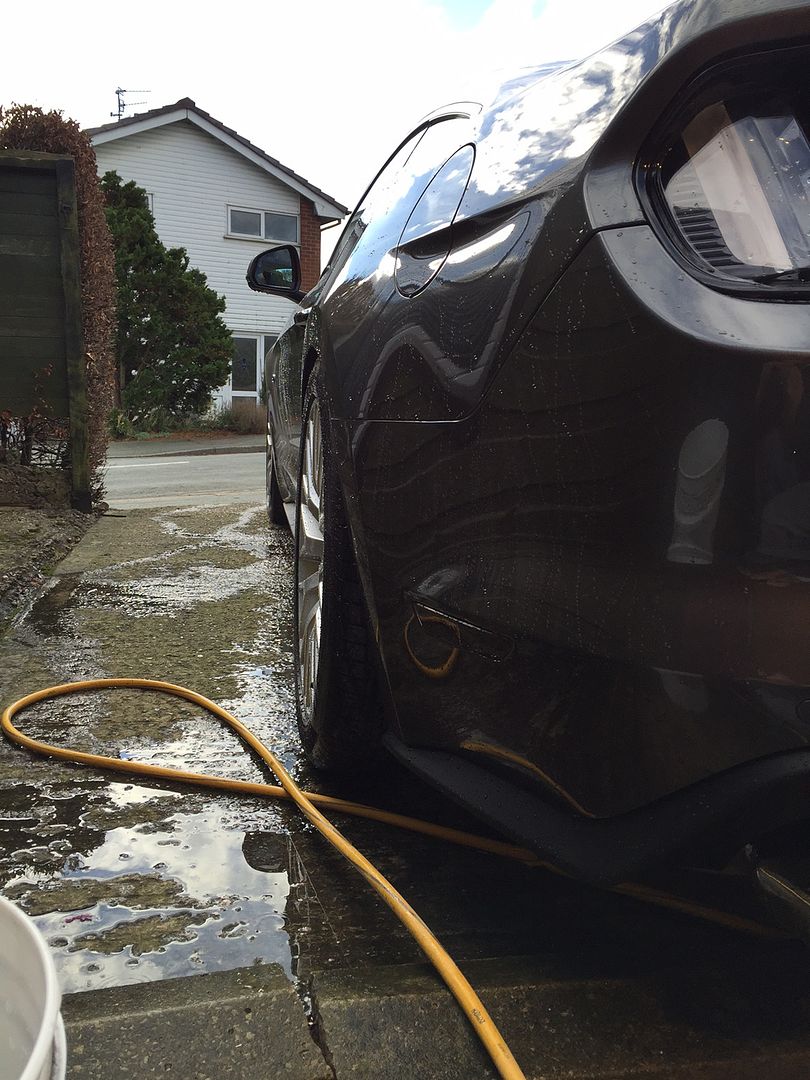
A week ago I spotted on Autobrite's facebook page a Range Rover done in Autograph car wax, £85 per small pot and I asked how much they would charge to essentially clean my car exterior and add a layer of this wax, they said it is around 2hr work and would be £60, absolute bargain I said. Perfect for me as I want my paint to stay swirl free so I want to avoid waxing myself.
I took the car today at lunch time, they got too work, bad news we have no Autograph, so instead for no extra charge we shall use our best highest quality shine and durable wax we have "Legacy" at over £200 per pot.
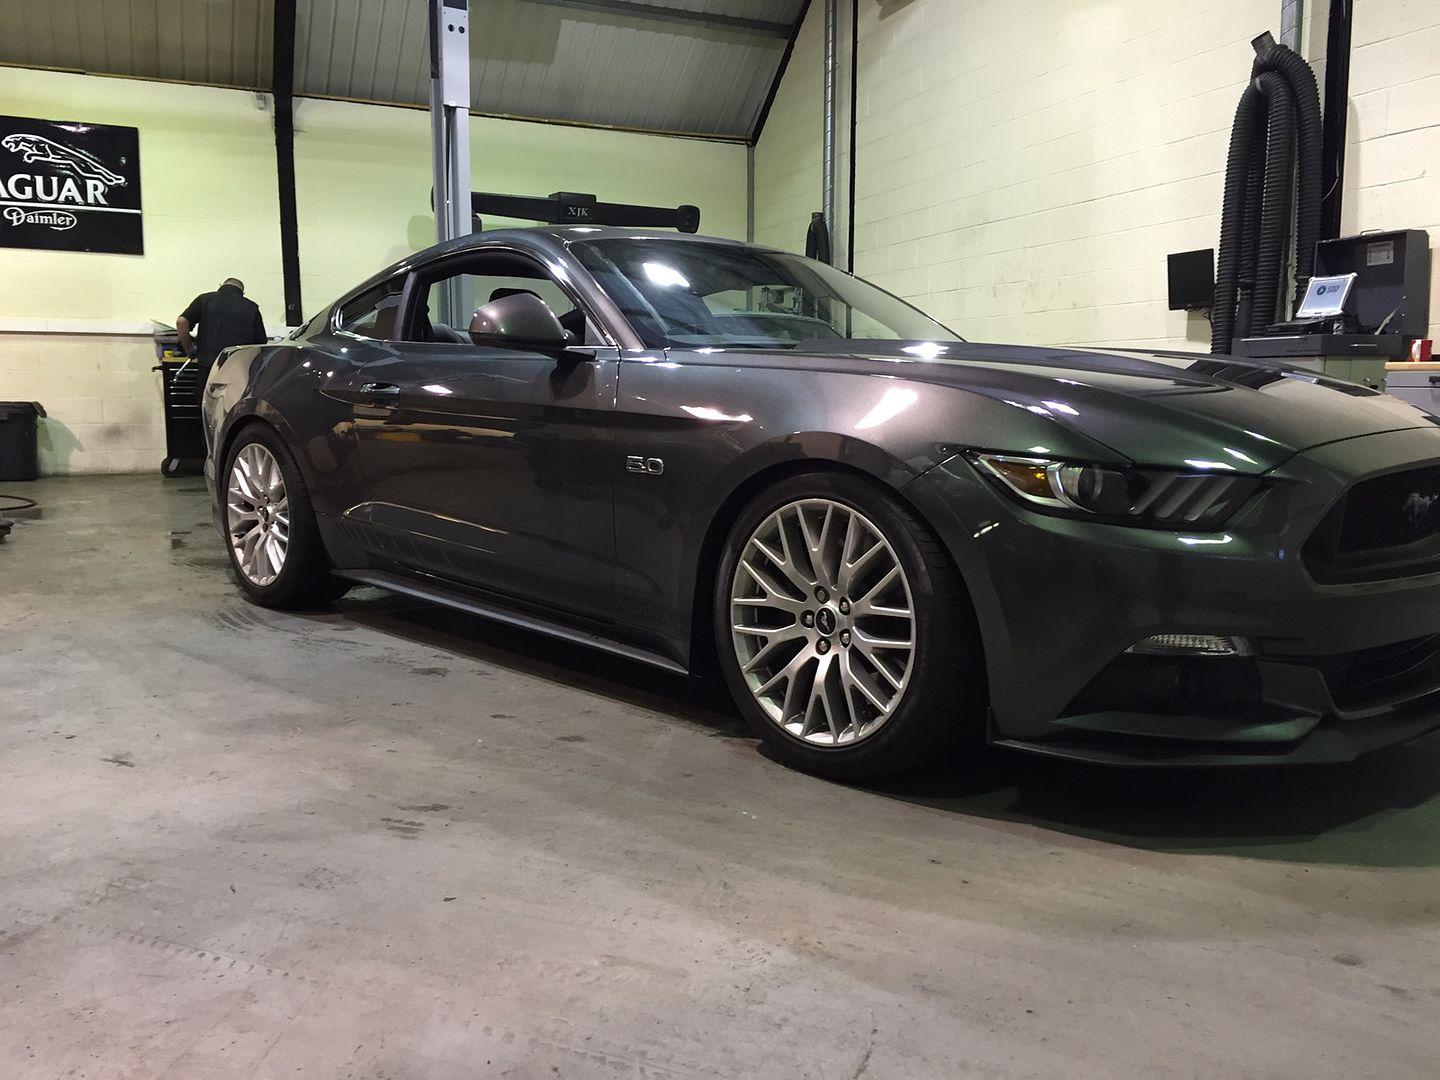
A quick couple of photos:
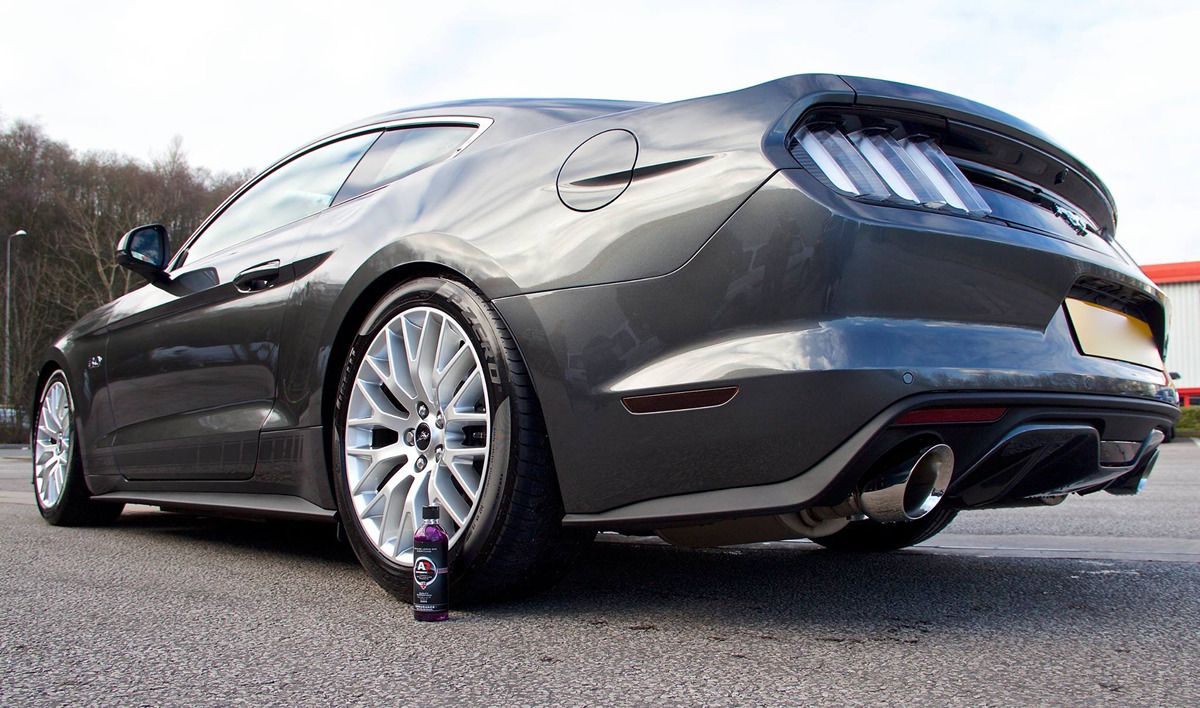
They did a full photoshoot and video of the car as well, the above are from Facebook so I shall re-post some proper full quality images when the owner from Autobrite emails them over to me.
In short the plan is to take it to them every 6 months for this treatments, because in short it makes perfect sense, so September for Abyss sealant (better for winter) and March for Legacy Wax. At £60 for a solid couple hours work by a professional using the best products is great value.
Love the way the car looks, they also said to bring the car back with the spacers fitted and wheels done in dark grey and they will do a new photoshoot, but on a sunny day.
They also confirmed it was one of the best paint finishes they have seen on a brand new car, really impressive stuff!
OK as it seems people stalk me, as pointed out above I was indeed at autobrite today, but not for a detail, because as already mentioned Ford did a great job of preparing the car and did not swirl or mar the paint work.
A week ago I spotted on Autobrite's facebook page a Range Rover done in Autograph car wax, £85 per small pot and I asked how much they would charge to essentially clean my car exterior and add a layer of this wax, they said it is around 2hr work and would be £60, absolute bargain I said. Perfect for me as I want my paint to stay swirl free so I want to avoid waxing myself.
I took the car today at lunch time, they got too work, bad news we have no Autograph, so instead for no extra charge we shall use our best highest quality shine and durable wax we have "Legacy" at over £200 per pot.
A quick couple of photos:
They did a full photoshoot and video of the car as well, the above are from Facebook so I shall re-post some proper full quality images when the owner from Autobrite emails them over to me.
In short the plan is to take it to them every 6 months for this treatments, because in short it makes perfect sense, so September for Abyss sealant (better for winter) and March for Legacy Wax. At £60 for a solid couple hours work by a professional using the best products is great value.
Love the way the car looks, they also said to bring the car back with the spacers fitted and wheels done in dark grey and they will do a new photoshoot, but on a sunny day.
They also confirmed it was one of the best paint finishes they have seen on a brand new car, really impressive stuff!
Here is a few more of the picture that Autobrite took of the car today.
They have agreed that once spacers are fitted and the alloys are re-coloured to gunmetal to take it back and they will take some more photos for me.


Am over the moon with it, can't wait to get the spacers on it, to finish it off!
They have agreed that once spacers are fitted and the alloys are re-coloured to gunmetal to take it back and they will take some more photos for me.
Am over the moon with it, can't wait to get the spacers on it, to finish it off!
HI there
Today I fitted the Eibach 15mm hubcentric rear spacer. After trial fitting 23mm spacers on the rear there was too much poke for my liking and I feel 20mm would also be poking too much. As such I decided to give 15mm a go, here is a link to the spacers I purchased:
http://www.ebay.co.uk/itm/Eibach-15mm-Pro-Wheel-Sp...
These spacers are the best design I have come across as they weigh less and are in my view safer, not only that there is no issue with torquing the nuts to the full 148lb/ft as stated in the hand book.
However fitting this type of spacer is not the usual five minute job, give yourself an hour per side and take your time.
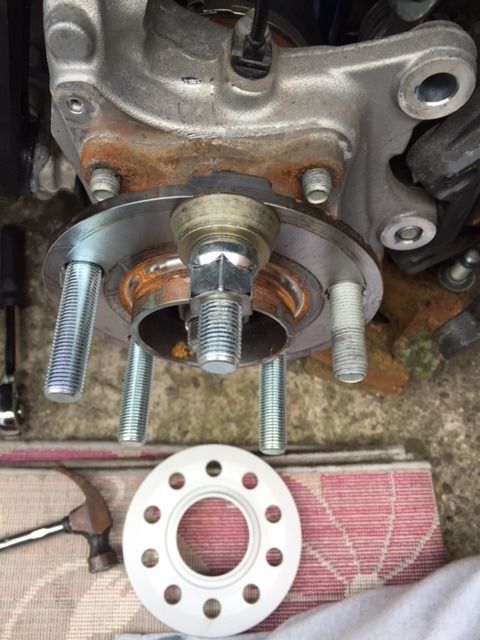
[size=6]DIY Guide![/size]
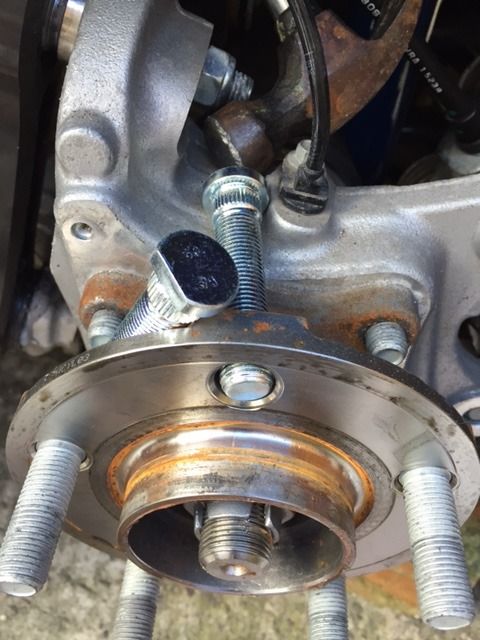
1. Start by jacking the car and removing the wheel (21mm socket)
2. Remove brake caliper, this is hardest part as it is hard to get a big wrench/socket in the wheel well, so patience needed. (18mm socket)
3. Remove the splash guard, by undoing the three 8mm bolts
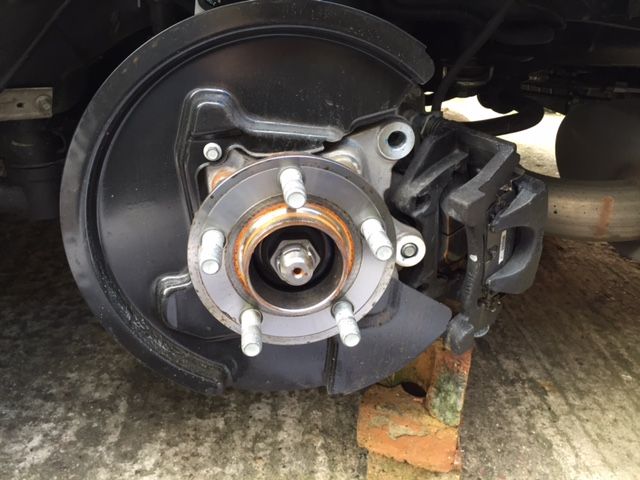
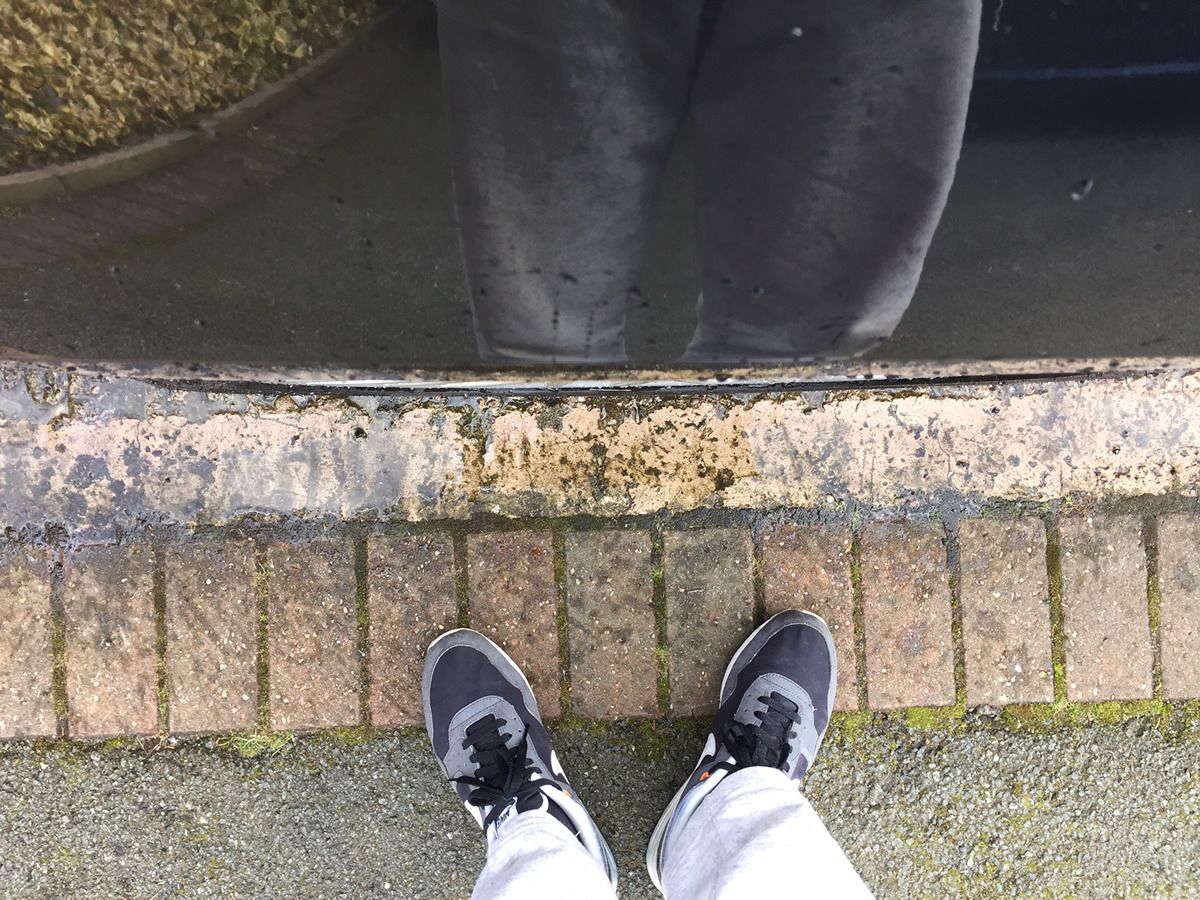
4. With it removed be sure to support the calipers weight, I used some bricks!
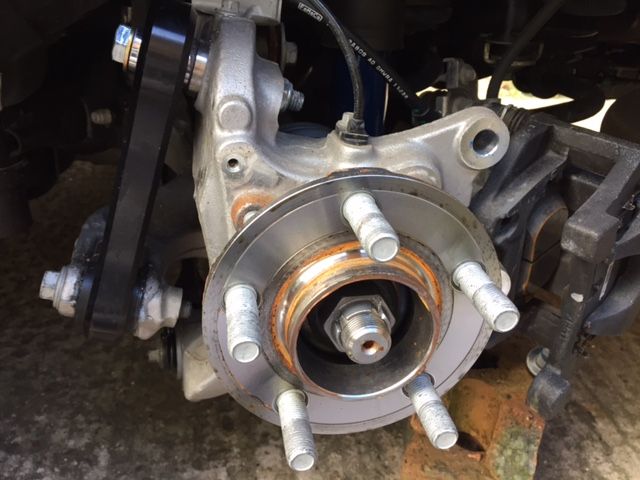
5. Now remove the old studs one at a time by hitting with a small metal hammer, no need to go insane, just moderate force hits will do it, also put a 14mm nut on the bolts and hit that bolt with the hammer to preserve the threads on the stock studs.
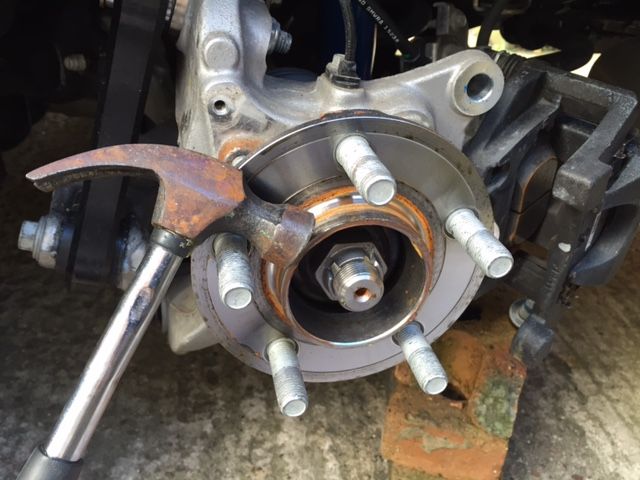
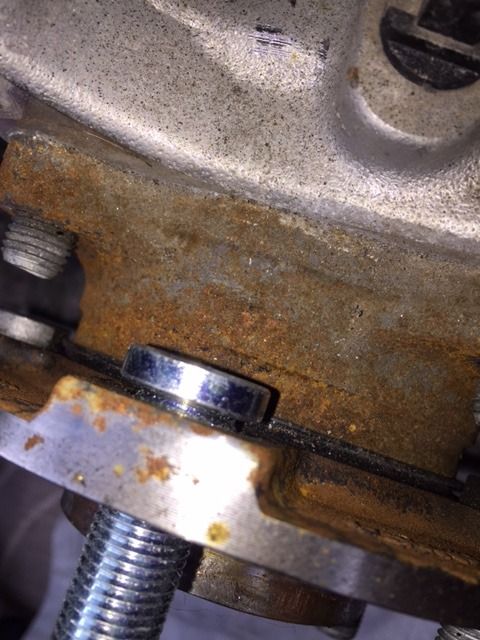
6. Once the stud is out, put the new longer stud in place, note you will only get the studs in and out between the 11-12o'clock position and they will go in with gentle tapping, if they are not just rotate the hub a couple of mm and they will just tap into place.
7. Hammer the stud a little into the wheel hub, again using light force just to get the stud started.
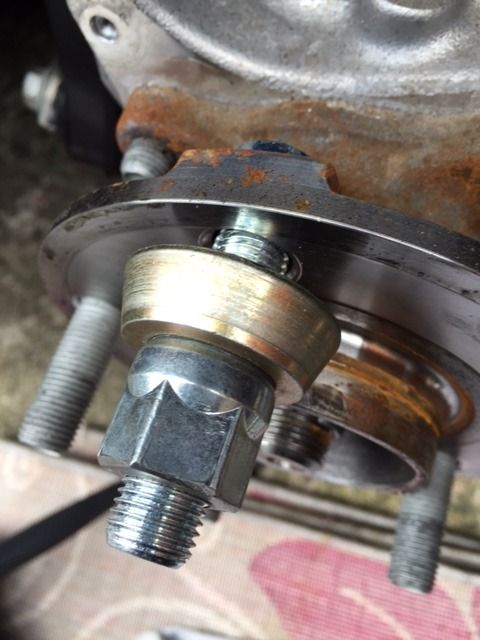
8. Then with a tool I made, old wheel nut with top taken off and a larger washing, thread this onto the stud until tight to pull stud all the way through and then remove the hand made tool.
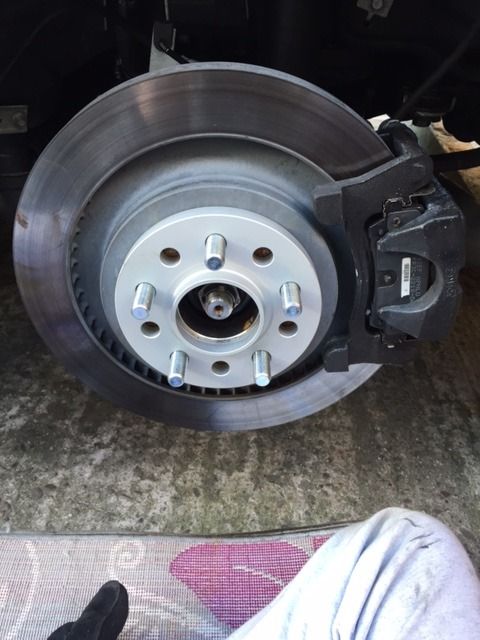
9. New spacer and new studs show time!
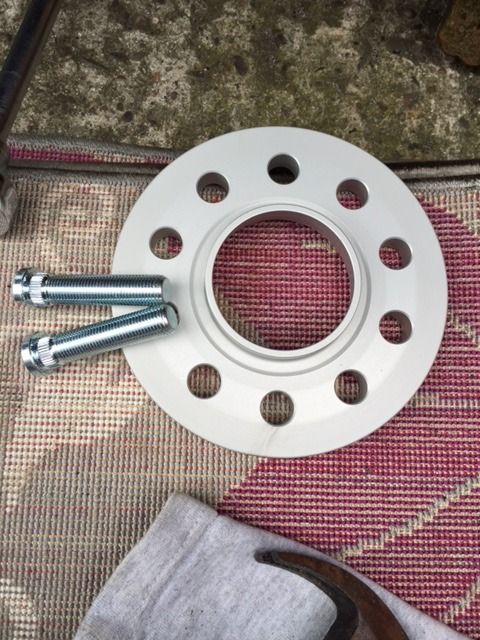
10. Nearly done!
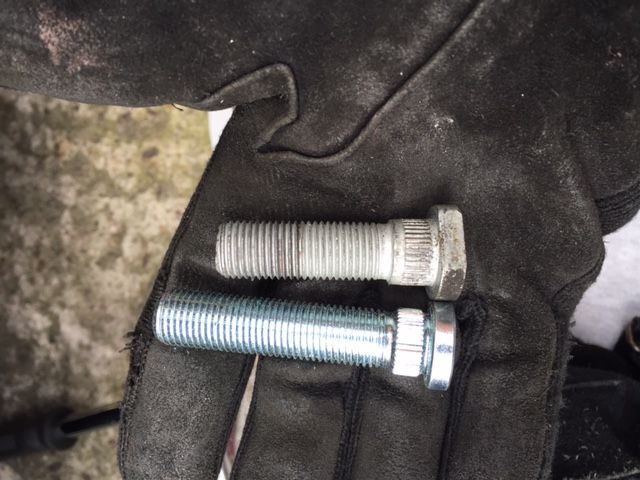
11. Comparison old and new studs, 15mm spacer, so 15mm longer studs.
12. Finished!
13. Notes use blue loctite on splash shield and caliper bolts, splash shield bolts are just nipped up, caliper bolts give them everything you got. Put wheel back on, tighten, let car down, torque wheels, go for drive, re-torque wheels!
[size=6]Results![/size]
Pictures speak volumes:

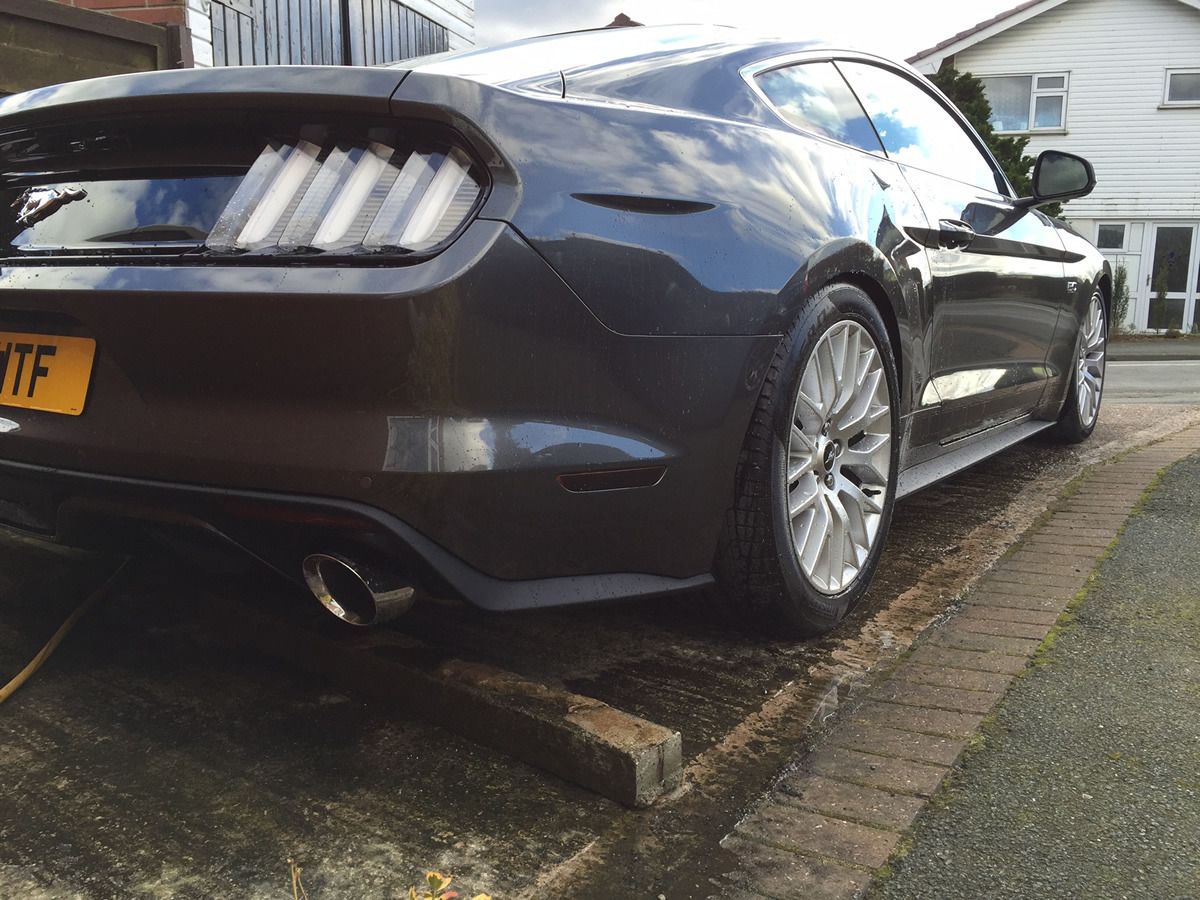
The results are perfect, exactly what I wanted, there is no poke and the wheels are as flush to the body work your going to get without having poke. Car now looks higher in the rear and no longer looks like the suspension is collapsing in on it self, really please with the results and I far prefer this type of spacer that just comes with longer studs.
Unfortunately Eibach 20mm and 25mm design seem to go back to the design of attaching to the hub using current studs and having new studs in place, it is perfectly safe but I far prefer the idea of there only being one set of bolts to tighten (wheel to hub) rather than two sets (spacer to hub, wheel to spacer).
Once the mud flaps arrive I shall install the front 23mm spacers I have!
Driving impressions!
Car has not changed in anyway, all I would say is the car has a touch more understeer and more grip in the rear, which is what you would expect when just widening the rear track by 30mm. This car as standard has slight understeer towards limits, now the understeer is a little more noticable. Once I fit the 23mm (46mm track widening) the cars balance should be a bit better than factory, with just very slight understeer, we shall see.
But for me these 15mm spacers give the perfect no poke look, they weigh less and are safer. A perfect fit for GT PP cars, only downside being they take longer to install.
Today I fitted the Eibach 15mm hubcentric rear spacer. After trial fitting 23mm spacers on the rear there was too much poke for my liking and I feel 20mm would also be poking too much. As such I decided to give 15mm a go, here is a link to the spacers I purchased:
http://www.ebay.co.uk/itm/Eibach-15mm-Pro-Wheel-Sp...
These spacers are the best design I have come across as they weigh less and are in my view safer, not only that there is no issue with torquing the nuts to the full 148lb/ft as stated in the hand book.
However fitting this type of spacer is not the usual five minute job, give yourself an hour per side and take your time.
[size=6]DIY Guide![/size]
1. Start by jacking the car and removing the wheel (21mm socket)
2. Remove brake caliper, this is hardest part as it is hard to get a big wrench/socket in the wheel well, so patience needed. (18mm socket)
3. Remove the splash guard, by undoing the three 8mm bolts
4. With it removed be sure to support the calipers weight, I used some bricks!
5. Now remove the old studs one at a time by hitting with a small metal hammer, no need to go insane, just moderate force hits will do it, also put a 14mm nut on the bolts and hit that bolt with the hammer to preserve the threads on the stock studs.
6. Once the stud is out, put the new longer stud in place, note you will only get the studs in and out between the 11-12o'clock position and they will go in with gentle tapping, if they are not just rotate the hub a couple of mm and they will just tap into place.
7. Hammer the stud a little into the wheel hub, again using light force just to get the stud started.
8. Then with a tool I made, old wheel nut with top taken off and a larger washing, thread this onto the stud until tight to pull stud all the way through and then remove the hand made tool.
9. New spacer and new studs show time!
10. Nearly done!
11. Comparison old and new studs, 15mm spacer, so 15mm longer studs.
12. Finished!
13. Notes use blue loctite on splash shield and caliper bolts, splash shield bolts are just nipped up, caliper bolts give them everything you got. Put wheel back on, tighten, let car down, torque wheels, go for drive, re-torque wheels!
[size=6]Results![/size]
Pictures speak volumes:
The results are perfect, exactly what I wanted, there is no poke and the wheels are as flush to the body work your going to get without having poke. Car now looks higher in the rear and no longer looks like the suspension is collapsing in on it self, really please with the results and I far prefer this type of spacer that just comes with longer studs.
Unfortunately Eibach 20mm and 25mm design seem to go back to the design of attaching to the hub using current studs and having new studs in place, it is perfectly safe but I far prefer the idea of there only being one set of bolts to tighten (wheel to hub) rather than two sets (spacer to hub, wheel to spacer).
Once the mud flaps arrive I shall install the front 23mm spacers I have!
Driving impressions!
Car has not changed in anyway, all I would say is the car has a touch more understeer and more grip in the rear, which is what you would expect when just widening the rear track by 30mm. This car as standard has slight understeer towards limits, now the understeer is a little more noticable. Once I fit the 23mm (46mm track widening) the cars balance should be a bit better than factory, with just very slight understeer, we shall see.
But for me these 15mm spacers give the perfect no poke look, they weigh less and are safer. A perfect fit for GT PP cars, only downside being they take longer to install.
Stig said:
Hi mate - I noticed from these pics (but may be the way they were taken?) that with the lowered springs you're running quite a bit of rear camber? Can this be dialled out?
I think you have a 1.25" drop - whereas the FRPP springs are supposed to be 1", but even then, camber will be quite quite evident?
Unlike the previous gen, I think the S550 sits nicely as standard in its arches - but obviously need to judge for sure once mine arrives (being loaded onto the boat next Tuesday
My car is setup for best road handling m8, as such factory rear camber recommendation is around -1.50 and I am actually at only -1.65 I think you have a 1.25" drop - whereas the FRPP springs are supposed to be 1", but even then, camber will be quite quite evident?
Unlike the previous gen, I think the S550 sits nicely as standard in its arches - but obviously need to judge for sure once mine arrives (being loaded onto the boat next Tuesday
Also ultralite springs drop the car 1.250" front and 1" rear, FRPP springs drop 1" front and around 0.5" rear or there abouts.
It all depends what you want but I went for best road handling and characteristics, if you want track handling or more stance just dial in more negative camber but at the expensive of road handling.
I did post my alignment sheet and settings for others a few pages back along with Ford's recommendations for stock GT PP and FRPP specification, my setting sit inbetween the two as the FRPP settings from Ford are more track settings rather than road.
Stig said:
Thanks mate - pleased to hear that the FRPP springs have less of a drop. 1" in front and 0.5" sounds ideal (and I prefer a higher rear - ooh err).
Placed a big order at Levittown yesterday (with Benny). Bit disappointed in Lethal these days - service not as good as it used to be Levittown creamed them on pricing for the FRPP parts too!
I had same issue with Lethal, was going to put $2000 worth of order there way but they would not quote me shipping until I paid for goods and they had them there to verify at which point I was like I am unwilling to take a gamble because you might want $1000 shipping.Placed a big order at Levittown yesterday (with Benny). Bit disappointed in Lethal these days - service not as good as it used to be
Levittown creamed them on pricing for the FRPP parts too!In the end I got everything from CJ Pony in their black Friday sale with a further 8% discount and a full palit of items shipped for only $500, was incredible value.
Hi there
Sorry for lack of updates here, as such here is what I've done in the past few weeks on the car:
Installed the RPI Stealth splash guards on Friday evening, very easy to do on the front as uses the OEM trim locators.
At the top they give you a clip but this causes a panel gap between splash guard and body work. So I ditched this and went with some number plate velcro I had, though double sided 3M tape would be a better solution but I used what I had, though the result is excellent.
They truly are Stealth simply because they are completely un-noticable and they lined up perfectly, a great product that will keep the paintwork protected. Not installed the rears yet as it is the fronts which are most needed.
HI there
Not really done an update for a week, but I fitted the 23mm front spacers last week which not only transformed the look but also dialled out the additional understeer the fitting of the rear 15mm spacers induced. The only downside if it exist is the car is maybe a hairs whisker slower to respond to steering inputs, but the rest is all positives as the cars balance is now spot on as front-end grip has improved. Infact the grip levels this car has in the dry are nothing short of mind boggling even more surprising considering the Pzero tyres are nothing special.
So today I fitted the remainder of my handling modifications, the larger anti-roll bars from the Ford Racing track kit I purchased.
We started at the rear and this was very easy to do, took about 45 minutes:

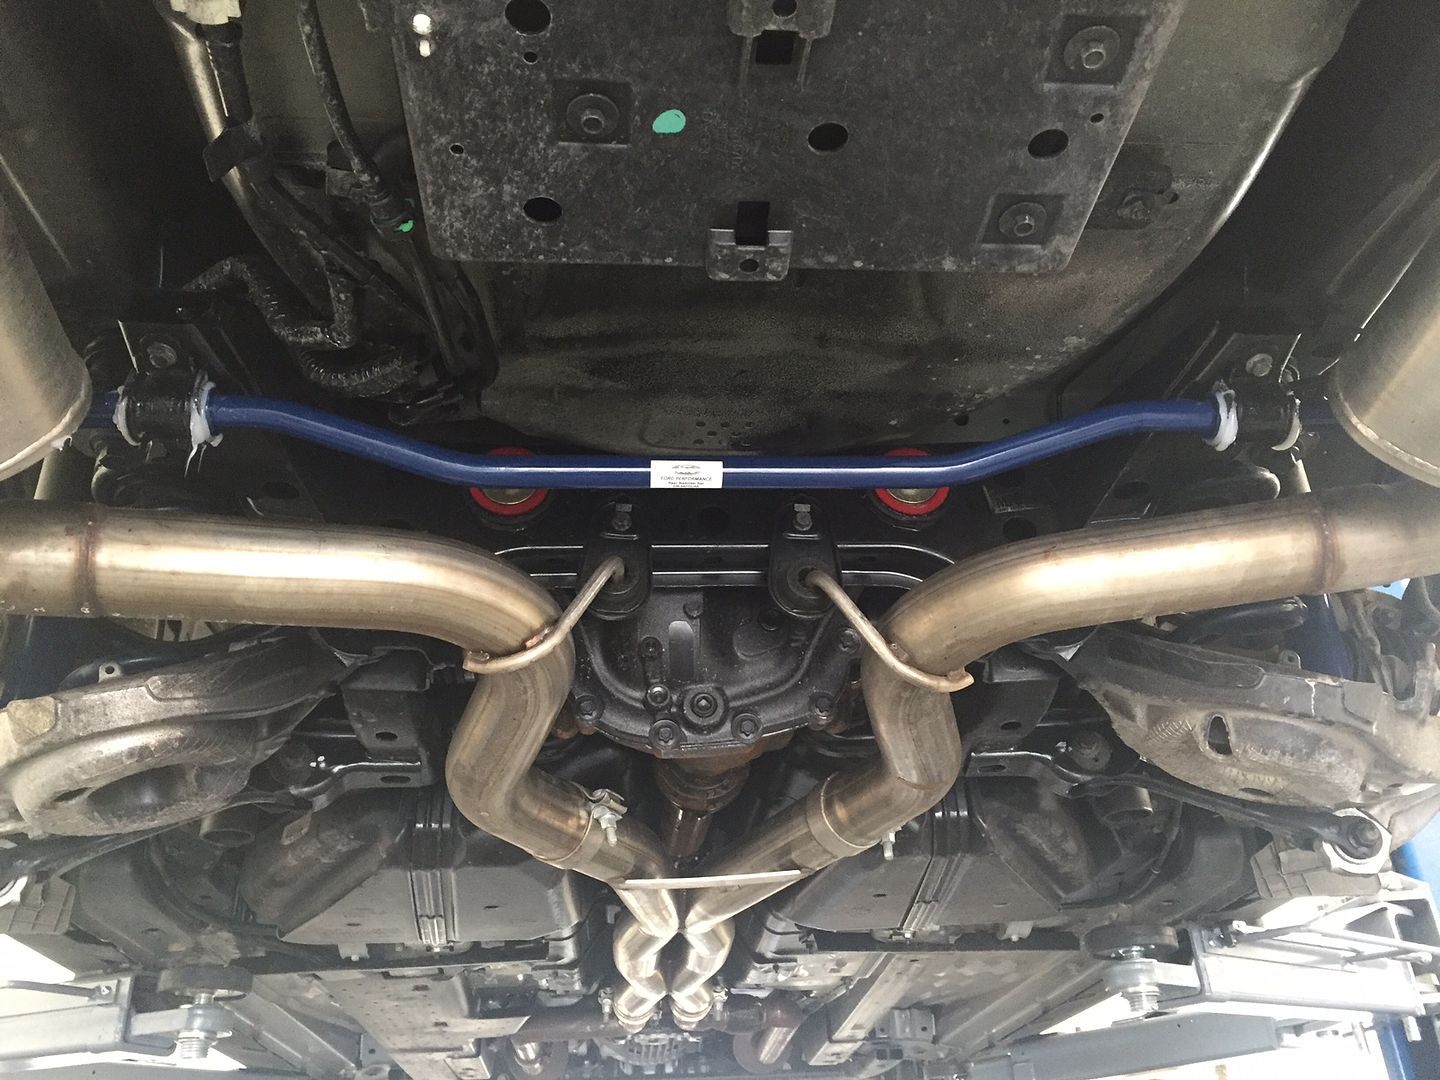
Rear stock GT PP bar is 22.5mm
Rear FRPP Race bar is 25.2mm installed on softest setting.
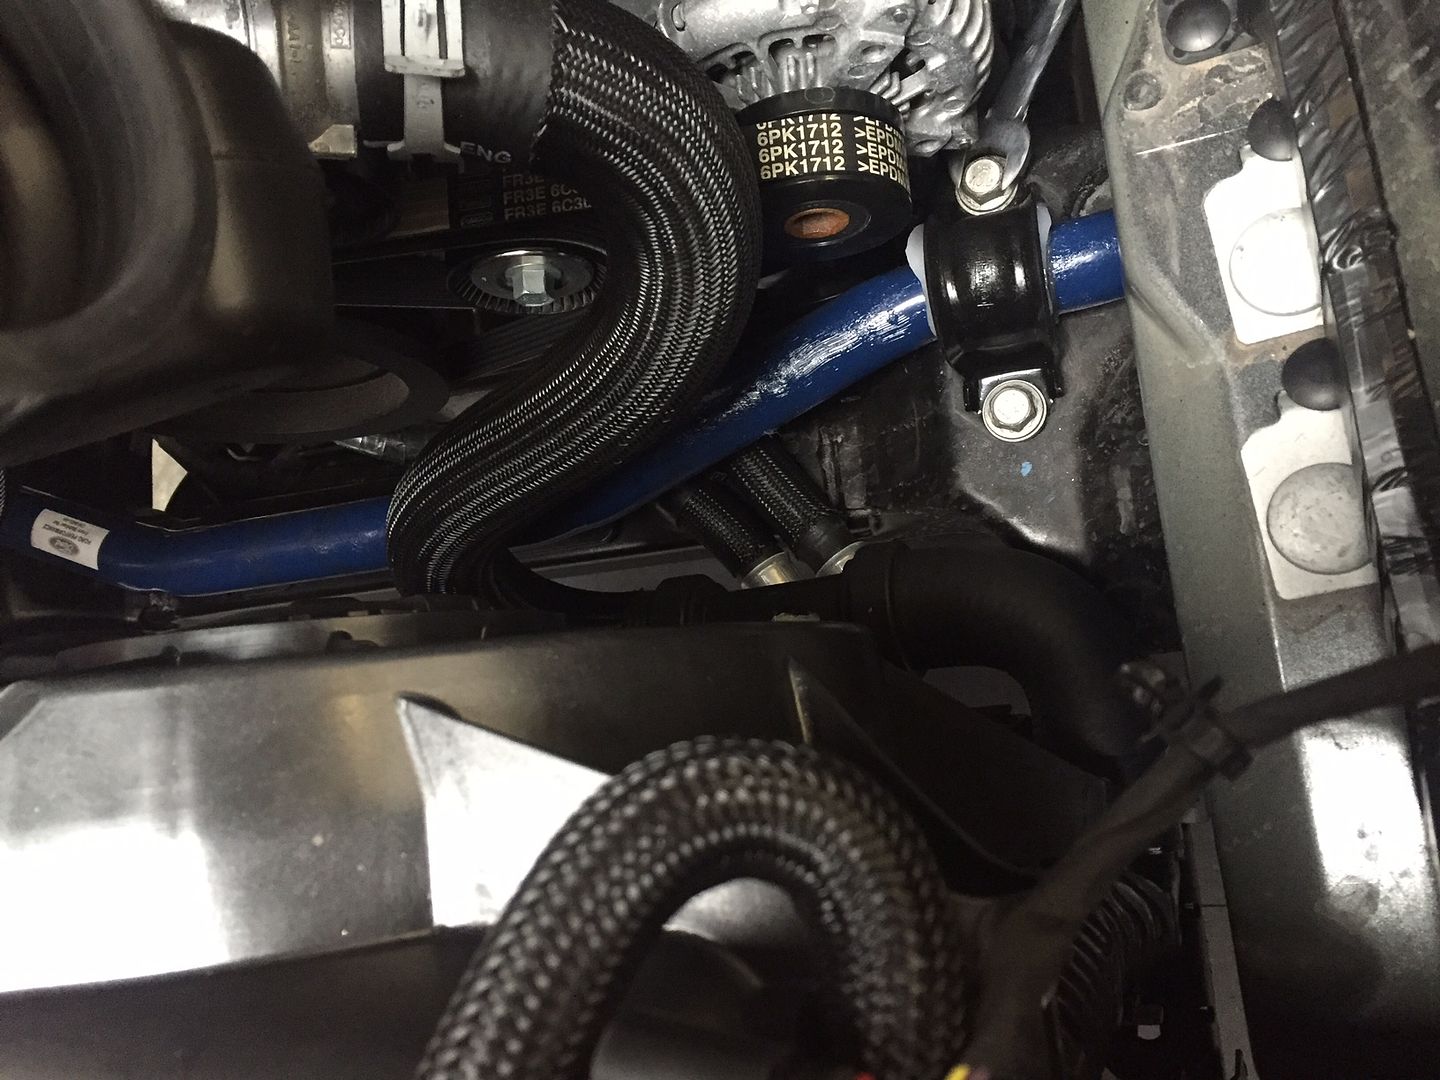
Then moved to the front, three bolts are undone from the top and the one under the alternator on the passenger side is undone with spanners from underneath. You then have to wriggle the bar out but it came out easier than expected.
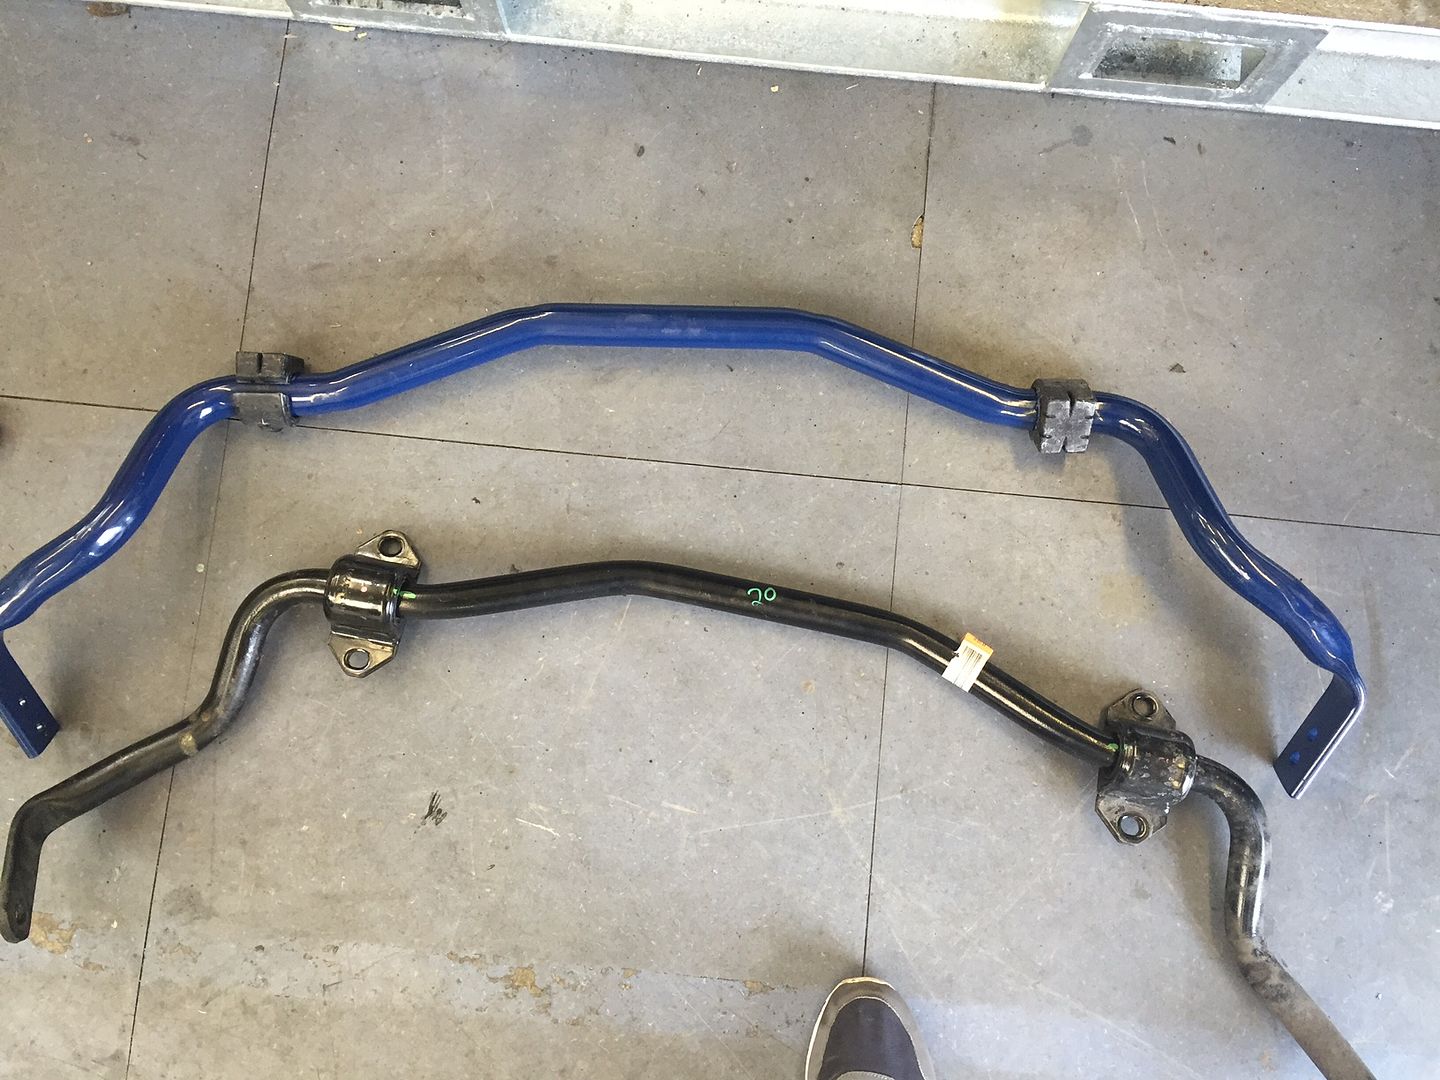
Front GT PP bar is 32mm
Front FRPP bar is 37mm set on softest setting.
The white stuff in the pictures is energy suspension lube, I like to use plenty.
Driving the car with these bars on have certainly eliminated body roll, car is now totally flat and my biggest worry was ride comfort, no fear as the ride comfort is un-changed.
So the car is flat, it changes direction better, they have certainly improved the already high grips levels even further and confidence level in the car is now much higher. The car is just so sure footed and the handling balance is spot on, get a little understeer, just add a little more lock and it will took in and the rear stays planted. Now on corner exit one has to try harder to break the rear loose and when it breaks away the car is hugely progressive and controllable, more so than the M3, its a joy.
I think on a smooth flowing track like Donnington the Mustang would be quicker than the 911 and even the M3, with the 911 only having it in the wet. I am rather shocked actually with the corner speeds this car can achieve and the grip it has in winter and on tyres I am not so fond off. Makes one wonder what the car will be truly capable off in warmer weather with wider better tyres.
So what is left?
Well when I lowered the car the springs dropped it a little to much in the back, though the addition of the spacers pretty much eliminated that look there was still a hint of reverse rake as the arch gap in the rear is marginally smaller than the front arch gap.
So I shall address this next week:

Ignore the springs, those are clutch assist springs, 35lb and I fitted one it fits perfect and clutch has all the feel of using no spring, but pedal effort is not as much and pedal returns right to the top.
More importantly is the two purple coloured disc, these are spring spacers and one something I learned from BMW E36 and E46 owners where BMW would sell the spring pad/isolator in 5mm, 10mm or 15mm to adjust the rear height. So I have got a pair of 8mm spring spacers, they will fit between the spring isolator pad and body. 8mm however does not translate into an 8mm increase in height because the spring is not on the shock in the Mustang, so there is a leverage ratio, so an 8mm pad should give me a 10-12mm height increase, just shy of 1/2 inch. This will give the car the rake look I want as rear arch gap will match or be greater than that of front. It wont impact ride and handling wise the impact would be that of rising rear ride height with coilover so better turn-in and more bias towards oversteer, but I probably won't be able to notice.
Then all is left handling wise, though its more for looks is the front splitter and Shelby or Steeda rear track wing, they will add downforce but most of all look really nice. Then of course some lighter, wider wheels with better tyres will have all handling and aesthetics completely. Time for power then!
Not really done an update for a week, but I fitted the 23mm front spacers last week which not only transformed the look but also dialled out the additional understeer the fitting of the rear 15mm spacers induced. The only downside if it exist is the car is maybe a hairs whisker slower to respond to steering inputs, but the rest is all positives as the cars balance is now spot on as front-end grip has improved. Infact the grip levels this car has in the dry are nothing short of mind boggling even more surprising considering the Pzero tyres are nothing special.
So today I fitted the remainder of my handling modifications, the larger anti-roll bars from the Ford Racing track kit I purchased.
We started at the rear and this was very easy to do, took about 45 minutes:
Rear stock GT PP bar is 22.5mm
Rear FRPP Race bar is 25.2mm installed on softest setting.
Then moved to the front, three bolts are undone from the top and the one under the alternator on the passenger side is undone with spanners from underneath. You then have to wriggle the bar out but it came out easier than expected.
Front GT PP bar is 32mm
Front FRPP bar is 37mm set on softest setting.
The white stuff in the pictures is energy suspension lube, I like to use plenty.
Driving the car with these bars on have certainly eliminated body roll, car is now totally flat and my biggest worry was ride comfort, no fear as the ride comfort is un-changed.
So the car is flat, it changes direction better, they have certainly improved the already high grips levels even further and confidence level in the car is now much higher. The car is just so sure footed and the handling balance is spot on, get a little understeer, just add a little more lock and it will took in and the rear stays planted. Now on corner exit one has to try harder to break the rear loose and when it breaks away the car is hugely progressive and controllable, more so than the M3, its a joy.
I think on a smooth flowing track like Donnington the Mustang would be quicker than the 911 and even the M3, with the 911 only having it in the wet. I am rather shocked actually with the corner speeds this car can achieve and the grip it has in winter and on tyres I am not so fond off. Makes one wonder what the car will be truly capable off in warmer weather with wider better tyres.
So what is left?
Well when I lowered the car the springs dropped it a little to much in the back, though the addition of the spacers pretty much eliminated that look there was still a hint of reverse rake as the arch gap in the rear is marginally smaller than the front arch gap.
So I shall address this next week:
Ignore the springs, those are clutch assist springs, 35lb and I fitted one it fits perfect and clutch has all the feel of using no spring, but pedal effort is not as much and pedal returns right to the top.
More importantly is the two purple coloured disc, these are spring spacers and one something I learned from BMW E36 and E46 owners where BMW would sell the spring pad/isolator in 5mm, 10mm or 15mm to adjust the rear height. So I have got a pair of 8mm spring spacers, they will fit between the spring isolator pad and body. 8mm however does not translate into an 8mm increase in height because the spring is not on the shock in the Mustang, so there is a leverage ratio, so an 8mm pad should give me a 10-12mm height increase, just shy of 1/2 inch. This will give the car the rake look I want as rear arch gap will match or be greater than that of front. It wont impact ride and handling wise the impact would be that of rising rear ride height with coilover so better turn-in and more bias towards oversteer, but I probably won't be able to notice.
Then all is left handling wise, though its more for looks is the front splitter and Shelby or Steeda rear track wing, they will add downforce but most of all look really nice. Then of course some lighter, wider wheels with better tyres will have all handling and aesthetics completely. Time for power then!
Some nice sounds!
https://www.youtube.com/watch?v=rjfY66nW-kE
https://www.youtube.com/watch?v=C_Lt05w_5qI
Took a visit to my buddy Mac today who has a yellow Mustang, V8 of course who has made some very nice modifications to his, though this is just the start for his car.
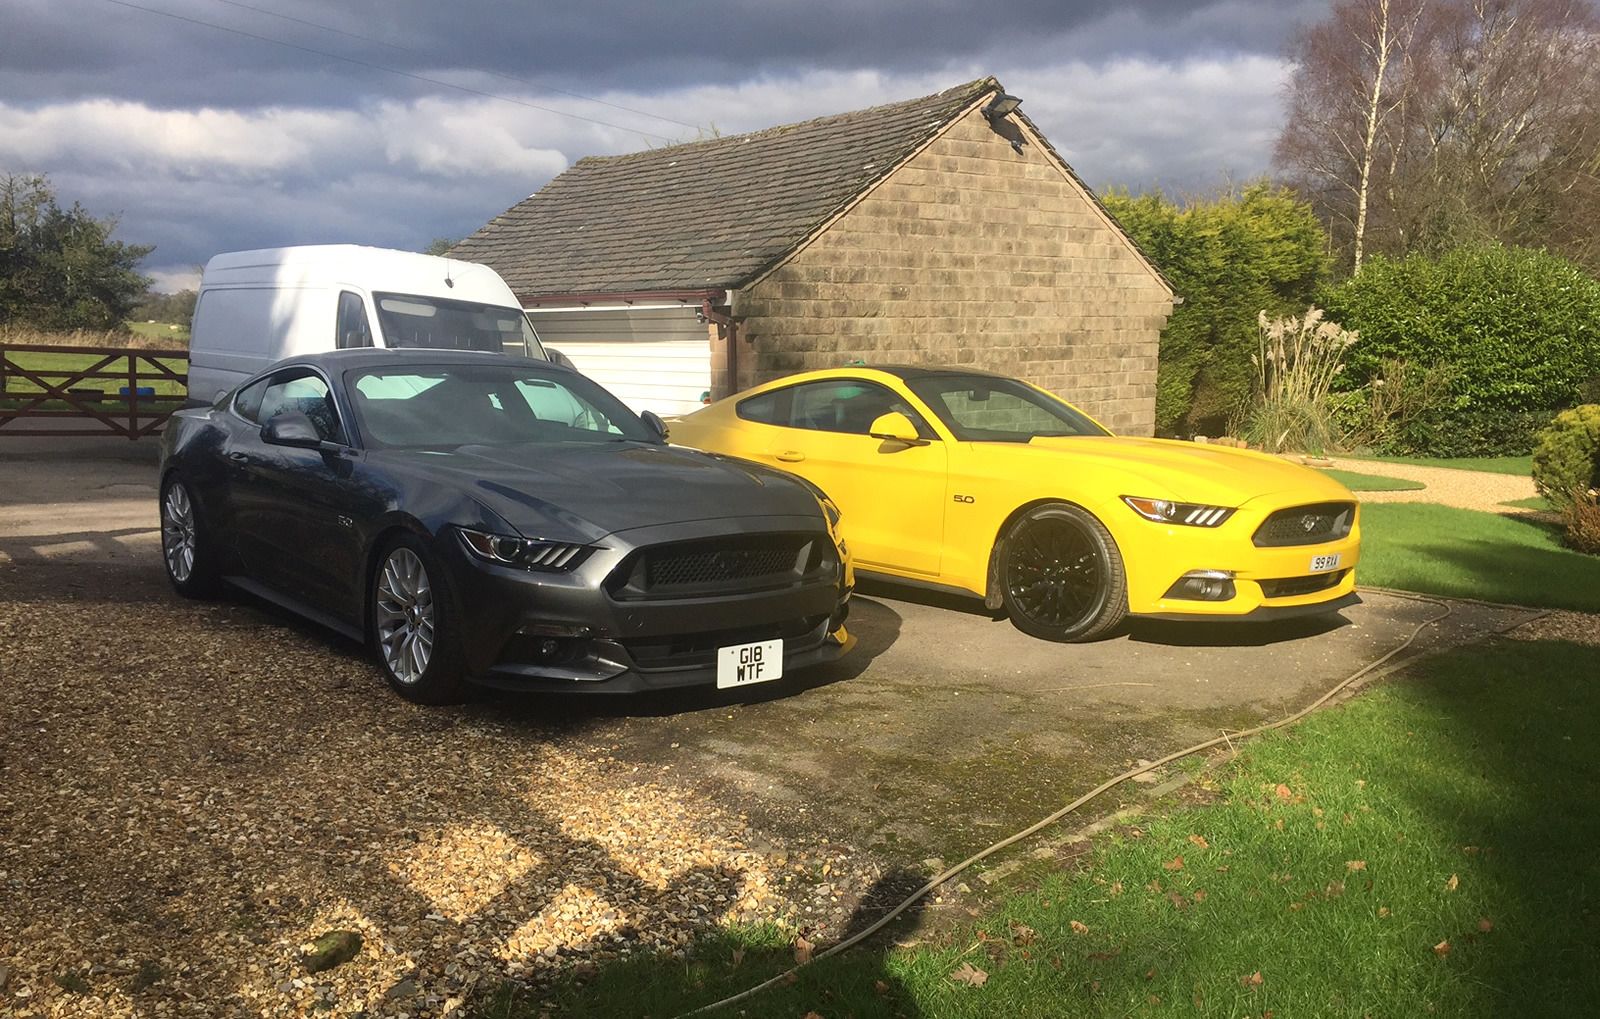
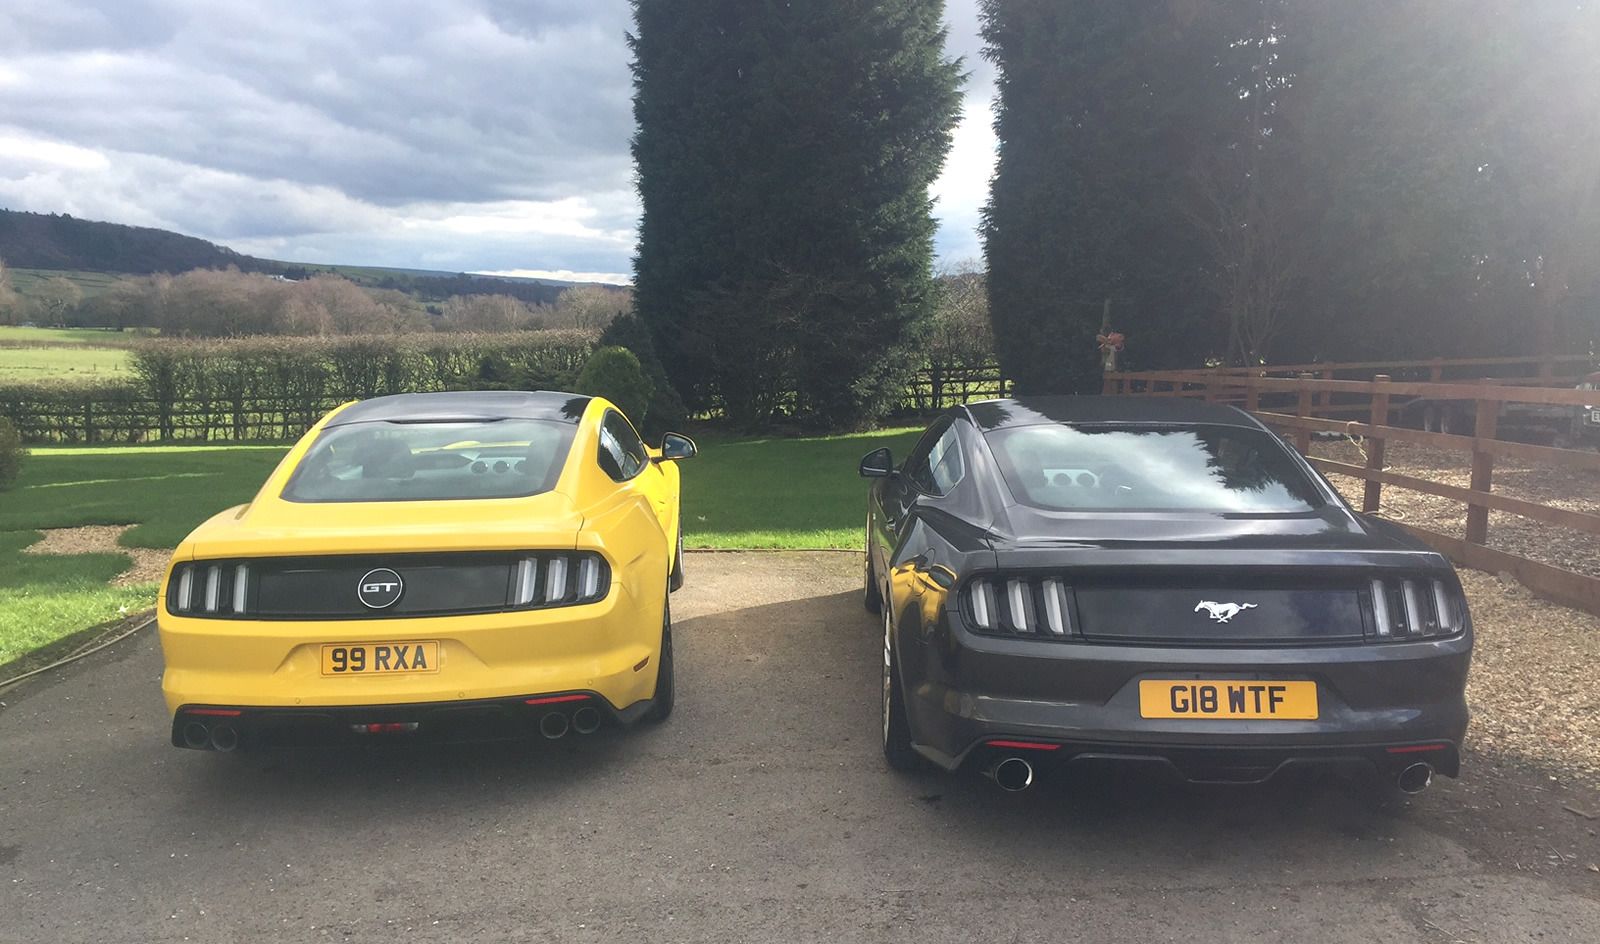
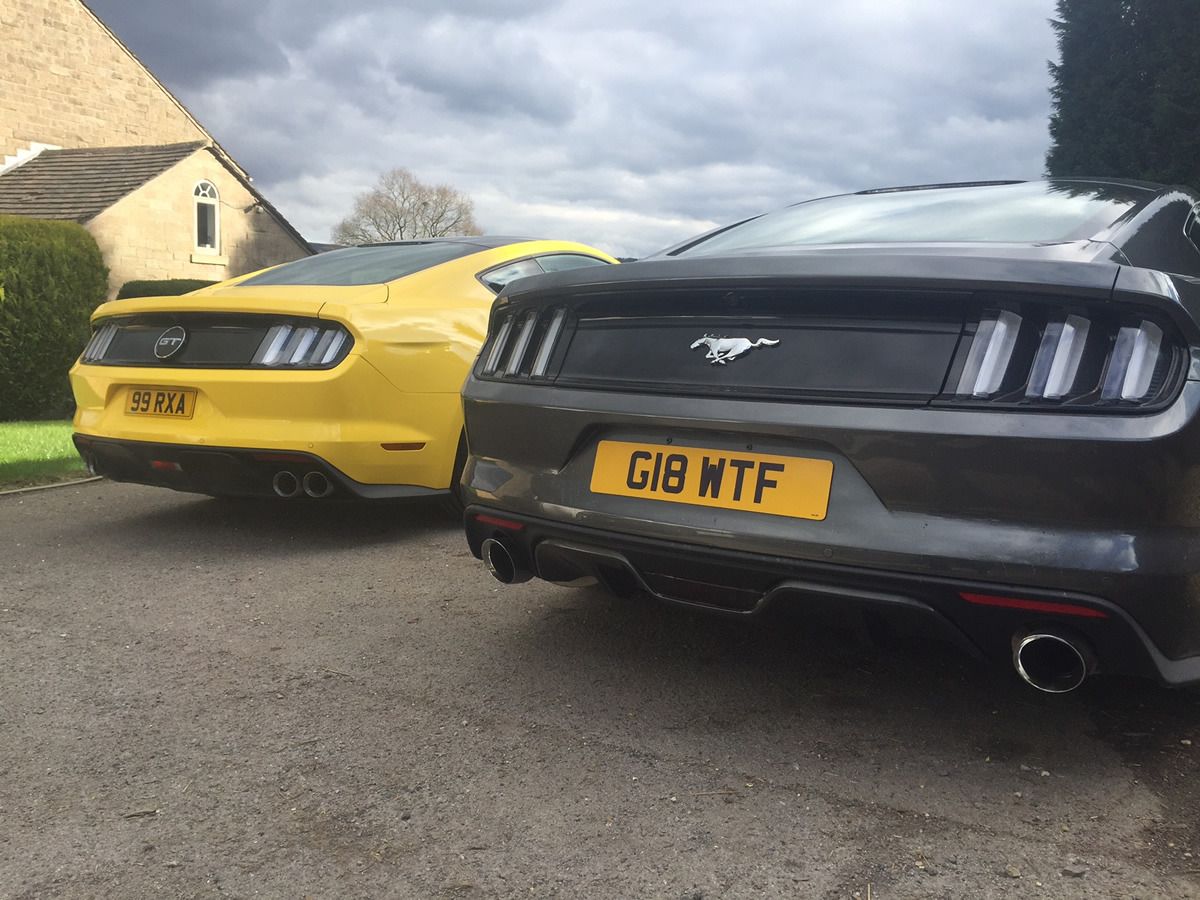
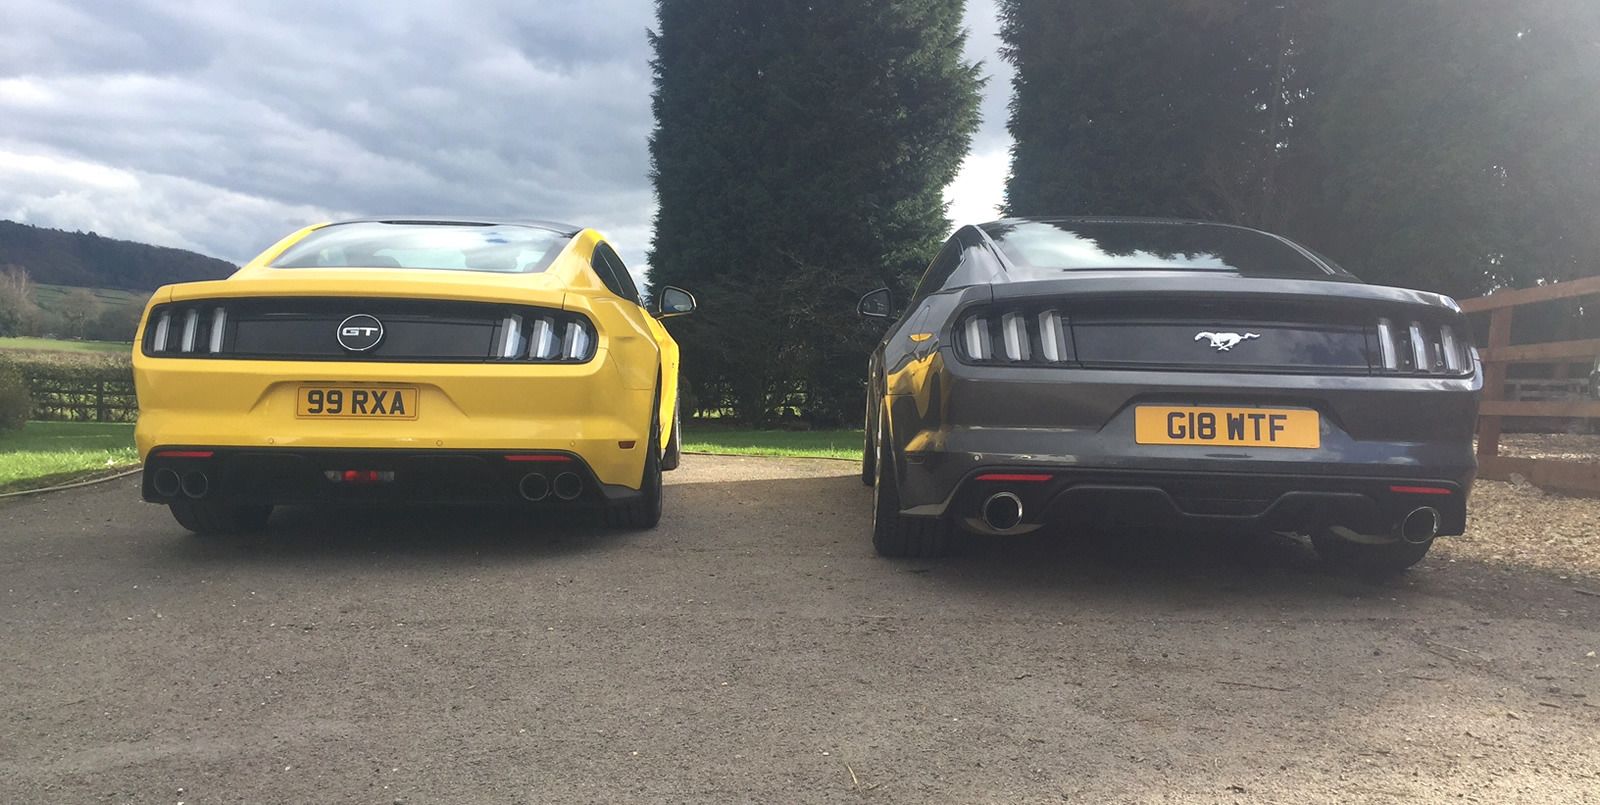
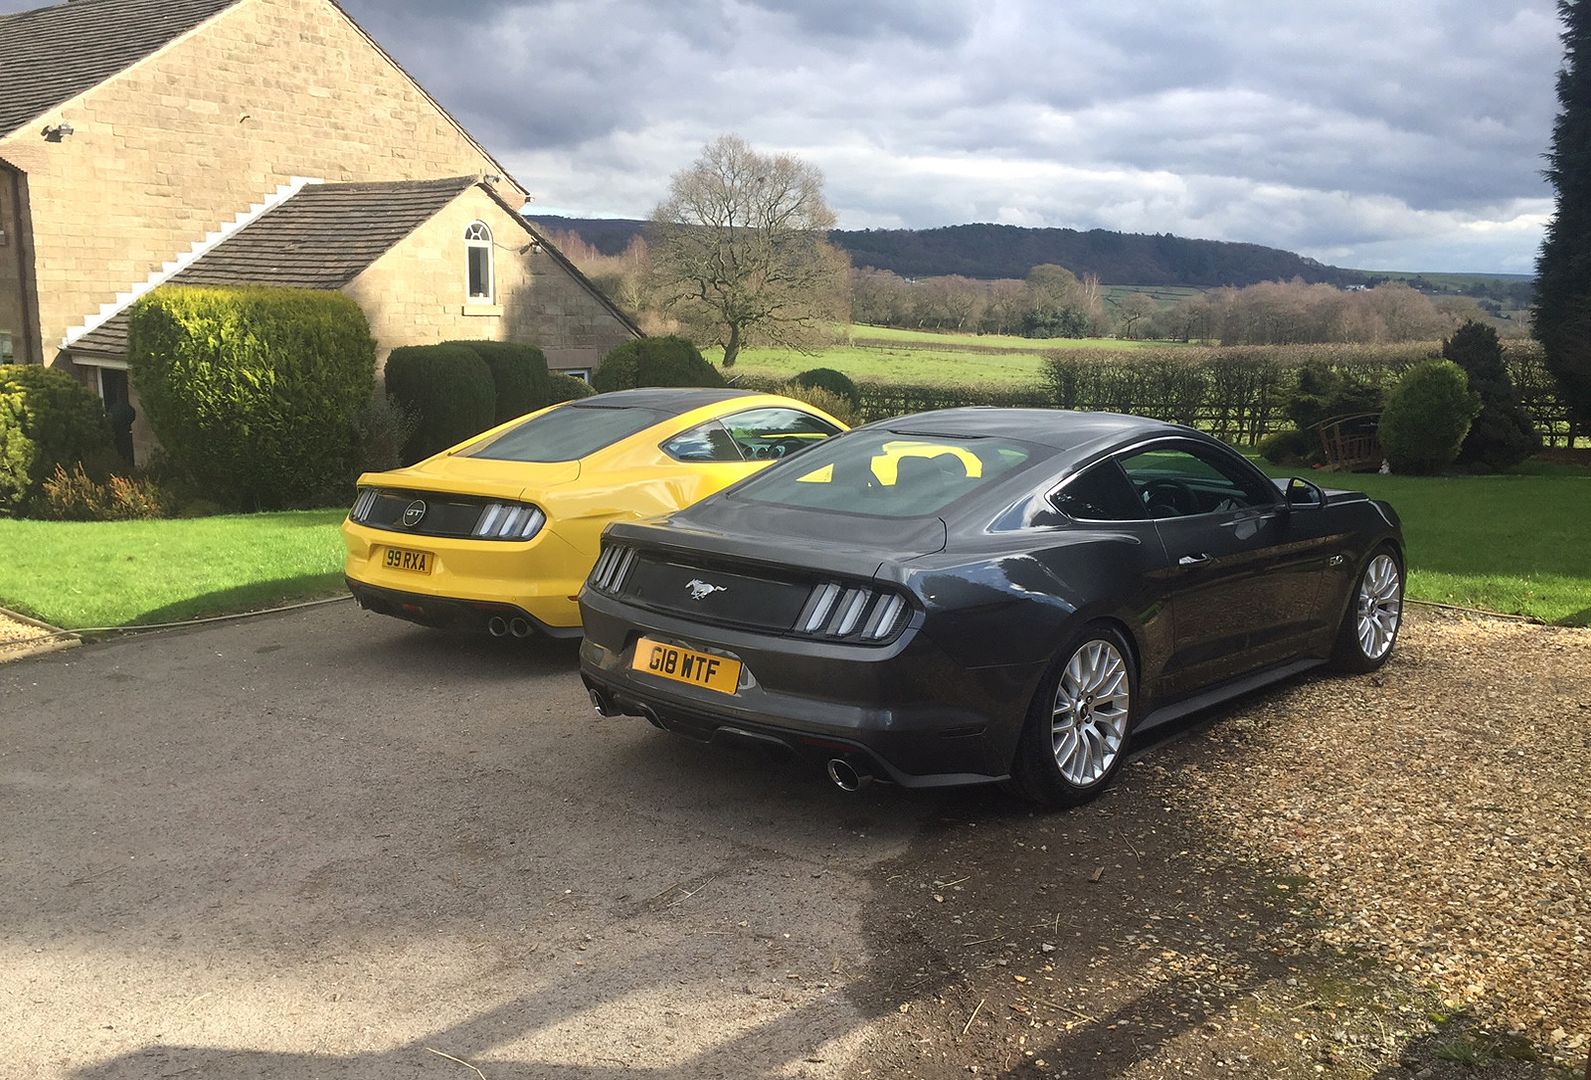
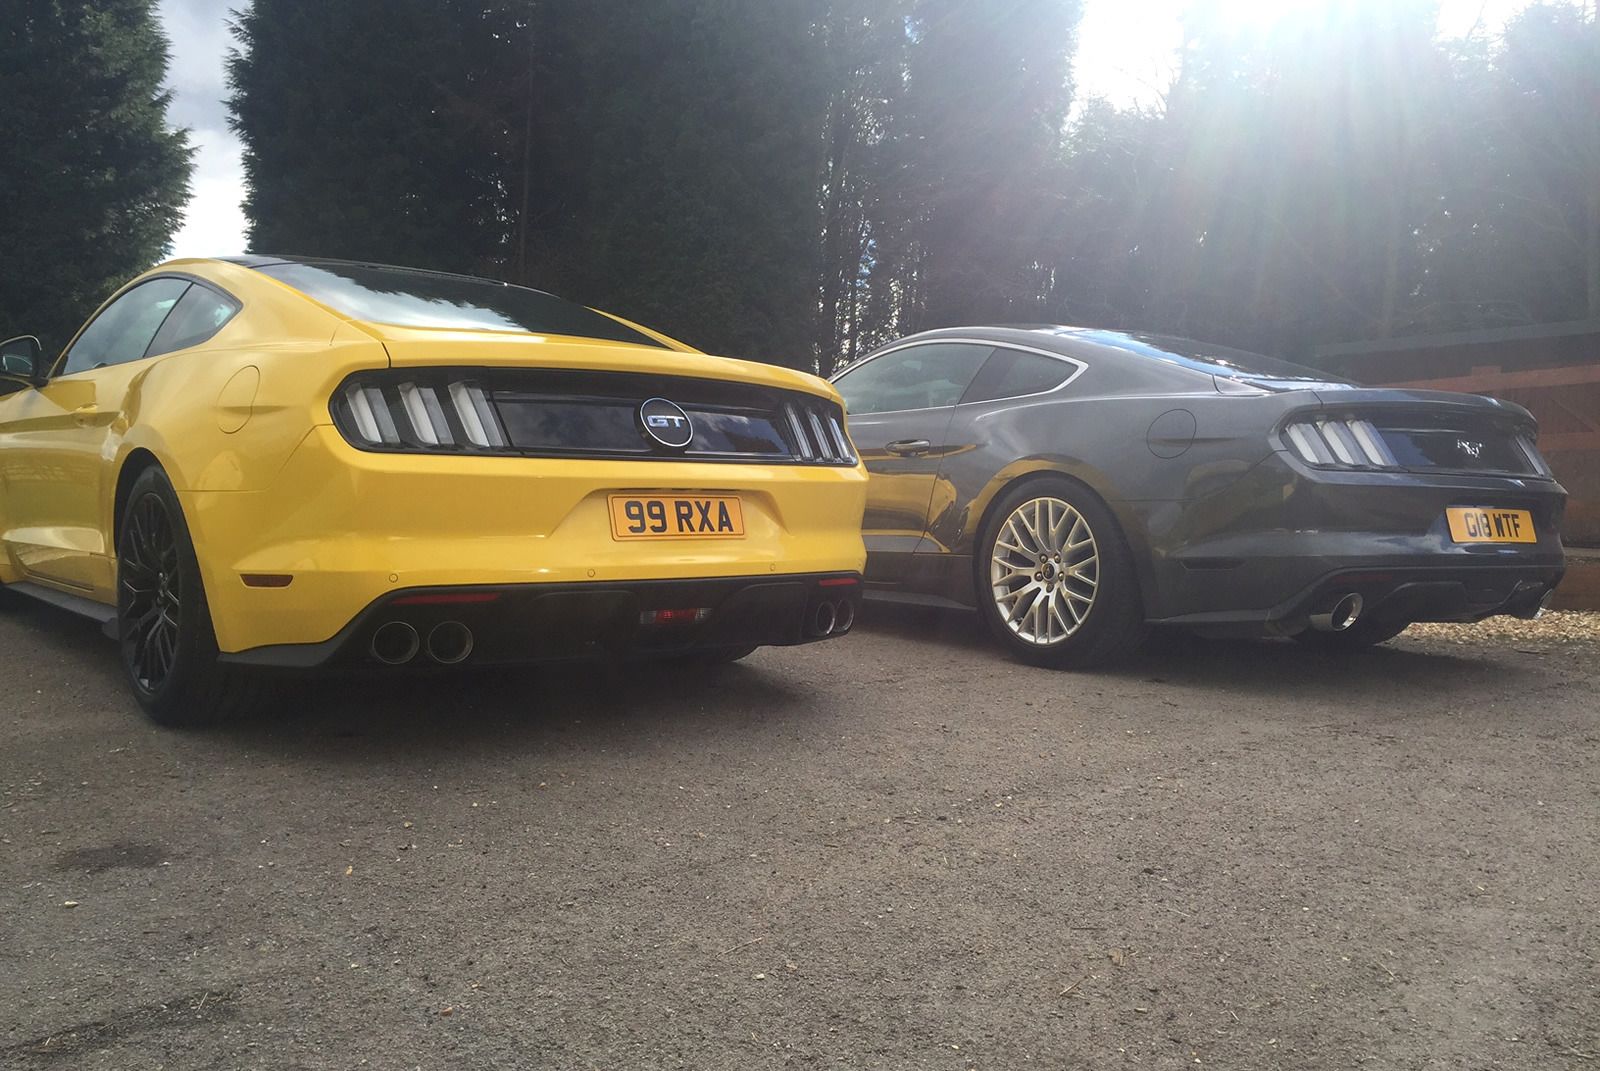
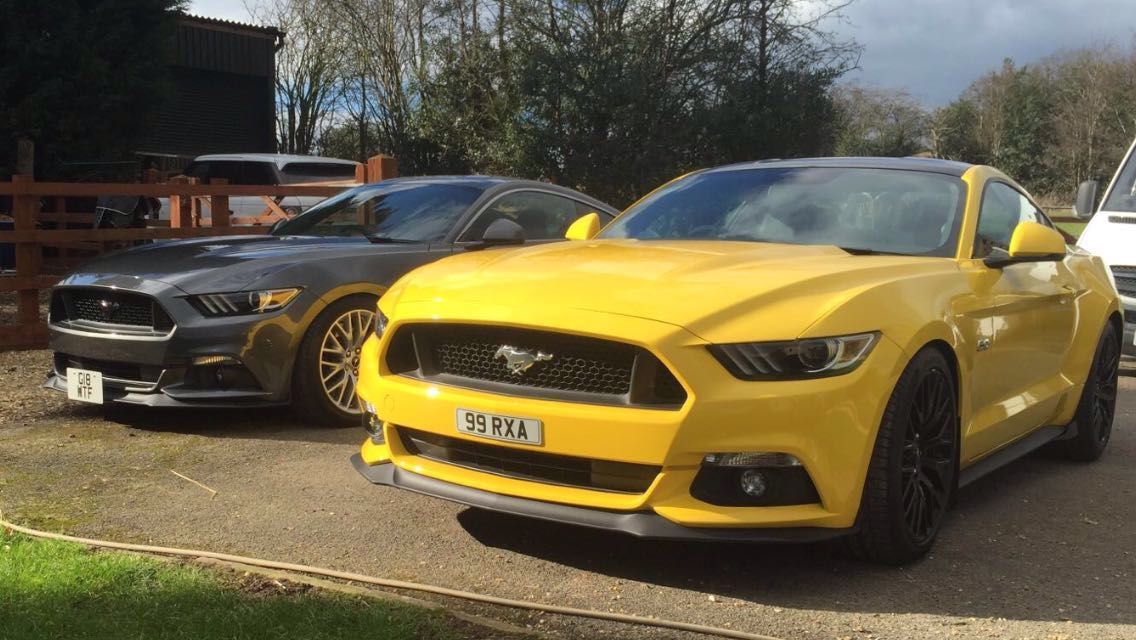
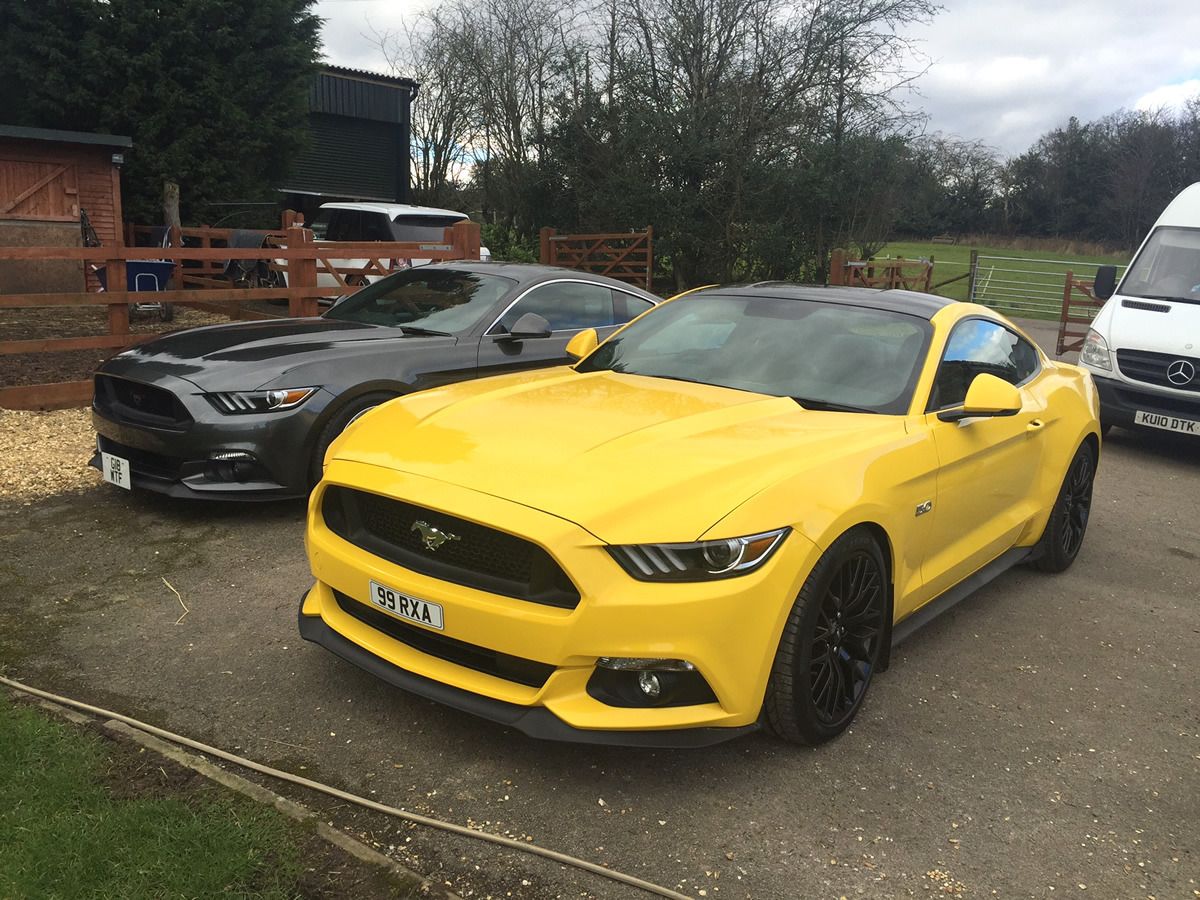
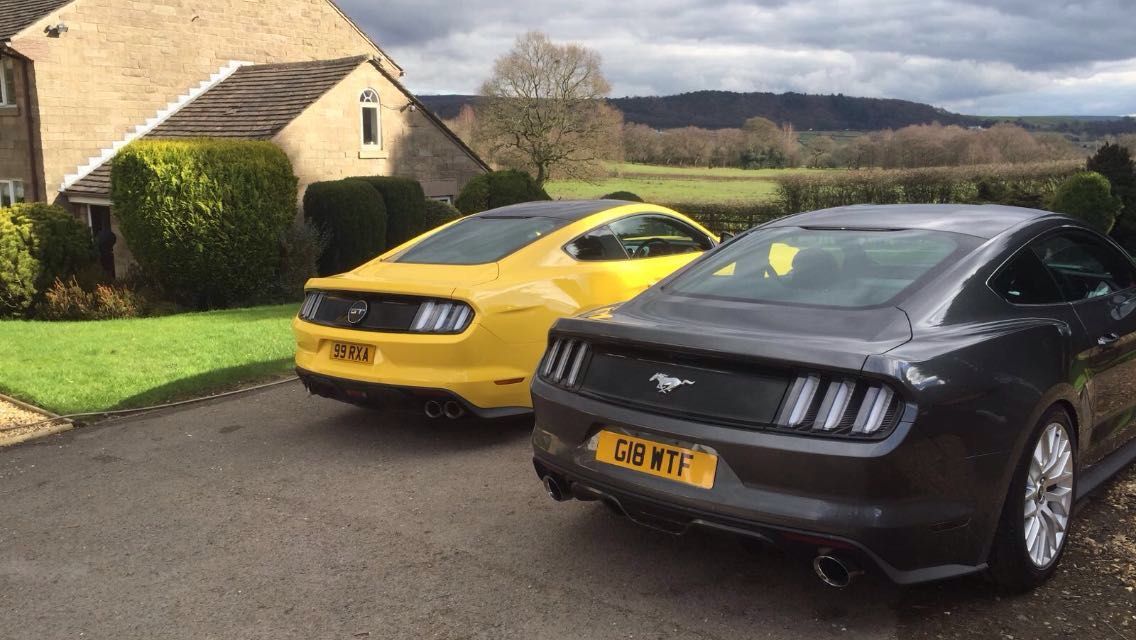
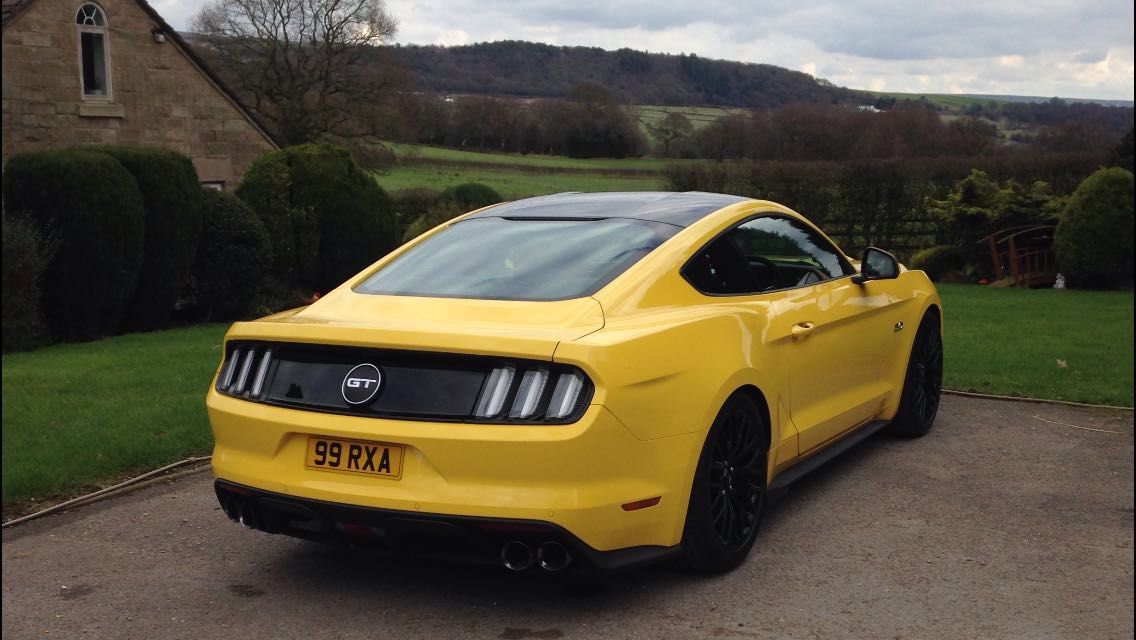
Two absolute stunners, though I don't envy Mac, I get people winding their windows down, people going out of there way to take photos and kids screaming MUSTAAAAANG as I drive past, my car is subtle, Mac's is going to get a lot of attention especially when he has finished with it.
https://www.youtube.com/watch?v=rjfY66nW-kE
https://www.youtube.com/watch?v=C_Lt05w_5qI
Took a visit to my buddy Mac today who has a yellow Mustang, V8 of course who has made some very nice modifications to his, though this is just the start for his car.
Two absolute stunners, though I don't envy Mac, I get people winding their windows down, people going out of there way to take photos and kids screaming MUSTAAAAANG as I drive past, my car is subtle, Mac's is going to get a lot of attention especially when he has finished with it.
I also previously mentioned about the car having an appearance of reverse rake, due to the arch gap being larger in the front than rear. The fact was the car did have rake as was 4.75" from the ground at front and 6" in rear, but the arch gaps gave the impression of reverse rake. So doing a bit of research it turns out E36/E46 spring pads are of the correct overall diameter and you just need to enlarge the inner diameter to 3.25" for them to fit. I went with 8mm spring pads as the spring is not on the damper, as such there is a leverage ratio, so an 8mm pad gives around a 10-12mm height increase.
[size=5]NO SPRING PADS![/size]
[size=5]8mm SPRING PADS INSTALLED[/size]
I cannot tell you how thrilled I am at the results, the car now has the perfect stance, am absolutely over the moon with the looks and appearance of the car now.
So I am still working on locating longer M14 studs for the front so I can use in my view the safer type of spacer on the front.
Then the only visual changes that will happen to the car in the future will be some 19/20" wheels, still can't decide which but I've got a few months to decide.
Hi there
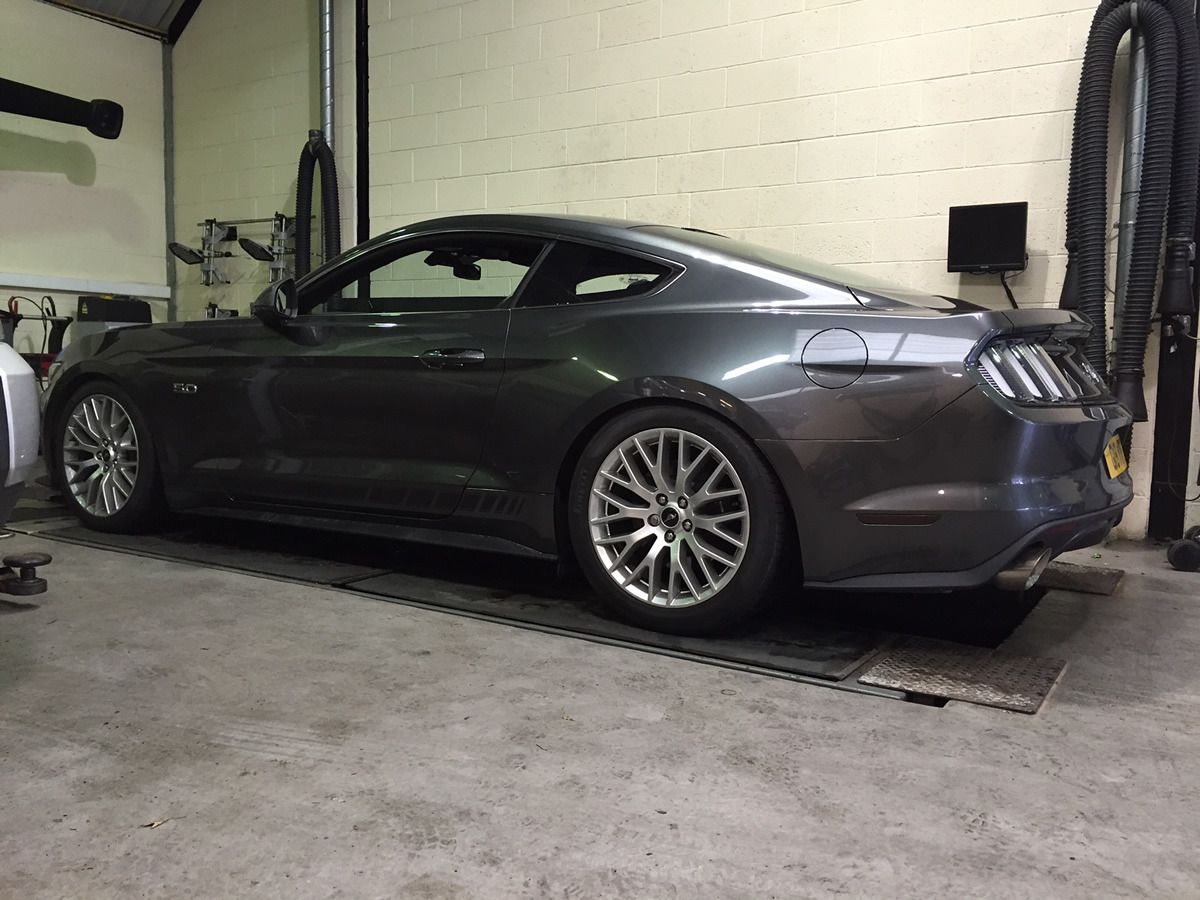
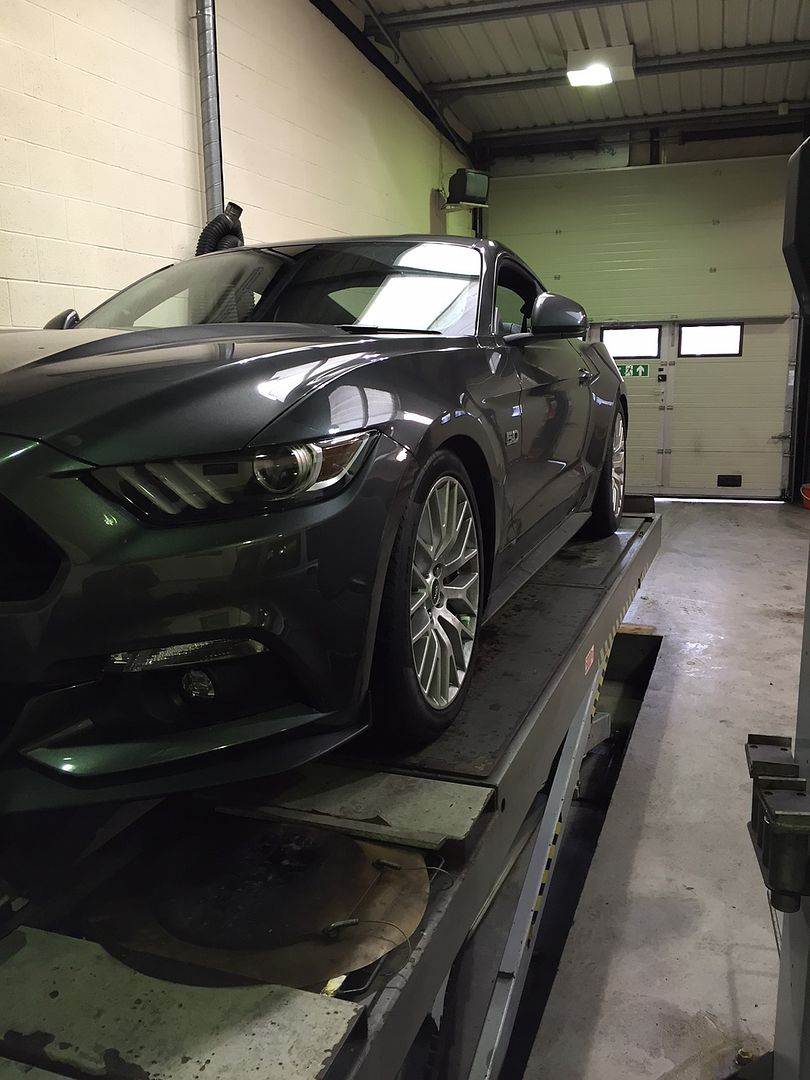
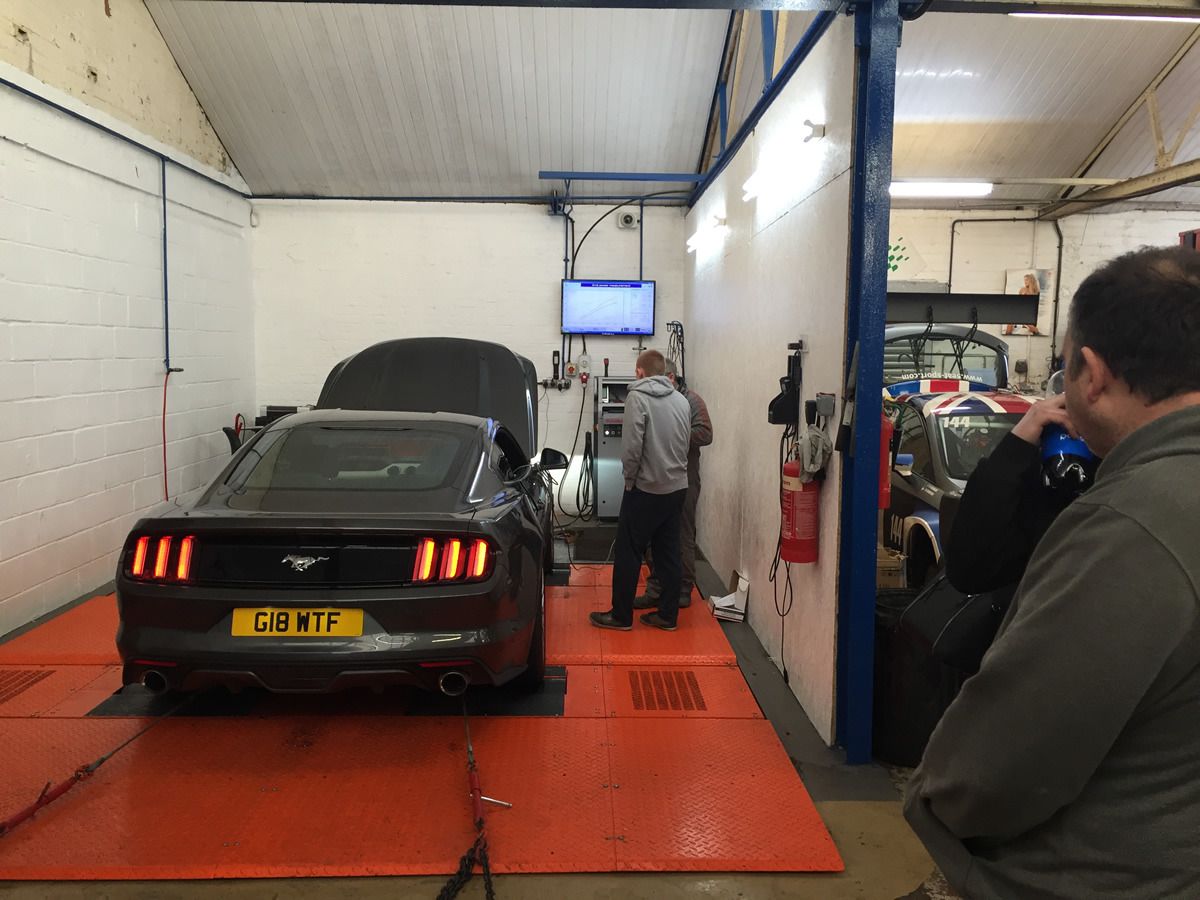
OK so today the car had its first motorway experience as I drove down to Pumabuild Ltd in Birmingham for a rolling road run. I was expecting this car to hover around 25mpg on a run in the 60-80mph region, well reality is it is far better:
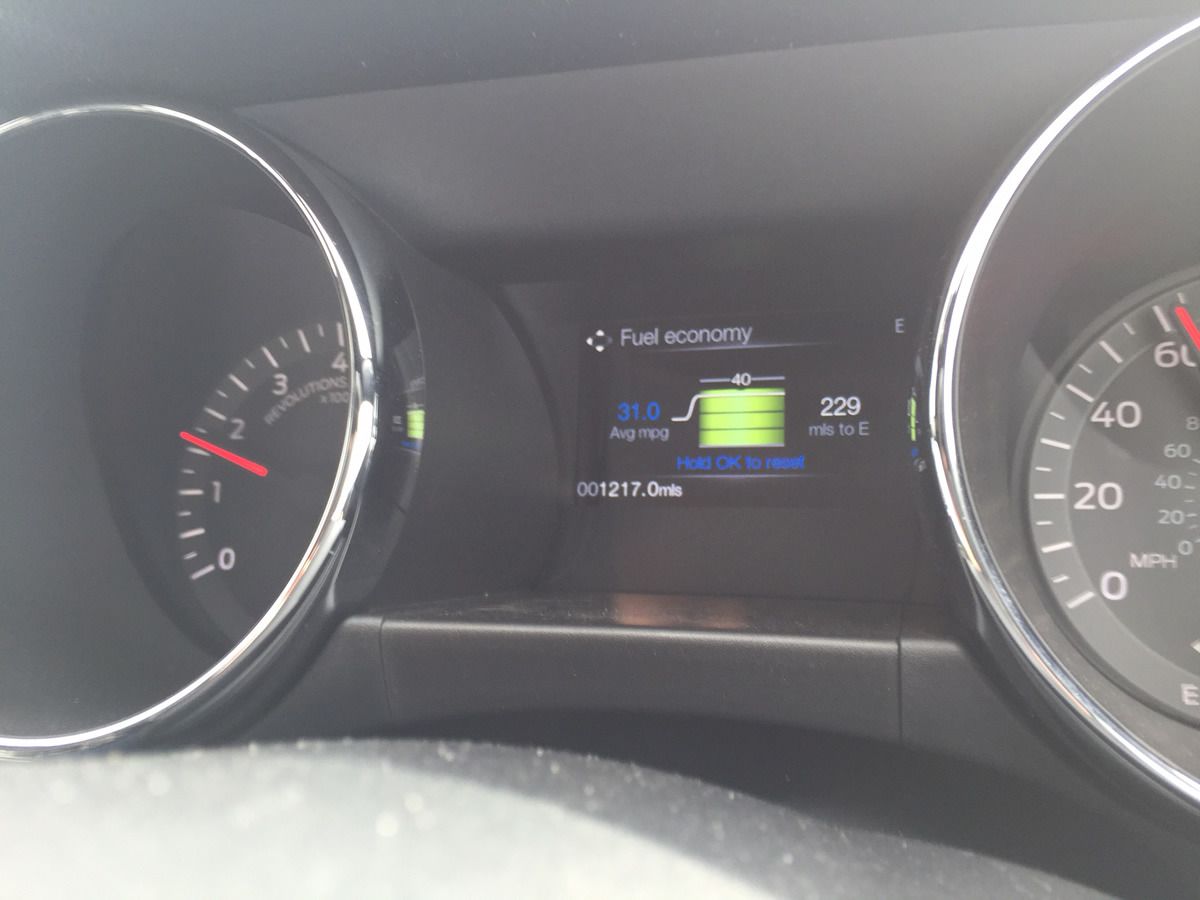
Really impressed with what it can return on a run, it really does the cruising thing superbly well and even though 6th is very tall geared, it will pull quite well from 60-80mph quite effortless for overtaking in 6th, drop to 5th and acceleration is superb.
The attention the car got on the motorway was surprising, people are all ages pulling alongside giving an approving nod or thumbs up, they might not be as rare as they once were but it still attracts huge amounts of positive reactions on the road.
So the car stock is 416PS which is 410BHP. I chose Pumabuild as they have a Maha MSR 500 dyno which has some pretty cool features, such as:
- Single contact patch rollers
- Motor in front roller so no need to disable traction systems or get ABS faults
- Can switch of front motor etc. giving good flexibility.
I like maha dyno's because they don't just use an operator set formulation to work out flywheel power, they do it quite accurately by calculating from coast down.
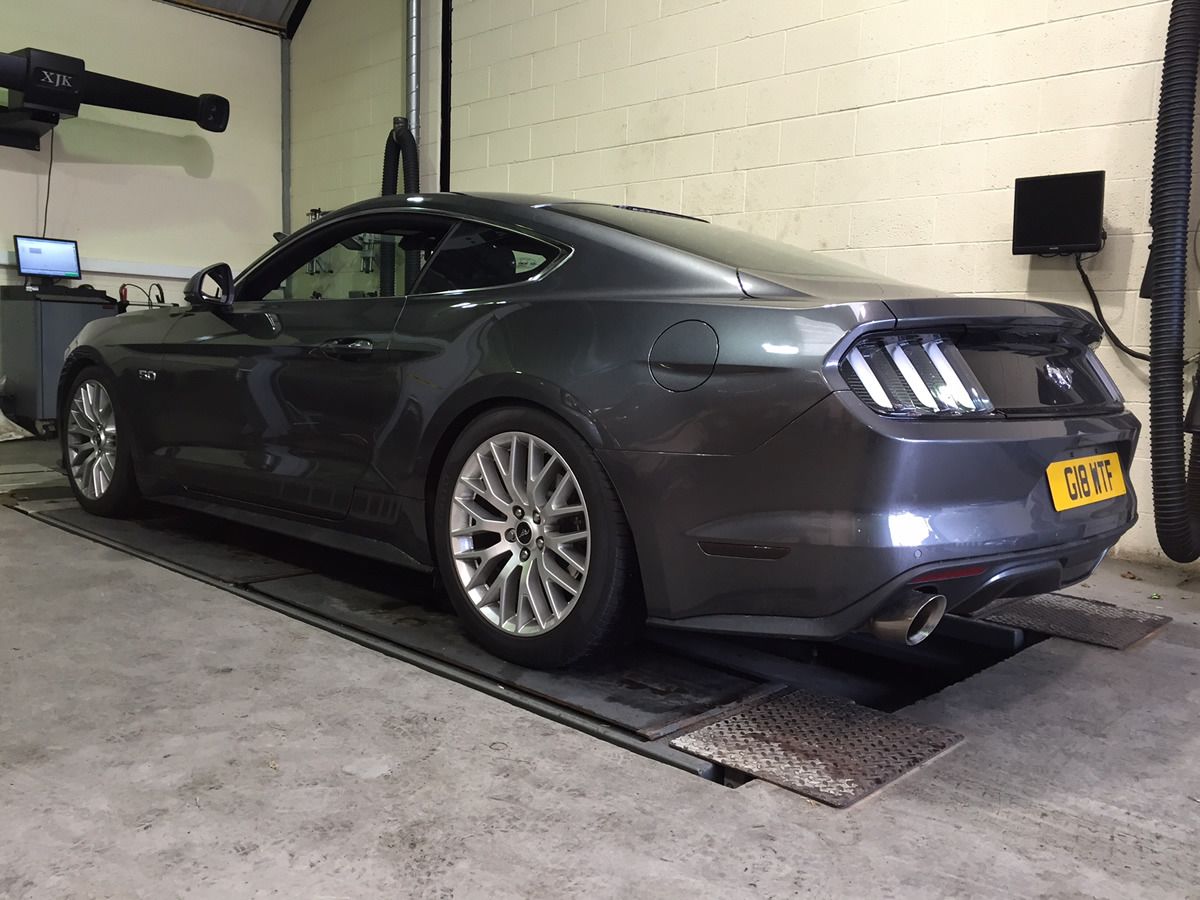
Car strapped down:
We did three runs, couple of videos:
https://www.youtube.com/watch?v=mXkDfla3IrI
https://www.youtube.com/watch?v=o7PsZBqBAYU
The car should be run in 5th as closest 1:1 gear but we did first run in 4th as safer to check that nothing was at risk of getting too hot etc. Problem with running in 4th is you will get lower torque figure, the results were as follows:
Run 1 (4th gear): 410BHP / 360lb/ft
Run 2 (5th gear): 422BHP / 399lb/ft
Run 3 (5th grear): 415BHP / 403lb/ft
So the car is right on the money is ever so slightly over, very happy with results as car is making factory claimed figures or marginally better.

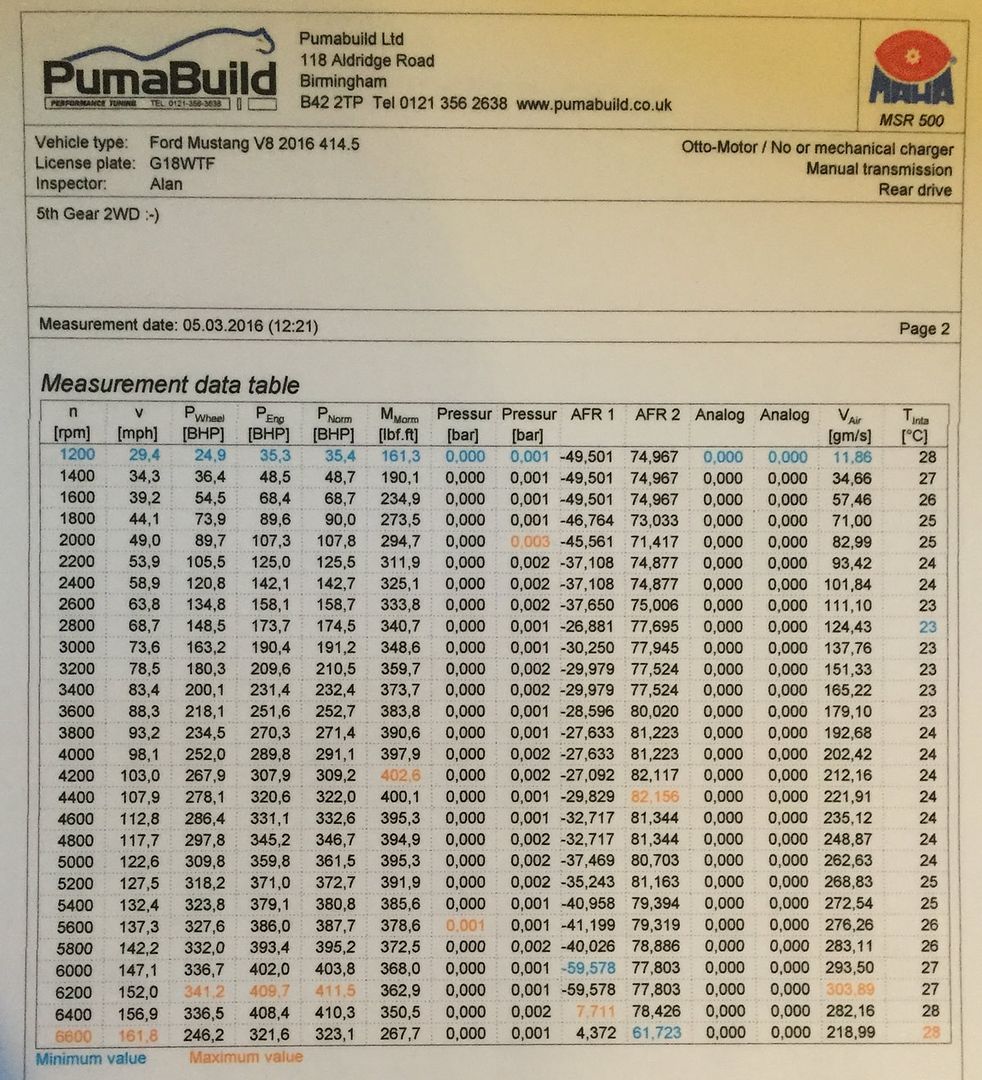
Got to love 160lb/ft at 1200rpm, more than many cars make peak, V8's for you.
Was also great and lucky that a guy who has spent a lot of time working on Mustangs in the US was there and gave me a lot of very good insight on super chargers and what to consider. He did let slip that Ford track key is coming for sure which should result in around 440BHP and maybe higher rev limit and carry a full Ford warranty. Also there is a limit of only 1400 UK Mustangs per year, which could help boost re-sale values as only half of those will be manuals of which around half will be V8's. Though V8's are still the more popular choice right now!
OK so today the car had its first motorway experience as I drove down to Pumabuild Ltd in Birmingham for a rolling road run. I was expecting this car to hover around 25mpg on a run in the 60-80mph region, well reality is it is far better:
Really impressed with what it can return on a run, it really does the cruising thing superbly well and even though 6th is very tall geared, it will pull quite well from 60-80mph quite effortless for overtaking in 6th, drop to 5th and acceleration is superb.
The attention the car got on the motorway was surprising, people are all ages pulling alongside giving an approving nod or thumbs up, they might not be as rare as they once were but it still attracts huge amounts of positive reactions on the road.
So the car stock is 416PS which is 410BHP. I chose Pumabuild as they have a Maha MSR 500 dyno which has some pretty cool features, such as:
- Single contact patch rollers
- Motor in front roller so no need to disable traction systems or get ABS faults
- Can switch of front motor etc. giving good flexibility.
I like maha dyno's because they don't just use an operator set formulation to work out flywheel power, they do it quite accurately by calculating from coast down.
Car strapped down:
We did three runs, couple of videos:
https://www.youtube.com/watch?v=mXkDfla3IrI
https://www.youtube.com/watch?v=o7PsZBqBAYU
The car should be run in 5th as closest 1:1 gear but we did first run in 4th as safer to check that nothing was at risk of getting too hot etc. Problem with running in 4th is you will get lower torque figure, the results were as follows:
Run 1 (4th gear): 410BHP / 360lb/ft
Run 2 (5th gear): 422BHP / 399lb/ft
Run 3 (5th grear): 415BHP / 403lb/ft
So the car is right on the money is ever so slightly over, very happy with results as car is making factory claimed figures or marginally better.
Got to love 160lb/ft at 1200rpm, more than many cars make peak, V8's for you.
Was also great and lucky that a guy who has spent a lot of time working on Mustangs in the US was there and gave me a lot of very good insight on super chargers and what to consider. He did let slip that Ford track key is coming for sure which should result in around 440BHP and maybe higher rev limit and carry a full Ford warranty. Also there is a limit of only 1400 UK Mustangs per year, which could help boost re-sale values as only half of those will be manuals of which around half will be V8's. Though V8's are still the more popular choice right now!
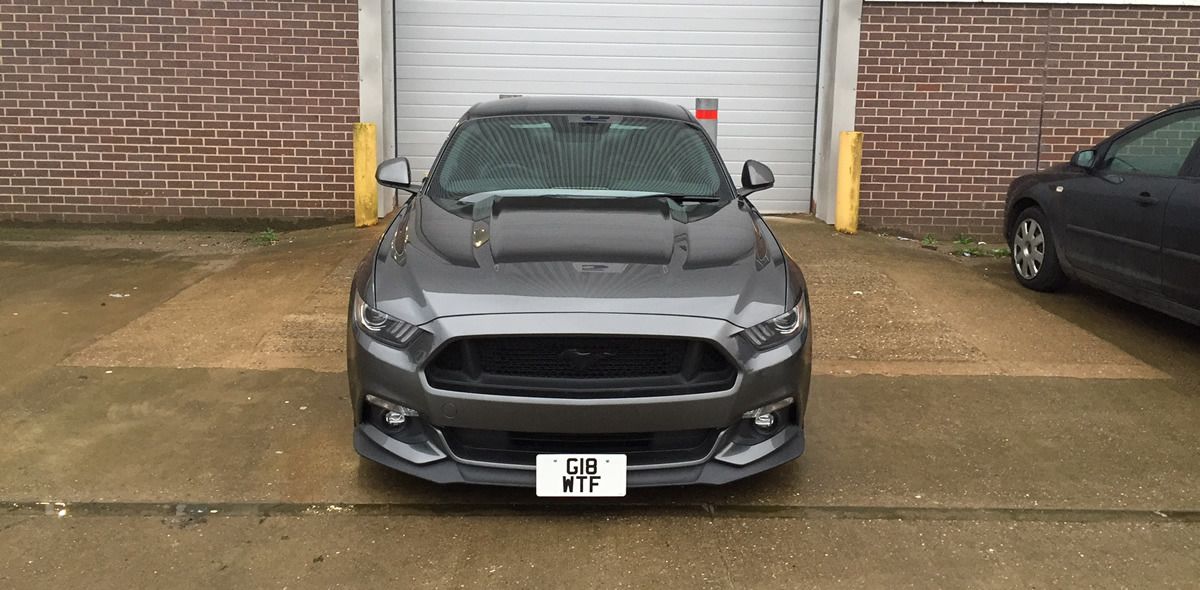
Hi there
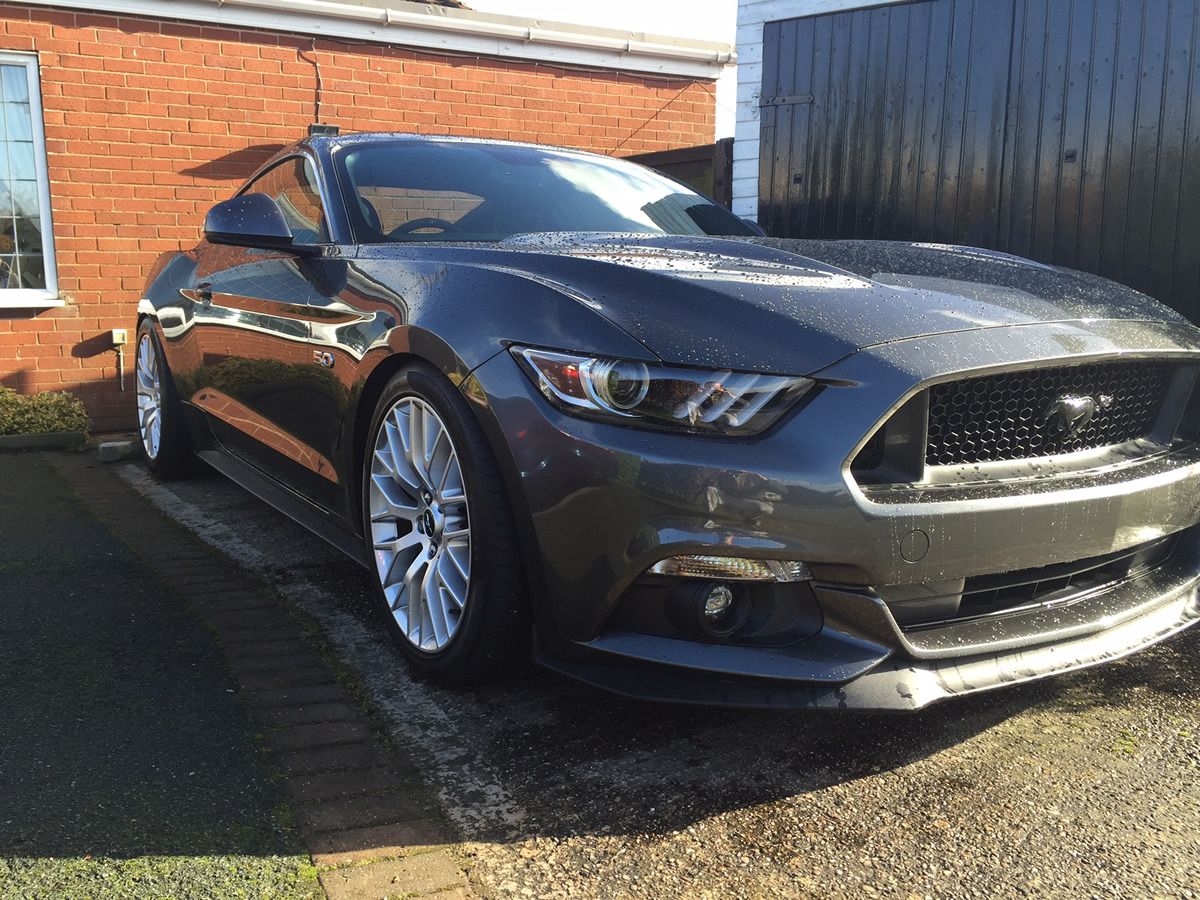
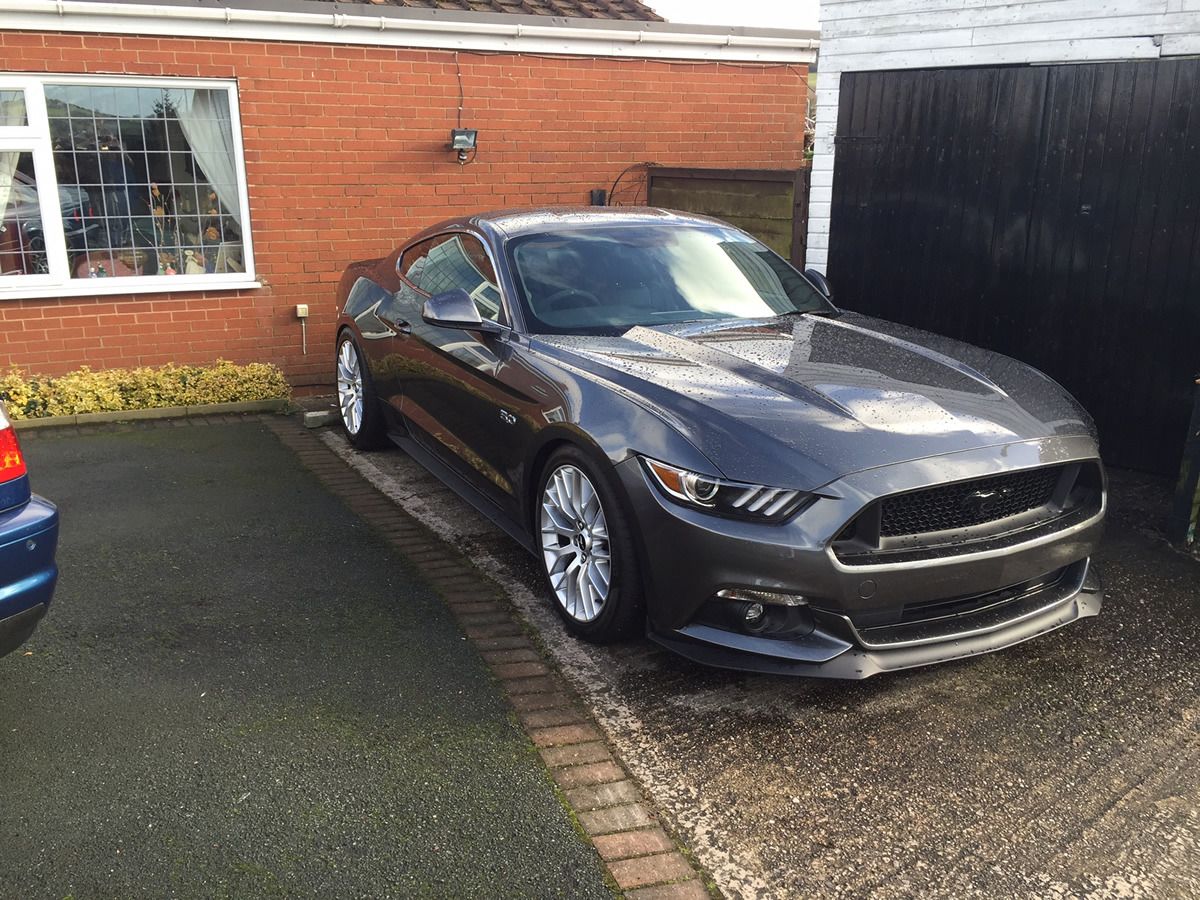
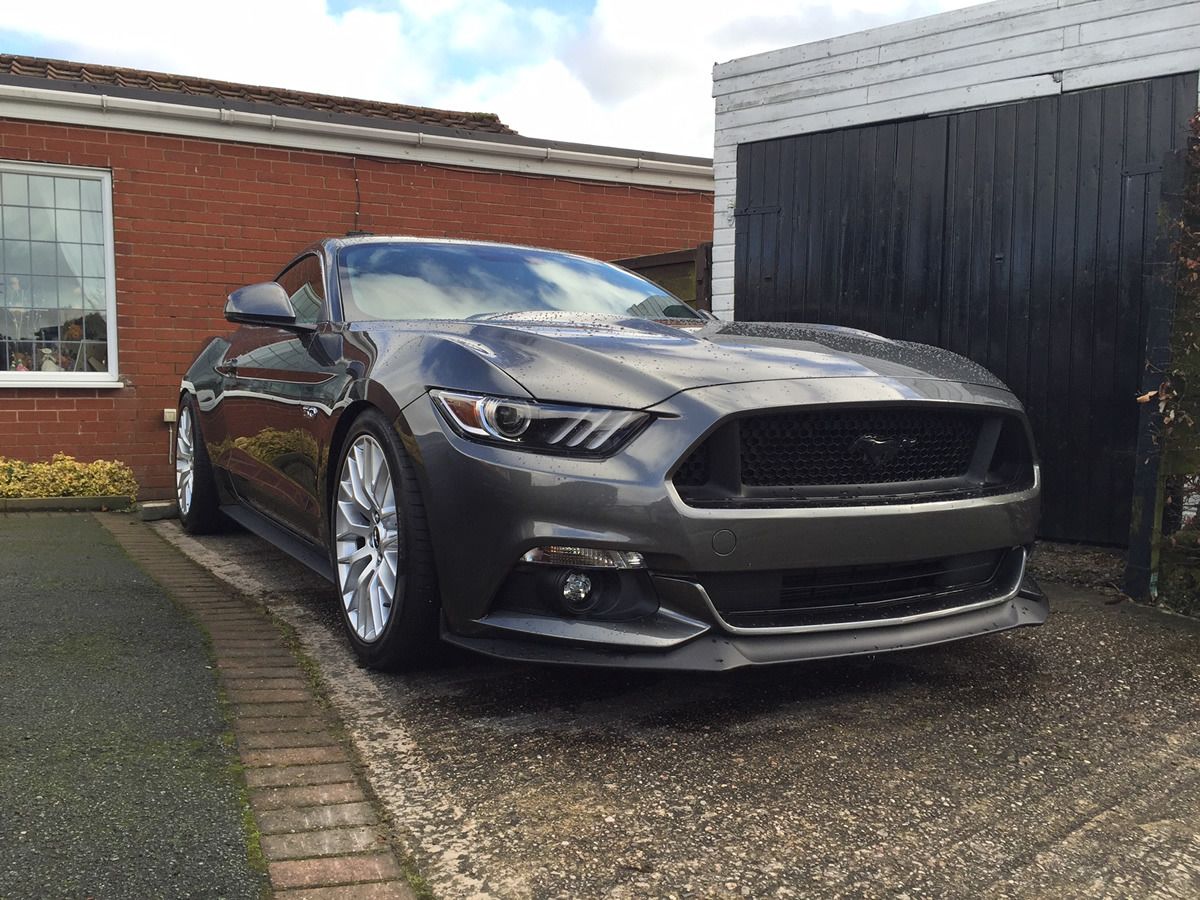
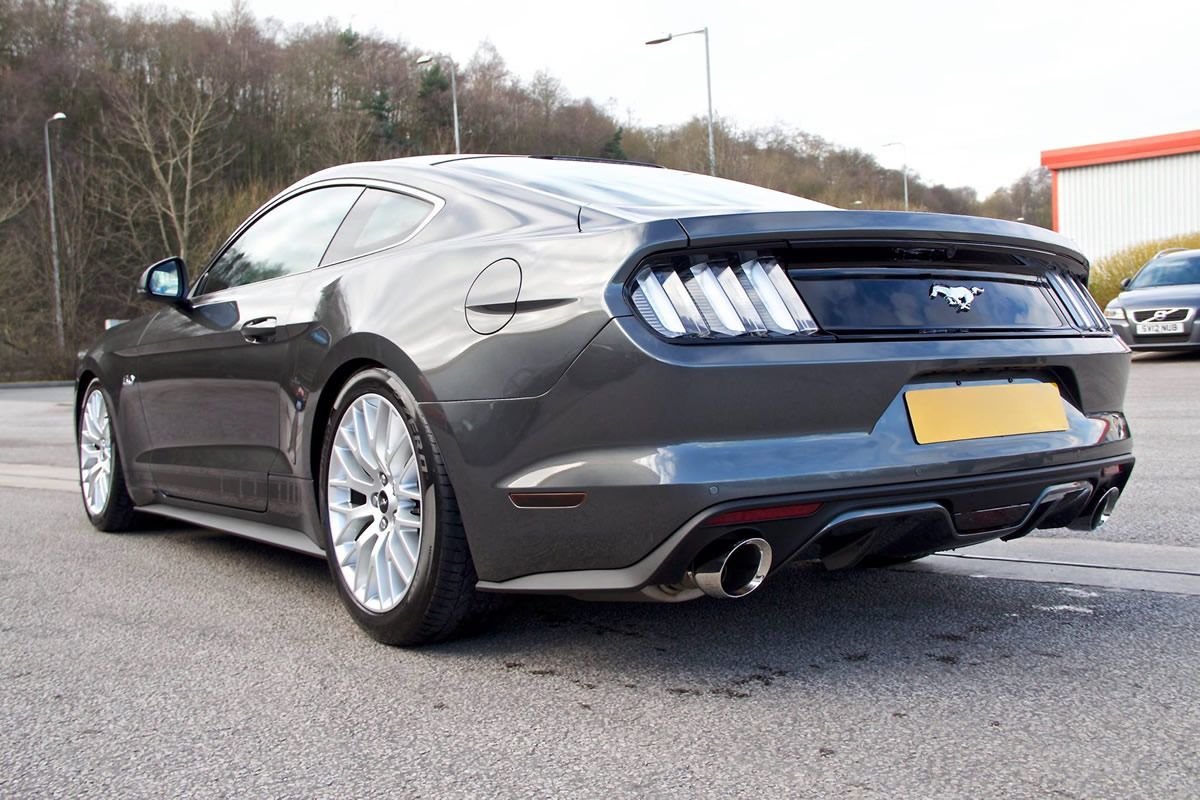
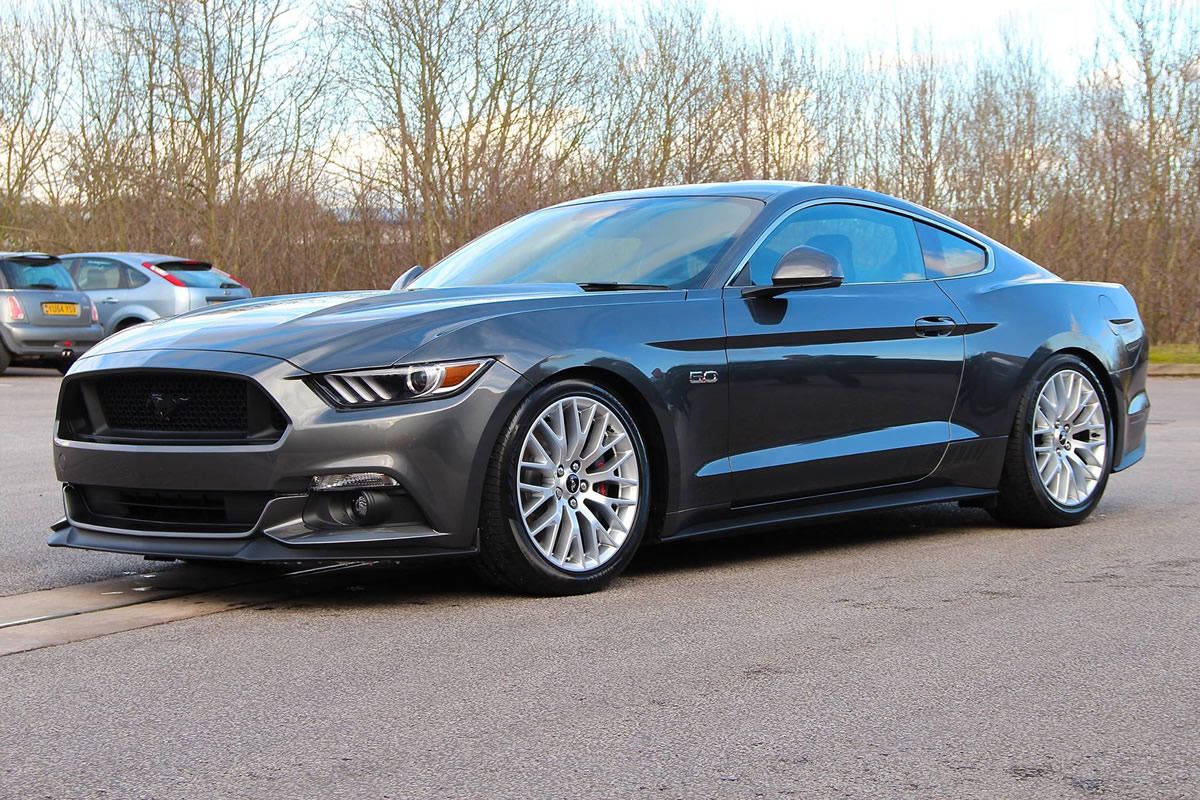
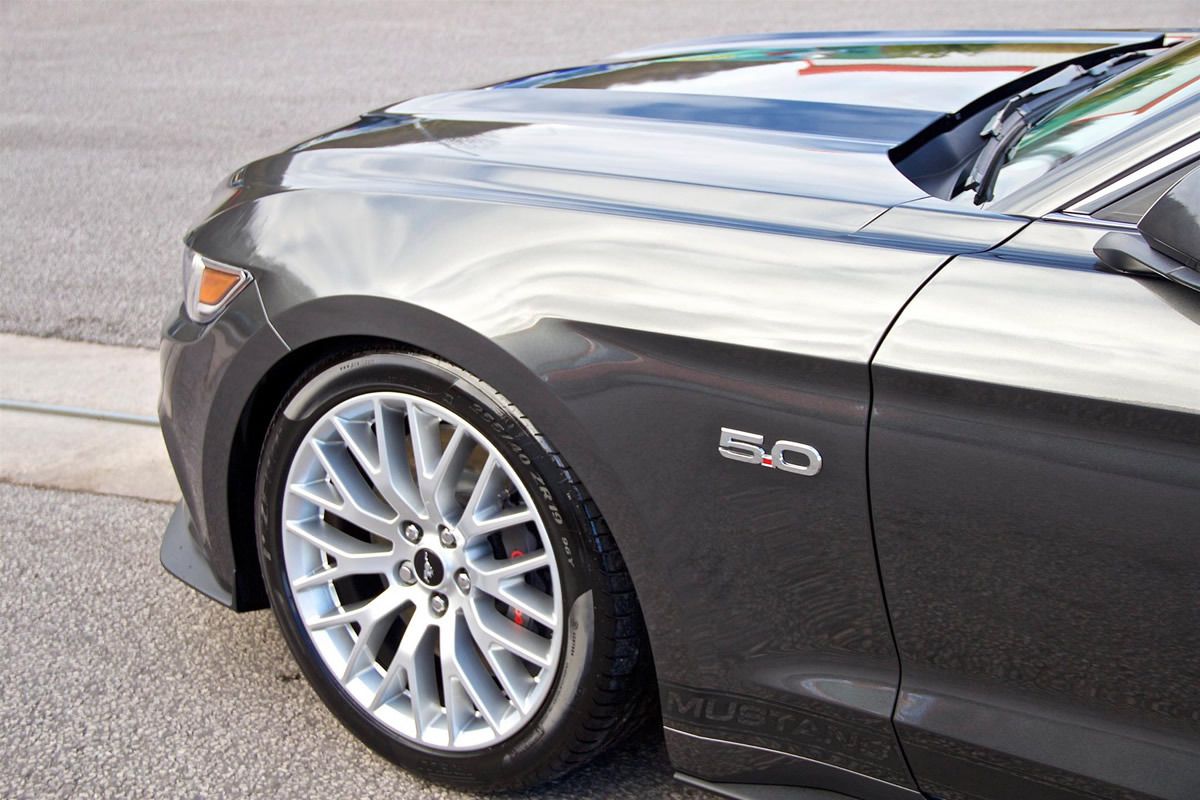
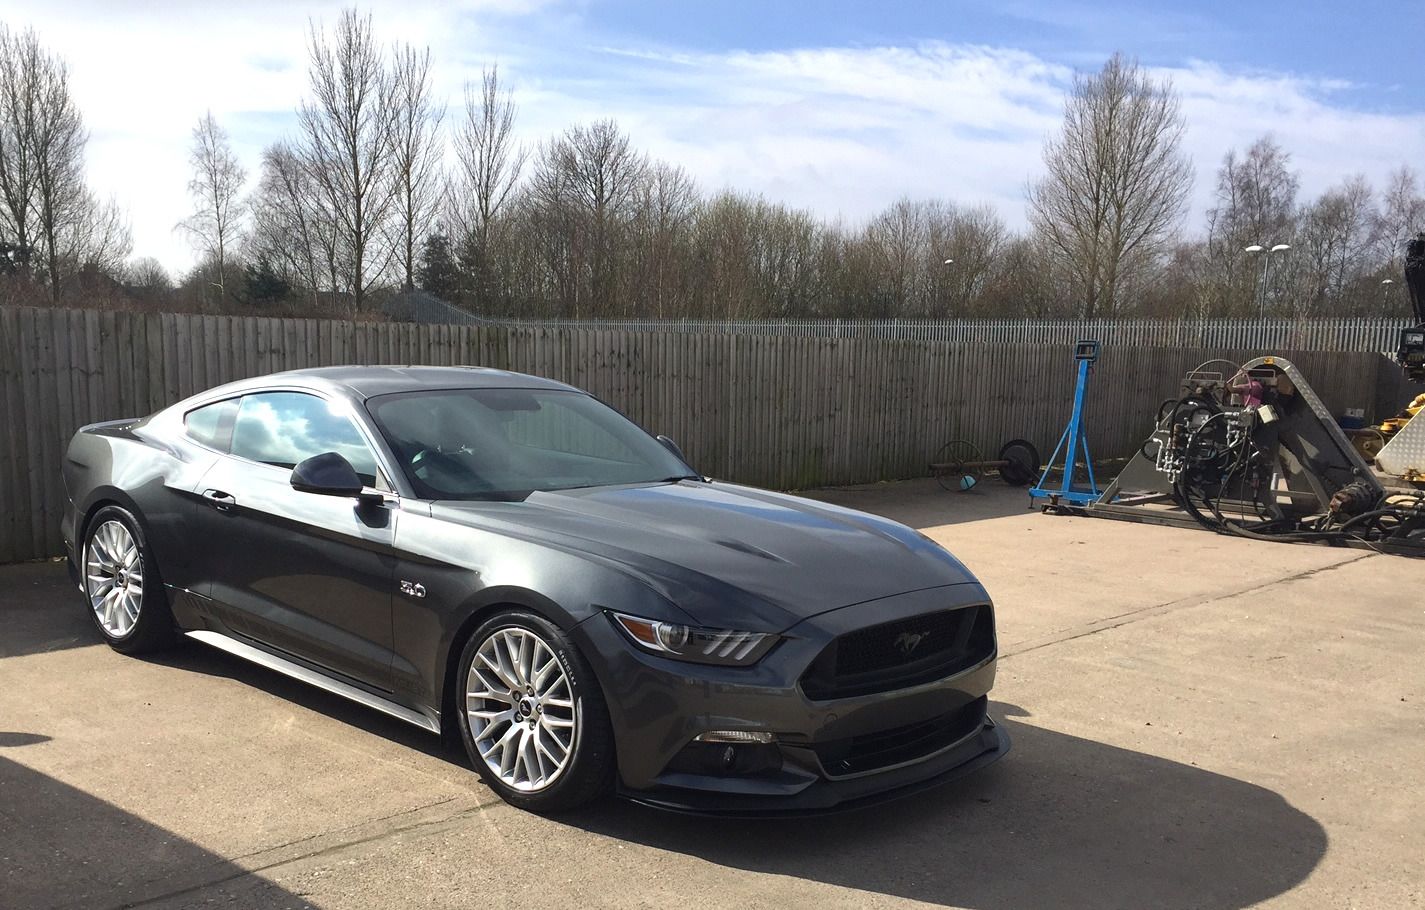
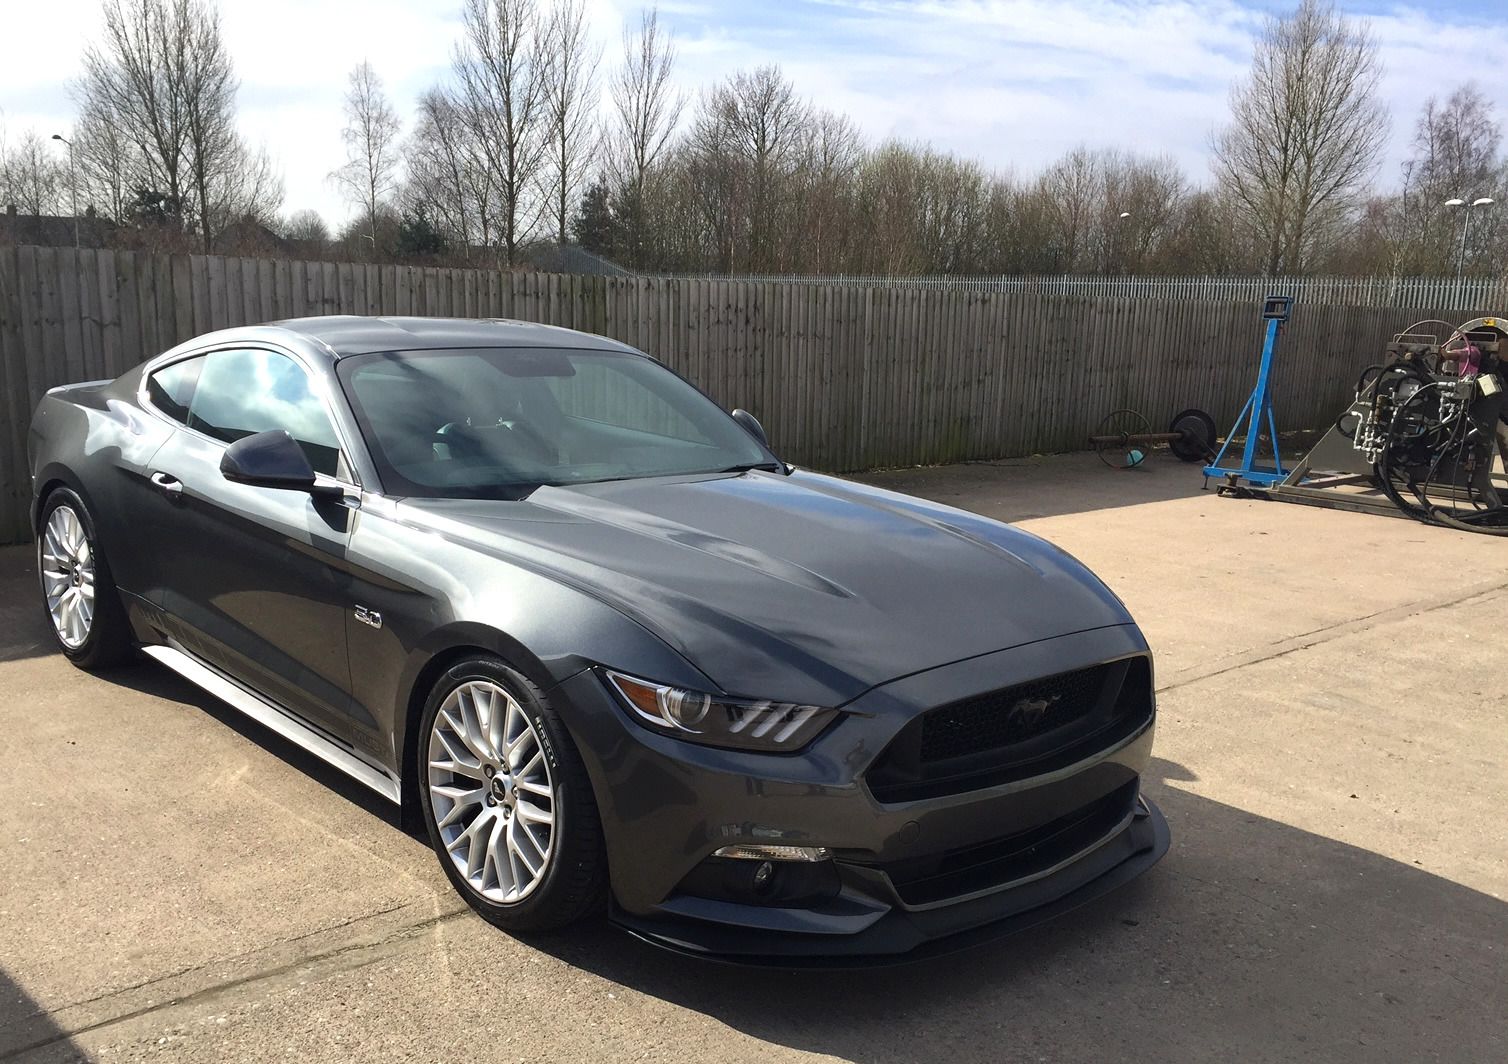
I took my decent camera into work as knew it was going to be sunny, unfortunately the clean car was not so clean due to salt from the road, but still I grabbed some photos of the car as it stands now.
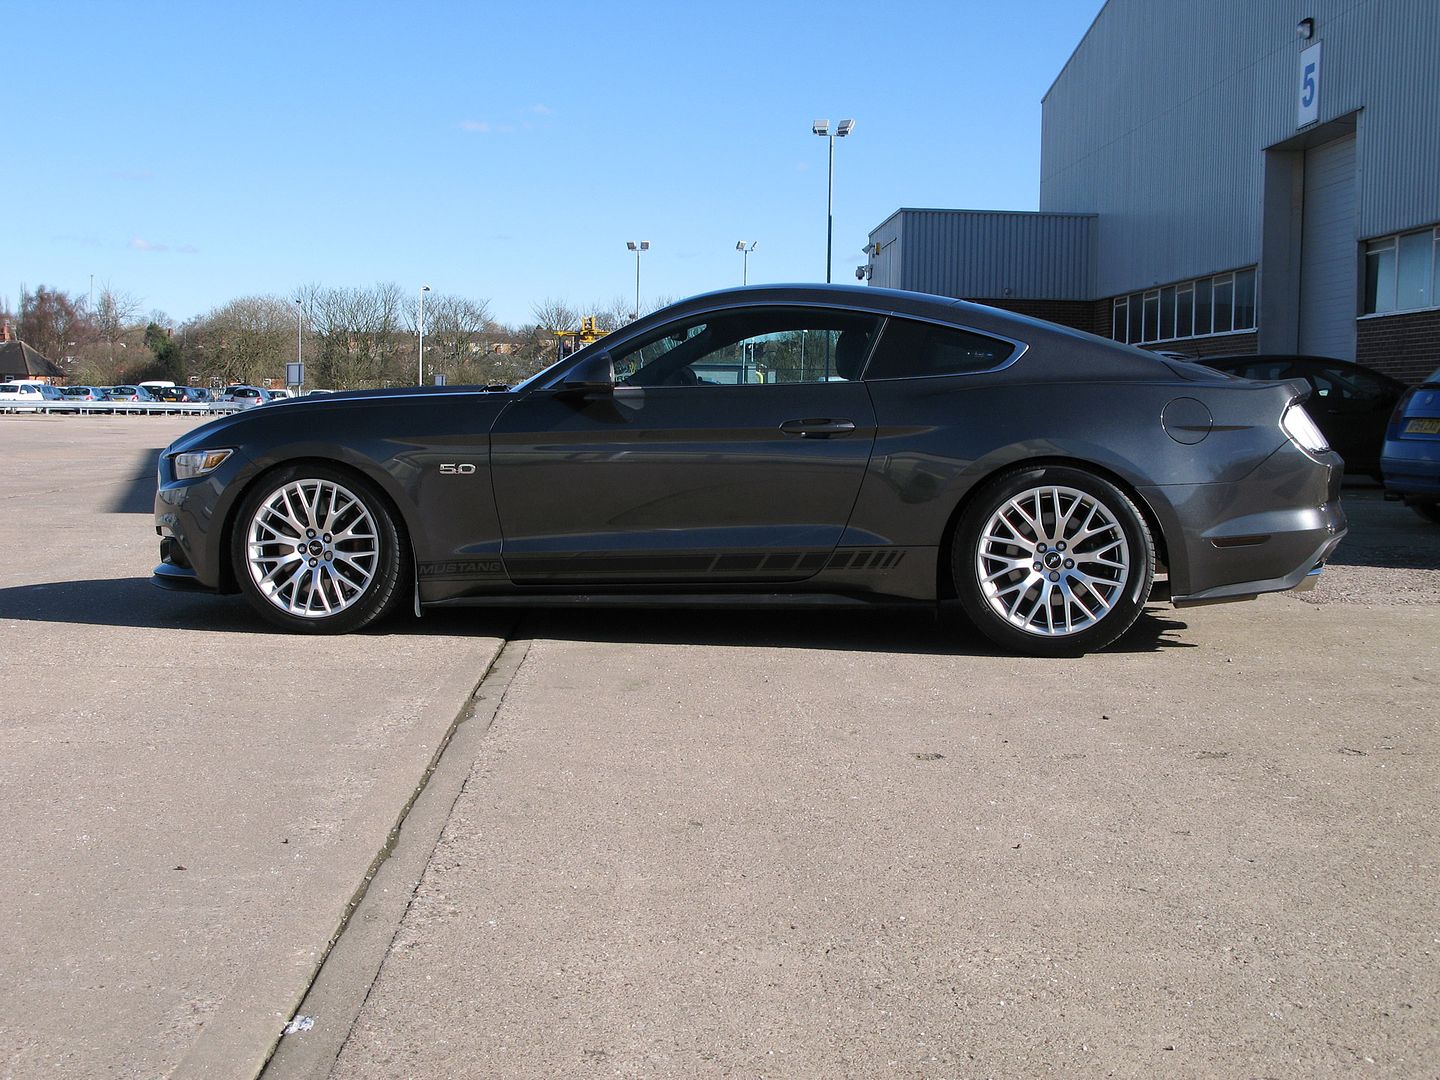
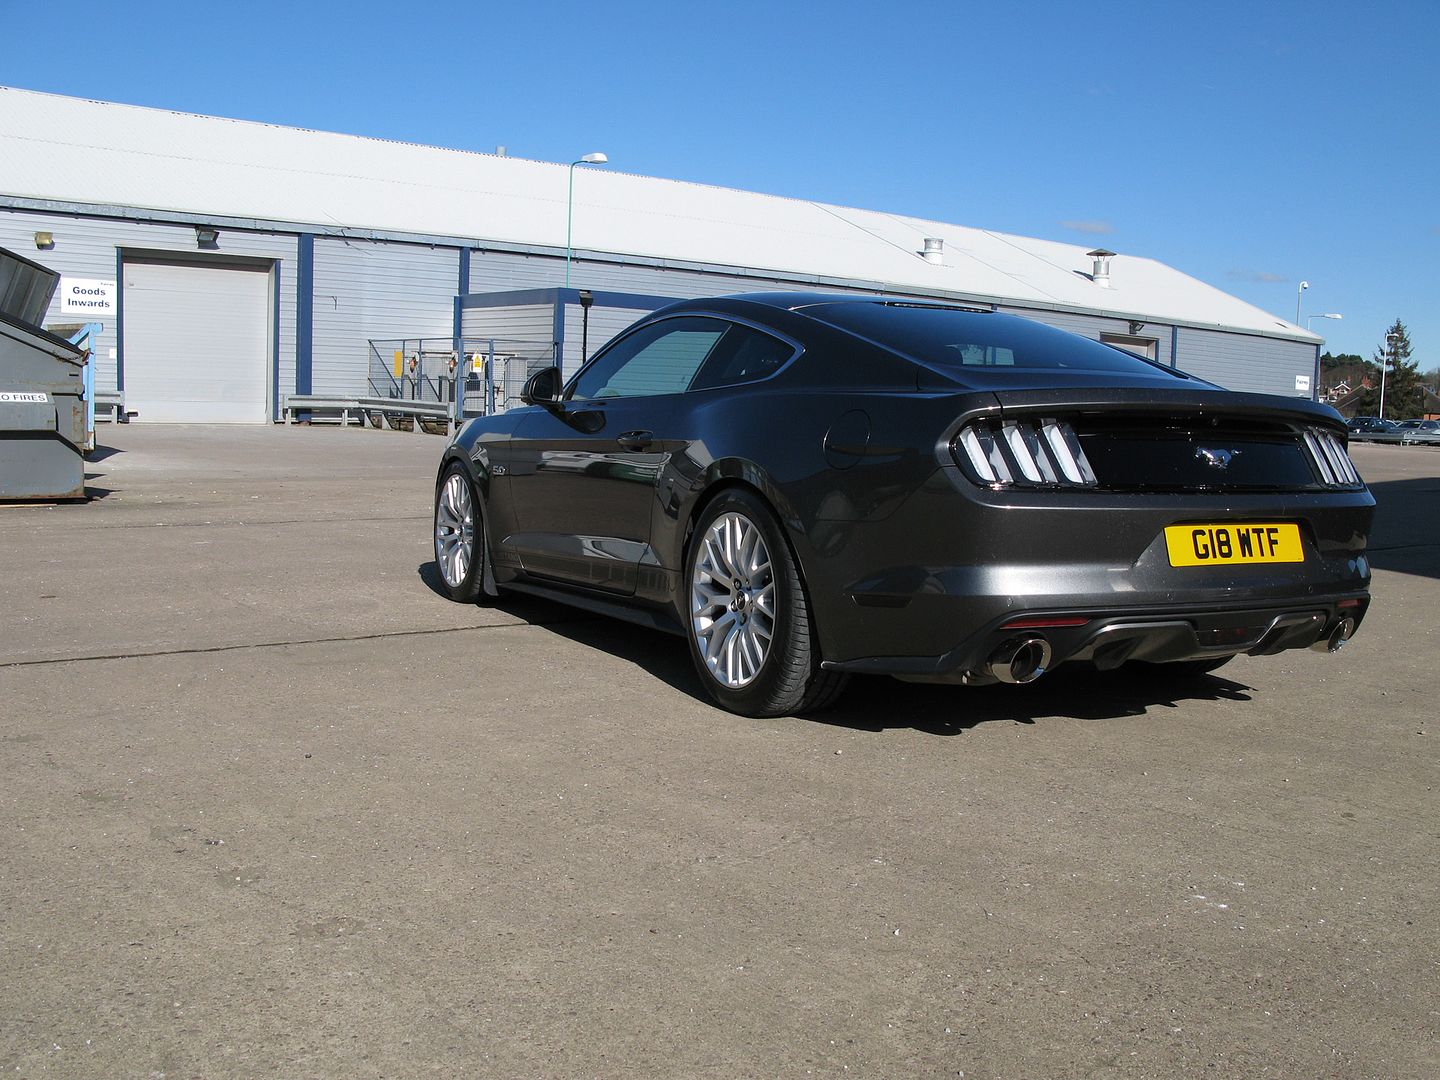
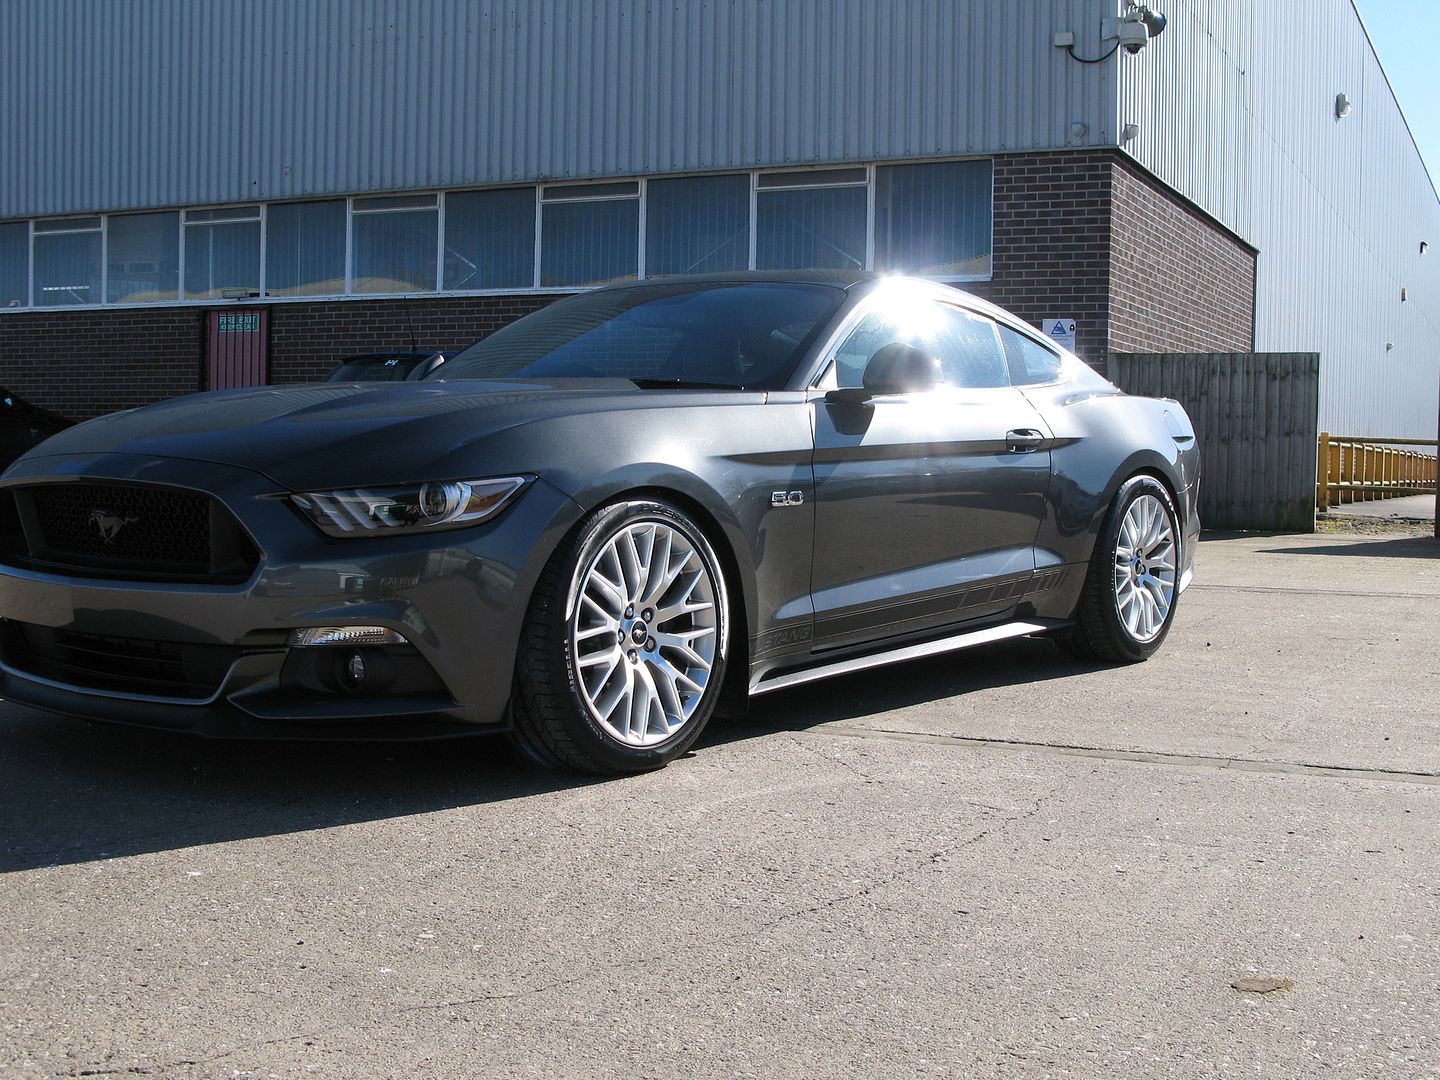
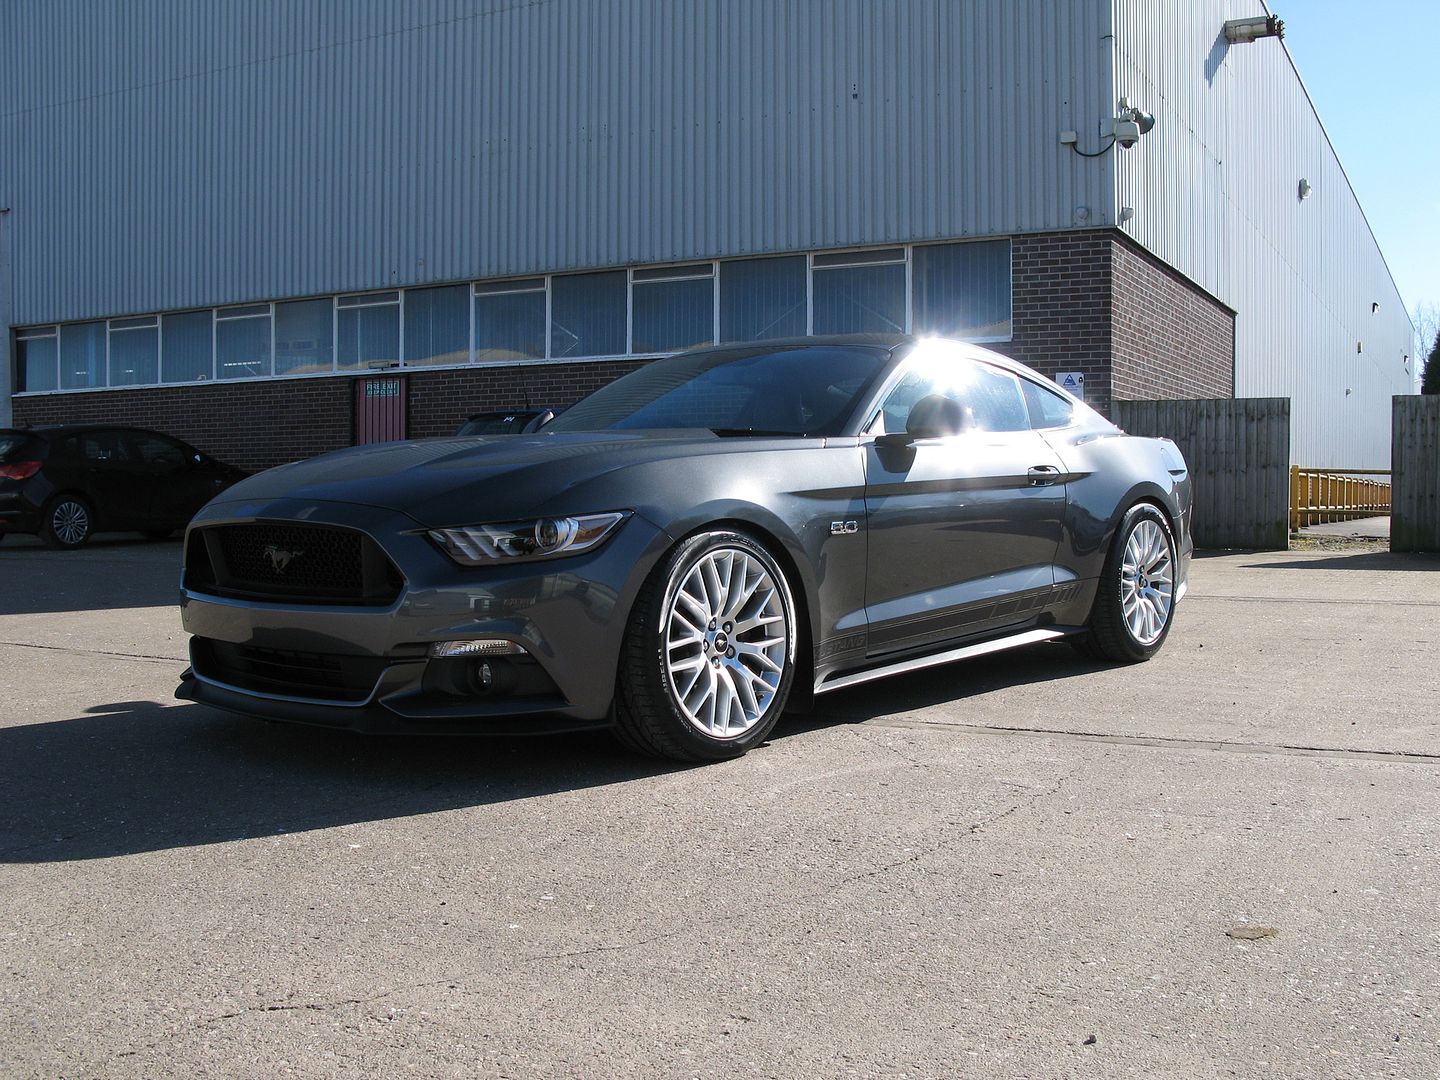
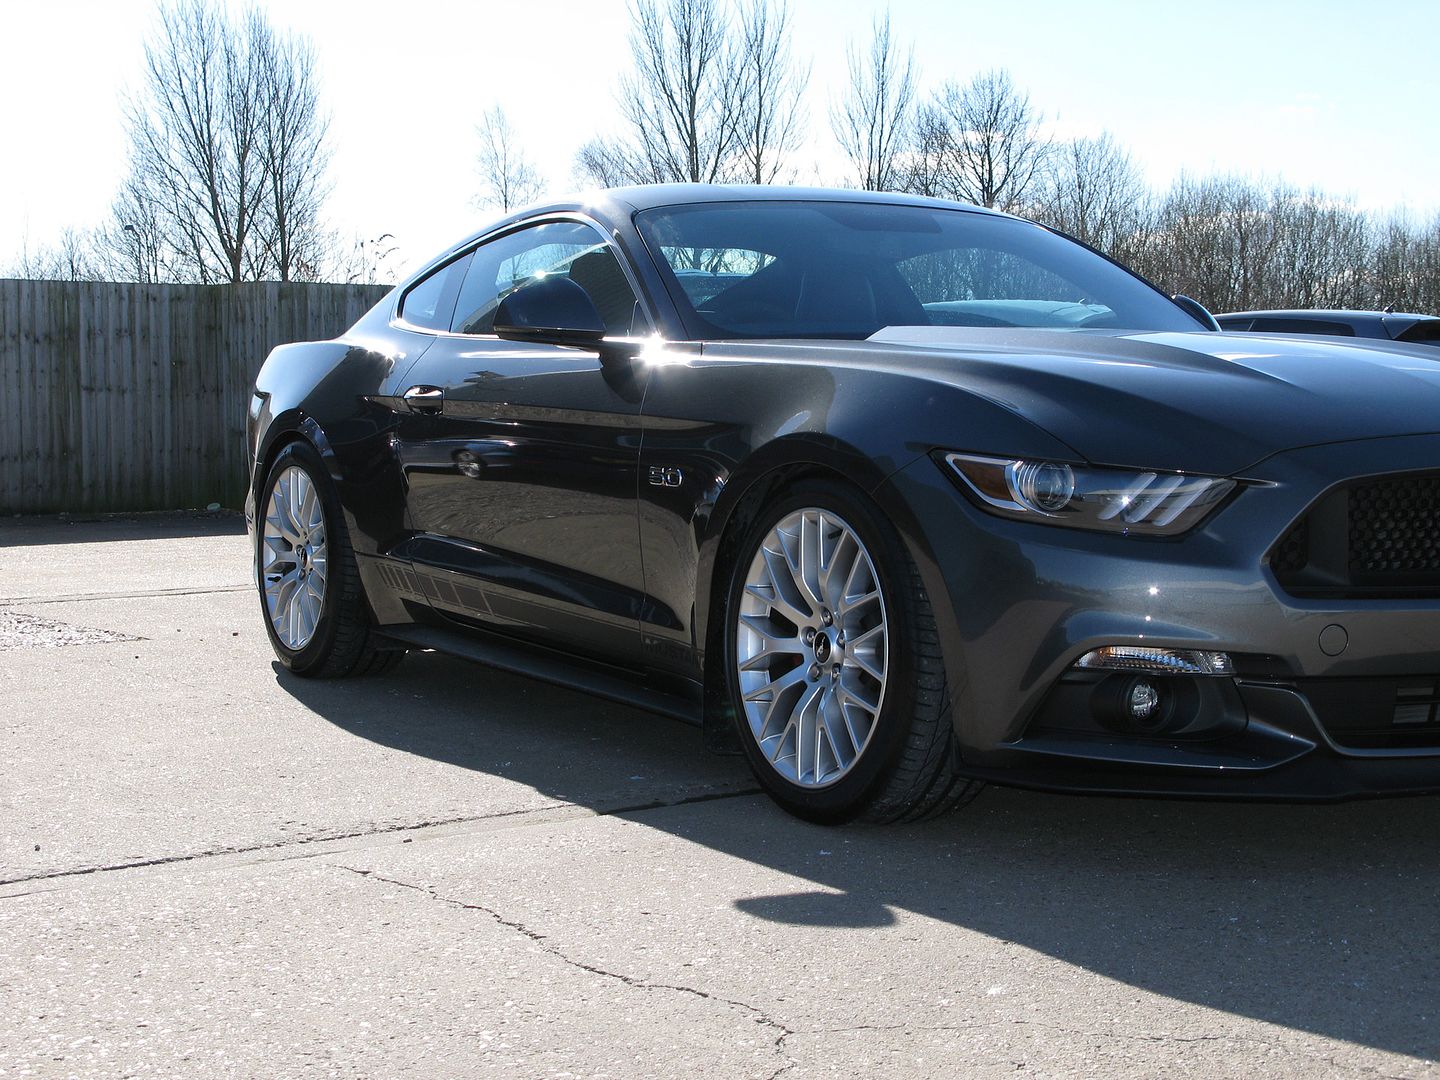
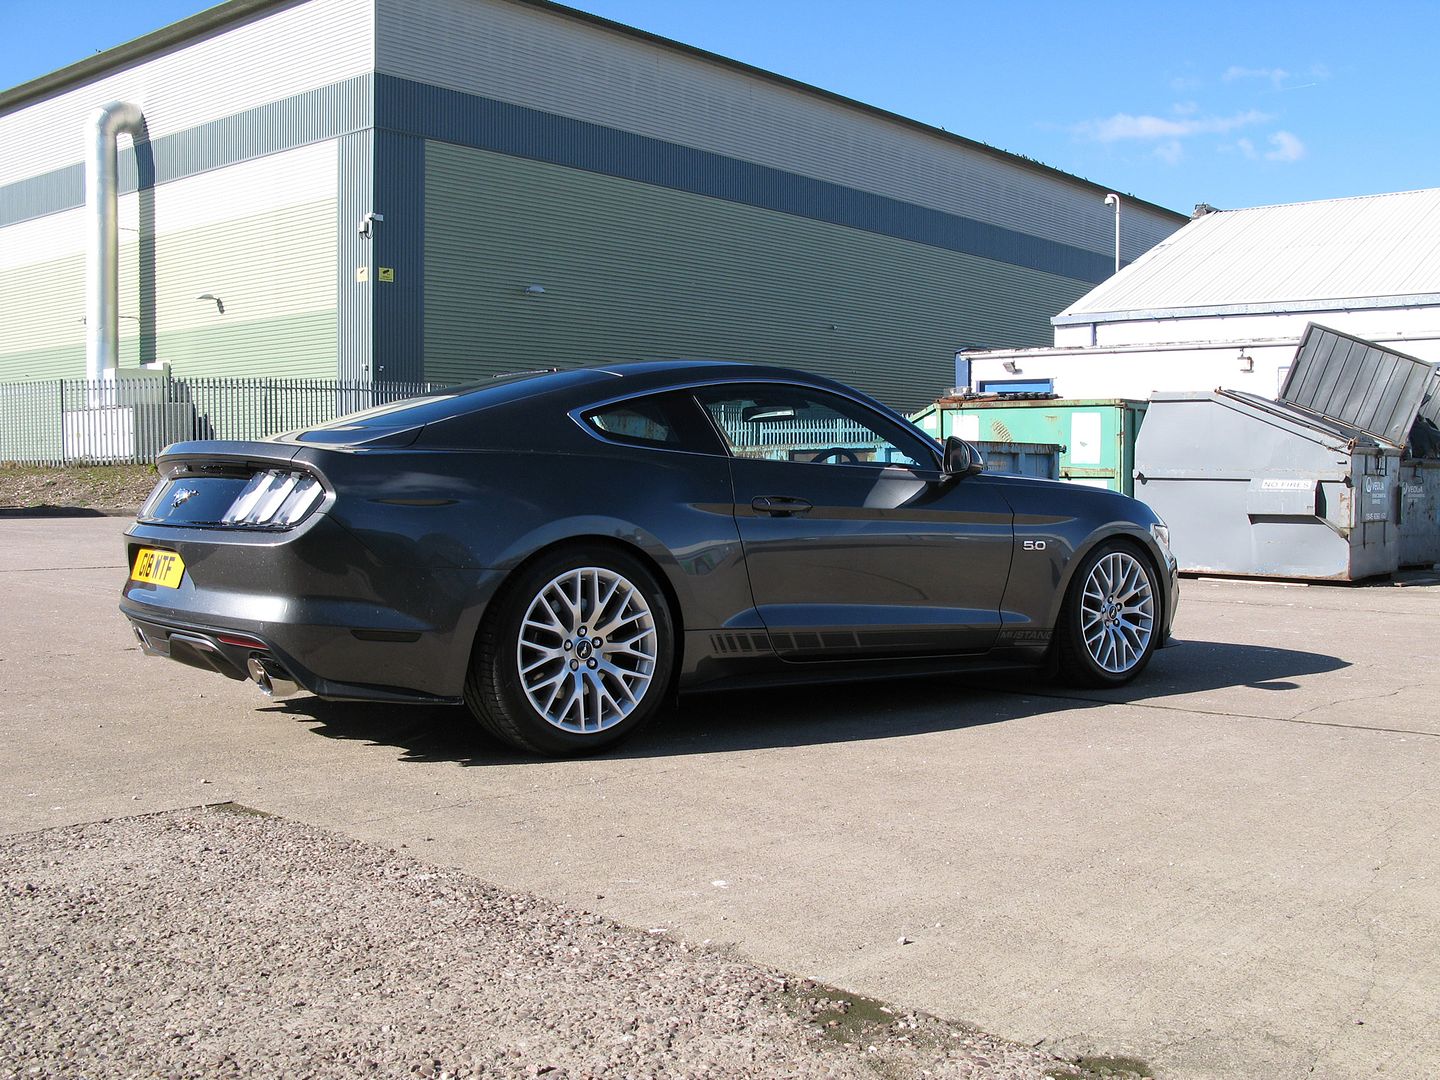
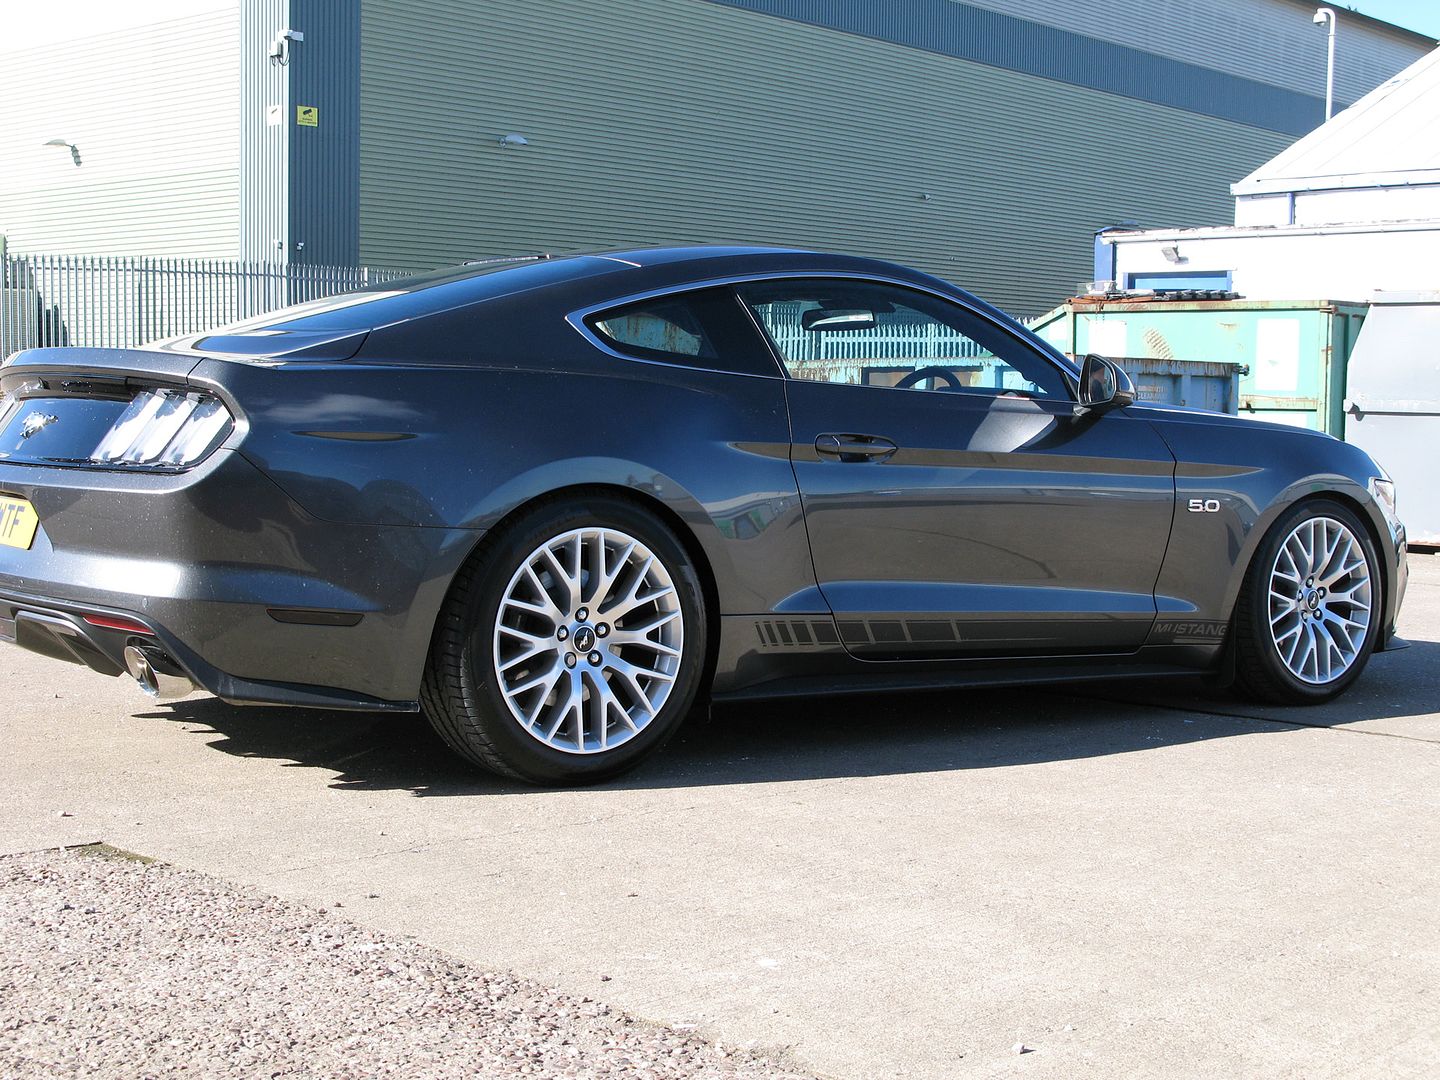
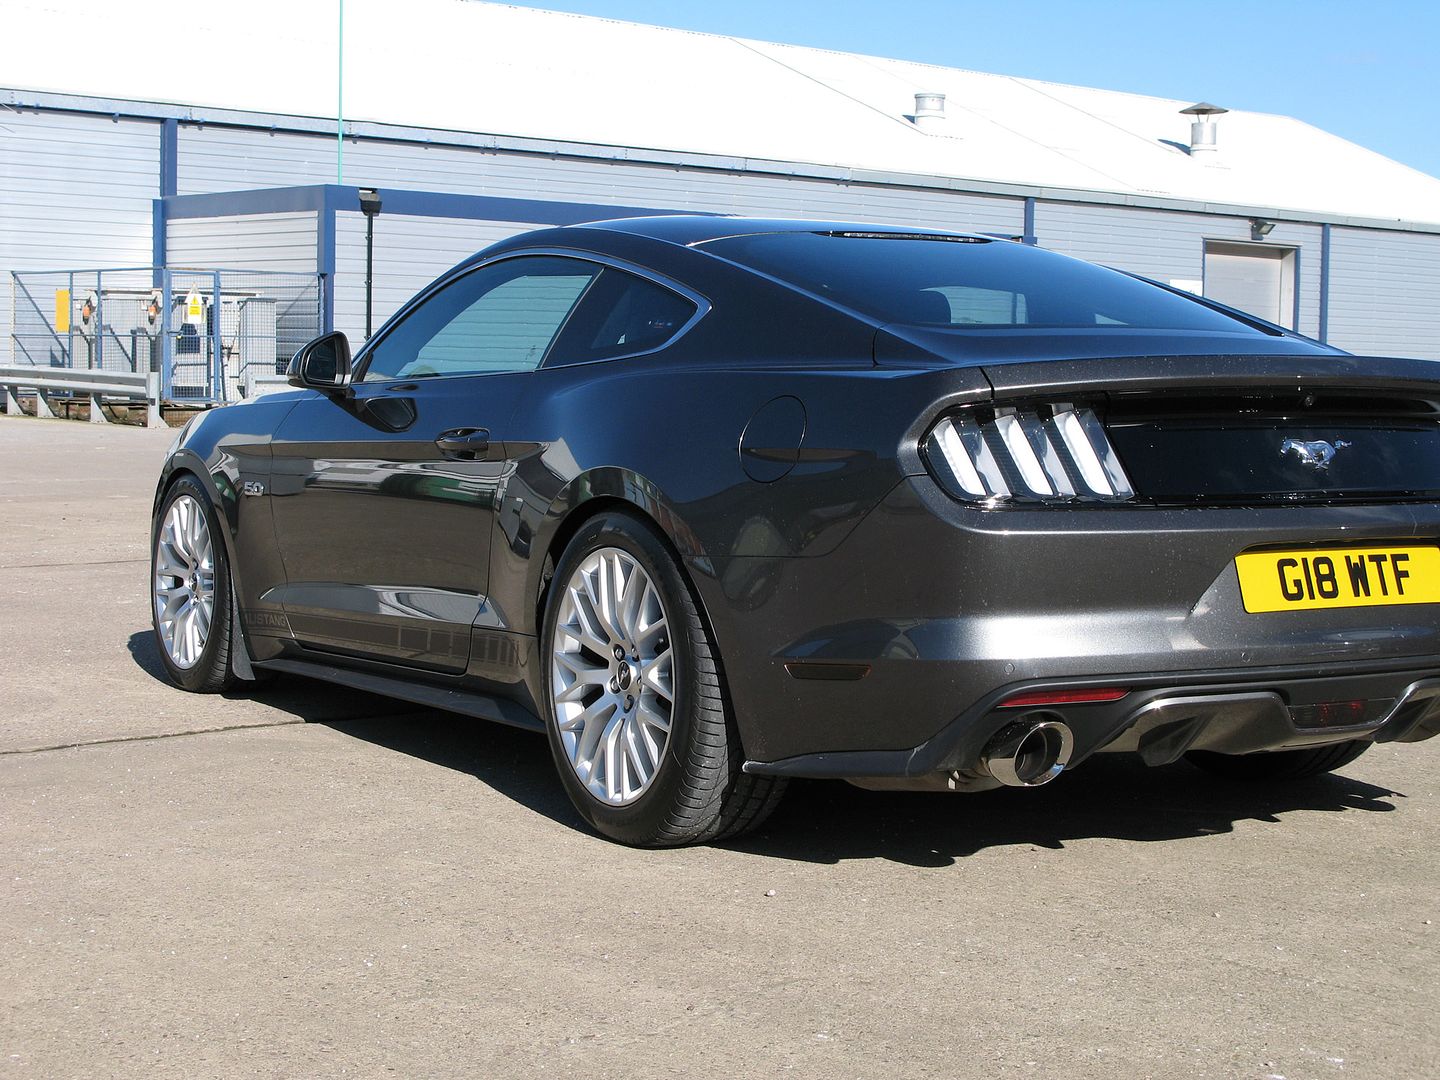
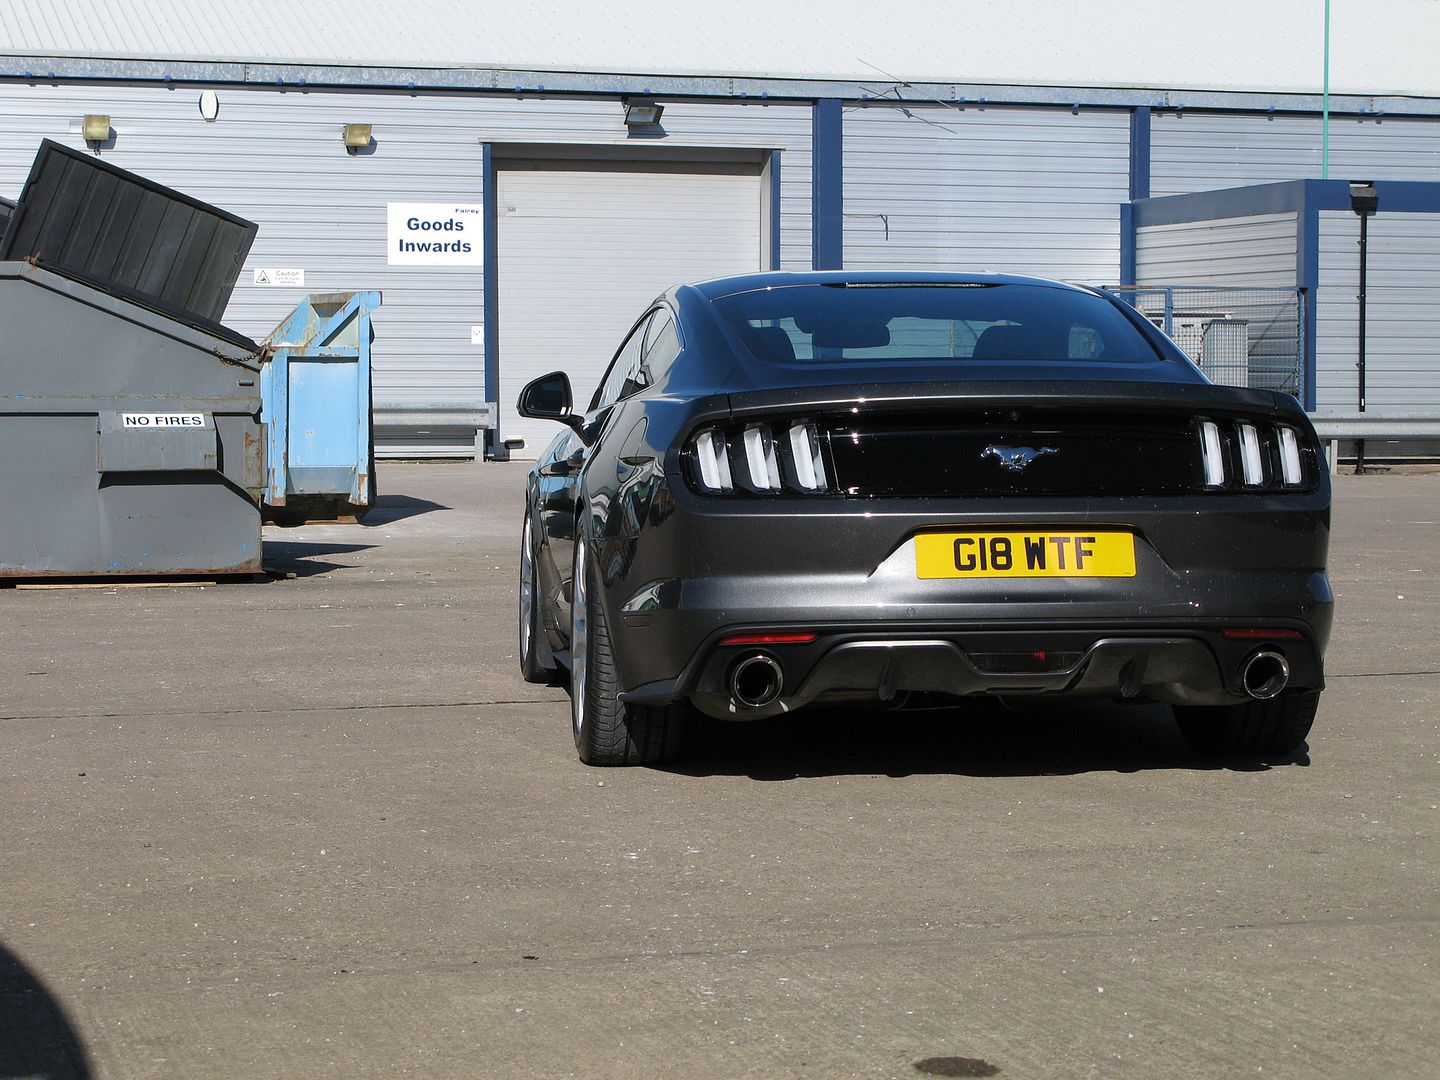
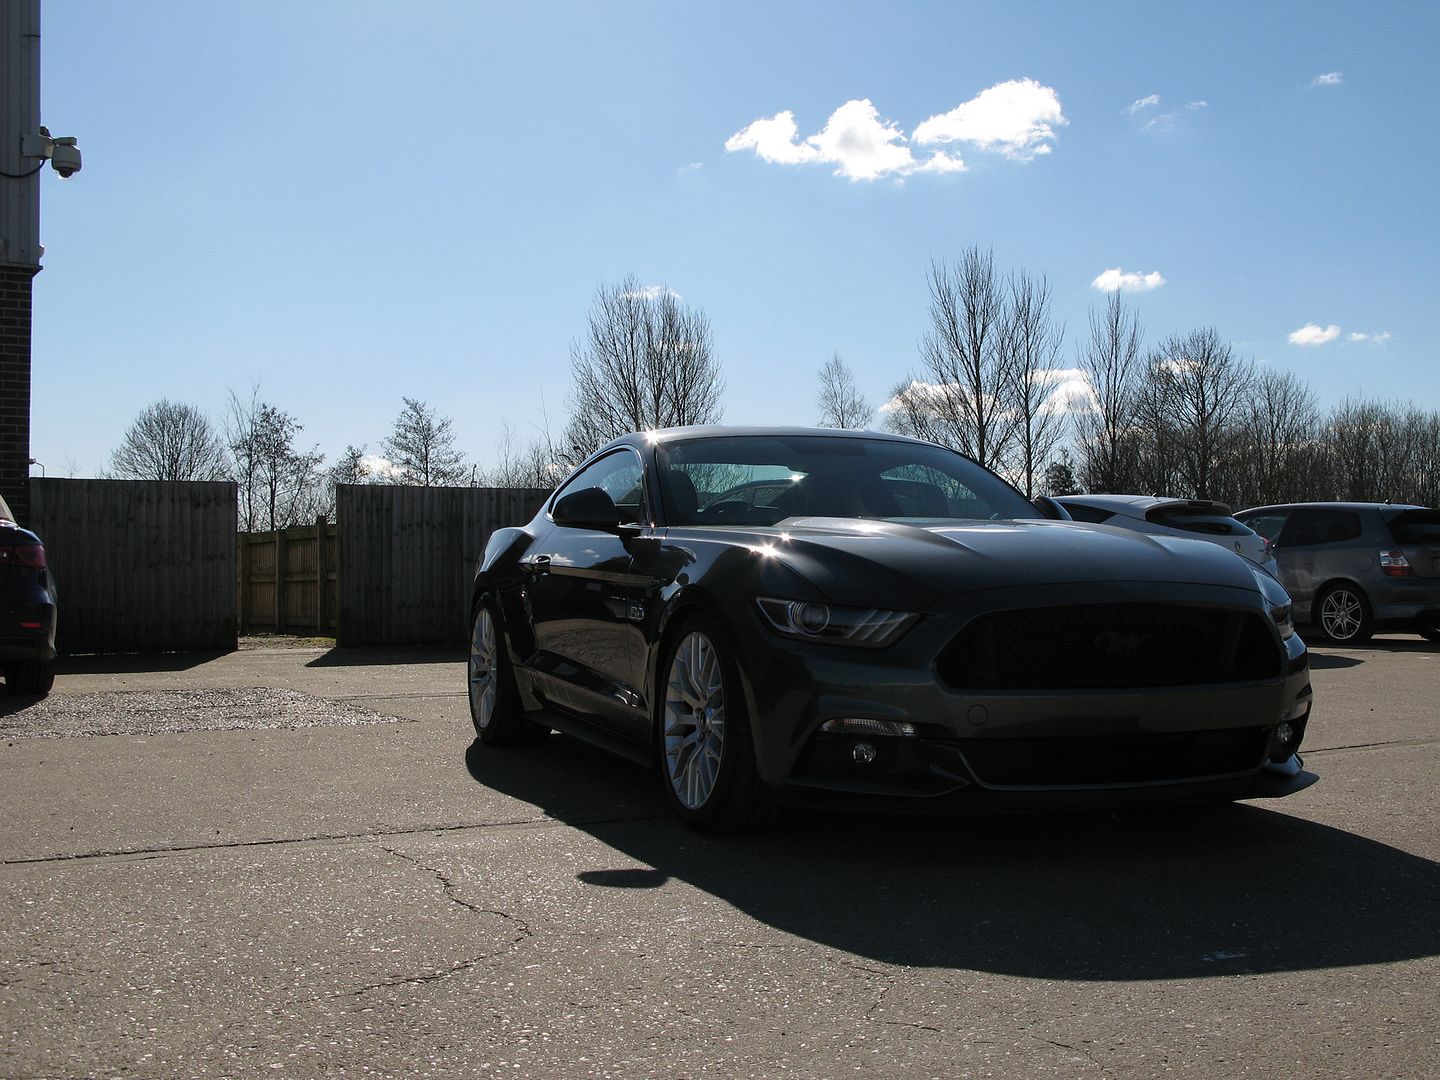
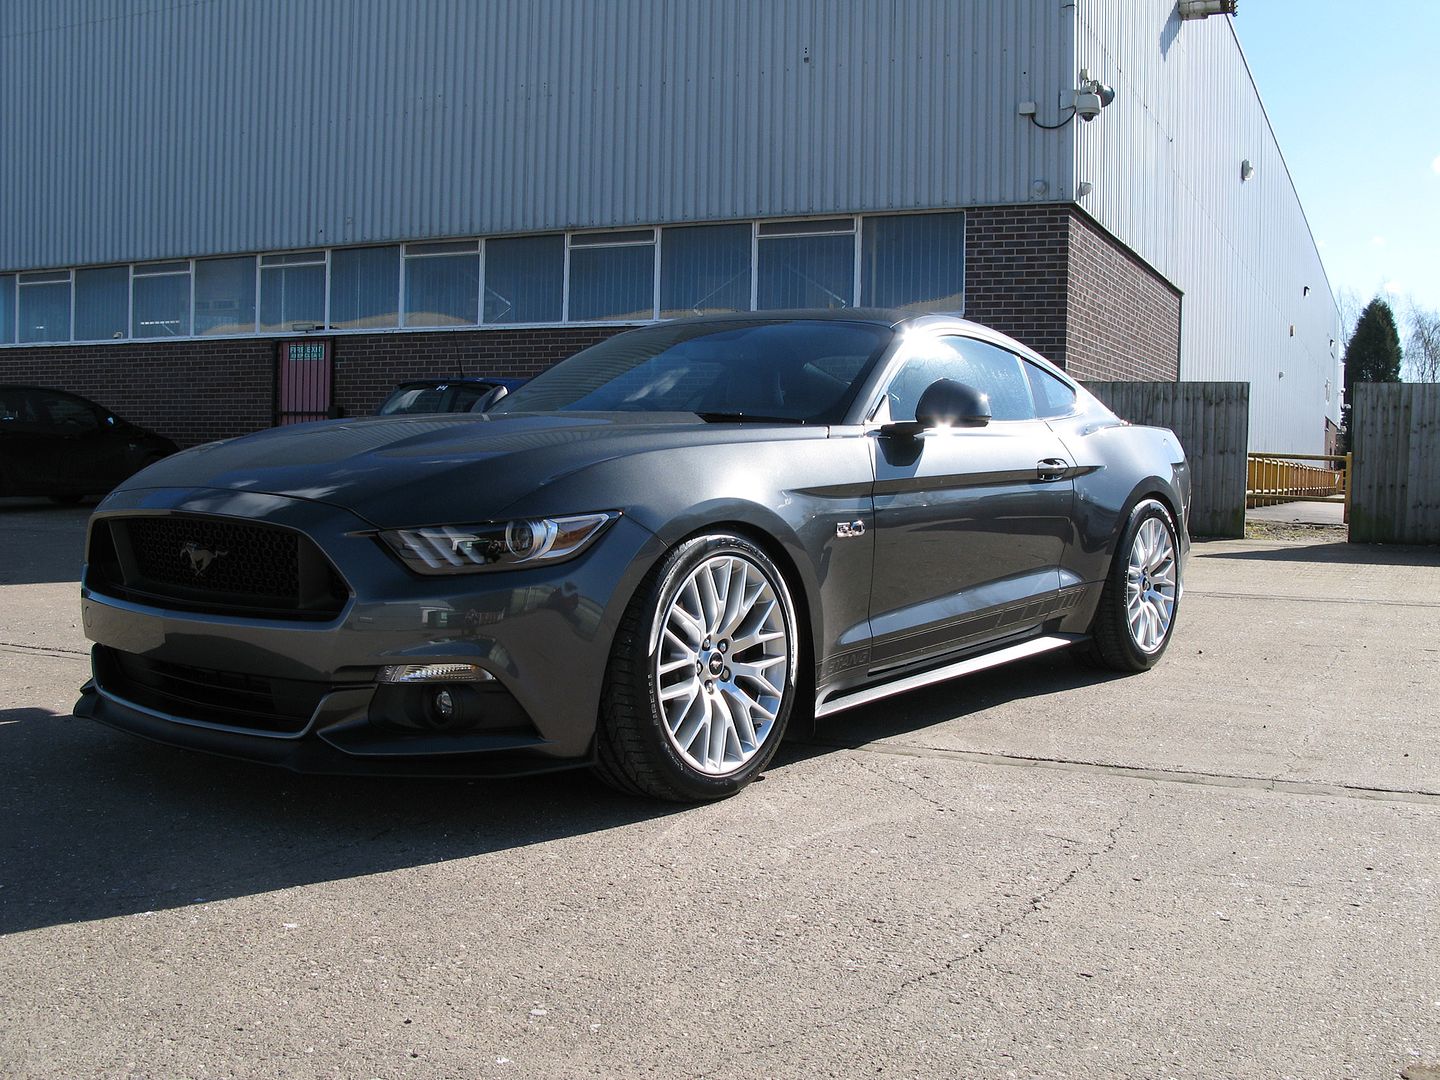
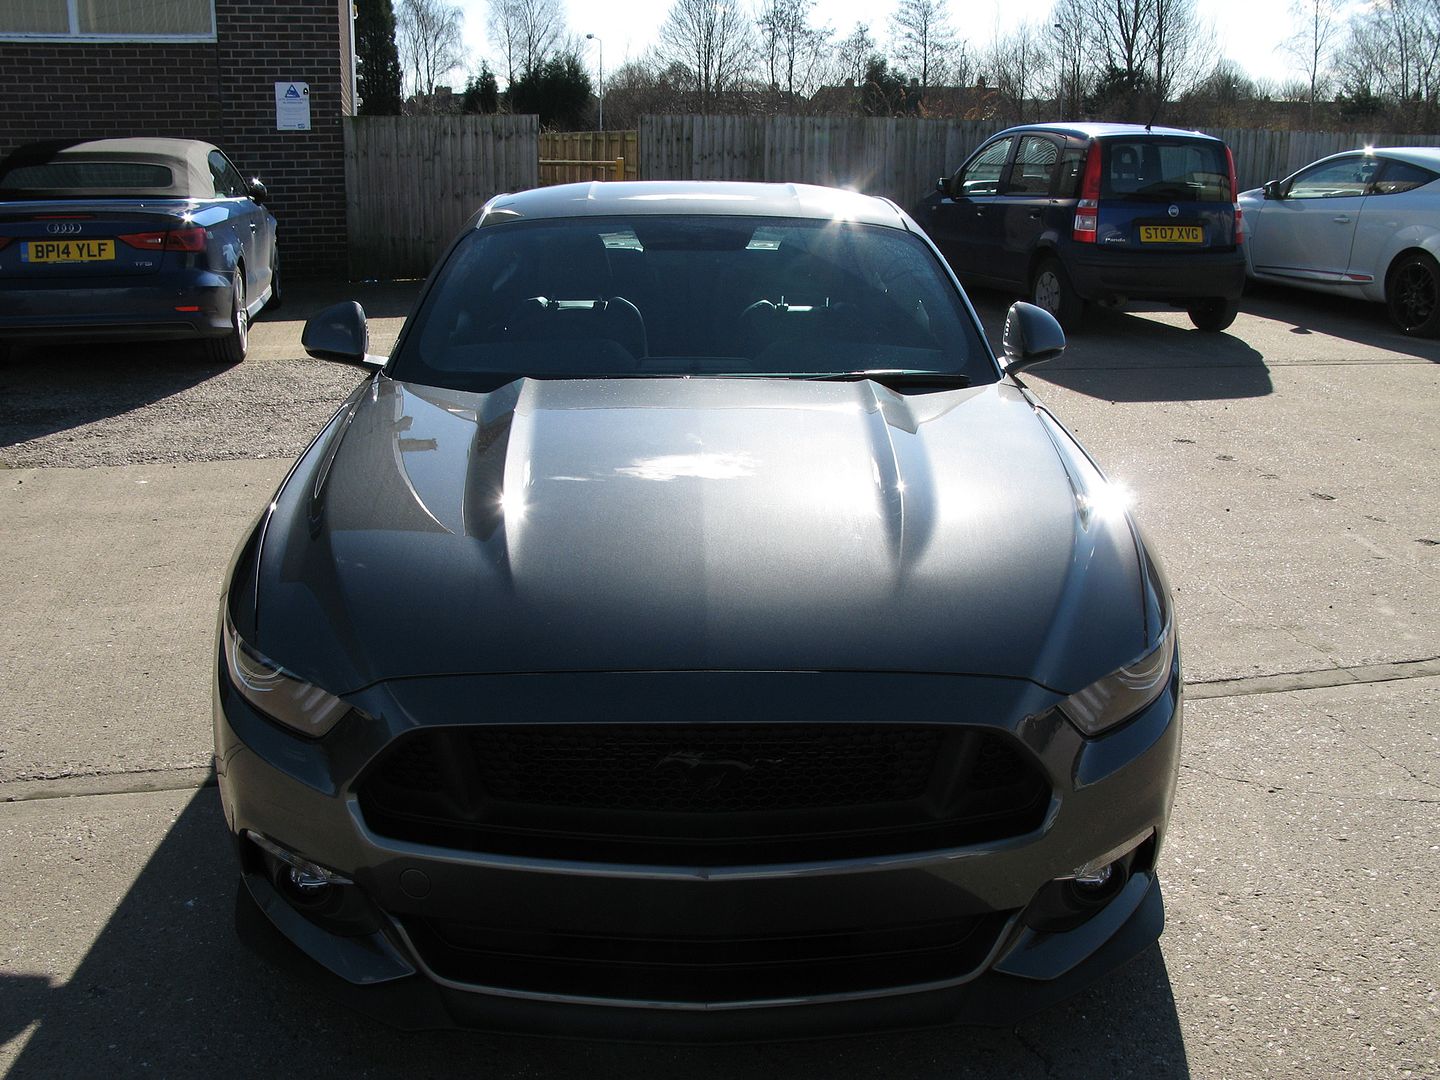
Quite a change yet subtle from the stock car, the Steeda front splitter, RTR side/rear splitters and Shelby 350 track pack spoiler will finish it off. Then just deciding on what wheels in coming months and maybe a de-chrome.
I took my decent camera into work as knew it was going to be sunny, unfortunately the clean car was not so clean due to salt from the road, but still I grabbed some photos of the car as it stands now.
Quite a change yet subtle from the stock car, the Steeda front splitter, RTR side/rear splitters and Shelby 350 track pack spoiler will finish it off. Then just deciding on what wheels in coming months and maybe a de-chrome.
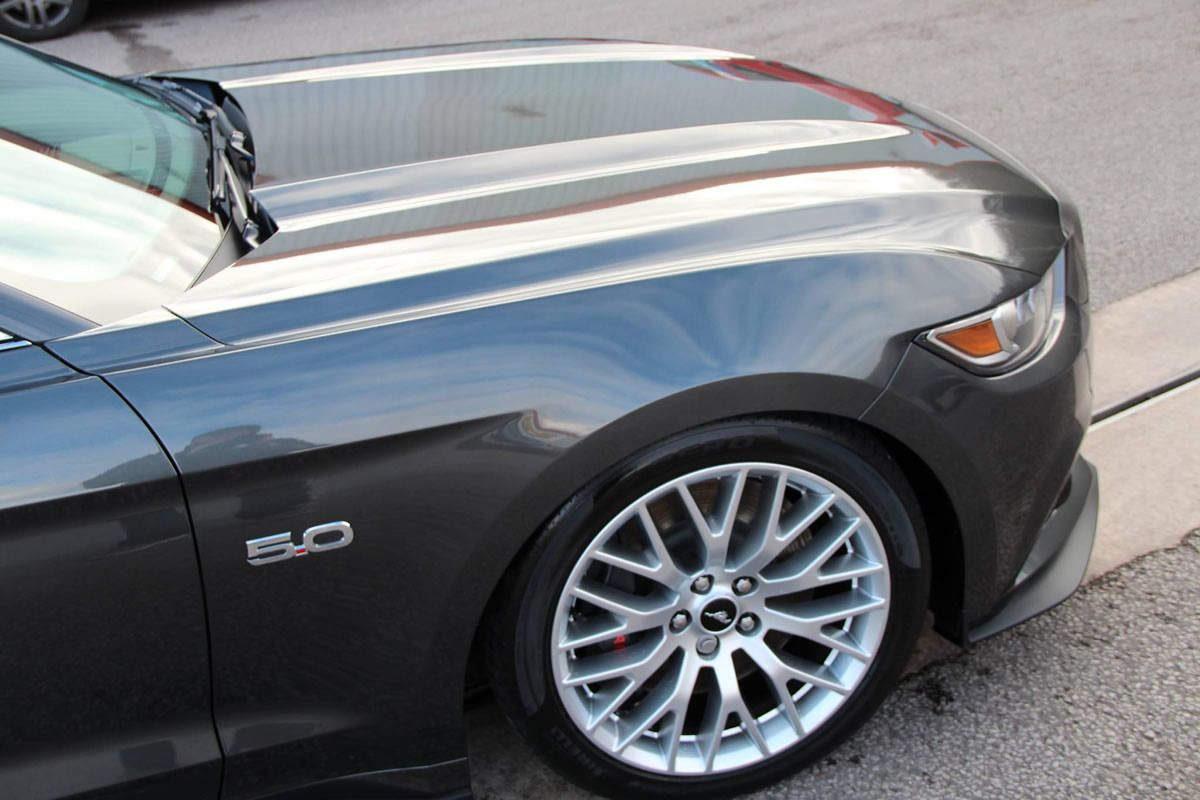
Had this part for months, just held of fitting until I had my rear spoiler/wing sorted.
So here is the Steeda front splitter fitted:
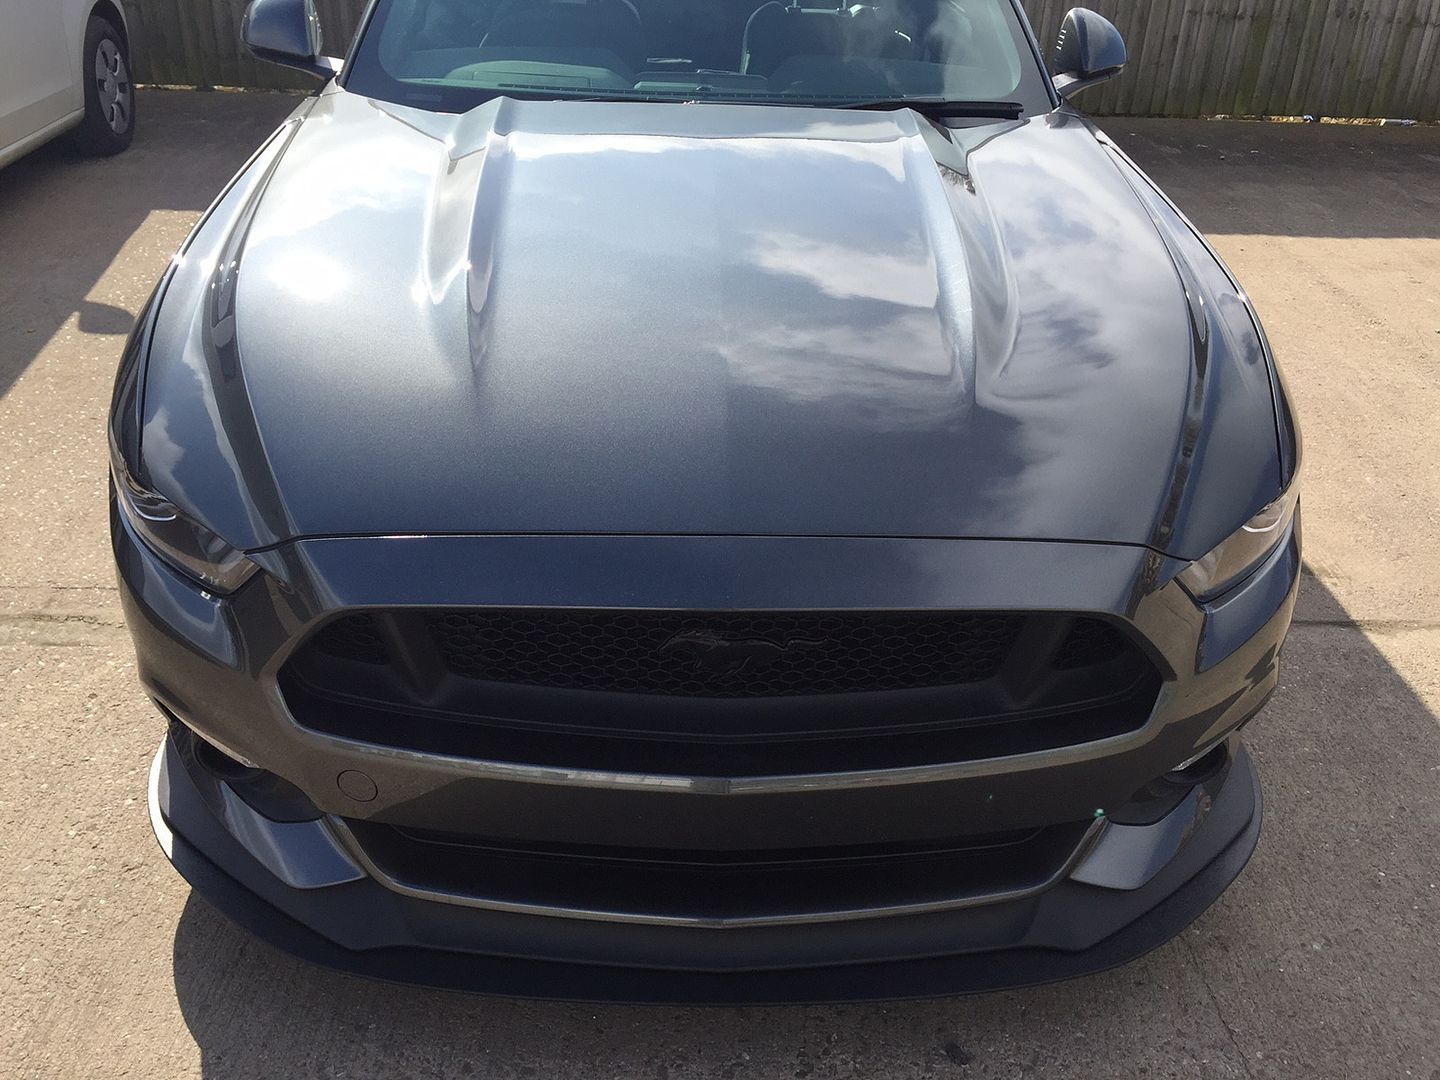
I am really very happy with how this turned out, I do not like the APR carbon one because it sticks out a lot more and the carbon finish does not go with rest of the car and the rubber lip on the edge of the carbon looks wrong.
I like this Steeda part as its the same surface as the stock GT trim but a little darker so it does not hide the GT PP front valance lines, its come out great, subtle but aggressive.
Hopefully later this week I will get the RTR side skirts and rear splitters fitted and then just waiting for the Ford Shelby 350 track pack spoiler to arrive.
Plus Steve has pretty made my mind up and I shall no doubt be go with HRE FF15 in 20" which finishes the car off aesthetically. Next stop, WHIPPLE!
So here is the Steeda front splitter fitted:
I am really very happy with how this turned out, I do not like the APR carbon one because it sticks out a lot more and the carbon finish does not go with rest of the car and the rubber lip on the edge of the carbon looks wrong.
I like this Steeda part as its the same surface as the stock GT trim but a little darker so it does not hide the GT PP front valance lines, its come out great, subtle but aggressive.
Hopefully later this week I will get the RTR side skirts and rear splitters fitted and then just waiting for the Ford Shelby 350 track pack spoiler to arrive.
Plus Steve has pretty made my mind up and I shall no doubt be go with HRE FF15 in 20" which finishes the car off aesthetically. Next stop, WHIPPLE!
Gassing Station | Mustangs | Top of Page | What's New | My Stuff