Restoration starts again....!
Discussion


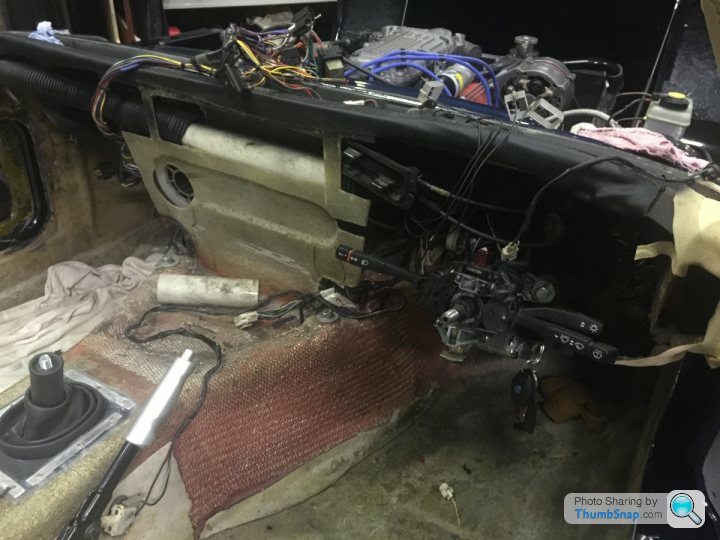
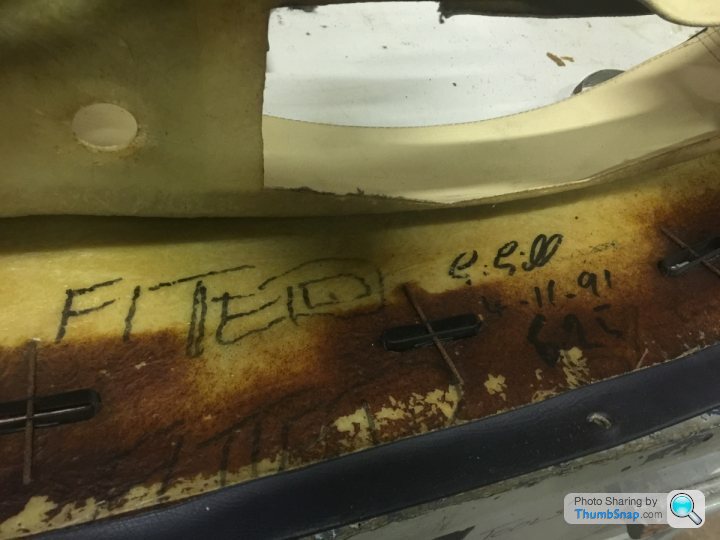
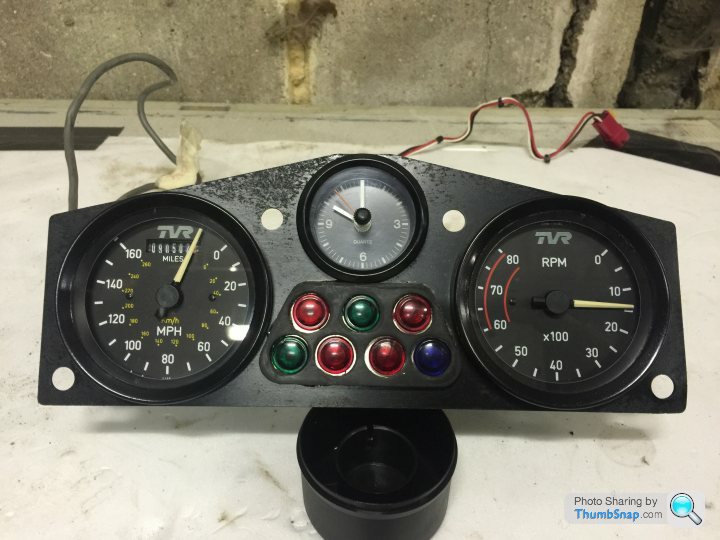
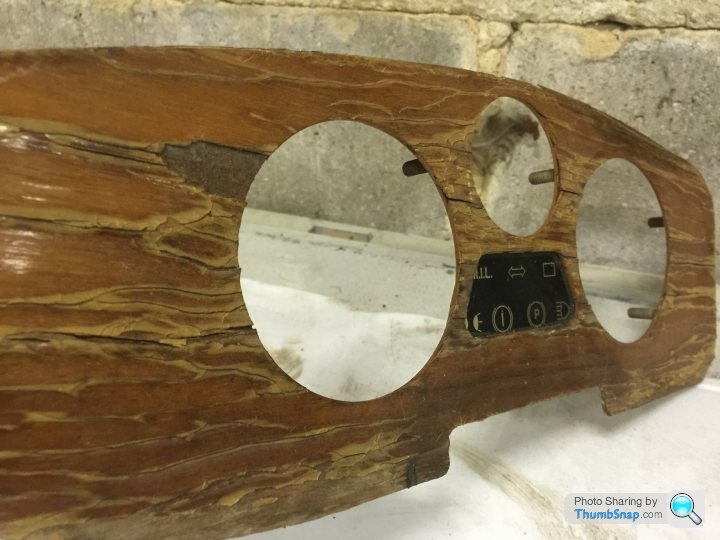
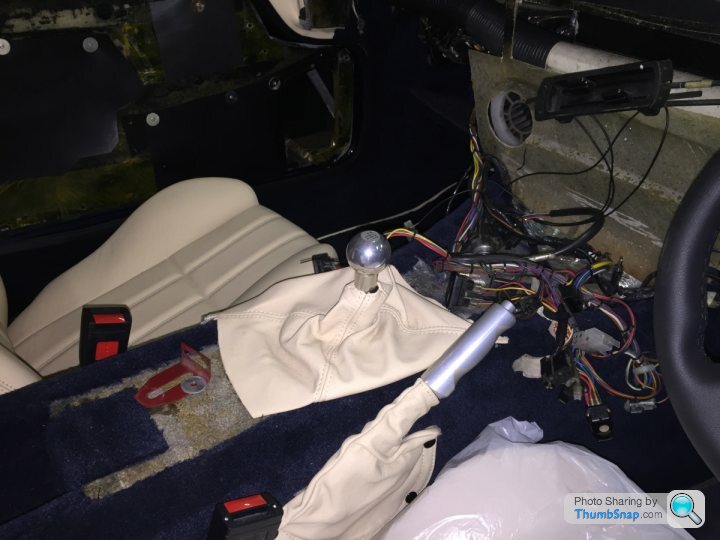
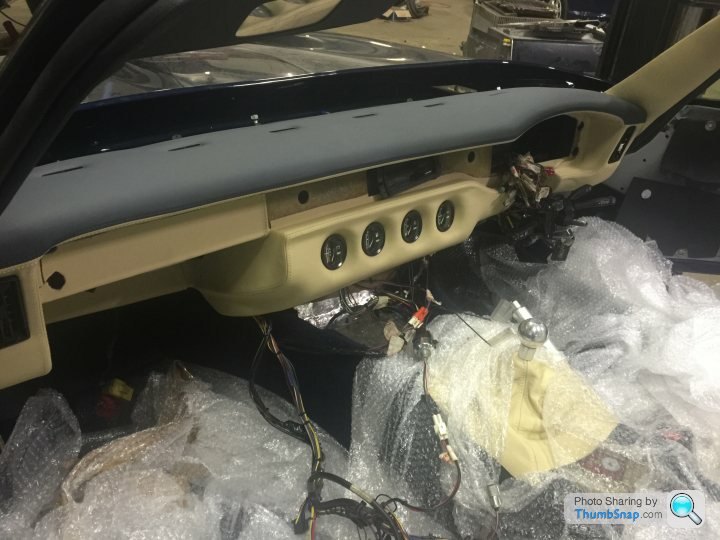
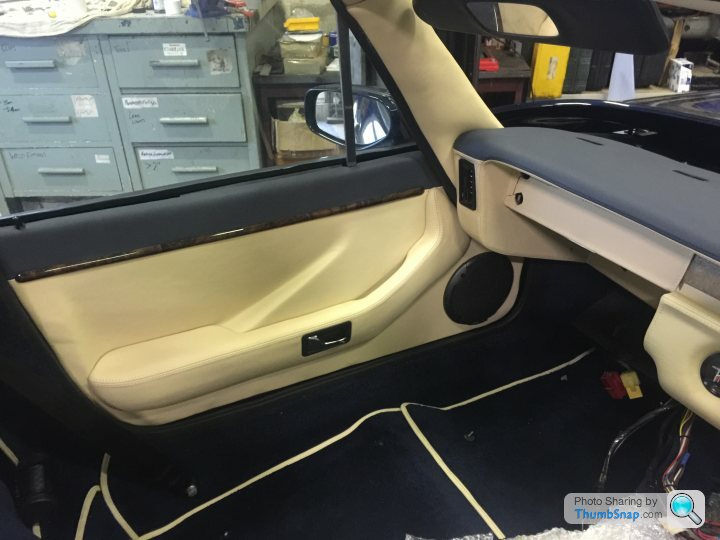
So... To make it easier to get to the bonnet release cable, I've removed the dash. Pretty easy really as only one screw into the upper bulkhead was in but that had to be drilled out! I can now remove and refurbish all the instruments too. I love finding all the hand written dates and notes underneath the panels.
I've removed the cable and think I can re-use the outer sleeve and just replace the 1.5mm inner. I've ordered a length of cable with a pear nipple one end and a new solder-on nipple for the other, I'm sure it'll be an interesting task..
I've removed the cable and think I can re-use the outer sleeve and just replace the 1.5mm inner. I've ordered a length of cable with a pear nipple one end and a new solder-on nipple for the other, I'm sure it'll be an interesting task..
As you have all that out why not remove the heater and make sure that it all works as it should? You'll kick yourself if you find there is a problem after you put it all back together.
[/quote]
The heater will be out at the weekend Joe, full health check and lubrication will be administered...
[/quote]
The heater will be out at the weekend Joe, full health check and lubrication will be administered...
Getting close to being re-trimmed now, so all the detail stuff being done at the moment, you know, the stuff that takes ages and looks like you've done nothing..!!!!
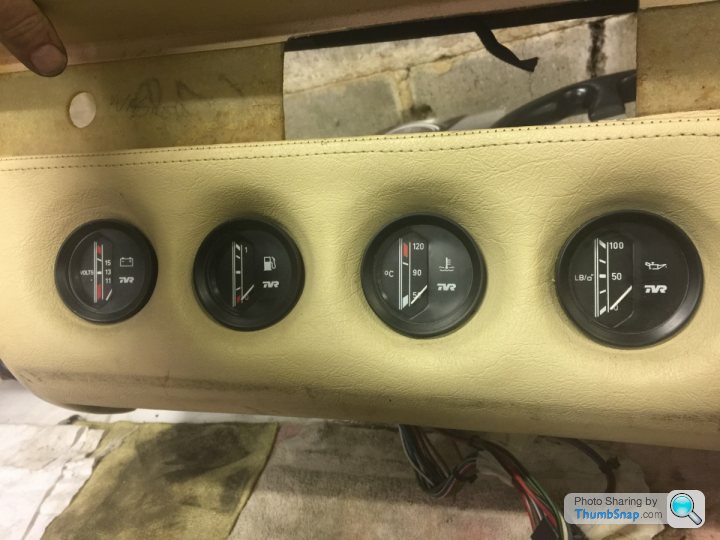
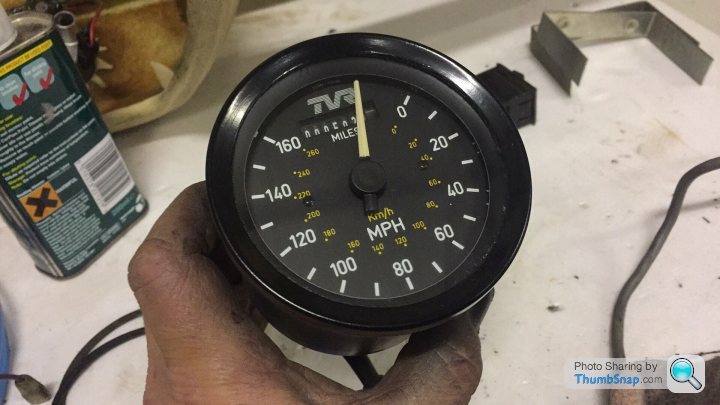
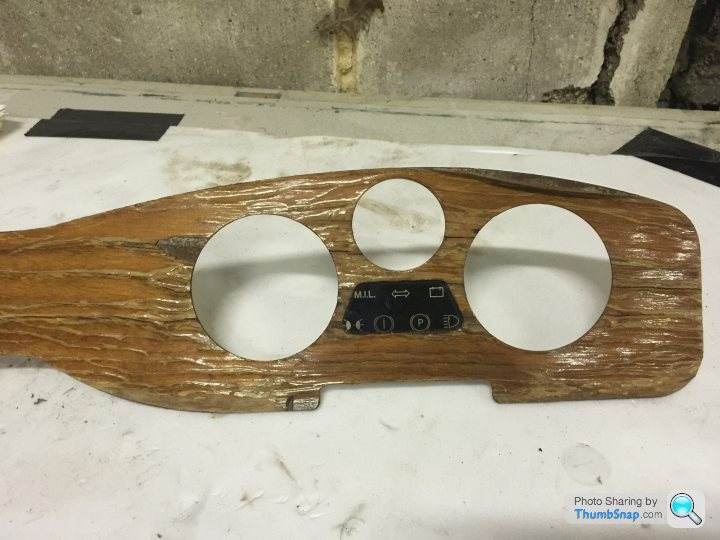
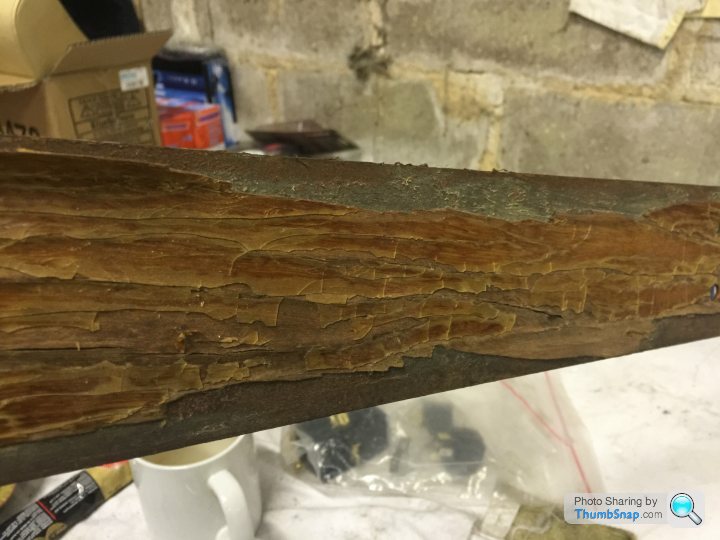
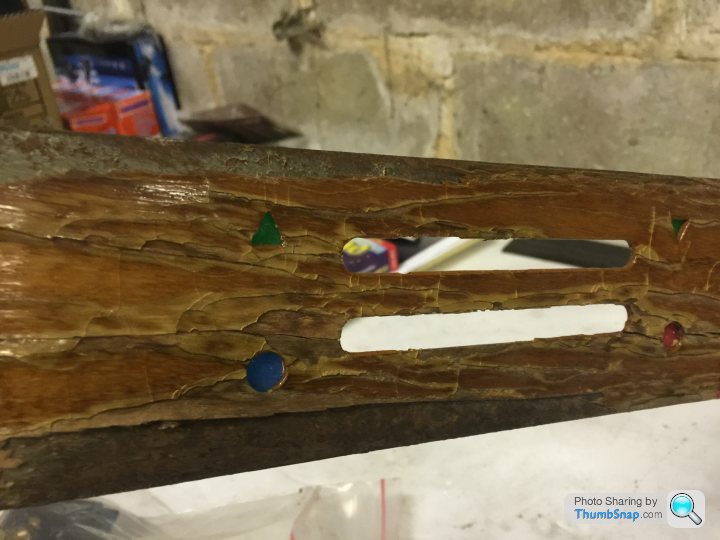
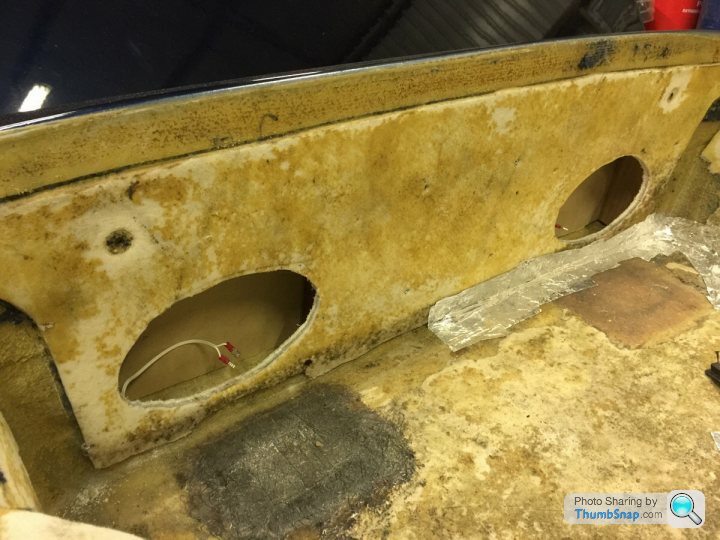
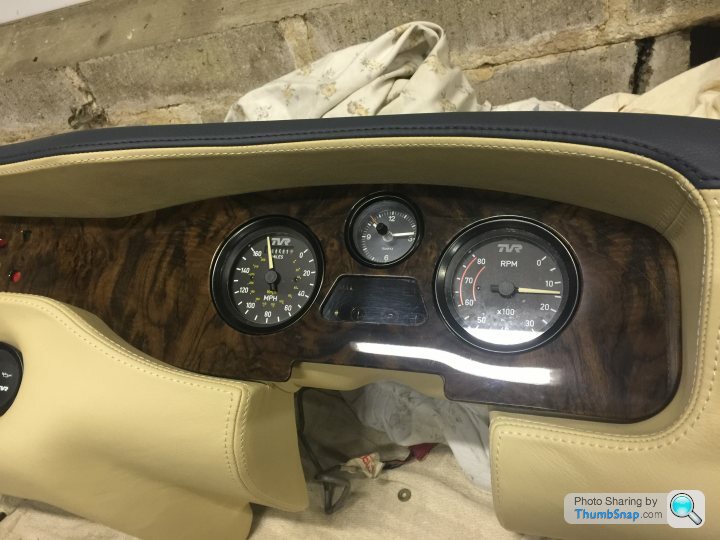
Took all the instruments apart to try and make them look decent, the dash was in a terrible state as the car had been left outside prior to me buying it. Quite happy with the results but I think I'll leave the dash to the trimmer. Was going to tackle it but running out of time.
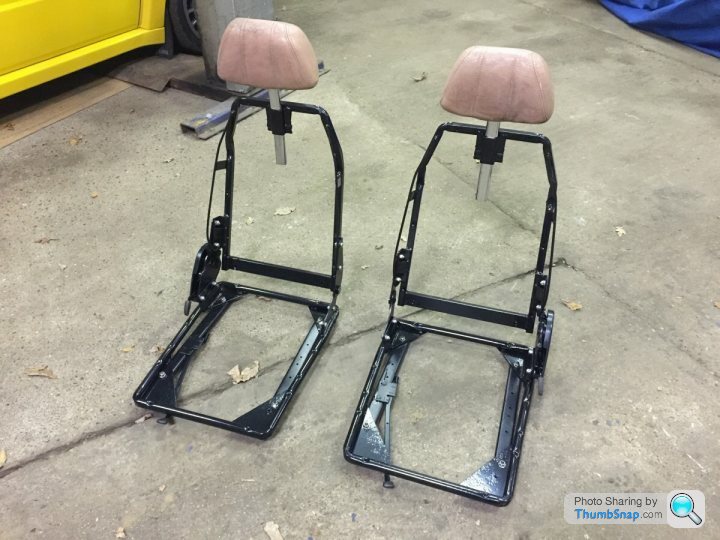
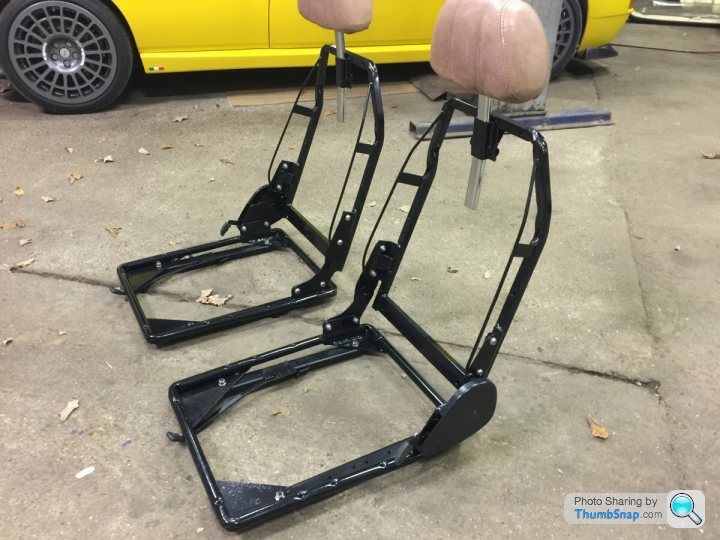
Bonnet cable repaired and working (b..stard job), but I need to re-align the bonnet slightly. Just got seat frames to reassemble after I've painted them (Chimaera seats) and replace the rubber sheet flaps on the doors and we're there..
Took all the instruments apart to try and make them look decent, the dash was in a terrible state as the car had been left outside prior to me buying it. Quite happy with the results but I think I'll leave the dash to the trimmer. Was going to tackle it but running out of time.
Bonnet cable repaired and working (b..stard job), but I need to re-align the bonnet slightly. Just got seat frames to reassemble after I've painted them (Chimaera seats) and replace the rubber sheet flaps on the doors and we're there..

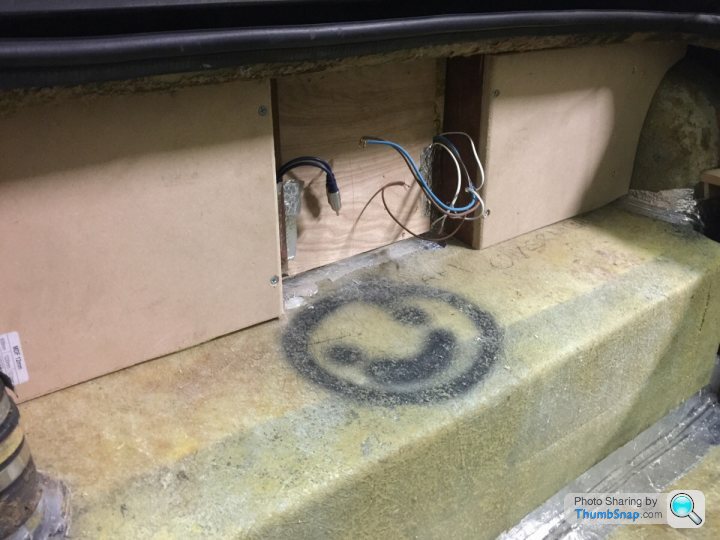
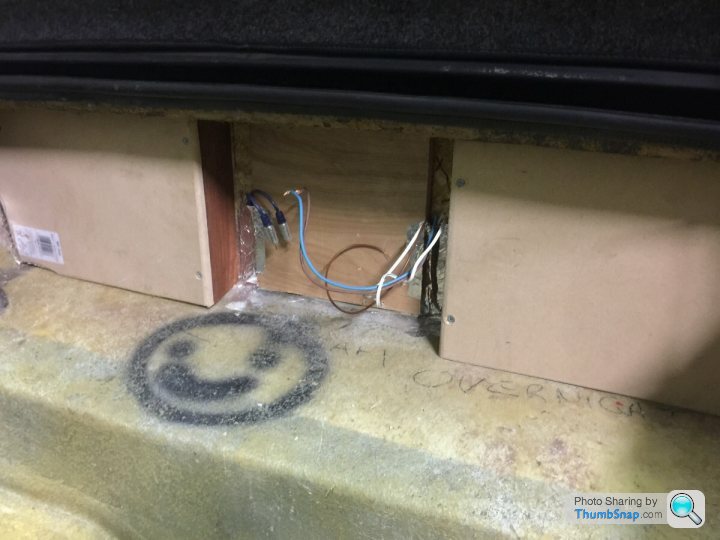
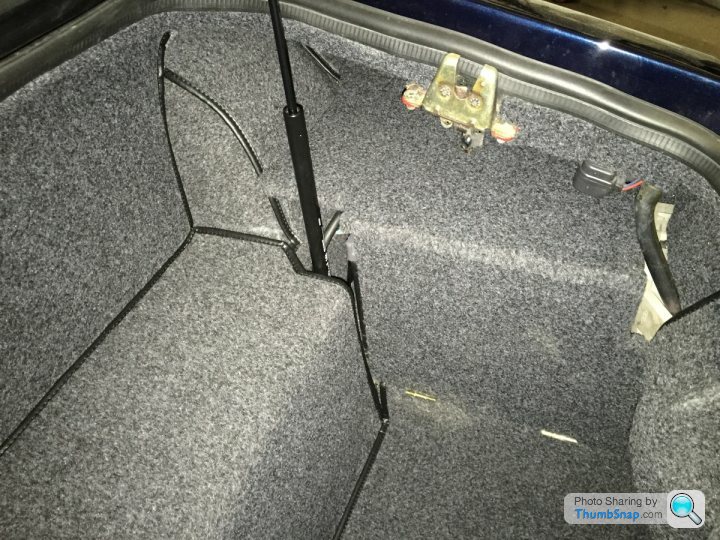
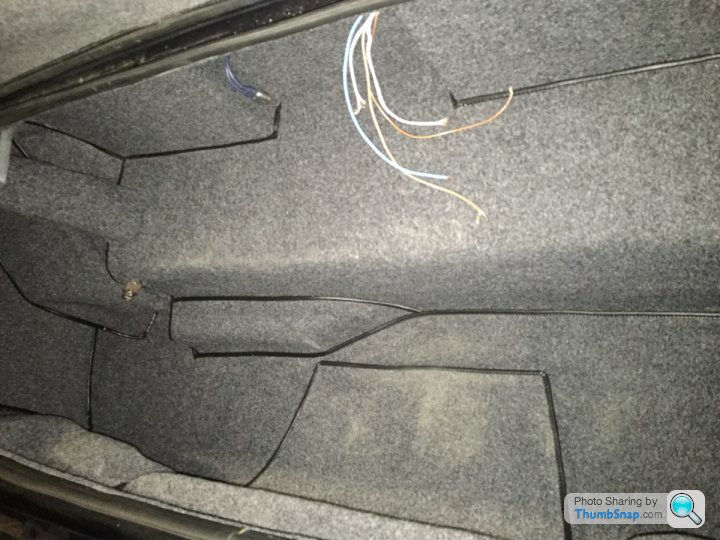
Finally got the S to the trimmers last Monday, but it wasn't without any drama (there's always something with me).. I spent all of last Saturday finishing off and checking I'd done everything ok, was walking out the door of my unit and thought, "I'll just check the bonnet release again'"and........ the nipple came off the end of the cable!!!!!! Aaaahhhhhhhhhh!!!!!!!!
So, out with the sockets, into the foot wells upside down, and out with the catches. I soldered the nipple back onto the cable but was too knackered to refit the catches and thought I'd get in early Monday morning and do it.. After 6 hours on Monday I finally got the bonnet releasing but it's still not 100%. I tried everything and the bonnet just wouldn't release correctly. I now think the bonnet that's on the car has been damaged/repaired in the past and it's just a b d one! I will beat it though..
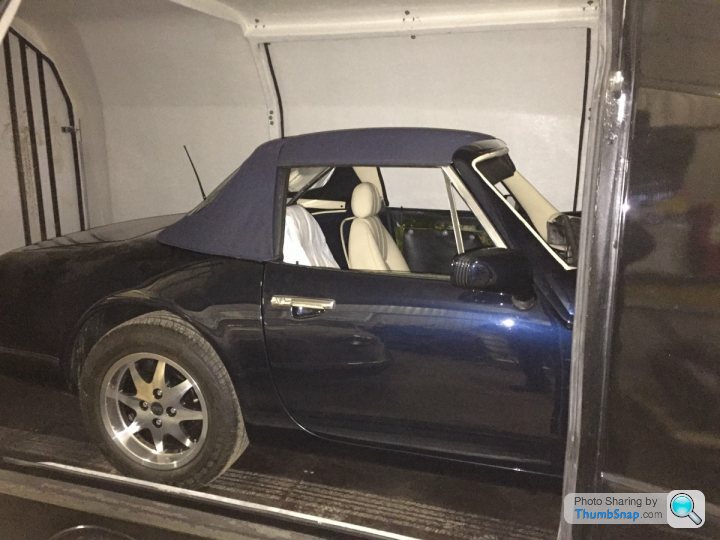
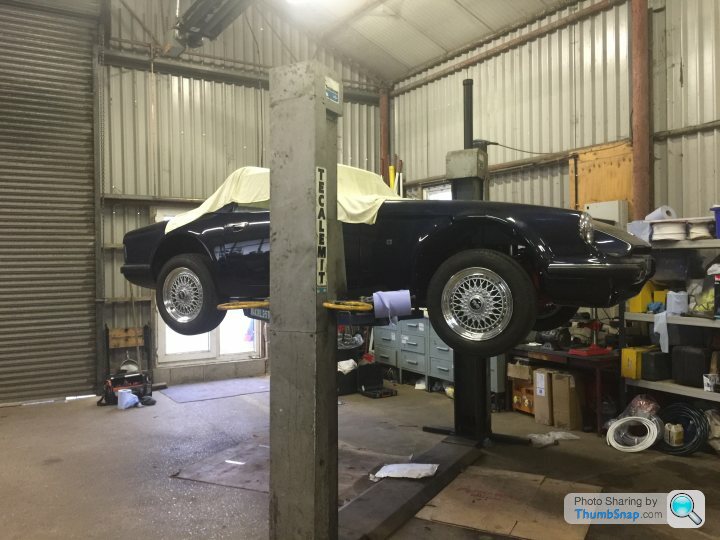
Anyway, we loaded it up onto the trailer, threw all the bits and pieces into the back of the van and zoomed over to Milton Keynes. Unloaded and left the car with Dave to work his magic.
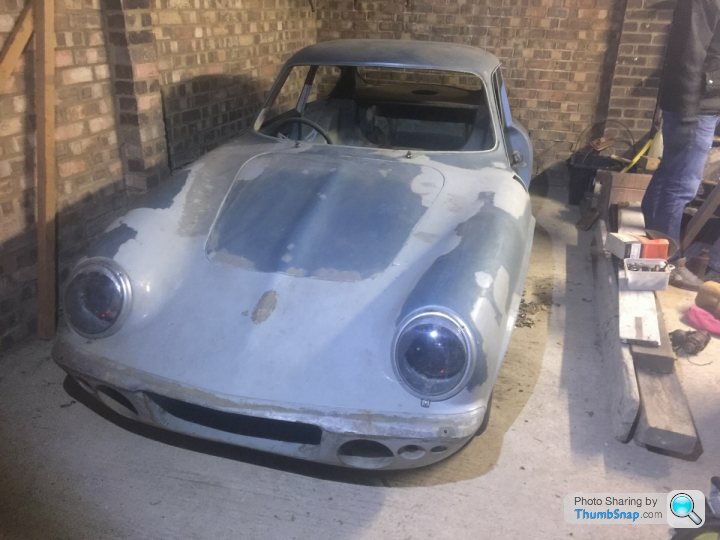
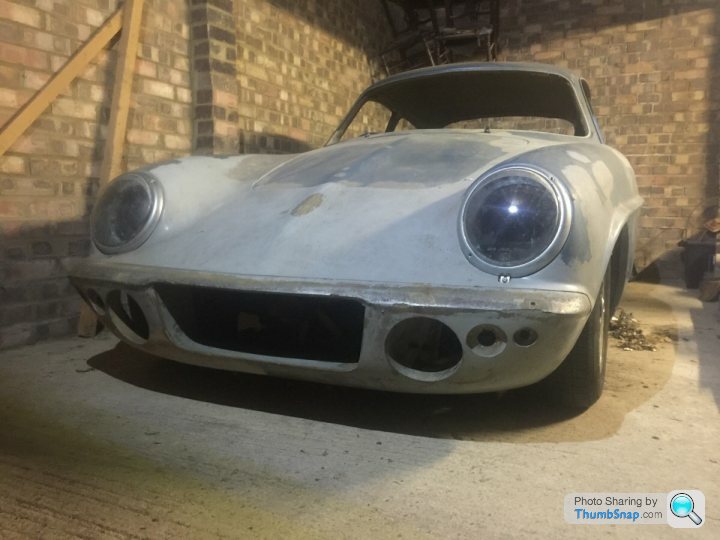
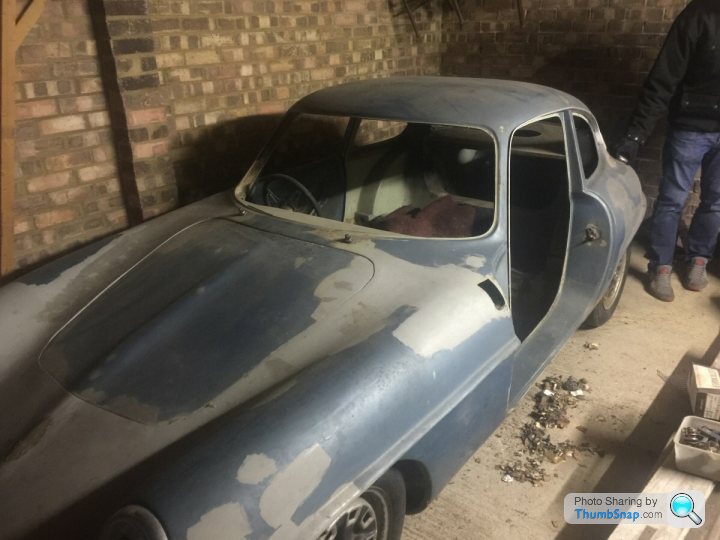
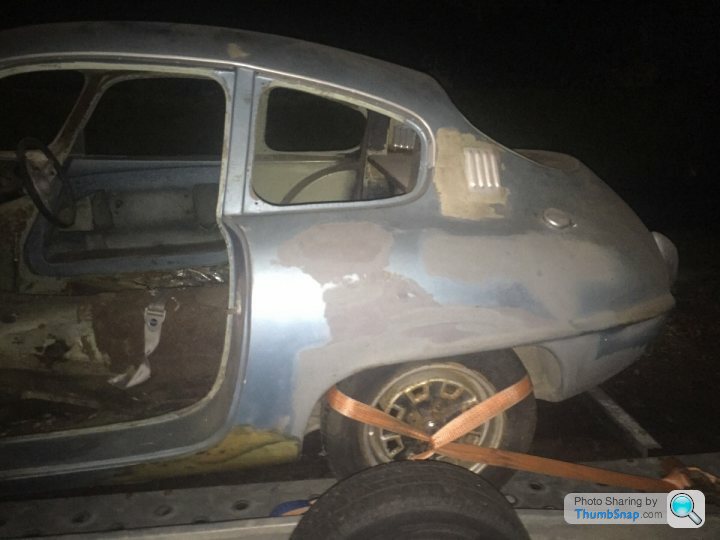
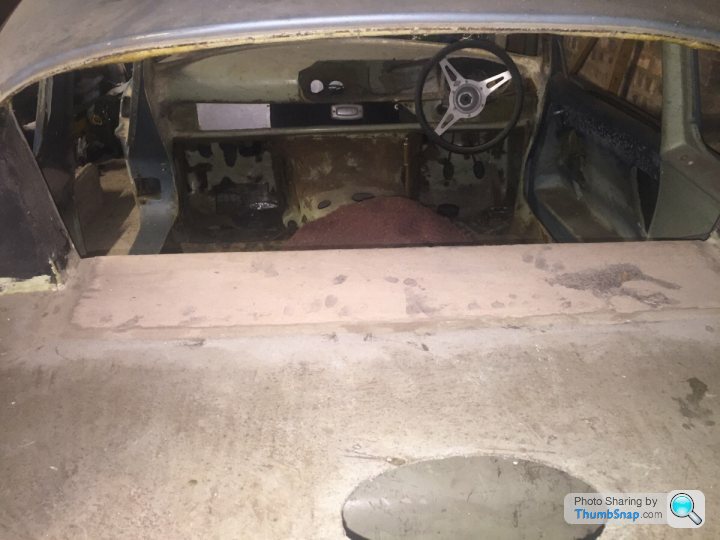
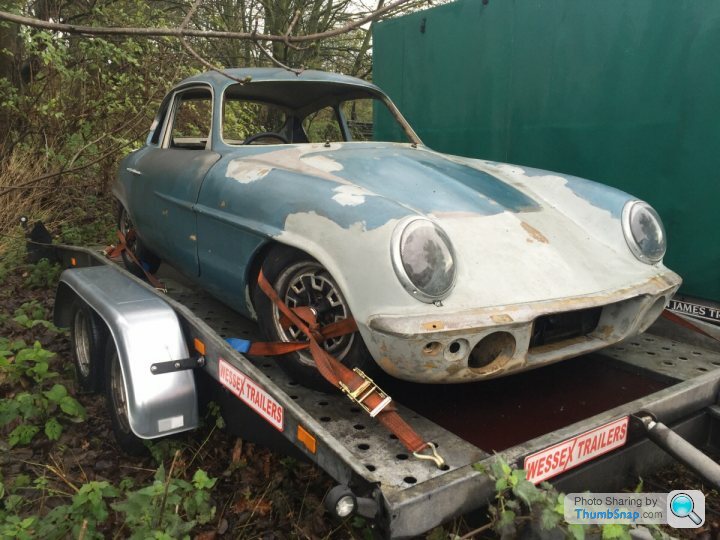
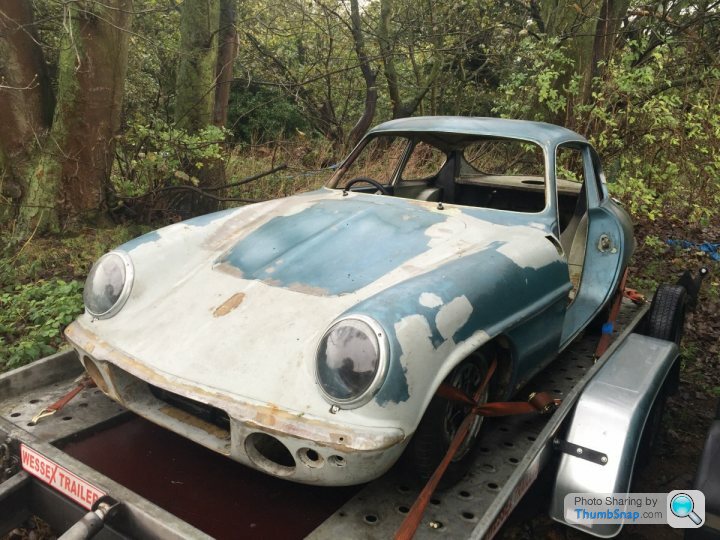
On the way back, I stopped off at Baldock to collect a car I've agreed to help restore as my next project. Quite an interesting little car, a 1962 Rochdale Olympic phase one. It's been in the garage, unmoved since the early'70's.! I'll probably post up its restoration progress on the Classic Fibreglass forum.. Enjoy the pics..

So, out with the sockets, into the foot wells upside down, and out with the catches. I soldered the nipple back onto the cable but was too knackered to refit the catches and thought I'd get in early Monday morning and do it.. After 6 hours on Monday I finally got the bonnet releasing but it's still not 100%. I tried everything and the bonnet just wouldn't release correctly. I now think the bonnet that's on the car has been damaged/repaired in the past and it's just a b
d one! I will beat it though..Anyway, we loaded it up onto the trailer, threw all the bits and pieces into the back of the van and zoomed over to Milton Keynes. Unloaded and left the car with Dave to work his magic.
On the way back, I stopped off at Baldock to collect a car I've agreed to help restore as my next project. Quite an interesting little car, a 1962 Rochdale Olympic phase one. It's been in the garage, unmoved since the early'70's.! I'll probably post up its restoration progress on the Classic Fibreglass forum.. Enjoy the pics..


Thanks for the compliments guys, most appreciated. I'm sure it will worth it in the end..
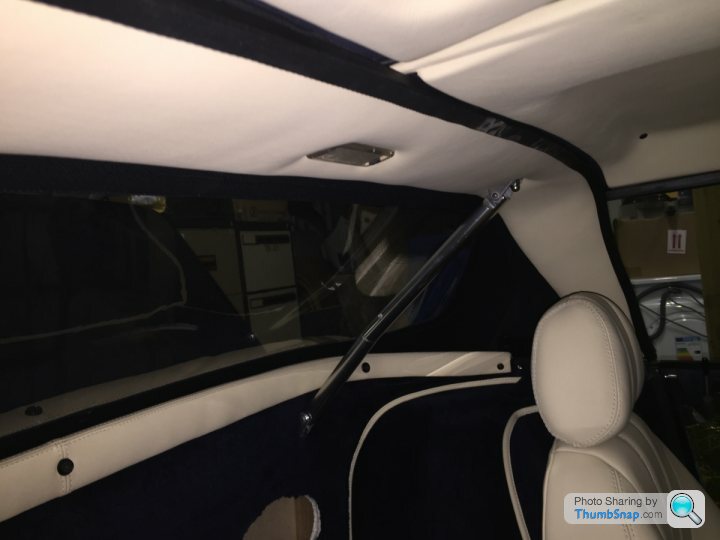
I have a question regarding the roof hoop thingy, where it hinges. I think Dave (The Trimmer) has made an error in that the hinges are exposed and not covered. I can't remember what I did when I removed the hood, I know the bolts were either snapped or seized in the mounting point. Theres 3 bolts which bolt the hinge to the hoop and I can't remember seeing these before. If anyone can throw light on this I'd be grateful. I'll upload a pic of what I mean when I'm back in the unit.. Cheers, Terry
I have a question regarding the roof hoop thingy, where it hinges. I think Dave (The Trimmer) has made an error in that the hinges are exposed and not covered. I can't remember what I did when I removed the hood, I know the bolts were either snapped or seized in the mounting point. Theres 3 bolts which bolt the hinge to the hoop and I can't remember seeing these before. If anyone can throw light on this I'd be grateful. I'll upload a pic of what I mean when I'm back in the unit.. Cheers, Terry
v8s4me said:
Do you mean the pivot bolts, one either side of the hoop, or how the struts are attached to the hoop and tub?
It's where the pivot bolts are Joe. The hinges are attached to the hoop with 3 bolts and the then the pivot bolt attaches to the body.. The steel plate on the my hoop is exposed and I'm sure it wasn't like that originally, it was trimmed over.. It was so long ago when I stripped it I've forgot what it should be like.. v8s4me said:
It may be bolted as well but AFAIA the plate the pivot bolt goes through is bonded to the hoop and is shaped to give this a nice smooth profile which, as I say, is trimmed on every one I've seen.
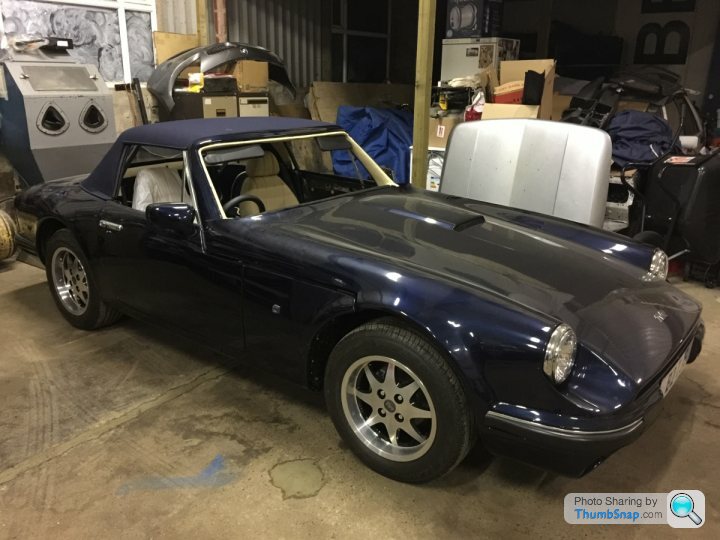
It's coming along beautifully and that's my favorite colour combination. I hope you'll have it ready for the EuroTour to show off.
Yep, that's the part. He's trimmed the hoop then bolted the hinge bracket to it through the leather. I'll have a word with him tomorrow to see what can be done. He may be able to make a type of cover trim that will go over bracket otherwise it's a major task... hey ho..It's coming along beautifully and that's my favorite colour combination. I hope you'll have it ready for the EuroTour to show off.


mk1fan said:
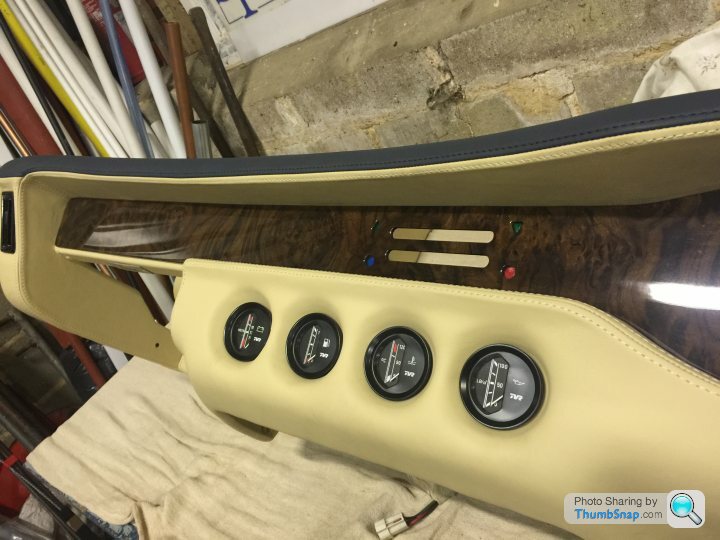
Have you thought of swapping the clock and oil pressure gauges round?
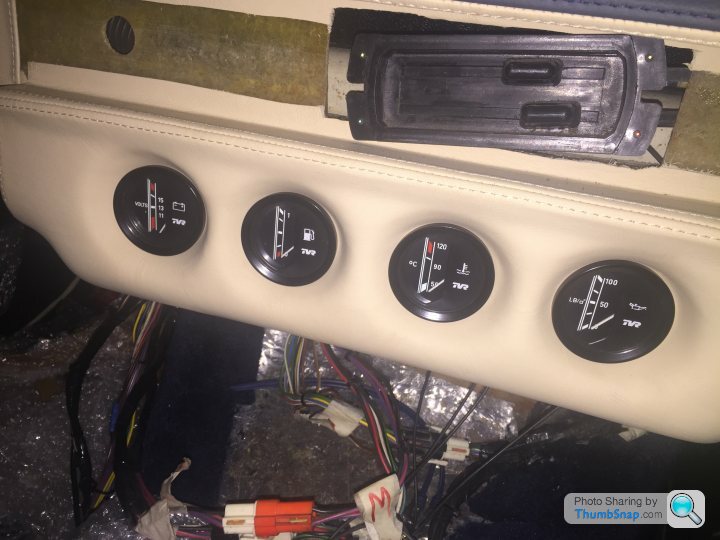
I had considered it to be honest, but the 4 centre console gauges are slightly different to the clock. I think it would be quite noticeable with the cream surround. It's a good idea and a much more suitable place for the oil pressure gauge, which is slightly more important than knowing how late I am for the Eurotour dinner..!! 

Gassing Station | S Series | Top of Page | What's New | My Stuff