Discussion


greymrj said:
Good progress! Yes that is the Series 3 Landrover slave cylinder, I guess you.
Thanks, shame I have to work, would love to spend more time on it. I did read somewhere the thread is different, and getting the fitting with the correct thread is difficult. Might upgrade the master too then (going to renew all the copper pipes on the car anyway), they also look reasonable cost. Need to see if the pedals seized, not tried it since the disconnect, another thing for the endless list of things I need to do.
I’ve Been warned that the diff cradle bolts may be seized into the diff casing, (a bit of bi-metallic corrosion no doubt) so plenty of tapping and penetrating fluid for the next few days and then heat when I finally get to trying to remove them. Going to take the assembly out as a unit and work on it on the bench.
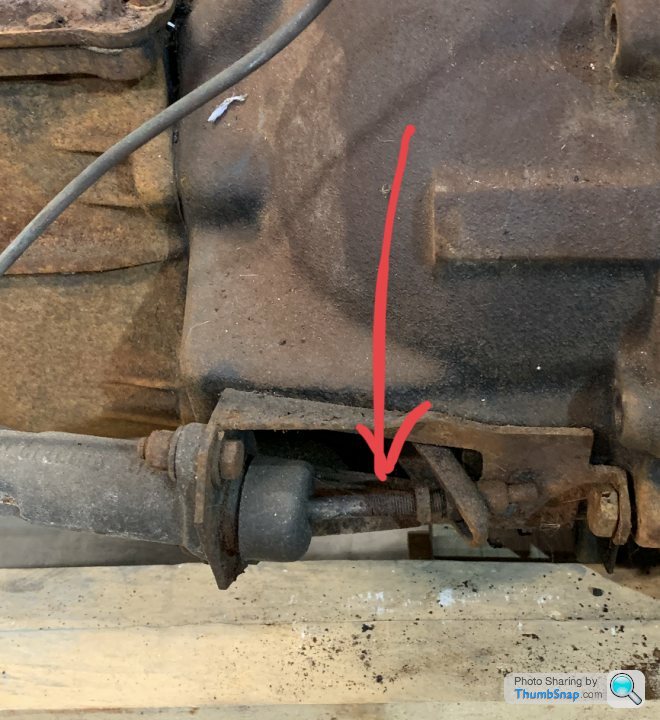
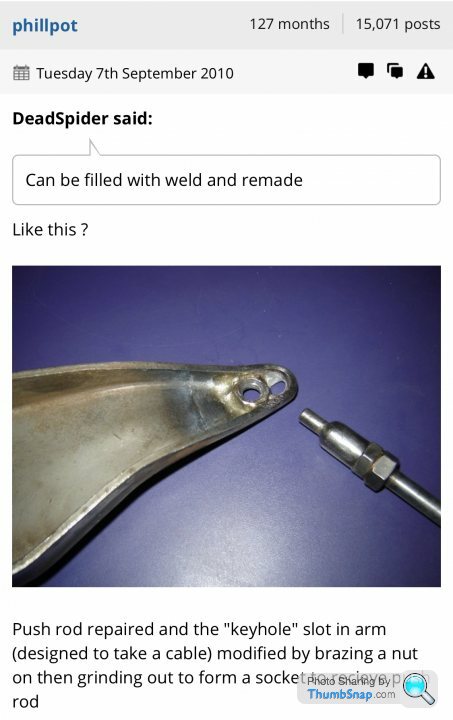
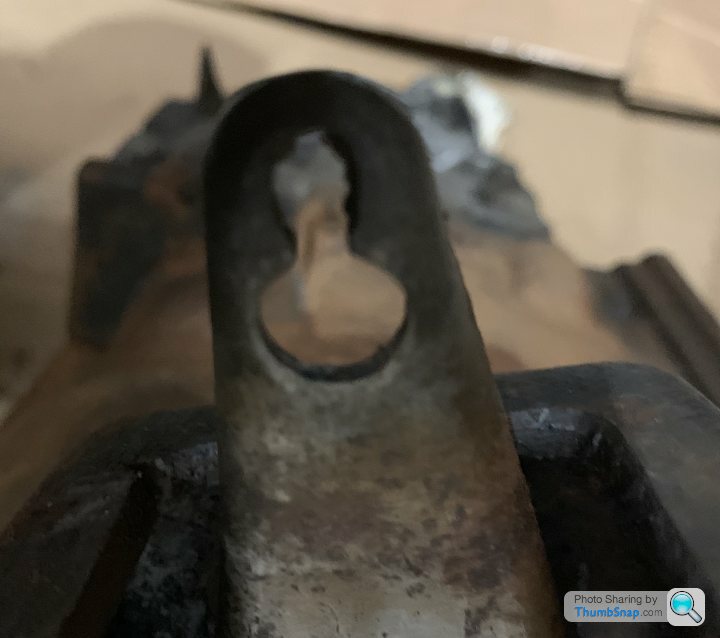
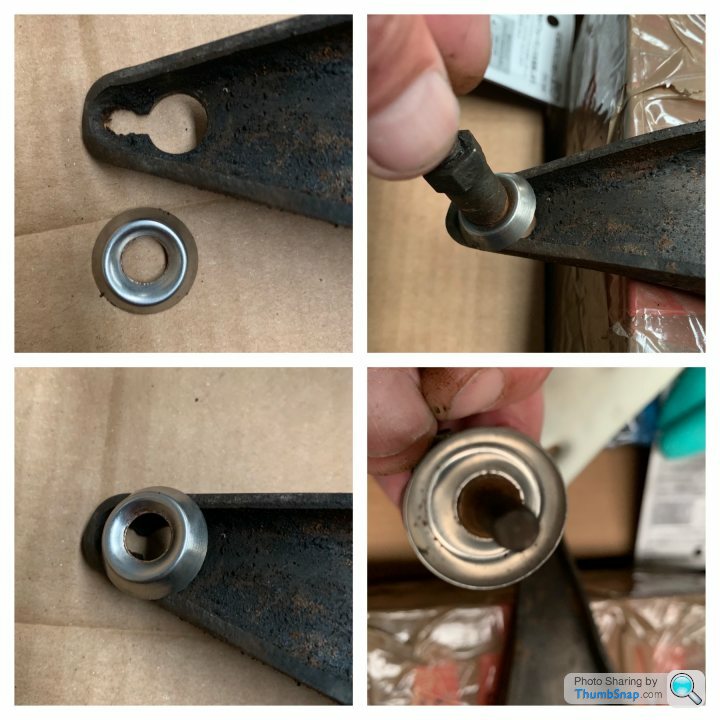
Thanks for the photos, I can see what you mean now. I’ll get it out of the bits box tomorrow and have another look. Maybe it didn’t have nuts both sides, I was more interested in getting the bell-housing off the engine at the time, but it was definitely connected solid, maybe it was just pushed in a rusted solid, in fact it’s probably still connected to it. If it has gone through then, as it looks like it has, you can buy swivel washers, maybe I could weld one of them in the get the ball and socket action again, or a nice bit of shaping on a M8/M10 washer might do the trick, I’ll come up with something.
Many thanks for alerting me to this, saved me a whole lot of money in the swear box. Another blooming job to do. Aaaaaaagggggghhhhhhh
Many thanks for alerting me to this, saved me a whole lot of money in the swear box. Another blooming job to do. Aaaaaaagggggghhhhhhh
Edited by 88S1 on Wednesday 31st July 23:59
Edited by 88S1 on Thursday 1st August 00:12
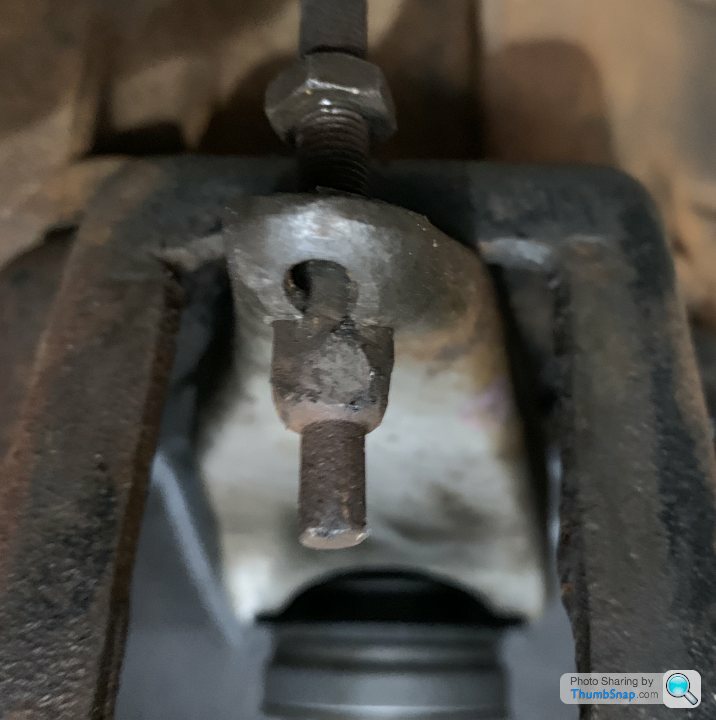
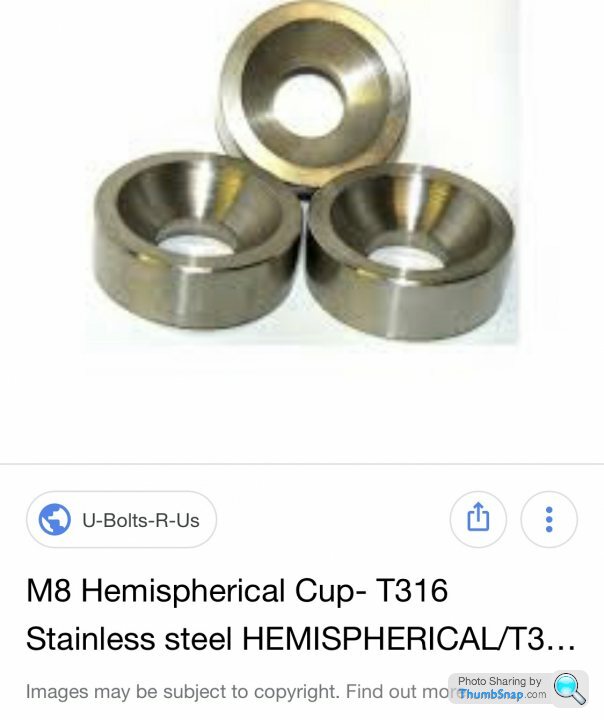
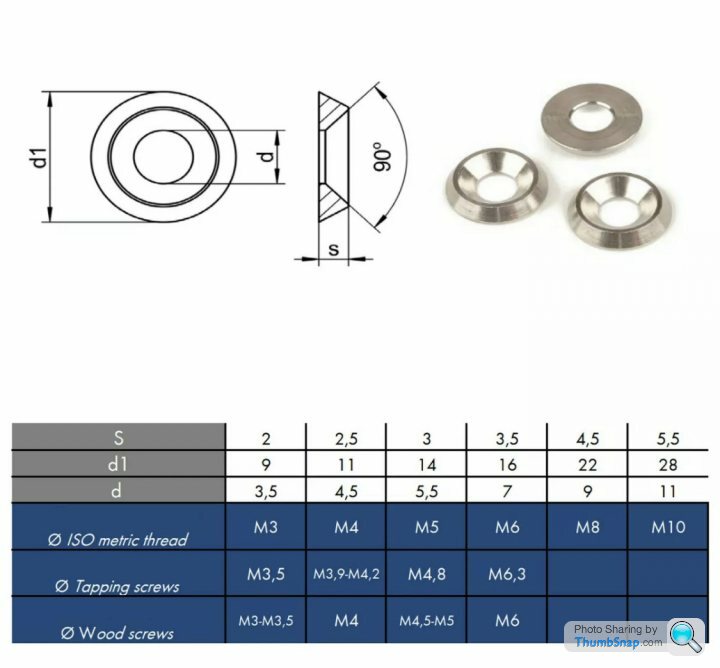
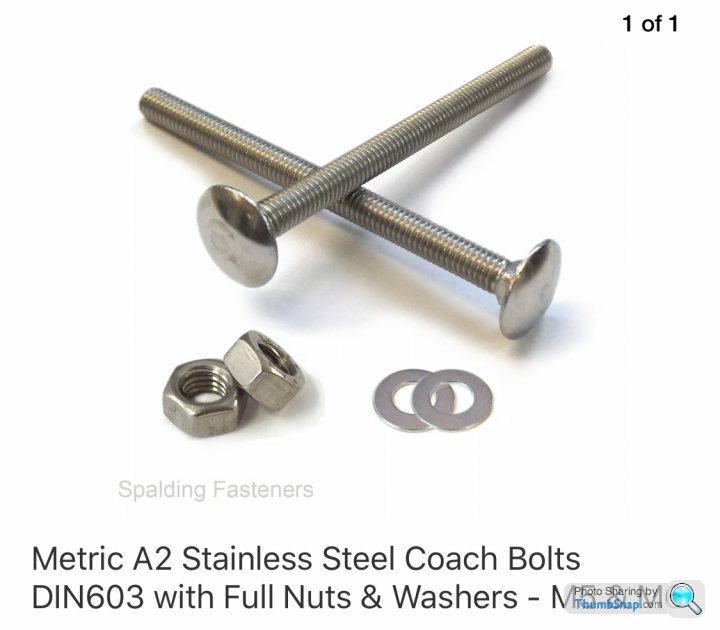
Ordered some solid stainless washers, these are tapered not concave but got to be better than a flat hole in the arm.
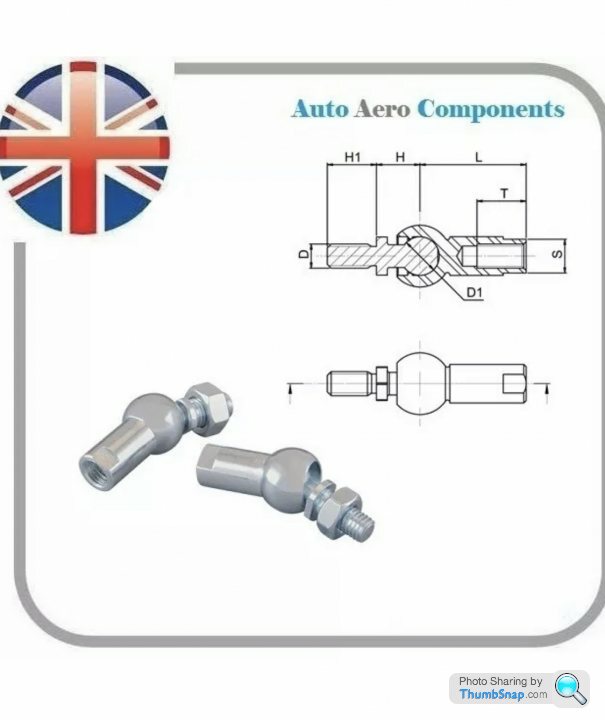
Also ordered a sealed swivel type, got to be worth a try to see if it works. It’s going to be while before the box goes back in so I can afford to have a mess about and try a few different things. I know a few of you doubt it will work, but you never know. Will have to change the rod as it’s a different thread, m6 Stainless coach bolt may do the trick.
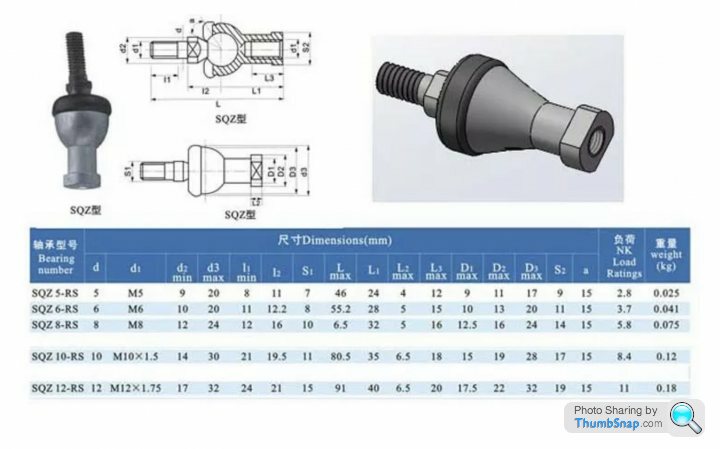
Also ordered a sealed swivel type, got to be worth a try to see if it works. It’s going to be while before the box goes back in so I can afford to have a mess about and try a few different things. I know a few of you doubt it will work, but you never know. Will have to change the rod as it’s a different thread, m6 Stainless coach bolt may do the trick.
Adrian@ said:
With the the arm off the car, IMHO, If you C9 copper silicon bronze 968 TIG infill the arm, then tungsten cut the ball into the bronze, drill a hole straight through it you will in effect bronze bush the joint, no need for anything else. A@
Thanks for the info. Simple enough and a solution that can be re-done if I cock up. greymrj said:
Looks like a good approach. The rod end may need building up with weld to get the shape right. Bit tedious but if you can get a really good ball and socket, and keep it lightly greased it would be worth it. make sure the hole in the centre is big enough to allow the rod to articulate enough, doesn't need a lot.
From your photos, It doesn’t actually look like the angle of the rod in the arm changes at all, looks like the movement is at the cylinder end, see comparison of your photo. Reading back through your earlier comment, the rod actually goes through the little hole not the big one, mine must have slipped out and jammed in the big one, it sits quite nicely in the little hole. But agree positioning where the bigger hole is certainly looks like it would be a much more aligned option. 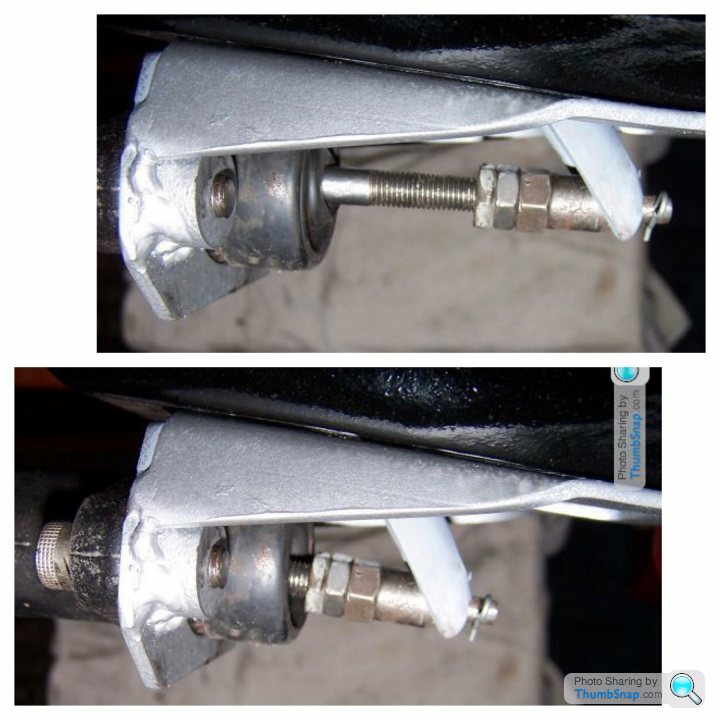
Another stint tonight, front end all stripped off now. One sheared bolt, one brake hose had to be cut off and a few taper joints not splitting, but steady progress.
One thing I did buy which is an absolute godsend is a kneel mat from screwfix, only £6 or so but really saves the knees, if you haven’t got one, highly recommend.

One thing I did buy which is an absolute godsend is a kneel mat from screwfix, only £6 or so but really saves the knees, if you haven’t got one, highly recommend.
greymrj said:
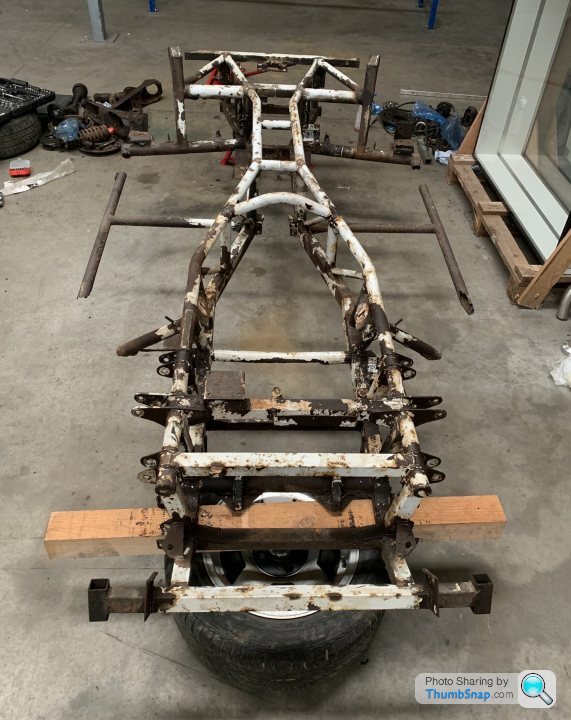
OOOOh, that is a 'lightweight' chassis! I hope the
Outriggers shot, but rust not affected main chassis, and not seen anything of any concern at all on the main chassis yet, the paint and protection seems to have done its job. Will be able to get a good look when backs stripped off and I can spin it over. Going to make a start on the rear tonight, will have a good look at those mounts when stripped.
Kitchski said:
I trust you're getting it shot blasted?
Don’t know about that, might make loads of holes through the corrosion making more work and fill the chassis with sand increasing the weight. Bit of a clean with soapy water and a rub over with a scotch pad finished with a couple coats of white emulsion I have in the garage. Only kidding, yep, a good blasting to make sure everything is totally exposed and then put back to its former glory. There’s only one way to do something, the right way.
Edited by 88S1 on Saturday 10th August 14:13
greymrj said:
ooohh, that one is a bit 'lightweight'! Outriggers? What outriggers! Good luck! Good to see it is going to be saved though.
Thanks. It had been left outside apparently, so luckily it got rescued when it did by Brianthesnail, much longer and any more corrosion and it would have been uneconomical to do. Main chassis looks sound, years of gunk and oil leaks seem to have protected it, just outriggers and some previous repairs to the swing arm brackets need cutting out and renewing from what I can see at the moment. Rear arms need looking at too. Shotblast may expose more, but had a good look, knock and poke. At least I know it’s repairable and can start working on acquiring the list of parts I need. L Holmfirth said:
88S1 said:
greymrj said:
ooohh, that one is a bit 'lightweight'! Outriggers? What outriggers! Good luck! Good to see it is going to be saved though.
Thanks. It had been left outside apparently, so luckily it got rescued when it did by Brianthesnail, much longer and any more corrosion and it would have been uneconomical to do. Main chassis looks sound, years of gunk and oil leaks seem to have protected it, just outriggers and some previous repairs to the swing arm brackets need cutting out and renewing from what I can see at the moment. Rear arms need looking at too. Shotblast may expose more, but had a good look, knock and poke. At least I know it’s repairable and can start working on acquiring the list of parts I need. L These cars are easy to work on, definitely good for the novice like me, if it was just the chassis it would be great but I’ve got the bodywork, windscreen, interior and hood to sort too. All in good time.
Edited by 88S1 on Friday 16th August 16:21
greymrj said:
I'm not far away (SE Preston, very close to M6) if you ever want to look at mine for reference happy to provide a brew!!
Thanks for the offer, much appreciated, may take you up on that one day, likewise if your passing through Manchester on the M60 Anti-clockwise and want a nosey your more than welcome. Gassing Station | S Series | Top of Page | What's New | My Stuff