Discussion


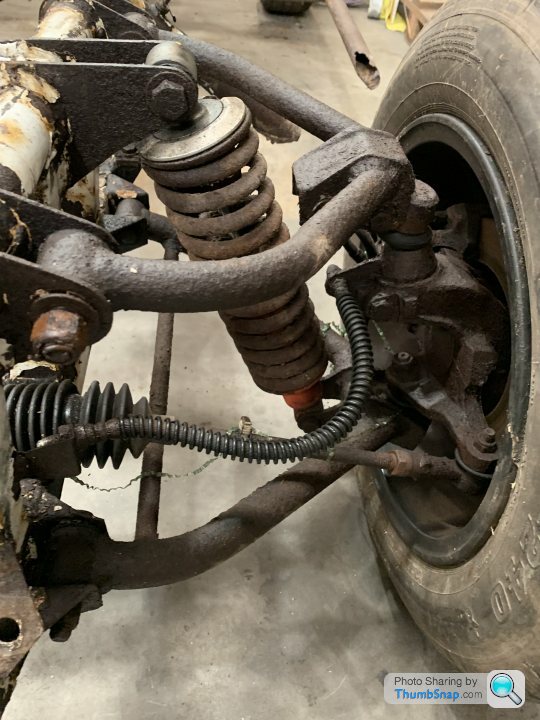
I think on the Griff/Chim there are one or two bolts that you won't get out without lifting the body if you put them in the 'wrong way round' but there's a bit more room on the S.
I prefer them the way you have them on the top wishbone, there is room to give then a little tap if necessary next time you come to take them out

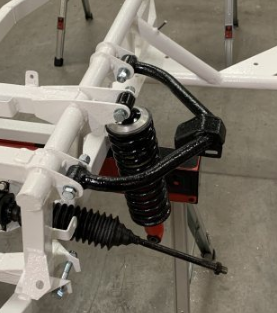
Thanks Adrian & Phillpot. I will have a look at my original strip down photos. I may decide to change the rubber bushes for poly ones if the suspension is too stiff due to the clamping effect on the bush and not being able to freely rotate (unless they are not supposed to be tight and let the bush rotate, they were so rusty it was impossible to tell how they were originally and I’ve opted to go for rubber bushes), so being able to remove the bolts is key.
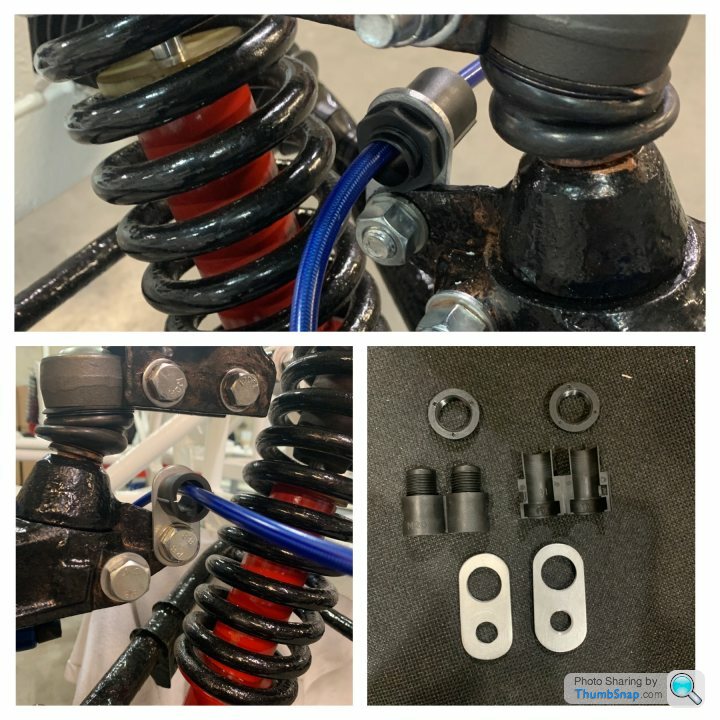
See how the wishbones stay in position, they virtually do this without the bolts even being tightened (as previous post). When they are nipped up they do move but its the torsion of the rubber and the bush is clamped. Maybe I’ll wait till engine is in and see how it feels, it’s the same with the rear trailing arms. Certainly won’t be nipping them up until it’s in its settled state with all load on.
See how the wishbones stay in position, they virtually do this without the bolts even being tightened (as previous post). When they are nipped up they do move but its the torsion of the rubber and the bush is clamped. Maybe I’ll wait till engine is in and see how it feels, it’s the same with the rear trailing arms. Certainly won’t be nipping them up until it’s in its settled state with all load on.
Edited by 88S1 on Monday 16th August 21:03
Edited by 88S1 on Monday 16th August 21:04
magpies said:
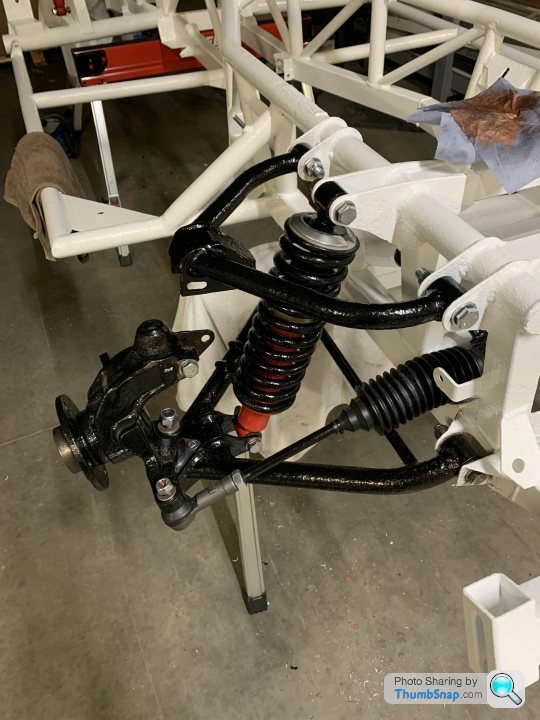
The bush bolts in the trailing arms are the ones which the bolt orientation is critical
Looks like the nuts where on the outsides on my original set up. So bolt heads on the inside of the arm in both cases. The inner one will only go in 1 way I think anyway and the outer could be either way from memory. Will certainly check things as I go though.

It's meant to go all the way to the caliper.
You'll need to rig some kind of grommet (I used a sleeved bush like that on the cable of a kettle or an iron, but you'll have to exercise your imagination!) in the intermediate support bracket. That will stop the pipe flapping about. If it's not clear how it'll work, I can post a photo tomorrow.
Don't forget to try all combinations of steering lock and suspension travel, to make sure it's always free and not at risk of contact.
mentall said:
It's meant to go all the way to the caliper.
You'll need to rig some kind of grommet (I used a sleeved bush like that on the cable of a kettle or an iron, but you'll have to exercise your imagination!) in the intermediate support bracket. That will stop the pipe flapping about. If it's not clear how it'll work, I can post a photo tomorrow.
Don't forget to try all combinations of steering lock and suspension travel, to make sure it's always free and not at risk of contact.
Ok, Appreciate the confirmation. What about something like this. Bolt through one of the holes to the existing fin, and feed the Hel tube through the H section into the calipre. Might be a bit chunky, but a good starting point. You'll need to rig some kind of grommet (I used a sleeved bush like that on the cable of a kettle or an iron, but you'll have to exercise your imagination!) in the intermediate support bracket. That will stop the pipe flapping about. If it's not clear how it'll work, I can post a photo tomorrow.
Don't forget to try all combinations of steering lock and suspension travel, to make sure it's always free and not at risk of contact.
One other thing, do you thread lock the pipe into the calipre?

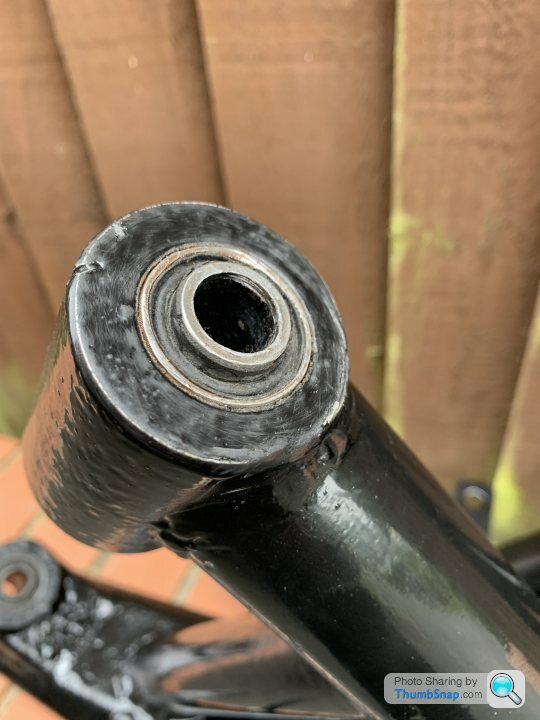
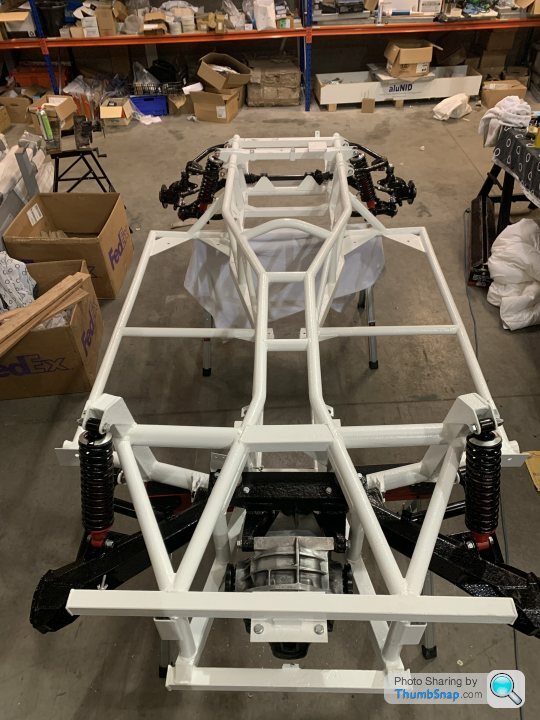
Couldn't get the original spec metalastic bushes in the trailing arms, so got a local engineering company to press them home for me. Ready to go on the car now at long last. Big thanks to Southways for the refurb on them, they were in a very sorry state and they did an amazing job on them. And thanks to CeeJay73 & Phillpot for the advice on the bush type and length.

Edited by 88S1 on Friday 3rd September 17:46
Edited by 88S1 on Friday 3rd September 17:49

Granturadriver said:
I really like these before and after pictures very very much!
You have done a very good job!
Thanks. Hopefully it will spur others to have a go and keep more S’s on the road, it’s not hard, this is my first ever project, and was in a bit of a sorry state. Rebuilding is the exciting bit and sooooo much easier. Couldn’t have done it without the support from the people on PH. You have done a very good job!
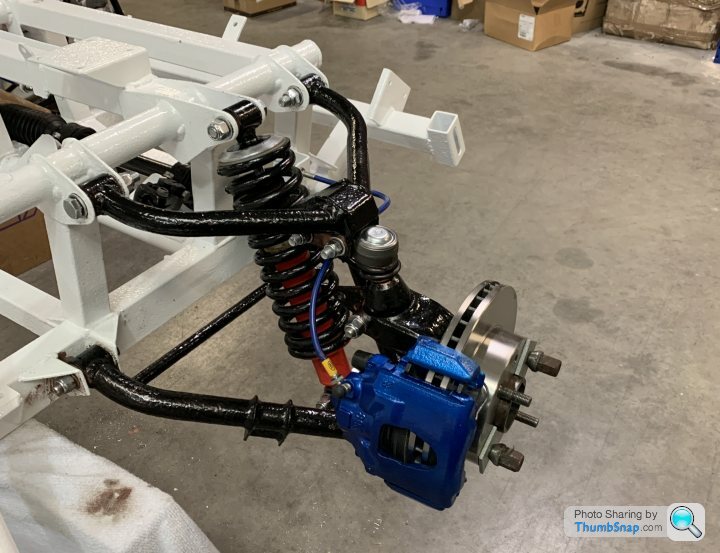
Bit more done fitting discs and calipers this morning.

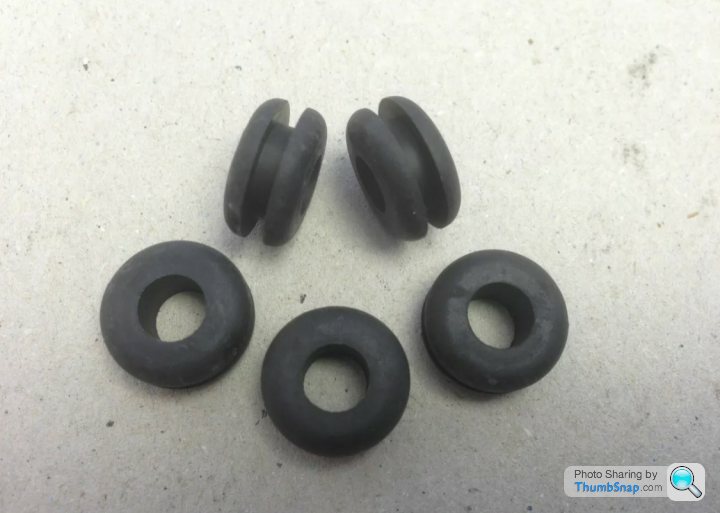
As seen as there isn’t much posting on here these days, here’s a little update on my progress. Rear drums assembled with new shoes, cylinder, springs and rubber grommets. Brake lines started, took me a while to work out how to use the flaring tool and get it right, but now we are on a roll. Just waiting on stainless pipe clips.
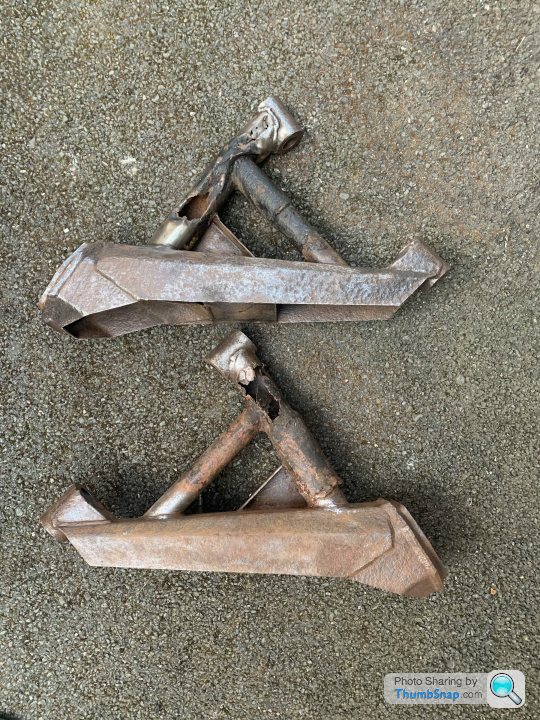
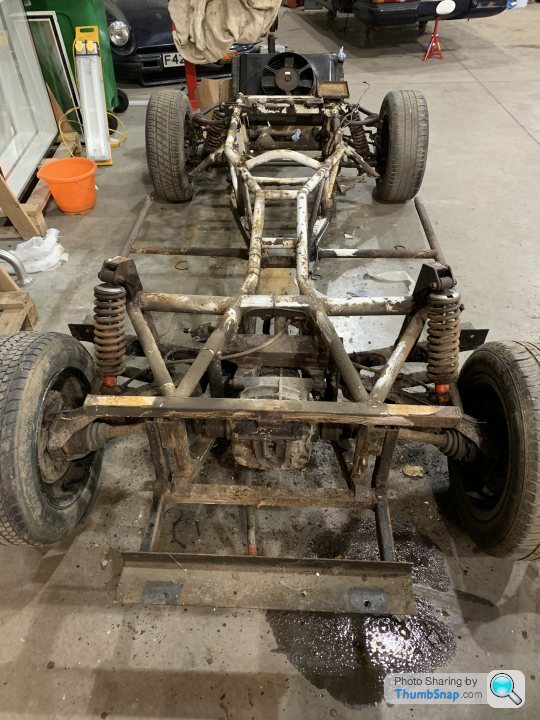
They look a bit healthier than when I stripped them down, 2 years ago (where’s the time gone)
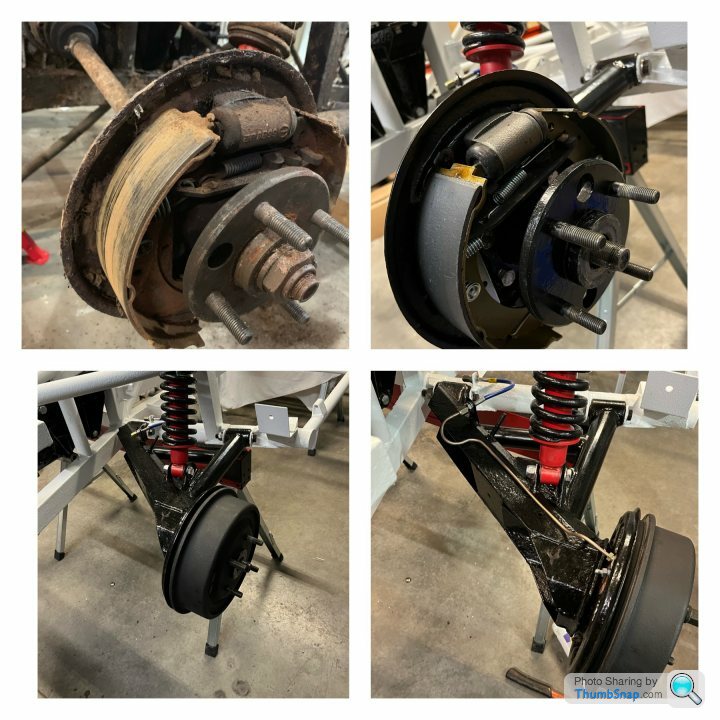
They look a bit healthier than when I stripped them down, 2 years ago (where’s the time gone)
Gassing Station | S Series | Top of Page | What's New | My Stuff