Before after rebuilds
Discussion


Got a couple of projects with some before and after's (and lots of during but too many to post).
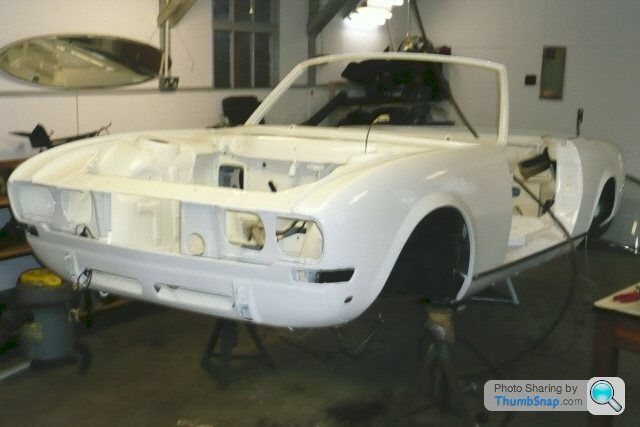
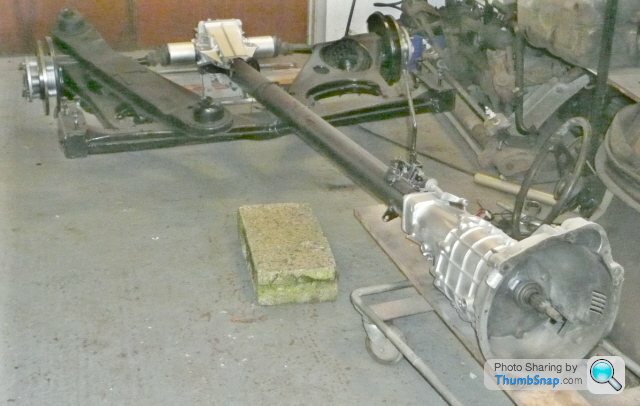
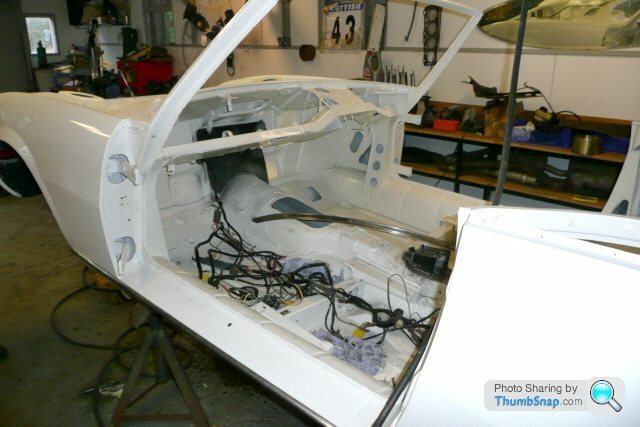
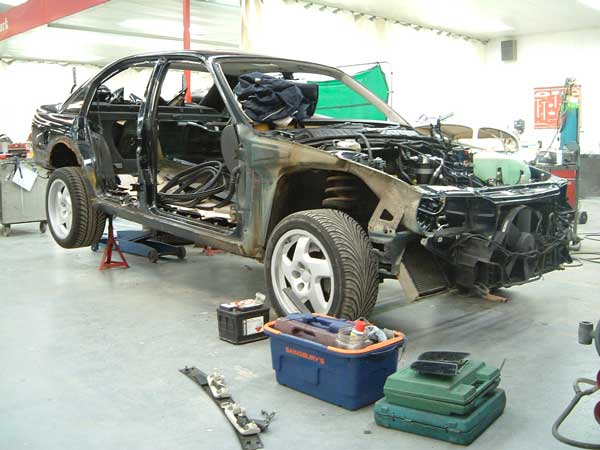
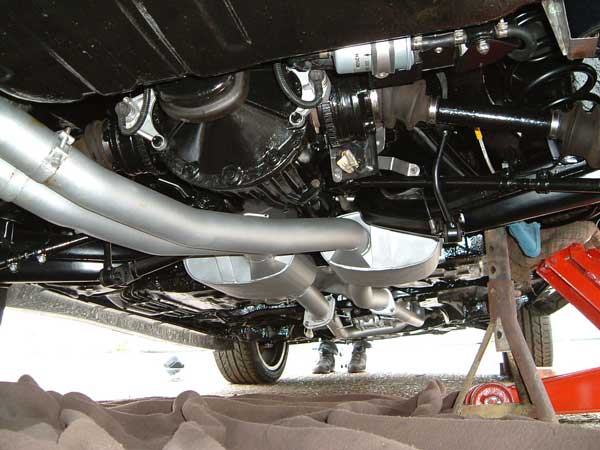
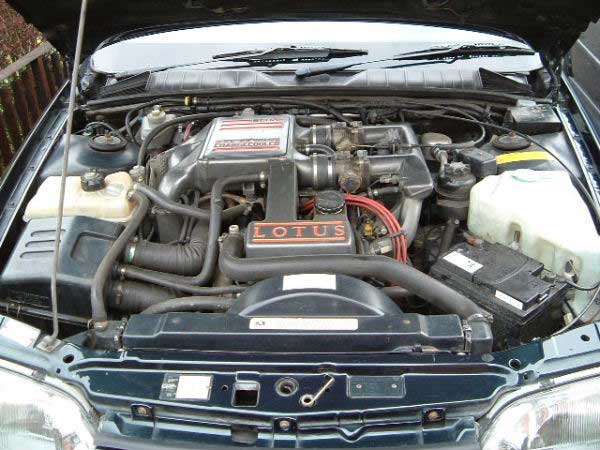
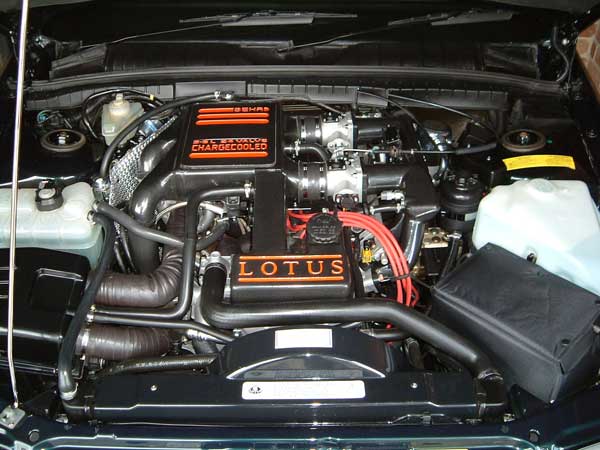
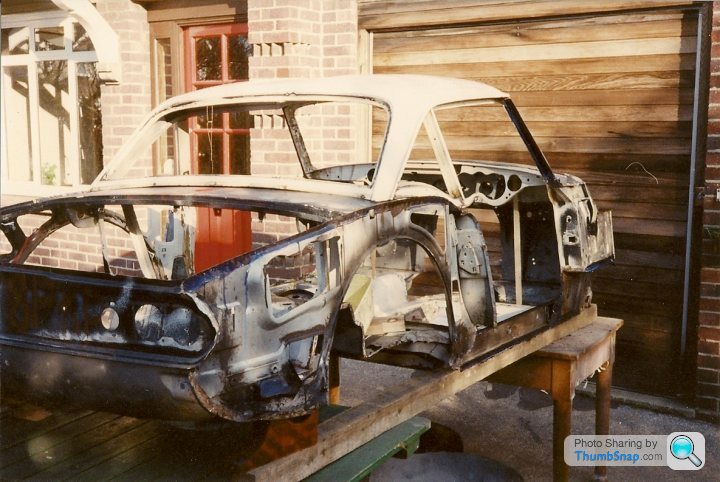
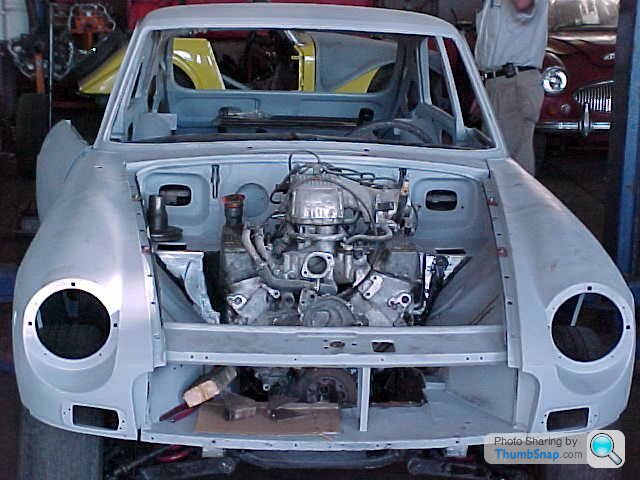
1st up the Lotus, started in 2003, back on the road in 2006
During
After

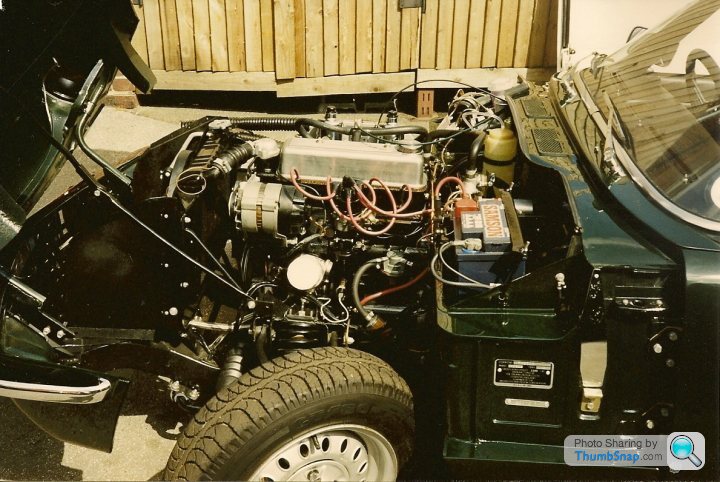
Engine Before
Engine After
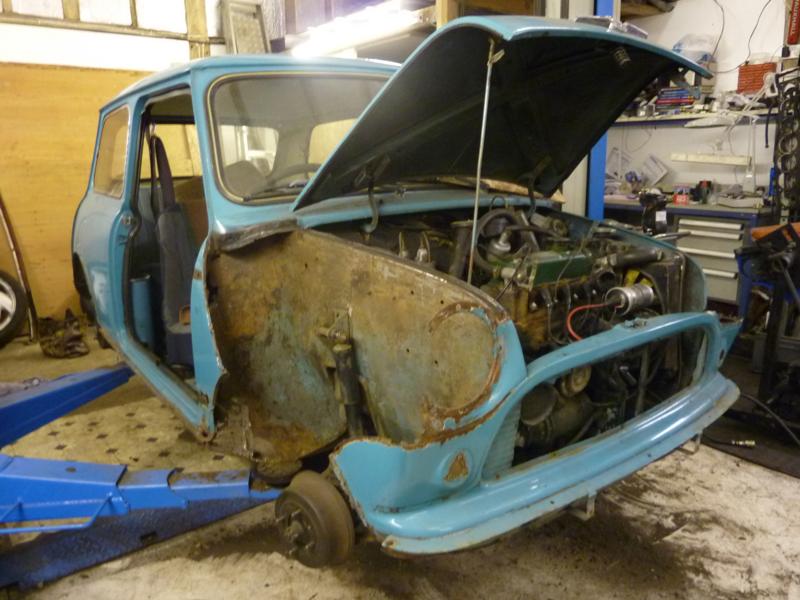
2nd one which I've just finished is the Mini. Started 2010, back on the road a few weeks ago.
Before
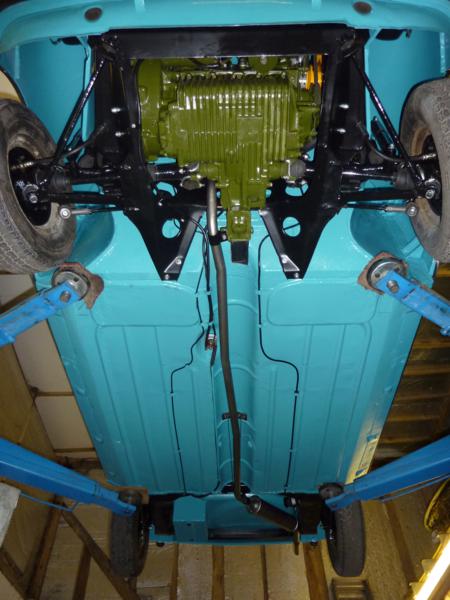
After (ignore wheels in second pic)

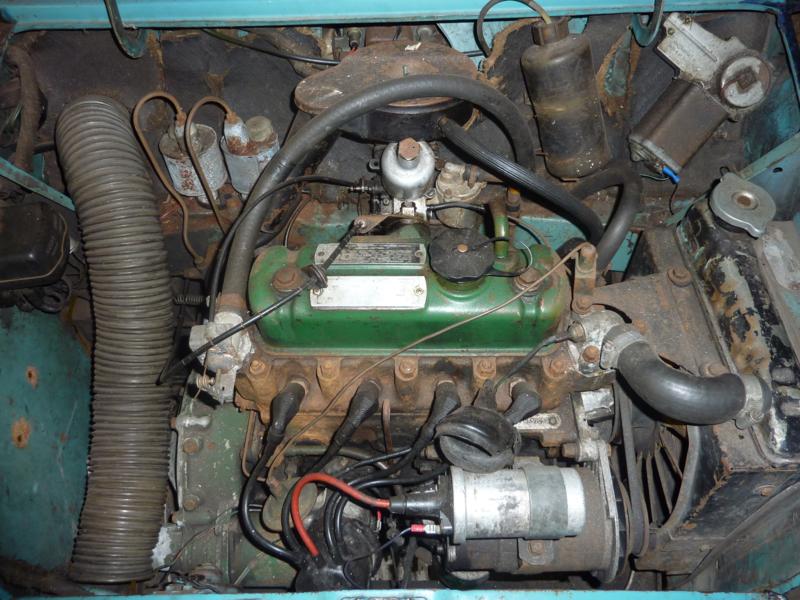
Engine Before
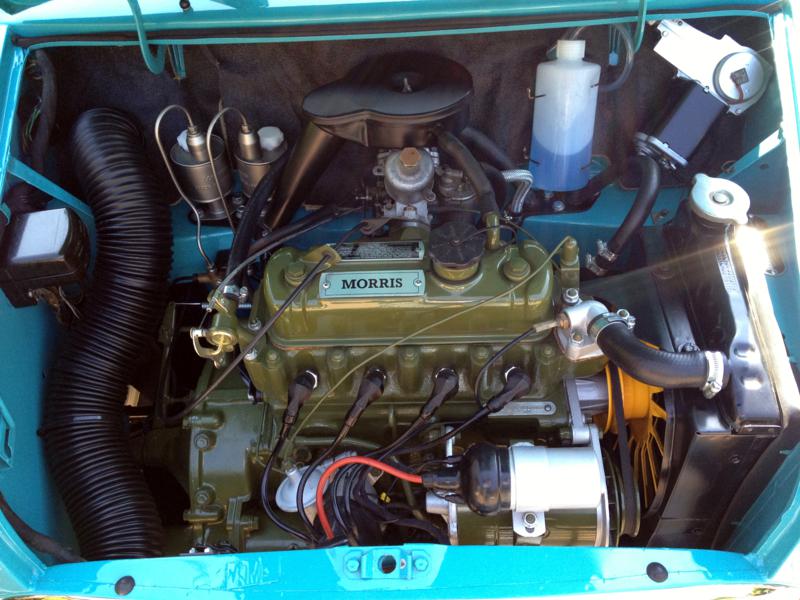
Engine After
So so rewarding to finish a project and enjoy it back on the road again
1st up the Lotus, started in 2003, back on the road in 2006
During
After
Engine Before
Engine After
2nd one which I've just finished is the Mini. Started 2010, back on the road a few weeks ago.
Before
After (ignore wheels in second pic)
Engine Before
Engine After
So so rewarding to finish a project and enjoy it back on the road again
Edited by NotNormal on Thursday 30th May 10:59


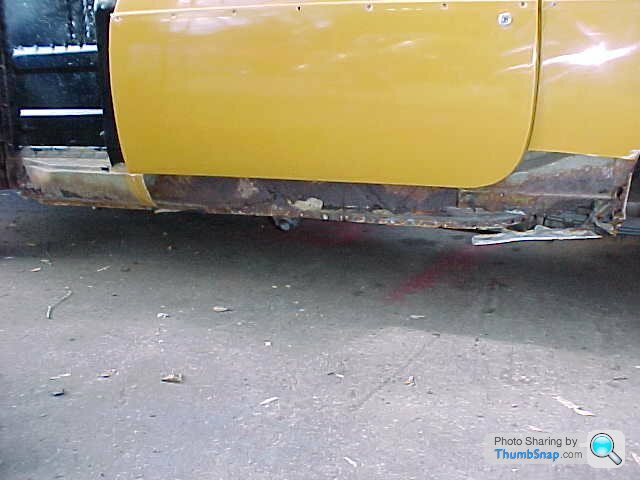
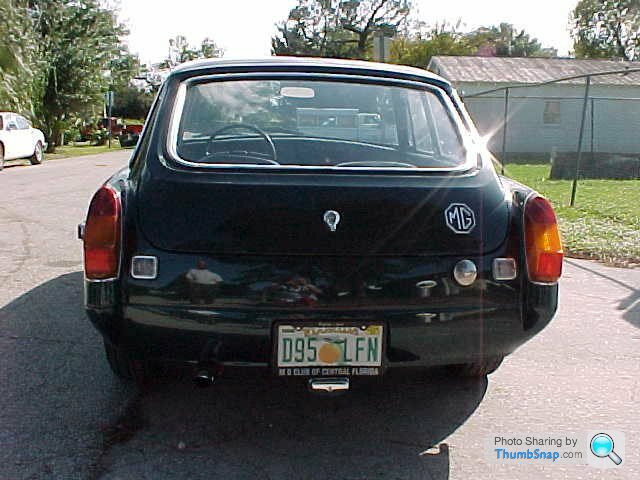
MGB GT Restoration and conversion to V8 (Rover 3500)
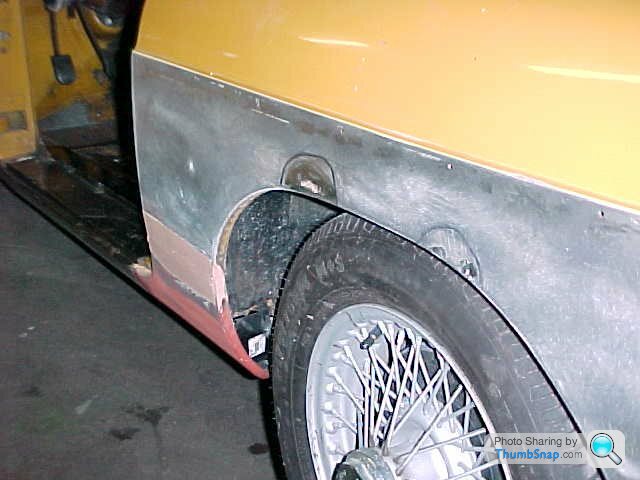
This was a barn find chrome bumper model that I wanted rebuilt with rover V8 motor and 5 speed manual transmission. The underfloor and sills were in pretty poor shape needing replacement and strengthening to allow for the extra torque of the up-rated engine. Anticipated BHP to be installed was 250-300 so the chassis needed to be very solid, I could have used a later body in better condition and post 1977 with the modified bulkhead but we needed the experience of a worst case scenario {older body} in case a customer came in with a wreck and wanted a price quotation. Incorrect estimates can create havoc with your customer relationships down the road when time comes to settle up or sale only to find that you cannot cover your expenses. Because of the extensive repair underneath it was necessary mount the car up on a rotary welding platform, there is nothing worse than skating around on your butt getting hot sparks from the welding down your shirt and in your socks [ It really hurts ! again & again ]. Some of these floor panel replacements take hours of hard work preparing the location and then having to complete all the required welding so it is important that you adopt a comfortable working environment and don't forget some fire-extinguishers.
Position/Photo 1 mount the car on rotary :-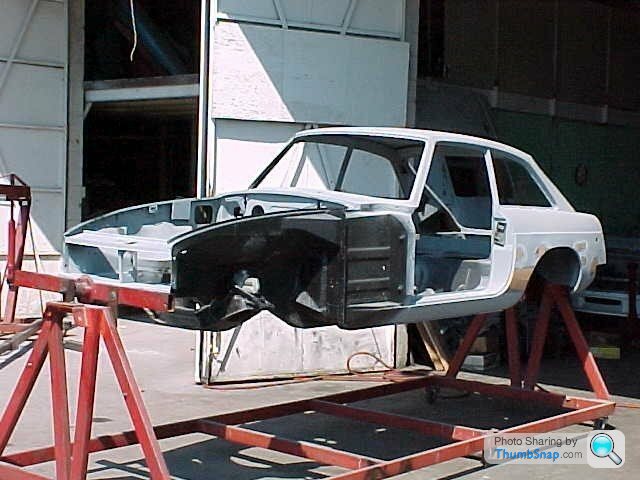
Everything in this area needed to be measured and well planned because there are a great many additional items to install in the engine bay compared to the original 4cyl unit and one has to consider service ability on the road, components with limited access can be a right pain
photo:- you can see on the finished installation very little space to spare.
photo:- you can see on the finished installation very little space to spare.
Once you get heavy into the floor panel repair the work begins to become tedious not so much difficult just time consuming with loads of spot welds that have to be drilled out and separated. If you invest in some specialist tools for the job it becomes much easier saves time & tempers and you soon develop a technique to be proud off.
As the old panels come out the body can sag on the jig .Make sure your shell is adequately supported to prevent distortion and closing of the door apeture.
Even if you are working on car stands or the floor this can still happen so constantly check the dimensions.
As the old panels come out the body can sag on the jig .Make sure your shell is adequately supported to prevent distortion and closing of the door apeture.
Even if you are working on car stands or the floor this can still happen so constantly check the dimensions.

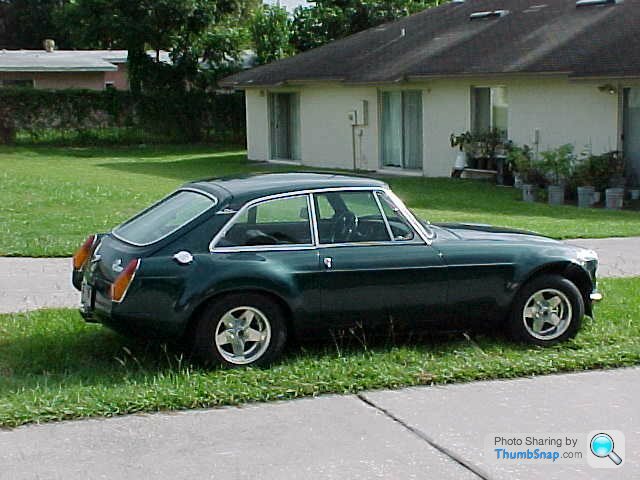
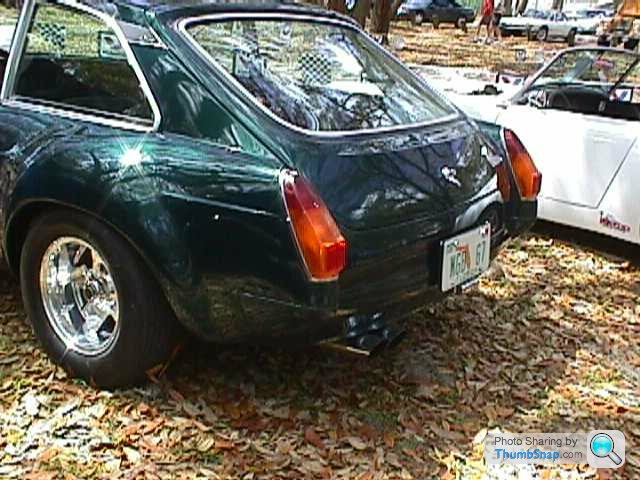


The MG stayed like this for quite a while as I showed it at local events and took friends for joy rides while carrying out various tests. one of the problems proved to be under bonnet temperatures in the summer months in the region of 80-105 degrees (Central Florida). The main issue appeared to be the block hugger exhaust headers which worked like a heat sink when stationary in traffic or slow cruising , When it was changed to the thro the inner fenders type there was a phenomenal improvement, more so when I modified the radiator mounting to allow more air flow thro the engine compartment 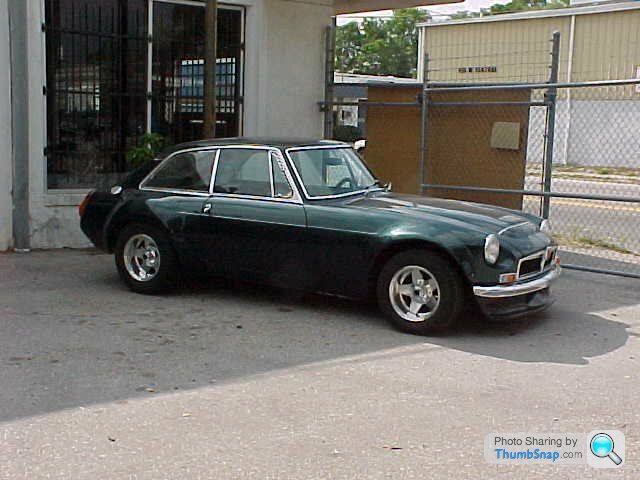
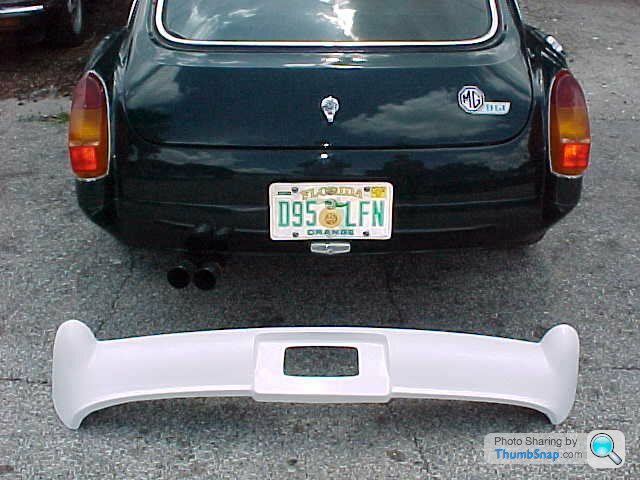
At that time the national speed limit in the states was 55 mph but there was talk of increasing the limit to 70mph so I started to step up the average speed and discovered more problems with temperature control, A redesign of the front spoiler was called for to change the air flow plus I'd experienced quality control problems with replacement front chrome blades and needed a quick convenient way to convert rubber bumper cars to something more appealing at a reasonable cost with a bolt up no modifications application.
So a new combination one piece unit was designed to achieve all of these aims in one operation made in house from RFGlass.
So a new combination one piece unit was designed to achieve all of these aims in one operation made in house from RFGlass.
Gassing Station | Classic Cars and Yesterday's Heroes | Top of Page | What's New | My Stuff