Discussion


Rude-boy said:
"I had Scalextric long before I had you love" 
I'm just lucky in that I struck Gold with a Mrs who is happy for me to take over the living room a few times a year for a couple of weeks and who is pushing the idea of a house move based on needing more space for real cars, a bigger kitchen and a Scalextric/Playstation/games room.
She's even mentioned that she knows of a full size snooker table up for grabs to a good home if we can find somewhere big enough
Sounds just like Sarah, although she wasn't too happy when I bought a full size snooker table 'well how often do we use the dining room?'I'm just lucky in that I struck Gold with a Mrs who is happy for me to take over the living room a few times a year for a couple of weeks and who is pushing the idea of a house move based on needing more space for real cars, a bigger kitchen and a Scalextric/Playstation/games room.
She's even mentioned that she knows of a full size snooker table up for grabs to a good home if we can find somewhere big enough

Unfortunately I'm not as far forward as I wanted to be, I had two weeks off but my grandad died so I had more pressing priorities.
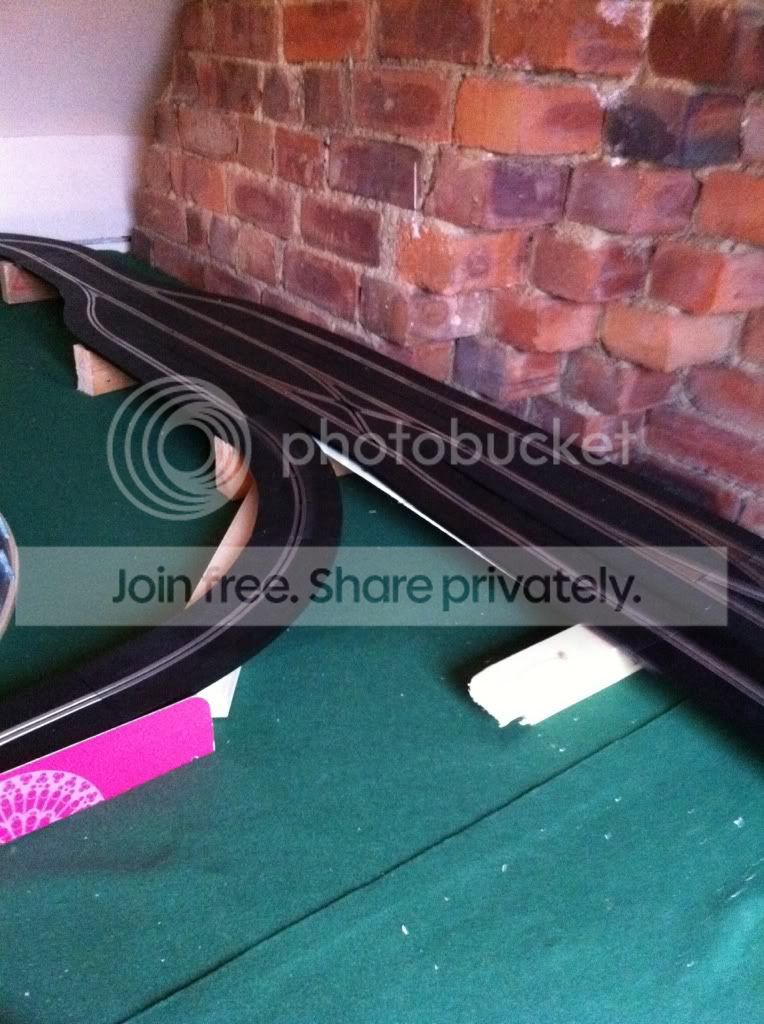
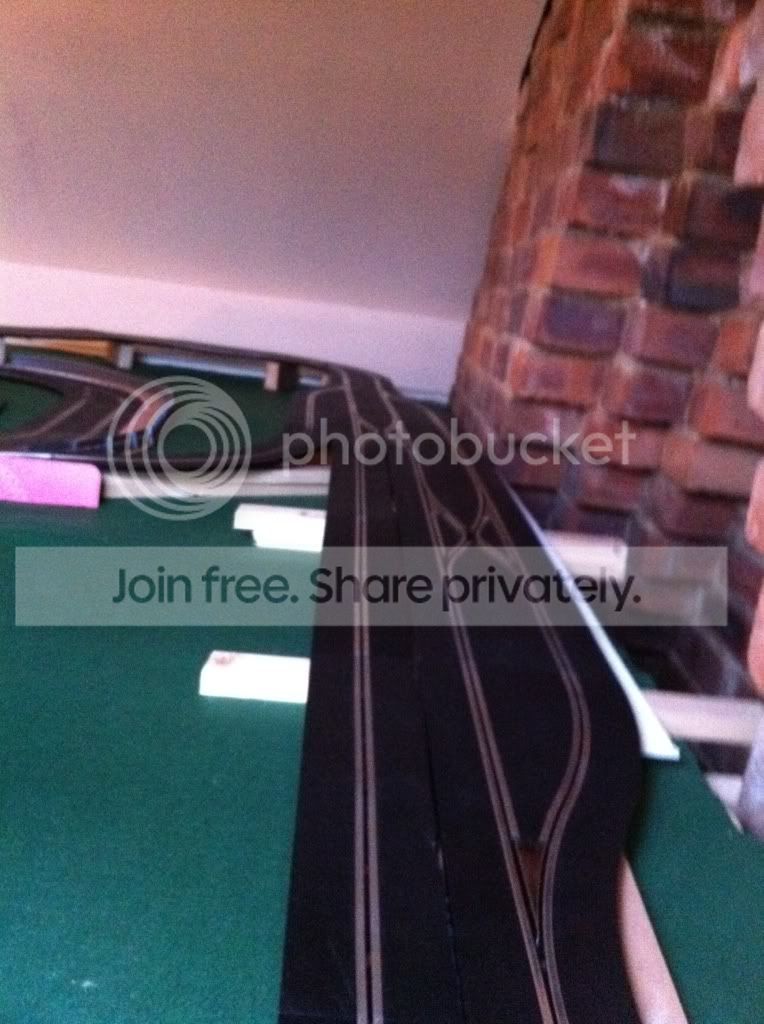
I do have a small update, I've now completed the circuit to the final layout, made a pit lane (had to make a couple of sections myself), borrowed some POS from work to make the bridges and made the back straight into 3 lanes plus a pit lane.

I do have a small update, I've now completed the circuit to the final layout, made a pit lane (had to make a couple of sections myself), borrowed some POS from work to make the bridges and made the back straight into 3 lanes plus a pit lane.
Mark. said:
Sorry to hear about your Grandad 
That pit lane looks narrow - have you tried a car down it? Don't try to get the Maserati MC12 down it, it's so long I think it'd drop off the curve
Thanks Mark That pit lane looks narrow - have you tried a car down it? Don't try to get the Maserati MC12 down it, it's so long I think it'd drop off the curve
I have done a few laps and used the pitlane a few times, it does look narrow but it's exactly one lane width. I will be attaching barriers to both sides, if you look further up the pits you'll see my offered up pit wall.
Jez Thain said:
Eh up!
Just picked up on this thread, ... fantastic layout so far, very envious indeed
If you're passing through Knaresborough drop by and i'll donate some stickers for all the barriers if you need any
You might want to pop along to the toy collectors fair on Harrogate showground on Feb 5th, mainly 'Dinky' toys and trains etc but there were plenty dealers with boxes of cheap Scalextric bits n bobs last year
cheers
J
Hi mate, been a long time (other than the odd chat on here) - I say a long time, it could be 20 years!!! Just picked up on this thread, ... fantastic layout so far, very envious indeed
If you're passing through Knaresborough drop by and i'll donate some stickers for all the barriers if you need any
You might want to pop along to the toy collectors fair on Harrogate showground on Feb 5th, mainly 'Dinky' toys and trains etc but there were plenty dealers with boxes of cheap Scalextric bits n bobs last year
cheers
J
Those stickers would be awesome thanks, it's my dads birthday on the 1st so could coincide a trip over with a visit to the show ground - not sure how my wife would feel about it though!!


I've managed to put some time aside and get some time in.
Even after copper taping the joints I couldn't get the track working properly. I found out that the 5 hours I'd spent copper taping was wasted because the adhesive wasn't conductive (mint). Ordered some copper tape from Hong Kong and it came 2 weeks ago. I spent another 5 hours taping the joints for the same issue to still be present. I spent more time researching the issue, taking bits of track out, nipping up the joints but still no result.
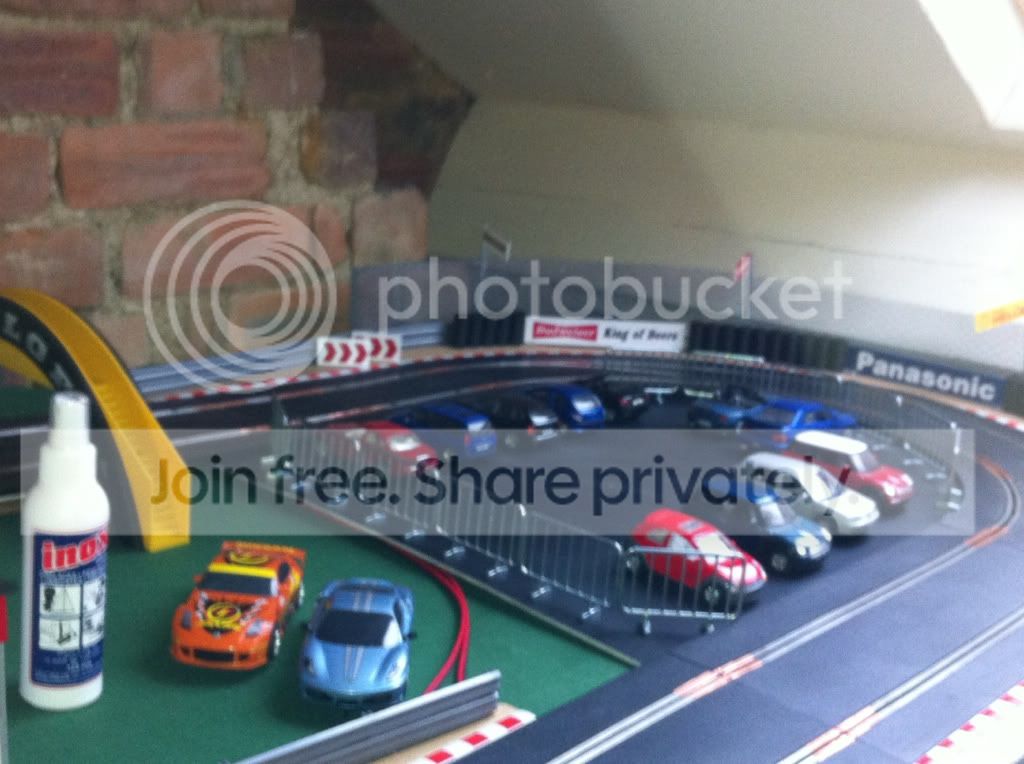
Someone suggested it being the conductivity rather than the power delivery and suggested a product that might help Inox MX3 which arrived last week. I never thought it would work but after applying a tiny drop to the braids of one car followed by 3 juddery laps we have success!!
I can now get on with the permanent scenery additions that I've been collecting.
Even after copper taping the joints I couldn't get the track working properly. I found out that the 5 hours I'd spent copper taping was wasted because the adhesive wasn't conductive (mint). Ordered some copper tape from Hong Kong and it came 2 weeks ago. I spent another 5 hours taping the joints for the same issue to still be present. I spent more time researching the issue, taking bits of track out, nipping up the joints but still no result.
Someone suggested it being the conductivity rather than the power delivery and suggested a product that might help Inox MX3 which arrived last week. I never thought it would work but after applying a tiny drop to the braids of one car followed by 3 juddery laps we have success!!
I can now get on with the permanent scenery additions that I've been collecting.
All the bridge surrounds are now painted and ready for decal.


Second stage copper taping, tyre wall plus advertising boards

Public areas offered up, still to simulate Tarmac though.

Car park in place but still have to paint black and white line.

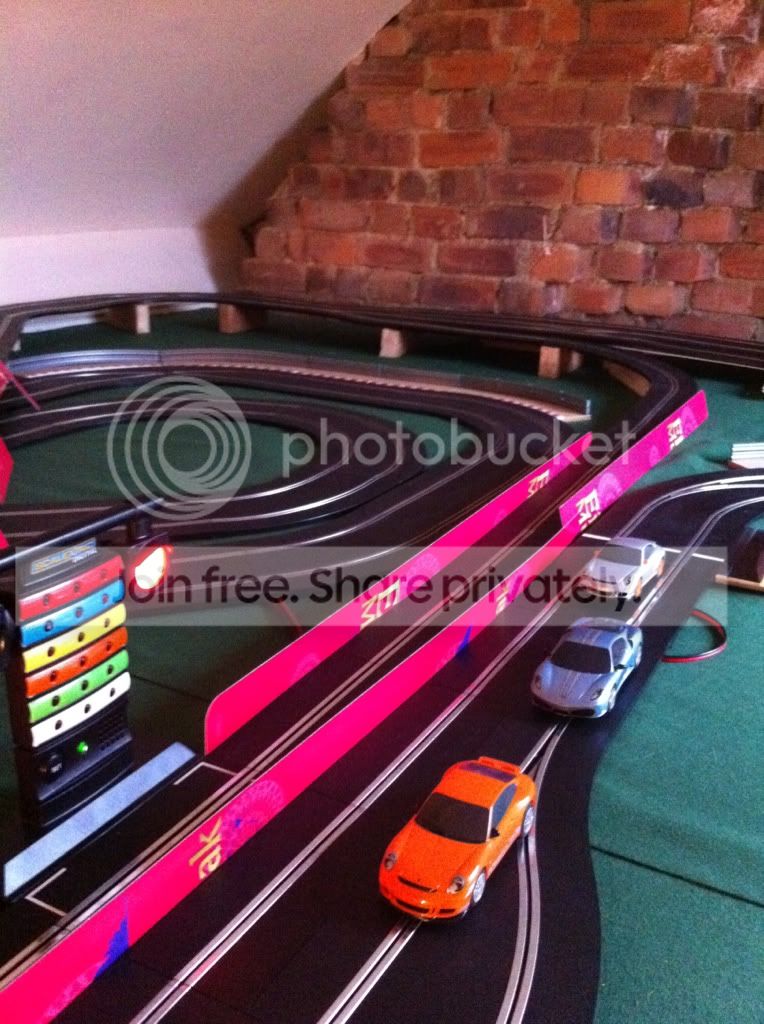
Control tower made

Control tower, pit garage and grandstand finished.

Roughly offered up before I complete the infield sections.

Two of the three fence kits made. Just need painting grey.

The outside of the track has barriers/sand traps, the inside of the track will have foamed PVC board covered in PVA then sand to simulate sand traps.
It's still a marathon rather than a sprint as I've got a million and one things I need to do to call it finished.
Second stage copper taping, tyre wall plus advertising boards
Public areas offered up, still to simulate Tarmac though.
Car park in place but still have to paint black and white line.
Control tower made
Control tower, pit garage and grandstand finished.
Roughly offered up before I complete the infield sections.
Two of the three fence kits made. Just need painting grey.
The outside of the track has barriers/sand traps, the inside of the track will have foamed PVC board covered in PVA then sand to simulate sand traps.
It's still a marathon rather than a sprint as I've got a million and one things I need to do to call it finished.
Not sure if this will work.
I was doing the filming at the same time as the controlling hence the very poor quality camera action.
http://i784.photobucket.com/albums/yy122/Falkster_...
I was doing the filming at the same time as the controlling hence the very poor quality camera action.
http://i784.photobucket.com/albums/yy122/Falkster_...


A small update today.
Bought some underlay to fill in the infield areas plus Ive made the clockwise section of the lighting using a 2 sets of LED xmas lights and some stanchions I bought from ebay. Ive also had my digital photo frame delivered which I will be finding something to attach to it in order to display it upright so I can use it as a advertising billboard.


PVAing the underlay so I can coat it in sand


Bought some underlay to fill in the infield areas plus Ive made the clockwise section of the lighting using a 2 sets of LED xmas lights and some stanchions I bought from ebay. Ive also had my digital photo frame delivered which I will be finding something to attach to it in order to display it upright so I can use it as a advertising billboard.
PVAing the underlay so I can coat it in sand
cerb4.5lee said:
Just loving the work & effort your putting into this, its great!
It looks like a great set up & will be full of atmosphere when you have finished, keep up the good work.
Cheers It looks like a great set up & will be full of atmosphere when you have finished, keep up the good work.
Another couple of sessions (wife permitting) ill get the rest of the in field cut/fitted and covered in PVA then hopefully covered in sand.


Gassing Station | Scale Models | Top of Page | What's New | My Stuff