Matchbox Hawker Tempest
Discussion


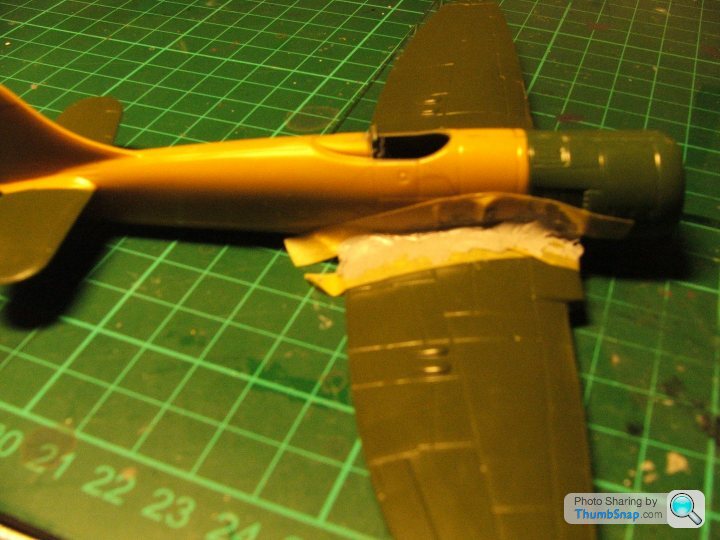

Progress report -
Undercoated and primed with Halford's Grey Primer.
Pre shaded with Tamiya Flat Black.
Yellow leading edge ID laid down - to be masked
Sky ID band on rear fuselage laid down - also to be masked
I've painted the bare metal panels to the rear of the Centaurus cowling in Alclad Aluminium and shaded with Alclad Burnt Metal. This will also be masked before the camouflage pattern is applied.
Eric Mc said:
Progress report -
Undercoated and primed with Halford's Grey Primer.
Pre shaded with Tamiya Flat Black.
Yellow leading edge ID laid down - to be masked
Sky ID band on rear fuselage laid down - also to be masked
I've painted the bare metal panels to the rear of the Centaurus cowling in Alclad Aluminium and shaded with Alclad Burnt Metal. This will also be masked before the camouflage pattern is applied.
Your pre-shading's going to be completely lost by the time you've completed the gray and green camo (just like it already has been on the sky band). Undercoated and primed with Halford's Grey Primer.
Pre shaded with Tamiya Flat Black.
Yellow leading edge ID laid down - to be masked
Sky ID band on rear fuselage laid down - also to be masked
I've painted the bare metal panels to the rear of the Centaurus cowling in Alclad Aluminium and shaded with Alclad Burnt Metal. This will also be masked before the camouflage pattern is applied.
It should be done after the first coat of the lightest colour, then repeated after masking for subsequent colours. Like any weathering, it's a long process, with a degree of trial and error to get looking right.
The other thing is that it really needs to be *much* finer and follow the panel lines to have any discernable effect.
Just saying like

You do it your way - I do it mine
I'm not that worried if most of it gets lost. That the whole point as far as I am concerned.
Also, the LAST thing I want to do is to delineate the panels to any great extent. All I want is a very slight and subtle tonal variation in the overall scheme. It's not the end of the world if most of it is not really visible.
I'm still experimenting as I go with these techniques. I may very well give up on it in future projects.


I was going to start on the rather ancient (1959) Airfix Sea Hawk - one I picked up for £1 at a model show. But I snapped the fuselage trying to remove the locating lug for the rather primitive ejection seat provided in the kit. I was planning to fit out the cockpit with a scratch built interior (as I did with the Tempest). I have an Aeroclub white metal Martin Baker MkI ejection seat.
I have another Airfix Sea Hawk in the loft so I'll venture up the ladder to see if I can track it down and have another go. I have some nice alternative markings as well. It's amazing how much a rather ancient old model can be spruced up with a set of decent decals.
I have another Airfix Sea Hawk in the loft so I'll venture up the ladder to see if I can track it down and have another go. I have some nice alternative markings as well. It's amazing how much a rather ancient old model can be spruced up with a set of decent decals.
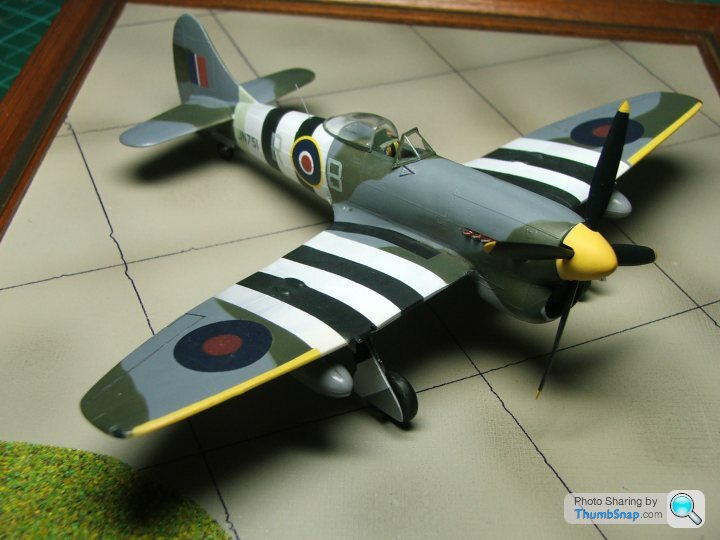
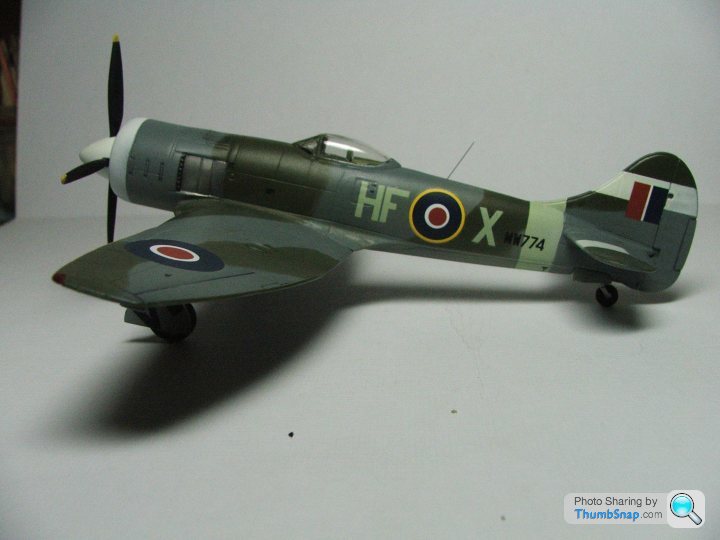
Yep, turned out well - nice one. The panel lines don't seem too deep at all considering that this was a common criticism of Matchbox.
Red Firecracker said:
I'm still amazed how much the different engine changes the whole feel of the aircraft. Very nicely executed, Eric.
There is a slight difference with the wing as well - the Matchbox versions were the Tempest II or VI (evidenced by the intakes in the wing roots), rather than the Tempest V in Eric's previous posts. Matchbox wee never that explicit in terms of kit names.Gassing Station | Scale Models | Top of Page | What's New | My Stuff