Tamiya 1:12 McLaren MP4/6 Rebuild/Upgrade
Discussion


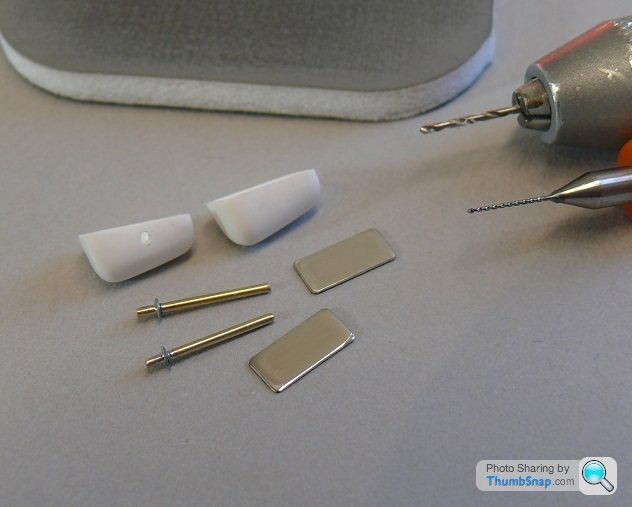
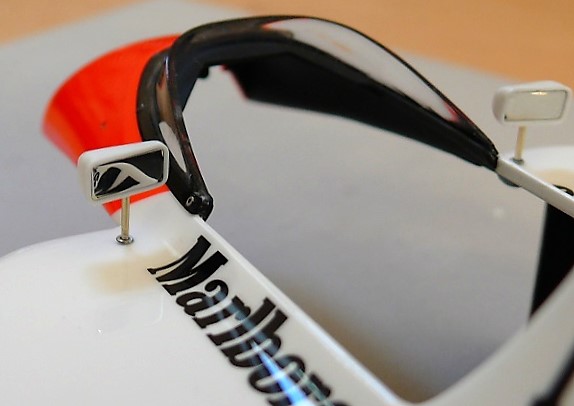
The Thunder Valley p/e mirrors (on the right) polish up nicely - still a bit more work to do on them, and they appear to be a perfect fit in the housings. The Top Studio version (on the left) is way too small for some reason.
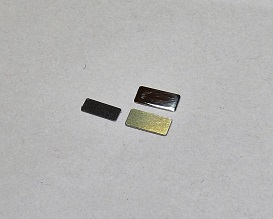
I should be able to solder the new stems together from some brass rod and some p/e washers from the Thuder Valley etch set:
I should be able to solder the new stems together from some brass rod and some p/e washers from the Thuder Valley etch set:


With regard the decal carrier film, have a look at this guy's R91CP build.
http://www.tamiyausa.com/articles/building-the-nis...
The wing in particular looks so much nicer after he removes the film.
I haven't been brave enough to try removing it like this, but I'm going to get a bit of practice in on an old
body shell before I give it a go.
http://www.tamiyausa.com/articles/building-the-nis...
The wing in particular looks so much nicer after he removes the film.
I haven't been brave enough to try removing it like this, but I'm going to get a bit of practice in on an old
body shell before I give it a go.
Pete Eroleum said:
With regard the decal carrier film, have a look at this guy's R91CP build.
http://www.tamiyausa.com/articles/building-the-nis...
The wing in particular looks so much nicer after he removes the film.
I haven't been brave enough to try removing it like this, but I'm going to get a bit of practice in on an old
body shell before I give it a go.
Yes, with hindsight I would have trimmed it off. You have to be a bit careful though - some decal manufacturers feather the edges of the carrier film to blend them with the surrounding paint. If you trim it you end up with an even harder edge.http://www.tamiyausa.com/articles/building-the-nis...
The wing in particular looks so much nicer after he removes the film.
I haven't been brave enough to try removing it like this, but I'm going to get a bit of practice in on an old
body shell before I give it a go.
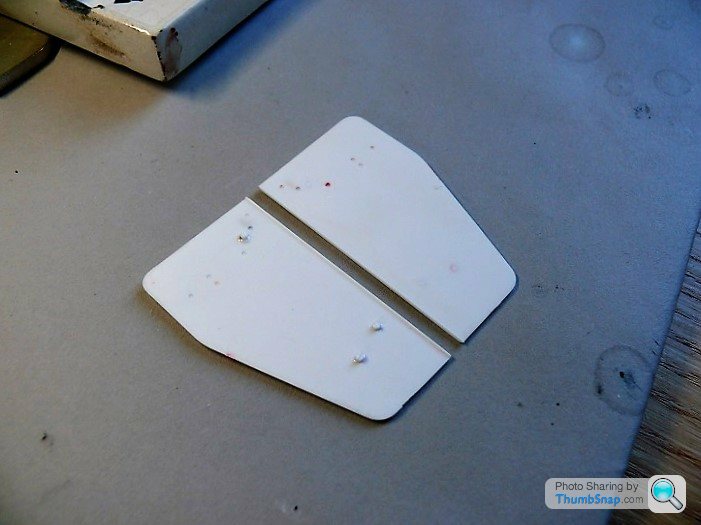
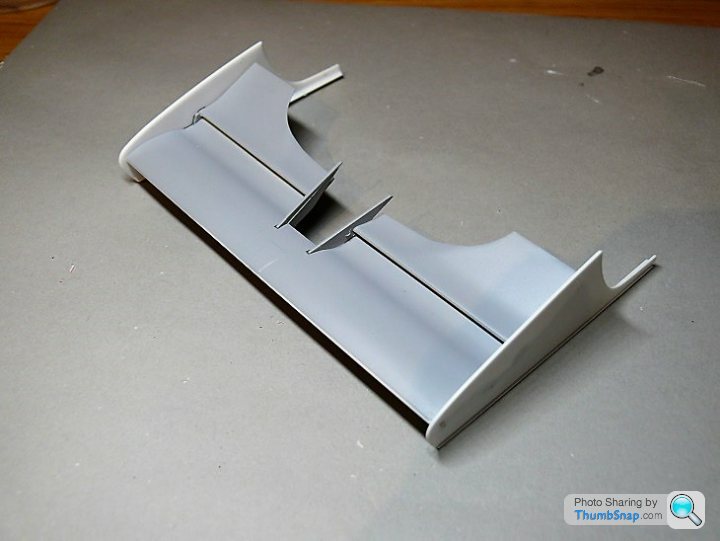
So I've turned my attention to the wings. Obviously I had to snap them apart at the joints in order to repaint them, which has left them with rather imprecise location features for re-assembly. TBH the original kit spigots and holes were pretty crude, particularly on the front wings.
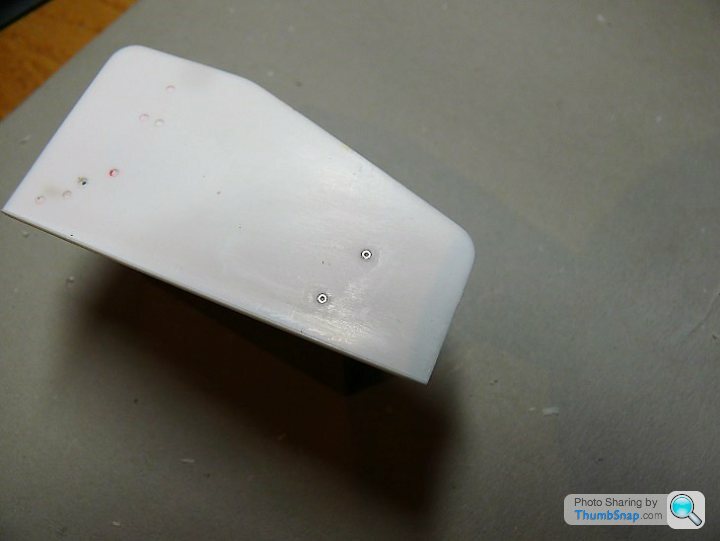
I started by filling the existing location holes with plastic rod and liquid cement, and flatting the surfaces once set:
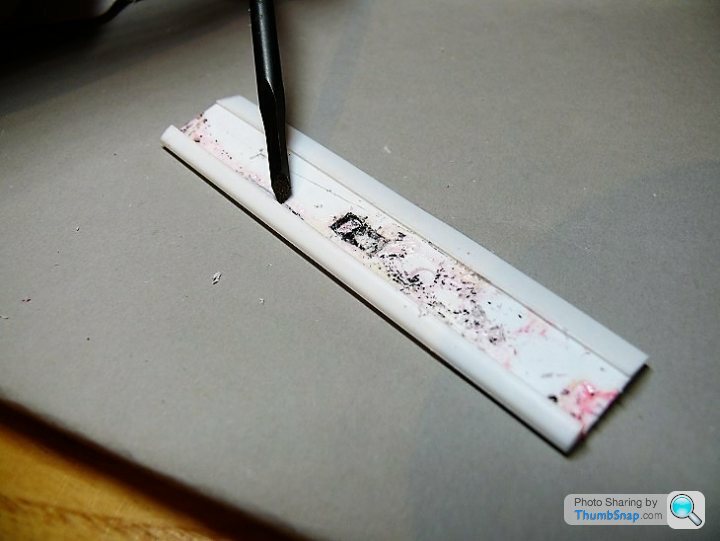
I then re-drilled much smaller holes precisely in the centres of these bits of plastic.
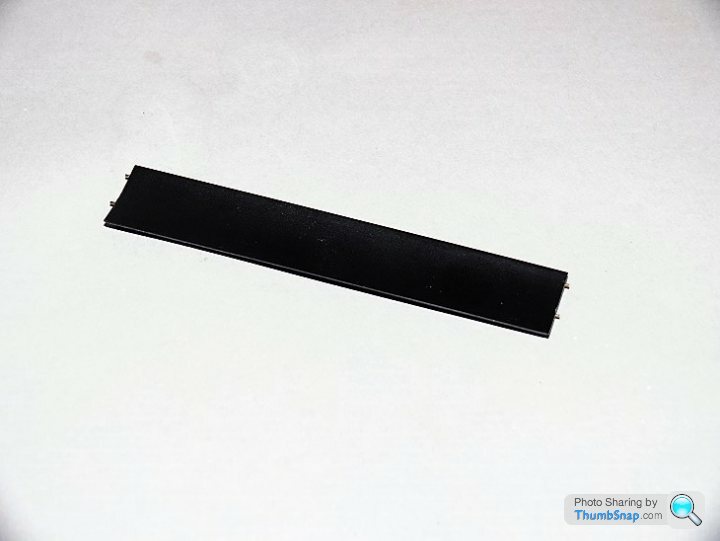
Then sliced off the large plastic spigots on the wings, drilled in the centre of the witness marks and inserted some small diameter brass rod. These spigots protrude precisely half the thickness of the endplate:
Also used a small chisel to clean up the upper wing element recess:
After all this, the rear wing assembly self-jigs very accurately, and will be fine when re-assembled using Araldite:
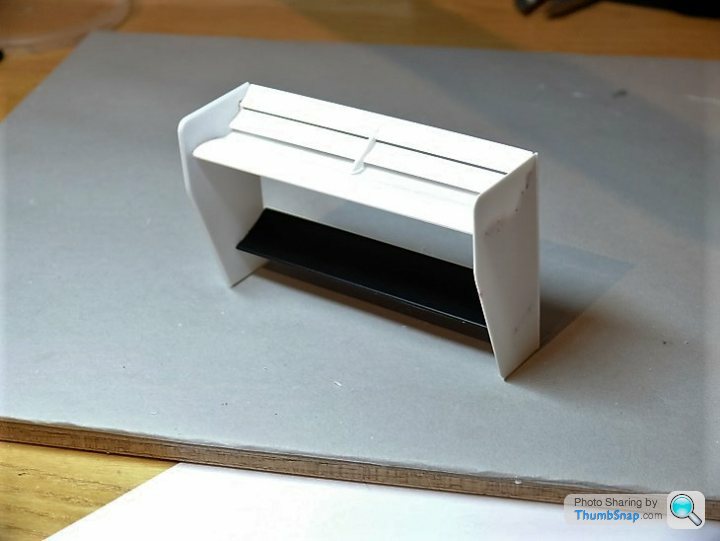
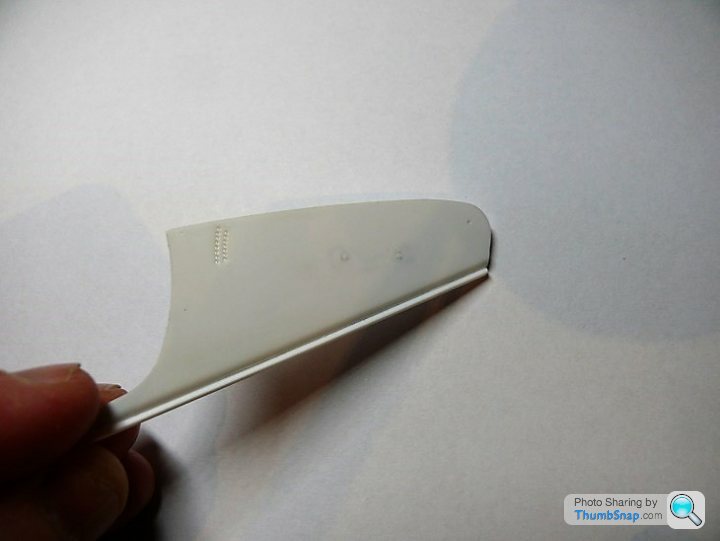
Final touch was to counterbore the outboard ends of the new holes to precisely half the depth of the endplates, in order that 1.0mm p/e rivets can be fitted flush over the ends of the brass rod to make the entire repair invisible, and true to the prototype. All the moulded-in recesses will have flush rivets fitted eventually:
Similar story with the front wing:
Only this time I allowed the plastic rod to protrude into the wing location sockets:
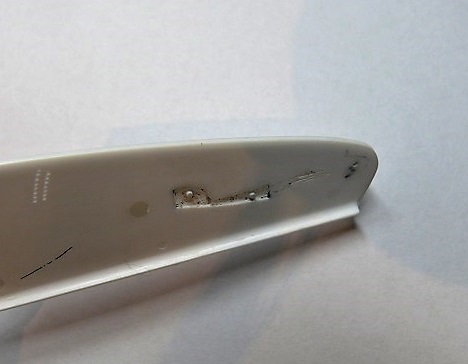
By initially drilling pilot holes with a small diameter drill through the endplate and into the wing itself, I was subsequently able to open up these witness marks to suit the protruding rod ends, thereby making a perfect location fit. I also drilled holes for some leading edge incidence pins, using brass rod, as per the rear wing:
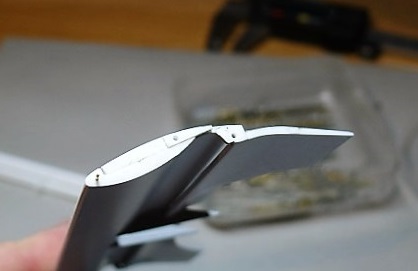
Again, the front wing is once again self-jigging and solid, and will be very robust once assembled with Araldite. As with the rear, all pins will be covered with 1.0mm p/e rivets.
I'm still removing the moulded-in Gurney flap from the rear wing, and will remove the vertical end-plate strakes (all to be replaced with p/e strip. I'll also make a set of Gurney flaps for the front wing and rear wing lower element.
Still a way to go, but at least some more progress.
I started by filling the existing location holes with plastic rod and liquid cement, and flatting the surfaces once set:
I then re-drilled much smaller holes precisely in the centres of these bits of plastic.
Then sliced off the large plastic spigots on the wings, drilled in the centre of the witness marks and inserted some small diameter brass rod. These spigots protrude precisely half the thickness of the endplate:
Also used a small chisel to clean up the upper wing element recess:
After all this, the rear wing assembly self-jigs very accurately, and will be fine when re-assembled using Araldite:
Final touch was to counterbore the outboard ends of the new holes to precisely half the depth of the endplates, in order that 1.0mm p/e rivets can be fitted flush over the ends of the brass rod to make the entire repair invisible, and true to the prototype. All the moulded-in recesses will have flush rivets fitted eventually:
Similar story with the front wing:
Only this time I allowed the plastic rod to protrude into the wing location sockets:
By initially drilling pilot holes with a small diameter drill through the endplate and into the wing itself, I was subsequently able to open up these witness marks to suit the protruding rod ends, thereby making a perfect location fit. I also drilled holes for some leading edge incidence pins, using brass rod, as per the rear wing:
Again, the front wing is once again self-jigging and solid, and will be very robust once assembled with Araldite. As with the rear, all pins will be covered with 1.0mm p/e rivets.
I'm still removing the moulded-in Gurney flap from the rear wing, and will remove the vertical end-plate strakes (all to be replaced with p/e strip. I'll also make a set of Gurney flaps for the front wing and rear wing lower element.
Still a way to go, but at least some more progress.
Alex@POD said:
It's like watching a very good TV series this, can't wait for the next update!
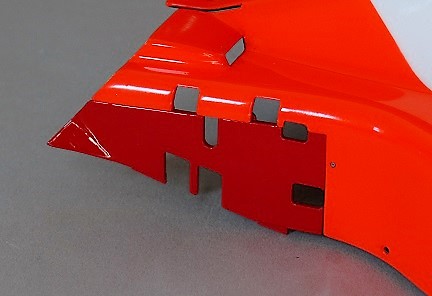
 I've had this thread bookmarked for a while. On the real car, are the floor, the inside faces of the rear wing endplates and the sides of the body in front of the side pods matte black, or bare carbon fibre?
ajprice said:
Alex@POD said:
It's like watching a very good TV series this, can't wait for the next update!
I've had this thread bookmarked for a while. On the real car, are the floor, the inside faces of the rear wing endplates and the sides of the body in front of the side pods matte black, or bare carbon fibre?They are definitely bare carbon, but the type is not clear. Some areas, such as the rear wing support, are unidirectional carbon. This is represented by fine lines embossed on the surface of the plastic. Other areas such as the vortex generators and various parts of the undertray and cockpit are - I think - either plain or twill weave carbon.
If there's no definitive answer before I'm ready to apply the carbon decals I'll go with an educated guess combined with whith I think might look nice.
Red Firecracker said:
The other alternative is to go to the source and to drop the heritage department of McLaren an email. They're actually very helpful people so good chance of a decent reply I'd have thought.
That's the first thing I did. I emailed McLaren twice so far, the last time a couple of weeks ago, with an image of the car attached annotated with circles around the four areas I wanted details on. No reply either time.dr_gn said:
Nick Grant said:
Last time I was at Brooklands they had one of these in the Grand Prix shed. Someone here must be going there soon who could grab some photos for you.
Good call, I've sent an email to them. Cheers for that.Gassing Station | Scale Models | Top of Page | What's New | My Stuff