Tamiya 1:12 McLaren MP4/6 Rebuild/Upgrade
Discussion


Thanks both!
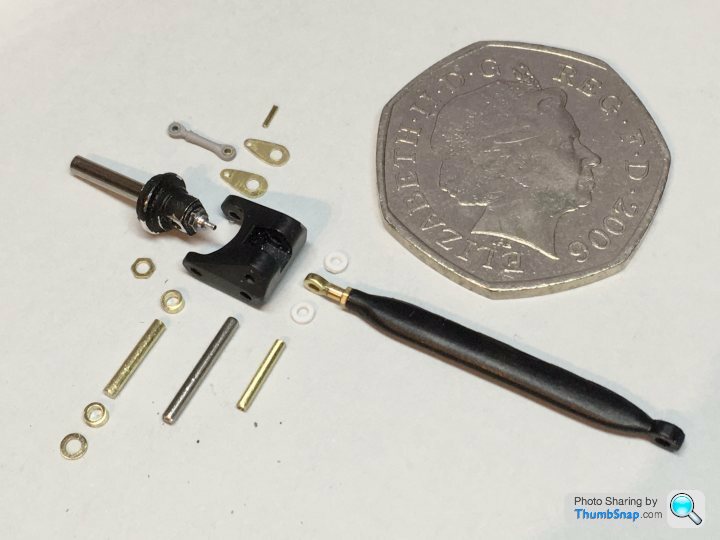
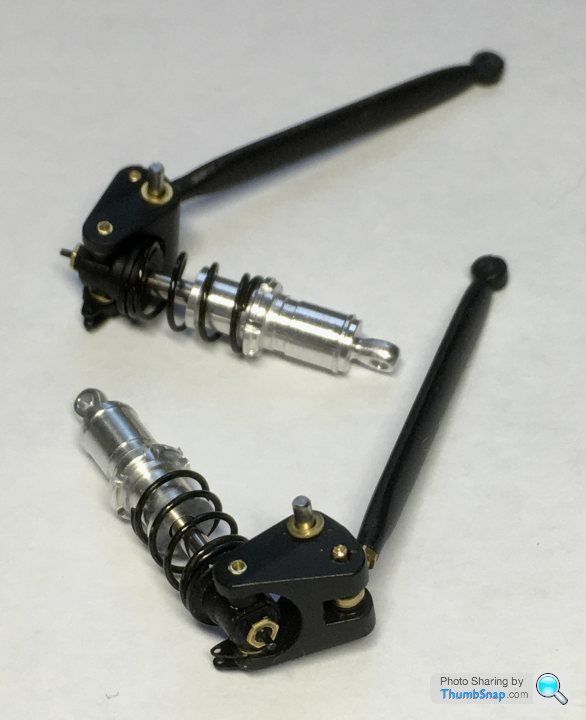
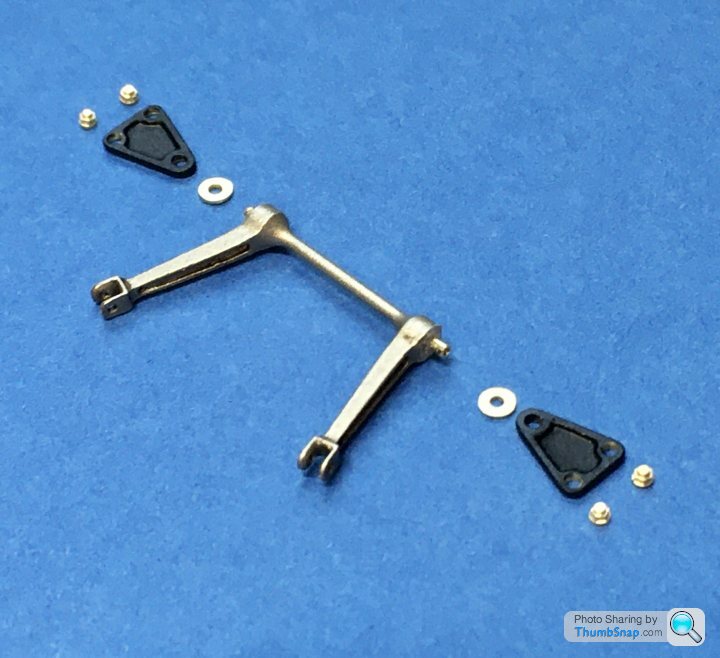
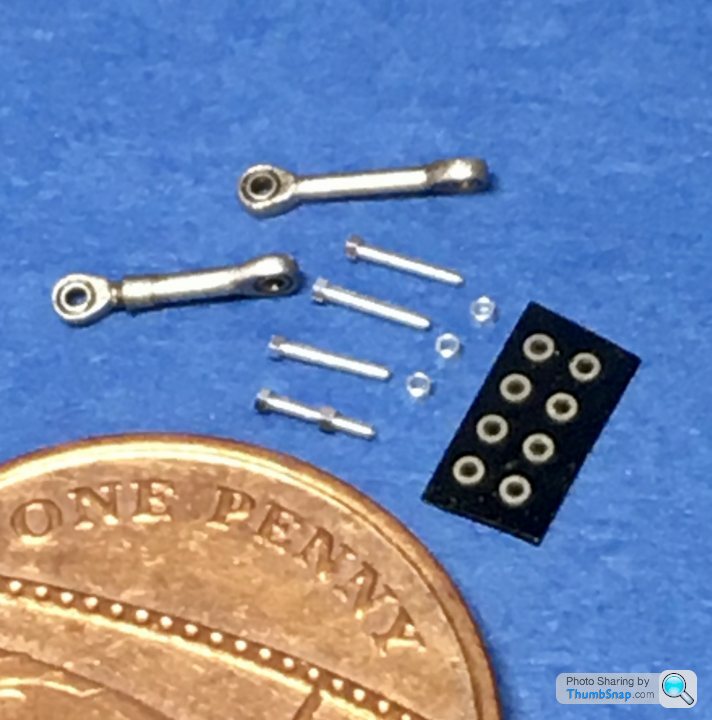
So enough’s enough. Today come what may I wanted to do something to move this millstone forward a bit. This is where I left the modified rear rockers, with the unpainted, scratch built bits. I hesitate to say “corrected”, but they are far closer to reality than the kit/Top Studio parts:
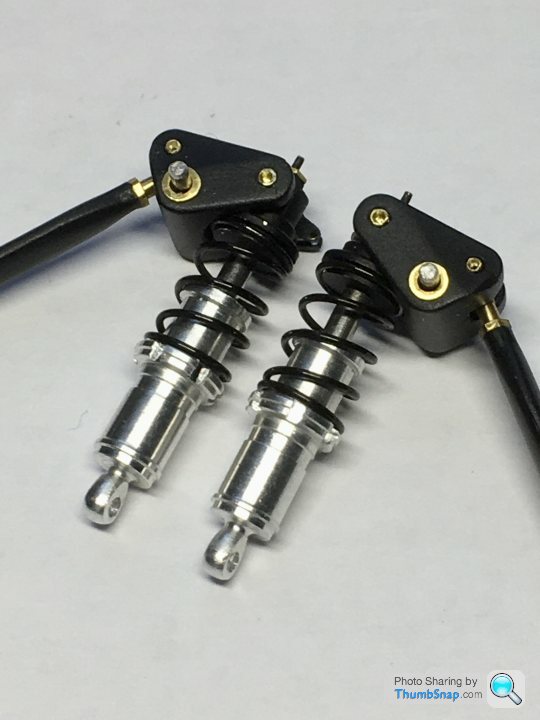
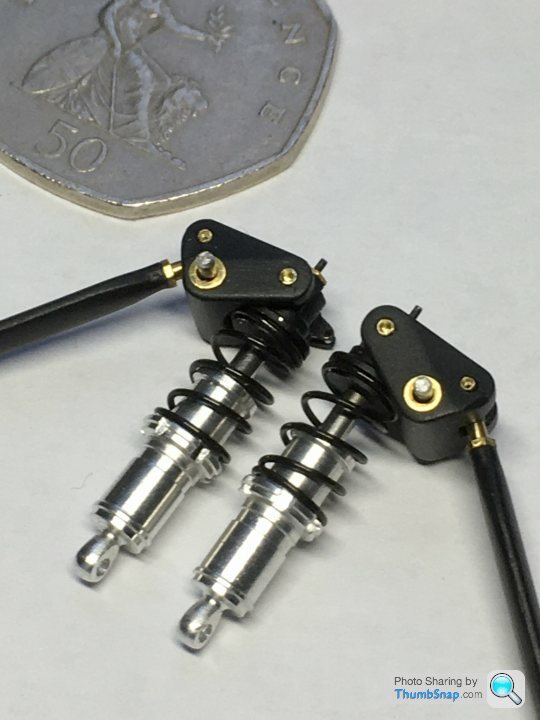
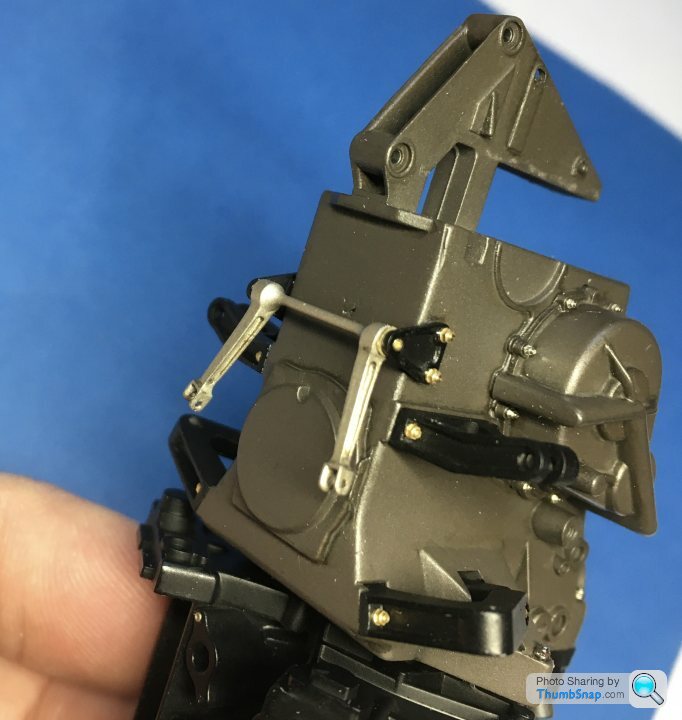
So once the relevant bits were painted and satin coated, assembly was pretty straightforward. Springs are too thin, but easily fixed later if I can source some more realistic items:
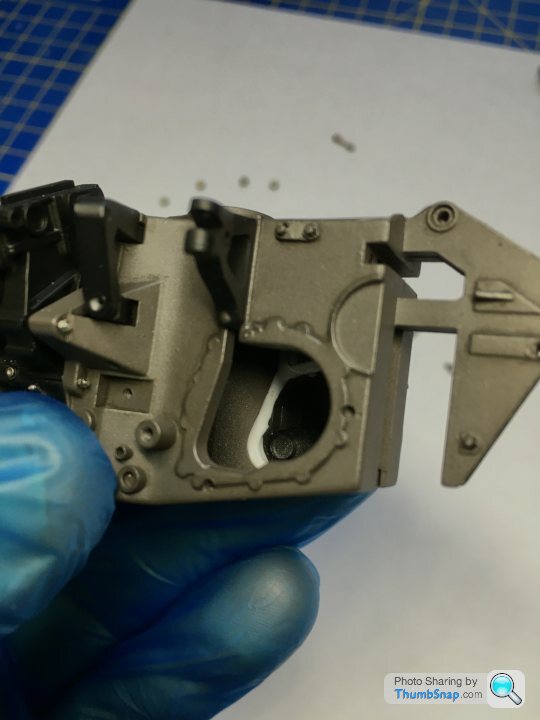
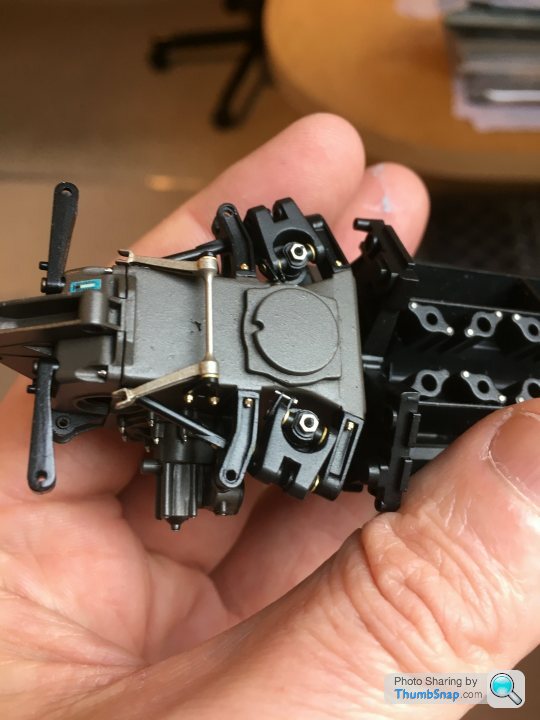
Then on to the gearbox casings, which I fitted with PVA - just in case...
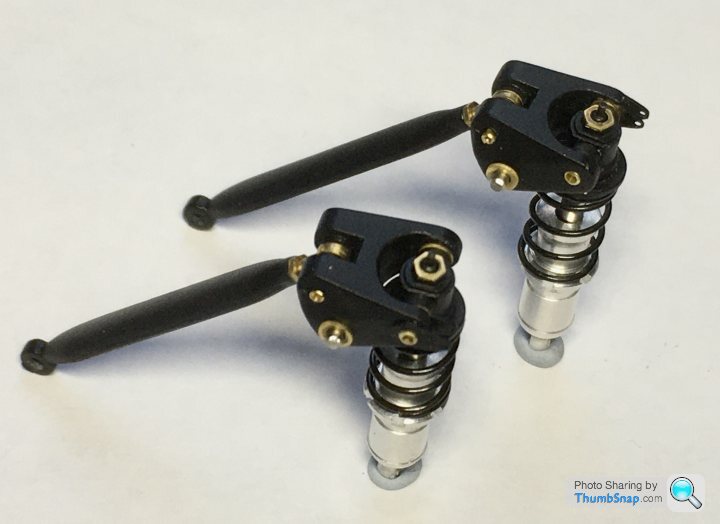
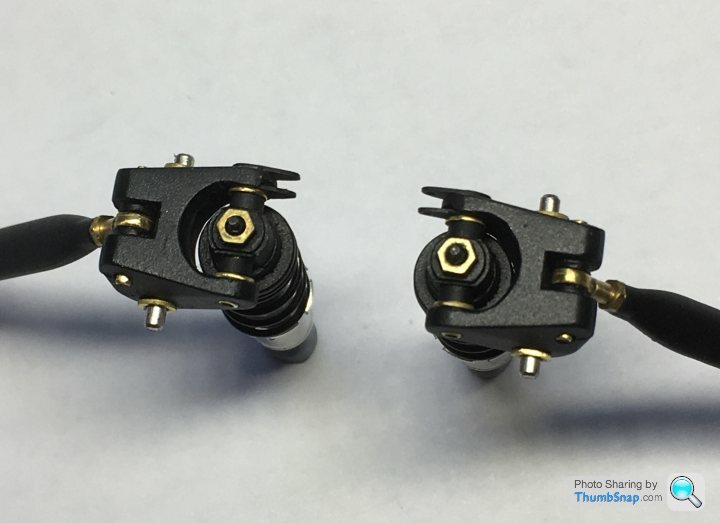
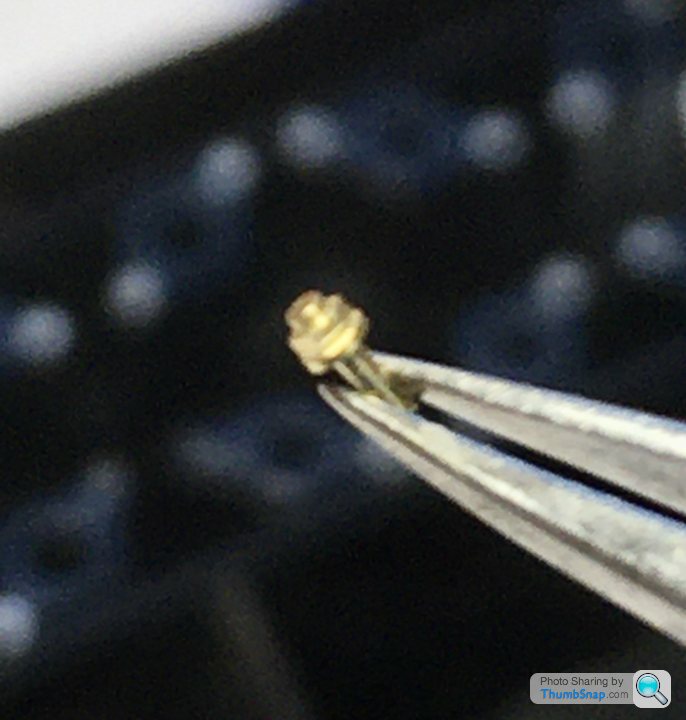
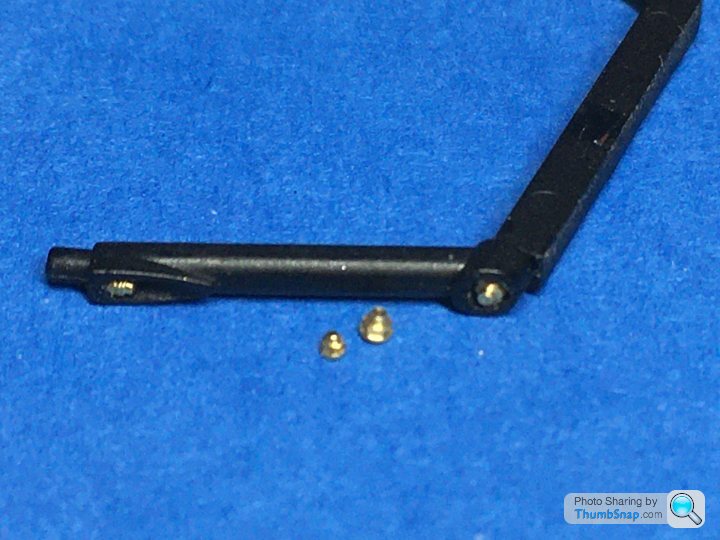
I ended up getting some Top Studio brass fasteners for the suspension brackets - I think the real ones may have had a gold coating:
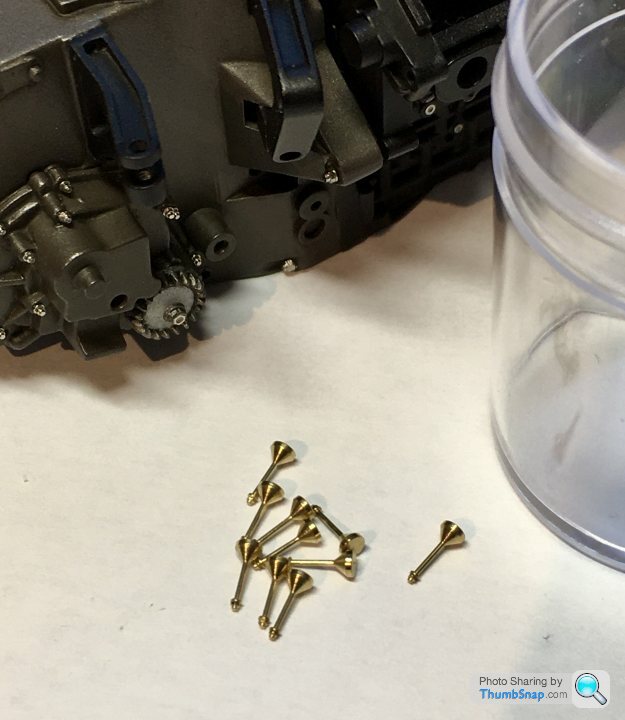
You can cut them to whatever size you need:
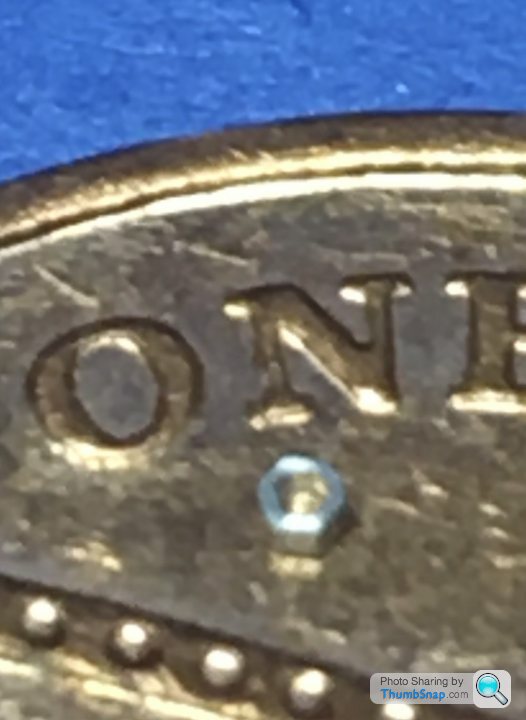
Here they are fitted:
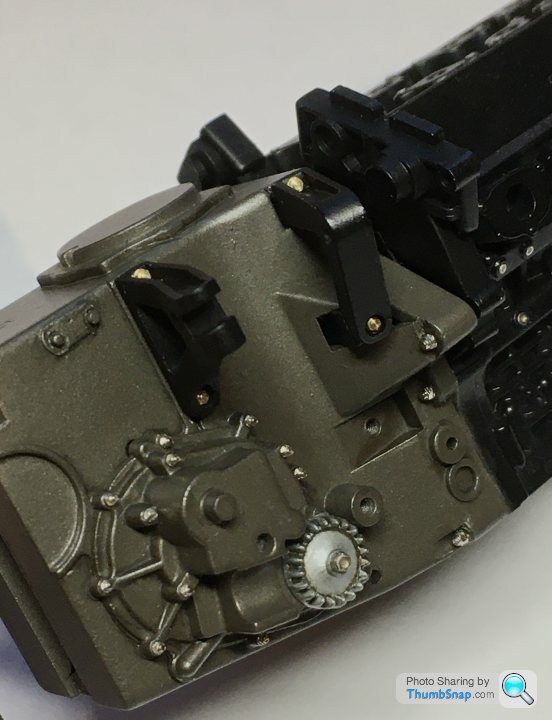
So far so good. Next job will be to give the other gearbox and suspension mounts a coat of Mr.Hobby Aqueous satin, and get the rest of the gearbox assembled.
So enough’s enough. Today come what may I wanted to do something to move this millstone forward a bit. This is where I left the modified rear rockers, with the unpainted, scratch built bits. I hesitate to say “corrected”, but they are far closer to reality than the kit/Top Studio parts:
So once the relevant bits were painted and satin coated, assembly was pretty straightforward. Springs are too thin, but easily fixed later if I can source some more realistic items:
Then on to the gearbox casings, which I fitted with PVA - just in case...
I ended up getting some Top Studio brass fasteners for the suspension brackets - I think the real ones may have had a gold coating:
You can cut them to whatever size you need:
Here they are fitted:
So far so good. Next job will be to give the other gearbox and suspension mounts a coat of Mr.Hobby Aqueous satin, and get the rest of the gearbox assembled.
Edited by dr_gn on Sunday 27th December 16:20
ChevronB19 said:
I tend to build 1:48 planes due to general clumsiness, and wish I had the skill (and patience) to do something like this, but I have to ask: how on Earth to you glue things that small without leaving either big smudges of glue everywhere or getting an insufficient bond?
It depends on the part. For the black triangular a.r.b. plate to gearbox join I used Araldite, because it needs to be fairly rigid. I apply it with fuse wire. It’s wasteful because there’s a limit to how much you can mix accurately in tiny amounts.For the non-structural and smaller stuff like bolts and bolt heads I invariably use PVA. It’s easily strong enough for small parts, can be diluted with water to wick into places you can’t accurately get to, and of course if you use the right type, it can be re-dissolved if you screw up. The other big advantage is that it’s pretty much invisible once set.
NotNormal said:
In awe every time I see the updates on this thread. Amazing skill and keep up the good work 
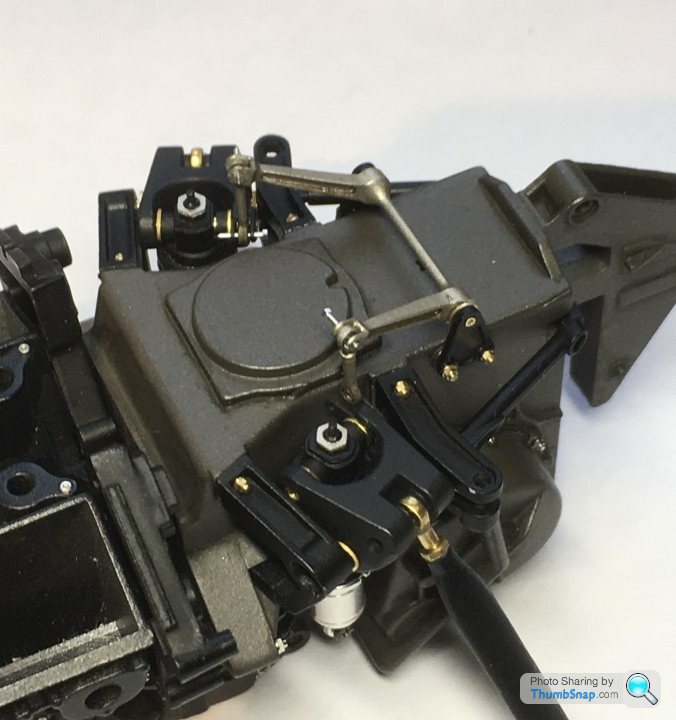
Thanks for the encouragement! This one is taking its toll - nothing seems to fit without some fettling, and fettling invariably means damaging paint somewhere or other. It’s a viscious circle. and experimenting with matt/satin varnish is a pain. Anyway, I decided to test assemble what I’ve got so far, just to make sure it fits before going any further. The modified rocker geometry looks way better than the original kit, and the a.r.b. mounts and linkages are now pretty accurate:

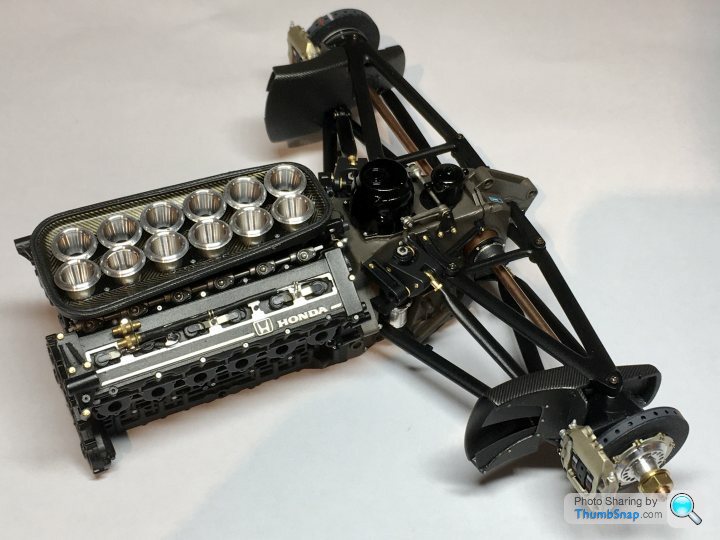
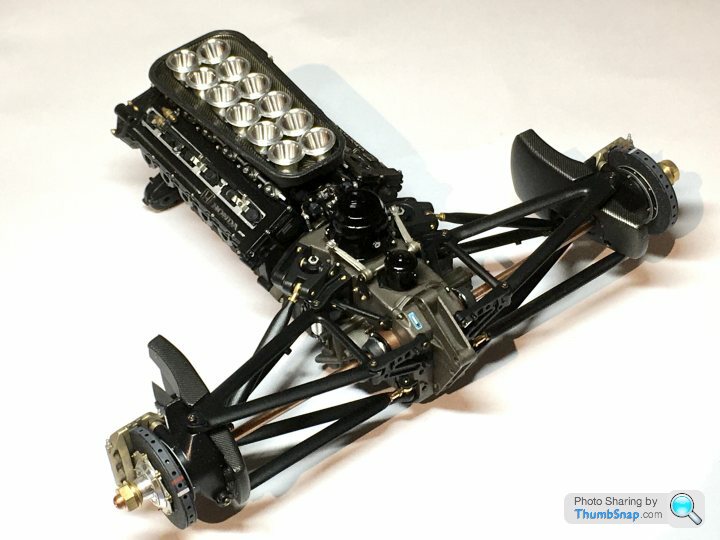
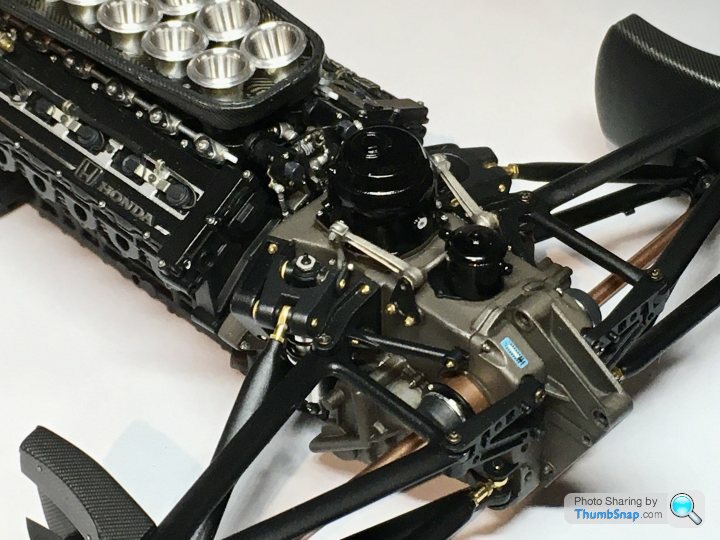
I kind of wish I’d not satined the fasteners - they look a bit dull now, then again previously they were a bit too bling. Anyway, it is what it is.
Still needs all the wiring, hoses and anodised fittings, and the gold coloured suspension arm bolts. Before that though, the upper wishbones need their camber shims dealing with.
matc said:
It looks stunning; will be a shame to cover it with a body! Keep the updates coming - may admiration for your patience and craftsmanship is huge!
Too kind - thanks! This is the chassis version which won't have the body on at all. I've got my original model, which I am re-building as "kerbside". They will be displayed together on a base, along with my Senna and Berger autographs. The FW14B and Ferrari 641 will just be single chassis with the body displayed alongside though. That's if I have enough years left to complete them.I came across the pictures on the link below and immediately thought of this build.
https://www.ultimatecarpage.com/img/McLaren-MP4-6-...
You have probably seen them before, but if hope they provide a useful reference.
https://www.ultimatecarpage.com/img/McLaren-MP4-6-...
You have probably seen them before, but if hope they provide a useful reference.
robemcdonald said:
I came across the pictures on the link below and immediately thought of this build.
https://www.ultimatecarpage.com/img/McLaren-MP4-6-...
You have probably seen them before, but if hope they provide a useful reference.
Thanks for that. Yes I've got that bookmarked already. There are some useful references, but some of the engine bay and tub hardware is slightly different from back in the day. I think the images are from the Goodwood FoS fairly recently.https://www.ultimatecarpage.com/img/McLaren-MP4-6-...
You have probably seen them before, but if hope they provide a useful reference.
dr_gn said:
robemcdonald said:
I came across the pictures on the link below and immediately thought of this build.
https://www.ultimatecarpage.com/img/McLaren-MP4-6-...
You have probably seen them before, but if hope they provide a useful reference.
Thanks for that. Yes I've got that bookmarked already. There are some useful references, but some of the engine bay and tub hardware is slightly different from back in the day. I think the images are from the Goodwood FoS fairly recently.https://www.ultimatecarpage.com/img/McLaren-MP4-6-...
You have probably seen them before, but if hope they provide a useful reference.
Bobkshea said:
Long time looker first time poster…
Wondering what happened to Doc’s amazing build? Is the big fella just back to work post lockdowns?
I recently jumped on the exact model and TS full detail kit… hope to start soon!
Oh no I’d forgotten about that one…Wondering what happened to Doc’s amazing build? Is the big fella just back to work post lockdowns?
I recently jumped on the exact model and TS full detail kit… hope to start soon!
I got stuck on the rear anti-roll bar not looking right, and also not being sure how to represent the male-mould tub.
The resin printer will solve the first issue, but the second still puzzles me.
 )
)Gassing Station | Scale Models | Top of Page | What's New | My Stuff