1/48 Hawker Tempest V
Discussion


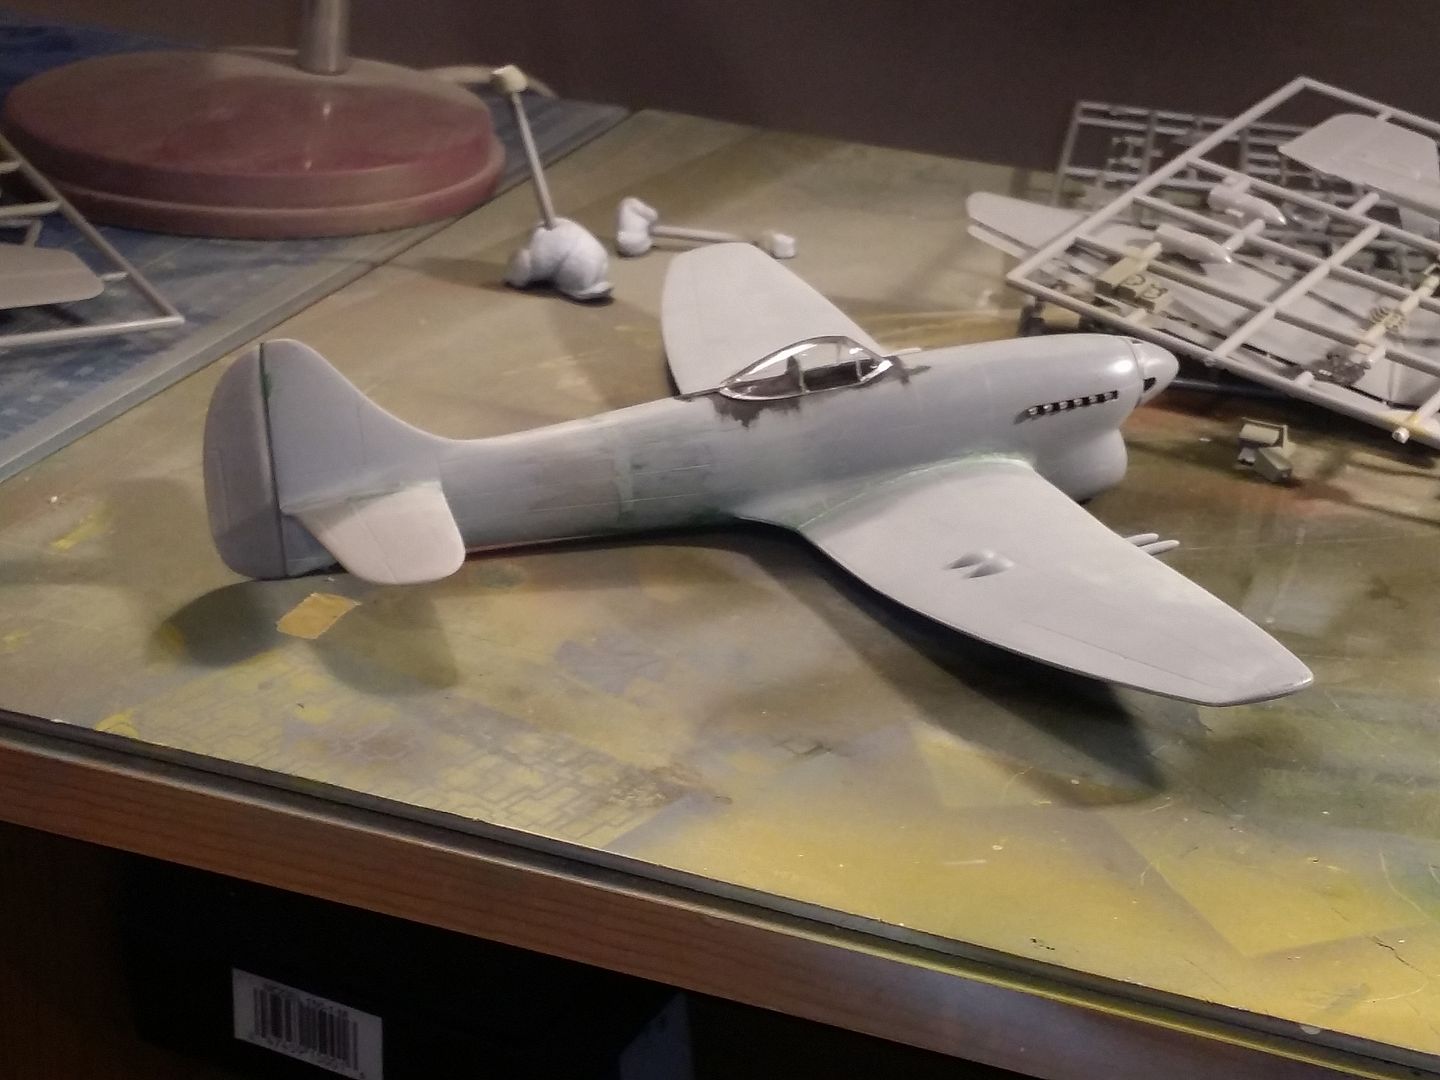
I see what you mean. The fin isn't completely straight, but it's not as bad as the photos suggest. I'll take a pic of the rudder later - it's not quite straight but the main issue is that it's not symmetrical down its vertical axis. The more I think of this, the more tempted I am to make a new one from a thin plasticard side profile core, a leading edge then half ribs (radio control scale model style).
Well that worked out quite well  .
.
I should have moved on to a 1/350 destroyer that's supposed to go round and round on a display turntable on our table at the Scottish Nationals in April, but to be honest couldn't face the thought of faffing about with PE last night so instead I opened the box of a Revell Ju 87B that's been sat for a while and sprayed some RLM02 over it while the filler was drying (and wasted some time on Pistonheads).
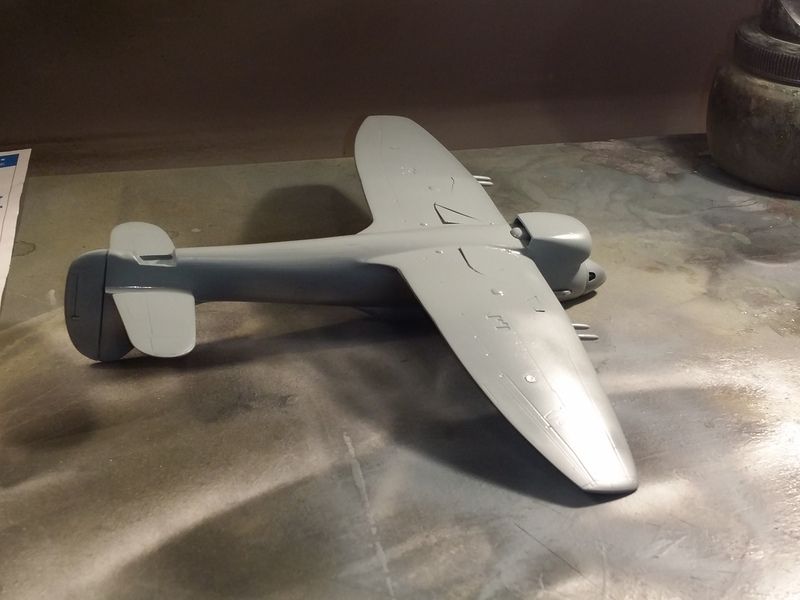
This evening I've shaped the filler and reworked the hinge line. I'm happy enough with it now and shall proceed.

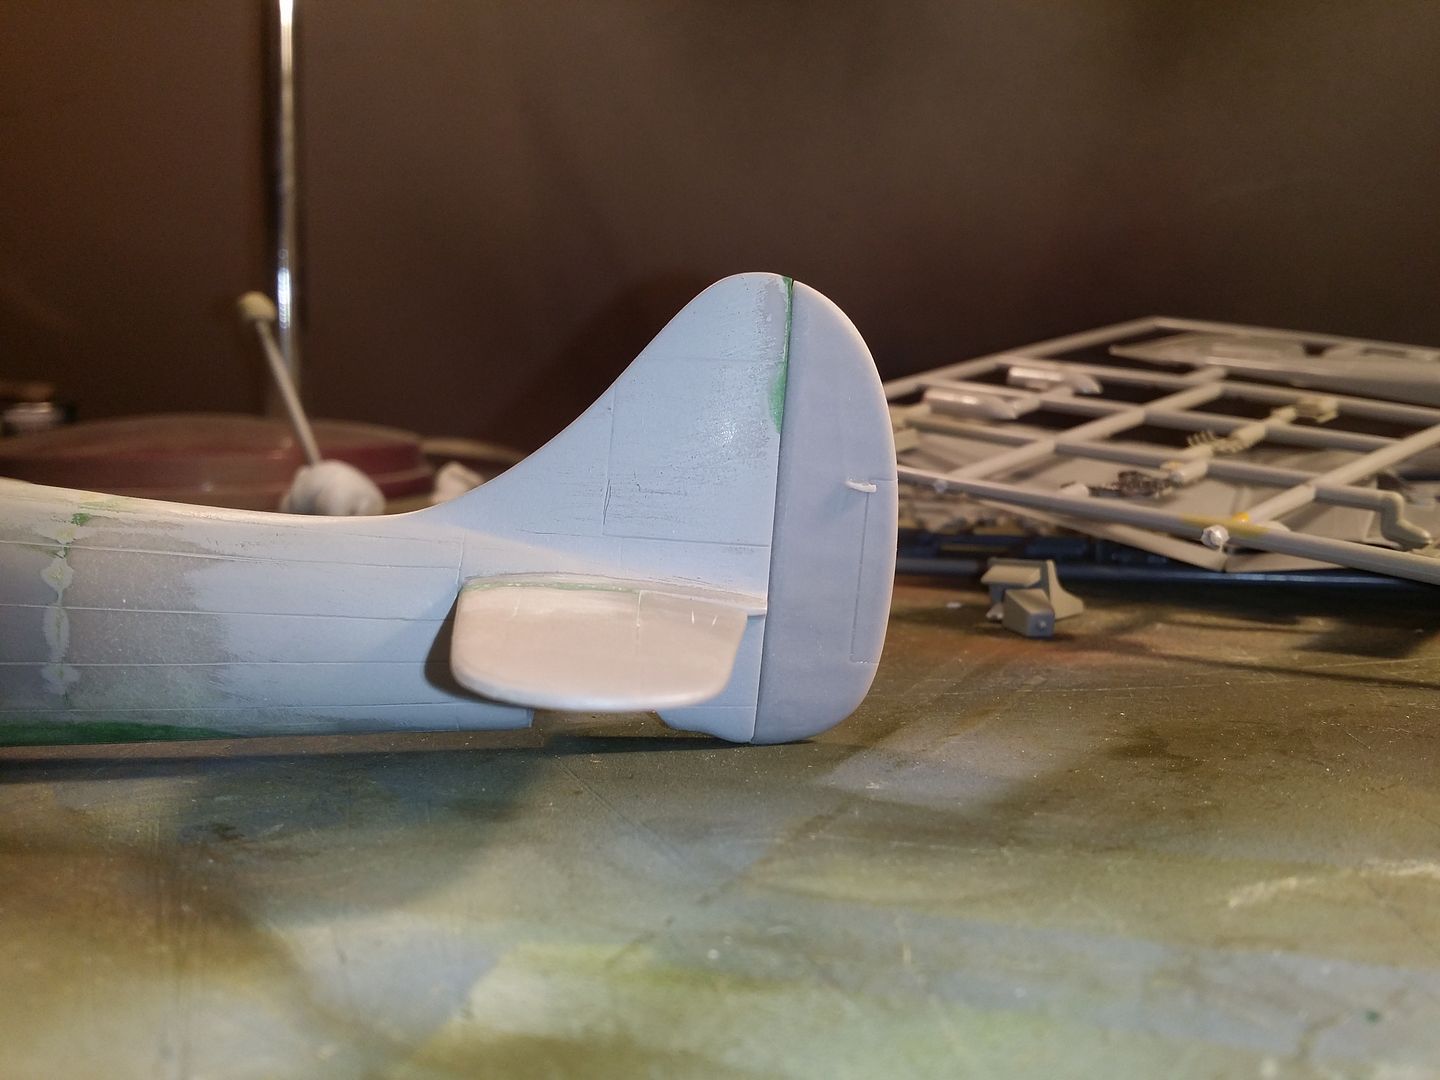
.I should have moved on to a 1/350 destroyer that's supposed to go round and round on a display turntable on our table at the Scottish Nationals in April, but to be honest couldn't face the thought of faffing about with PE last night so instead I opened the box of a Revell Ju 87B that's been sat for a while and sprayed some RLM02 over it while the filler was drying (and wasted some time on Pistonheads).
This evening I've shaped the filler and reworked the hinge line. I'm happy enough with it now and shall proceed.


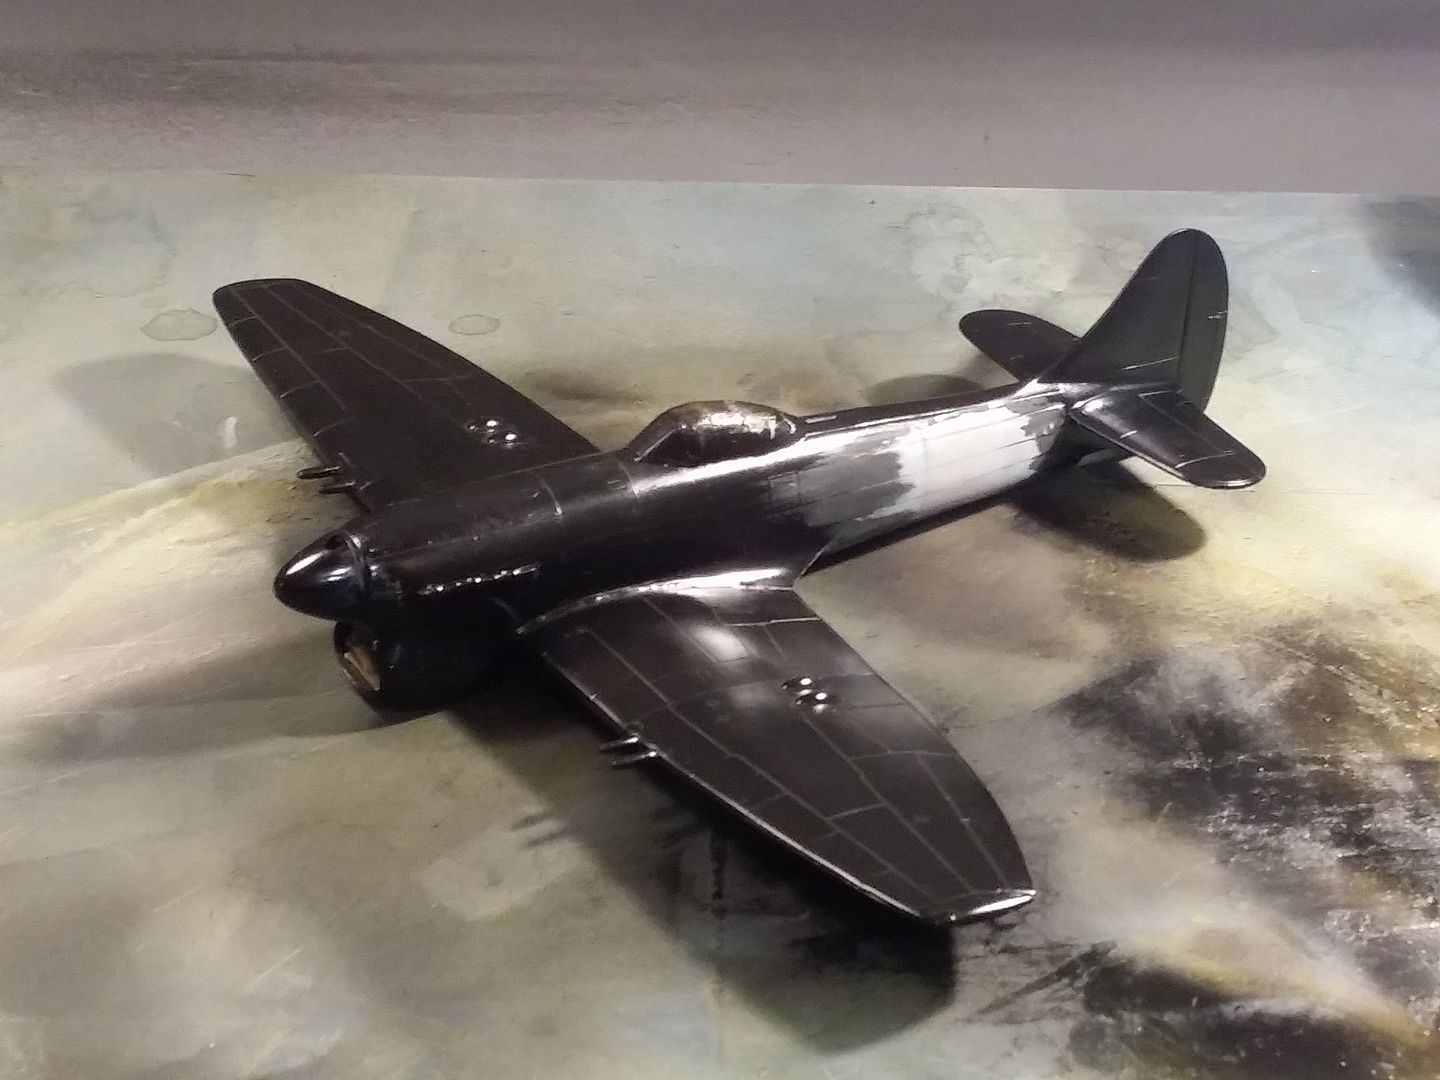
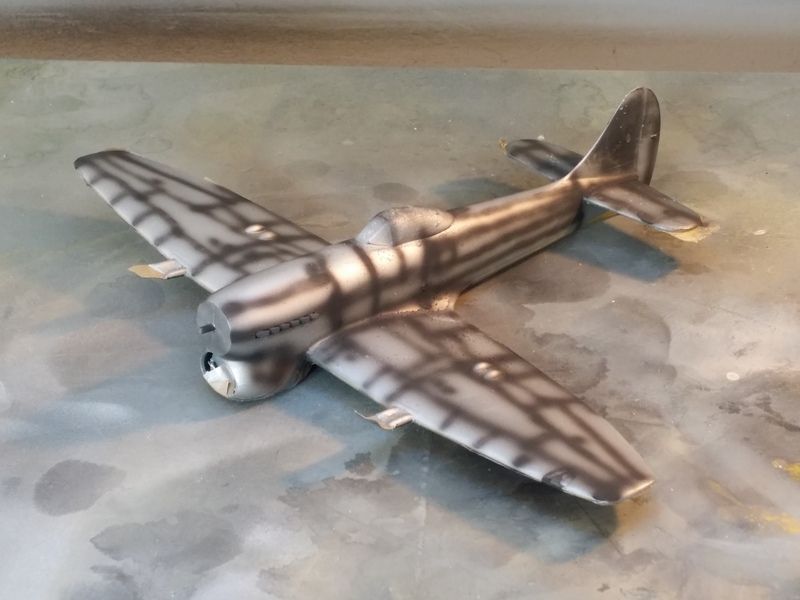
Tonight I have mostly faffed around. The purpose of the gloss black was as waffled around above to highlight any shape issues. As it turned out, there was one. Nothing fatal, but there none the less. The right hand side / starboard was a nice contour from cockpit to tail. The left/port however wasn't. although the joint I achieved was fine, I had left a bit of a kink. This was entirely down to not being brutal enough thinning down the resin on that side, so out with the sanding sticks and at it again. To be honest I kinda thought I could feel it, but a gloss black paint job made it as clear as day.
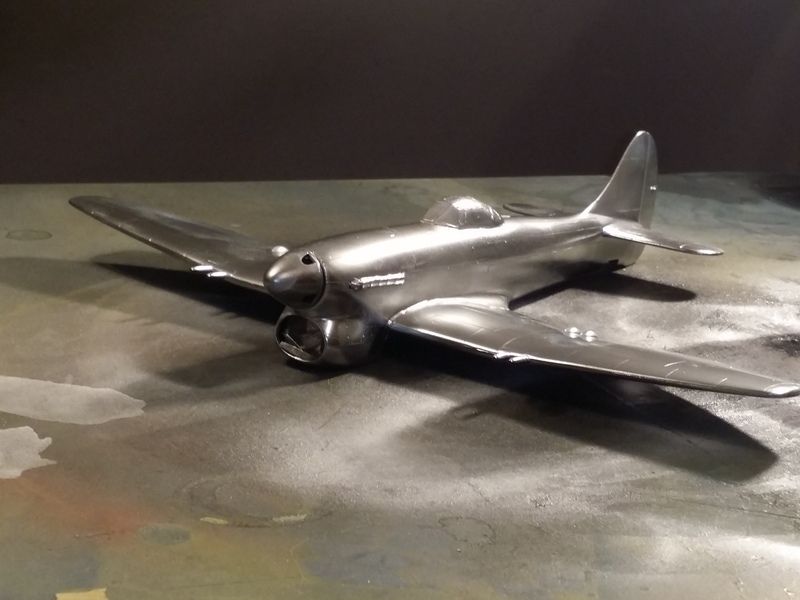
I resprayed the Alclad black lacquer and assembled some Stuka cockpit. I then sprayed an Alclad silver on it so I can wear some paint down in places later. I was all out of Aluminium so I used chrome. I thought it looked pretty attractive, however short lived it was!
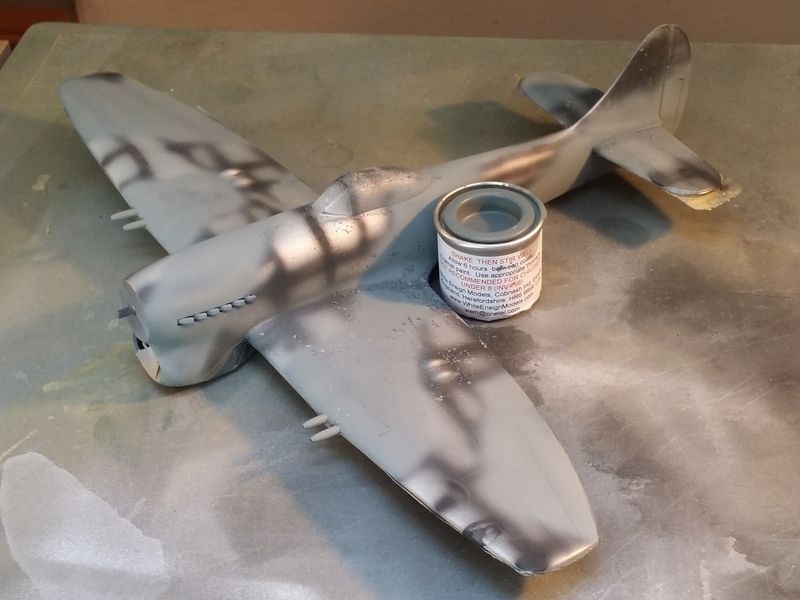
We've got a branded thinner produced for a foreign market and I've been testing it on little bits and bobs. I normally use cheap cellulose thinners for thinning and cheap white spirit for cleaning so it took a lot of nagging from my wife to actually put some milage on our own thinners to see if it's any good. I used them for the Medium Sea Grey. For a satin colour I'm quite pleased - it had started to dry noticeably in the time it took me to clean out the jar and airbrush and take a photo. That earned me some brownie points so I'm enjoying a nice glass of Aquavit whilst typing this out.

I chickened out of the chrome silver, fearful that it wouldn't look very convincing showing through as paint chips. I stripped it back and did it again with flat silver enamel.
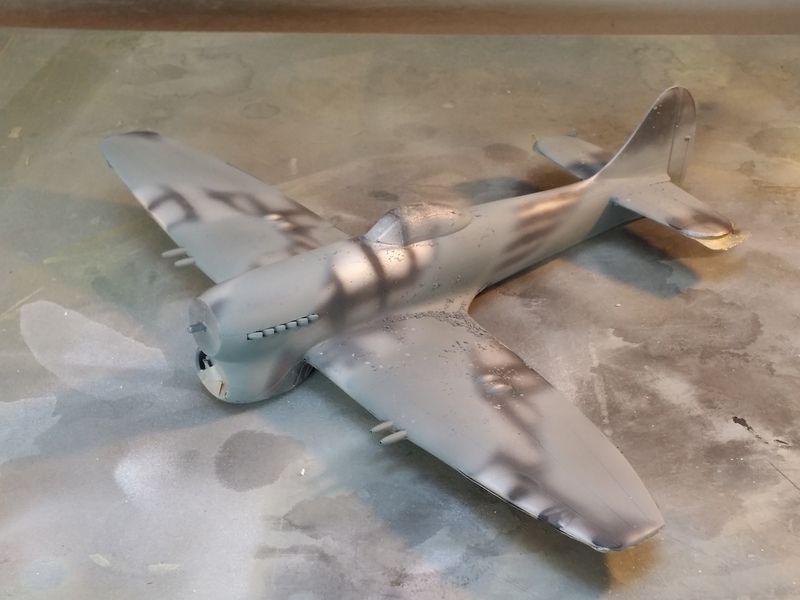
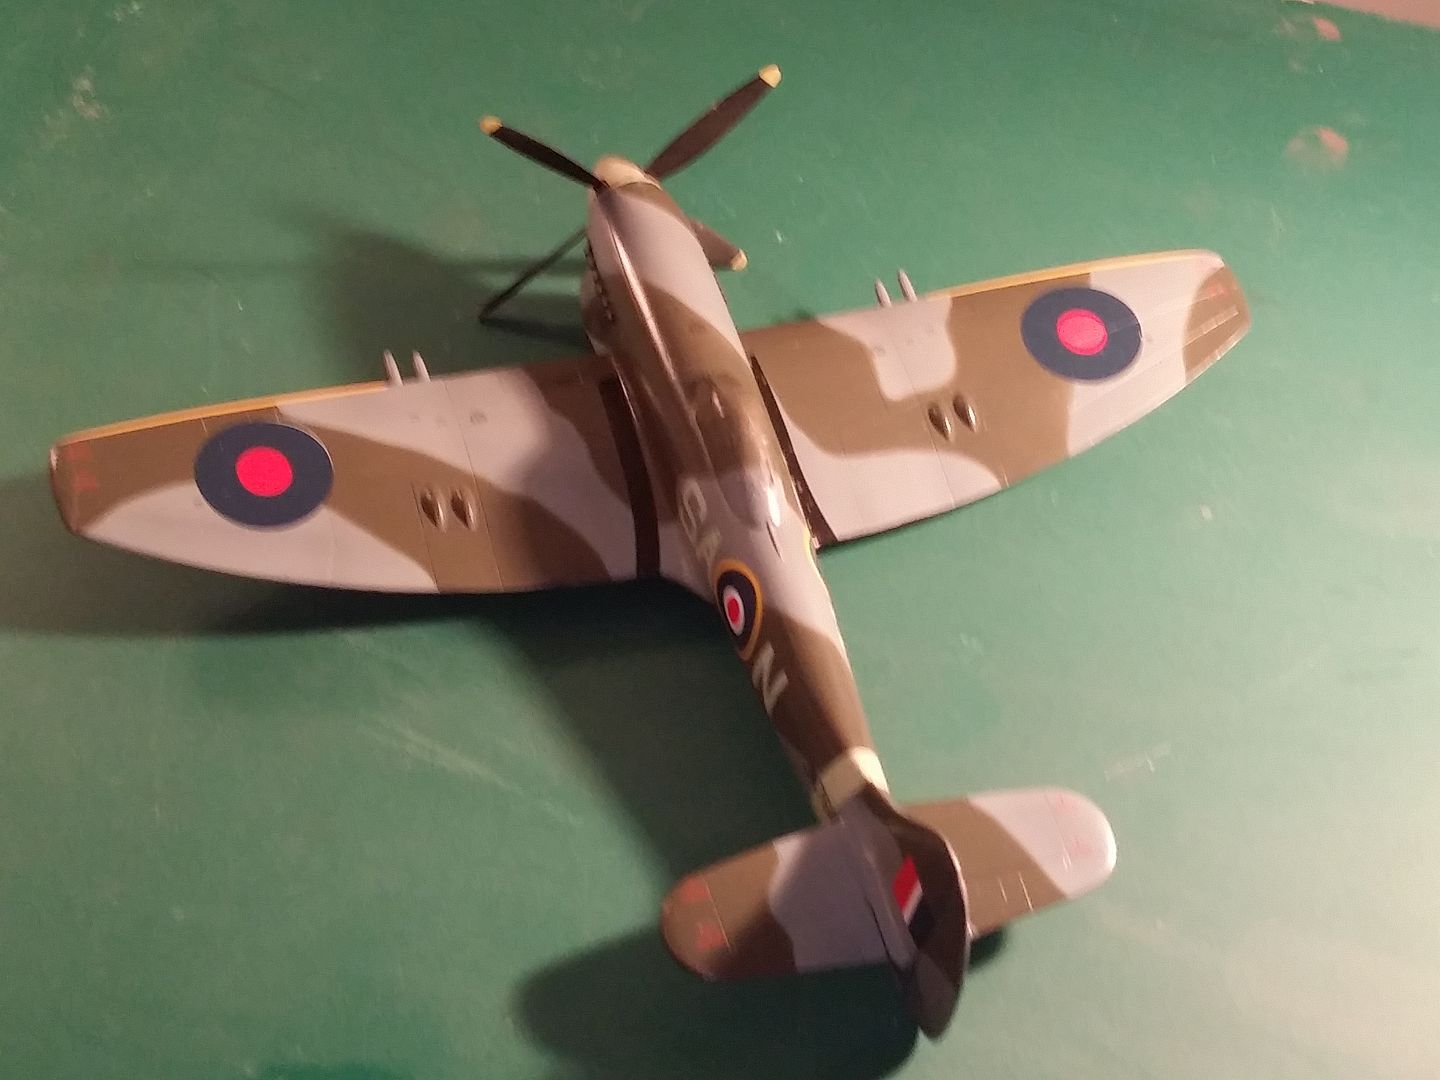
I wanted to show a weathered Tempest, but they weren't ever quite that old as to be completely knackered. Ocean grey paint is well known for chalking rapidly. I turns white much faster than the dark green weathers. I started off with our ocean grey and mixed in a lot of white and thinned it down quite a bit.
This was a lot lighter than the tin lid, and then I became concerned that it might blend too well with the medium sea grey underneath.
I thinned some straight ocean grey right down and shot some of that on the lower half of the fuselage, fin and rudder and messily sprayed some in as hap-hazard a manner I know how on the upper surfaces to break up the tone.

I wanted to show a weathered Tempest, but they weren't ever quite that old as to be completely knackered. Ocean grey paint is well known for chalking rapidly. I turns white much faster than the dark green weathers. I started off with our ocean grey and mixed in a lot of white and thinned it down quite a bit.

This was a lot lighter than the tin lid, and then I became concerned that it might blend too well with the medium sea grey underneath.
I thinned some straight ocean grey right down and shot some of that on the lower half of the fuselage, fin and rudder and messily sprayed some in as hap-hazard a manner I know how on the upper surfaces to break up the tone.


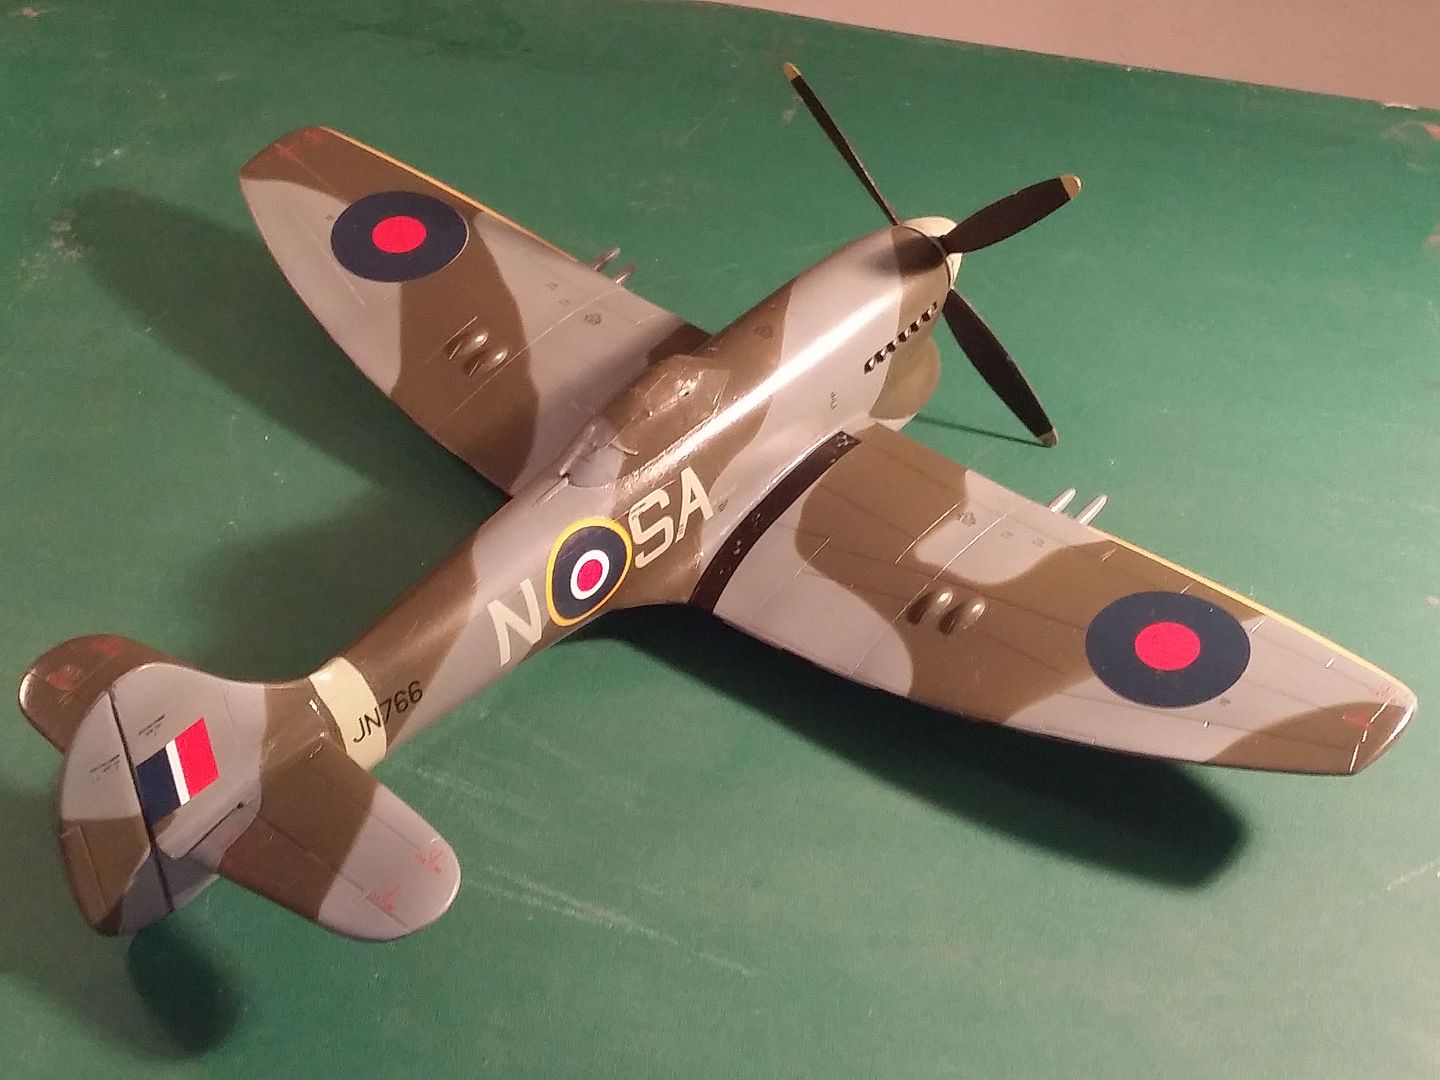
Camo looks good, but - personal preference - I think the chipping is a bit bright. There's often a range of dull-bright silvers on a worn aircraft depending on where an how often it gets abraded. Not that I'm an expert on the subject, just an observation. I avoid it apart from a few dots and squiggles of silver/grey pencil here and there.


Thanks folks, I have to admit I prefer it now
I had to gently scrape the paint out of panel lines, but once softened with thinners I was able to do this with the square end of a Tamiya paint stirring stick (the stainless steel things shaped like an oar).
IroningMan said:
How did you strip it? I have a 1/72 Tempest that needs reviving and completing - I need a way to strip it without losing the paint in the wheel wells etc.
I just dabbed a paper towel in thinners and rubbed away at it. Dr_gn can probably advise better on stripping acrylics if they're what you use, but I understand a number of fairly easily obtainable household cleaning products are quite good.I had to gently scrape the paint out of panel lines, but once softened with thinners I was able to do this with the square end of a Tamiya paint stirring stick (the stainless steel things shaped like an oar).
The current issue of Tamiya model magazine features a 1:48 Dinah (on the cover) with some of the most realistic paint chipping I've seen on a model. Pretty extensive, but also very subtle, and all done with a pencil. Not suggesting your Tempest needs it, but it's a good illustration of how the pencil technique can work.
I'll give that a try, but on a more appropriate subject I think.
Anyway, I sprayed a gloss clear when I got home from work (and a detour to get 3 Michelin Pilot Super Sports fitted which unburdened me if £487) and now the decals are on the Tempest. There are 2 roundels printed slightly out of register and both walkways broke up a little, so some touchups are required next.
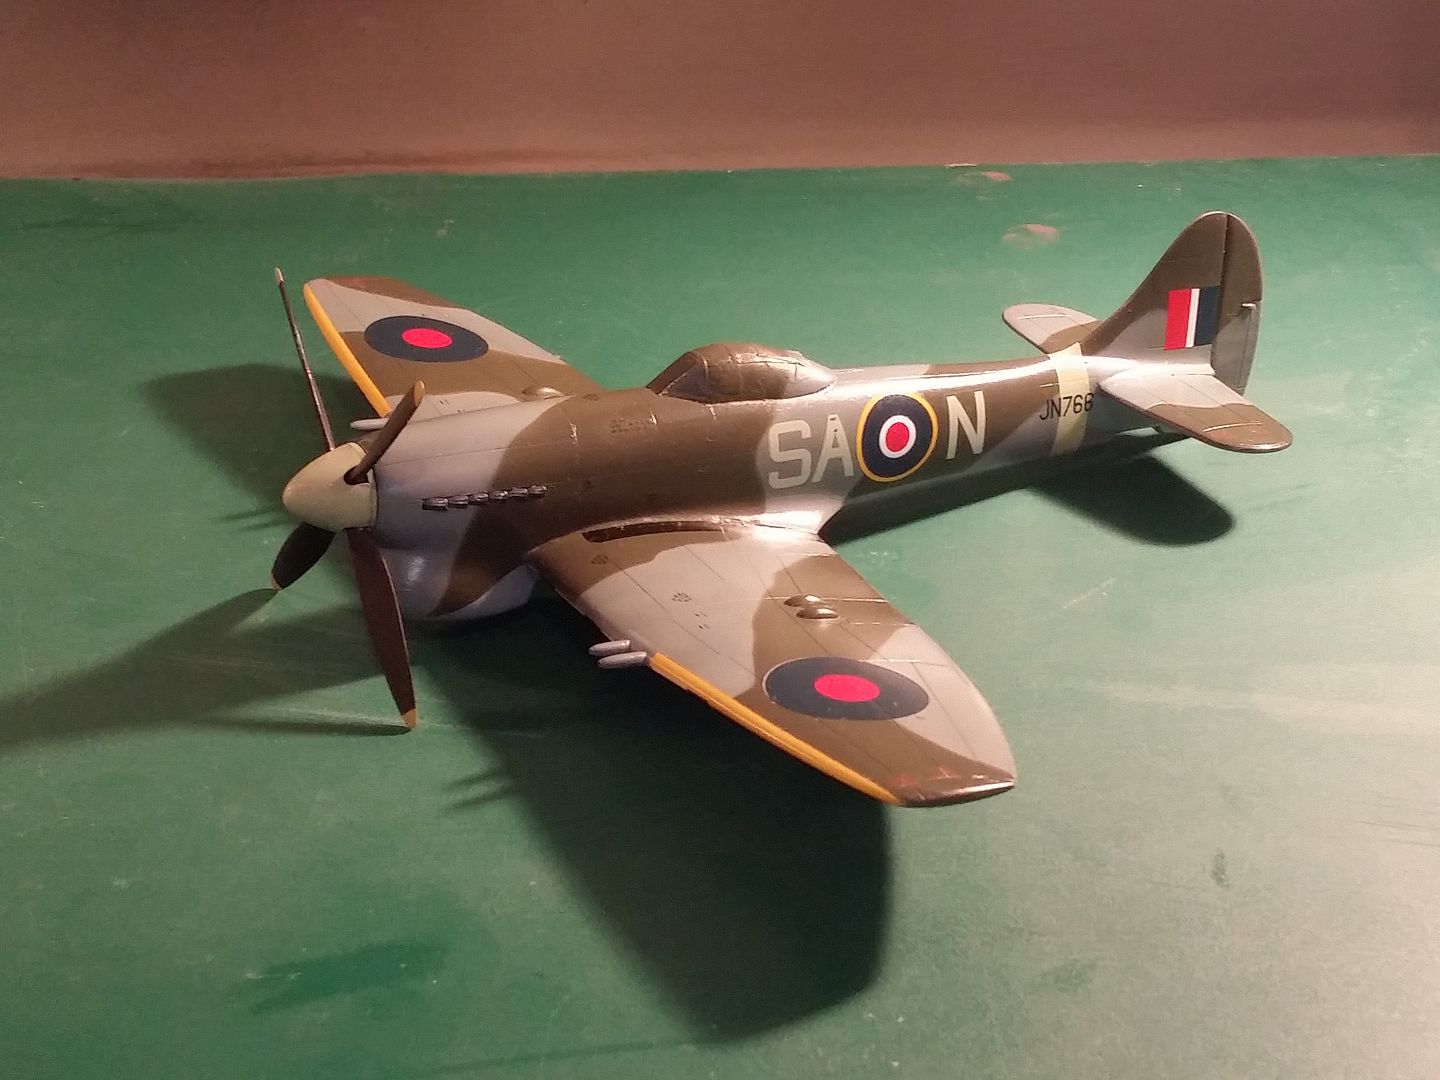
Anyway, I sprayed a gloss clear when I got home from work (and a detour to get 3 Michelin Pilot Super Sports fitted which unburdened me if £487) and now the decals are on the Tempest. There are 2 roundels printed slightly out of register and both walkways broke up a little, so some touchups are required next.


Gassing Station | Scale Models | Top of Page | What's New | My Stuff