Tamiya 1/32nd Mosquito FBIV - build!
Discussion


About time I updated this thread!
Amazingly - I've finished the model! I can't wait to be settled enough to set up a proper 'permanent' man-cave modelling table, but right now I am still semi-permanent, so modelling has taken a back seat for a while - but I HAD to finish this beauty, as I was so close...I did sneak the Airfix 1/24 Spitfire build in, which I built for a friend - I already posted that on here.
I'll update the build process first..
Thanks mate - appreciated....
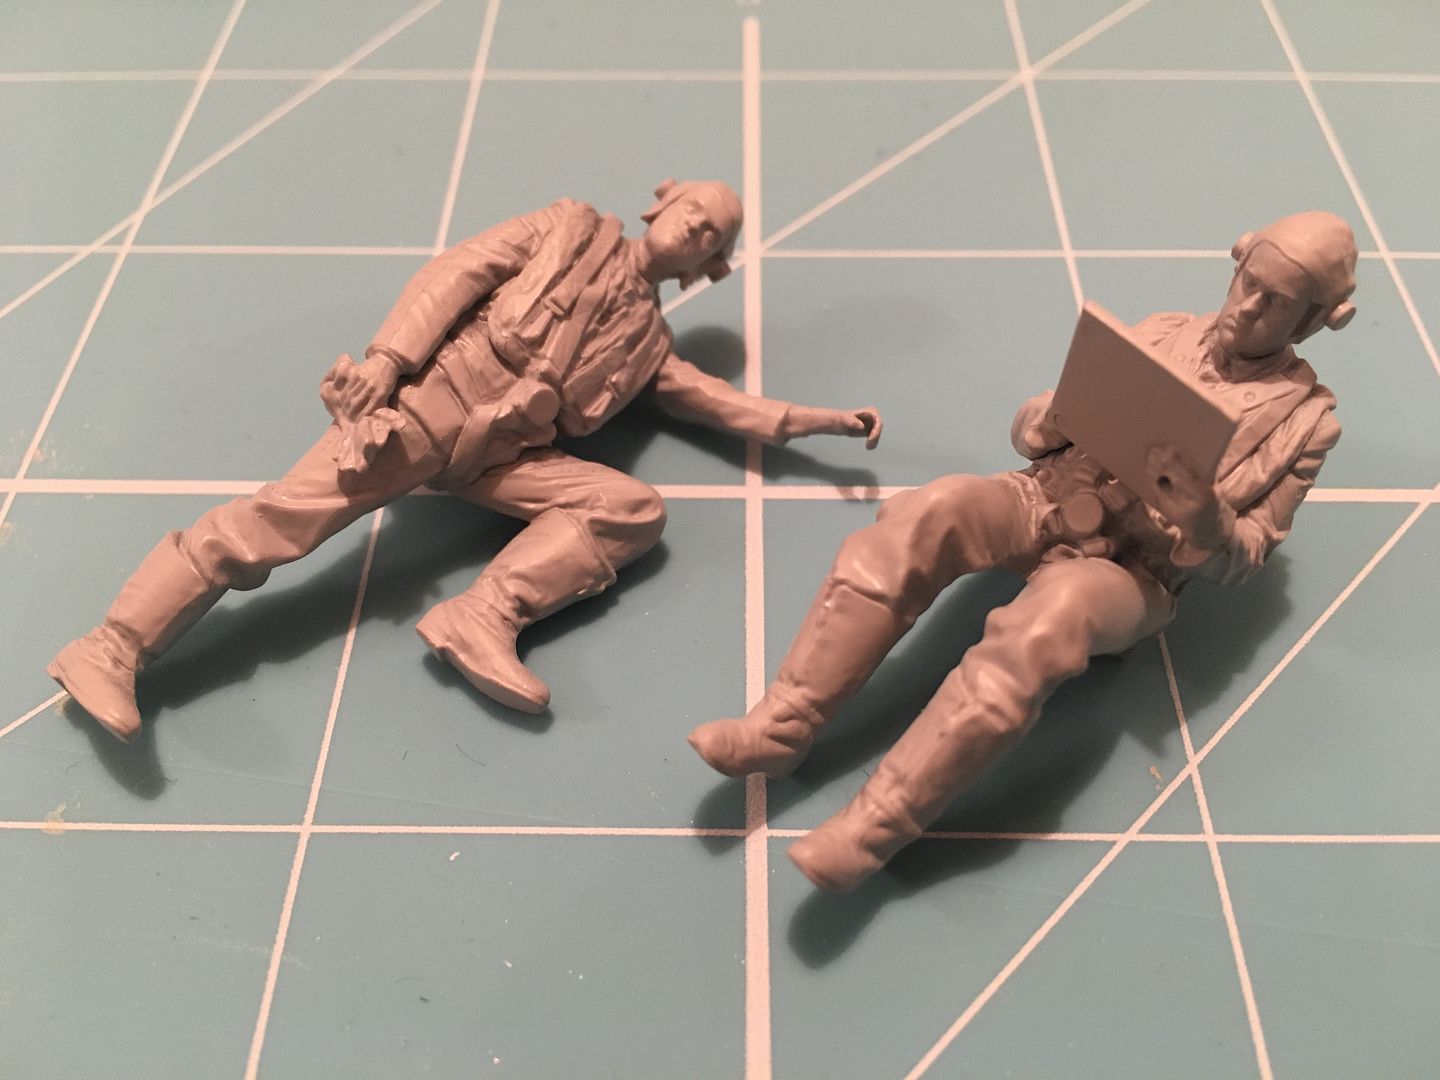
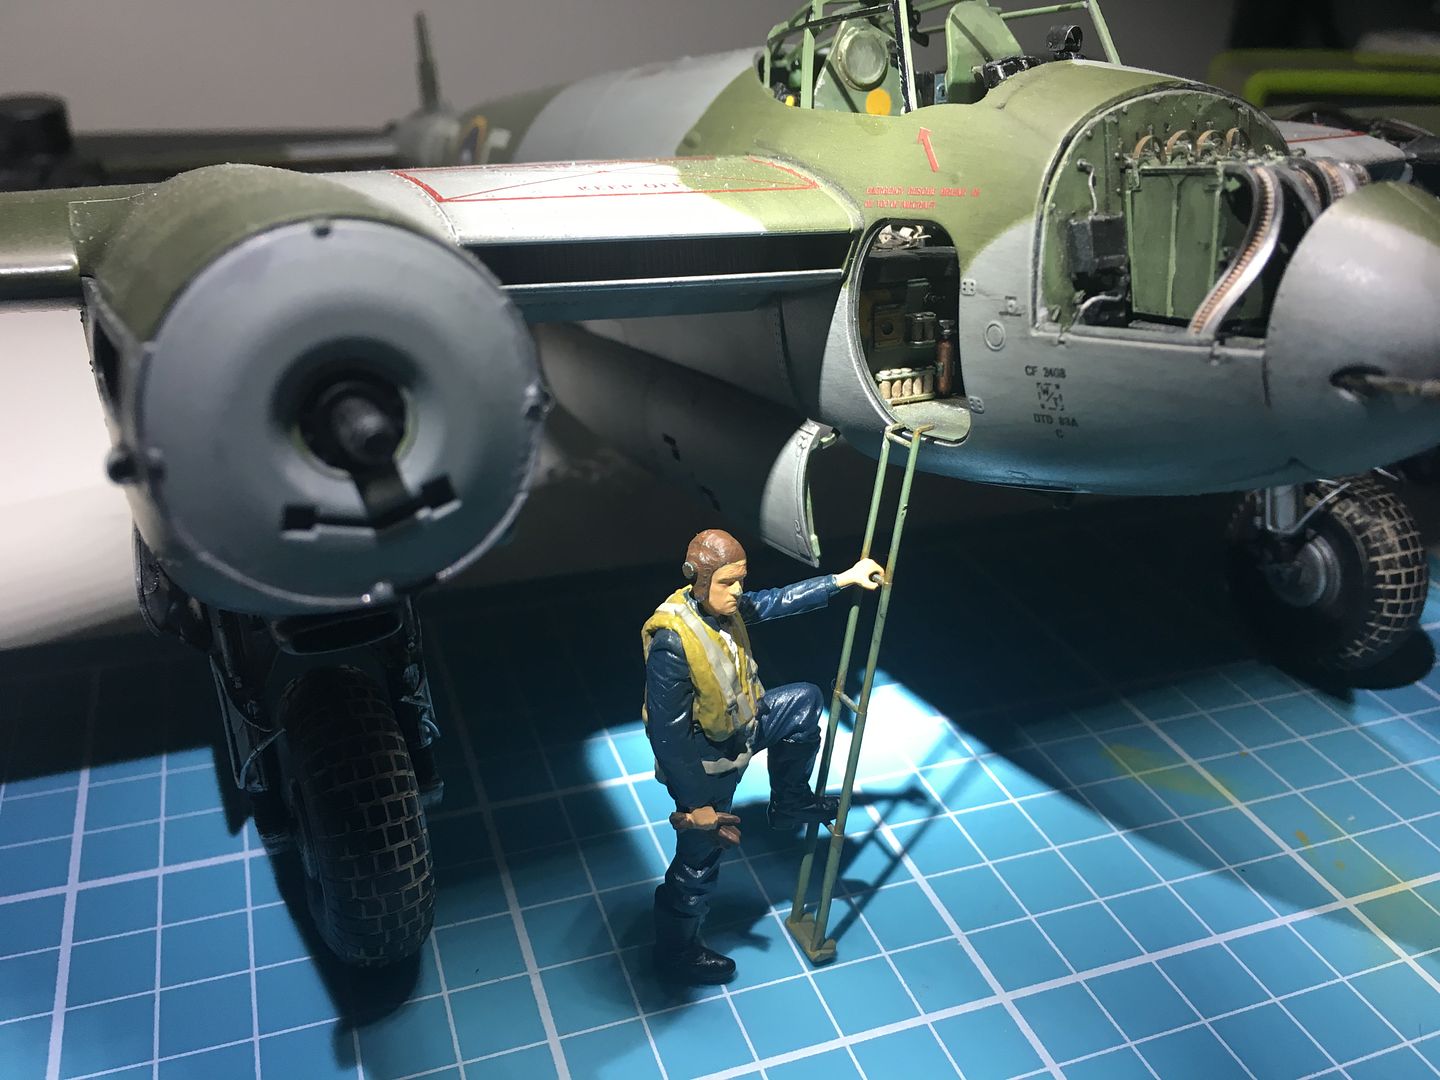
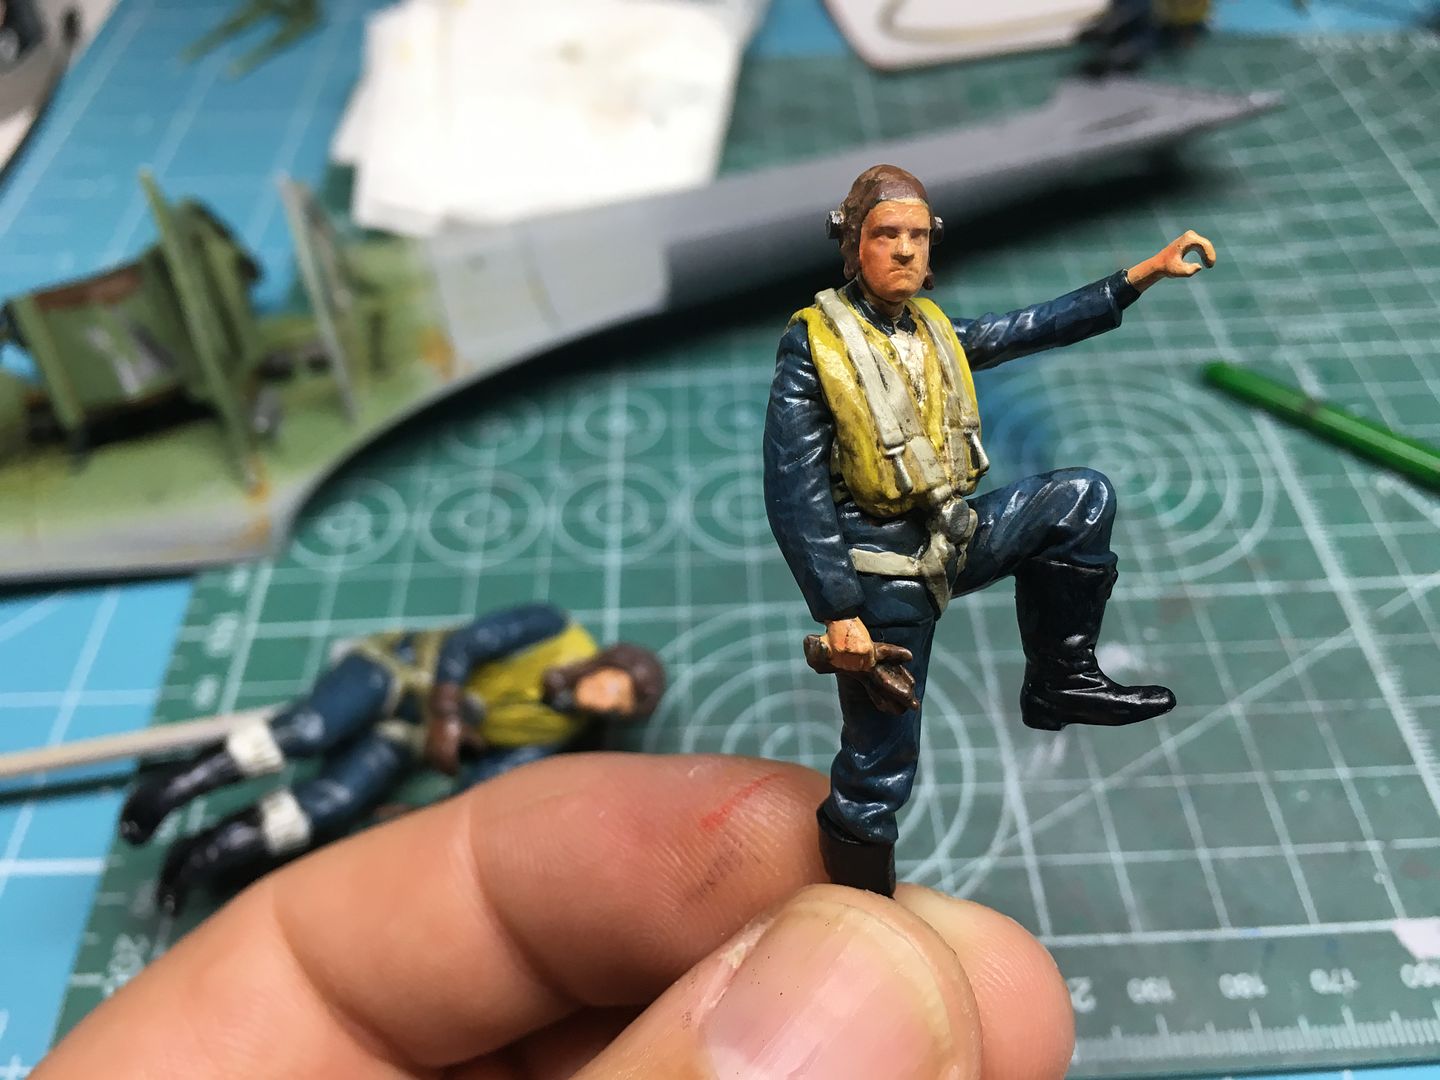
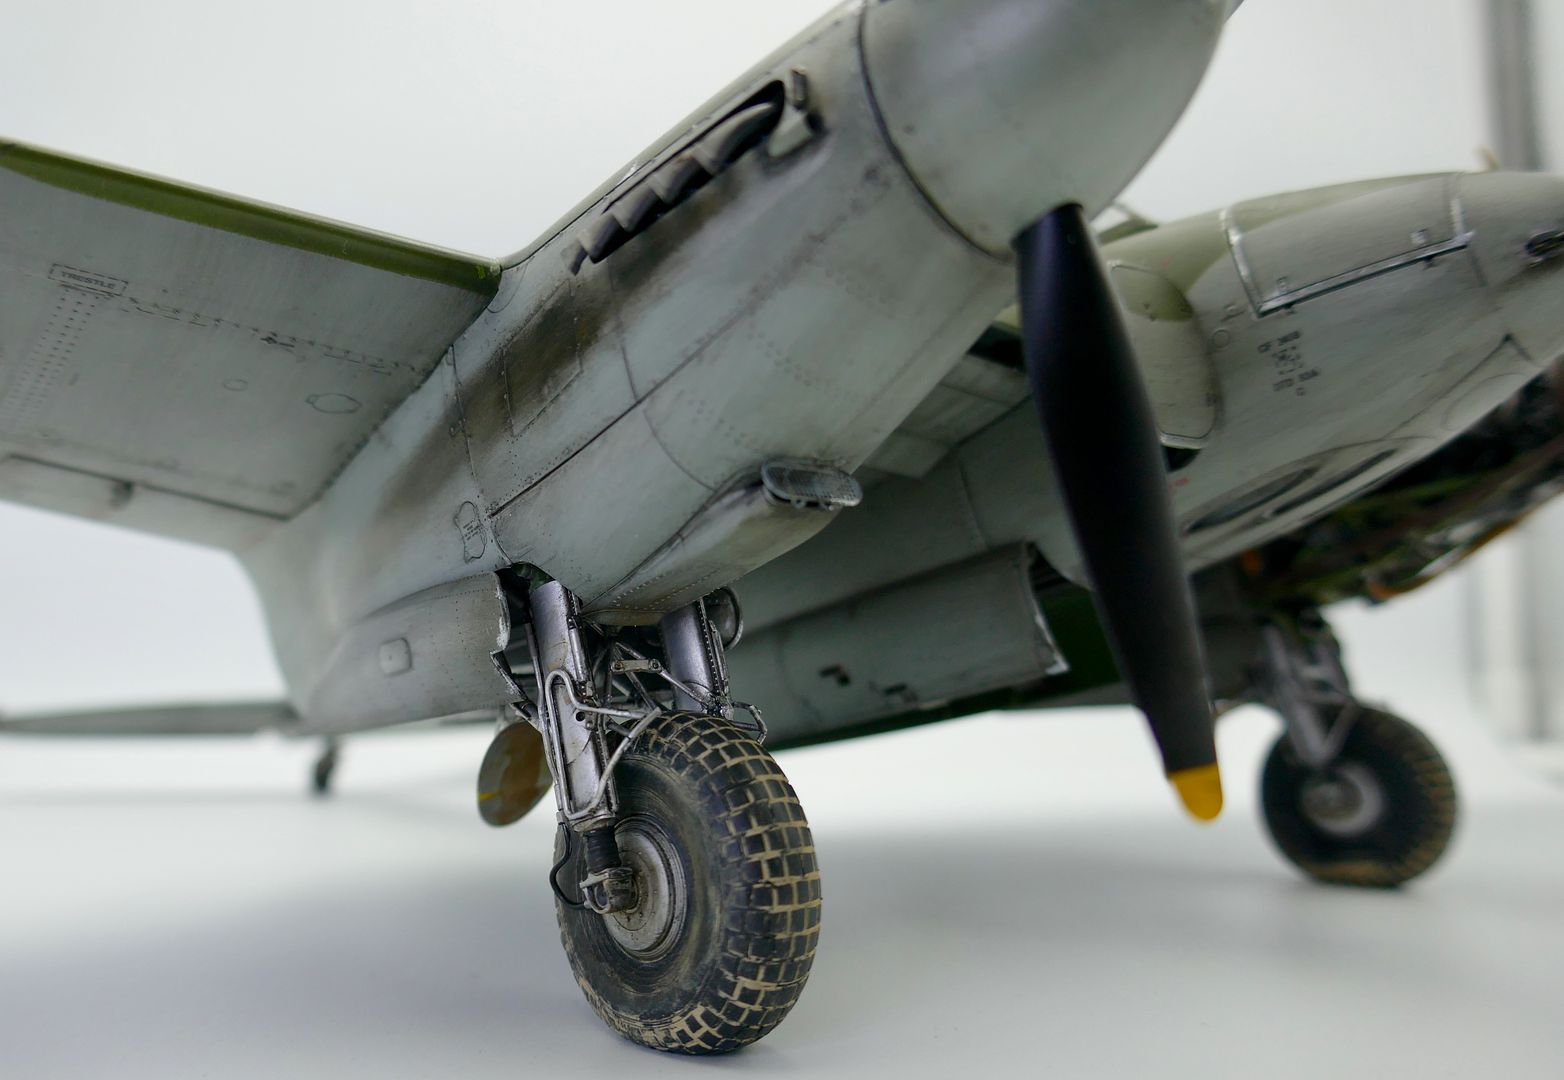
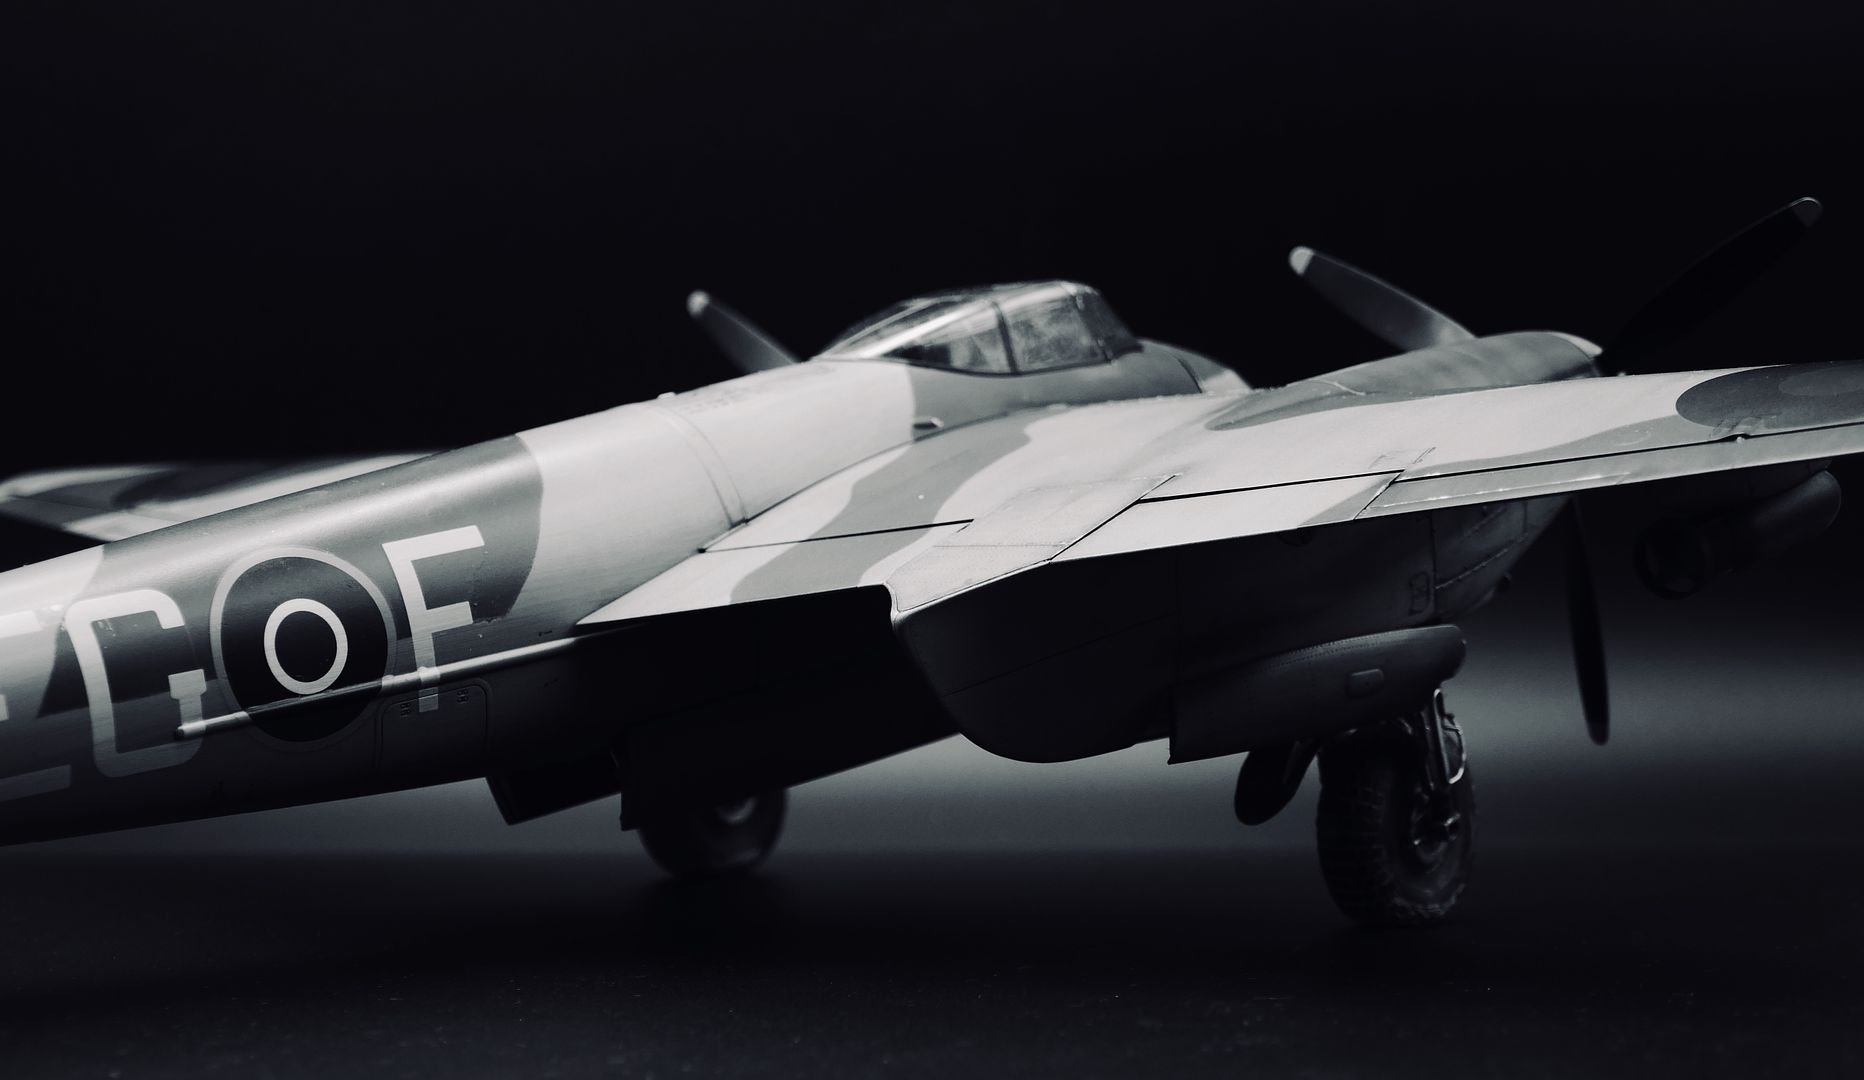
So, where was I - the Mossie made it back from New York ok, but has been sat waiting for the final touches - fitting the canopy, tail fin, exhausts, props & final weathering touch ups etc....and some crew! I'd left it too late to add any crew into the cockpit (I wanted everything visible and not blocked - of course, once closed up you can't see anything anyway) - but there is a pilot posed to climb the ladder into the cockpit, so I may well use him. Never having painted any figures, I painted all of them while I did the 1/24 Spit pilot.


First layers of colour...now adding some depth. Gloss will be removed at the end (matt)

At this point I took some new shots in the photo cube...just testing!


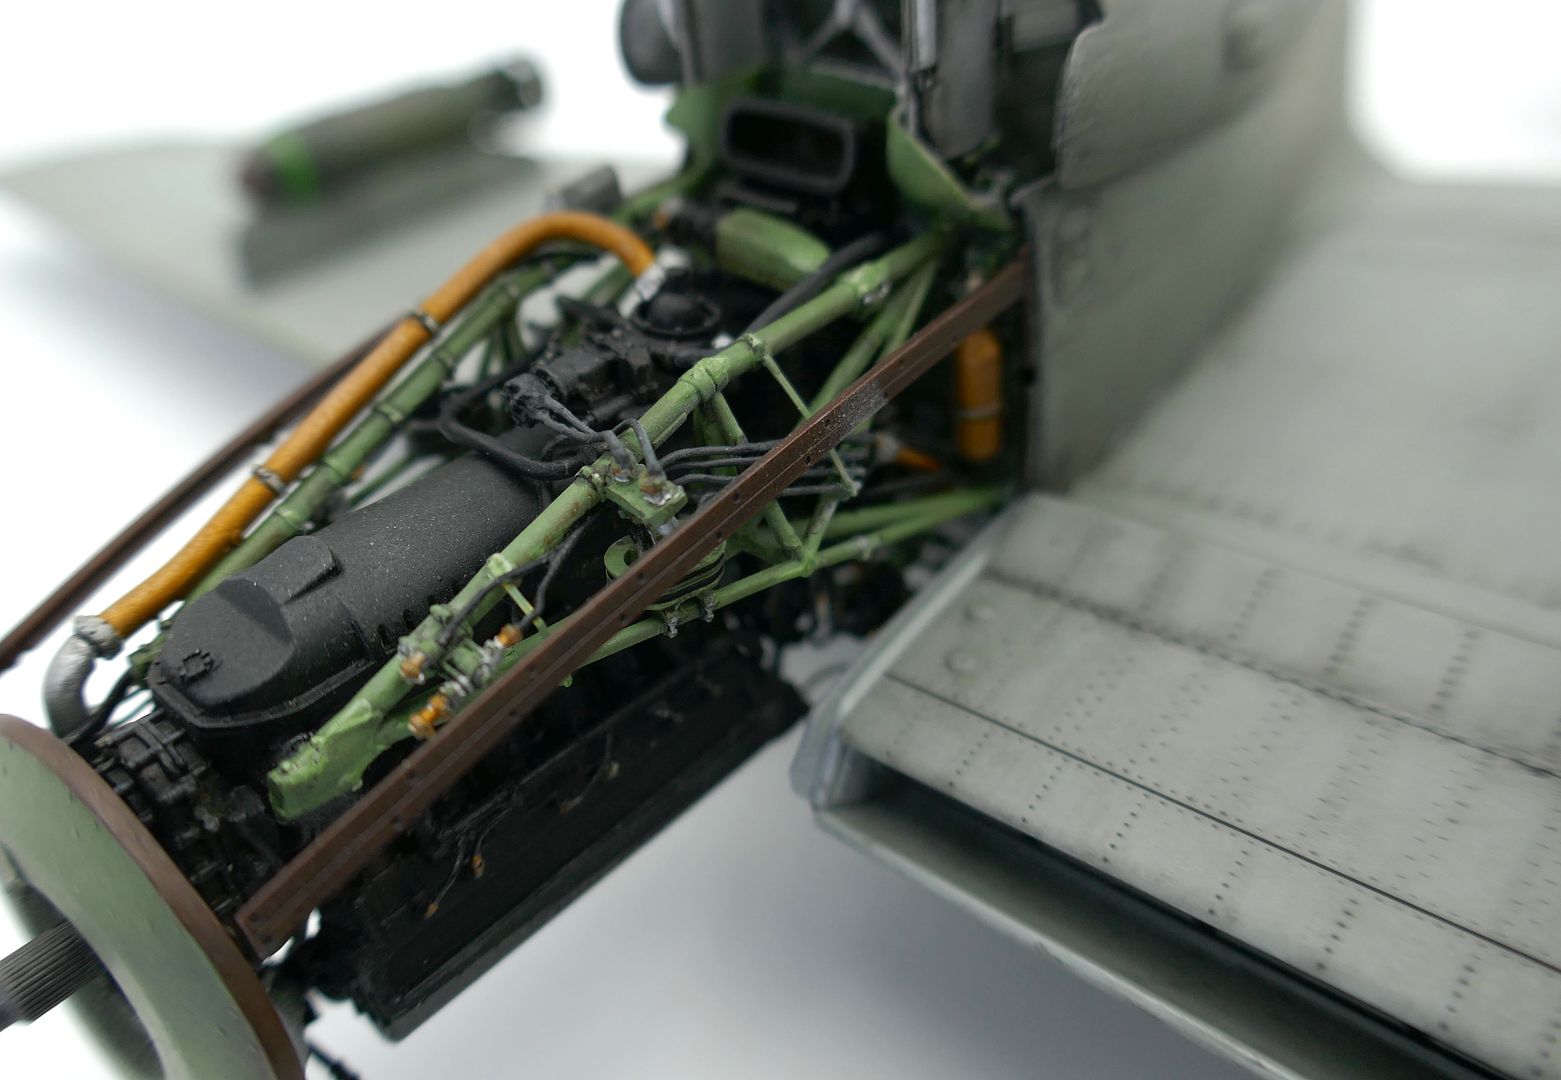
Engines have no detail paint at this point - or exhausts...

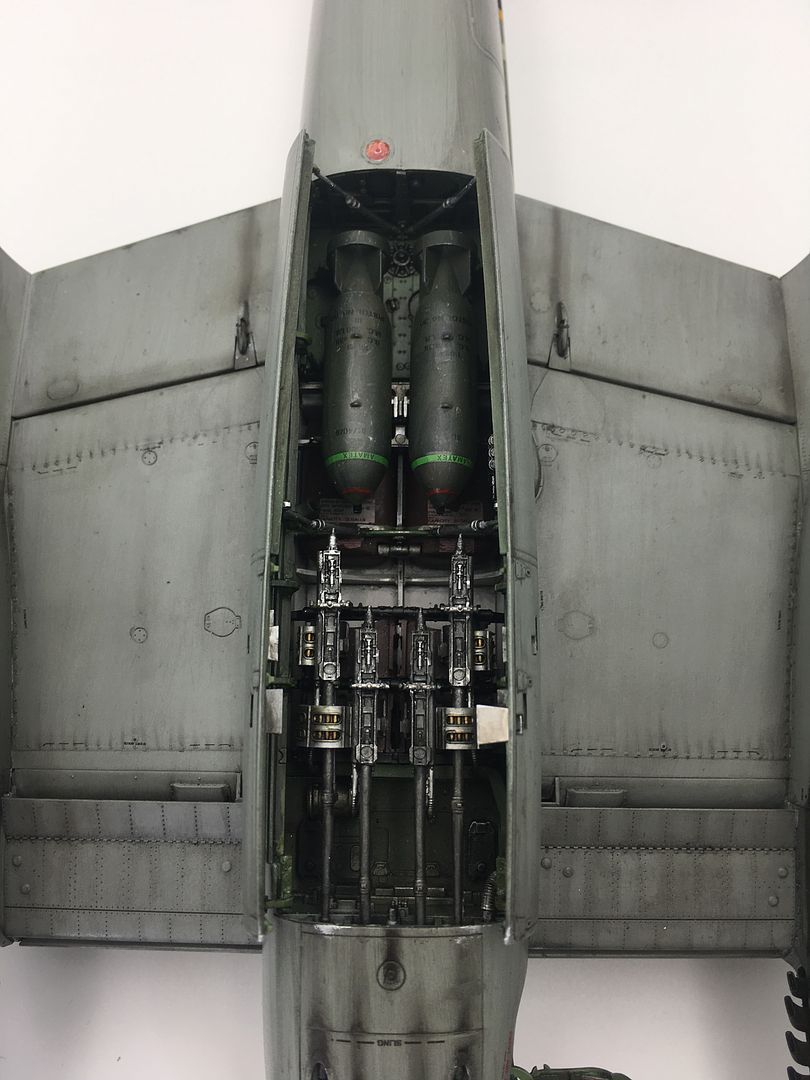
Also got a few shots of things that will soon disappear!


So, where was I - the Mossie made it back from New York ok, but has been sat waiting for the final touches - fitting the canopy, tail fin, exhausts, props & final weathering touch ups etc....and some crew! I'd left it too late to add any crew into the cockpit (I wanted everything visible and not blocked - of course, once closed up you can't see anything anyway) - but there is a pilot posed to climb the ladder into the cockpit, so I may well use him. Never having painted any figures, I painted all of them while I did the 1/24 Spit pilot.
First layers of colour...now adding some depth. Gloss will be removed at the end (matt)
At this point I took some new shots in the photo cube...just testing!
Engines have no detail paint at this point - or exhausts...
Also got a few shots of things that will soon disappear!
I added a bit of shadow to the canopy...


...although I seem to have not taken any pictures of that!
I bought one of those plywood frames to hold the plane while I work on it - a bit flimsy, but I recommend it - saves damage from fingers etc, especially when working on the underside. At this point I was touching up chips etc where paint had fallen off some PE bits...


It can be adjusted for different sized models...
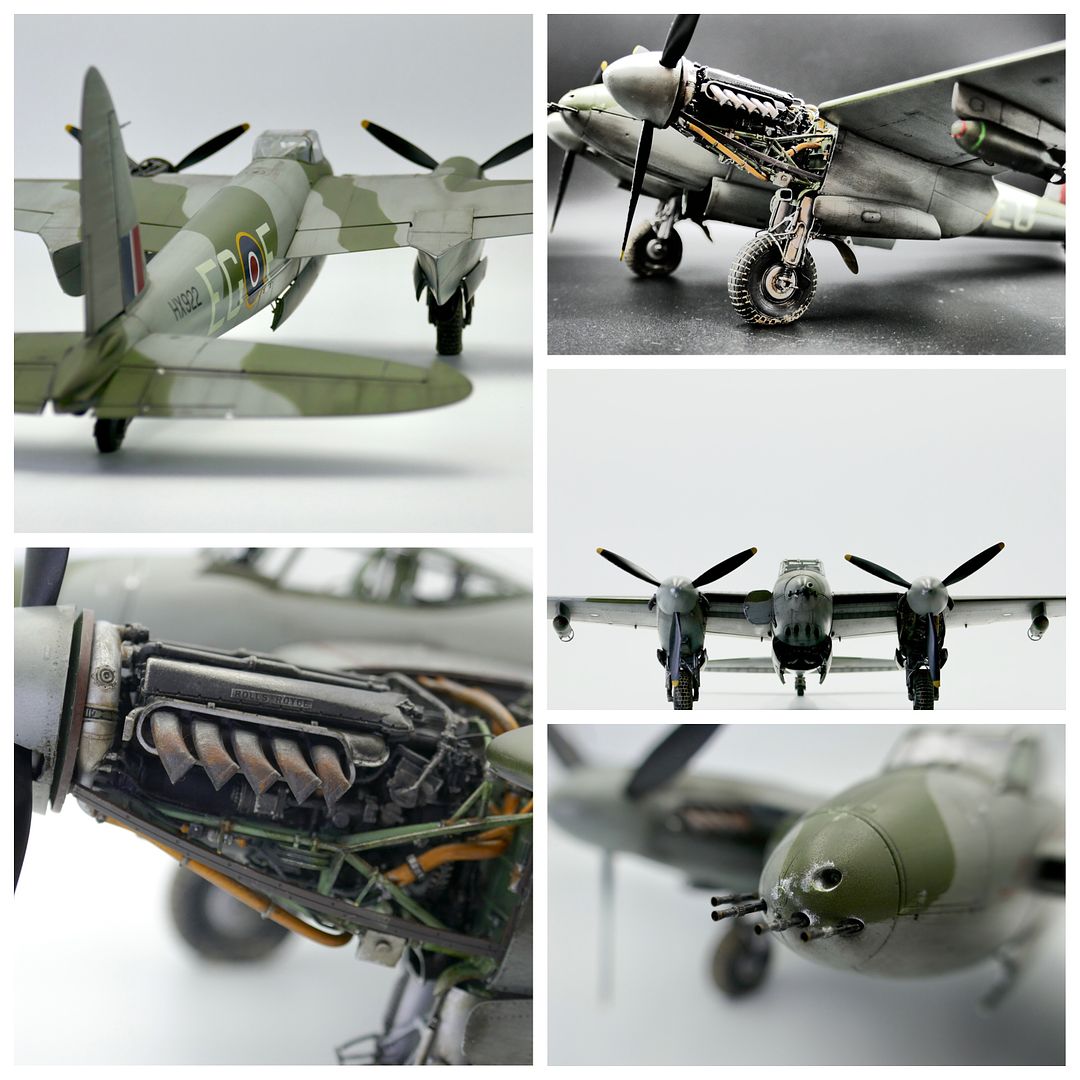
Props were next - I had left them as I did not want to damage them. Although I painted and 'weathered' the hubs, they won't be seen (of course!)


I did add some 'chips' to the leading edges of the blades, and add some 'streaks' - but kept it quite subtle.


Next it was the exhausts. I used some of that 'buffing' Humbrol paint which I had from years ago, oils and some rust 'powder' - no real planned combination, but it came out ok!


...again, some of the shine was taken back later.
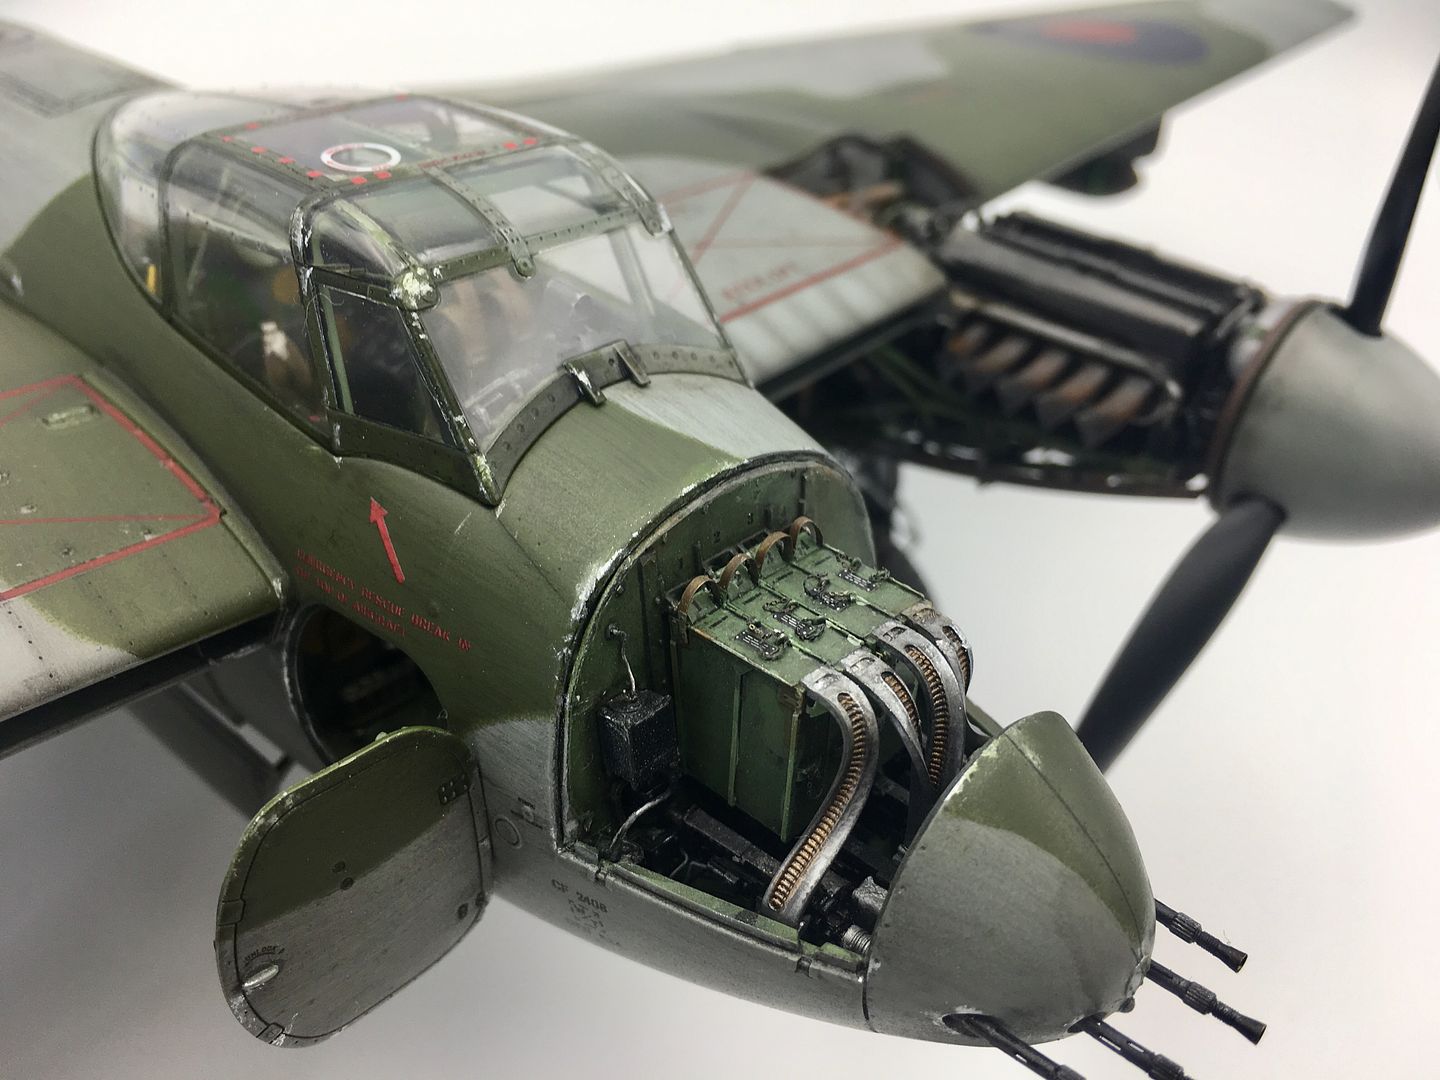
Almost forgot the mesh guards that are on the air intakes!


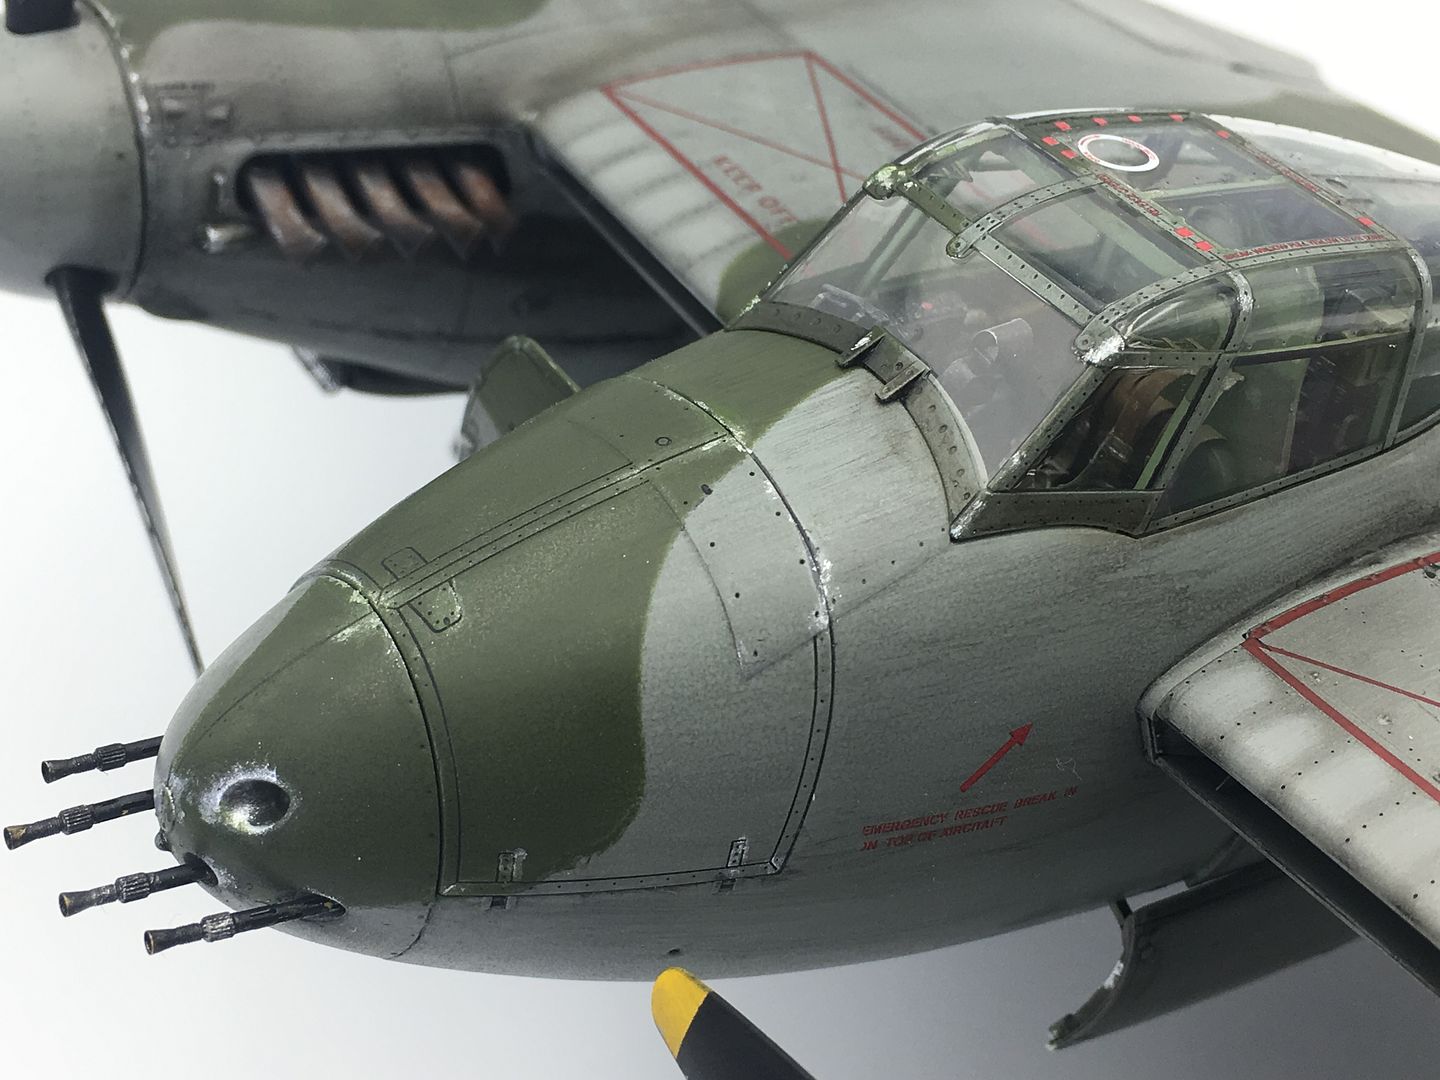
I used graphite pencils and some wash to add depth to the engine that would be on display...this is a 'finished' shot...

I had to tweak the multi-part canopy a bit to help it fit - the internal frame was a little high and was stopping the clear bit from fitting easily, so I had pried it off the model, and shaved a tiny bit off the frame so it sat a fraction lower - then I glued the canopy itself on with white glue.

And that was pretty much it!


I took lots of 'finished' photos and only after taking these did I realize I had missed off one part - the windscreen wiper!! (now added)
Now I just have to figure out how to display/mount it. I like the idea of keeping it clean, but it needs something, so maybe a grassy base....then what - I don't know! No where to display, and the joy was in the building for me, so maybe sell it? But then again I like the idea of displaying it with the 1/32nd Lancaster (HUGE) and a 1/32nd Spitfire and Hurricane!
Finished photos next...
...although I seem to have not taken any pictures of that!
I bought one of those plywood frames to hold the plane while I work on it - a bit flimsy, but I recommend it - saves damage from fingers etc, especially when working on the underside. At this point I was touching up chips etc where paint had fallen off some PE bits...
It can be adjusted for different sized models...
Props were next - I had left them as I did not want to damage them. Although I painted and 'weathered' the hubs, they won't be seen (of course!)
I did add some 'chips' to the leading edges of the blades, and add some 'streaks' - but kept it quite subtle.
Next it was the exhausts. I used some of that 'buffing' Humbrol paint which I had from years ago, oils and some rust 'powder' - no real planned combination, but it came out ok!
...again, some of the shine was taken back later.
Almost forgot the mesh guards that are on the air intakes!
I used graphite pencils and some wash to add depth to the engine that would be on display...this is a 'finished' shot...
I had to tweak the multi-part canopy a bit to help it fit - the internal frame was a little high and was stopping the clear bit from fitting easily, so I had pried it off the model, and shaved a tiny bit off the frame so it sat a fraction lower - then I glued the canopy itself on with white glue.
And that was pretty much it!
I took lots of 'finished' photos and only after taking these did I realize I had missed off one part - the windscreen wiper!! (now added)
Now I just have to figure out how to display/mount it. I like the idea of keeping it clean, but it needs something, so maybe a grassy base....then what - I don't know! No where to display, and the joy was in the building for me, so maybe sell it? But then again I like the idea of displaying it with the 1/32nd Lancaster (HUGE) and a 1/32nd Spitfire and Hurricane!
Finished photos next...


Cheers guys - it is indeed massive! I have the kit but waiting to hone my skills before tackling that (and a bigger desk!)
I'm learning, so all this is 'first time' stuff - one thing I realise is that you can watch as many YouTube videos or follow builds as you like, but when you try it it seems much easier - it is just that first step. I know that sounds easy to say, but I do believe it is true. I'm a designer, and I sketch - when you start you follow lots of people, watch their style etc - but if you try an d'copy' that style exactly, it never looks as good - use them as a guide, and find your own style - much better...
The biggest skill in weathering is knowing when to stop - I know I have gone a bit 'dirty' on this and the Spitfire, so my next one will be a little less...
I do like the Tamiya Panel Line Accent colour - but hard to get in the UK (ebay works) - yes, you can make your own with oil paint and thinners - but this is consistent and has a little brush (like their cement bottles)
In terms of oils, I have just used either normal artist oil tubes, or the ones that AK or similar do - good quality is best as it is smoother - then I have mixed with non-odour thinners to make a wash - in the case of the main fuselage/wings this is - I've brushed it on (scary) roughly AFTER decals and satin or gloss clearcoat, then I have wiped it off again with a t-shirt. Or use q-tip and thinners for detail stuff.
Detail 'smears' I dotted a tiny bit of oil paint, then dry brushed in the direction I wanted. I'm liking the oil because it gives you time to use it, and you can remove with thinners and start again - BUT this is just the way I have used so far - lots of techniques to learn.


Great to see you back,,missed you in a a man love (engineering) way
I am live steam but really appreciate what you do, like the the lad doing Heaton Lodge JUnction and Roger Zimmerman and his 1/12 LIncoln
For a work of art in 5 in gauge have a look t this thread
http://modeleng.proboards.com/thread/5733/building...
I have seen this in the flesh and i feel like going home and selling off my workshop!!
It is also a very good 'how to do' for anyone who wants to take up live steam engineering
silverfoxcc said:
Great to see you back,,missed you in a a man love (engineering) way
I am live steam but really appreciate what you do, like the the lad doing Heaton Lodge JUnction and Roger Zimmerman and his 1/12 LIncoln
For a work of art in 5 in gauge have a look t this thread
http://modeleng.proboards.com/thread/5733/building...
I have seen this in the flesh and i feel like going home and selling off my workshop!!
It is also a very good 'how to do' for anyone who wants to take up live steam engineering
It may sound a daft question but how do you get into live steam? As a boy, Dad took me on annual expeditions to the Model Engineering exhibition - which I loved. He planned to build locos in his retirement. As an engineer by trade he certainly had all the skills, and the tools. However, having accumulated the skills, the tools and retirement he promptly dropped dead which scuppered the plan. I’ve now got the tools (except the machine tools, lathe etc which Mum sensibly sold) but none of the skills. I’m pretty sure I could learn - but where?I am live steam but really appreciate what you do, like the the lad doing Heaton Lodge JUnction and Roger Zimmerman and his 1/12 LIncoln
For a work of art in 5 in gauge have a look t this thread
http://modeleng.proboards.com/thread/5733/building...
I have seen this in the flesh and i feel like going home and selling off my workshop!!
It is also a very good 'how to do' for anyone who wants to take up live steam engineering
Gassing Station | Scale Models | Top of Page | What's New | My Stuff