Revell BMW Isetta 250 1:16 scale
Discussion


robemcdonald said:
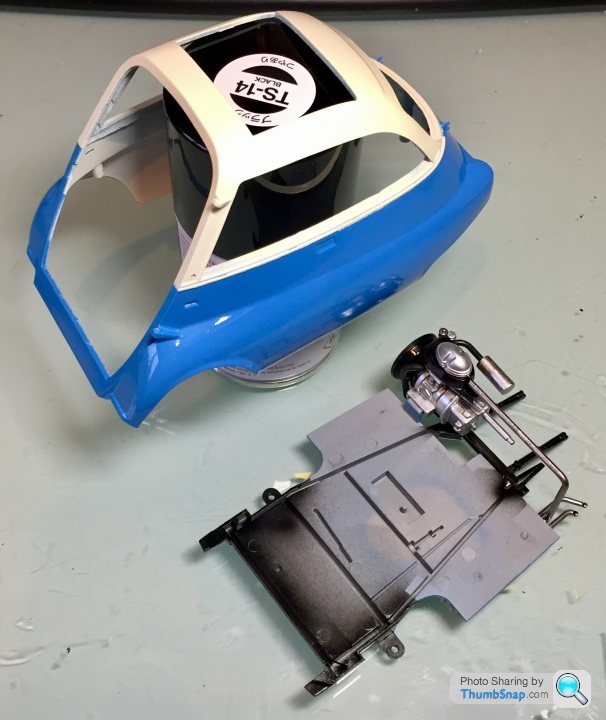
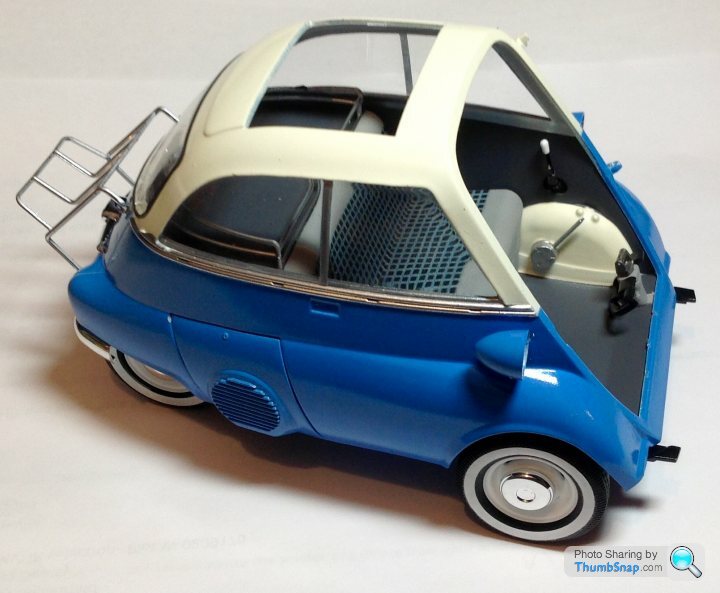
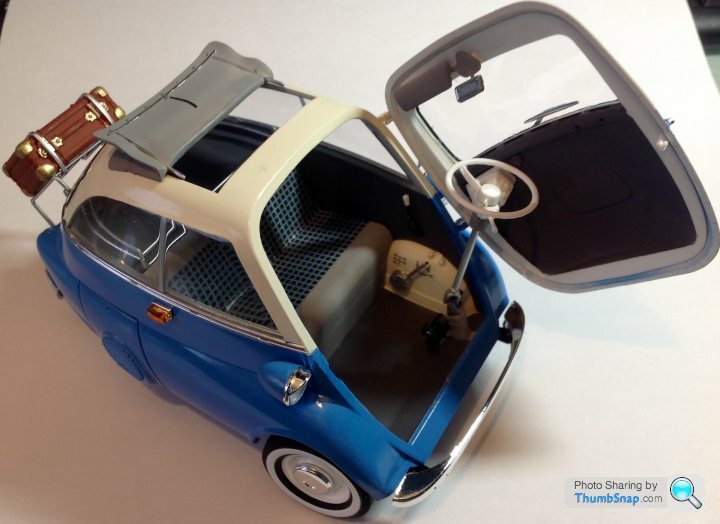
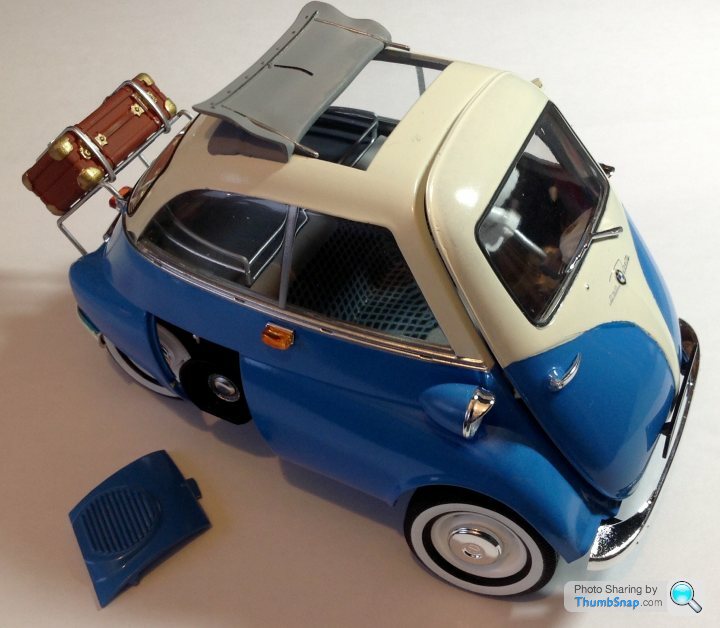
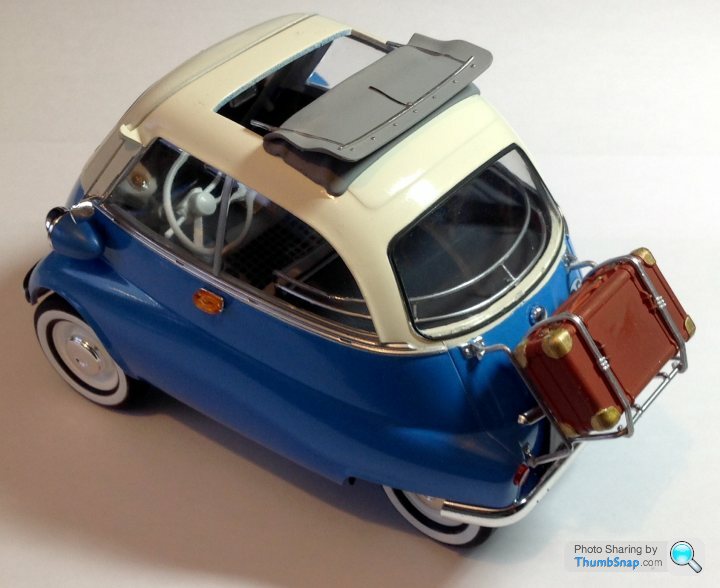
It was a bit of a balls up with the masking to be honest and it ended up with a bit of both on the front door.
The rest was masked.
You could cut out some 3 mm wide strips of white decal paper to the right curve (Hobbycraft sell some French curves), spray them blue (or white for that matter) and then apply them over the demarcation. It might sharpen things up a bit, and would be a low risk option. The rest was masked.
dr_gn said:
You could cut out some 3 mm wide strips of white decal paper to the right curve (Hobbycraft sell some French curves), spray them blue (or white for that matter) and then apply them over the demarcation. It might sharpen things up a bit, and would be a low risk option.
Are you proposing this as a fix? If so I am quite interested, but don’t quite follow the process.Surely the decal paper would be visible? I’d appreciate a bit more of a detailed explanation if possible,
The real answer would be to strip it back and start again?
It’s on the shelf now (has been for a couple of weeks) I’m not sure going back to it would improve things.
robemcdonald said:
dr_gn said:
You could cut out some 3 mm wide strips of white decal paper to the right curve (Hobbycraft sell some French curves), spray them blue (or white for that matter) and then apply them over the demarcation. It might sharpen things up a bit, and would be a low risk option.
Are you proposing this as a fix? If so I am quite interested, but don’t quite follow the process.Surely the decal paper would be visible? I’d appreciate a bit more of a detailed explanation if possible,
The real answer would be to strip it back and start again?
It’s on the shelf now (has been for a couple of weeks) I’m not sure going back to it would improve things.
If you use the same finishing process on the decal that you used on the door, it might not be too obvious. Decal edges are often invisible to the naked eye if applied correctly with a prep coat of Klear and Micro Sol on top, followed by varnish. Also, if the strips were the bare minimum to cover the demarcation, that would help too. Is there a slight ridge along the line anyway?
Yes, the ideal answer would be to strip and re-paint, but I'm with you that if you've called it as finished, don't go back to it! Of course, if you applied the decal and it looked worse, just remove it and don't bother. It's a very nice model, but the demarcation caught me eye straight away.
If you re-paint, try to mask on a gloss or at least satin surface, use a newly cut edge (no choice in this case), and burnish the edge with a cocktail stick to make sure it's well and truly seated. Then mist a few coats along the edge and flash with a hairdrier to seal before the main coats. I always use Tamiya tape and rarely have issues with it.
Gassing Station | Scale Models | Top of Page | What's New | My Stuff