Airfix 1:72 Tiger Moth
Discussion


Yertis said:
dr_gn said:
The mould set, and the pattern pulled straight out:

I’ll wait until I’ve got some spare resin from my robot build, then try casting a few:
https://www.pistonheads.com/gassing/topic.asp?h=0&...
Why aren't you just using the brass pattern on the model?I’ll wait until I’ve got some spare resin from my robot build, then try casting a few:
https://www.pistonheads.com/gassing/topic.asp?h=0&...
dr_gn said:
RichB said:
Why wouldn't you fit the brass one and paint that?
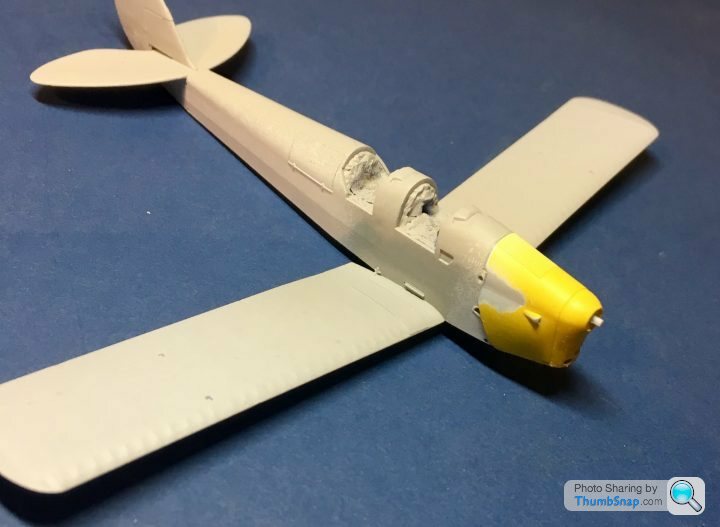
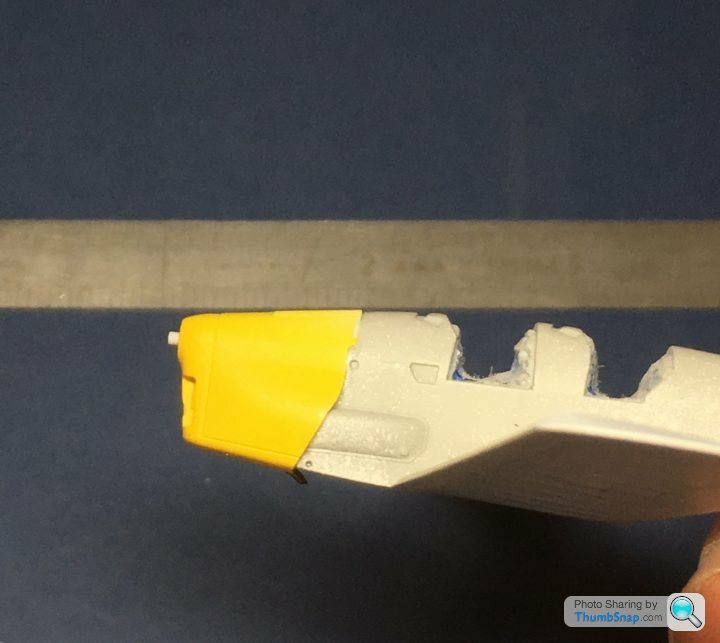
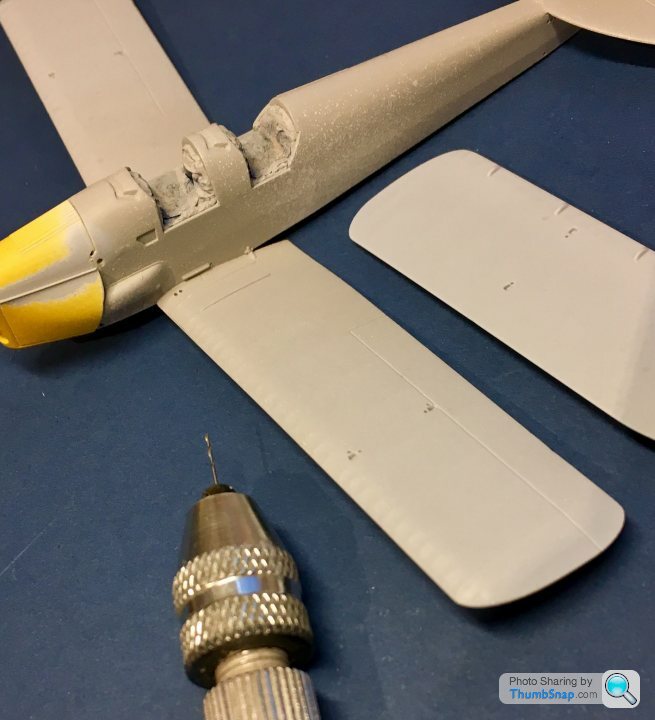
I need 2 identical ones - one each side, plus I’ve got another model that needs some casting, and at the end of the day I just want to play with some chemicals.Finished the cockpit bulkheads, Still not sure how they’ll look, so I’ll decide whether to use them later. They still need lead wire around the periphery
Once fitted:

On to the wheels - not sure why Airfix moulded them with raised DH logos on the hubs. Not only does it make masking tricky, they are over-scale and won’t look particularly refined once finished. Decals would have been much better, especially since not all aircraft had them. Anyway I ended up hand painting, initially using very thin black acrylic mixed with a tiny bit of detergent to break surface tension:
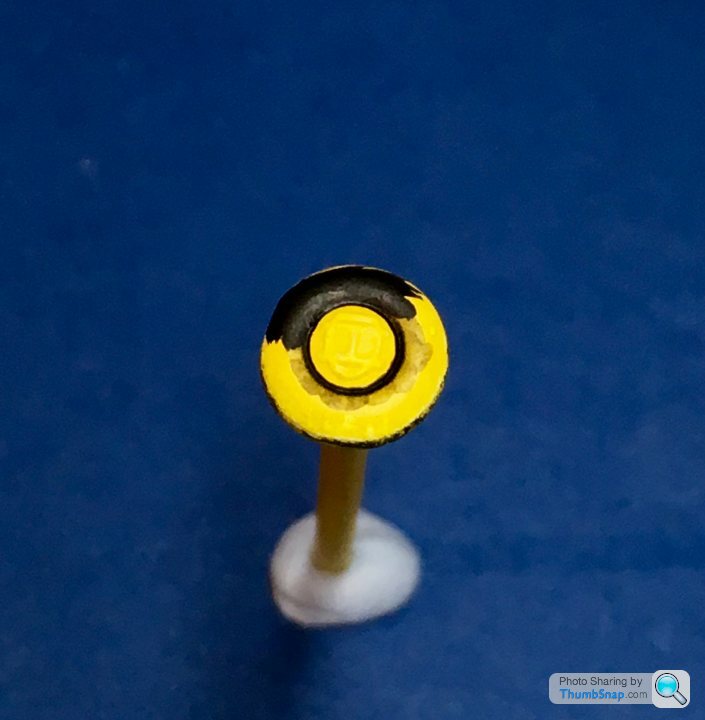
This allows the paint to capillary around the rim. Then block in the tyre with thicker paint:
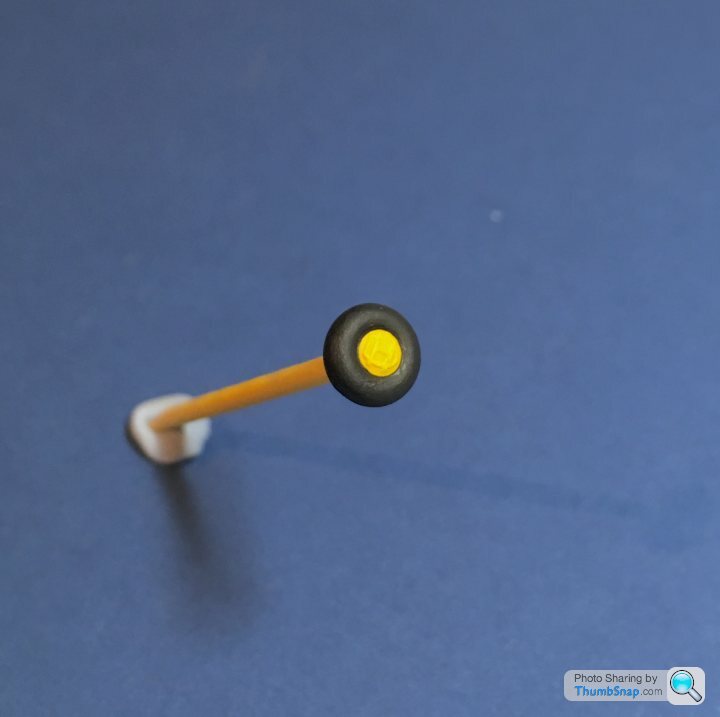
The other wheel didn’t turn out well, so is soaking in brake fluid. Again. I’ll see how they look once they’ve had a dark wash. I may well end up getting after market resin items.
Once fitted:
On to the wheels - not sure why Airfix moulded them with raised DH logos on the hubs. Not only does it make masking tricky, they are over-scale and won’t look particularly refined once finished. Decals would have been much better, especially since not all aircraft had them. Anyway I ended up hand painting, initially using very thin black acrylic mixed with a tiny bit of detergent to break surface tension:
This allows the paint to capillary around the rim. Then block in the tyre with thicker paint:
The other wheel didn’t turn out well, so is soaking in brake fluid. Again. I’ll see how they look once they’ve had a dark wash. I may well end up getting after market resin items.
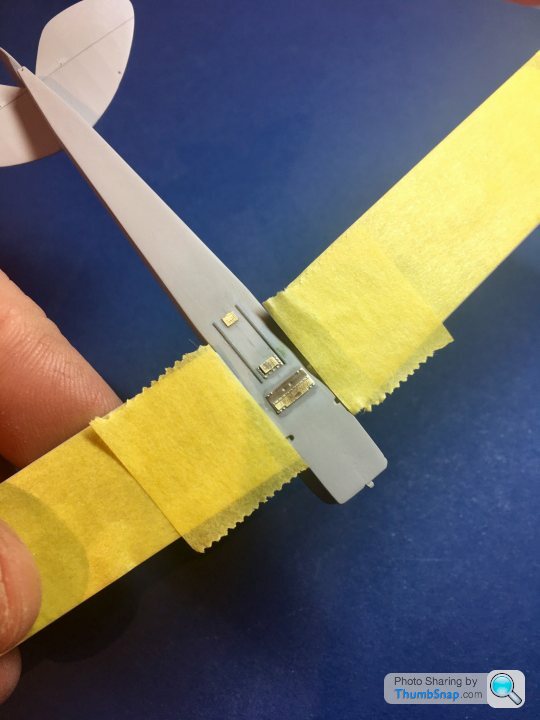
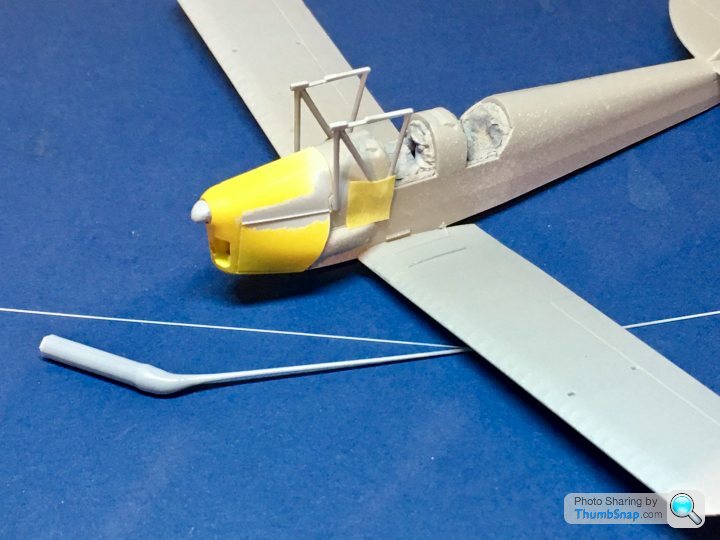
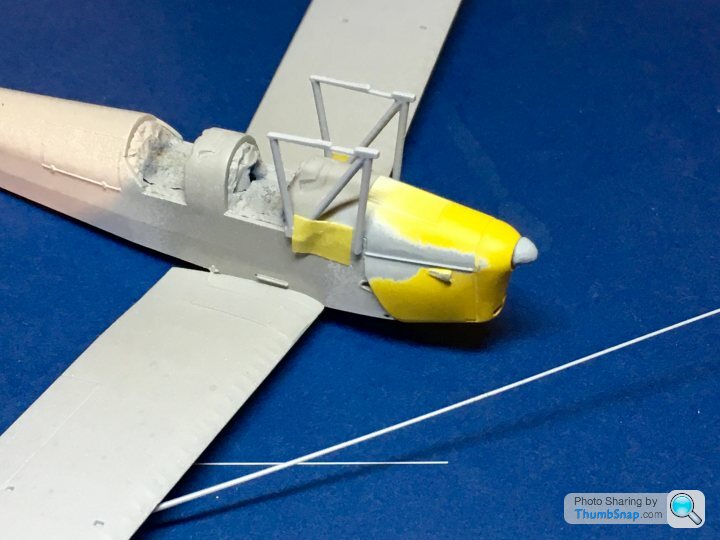
A bit of photo-etch on the undersides, and some scratch built stiffener strips and inspection panel:
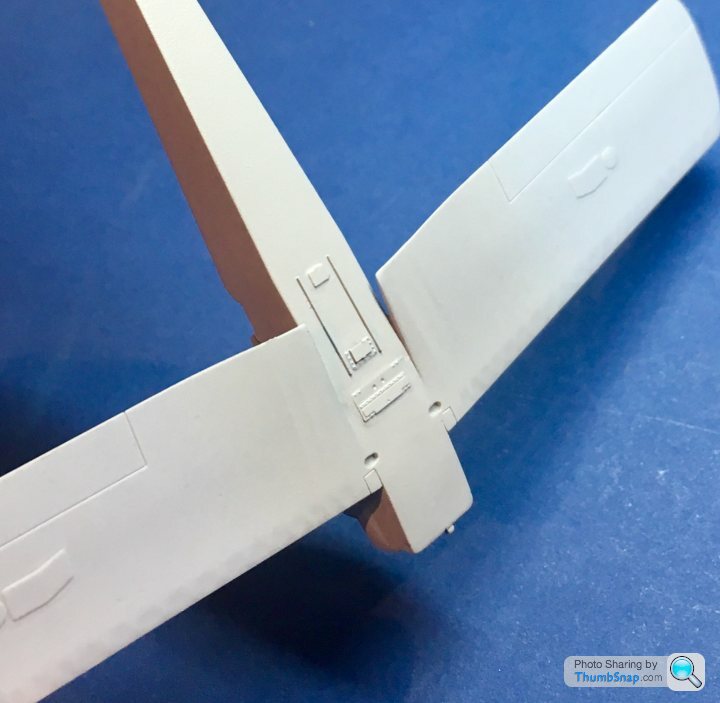
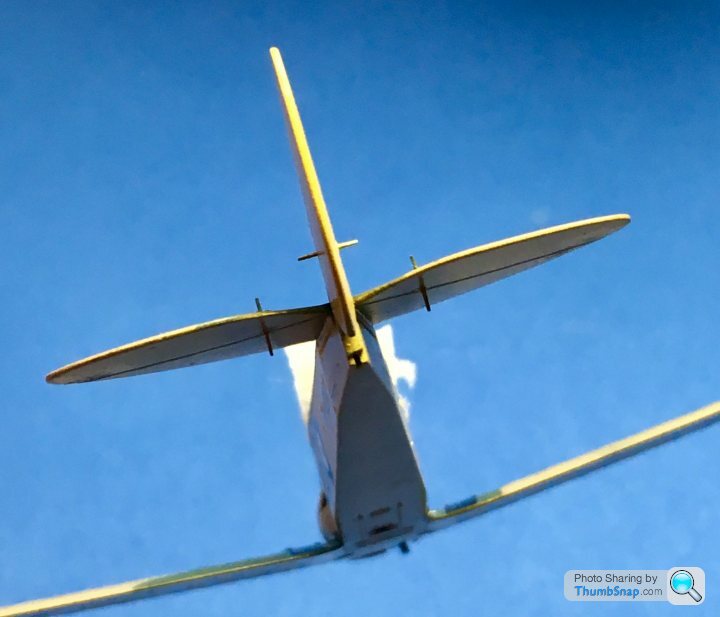
Needs a bit more work to sharpen it all up, plus the aileron mechanism and pitot tube pipes to add - probably the last things to fit. I’ll also scribe some demarcations for the fuselage - wing splits, which weren’t there.
Needs a bit more work to sharpen it all up, plus the aileron mechanism and pitot tube pipes to add - probably the last things to fit. I’ll also scribe some demarcations for the fuselage - wing splits, which weren’t there.


Ayahuasca said:
The last model I built was an Airfix Tiger Moth, about 12 years ago. Safe to say yours looks better than mine.
That would be the old version (see post #1). This new one is far more accurate, so would look better by default!If I’d not seen these new tool ones built up by others, I’d have doubts about the wings holding together - the strut location points are tiny. Maybe one area where the older version was better (if less accurate).

Narcisus said:
Love to see you have a go at something like the 1/32 Tamiya Tomcat. That was the kit we all aspired too when I was a kid.
My best mate actually had one as a present but made a mess of it and gave up halfway through. Last seen gathering dust under his bed 35 years ago.
That’s a bit big! AMK are releasing a 1:48 version soon - it’ll be superb, probably more refined than Tamiya if their 1:72 Aero Delfin is anything to go by.My best mate actually had one as a present but made a mess of it and gave up halfway through. Last seen gathering dust under his bed 35 years ago.
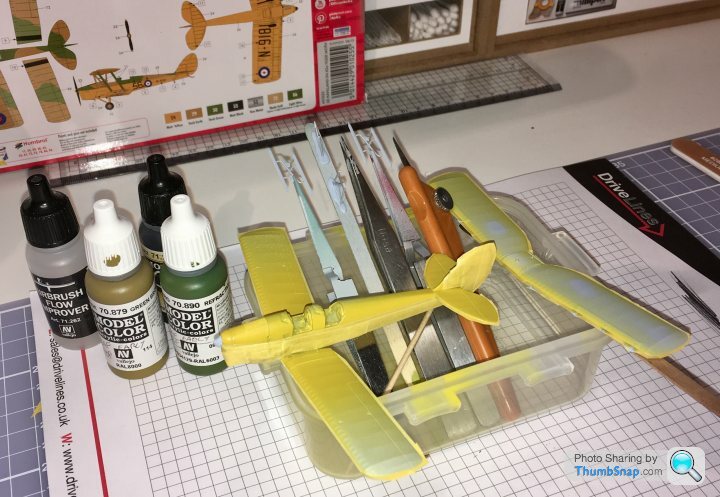
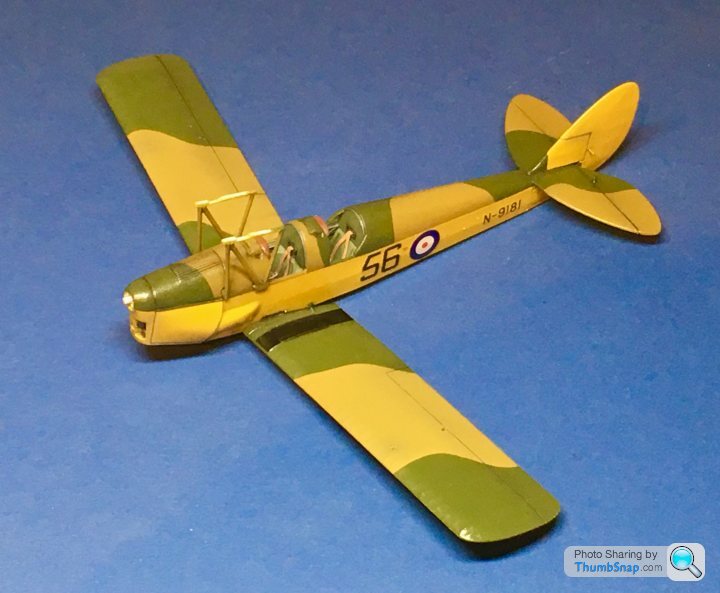
Anyway, decals on:

Also scraped off the moulded-in rudder slides from above the lower wings and replaced with scrap photo etch. The originals were a bit crude. Wish I’d have done it earlier though...
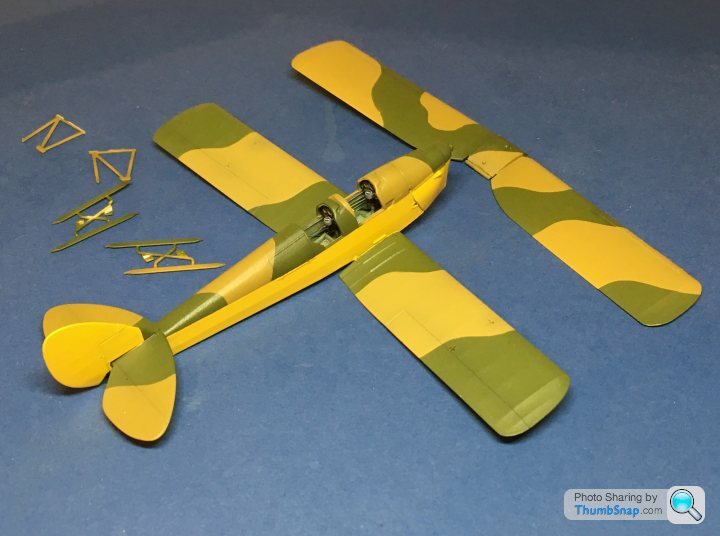
Gave it a dark wash and a bit of weathering, then pondered how to assemble the wings. No idea what the alignment would be whatever order I did it, so I fixed the cabane structure and hoped for the best:
Amazingly the top wing fitted OK, although the top of the cabane will need fettling slightly to get it perfectly aligned before fixing:
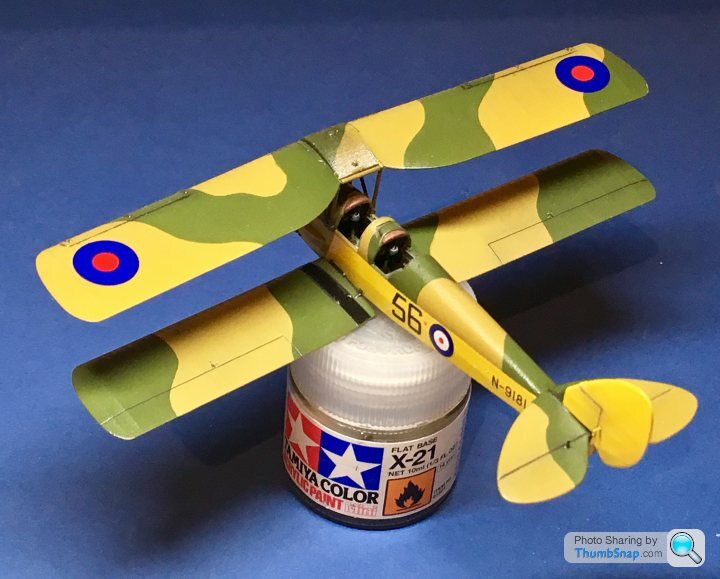
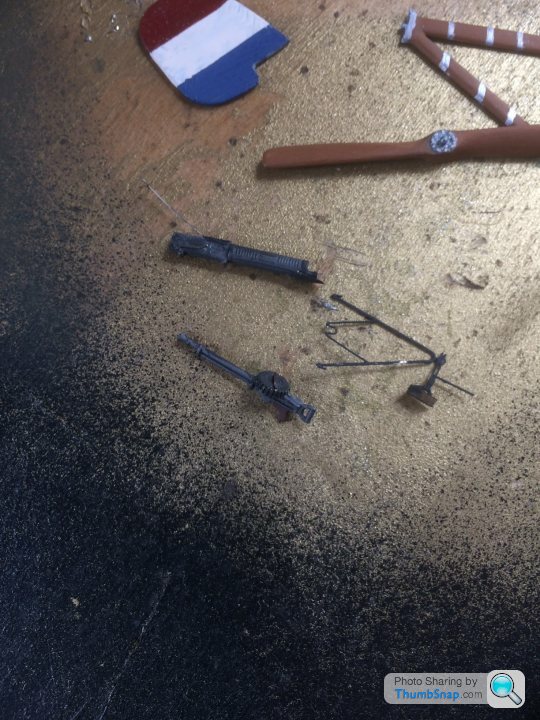
Also fitted the Eduard control horns to the empennage:
Amazingly the top wing fitted OK, although the top of the cabane will need fettling slightly to get it perfectly aligned before fixing:
Also fitted the Eduard control horns to the empennage:
I am building the Eduard Nieuport 17 now, following more or less the same build order as you. I did install those PE horns earlier in the process but they are a nightmare to attach with super glue. How did you do that? I can’t see any glue traces or so even while you attached the horns after painting.
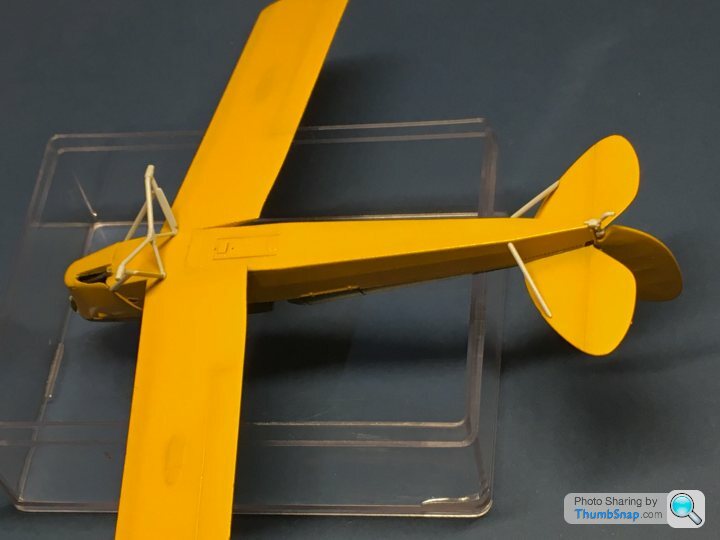
I airbrushed the plane silver dope and olive drab over the Easter weekend, so now it is time for a gloss varnish seal and decal base.
I airbrushed the plane silver dope and olive drab over the Easter weekend, so now it is time for a gloss varnish seal and decal base.
allegerita said:
I am building the Eduard Nieuport 17 now, following more or less the same build order as you. I did install those PE horns earlier in the process but they are a nightmare to attach with super glue. How did you do that? I can’t see any glue traces or so even while you attached the horns after painting.
I airbrushed the plane silver dope and olive drab over the Easter weekend, so now it is time for a gloss varnish seal and decal base.
The horns were attached to the fret with thin extensions to their bases. I cut them such that a small stub was left sticking out from the base, then drilled holes in the rudder/elevator and stuck them in place with a dot of PVA. I then wicked dilute PVA around the interface to form a tiny fillet. Hopefully they will withstand the tension of the elastic.I airbrushed the plane silver dope and olive drab over the Easter weekend, so now it is time for a gloss varnish seal and decal base.
I find I'm using an increasing amount of PVA in my models - its strong enough for a lot of cosmetic parts, dries clear and is a low-risk option because you can wash it off and start again if you mess up (only with certain types of PVA such as Formula 560 though!),
Would be nice to see your Nieuport.

Gassing Station | Scale Models | Top of Page | What's New | My Stuff