ferrari 250 gto realising a dream
Discussion


silverfoxcc said:
Outstanding
It is the hidden details that makes it, i doesn't matter the average punter cant see it, YOU know it is there
I am fabricating an expansion link bracket for my loco, most of which will be hidden under the running board ( 15 parts it total) as opposed to a gunmetal casting and piece of shaped 1/8 plate
It goes together like 3-D jigsaw and then silver soldered
Thanks for the encouragement,when ive finished im going to place it with a ipad type picture frame so there will be a slideshow showing the detailed part of this build. it sounds as you are into high detail modelling yourself, i know a customer and who is also a friend who builds true bluprinted trains to incredible levels of detail , has his own mini foundry, lathe /mill (multi axis) fitted with Heidenhain digital readout. His workmanship is superb. It is the hidden details that makes it, i doesn't matter the average punter cant see it, YOU know it is there
I am fabricating an expansion link bracket for my loco, most of which will be hidden under the running board ( 15 parts it total) as opposed to a gunmetal casting and piece of shaped 1/8 plate
It goes together like 3-D jigsaw and then silver soldered
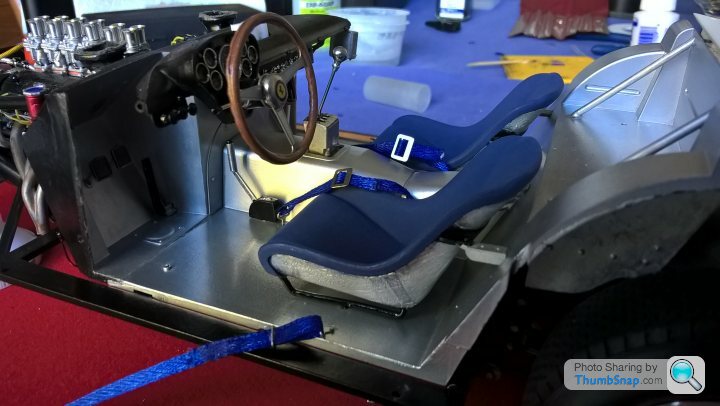
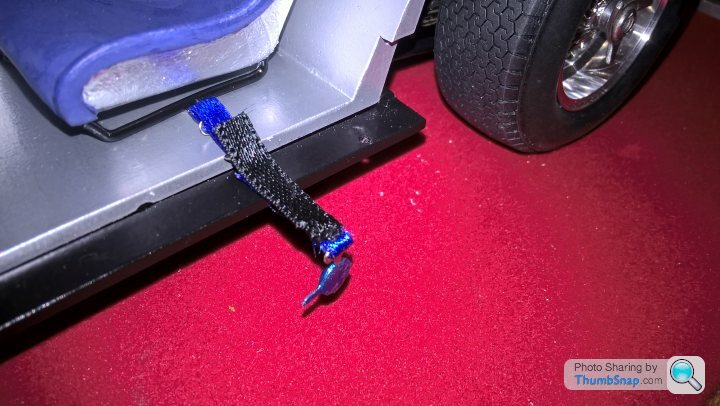
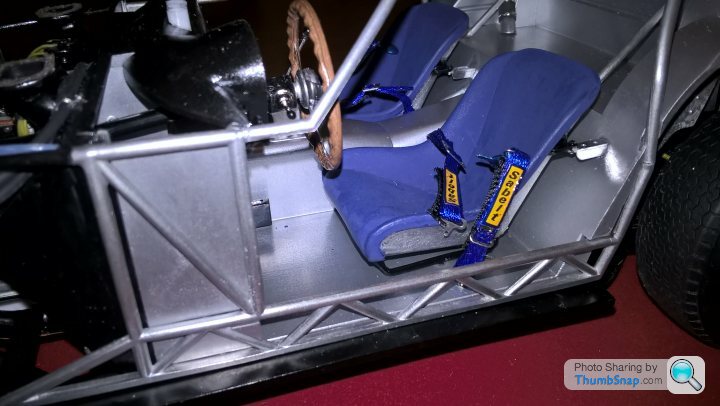
Going on now with the seats and lapbelts, robbed the ribbon from my wifes stock and printed the sabelt decals off.
 .
.  .
.  .
.  .
.  .
.
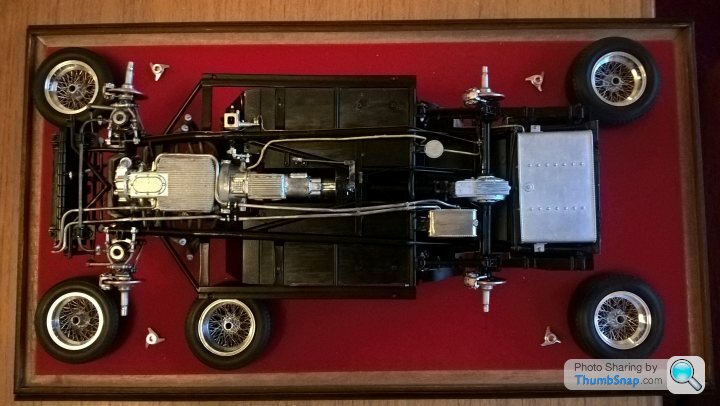
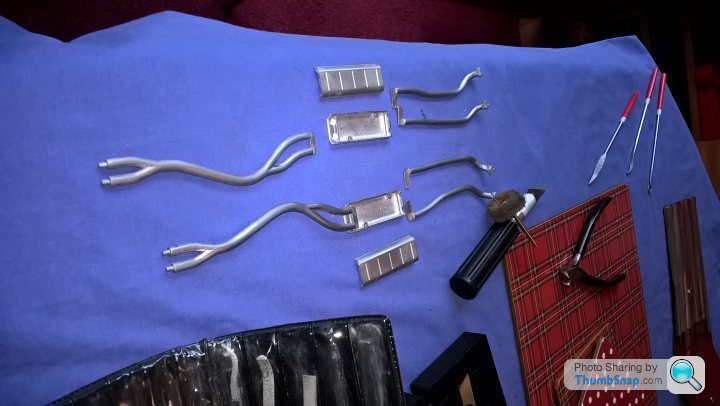
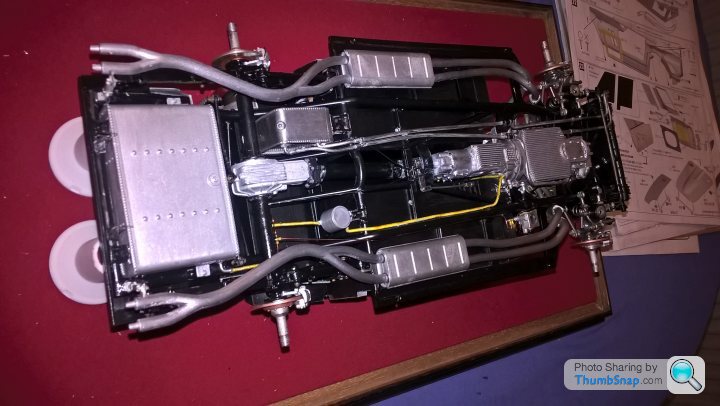
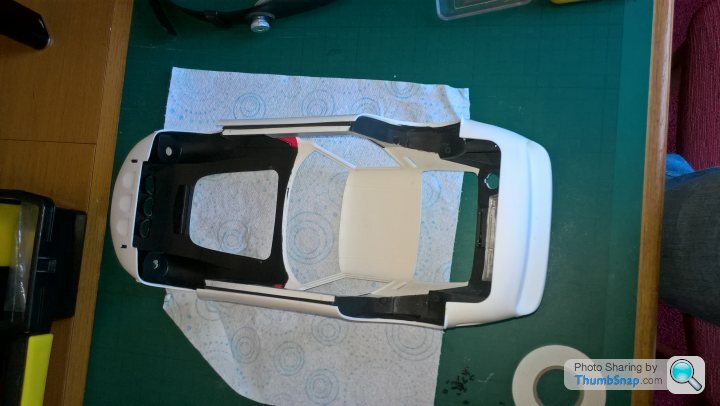
Heres the underside as i overturned it to fit the exhausts .
 .
.  .
.  .
.  .
.
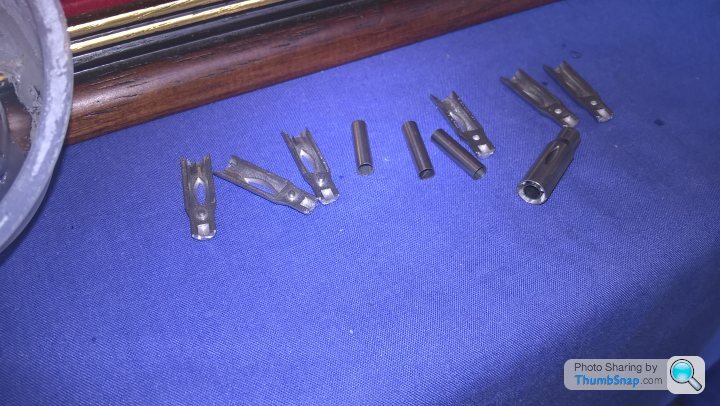
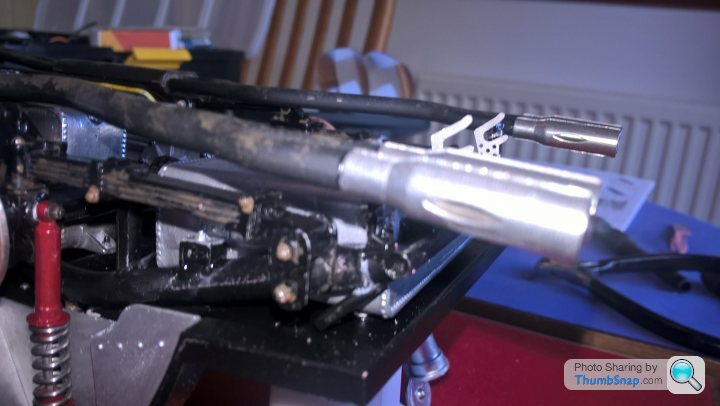
Time for a bit of patina also fitted the exhaust tips which came in 3 parts per tube.
 .
.  .
.  .
.
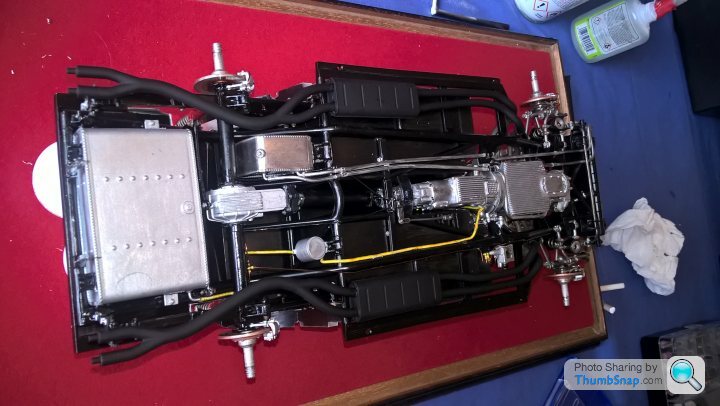
Turned over ready to go on assembling the more chassis parts , roll gage. etc. Thanks for looking, more to come. cheers time for a beer.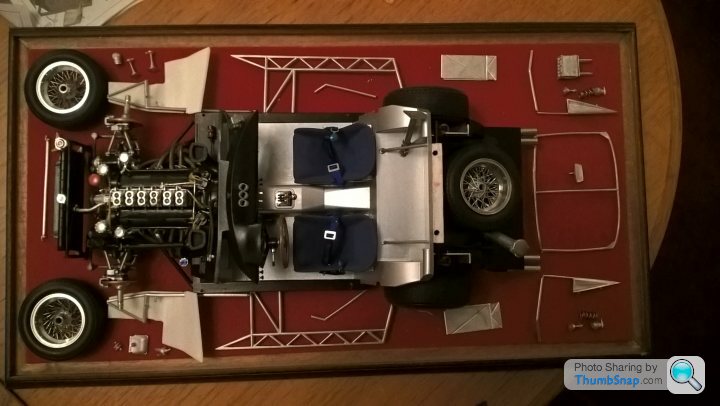
. . . . . Heres the underside as i overturned it to fit the exhausts .
. . . . Time for a bit of patina also fitted the exhaust tips which came in 3 parts per tube.
. . . Turned over ready to go on assembling the more chassis parts , roll gage. etc. Thanks for looking, more to come. cheers time for a beer.
[quote=RDMcG]Not sure if helpful, but here are some close up shots of a GTO I took a few yers ago. I have all sorts of shots of other ones too, but a long time ago.....
Thankyou for the fine quality pictures, I was pleased to see the lap belts looking very similar to the ones i have made. Whoever looks after this car knows what he,s doing after seeing the brown colour inside the exhaust tubes.A nice brown colour showing its running perfectly. I hope its not rust Ha! Ha!..
Ive decided to finish mine off in Red and have the interior bare as a racing car should be, but im not going to put any historical references on the bodywork as im really only interested in the cars looks to admire once finished.I can always put racing decals on at a later stage if need be. Cheers
AshVX220 said:
What percentage of this is plastic/metal? Or is it all plastic?
It's astonishing.
This particular model only has a plastic body, both door panels, main chassis rail, bulkhead, seats, windows rear parcel shelf in plastic/resin.It's astonishing.
The bonnet and boot are in white metal. The rest is white metal, turned alluminium, nickel silver wire etc + other materials ive used, Cheers
Edited by henryk001 on Thursday 23 August 16:07
jtremlett said:
If you google these cars you will see that the few lucky owners have over time modified these cars for either colour,asthetics or comfort.
The chassis plate decal you speak of used is one of only three choices to use, i just picked it. Ps thankyou for the link, may come in handy in the future
Edited by henryk001 on Thursday 23 August 16:11
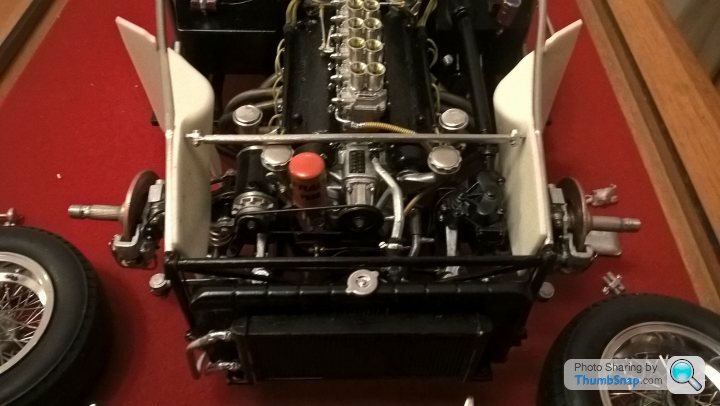
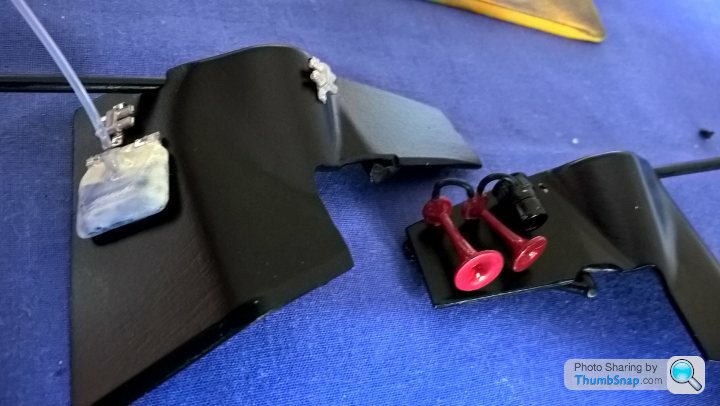
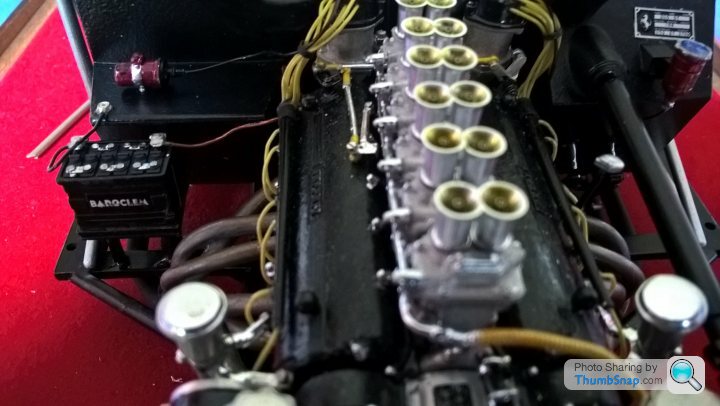
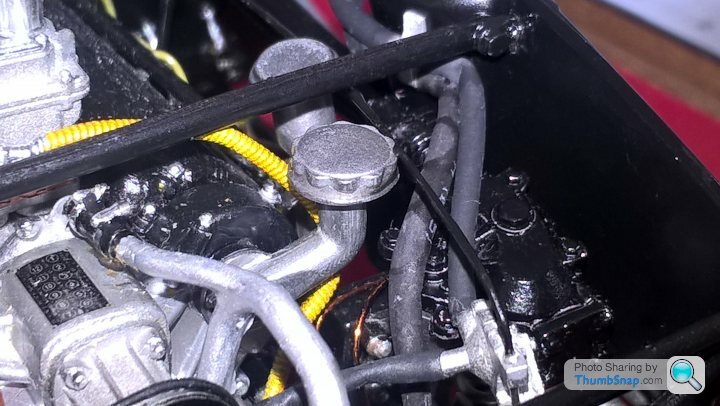
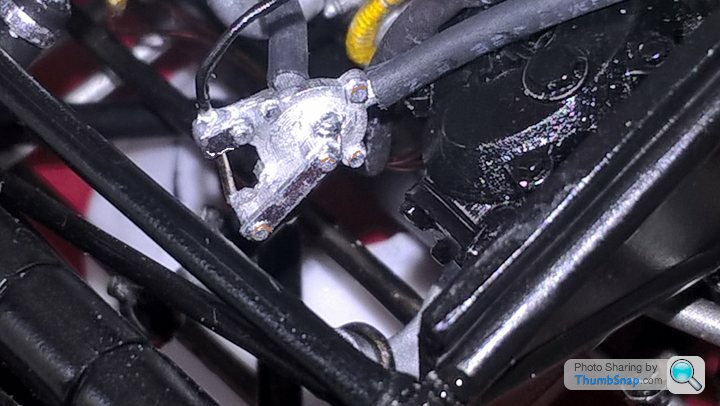
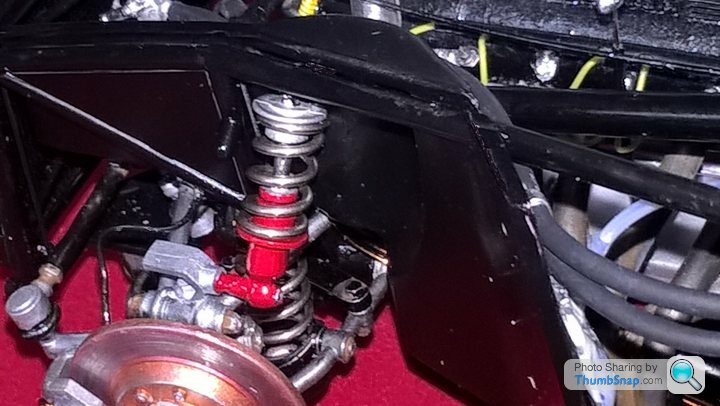
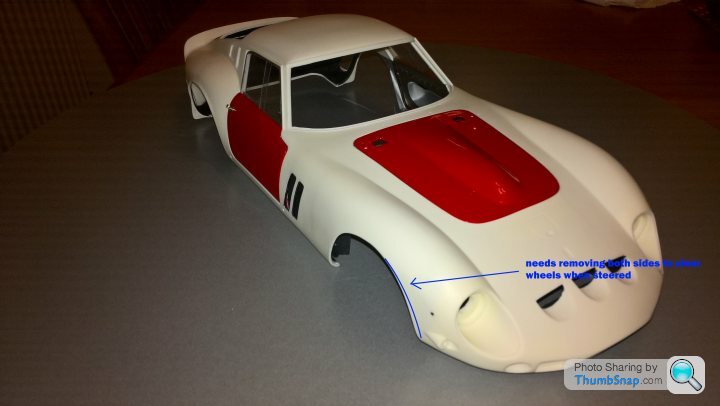
Well its been a while, been really busy. Thought to put a few more photos on for anyone interested.Coming near to completing before going onto the bodywork. Im getting in a quandry as to wether or not to fit the body or finish the car with the bodywork raised above it . Hmm???. Anyway Rollcage, inner wings, roll bar, water bottle, horns, battery,heater control valves,heaterpipes and front shocks next.Test fitting , filing, trimming and painting.The windscreen water bottle was painted by using blue acrylic first then semi transparant gloss white over to mimic water.
 .
.  .
.  .
.  .
.  .
.  .
.  .
.  .
.  .
.  . .
. .  .
.  .
.
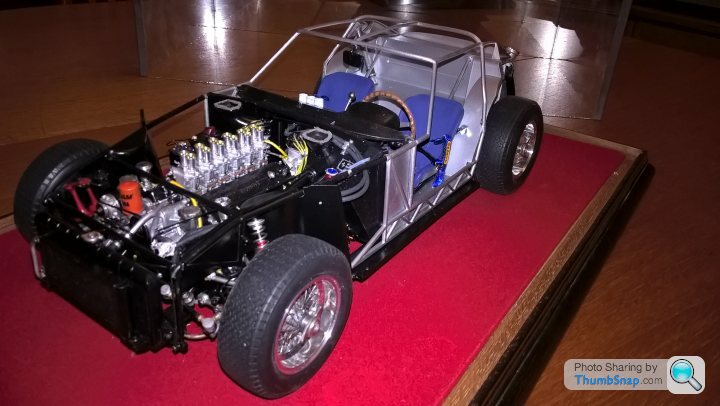
So the car is complete except for some tidying up and going on to the bodywork, which once again will be a challenge as the smallest mark will show up like a sore thumb. A lot of deburring filing ,filling in places i see needs to be done, sanding yes loads of it down to 1000 grit , priming, painting of parts and then more sanding down to 12000 grit before a polish. I know i will need a couple of attempts if im lucky to get the body to a standard im happy with. Loads of photo etched parts. leather and clear to fit as well. I Will add more as i go along . Thankyou to all who have seen my work and especially those who have commented on this thread encouraging me to show my spare time toils off. Cheers
. . . . . . . . . . . . . So the car is complete except for some tidying up and going on to the bodywork, which once again will be a challenge as the smallest mark will show up like a sore thumb. A lot of deburring filing ,filling in places i see needs to be done, sanding yes loads of it down to 1000 grit , priming, painting of parts and then more sanding down to 12000 grit before a polish. I know i will need a couple of attempts if im lucky to get the body to a standard im happy with. Loads of photo etched parts. leather and clear to fit as well. I Will add more as i go along . Thankyou to all who have seen my work and especially those who have commented on this thread encouraging me to show my spare time toils off. Cheers
Edited by henryk001 on Wednesday 19th September 01:44

The_Jackal said:
People say it is expensive but isnt that about what you'd pay for a magazine build in total?
.Yes i think you mean the 1/8th scale models advertised on TV occasionally, but they are already parts finished and need only to be assembled,mostly with screws which is great if thats all you want to do as a hobby.Im sure extra detail could be added but ive never done one? I prefer to do a raw kit assembly and have found the model factory hiro kits to be quite the challenge as the instructions arnt clear and you need to look forward on and read a couple of sections to go back to make sure you can get through the steps without making a drastic mistake.Considering the hours invested, approx 300 ive put in with the car kit, engine kit and extra materials used has cost over £1000.00. its been great value for money and have so far thoroughly enjoyed my spare time on it, hopefully to have a finished model to admire,one of the cars ive always dreamed of. Cheers
silverfoxcc said:
Henry
your post of 01.12 yesterday.
Mad thought time
Supposing the bodywork 'drops' over the chassis with no wiggling.
how about getting some very fine thread rods, ( one at each corner) and suspend the body from them , fine wire possibly. slodered to nuts
THEN get the rods geared up like a four pole jacking system with a slow revving electric motor( gearing down if needed) and impress visitors by pressing a button and watching the body rise up to reveal all the good work inside.
Enclose in glass casess o no sitcky fingers..... and how about it having a mirror at 45 degrees underneath to show that as well
Easier to draw than describe!
Job jobbed
Hi There. A very good idea, but im afraid not plausable for this model. I would need to flip up the petrol cap and then need to rig up a 2 axis system, programmable to raise the rear up 1st then move over from back to front about 10mm freeing the front away from the radiator, then i could rise up vertically. The mirror you spoke of is a very good idea though .Im concidering having 2 cases made so one sits above or next to the other.With this in mind the plan is to detail the bodywork inside as well as out, so im going to paint the inside black and aluminium as required as if the body had been removed from a real car.Thankyou for the ideayour post of 01.12 yesterday.
Mad thought time
Supposing the bodywork 'drops' over the chassis with no wiggling.
how about getting some very fine thread rods, ( one at each corner) and suspend the body from them , fine wire possibly. slodered to nuts
THEN get the rods geared up like a four pole jacking system with a slow revving electric motor( gearing down if needed) and impress visitors by pressing a button and watching the body rise up to reveal all the good work inside.
Enclose in glass casess o no sitcky fingers..... and how about it having a mirror at 45 degrees underneath to show that as well
Easier to draw than describe!
Job jobbed
Thankyou for the recent kind comments. At present i am mostly doing filing, some building up and rubbing down of the bodywork components, which there are quite a few of just like the real thing really, prior to 1st coat of primer which is really good at showing marks, indentations and undulations.Then a 2nd prime , then matt black dust coat to help in the final rub down prior to colour. I will put some pictures on soon. Cheers
g3org3y said:
Wow, absolutely amazing work. Thank you for sharing. 
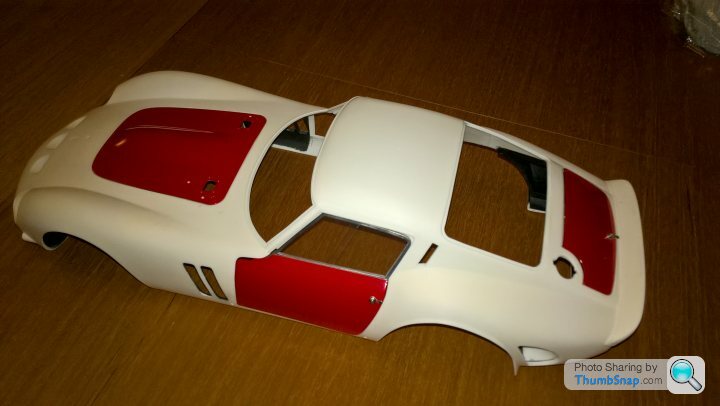
.Thankyou for your kind comment.Im busy sorting out the bodywork parts and making the necesary adjustments before i make the 1st attempt to prime and paint.
 .
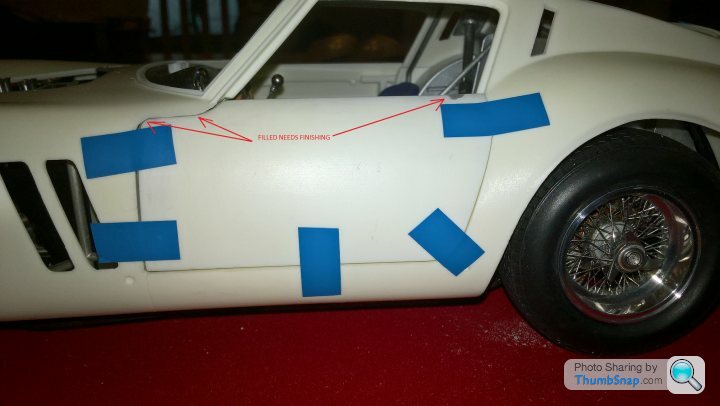
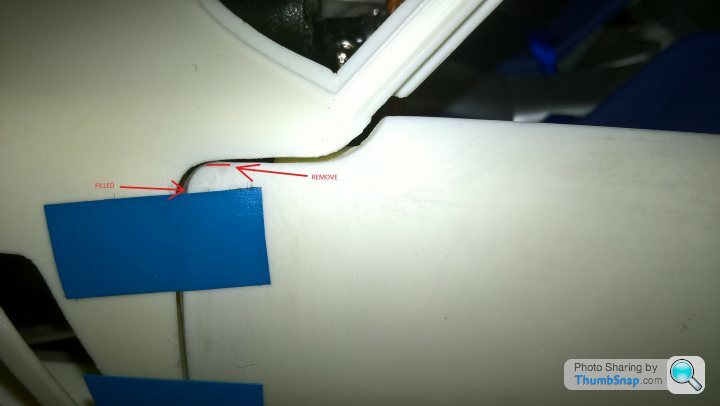
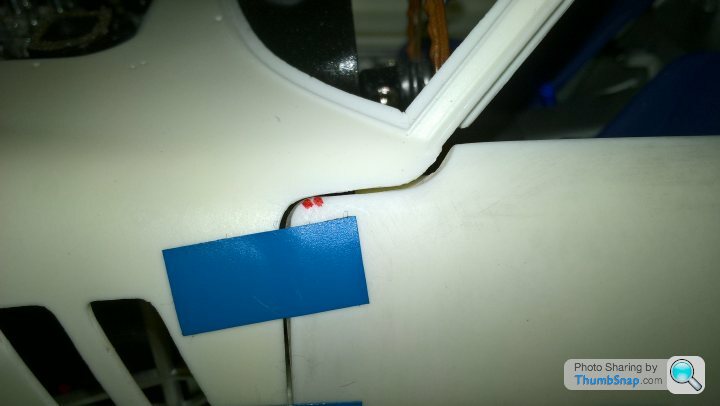
. There are areas that need building up and removing, so a lot of test fitting going on .Boring but neccesary.Im actually enjoying the process, honestly.
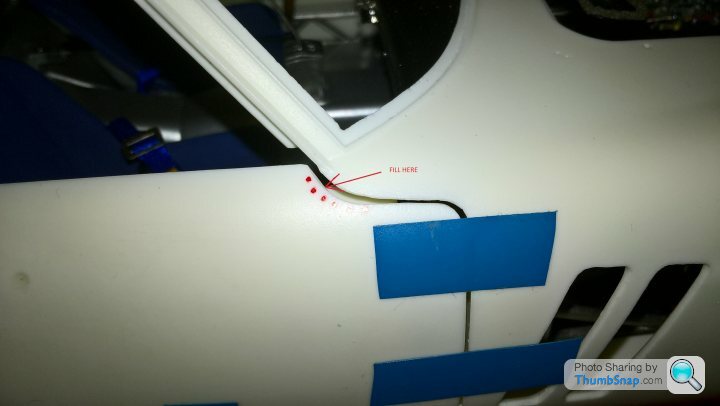 .
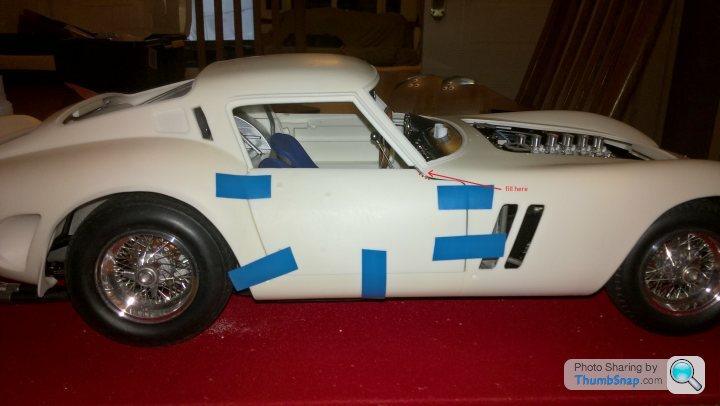
. Im using super glue medium thick glue then fast activator hardner aerosol to build the areas up, which is great as it builds in just where you need it.You will see the door gap at the front is larger than the back, The photos dont really show the transparent glue ive used to do the build up , but it is about the same all round.
 .
.  .
.  .
.  .
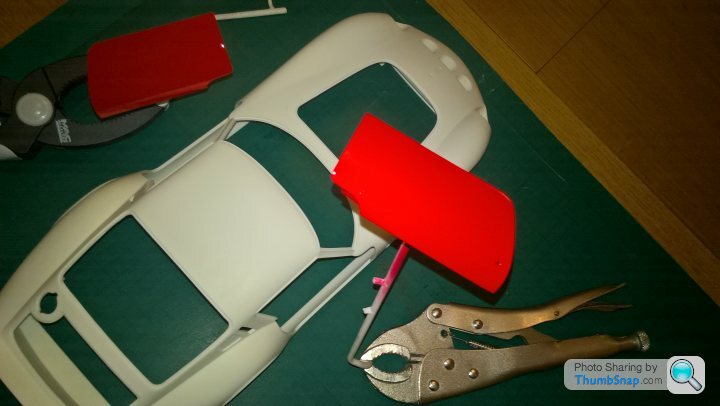
. Needs quite a bit of build here on the boot lid.
 .
. All my work has been hidden by the body so i better make a good job of it. Still thinking about having the body in another case above the chassis??? Hmmmm.
Right then loads of removing sharp edges, rubbing the bodywork down to 1500 grit, checking the fit. More to come as i go along. Time for a Becks i think Cheers.
Elderly said:
Looking at that body - once again I admire your skills and patience, but ……
….. I'm a little surprised that a kit costing ££££££££££££ should require that amount of correction.
Hi, I would assume that the silicone moulds used to produce these body’s have a certain life and over time they get to a stage where the manufacturer would have to make another one because the quality is getting poorer. I don’t mind doing some adjustments and some finishing.There are other model manufacturers out there that are equally on par with the cost but the quality and to scale is very poor. As MFH have got there scaling correct I’m happy to do a bit of correcting. Cheers….. I'm a little surprised that a kit costing ££££££££££££
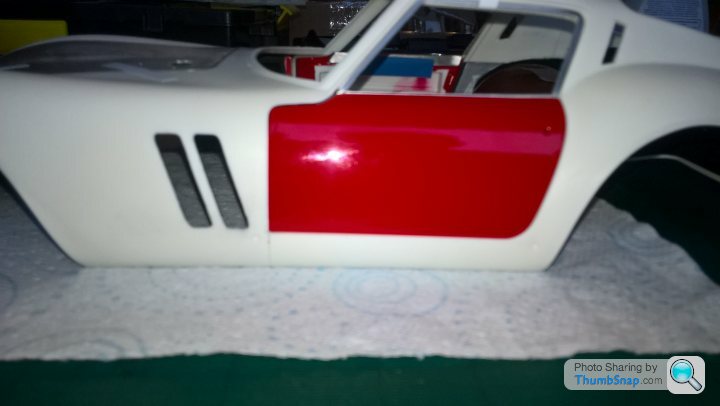
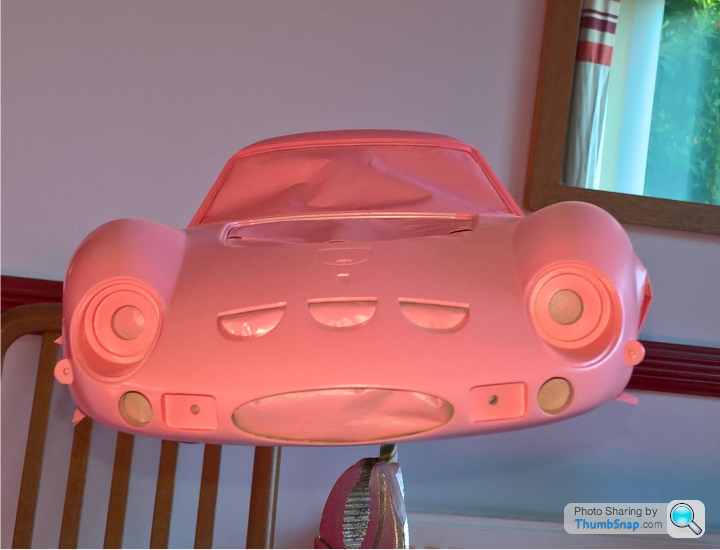
should require that amount of correction.Hi !. Well ive done a lot of test fitting rubbing down etc and now have started painting. Doors , bonnet , boot and door frames prior to the body itself.
Two coats of etch primer per panels and door frame, one black dust coat , rub down 1500 grit. Two coats of ferrari red, rub down to 1500 grit and finally 4 coats of laquer and rub down from 3200, 3600,4000,6000, 8000, 10000 and finally 12000 which gives a very nice finish to then only leaves a waxing .
My apologies for the photos taken from my phone.
 .
.  .
.  .
.  .
.  .
.  .
.
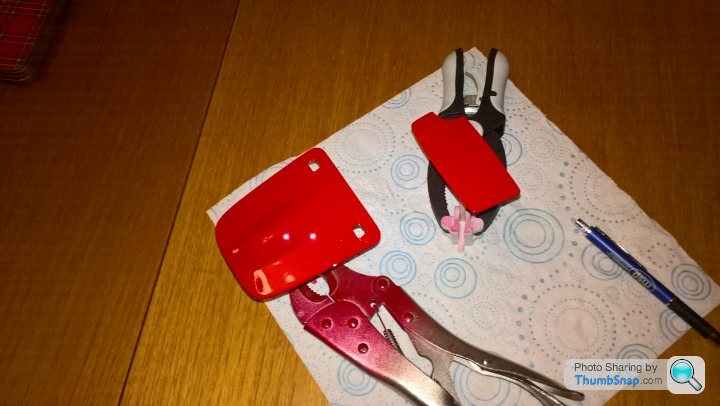
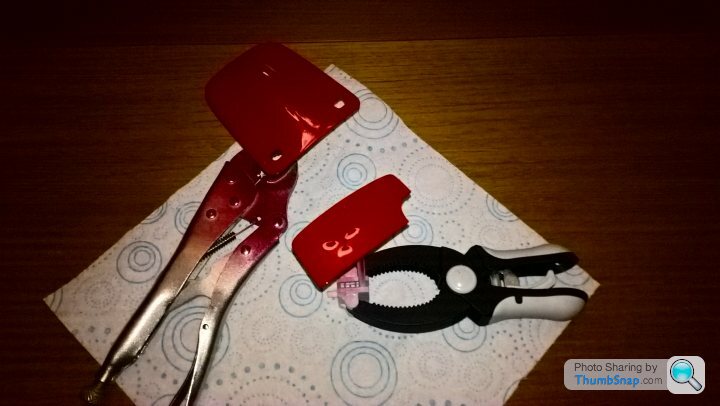
There are 13 parts to build a door including sliding windows to cut from clear sheet, photo etched door lock and handle for the door mechanism (3 parts) .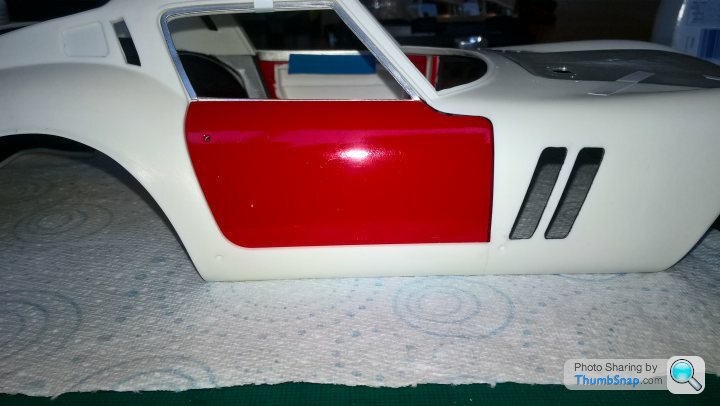 .
.  .
.  .
.  .
.  .
.
After a final polishing of the panels im happy with the result.
Time for beers, Cheers. More to come. Thankyou for looking.
Two coats of etch primer per panels and door frame, one black dust coat , rub down 1500 grit. Two coats of ferrari red, rub down to 1500 grit and finally 4 coats of laquer and rub down from 3200, 3600,4000,6000, 8000, 10000 and finally 12000 which gives a very nice finish to then only leaves a waxing .
My apologies for the photos taken from my phone.
. . . . . . There are 13 parts to build a door including sliding windows to cut from clear sheet, photo etched door lock and handle for the door mechanism (3 parts) .
. . . . . After a final polishing of the panels im happy with the result.
Time for beers, Cheers. More to come. Thankyou for looking.
Thankyou NDA,4Q,DINOBOY.
NDA Said about going potty.
The reason im not going potty yet is purely that i want to see the end of this build to have and view without having to shell out 10-50 million pounds for something that would likely to be locked away in a secret secure lock up. Its great that the lucky few real enthusiasts still drive these cars in anger at Goodwood and other venues for all to see. I will be happy to be able to view and show the car off when its finished in the comfort of my home. Thinking about the next project as well, possibly the earlier 50,s Ferrari that used its bootlid as a air-brake i saw on TV recently driving around Le Mans? Cheers
CanAm said:
Are you thinking of the Mercedes 300SLR?
The car im thinking of is either a Ferrari 250 tr or 315s or 335s , it was a 50s LeMans car which had the boot opening from front to back acting as a air brake. I assume it worked by hydraulics when the brakes were applied. I saw it on a tv programme about classic Leman cars and it was in black and white.I cant remember the exact model, but the film i watched showed all the ferrari cars coming to the end of the Mullsane braking hard and showing the bootlid rise and then drop.
The mercedes 300 sl is one gorgeous car id like to build perhaps one day.
CanAm said:
That's the Mercedes 300SLR; I've never heard of Ferrari using such a device.
Modern documentaries unfortunately have a habit of using stock film shots with random vehicles in rather than the actual subject matter.
Thanks for pointing this out. The car looks the same/similar as the 335s. Modern documentaries unfortunately have a habit of using stock film shots with random vehicles in rather than the actual subject matter.
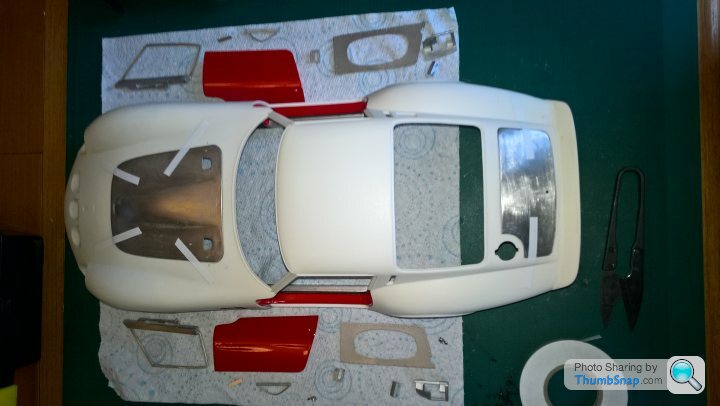
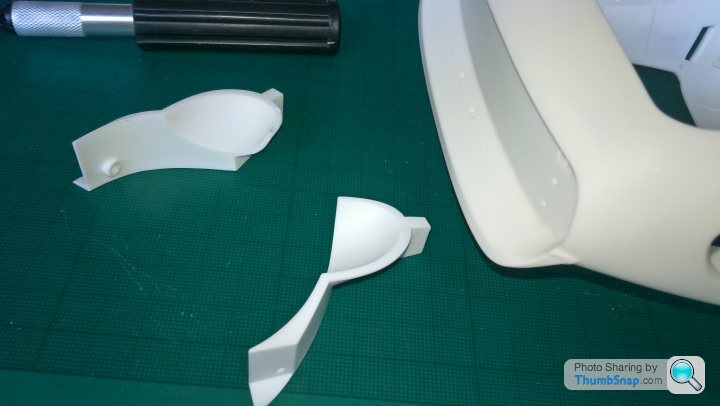
Hi! there . Ive been doing some test fitting , fettling, filling and rubbing down to the body so far prior to spraying.
Decided also to paint the underbody semi gloss black to mimic underseal, as the bodywork might be shown above the car , havent decided yet, but seeing as ive gone this far may as well do it all without skipping the areas that may not be seen if i fit the body to the car. hope you enjoy the photos.
Thankyou to all for the great comments so far. Cheers.
 .
.
Masking up in stages to stipple the semi gloss black to show a textured finish.
 .
.  .
.  .
.
Test fit door framework.Ive left the inside roof and rear pillars alone as im going to have that aera in alluminium.
.  .
.
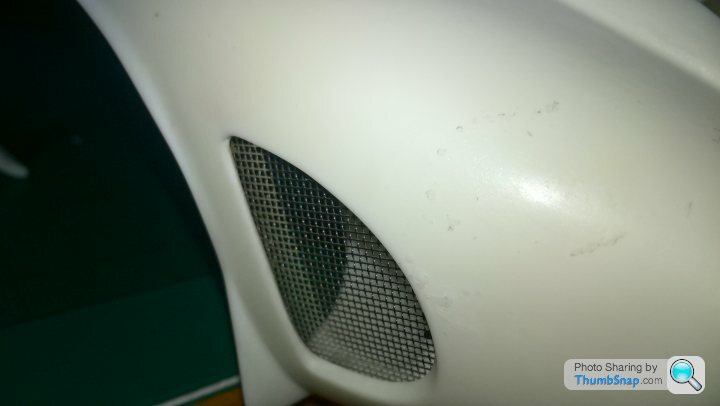
Test fitting of rear air duct and photo etch grills.
 .
.  .
.
I hope this isnt boring anyone now as its all bodywork from now on. Now getting down to a final rub down. Masking the black areas off lots of it, prior to priming (2 coats) for a all around body coat. More to come.Thanks for looking
Decided also to paint the underbody semi gloss black to mimic underseal, as the bodywork might be shown above the car , havent decided yet, but seeing as ive gone this far may as well do it all without skipping the areas that may not be seen if i fit the body to the car. hope you enjoy the photos.
Thankyou to all for the great comments so far. Cheers.
.Masking up in stages to stipple the semi gloss black to show a textured finish.
. . . Test fit door framework.Ive left the inside roof and rear pillars alone as im going to have that aera in alluminium.
. .Test fitting of rear air duct and photo etch grills.
. . I hope this isnt boring anyone now as its all bodywork from now on. Now getting down to a final rub down. Masking the black areas off lots of it, prior to priming (2 coats) for a all around body coat. More to come.Thanks for looking
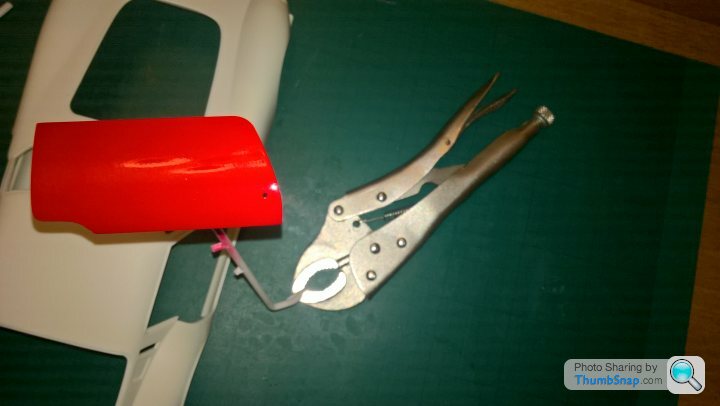
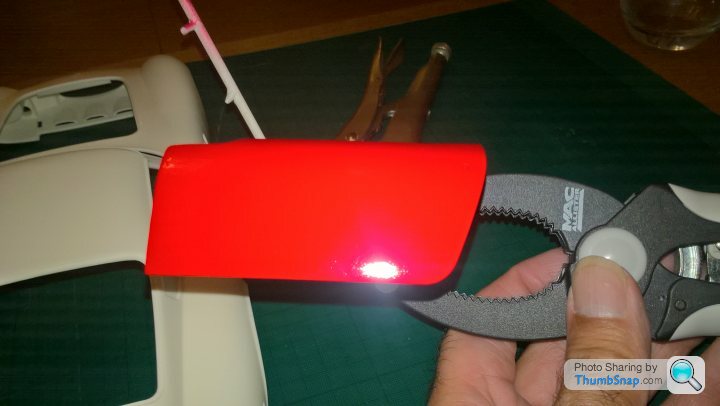
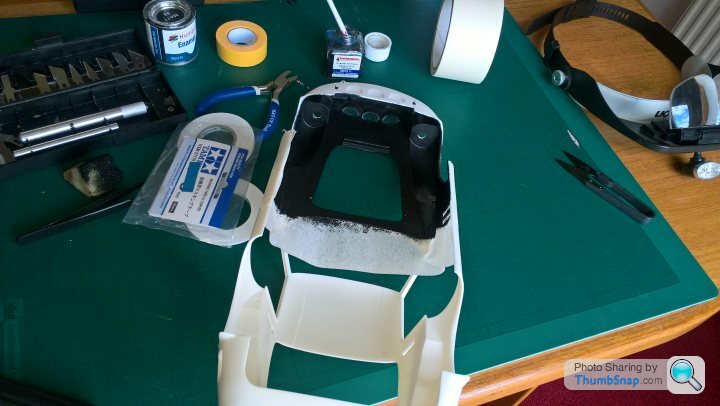
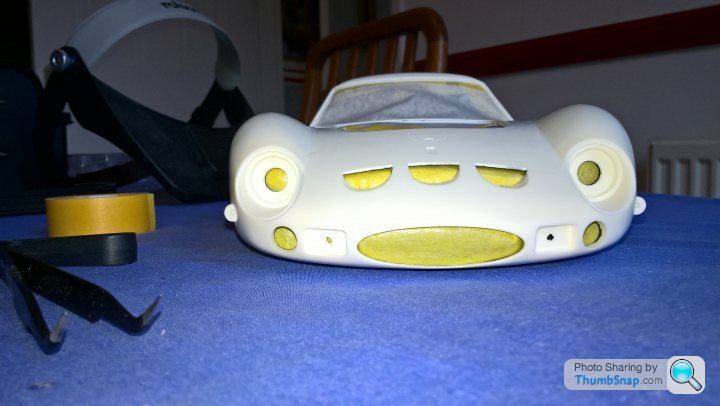
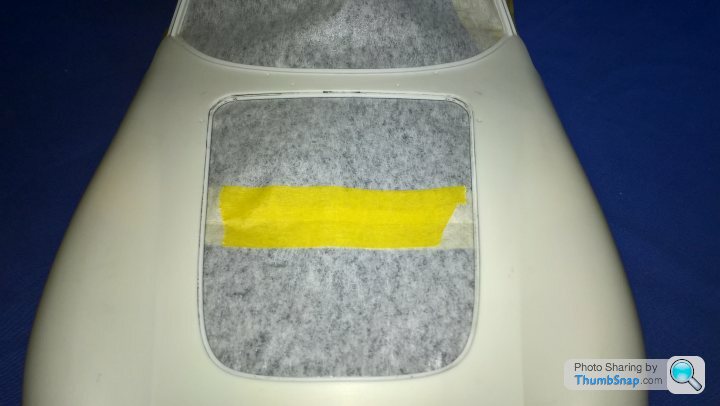
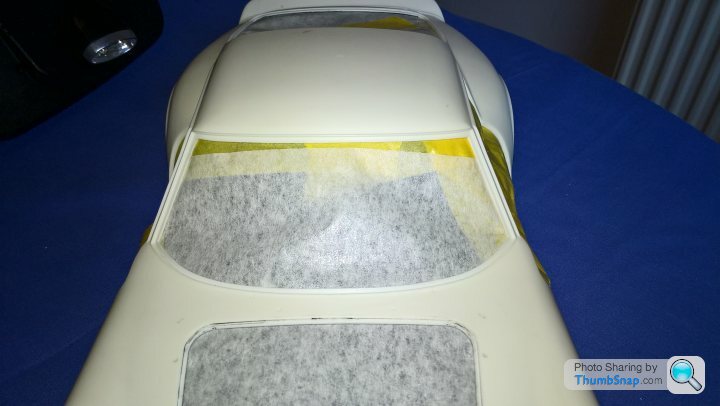
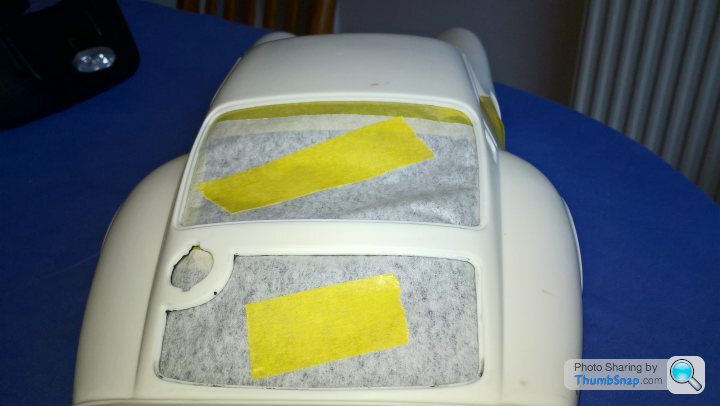
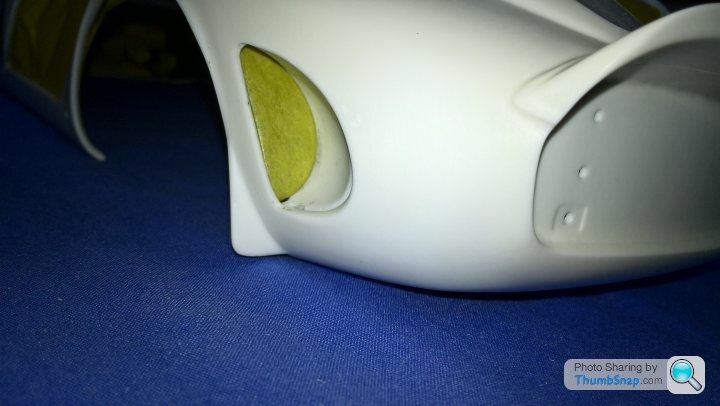
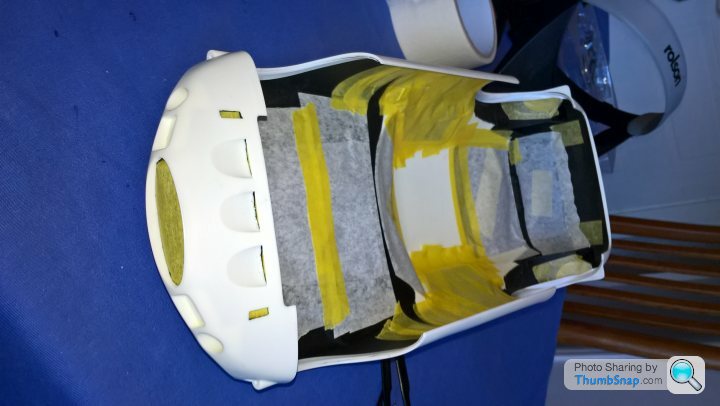
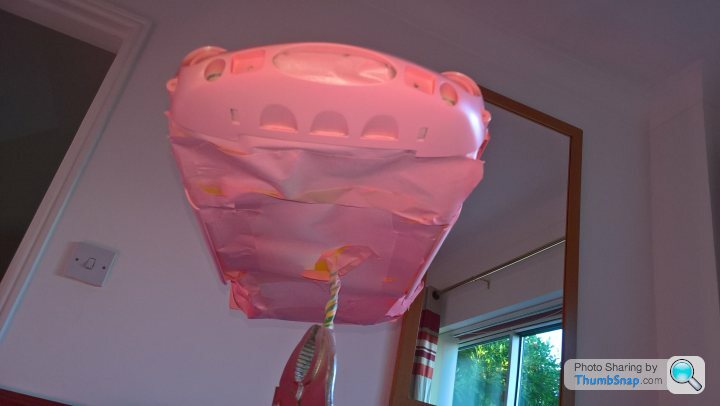
Hi!. Just a note to anyone as its all bodywork from now on, on this 1/12th scale MFH Ferrari and may not be of interest to some.For any new veiwers please do take look at the previous pages, they may be a bit more interesting. Anyway its a bit chilly today, staying in so im masking up. 2 stages of masking prior to priming.
Stage 1 ive done today using Tamiya tape, ordinary masking tape and tape for curves on the inner arches, internally masking off so paint wont enter through any holes/openings . Stage 2 fitting wires in to make a handle to hold whist spraying then masking off encapsulating the inside completely before priming, which i will do at some point.
Heres some photos. Cheers.
 .
.  .
.  .
.  .
.  .
.  .
.  .
.  .
.  .
.  .
.
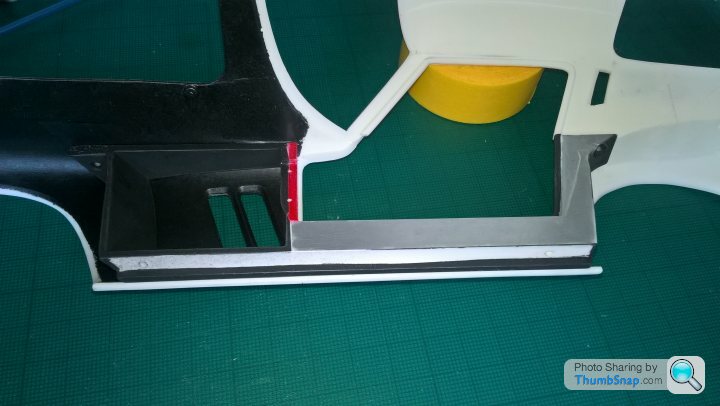
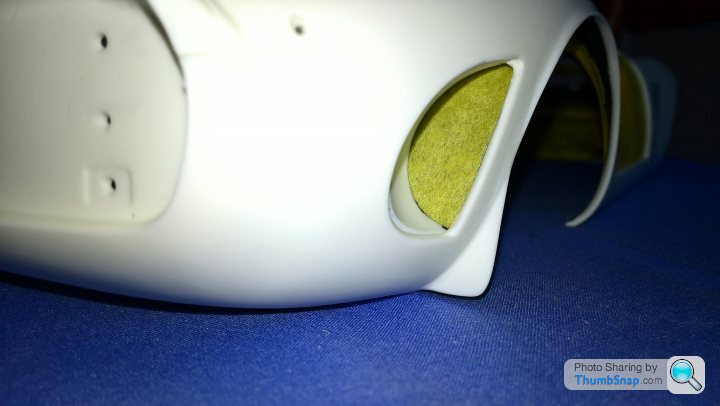
Ive used 5mm Tamiya tape for curves on the arches , brilliant product and easy to apply. No wrinkles at all,theres also 2mm tape which i have used on smaller areas whilst building .
 .
.  .
.
Theres only one issue now is humidity and temps for painting, might be doing it in the spring or i could warm the garage up and run the dehumidifier if my patience runs out and just get on with it. Cheers ,will post the result of the priming soon i hope
Stage 1 ive done today using Tamiya tape, ordinary masking tape and tape for curves on the inner arches, internally masking off so paint wont enter through any holes/openings . Stage 2 fitting wires in to make a handle to hold whist spraying then masking off encapsulating the inside completely before priming, which i will do at some point.
Heres some photos. Cheers.
. . . . . . . . . .Ive used 5mm Tamiya tape for curves on the arches , brilliant product and easy to apply. No wrinkles at all,theres also 2mm tape which i have used on smaller areas whilst building .
. .Theres only one issue now is humidity and temps for painting, might be doing it in the spring or i could warm the garage up and run the dehumidifier if my patience runs out and just get on with it. Cheers ,will post the result of the priming soon i hope
majordad said:
Enjoying this !
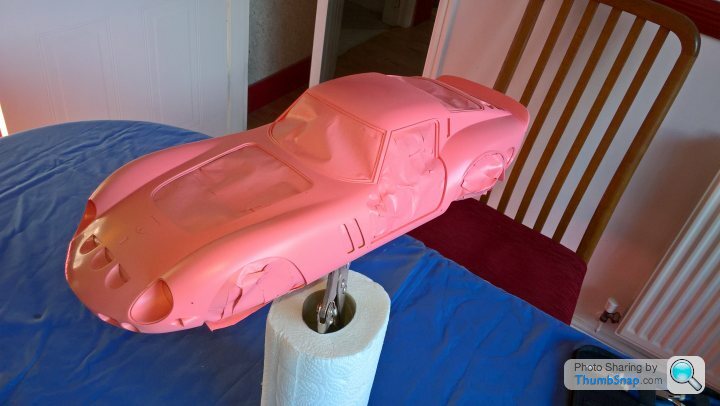
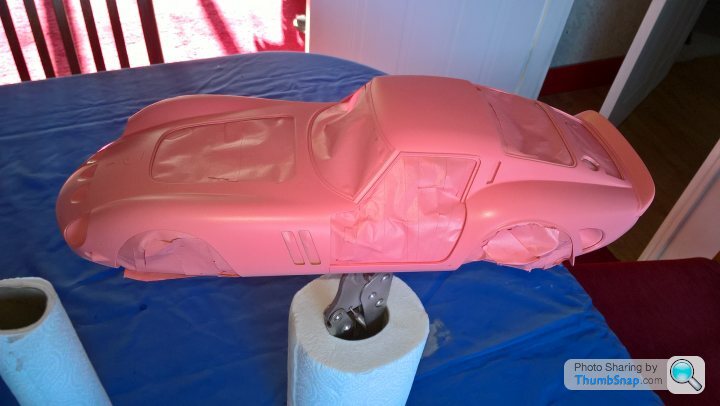
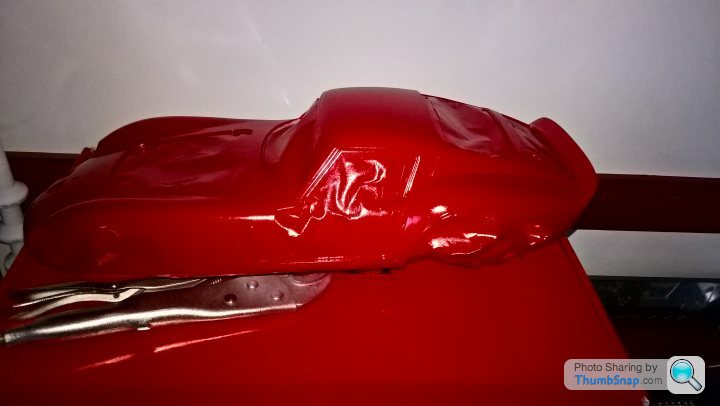
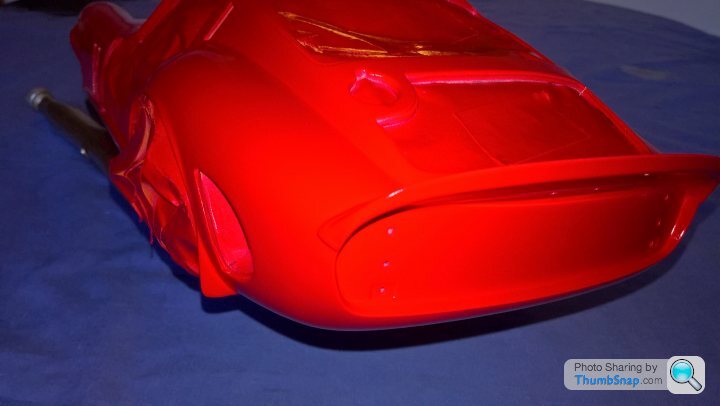
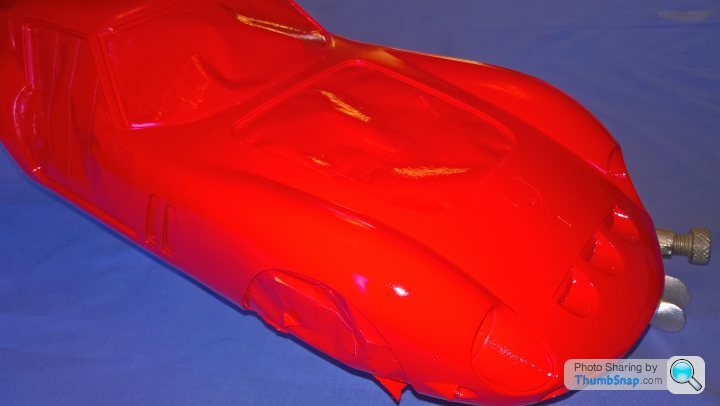
Thanks Majordad.Hi! All.Im missing the small parts build which i really do enjoy doing. Now to get further on with the build ive got to get on with the bodywork so i can finally fit all the many parts still left to do.Took the car out of the garage and put the heating on and dehumidifier.Warmed up nicely to 18 degrees. So ive encapsulated the underneath and etch primed the body (2 coats).
Four coats of red(does look slightly darker than the photos which is what i wanted, more of a blood red in colour)to allow me to rub the body down without going through to the primer i hope, now leaving for a couple of days to cure before the laquer goes on (4 coats).My apologies the photos arent that good though.
 .
.  .
.  .
.  .
.  .
.  .
.  .
.  .
.Should be able to get on finish building in a week or two and will put some more photos on
Thinking about the next build already if the wife allows me to, hmmm.Cheers and thanks for looking
Gassing Station | Scale Models | Top of Page | What's New | My Stuff