48 hour group build thread
Discussion


Right then, a quick build post for my Gnat. It was actually built over about 2/3 months and finished a few weeks back now. Each picture represents about 1-2 hours work over an evening.
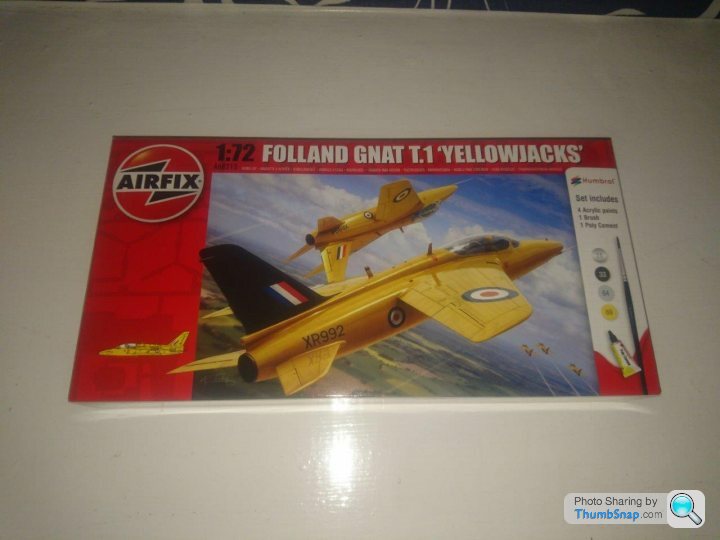
The box and contents. Its a newer moulding than the one i made about 30 years ago.
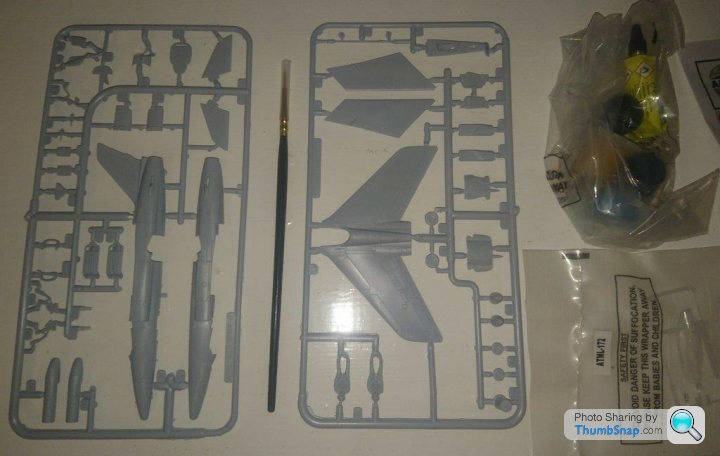
Parts cleaned and rattle can primed.

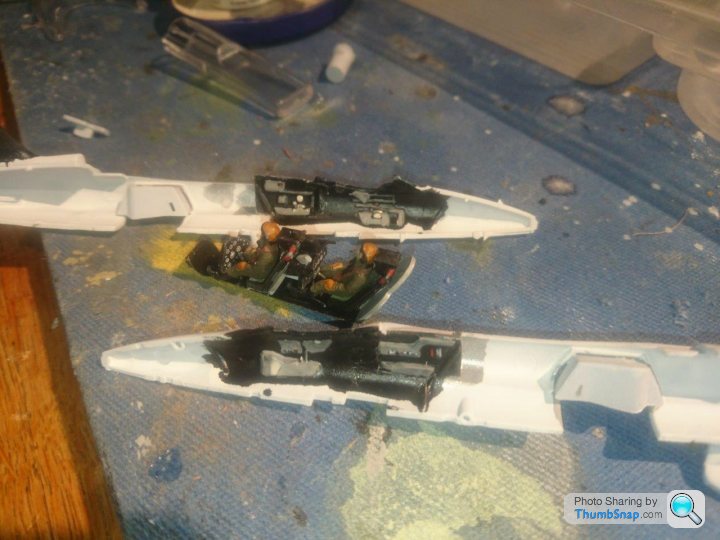
Cockpit assembled
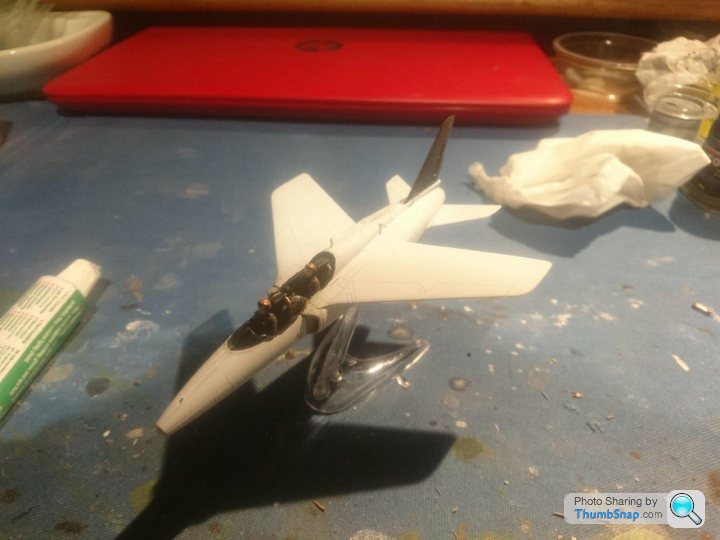
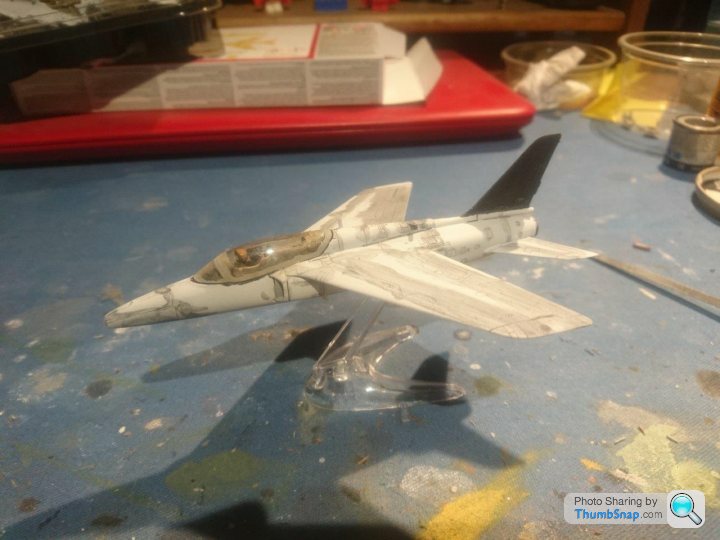
Closed up and tail painted. While gluing the nose wheel doors on it shifted and they set sunk in. I didn't fix it properly.
Wash attempt 1. I also tried over the yellow. That just made it look dirty but appears slightly more succesful on the underside
Yellow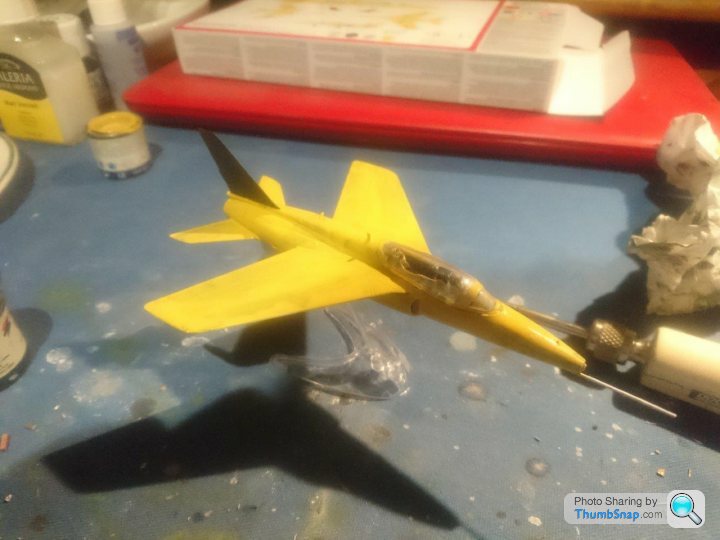
And transfers with a matt varnish
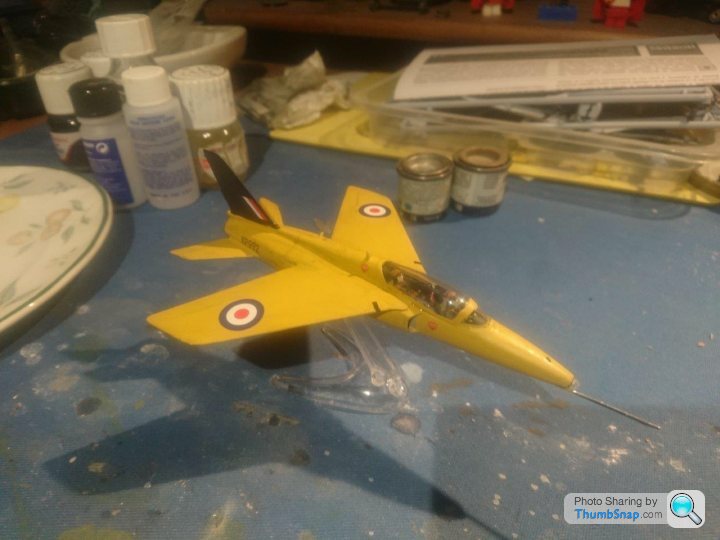
Brush painted using humbrols finest enamels. Some of which did require breaking the surface of.
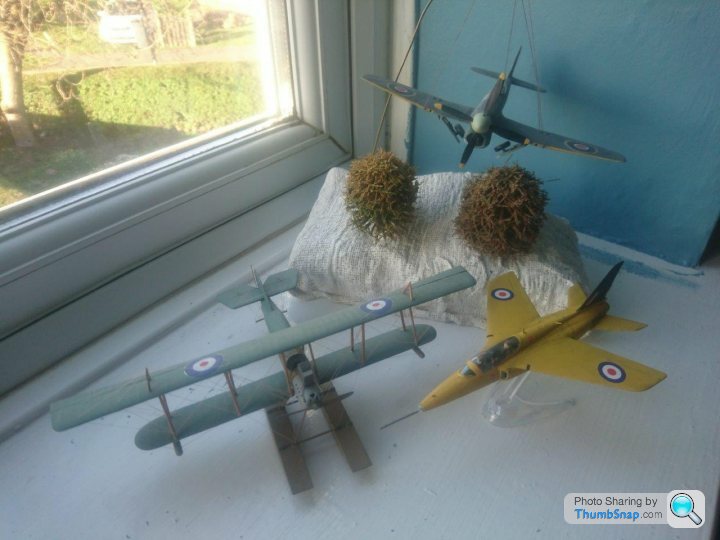
During the time i also completed my Short 827. About 5 years ago at the start of WW1/100yrs a group build was suggested. i think some one joked the target date for finish would be the end aniversary. I missed it by a few months. i redid the struts several times and the rigging. Never again. I have got some build photos, its a Kawya resin kit, though the struts are now wood with ez line rigging that sags in places. Anyway here they are with the previous group build Typhoon.
The box and contents. Its a newer moulding than the one i made about 30 years ago.
Parts cleaned and rattle can primed.
Cockpit assembled
Closed up and tail painted. While gluing the nose wheel doors on it shifted and they set sunk in. I didn't fix it properly.
Wash attempt 1. I also tried over the yellow. That just made it look dirty but appears slightly more succesful on the underside
Yellow
And transfers with a matt varnish
Brush painted using humbrols finest enamels. Some of which did require breaking the surface of.
During the time i also completed my Short 827. About 5 years ago at the start of WW1/100yrs a group build was suggested. i think some one joked the target date for finish would be the end aniversary. I missed it by a few months. i redid the struts several times and the rigging. Never again. I have got some build photos, its a Kawya resin kit, though the struts are now wood with ez line rigging that sags in places. Anyway here they are with the previous group build Typhoon.
dr_gn said:
Very nice collection, could do with better pics though.
I know...its taken me long enough to get them off my phone i didn't realise how bad they were until i got them up. My proper cameras dead or at least the shutters not releasing so thats about as good as they can be for the moment!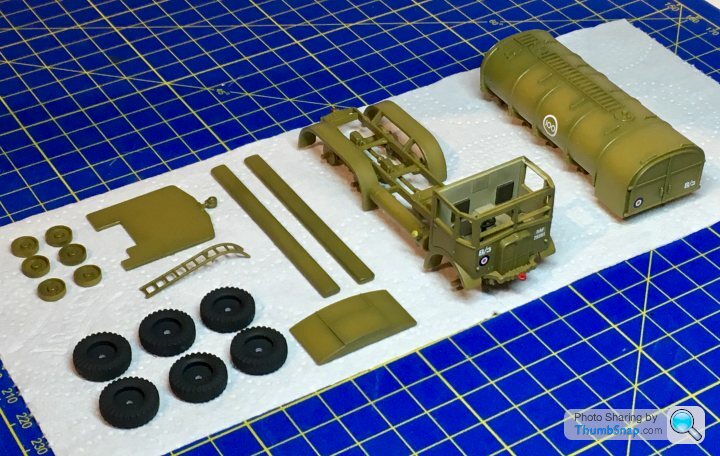
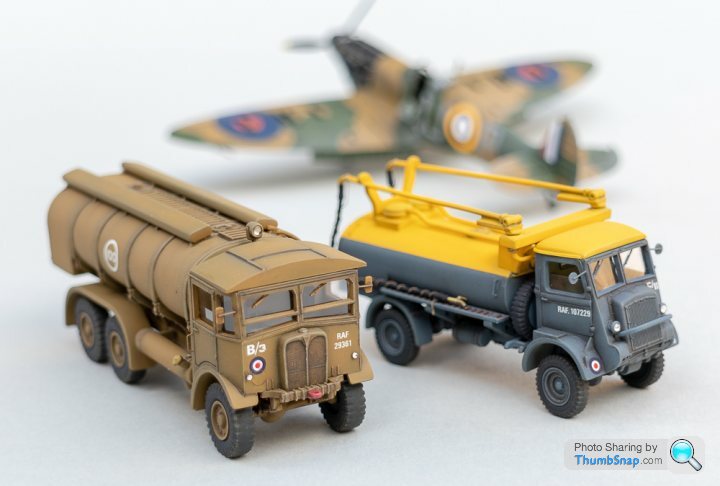
Refuelling set finished - not in 48 hours, and not OOB...
More images here:
https://www.pistonheads.com/gassing/topic.asp?h=0&...
More images here:
https://www.pistonheads.com/gassing/topic.asp?h=0&...
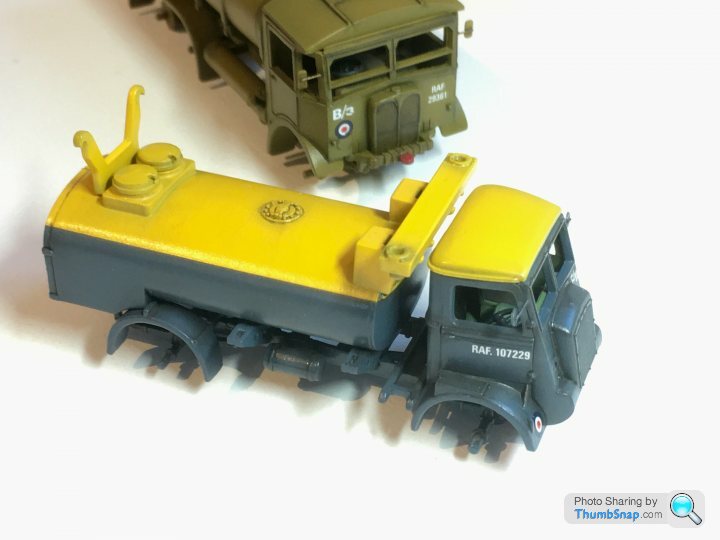
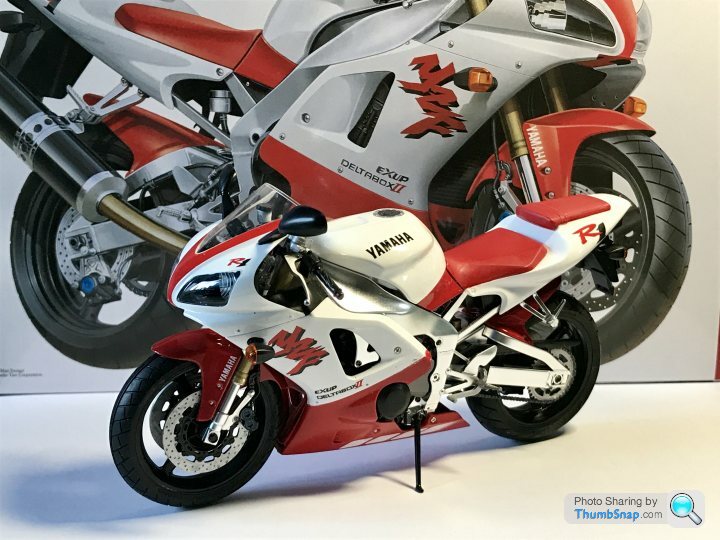
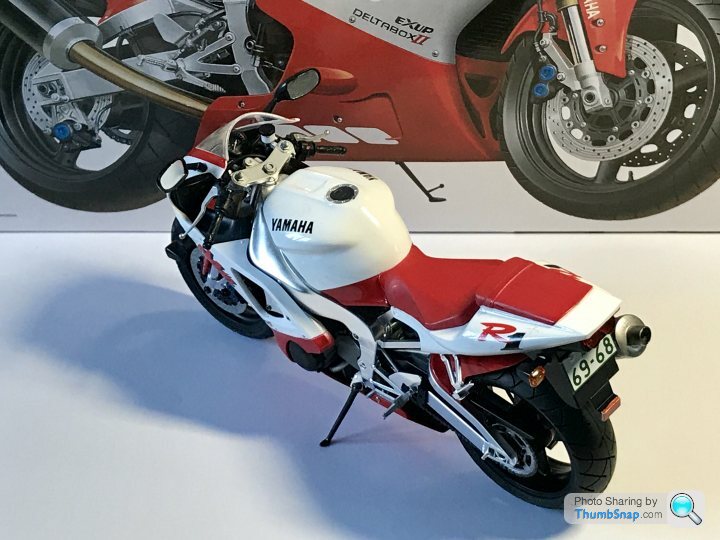
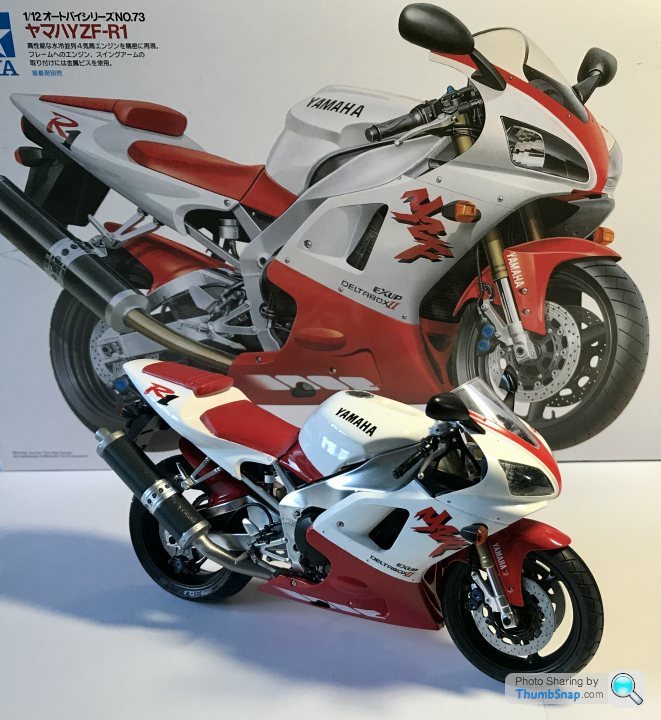
When I realised that my Lear jet wasn’t going to cut it for the civilian vehicles club competition. I decided another 48hour build was required. I dug this out of my stash and built it over three evenings only using rattle cans and brush paints. It definitely isn’t perfect, but managed to sneak into the top three (yes, there were more than three entries)
You don’t need a ton of equipment and an airbrush to get something that looks pretty good on the shelf.
You don’t need a ton of equipment and an airbrush to get something that looks pretty good on the shelf.
robemcdonald said:
When I realised that my Lear jet wasn’t going to cut it for the civilian vehicles club competition. I decided another 48hour build was required. I dug this out of my stash and built it over three evenings only using rattle cans and brush paints. It definitely isn’t perfect, but managed to sneak into the top three (yes, there were more than three entries)
You don’t need a ton of equipment and an airbrush to get something that looks pretty good on the shelf.
I used to have one of those in that colour.You don’t need a ton of equipment and an airbrush to get something that looks pretty good on the shelf.
Nice job you've done.
I'll be getting on with this again soon. I realised the reason I was getting a rather disappointing finish from the airbrush was that the compressor was knackered (34 year-old Badger diaphragm thing) and only putting out a fraction of the PSI I need. But a nice new compressor and extractor are arriving this afternoon! 
Yertis said:
I'll be getting on with this again soon. I realised the reason I was getting a rather disappointing finish from the airbrush was that the compressor was knackered (34 year-old Badger diaphragm thing) and only putting out a fraction of the PSI I need. But a nice new compressor and extractor are arriving this afternoon!
I've started using 100 mesh paint filters for my airbrush paint (about £7 for 100 on Amazon). After thinning, adding retarder and mixing, draw the paint into a pipette, put the end in contact with the filter and force it directly into the airbrush reservoir. No more clogging, smooth fine lines with no sputtering. You can get loads of uses out of one filter because you only use a tiny area for each fill.Yertis said:
Thanks for that. In the days of Humbrol Enamels I used pieces of my Mum's old tights for that purpose  . In my early professional career I only airbrushed inks, and I must admit I'd forgotten all about the importance of straining the paint.
I was wasting hours (and a lot of paint) having to strip and clean the airbrush if there was the slightest lump in the paint. A spatter can ruin hours of work too. . In my early professional career I only airbrushed inks, and I must admit I'd forgotten all about the importance of straining the paint.The_Jackal said:
Where do all these lumps come from? Is it 20 year old humbrol tins by any chance?
The only time I had paint block my airbrush is when Model Air turned to jelly.
I threw all my Humbrol paint out years ago. The only time I had paint block my airbrush is when Model Air turned to jelly.
I use Tamiya acrylic, Vallejo Model Colour, or Vallejo Model Air acrylics. The paint dries very quickly and tends to form a crust within and around the bottle nozzle or inside the top of the cap, which can break off and contaminate the liquid paint. Some colours seem to precipitate after a while, so no matter how much you shake them, the solvent isn't strong enough to break down the larger particles.
I'm using an airbrush with a fine nozzle too, which obviously is more prone to blockage.
dr_gn said:
I threw all my Humbrol paint out years ago.
I use Tamiya acrylic, Vallejo Model Colour, or Vallejo Model Air acrylics. The paint dries very quickly and tends to form a crust within and around the bottle nozzle or inside the top of the cap, which can break off and contaminate the liquid paint. Some colours seem to precipitate after a while, so no matter how much you shake them, the solvent isn't strong enough to break down the larger particles.
I'm using an airbrush with a fine nozzle too, which obviously is more prone to blockage.
Interested to read this. I'm using Tamiya acrylic, Vallejo and Revell Aqua and find I have to clean the airbrush almost every time I use it no matter how much I mix and strain the paint. All these acrylics seem to coagulate into lumps just behind the nozzle.I use Tamiya acrylic, Vallejo Model Colour, or Vallejo Model Air acrylics. The paint dries very quickly and tends to form a crust within and around the bottle nozzle or inside the top of the cap, which can break off and contaminate the liquid paint. Some colours seem to precipitate after a while, so no matter how much you shake them, the solvent isn't strong enough to break down the larger particles.
I'm using an airbrush with a fine nozzle too, which obviously is more prone to blockage.
Gassing Station | Scale Models | Top of Page | What's New | My Stuff