48 hour group build thread
Discussion


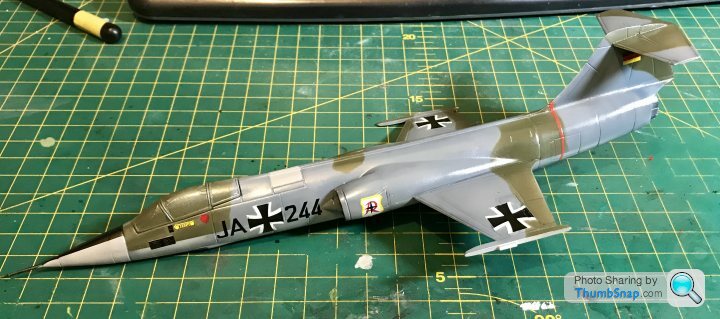
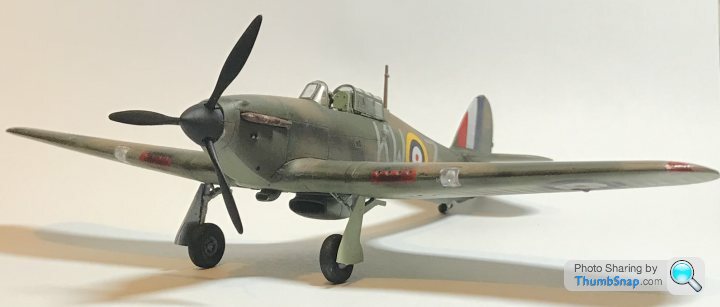
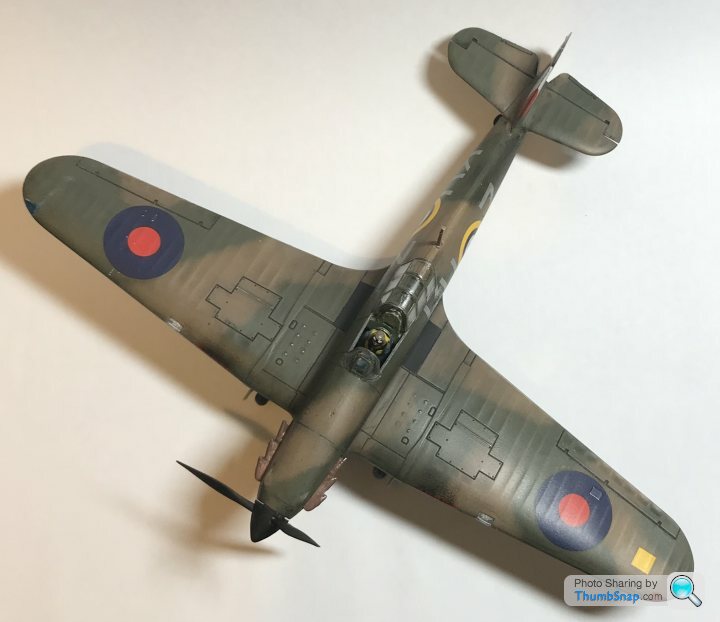
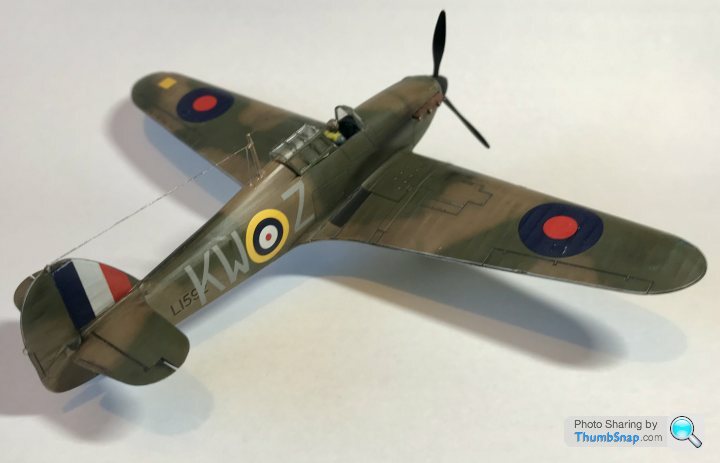
I put a few finishing touches on and fashioned a stand fro some wire as the m stand wasn’t up to the task.
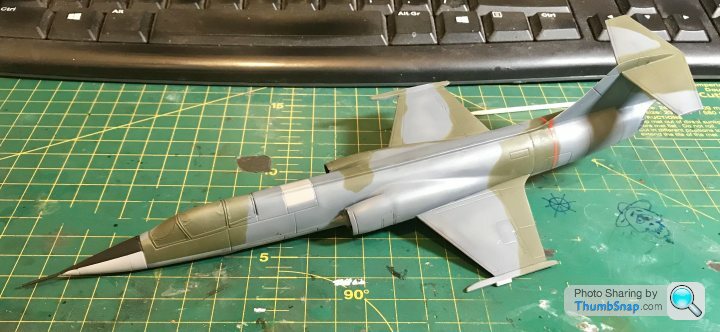
As for it being splinter. I was trying to follow the minuscule badly out of register image on the box. I suppose a bit of research may have been prudent. Anyways too late now...
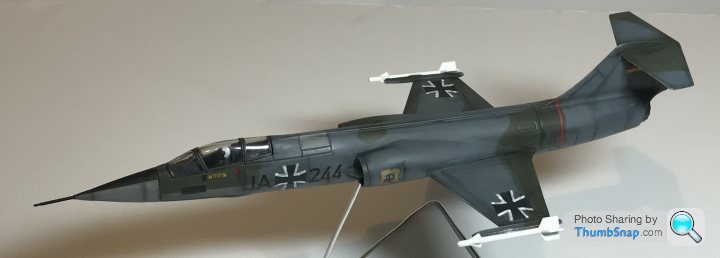

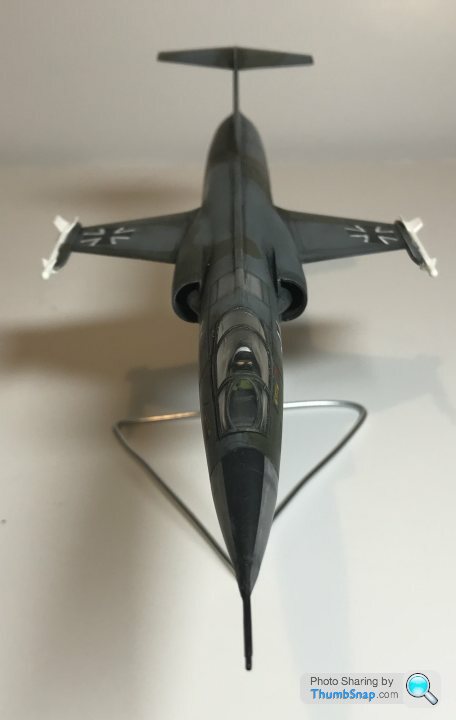
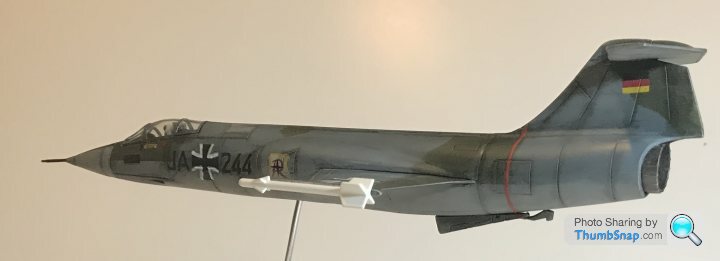

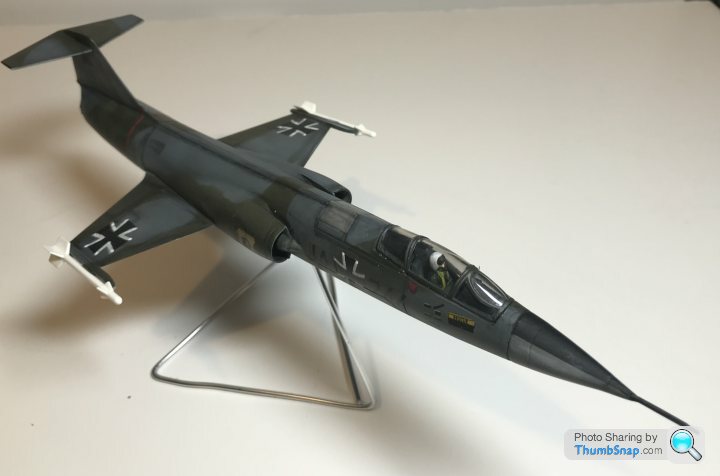
Quick edit. Google shows it should be splinter. Oh well. I guess I’m going to have to build my Aldi hurricane now.
As for it being splinter. I was trying to follow the minuscule badly out of register image on the box. I suppose a bit of research may have been prudent. Anyways too late now...
Quick edit. Google shows it should be splinter. Oh well. I guess I’m going to have to build my Aldi hurricane now.
Edited by robemcdonald on Friday 14th December 19:23

allegerita said:
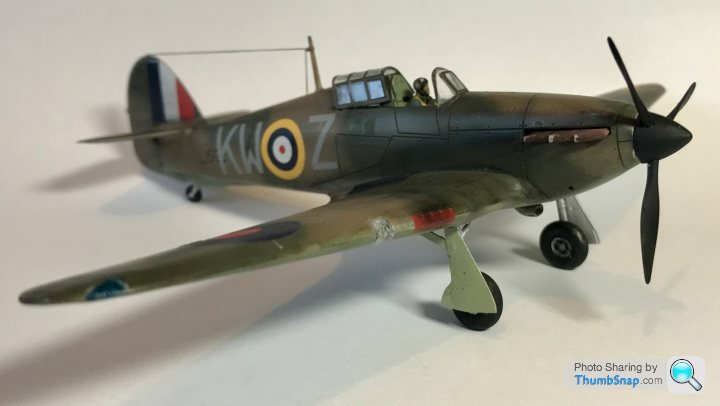
Amazing results, you are working at the speed of light. Are you drying the glue and paint with a hair dryer or so? One remark: I would prefer to have the Hurricane canopy a bit more horizontally aligned with the rails.
Thanks. Edited by allegerita on Monday 17th December 21:20
Edited by allegerita on Monday 17th December 21:21
The canopy does look a bit off. Must have popped up a bit. I might revisit it.
That escalated quickly...
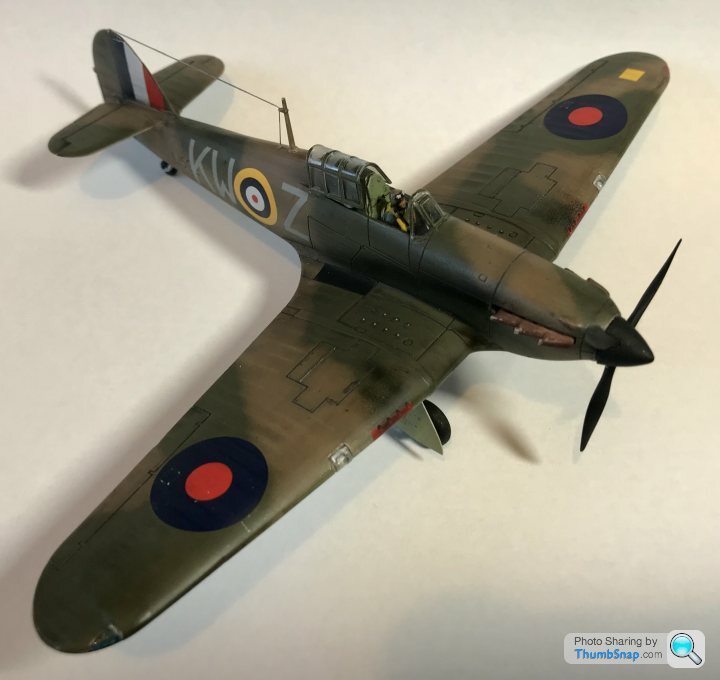
I managed to break the canopy removing it. I have used a massive blob of canopy glue (still drying) to fix the two halves to the fuselage as best I can. It isn’t perfect, but it’s as good as It’s going to get.
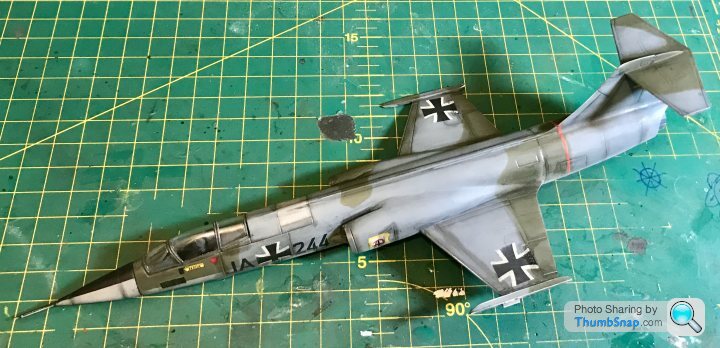
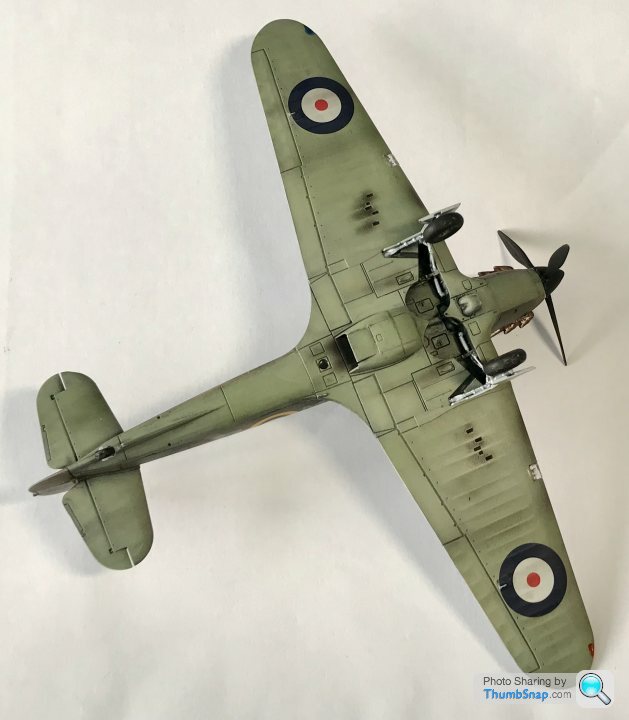
I also spent a bit of time touching up little bits a pieces and adding a few stains, chips and a little more weathering.
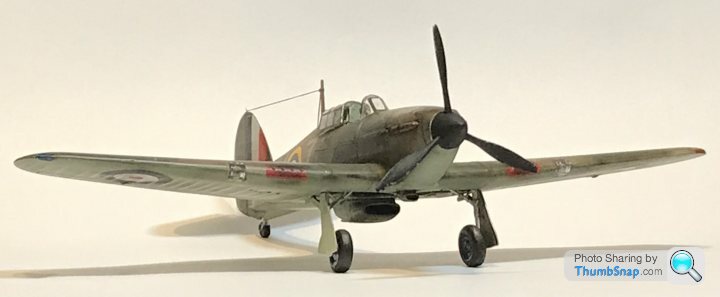
It’s now on the shelf and free from further tinkering.
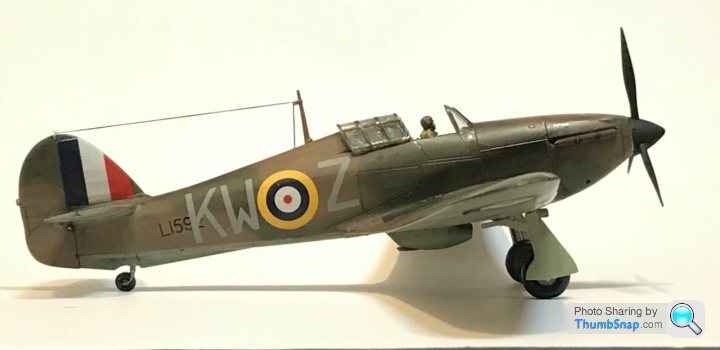
I managed to break the canopy removing it. I have used a massive blob of canopy glue (still drying) to fix the two halves to the fuselage as best I can. It isn’t perfect, but it’s as good as It’s going to get.
I also spent a bit of time touching up little bits a pieces and adding a few stains, chips and a little more weathering.
It’s now on the shelf and free from further tinkering.
Edited by robemcdonald on Tuesday 18th December 07:24
Edited by robemcdonald on Tuesday 18th December 07:25
Yertis said:
When did Matchbox stop using the funky coloured plastic?
My Frog Kittyhawk is progressing nicely, I'm now about four hours elapsed. I'll post some pics later on. The kit dates – I think – from 1958, and I've realised how crude it is. No wheel-wells in the lower wing for example, and although I thought about opening them out that seemed a step too far, although probably achievable in the time available.
Looking ahead, can anyone recommend a sheet of 1/72 RAF roundel decals? I'll use the rest of the kit decals (assuming the don't disintegrate) but the out-of-register roundels really irk me. Such a sheet must surely exist, but I find the Hannants website a PITA to use.
Edit to add that frogmodelaircraft.co.uk is an interesting little website, if you're looking to track down an old Frog kit.
What size do you need. I always keep my old decals. I'm sure I will have something the right diameter. My Frog Kittyhawk is progressing nicely, I'm now about four hours elapsed. I'll post some pics later on. The kit dates – I think – from 1958, and I've realised how crude it is. No wheel-wells in the lower wing for example, and although I thought about opening them out that seemed a step too far, although probably achievable in the time available.
Looking ahead, can anyone recommend a sheet of 1/72 RAF roundel decals? I'll use the rest of the kit decals (assuming the don't disintegrate) but the out-of-register roundels really irk me. Such a sheet must surely exist, but I find the Hannants website a PITA to use.
Edit to add that frogmodelaircraft.co.uk is an interesting little website, if you're looking to track down an old Frog kit.
Edited by Yertis on Wednesday 2nd January 12:33
 Saw this straight after I visited eBay...

Yertis said:
I've cocked-up slightly. As you all know the P40 undercarriage retracts into cylindrical fairings. On this kit these are represented by crude blobs which fit into equally crude recesses in the lower wing. I assembled my wings entirely before fitting to the fuselage. Joys of joys discovered last nigh that one fairing is about 1mm ahead of the other. So a bit of filler and filing required tonight. 
That sounds like it might take longer than 48 hours... I suggest we turn a blind eye to such flagrant ignorance of the rules... providing you post some pictures.

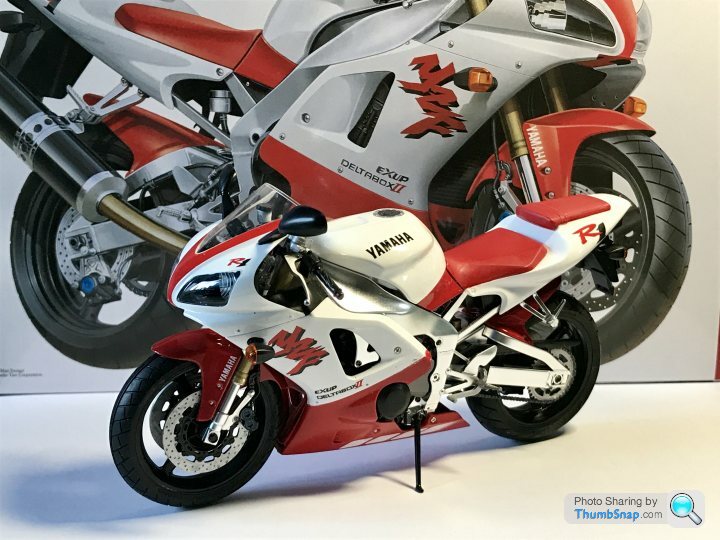
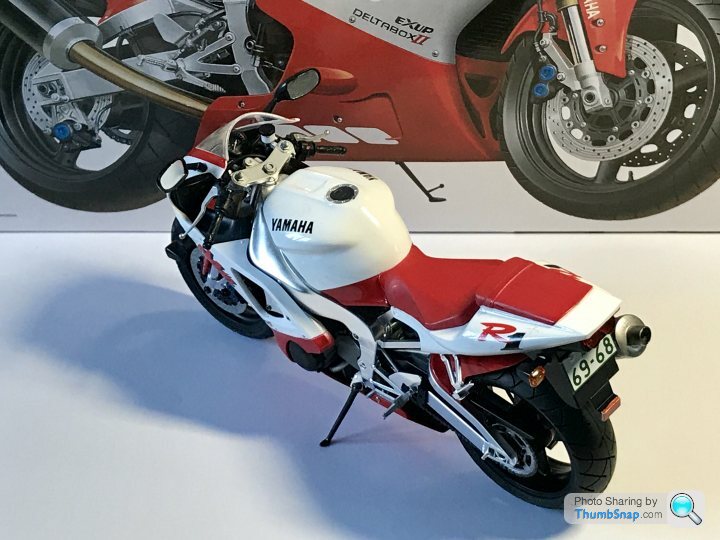
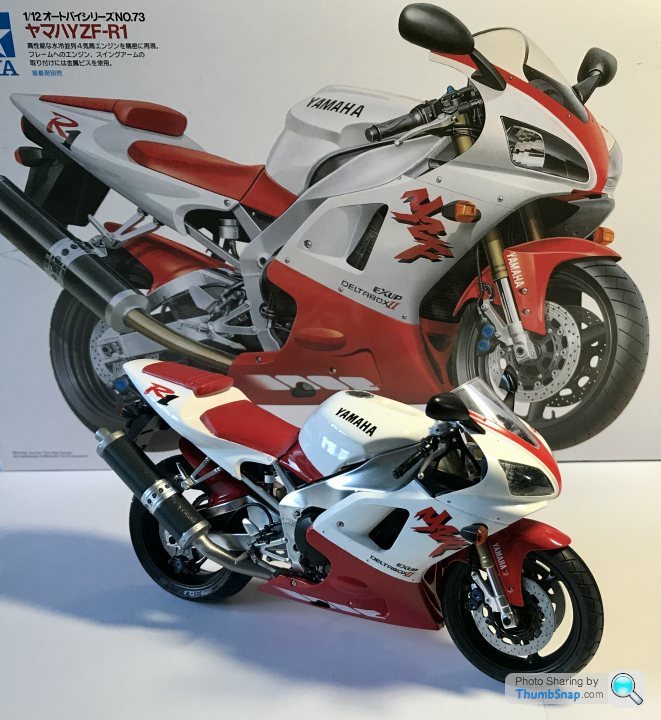
When I realised that my Lear jet wasn’t going to cut it for the civilian vehicles club competition. I decided another 48hour build was required. I dug this out of my stash and built it over three evenings only using rattle cans and brush paints. It definitely isn’t perfect, but managed to sneak into the top three (yes, there were more than three entries)
You don’t need a ton of equipment and an airbrush to get something that looks pretty good on the shelf.
You don’t need a ton of equipment and an airbrush to get something that looks pretty good on the shelf.
Gassing Station | Scale Models | Top of Page | What's New | My Stuff