Caterham Superlight - Custom Tamiya 1/12
Discussion


After quite a bit of effort....


...and figuring out how to support the model...


The manifold will attach to the block with bolts, as everything lines up - thanks to the solidworks model!

But I have not modeled the chassis or panels, so getting all those hard points to line up is a challenge!


It did take a few attempts...


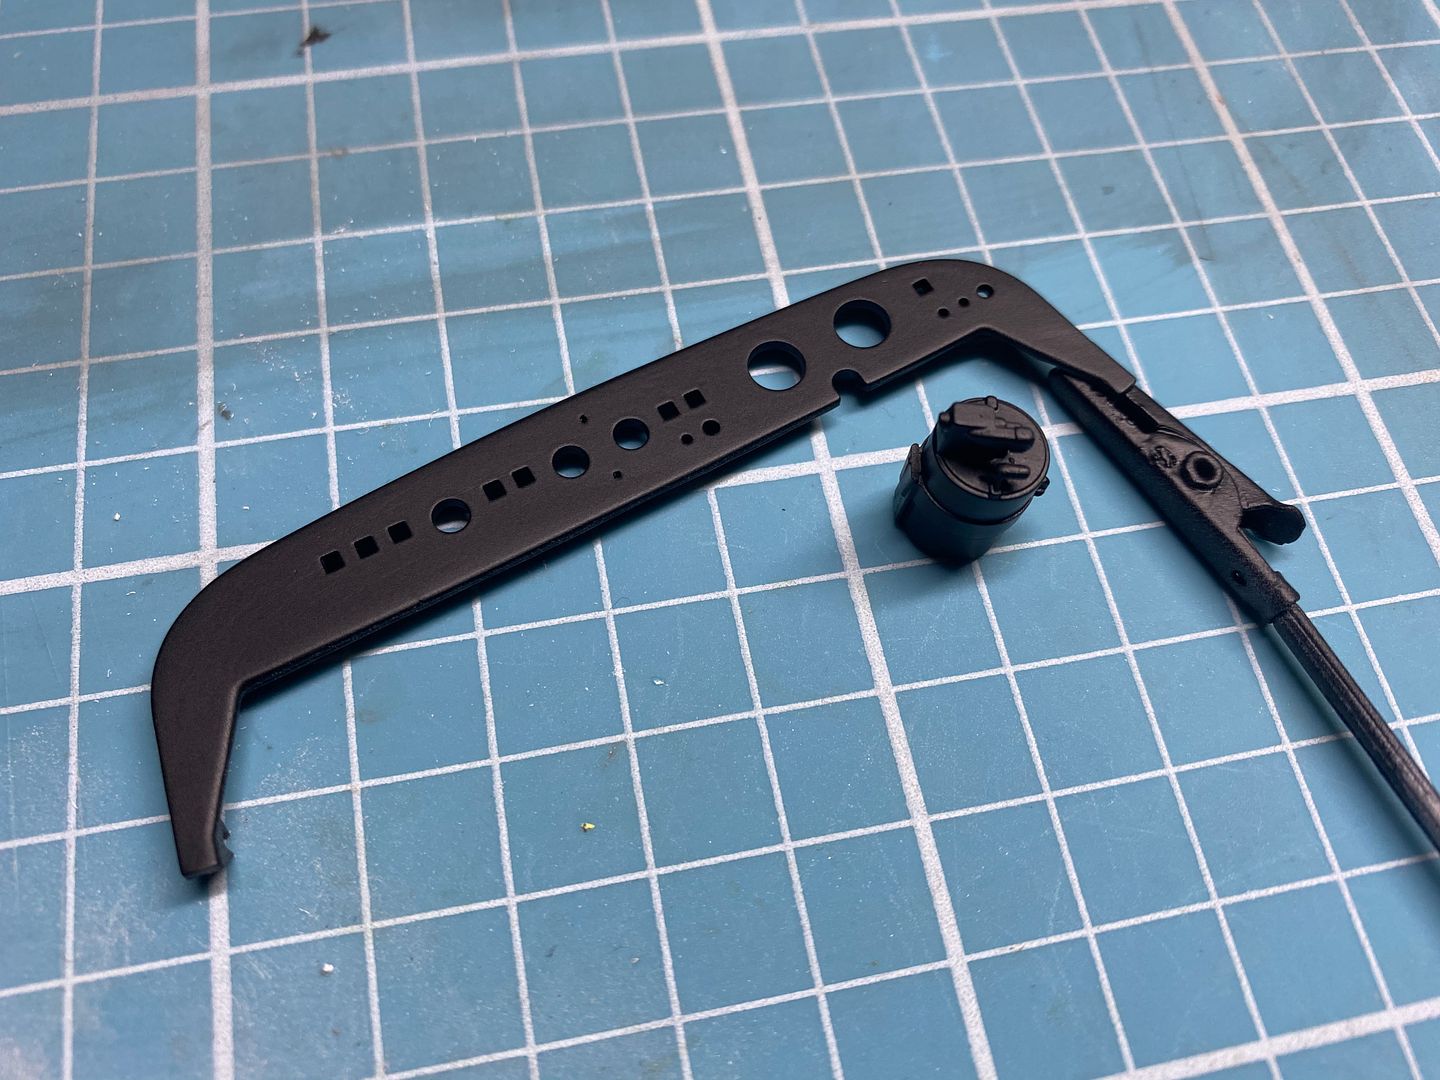
Once I selected the parts, I added some detail - in this case the lamda sensor...


Once I had the fit ok, I painted the exhaust. The main exhaust can will be covered by a heat shield.


In these photos nothing is fixed into place yet....just test fitting.


...and figuring out how to support the model...
The manifold will attach to the block with bolts, as everything lines up - thanks to the solidworks model!
But I have not modeled the chassis or panels, so getting all those hard points to line up is a challenge!
It did take a few attempts...
Once I selected the parts, I added some detail - in this case the lamda sensor...
Once I had the fit ok, I painted the exhaust. The main exhaust can will be covered by a heat shield.
In these photos nothing is fixed into place yet....just test fitting.


Fingers crossed...
Dash - although the dash in the kit is the same layout as this model, the Superlight has a carbon dash - the texture on the dash would have to be removed to cover the dash in a carbon decal - but this would be very difficult to do around all the instruments and switches - so of course it requires drawing up and printing....


I covered the dash in the carbon decal, and then set about the switches and dials, which I elected to make all separately.


I coloured and cut tiny pieces of foil to represent the lights within the rocker switches.


I drew up the instrument gauges...


Still work to do on this - and these parts are just placed, not fixed yet...

Dash - although the dash in the kit is the same layout as this model, the Superlight has a carbon dash - the texture on the dash would have to be removed to cover the dash in a carbon decal - but this would be very difficult to do around all the instruments and switches - so of course it requires drawing up and printing....
I covered the dash in the carbon decal, and then set about the switches and dials, which I elected to make all separately.
I coloured and cut tiny pieces of foil to represent the lights within the rocker switches.
I drew up the instrument gauges...
Still work to do on this - and these parts are just placed, not fixed yet...
This car has an FIA roll bar fitted - the kit comes with an old style roll bar you often see on Japanese cars for some reason - and of course the R500's had full cages.
I printed this using a slightly different support method for the printed parts - usually you place many small supports, but these can lead to a lot of marks that need to be removed, or worse, 'sagging' of the resin around the parts. So for these thin 'rods' I instead drew a thing 'fin' in the solidworks model - this would provide support all along the length of the bar, and be easy to sand off once printed - it worked well.


Test fitting...

So that is where I am as of now...the photos below show most of the parts so far started 'assembled' loosely - nothing is fixed into position here, so it all looks a bit wonky! Next stage is probably to aim to fix the engine into place, once I am sure everything else has been done that will be much harder to access once the engine is in.


I printed this using a slightly different support method for the printed parts - usually you place many small supports, but these can lead to a lot of marks that need to be removed, or worse, 'sagging' of the resin around the parts. So for these thin 'rods' I instead drew a thing 'fin' in the solidworks model - this would provide support all along the length of the bar, and be easy to sand off once printed - it worked well.
Test fitting...
So that is where I am as of now...the photos below show most of the parts so far started 'assembled' loosely - nothing is fixed into position here, so it all looks a bit wonky! Next stage is probably to aim to fix the engine into place, once I am sure everything else has been done that will be much harder to access once the engine is in.
ben5575 said:
Dear me, I remember you doing the R500's way way back on Blatchat. Was that really 2002?!
Incredible work
yep!!Incredible work
...and I just finished them!
https://www.pistonheads.com/gassing/topic.asp?h=0&...
Gassing Station | Scale Models | Top of Page | What's New | My Stuff