Schumacher CAT XLS build
Discussion


Hi.
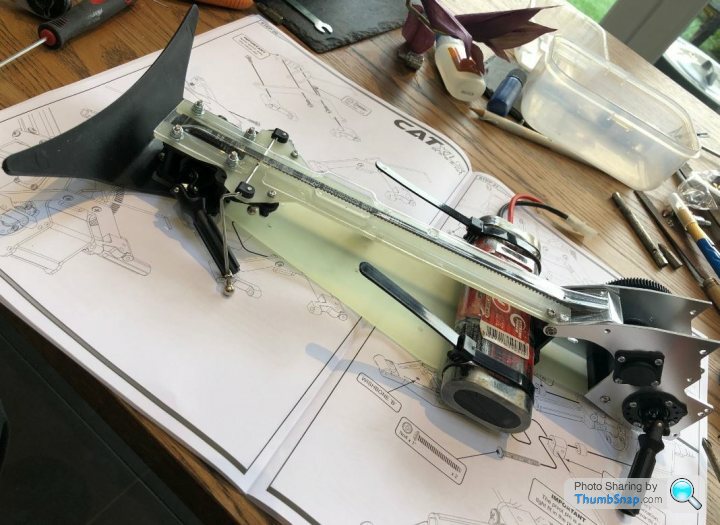
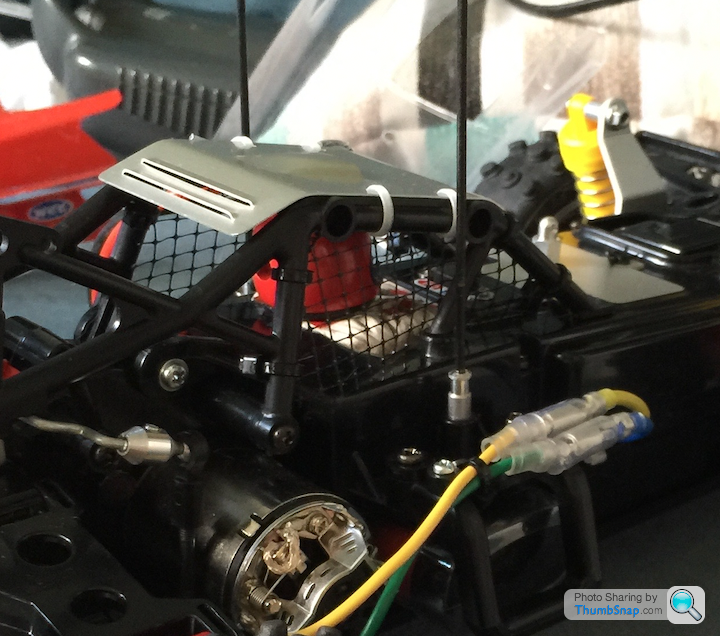
No massive update, but drivetrain is built and the dreaded step 19 sandwich is done I also jumped ahead to add the steering linkage to the upper deck beforehand.
Quite stiff to spin the rear axles but assume this is up for adjustment after the car runs the 1st time.
I am trying releasable cable ties for the battery, but sense the way they loop under the chassis means the undertray won't fit flush? Will see.
Am I supposed to supply my own motor pinion? No sign of a pinion gear yet in the bags...
No massive update, but drivetrain is built and the dreaded step 19 sandwich is done
I also jumped ahead to add the steering linkage to the upper deck beforehand.Quite stiff to spin the rear axles but assume this is up for adjustment after the car runs the 1st time.
I am trying releasable cable ties for the battery, but sense the way they loop under the chassis means the undertray won't fit flush? Will see.
Am I supposed to supply my own motor pinion? No sign of a pinion gear yet in the bags...
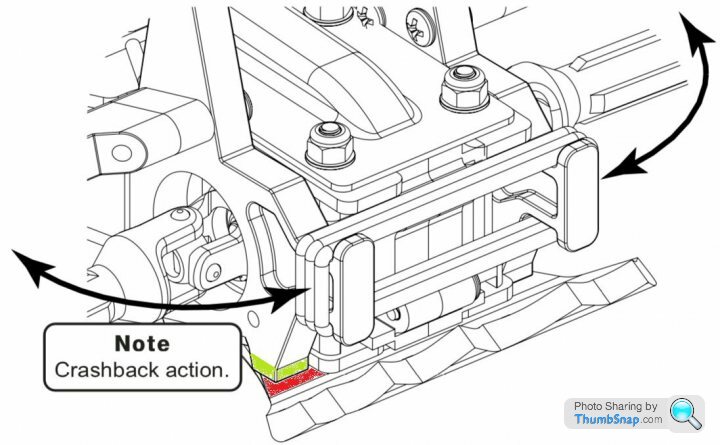
I've always had to file a couple of mm off the bottom of these at that point. Its a good idea to also file a small radius onto the inner edge so if it does just catch the bumper still, then it will still fold in properly.
I think it's this sort of thing that people criticise about the kit, but for me it demonstrates how authentic it is to the original and rewards those who take a little more care about what they're doing.
I think it's this sort of thing that people criticise about the kit, but for me it demonstrates how authentic it is to the original and rewards those who take a little more care about what they're doing.
groomi said:
I've always had to file a couple of mm off the bottom of these at that point. Its a good idea to also file a small radius onto the inner edge so if it does just catch the bumper still, then it will still fold in properly.
I think it's this sort of thing that people criticise about the kit, but for me it demonstrates how authentic it is to the original and rewards those who take a little more care about what they're doing.
Agreed, the bottom edge doesn't look structural so I'll dig out the file (again).I think it's this sort of thing that people criticise about the kit, but for me it demonstrates how authentic it is to the original and rewards those who take a little more care about what they're doing.
As you say all the fettling required makes it feels like a "homemade" buggy... A kit car, kit car

Hi guys, pain in the arse is back 
My Tamiya 17T pinion (from a Neo Fighter) not only isn't meshing due to wrong pitch, but it seems the diameter of the pinion is an issue too... I can't move the motor far enough away from the spur to trial it... need another mm ish.
Can you recommend a pinion? Do I need a special "small" pinion to fit next to the spur?
Needs to be 48dp which is much finer than the Tamiya one.
I think I have a 27 or 29 tooth on mine?
https://www.muzzoommodels.co.uk/schumacher/pinions...
I think I have a 27 or 29 tooth on mine?
https://www.muzzoommodels.co.uk/schumacher/pinions...
lufbramatt said:
Hav1979 said:
Schumacher always used 64dp back in the day, 48 was usually Kyosho, associated etc
I think they changed the spur gear tooth pitch in the re-re cat xls Originally, the early Schumacher's were 32dp, but in the late 80's everyone started fitting aftermarket delrin spur gears by the likes of RW Racing, which were mostly 64dp. In 1989 the Procat and Top Cat came with 48dp spur gears, with the aftermarket items continuing for some years but also moving over to 48dp. 48dp has been the standard spec for Schumacher in this class ever since.

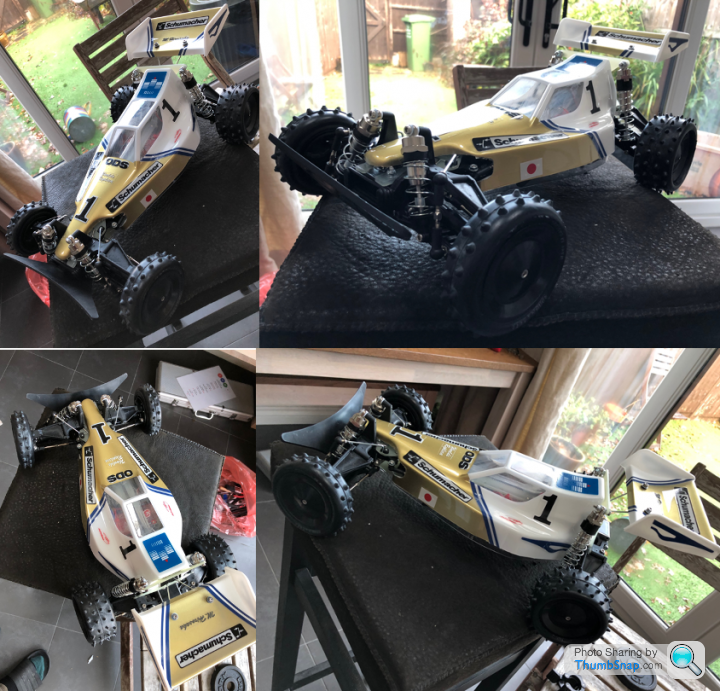
Great stuff looks fantastic! The original cat wheels really change the way they look, I’ll have to try them on mine.
Don’t use nail polish remover on the shell- it will cloud the polycarbonate. I found that alcohol gel hand sanitizer works really well for removing the glue from the masks and doesn’t react with the plastic. Stronger IPA might work for removing overspray.
Don’t use nail polish remover on the shell- it will cloud the polycarbonate. I found that alcohol gel hand sanitizer works really well for removing the glue from the masks and doesn’t react with the plastic. Stronger IPA might work for removing overspray.
Edited by lufbramatt on Sunday 22 November 11:20
A few RC sites suggest acetone free nail remover works? I'll trial some on an off-cut.
I got the window mask sticker stuff off ok, but one mask had lifted without me seeing, hence a painted window.
If its unfixable I'll cut the windows out and put mesh over them, as a throwback to my Hotshot in the 90s
I got the window mask sticker stuff off ok, but one mask had lifted without me seeing, hence a painted window.
If its unfixable I'll cut the windows out and put mesh over them, as a throwback to my Hotshot in the 90s
Started on the upgrade path :-D
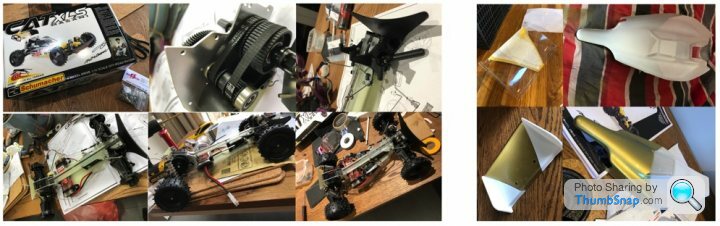
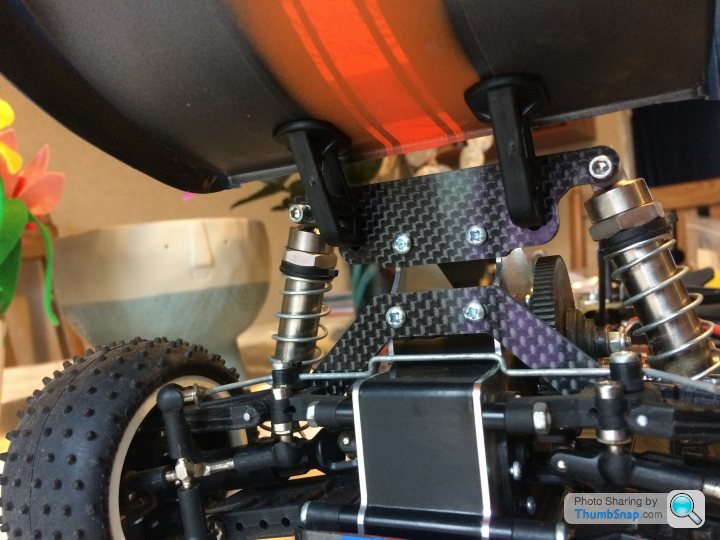
Replaced a couple of grp parts in the rear suspension so I could use the procat style rear wing mount to replace the bendy wire one supplied with the re-re.
Before:
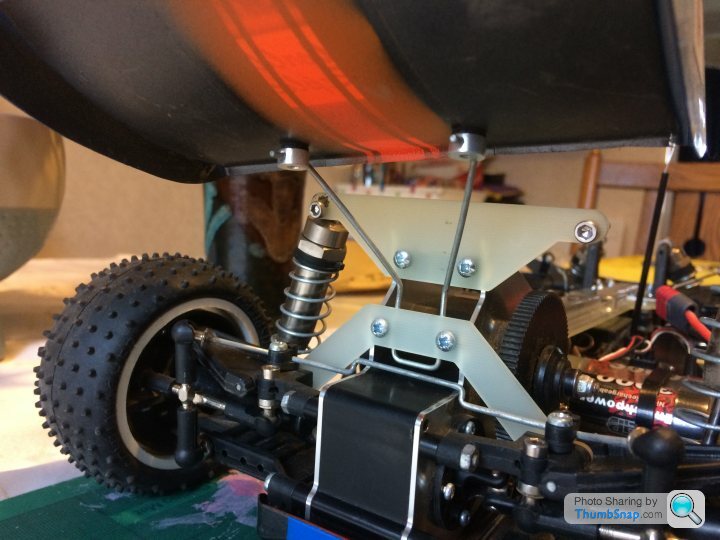
After:
Also bought some bits from the Schumacher website to repair and upgrade my old SST Axis touring car- needed some new wishbones and ball joints after an incident involving a lamp post many years ago. Any recommendations for a reliable brushless motor and esc combo that won’t break the bank? Thinking around 10.5t?
Replaced a couple of grp parts in the rear suspension so I could use the procat style rear wing mount to replace the bendy wire one supplied with the re-re.
Before:
After:
Also bought some bits from the Schumacher website to repair and upgrade my old SST Axis touring car- needed some new wishbones and ball joints after an incident involving a lamp post many years ago. Any recommendations for a reliable brushless motor and esc combo that won’t break the bank? Thinking around 10.5t?
Gassing Station | Scale Models | Top of Page | What's New | My Stuff