Schumacher CAT XLS build
Discussion


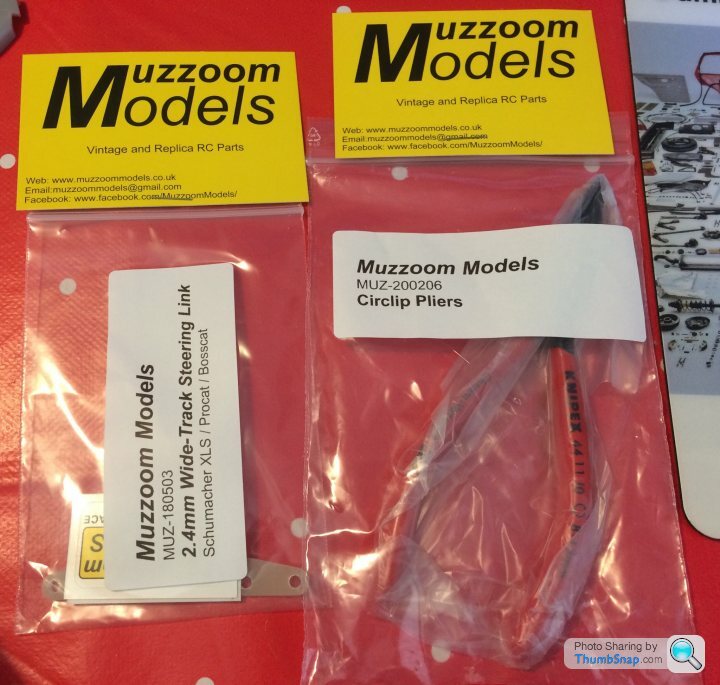

Steering link didn’t stay in the packet long. After a nightmare of a day with kids that want to be anywhere but at home and trying to work from home whilst dealing with them it was great to sit and tinker for an hour.
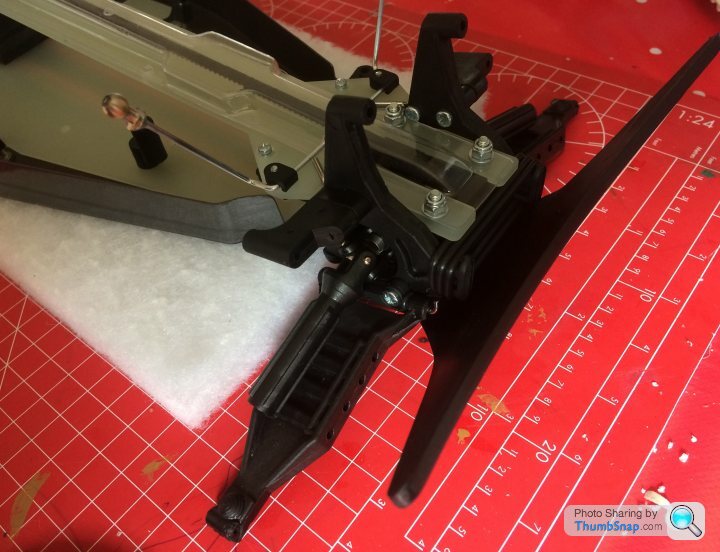
Built the rear wing mount, the brackets for the upper wishbones needed a little bit of cleaning up but go together nicely.

After that I tackled the steering linkage. This took a little while as the arms are slightly thicker than the brass bushes so if built as supplied it binds when you nip the screws up. Carefully removed some material until the bushes were just proud of the arms and now it all moves smoothly but with no play. Lots of tiny washers to get in the right places and small bits which have to be threadlocked on. Satisfying when it’s all together and working well though.

Built the rear wing mount, the brackets for the upper wishbones needed a little bit of cleaning up but go together nicely.
After that I tackled the steering linkage. This took a little while as the arms are slightly thicker than the brass bushes so if built as supplied it binds when you nip the screws up. Carefully removed some material until the bushes were just proud of the arms and now it all moves smoothly but with no play. Lots of tiny washers to get in the right places and small bits which have to be threadlocked on. Satisfying when it’s all together and working well though.
dhutch said:
I got a Mardave Cobra,... ....rough in comparison and has major issues with the ball diff undoing itself because all the parts where made of cheese and there wasnt a dust cover for the thrust bearing ...
Found the mardave website, they carry spare for the cobra including the ball diff plates, seems quality control is as it was 20 years ago.... gotta love surface rust on a precision surface! Soft as cheese to boot!https://www.mardave.co.uk/spares/cobra/249-449-128...
Daniel
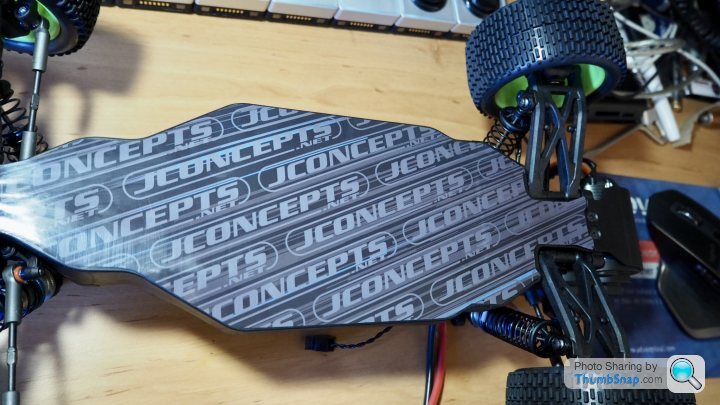
Sprayed the undertray tonight, I realise this was probably a waste of time as it will get scratched to hell in use but I enjoyed it and wanted to see how the colours worked together before I decide on the colour scheme for the bodyshell. Love peeling off the masking to reveal shiny underneath!

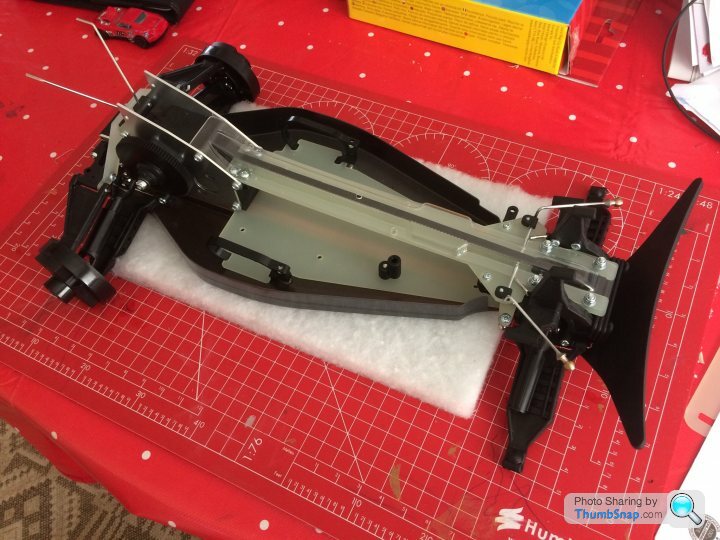
one Of the he kids was up early so took the opportunity to ream out all the holes in the undertray and screw it on, along with the front bumper and crashback pivot blocks. Everything lined up nicely, put the screws in one at a time to hold things in line, then squeezed the decks together to hold it in place while I put the bumper on. Feels nice and solid now. Next step is to tension the belts. Any tips?

Can you get something like this to protect your chassis Matt?
https://www.pistonheads.com/gassing/topic.asp?h=0&...
https://www.pistonheads.com/gassing/topic.asp?h=0&...
nigelpugh7 said:
Can you get something like this to protect your chassis Matt?
https://www.pistonheads.com/gassing/topic.asp?h=0&...
Picture to make it easier than going to the link.https://www.pistonheads.com/gassing/topic.asp?h=0&...
lufbramatt said:
That’s a good shout Nigel, might get some of the clear vinyl they use for bike frames to stop stone chips and cut it to shape.
No probs bud!I know now that you can get generic sheet and cut it to size, can’t think why we have never used it before.
Seems you can get some pre cut Schumacher sheets too?
https://www.modelsport.co.uk/index.php?product_id=...
lufbramatt said:
one Of the he kids was up early so took the opportunity to ream out all the holes in the undertray and screw it on, along with the front bumper and crashback pivot blocks. Everything lined up nicely, put the screws in one at a time to hold things in line, then squeezed the decks together to hold it in place while I put the bumper on. Feels nice and solid now. Next step is to tension the belts. Any tips?
For belt tensioning set the rears first. These should be quite tight with maybe 3-4mm deflection.For the main belt it's a good idea to ream a small hole in the top of the belt cover about a centimetre or two behind the ant-roll bar. Just big enough to poke a small screwdriver through.
Adjust the front axle position so that the belt is taught and then tighten the bumper screws and nuts on top of the chassis to clamp it all together. The belt shoudl still be taught, but if you poke a screwdriver through the hole, you should be able to quite easily push the belt all the way down to the chassis.
Keep a close eye on the main belt for the first few runs and after any big front-end crashes. If it moves or stretches, then adjust again.
When driving if you hear clicking then it is likely to be the belts slipping. Under acceleration is likely to be rears, under braking is likely to be the main belt.
Thanks that worked well  could’ve done with another hand to keep the front belt taught while nipping the screws up though!
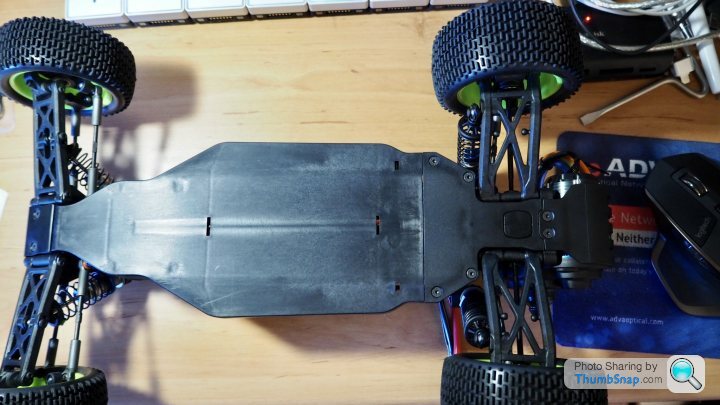
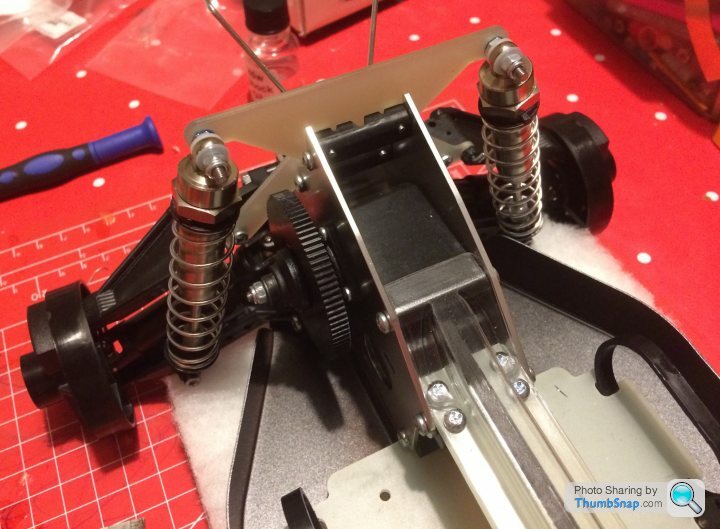
Pretty much plain sailing to the end now, rear transmission cover and lower wishbones in place. Need to find a suitable spanner to tighten the bits on the long stud through the upper wishbone brackets as there’s not enough space to get a socket on. Might replace it with a long bolt and a nyloc.
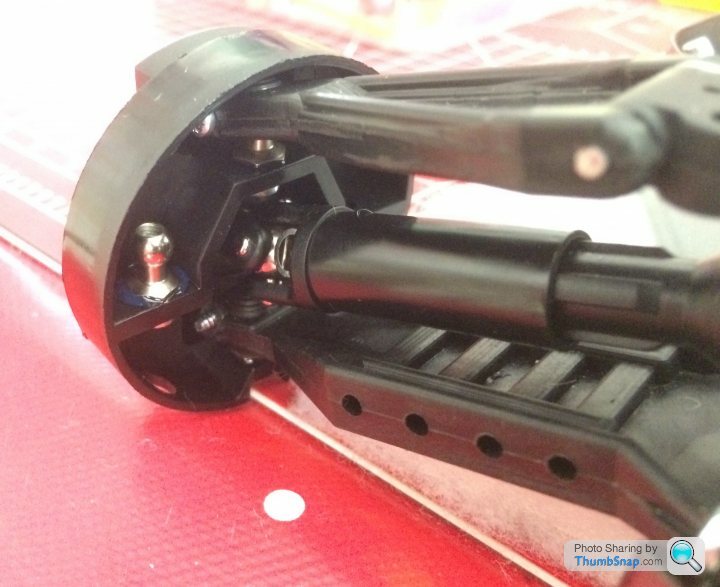
Got the crashback system and lower wishbones on the front too, bit of a fiddle getting the pivot pins through
could’ve done with another hand to keep the front belt taught while nipping the screws up though!Pretty much plain sailing to the end now, rear transmission cover and lower wishbones in place. Need to find a suitable spanner to tighten the bits on the long stud through the upper wishbone brackets as there’s not enough space to get a socket on. Might replace it with a long bolt and a nyloc.
Got the crashback system and lower wishbones on the front too, bit of a fiddle getting the pivot pins through
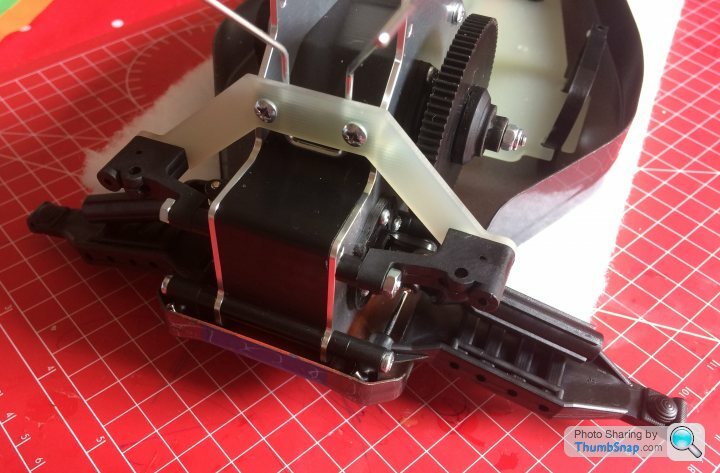
Been looking at the suspension arms and rear hub carriers. Unusual design but quite clever in that it uses the same part for each side, cheaper mould tool and one less spare to carry.
I deviated from the instructions slightly and found it was easier to assemble the hub carrier to the lower wishbones before putting the driveshaft in, as the UJ was getting in the way of the ball joint. Once in place a screw is inserted into the wishbone to lock the ball in place similar to 1:1 cars I’ve worked on.
Suspension is remarkably smooth and slop free in operation, puts tamiya to shame.
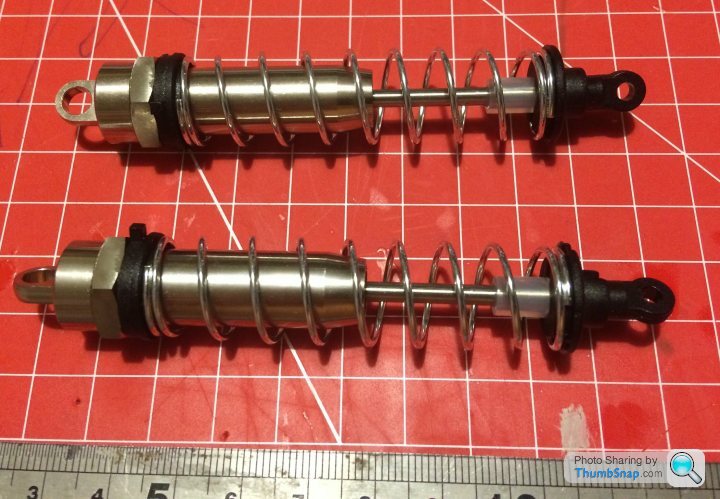
Rear shocks last night. These are lovely machined aluminium and have a brass insert at the bottom to support the shock shaft and house the seal pack:

That lot is held in with a tiny circlip, hence the need for the circlip pliers mentioned above. Goes together pretty easily when you have the right tools!
The shock pistons are hen built up with the shaft, nice fiddly e-clips, managed to not ping any accross the room:
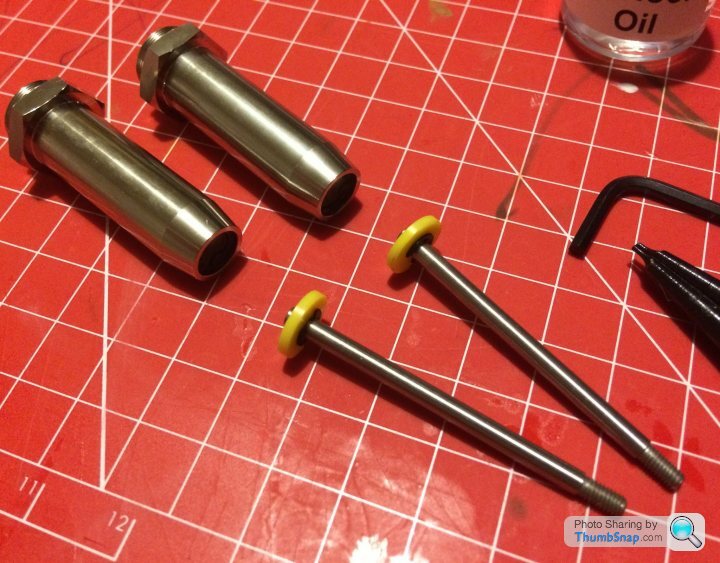
Then it’s just a case of cutting the bump stops to length and filling with oil, getting the bubbles out and fitting the gland and top cap on. Lovely little assemblies that really stand out
Then they are fitted to the chassis with some nylon bushes taking care to ensure they are not binding but don’t have any slop
That lot is held in with a tiny circlip, hence the need for the circlip pliers mentioned above. Goes together pretty easily when you have the right tools!
The shock pistons are hen built up with the shaft, nice fiddly e-clips, managed to not ping any accross the room:
Then it’s just a case of cutting the bump stops to length and filling with oil, getting the bubbles out and fitting the gland and top cap on. Lovely little assemblies that really stand out
Then they are fitted to the chassis with some nylon bushes taking care to ensure they are not binding but don’t have any slop
 kits' because thats often how it goes, ping, ah fu ck it....!
Gassing Station | Scale Models | Top of Page | What's New | My Stuff