Associated RC10B5 Build
Discussion


I haven’t put “ New Build “ in the title because this kit has been in build for over a year!
As with lots of my kits, I get so far with the build, hit a snag, which needs a part, and the build stalls again, often even if the part turns up, it’s been put away semi complete in the box, meaning months go by.
Anyway some history, I’ve always wanted an RC10 since the very first one came out back when we were lads.
But for some reason we always ended up with 4 wheel drive buggies either 1/10 or 1/8.
So when this popped up on sale at Stefan’s T2shop, I thought yep, let’s go for it,
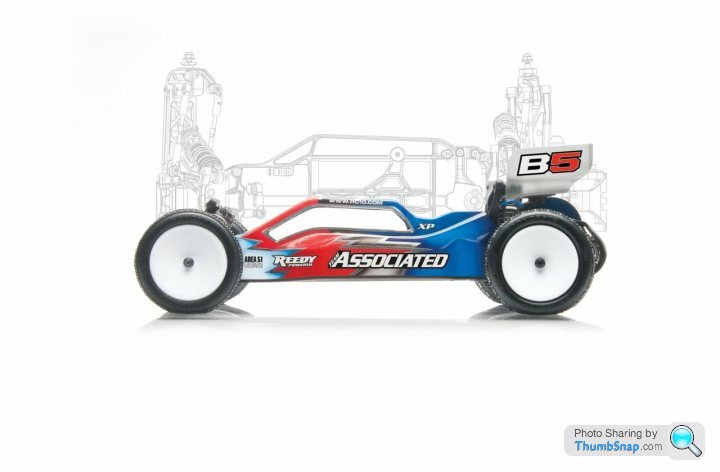
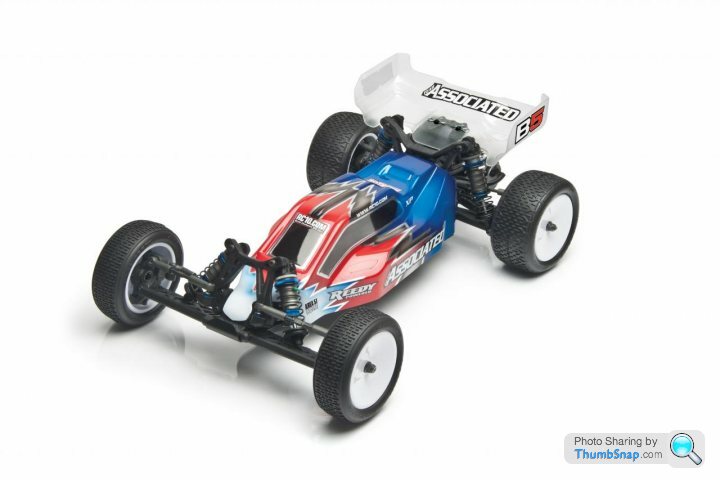
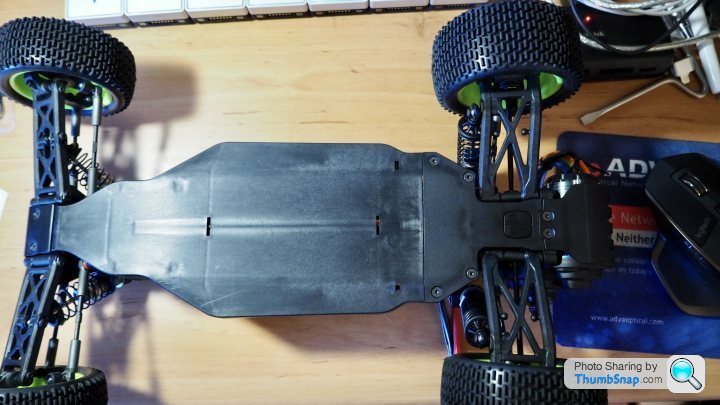
Let’s remind ourselves of what it looks like from the factory. This models was discontinued by Associatied over 5 years ago, but I’m never that bothered with having this years latest and greatest model version.


As with lots of my kits, I get so far with the build, hit a snag, which needs a part, and the build stalls again, often even if the part turns up, it’s been put away semi complete in the box, meaning months go by.
Anyway some history, I’ve always wanted an RC10 since the very first one came out back when we were lads.
But for some reason we always ended up with 4 wheel drive buggies either 1/10 or 1/8.
So when this popped up on sale at Stefan’s T2shop, I thought yep, let’s go for it,
Let’s remind ourselves of what it looks like from the factory. This models was discontinued by Associatied over 5 years ago, but I’m never that bothered with having this years latest and greatest model version.


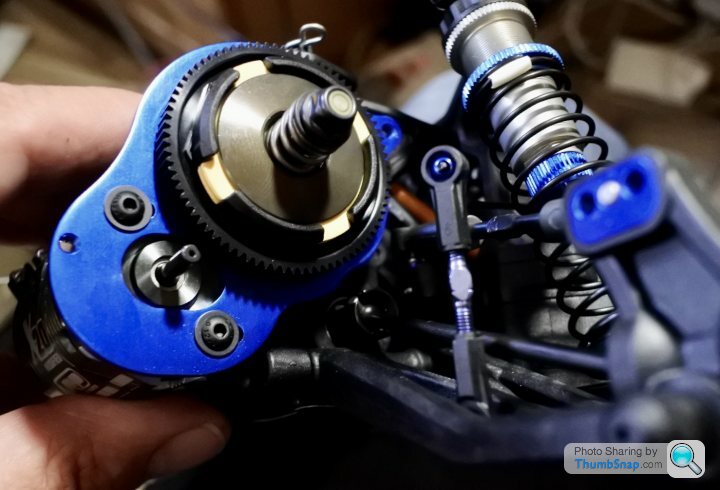
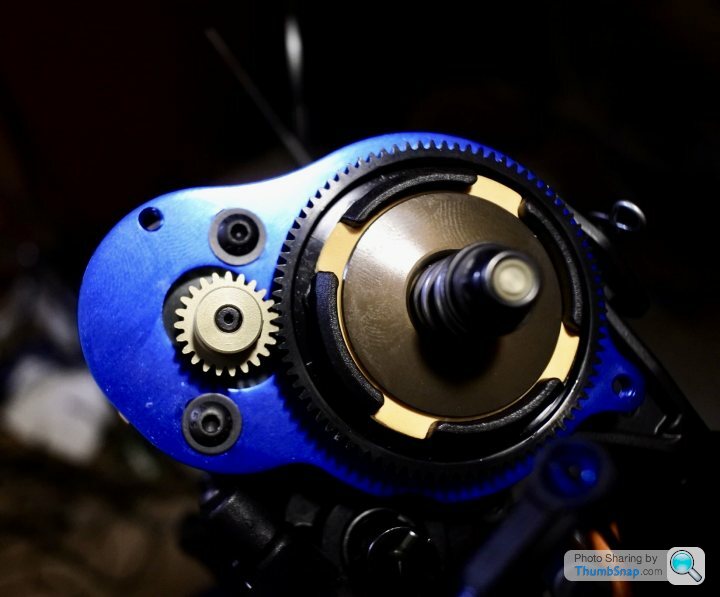
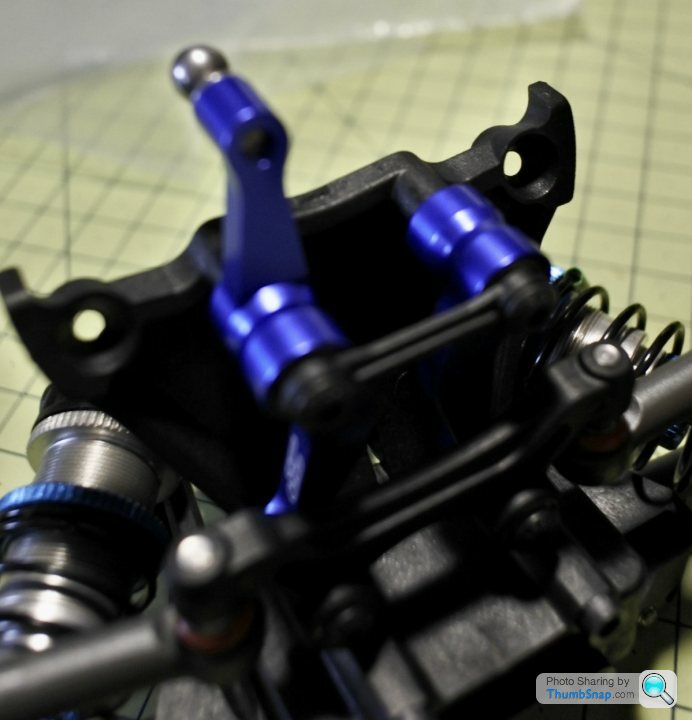
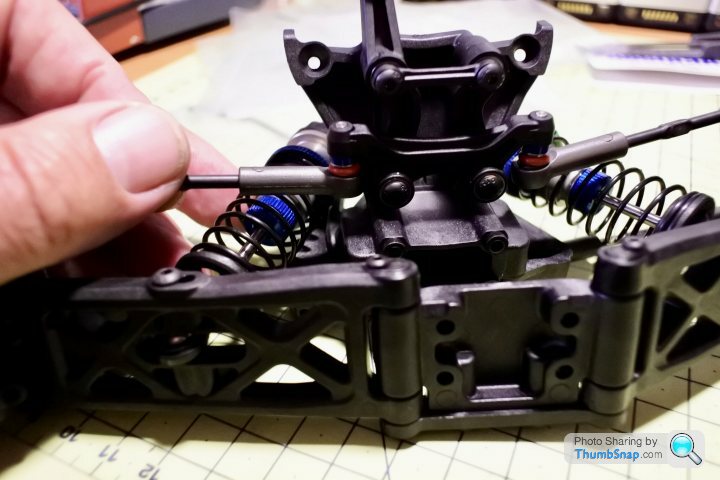
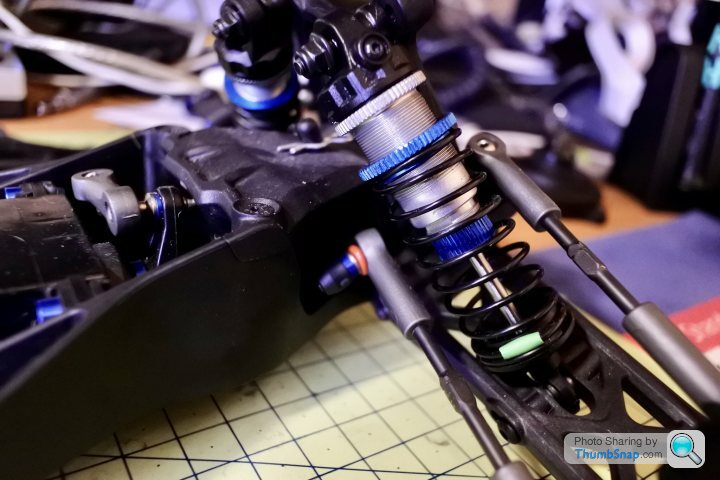
Some close up of the rear suspension.
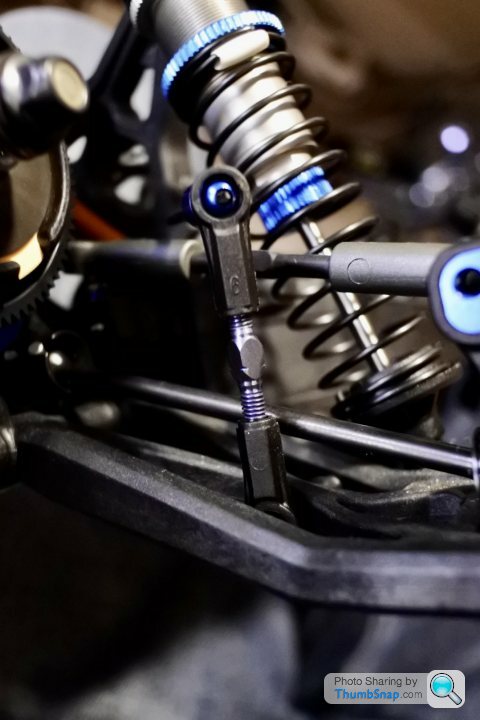
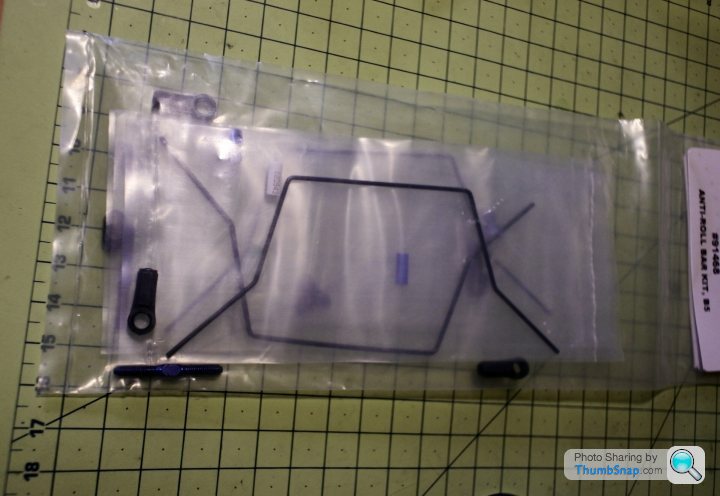
Showing the anti roll bar installed.
That one almost threw me, as an option part, it’s not shown in the manual how to fit it, and no instructions supplied.
I scratched my head on where to fit it for ages, then a troll of the internet found another associated build with a similar set up.
It turns out it’s installed way forward, up by the location of the speed control.

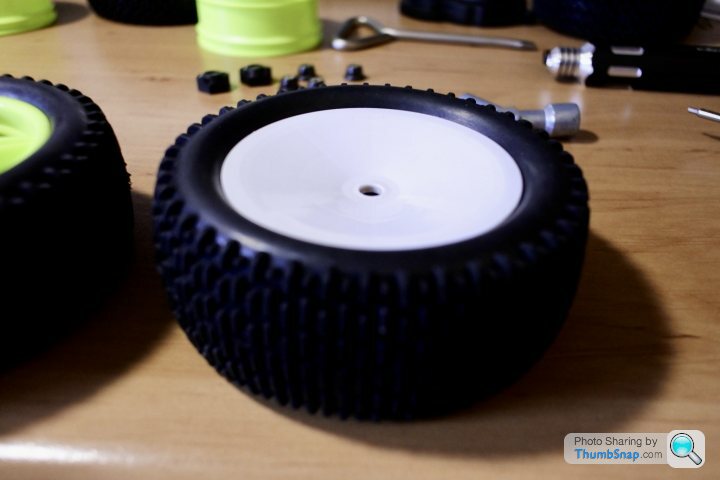
Now wheels, a constant topic for discussion.
On Associated kits like these they don’t come with tyres, and sometimes don’t even come with wheels.
This one did come with the Std white set, small fronts and wider rears,( just realised, exactly the same as my Caterham, the real one that is not the kit!)
But I fancied something a bit more blingy, so got a full set of amazon, my usual mistake, I click and buy it now on amazon way too much.
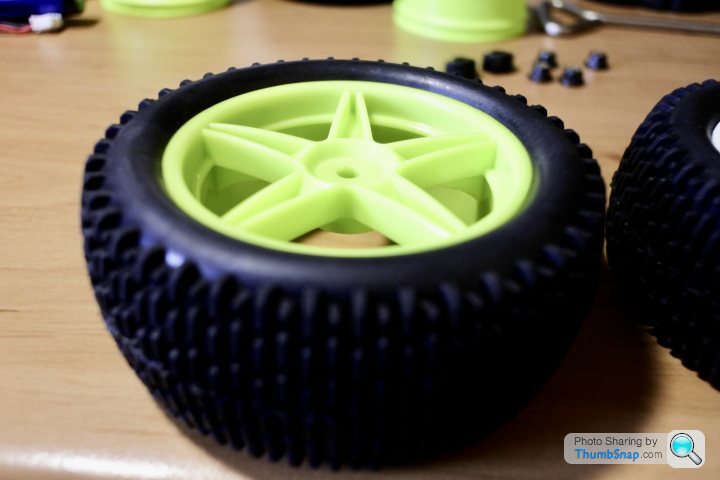
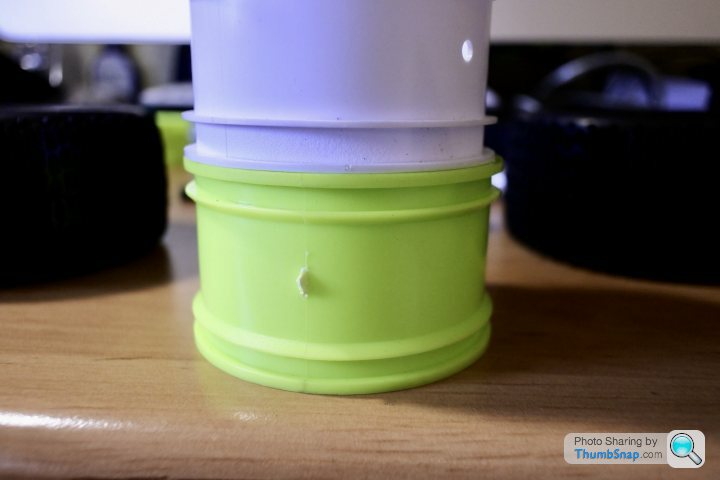
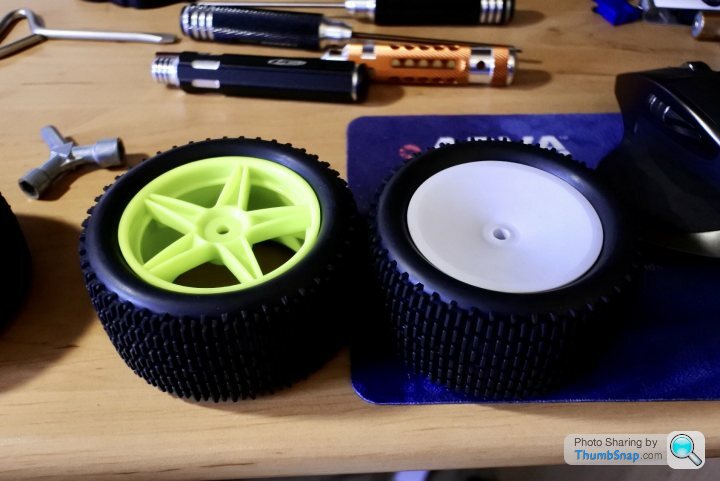
So I got this set, nice colour and all that, and they fit, but, there’s always a but, they are the same size fronts as rears.
They did have foam inner cores, but the tyres were not glued, but curiously they actually span freely around the wheels.
On Associated kits like these they don’t come with tyres, and sometimes don’t even come with wheels.
This one did come with the Std white set, small fronts and wider rears,( just realised, exactly the same as my Caterham, the real one that is not the kit!)
But I fancied something a bit more blingy, so got a full set of amazon, my usual mistake, I click and buy it now on amazon way too much.
So I got this set, nice colour and all that, and they fit, but, there’s always a but, they are the same size fronts as rears.
They did have foam inner cores, but the tyres were not glued, but curiously they actually span freely around the wheels.

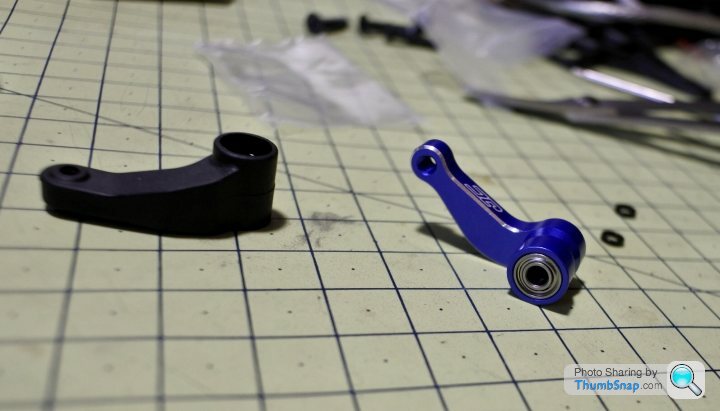
And as aways , we hit a snag.
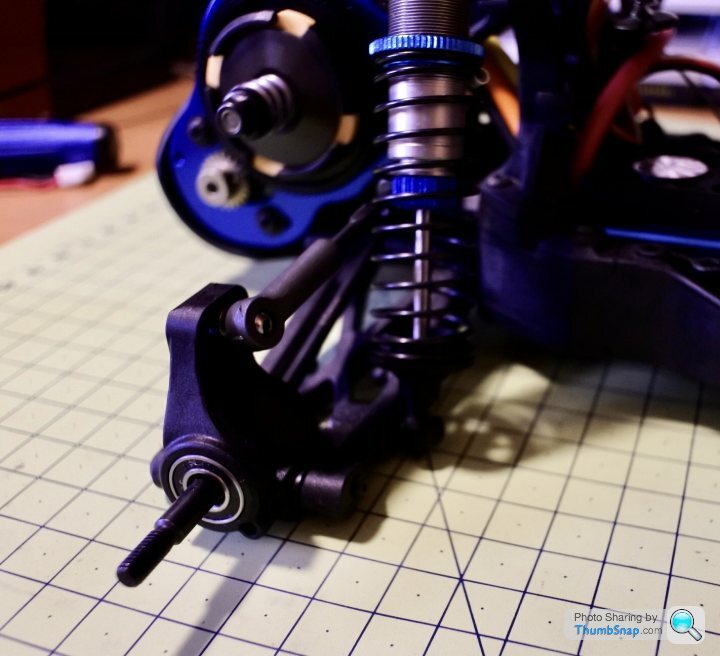
The front off set is just a lite too off set, meaning the outer part of the rim rubs on the end of the steering arm knuckle.

This was getting silly now, so instead of any more purchases, I did something I would never normally do.
I got the Tamiya craft knife our and shaved off a mm or so to get clearance.
Worked a treat.
The front off set is just a lite too off set, meaning the outer part of the rim rubs on the end of the steering arm knuckle.
This was getting silly now, so instead of any more purchases, I did something I would never normally do.
I got the Tamiya craft knife our and shaved off a mm or so to get clearance.
Worked a treat.
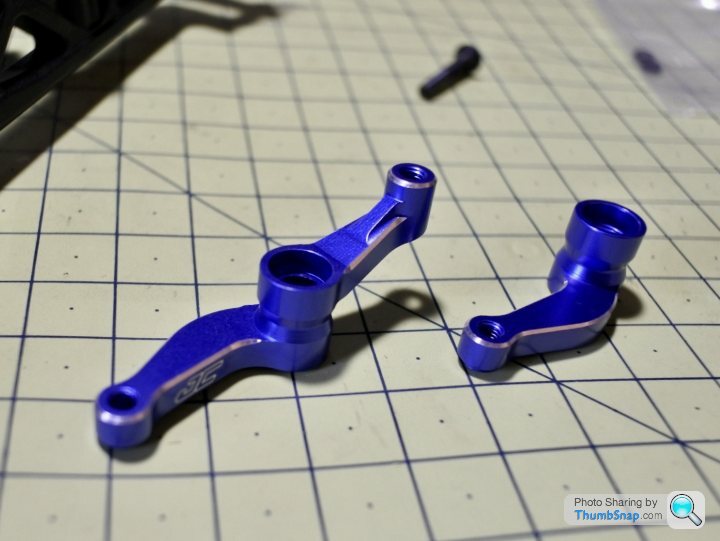
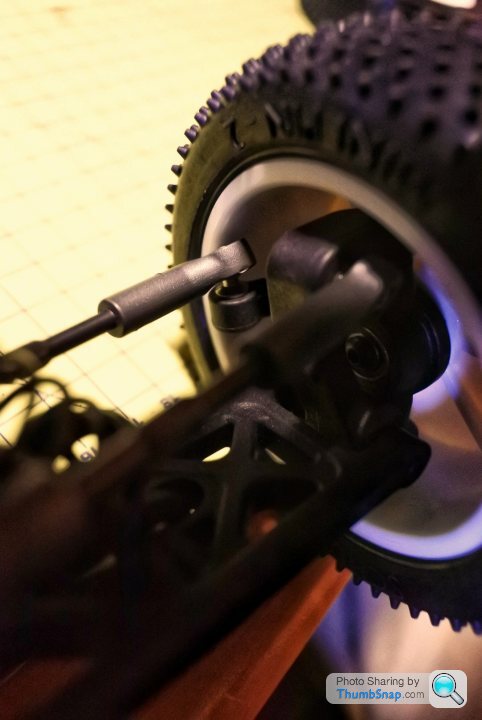
Now whilst messing with the rear wheels,I could not believe how easy it was to lose the pin for the hex nut.
As standard it’s a free fit affair, and really quite a poor design too.
Every time you take a wheel off, the next nut comes away from the shaft a bit and the drive pin is at risk of falling out,
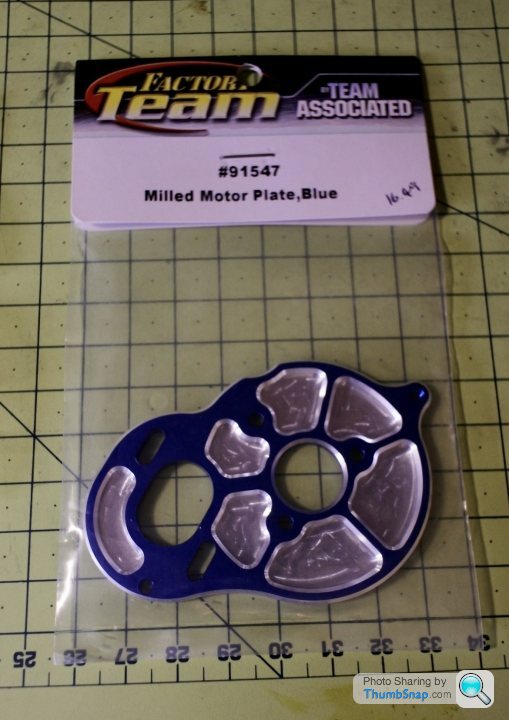
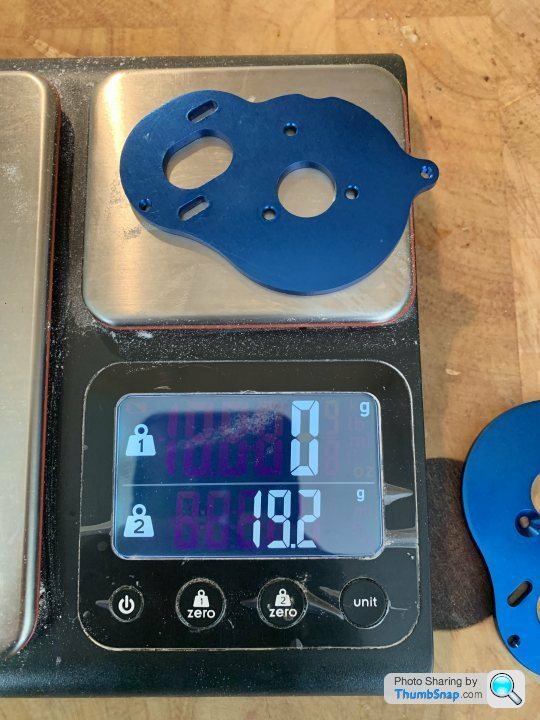
Luckily I had ordered the upgraded hex drive clamp set, so they were installed next.
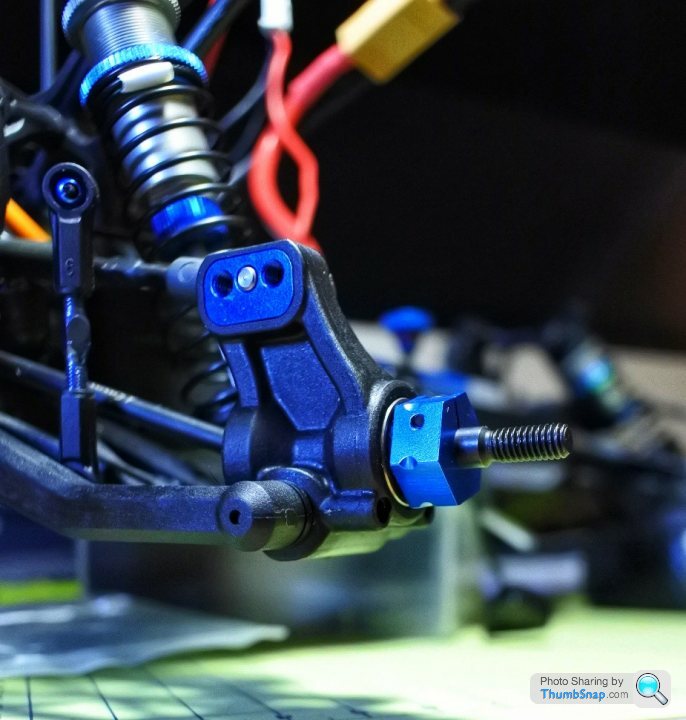
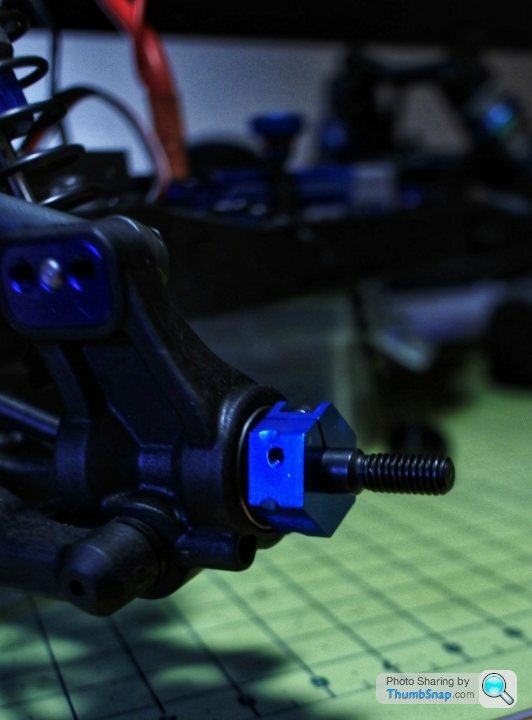
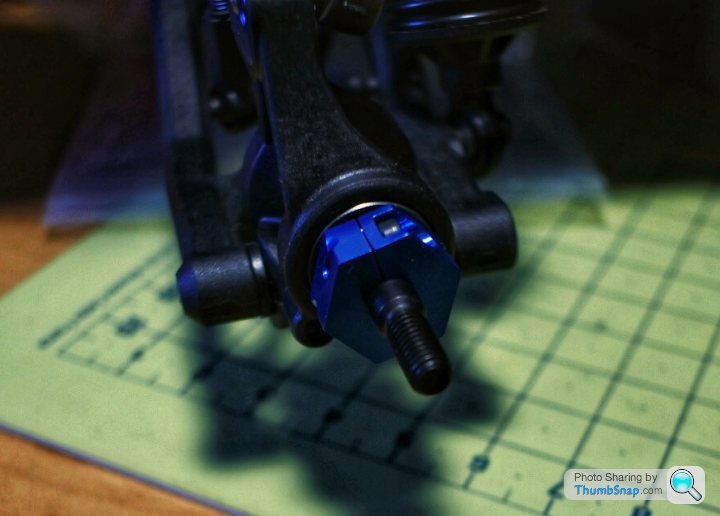
What a massive improvement, and off course they look cool in blue too.
As standard it’s a free fit affair, and really quite a poor design too.
Every time you take a wheel off, the next nut comes away from the shaft a bit and the drive pin is at risk of falling out,
Luckily I had ordered the upgraded hex drive clamp set, so they were installed next.
What a massive improvement, and off course they look cool in blue too.


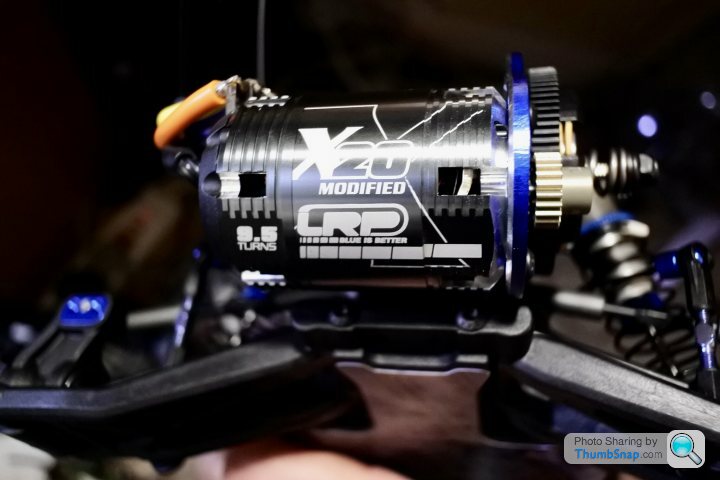
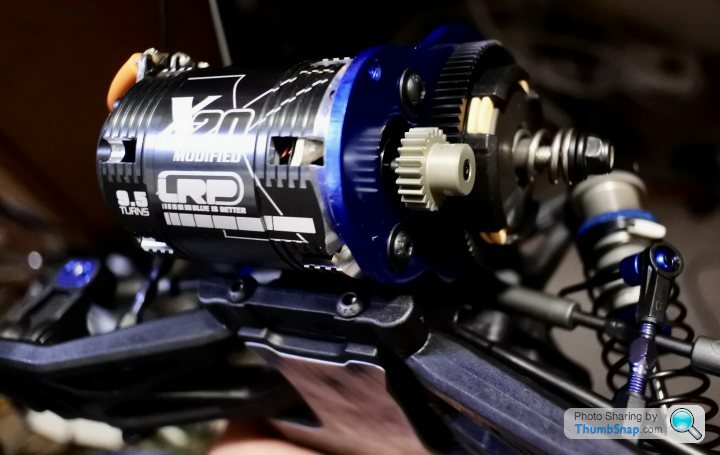
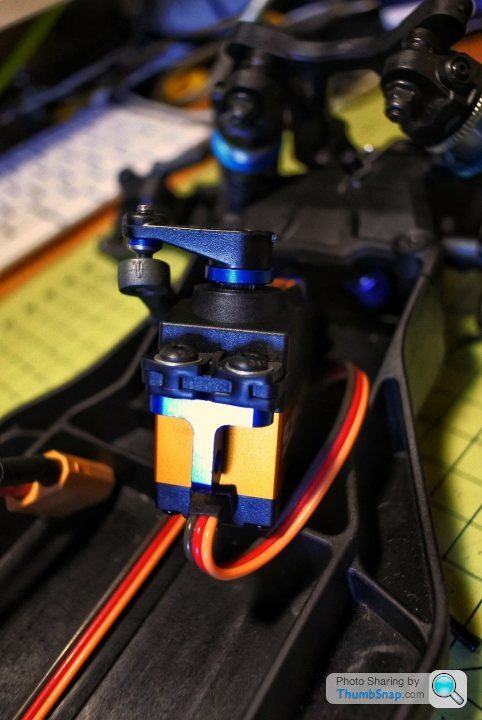
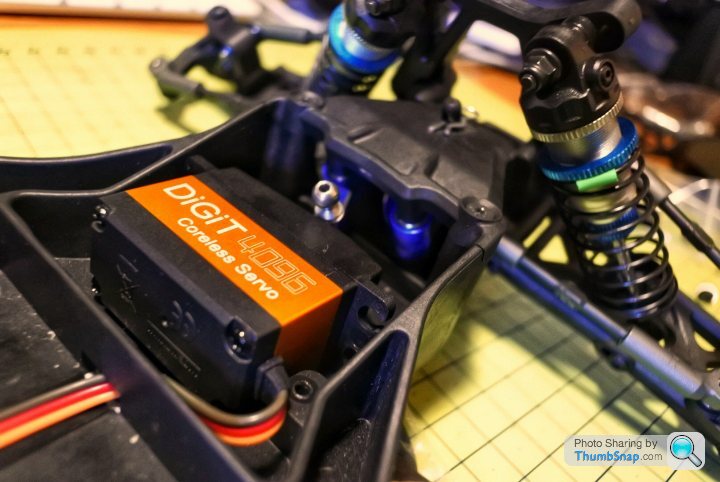
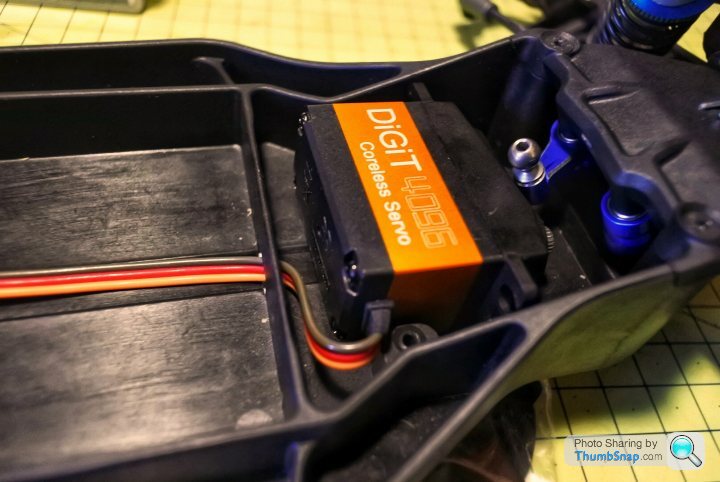
Then it was on to the steering servo.
This is a long story, so won’t bore you with the trials and tribulations of trying to fit my really nice spektrum low profile servo.
So I had oreded one if the most recommended servos for 1/10 buggy racing, a nice Savox metal geared fast high Tourque servo.
And very nice it looks too.

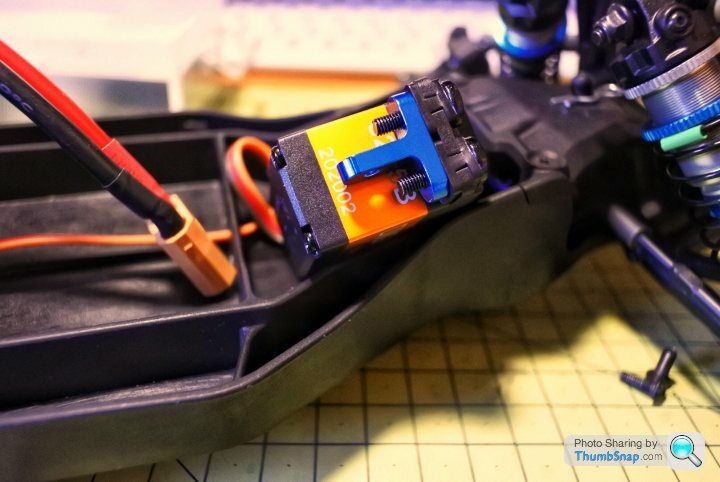
As part of the accessory pack, it came with these really nice machined shallow head mounting screws with locknuts.
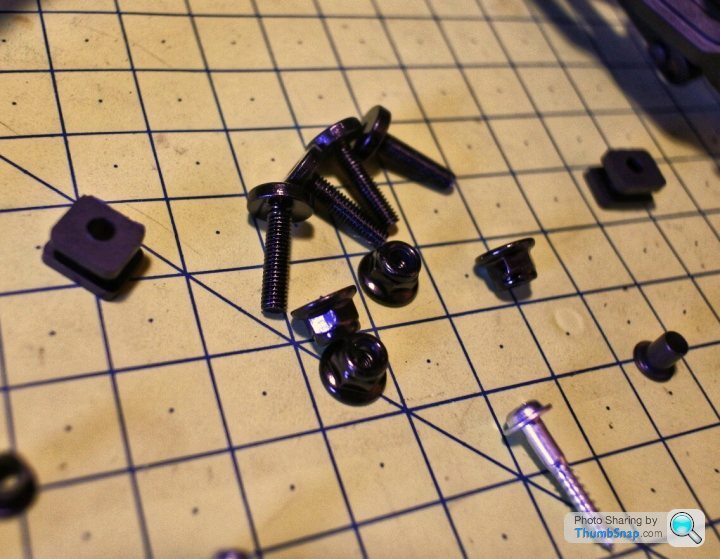
I was very happy with these, it seemed so much better than the std screws, but as always there was a problem.
There was no way they would go on with the chamfered edge of the alloy mount of the servo mounting blocks.
Damn it again.
This is a long story, so won’t bore you with the trials and tribulations of trying to fit my really nice spektrum low profile servo.
So I had oreded one if the most recommended servos for 1/10 buggy racing, a nice Savox metal geared fast high Tourque servo.
And very nice it looks too.
As part of the accessory pack, it came with these really nice machined shallow head mounting screws with locknuts.
I was very happy with these, it seemed so much better than the std screws, but as always there was a problem.
There was no way they would go on with the chamfered edge of the alloy mount of the servo mounting blocks.
Damn it again.

Gassing Station | Scale Models | Top of Page | What's New | My Stuff